Introduction: Why Compliance Matters in DIY Plumbing
Tackling plumbing projects yourself can be rewarding and cost-effective, but there’s one crucial aspect too often overlooked: compliance with local plumbing codes and regulations. Many enthusiastic DIYers dive into repairs and upgrades, only to discover later that an oversight in code compliance can lead to failed inspections, costly rework, and even legal troubles. Navigating the maze of permits, codes, and inspections isn’t just the domain of professional plumbers—it’s essential knowledge for any homeowner or hobbyist wanting to avoid expensive mistakes and ensure their plumbing work is safe, reliable, and above all, legal.
This in-depth guide will demystify the world of plumbing compliance for DIYers. From understanding how codes are developed and enforced, to practical steps for obtaining permits and preparing for inspections, you’ll gain actionable insights and checklists to keep your projects on track. Whether you’re fixing a leaky faucet, adding a new bathroom, or updating old pipes, this post will empower you to work confidently within the rules—protecting your investment and your peace of mind.
Understanding Plumbing Codes: The Foundation of Compliance
What Are Plumbing Codes?
Plumbing codes are sets of rules and standards that dictate how plumbing systems must be installed and maintained. These codes exist to protect public health and safety by ensuring water supply and waste systems are designed, constructed, and maintained properly. Most regions in the United States use the International Plumbing Code (IPC) or the Uniform Plumbing Code (UPC) as a baseline, but local amendments are common.
How Codes Are Enforced
Local building departments are responsible for enforcing plumbing codes. When you perform certain types of plumbing work, you’re legally required to follow these codes and may need to have your work inspected for compliance. Non-compliance can result in:
- Failed inspections and rework costs
- Fines or legal action
- Problems selling your home in the future
- Insurance claim denials for related damages
Common Code Variations
Even if you’ve read national plumbing codes, always check with your local building department for area-specific amendments. For example, some cities require specific pipe materials, backflow preventers, or venting methods not covered by the IPC or UPC.
When Do You Need a Permit?
Types of Projects Typically Requiring Permits
While simple maintenance like replacing a faucet or unclogging a drain usually doesn’t require a permit, more significant work almost always does. Permits are commonly required for:
- Installing or replacing water heaters
- Adding or relocating plumbing fixtures (toilets, sinks, tubs, showers)
- Running new supply or drain lines
- Remodeling kitchens or bathrooms
- Installing irrigation systems connected to potable water
Gray Areas and Exceptions
Some minor repairs (e.g., replacing a shutoff valve, repairing a small leak) may be exempt, but don’t assume—always verify with your local building department. In some areas, even replacing a garbage disposal or dishwasher requires a permit if it involves new electrical or drain connections.
Consequences of Skipping Permits
- Being required to tear out finished work for inspection
- Difficulty selling your home—unpermitted work can delay or derail sales
- Voided homeowner’s insurance if unpermitted work causes damage
How to Obtain a Plumbing Permit: Step-by-Step
1. Research Local Requirements
Start by visiting your city or county’s building department website. Look for a section on permits, and specifically plumbing permits. If information is unclear, call or visit in person.
2. Prepare Your Project Details
Building departments typically require:
- Project description (e.g., “remodeling bathroom, moving sink and toilet”)
- Sketches or plans showing existing and proposed plumbing layouts
- List of materials and fixtures
- Estimated cost of work
3. Submit the Application
Most jurisdictions allow in-person, mail-in, or online permit applications. Fees vary but are usually based on project scope or value. Be honest and thorough—omitting details can delay approval or cause problems later.
4. Await Review and Approval
Simple projects are often approved on the spot. Complex jobs may require plan review, which can take days or weeks.
5. Display the Permit
Once approved, you’ll receive a permit document or sticker. This must be posted visibly at the job site for inspectors to see.
DIY vs. Professional Plumbing: What’s Allowed?
Work DIYers Can Legally Perform
Many jurisdictions allow homeowners to perform plumbing work on their own primary residence, but not on rental properties or homes they intend to sell soon. There are often restrictions:
- Some areas limit DIY work to minor repairs
- Others allow full system modifications as long as permits are obtained and inspections passed
- Licensed plumbers may be required for gas lines, main water connections, or sewer tie-ins
Risks of Unlicensed Work
Attempting major plumbing work without proper permits or licenses can result in fines or having to redo the work at your expense. Always check your local laws before proceeding beyond simple repairs.
Preparing for a Plumbing Inspection
Scheduling an Inspection
Inspections are typically required at key stages:
- Rough-in (after pipes are installed but before walls are closed)
- Final inspection (after fixtures are installed and system is operational)
Contact your building department to schedule. Some offer same-day or next-day appointments, while others require advance notice.
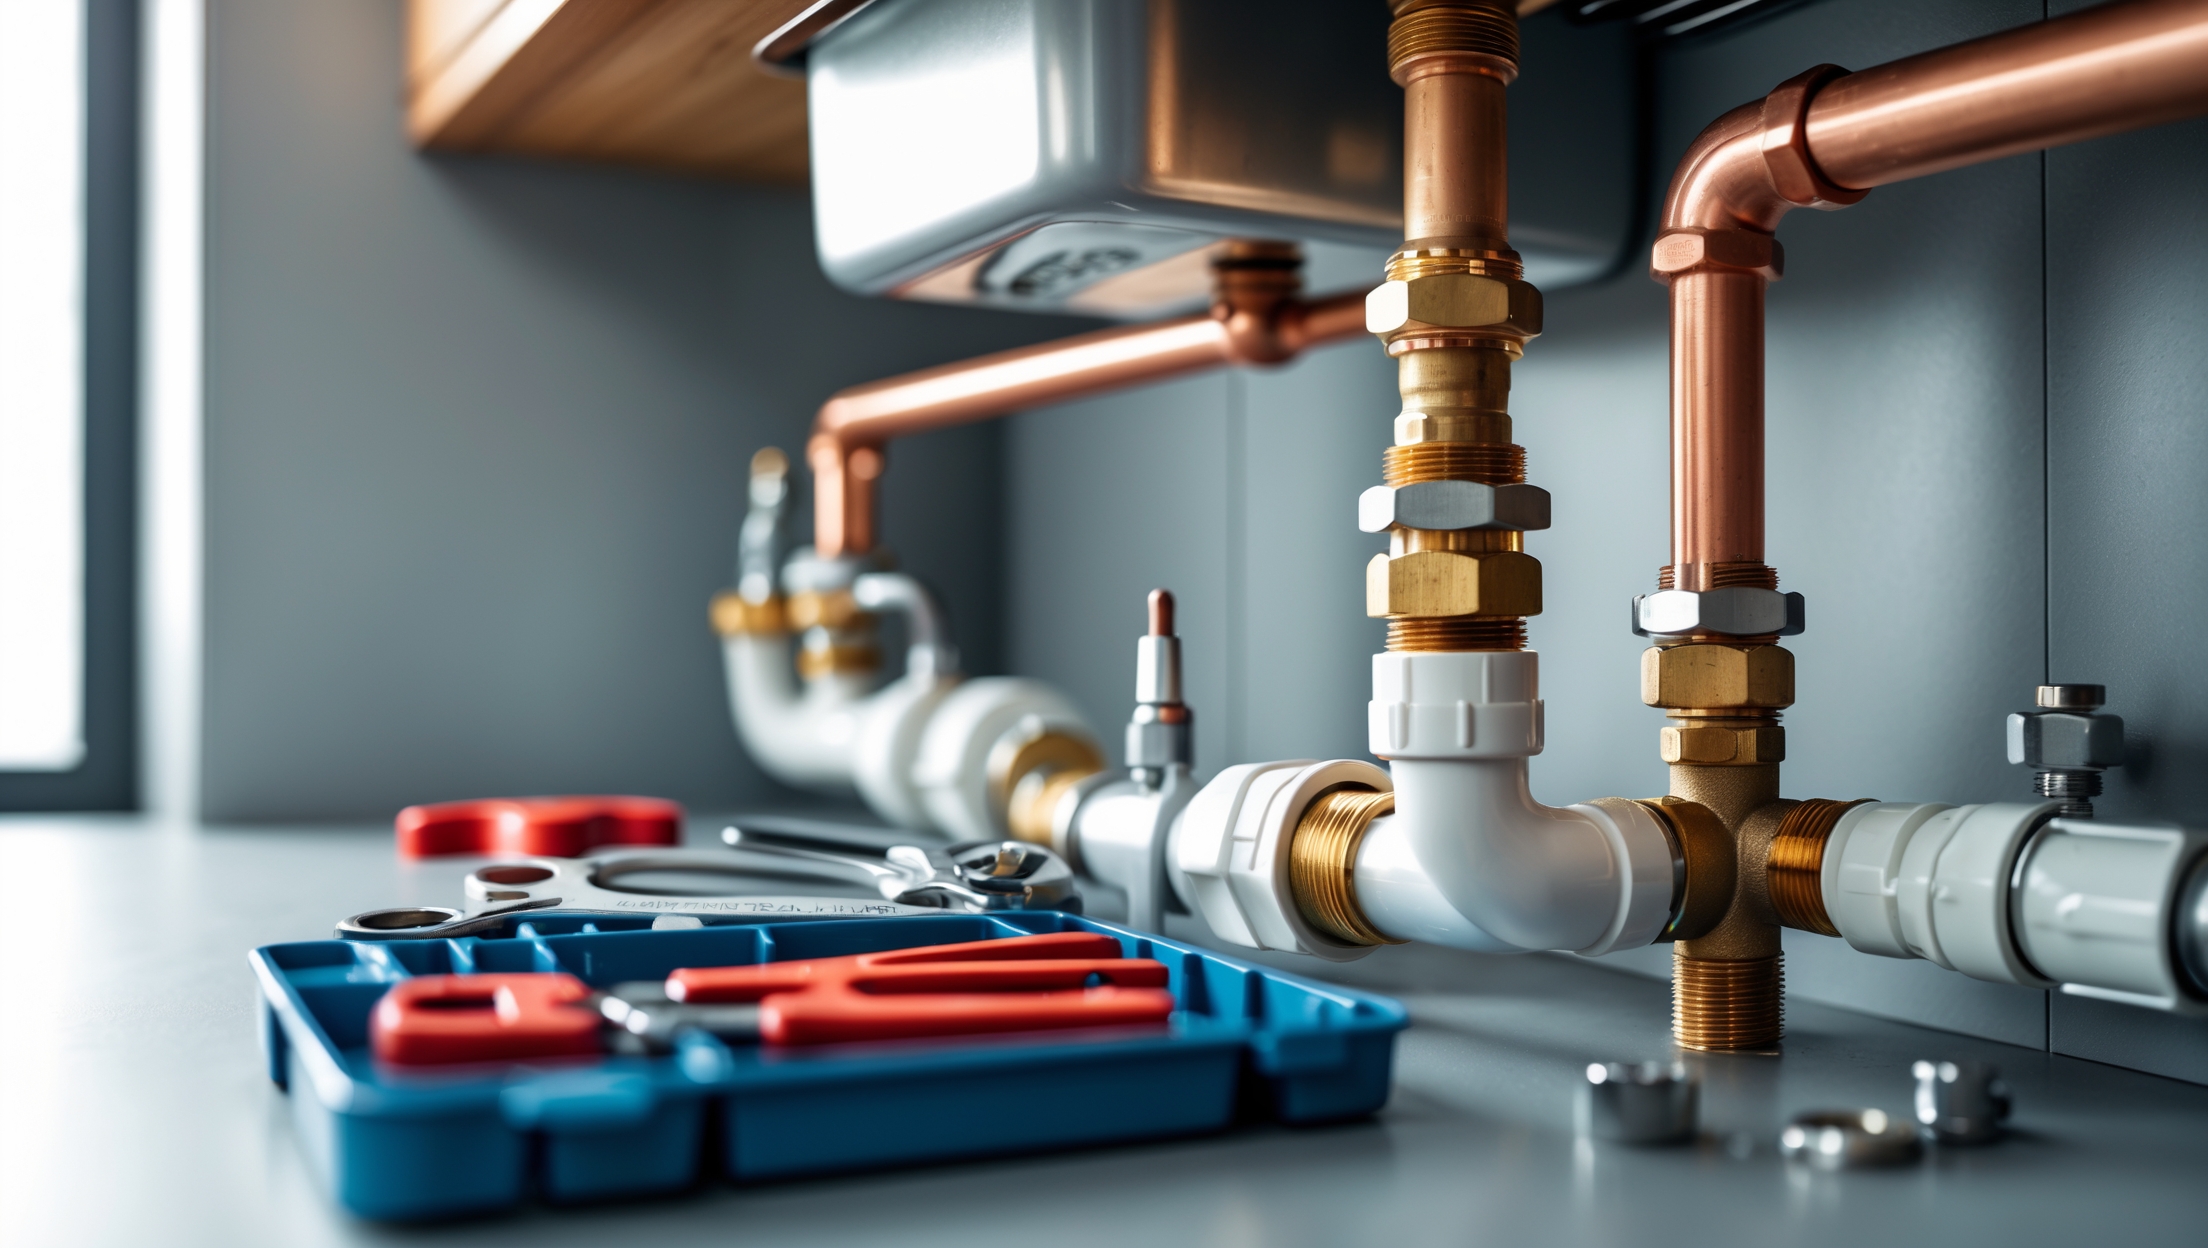
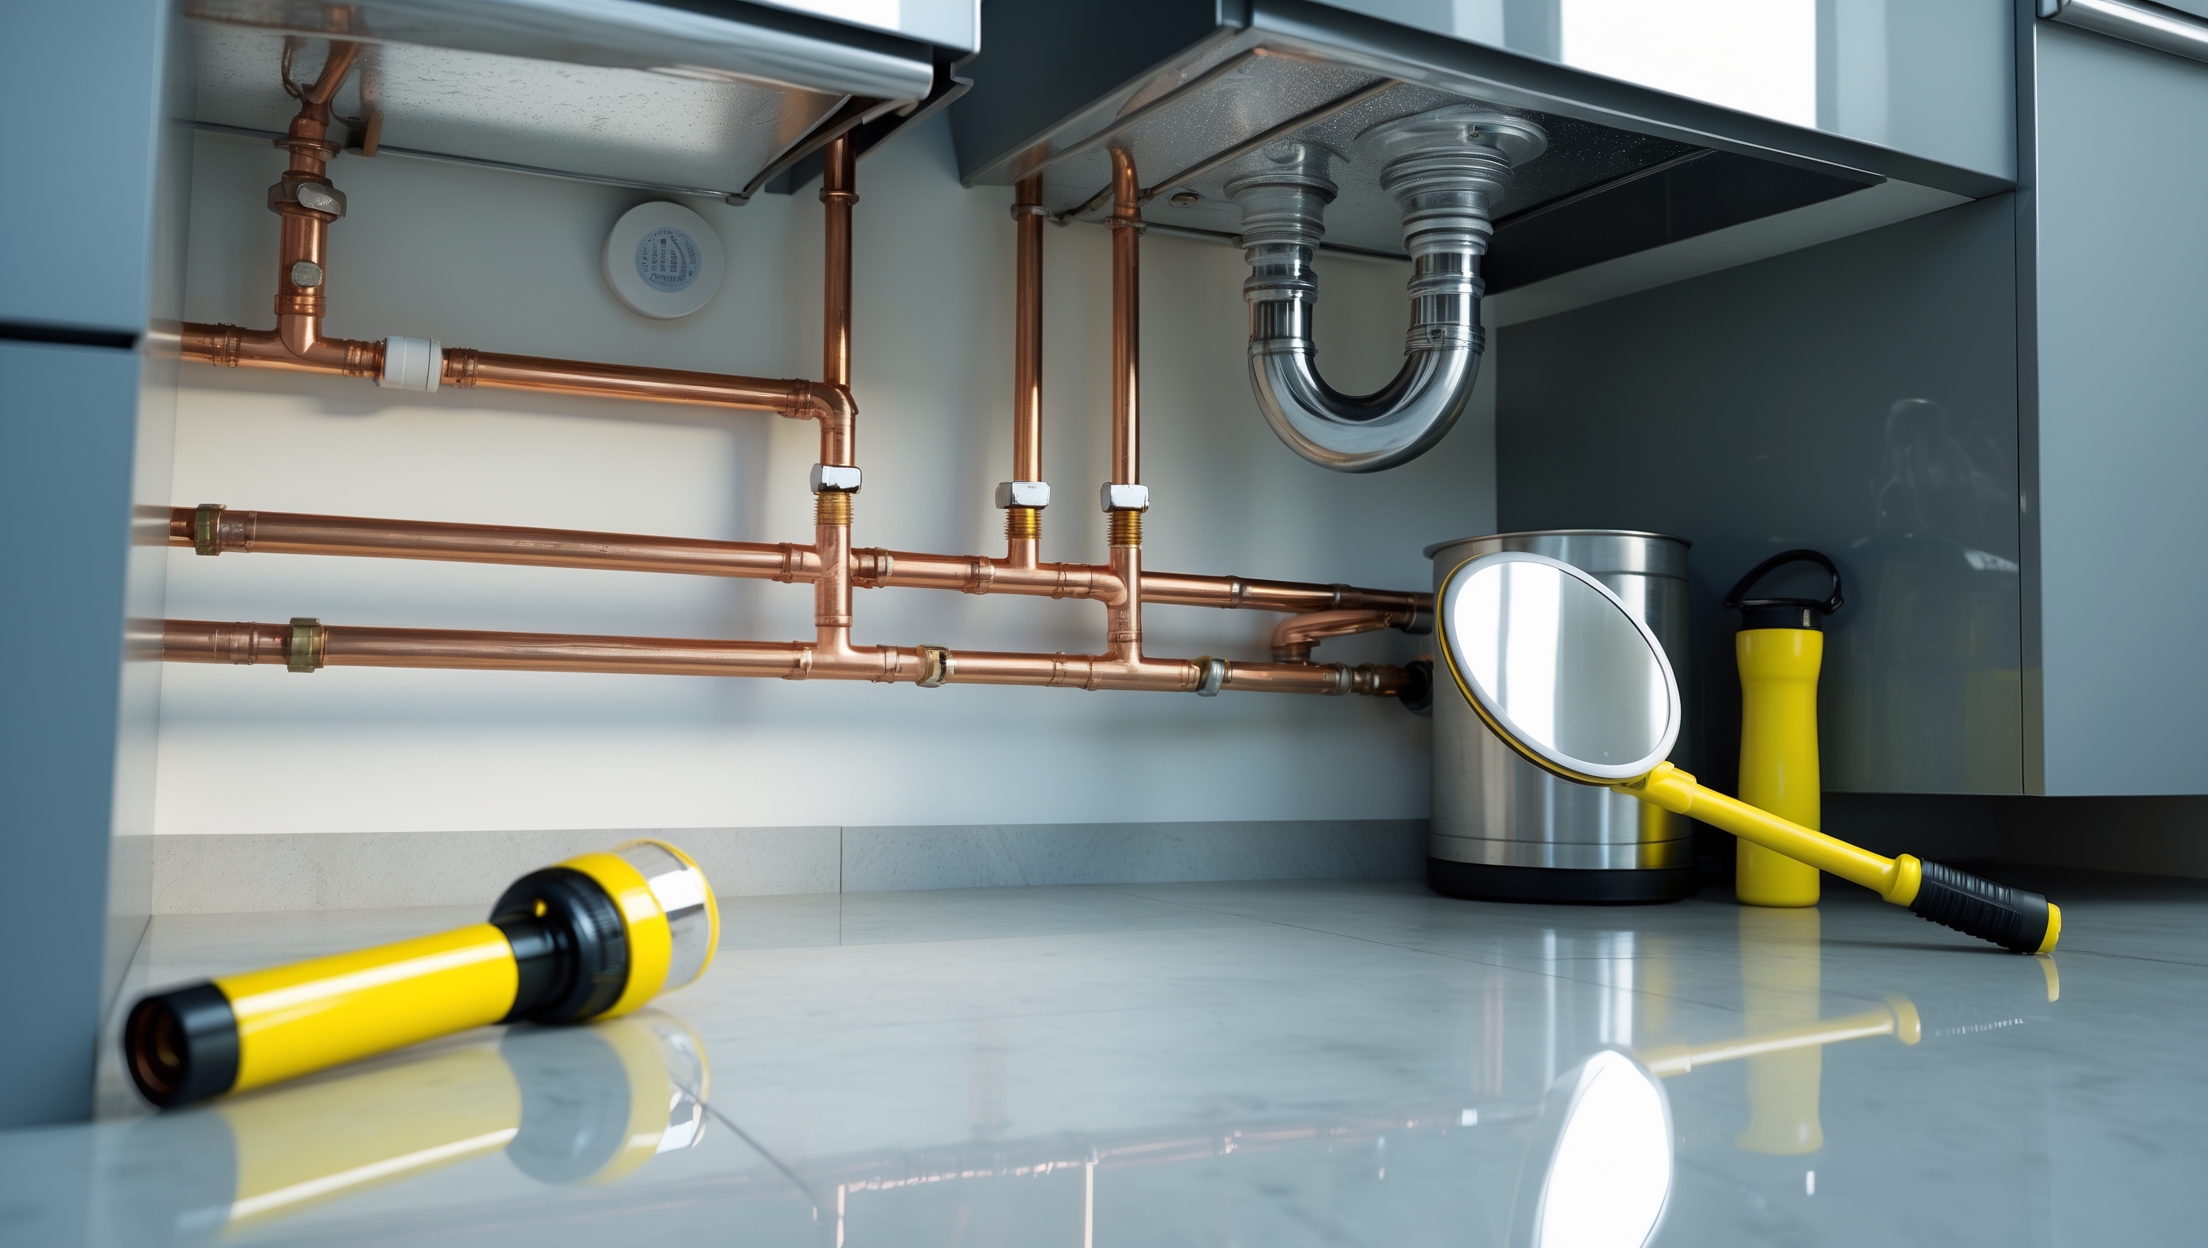
Common Inspection Points
Inspectors look for:
- Proper pipe sizing and material
- Correct slope on drain and waste piping
- Proper venting and trap installation
- Approved backflow prevention devices
- No cross-connections between potable and non-potable water
- Accessible cleanouts
- Leak-free joints and connections
Inspection Day: What to Expect
Have your permit and plans available. Ensure all work is visible—do not close up walls or cover trenches before inspection. Be prepared to answer questions about your materials and methods. If you’re unsure about any part of your installation, ask the inspector for clarification—they’re there to help you pass, not just to catch mistakes.
The Most Common DIY Plumbing Compliance Mistakes
1. Using Unapproved Materials
Some pipe types (e.g., certain flexible tubing) may not be approved for use in your area or for specific applications. Always check the code.
2. Improper Venting
Incorrect vent pipe sizing, placement, or the use of mechanical vents where not allowed can cause drainage problems and fail inspection.
3. Inadequate Slope on Drain Pipes
Drains must maintain a minimum slope (often 1/4” per foot) to ensure proper flow and prevent blockages.
4. Skipping Air Gaps and Backflow Devices
Dishwashers and other appliances often require air gaps or backflow preventers to keep contamination out of your water supply.
5. Concealing Work Prematurely
Covering pipes before inspection is a common mistake that can force you to remove drywall or concrete to expose the work again.
Best Practices for DIY Code Compliance
Document Everything
Maintain a folder with:
- Permit documents
- Correspondence with the building department
- Material specs and receipts
- Photos of work before, during, and after completion
Use Code-Approved Materials
Purchase materials labeled for residential plumbing and keep packaging or spec sheets for inspector review.
Follow Manufacturer Instructions
These are often referenced by code, especially for fixtures, fittings, and specialty devices.
Ask for Clarification
If you’re not sure about a code requirement, contact your building department. Most are happy to explain requirements or direct you to the correct resources.
Test Your Work Before Inspection
Pressure test supply lines and flood-test drains to make sure there are no leaks or issues before the inspector arrives.
Resources for Staying Up-to-Date
- Local Building Department Website: Check for code amendments, permit forms, and inspection checklists.
- National Plumbing Codes: IPC and UPC can be purchased or accessed at libraries or online for reference.
- Manufacturer Technical Support: Many fixture and pipe manufacturers offer code compliance information specific to their products.
- Online Forums and Trade Groups: Sites like PlumbingZone and DIY Stack Exchange feature discussions about code compliance and real-world experiences.
Conclusion: Turning Compliance Into DIY Confidence
Plumbing compliance isn’t about red tape—it’s about protecting your home, your health, and your investment. While the process of navigating codes, permits, and inspections may seem daunting, it’s entirely manageable with the right approach and resources. By understanding when permits are needed, how to prepare for inspections, and where common pitfalls lie, you’ll not only avoid costly mistakes but also gain a deeper understanding of how your home’s plumbing system works.
Remember, the goal of every code and inspection is to ensure that water flows safely and waste is properly managed, keeping you and your community safe. Approaching your DIY plumbing projects with compliance in mind transforms you from a weekend tinkerer to a responsible homeowner. It also means you’ll never have to worry about hidden liabilities when it comes time to sell your home or file an insurance claim.
Stay informed, ask questions, and treat each project as a chance to learn and improve your skills. With every successful, code-compliant repair or upgrade, you not only save money—you build confidence, expertise, and pride in your home. Happy (and safe) plumbing!


Rachel Rodriguez
The article mentioned needing inspections for certain plumbing projects. Could you clarify which types of repairs or upgrades usually require an inspection, and which minor fixes might not?