
Introduction: The Power of Plumbing Inspection Cameras
Modern plumbing diagnostics have evolved far beyond guesswork or cutting blindly into drywall. Today, both professionals and dedicated DIYers rely on plumbing inspection cameras—sometimes called drain cameras, borescopes, or sewer cameras—to peer inside pipes, drains, and concealed spaces with confidence. These versatile tools have become essential for pinpointing blockages, assessing pipe conditions, planning repairs, and verifying completed work without unnecessary demolition or expense.
But with a dizzying array of models, features, and price points, choosing the right inspection camera—and knowing how to use and maintain it—can be daunting. This guide will walk you through every step: from selecting the camera that matches your needs, to mastering its operation, interpreting what you see, and keeping your investment in top condition. Whether you’re a homeowner facing frequent drain issues, a property manager seeking preventive insights, or a plumber choosing new gear, understanding inspection cameras will arm you with a powerful advantage.
Understanding Plumbing Inspection Cameras: Types and Applications
What Is a Plumbing Inspection Camera?
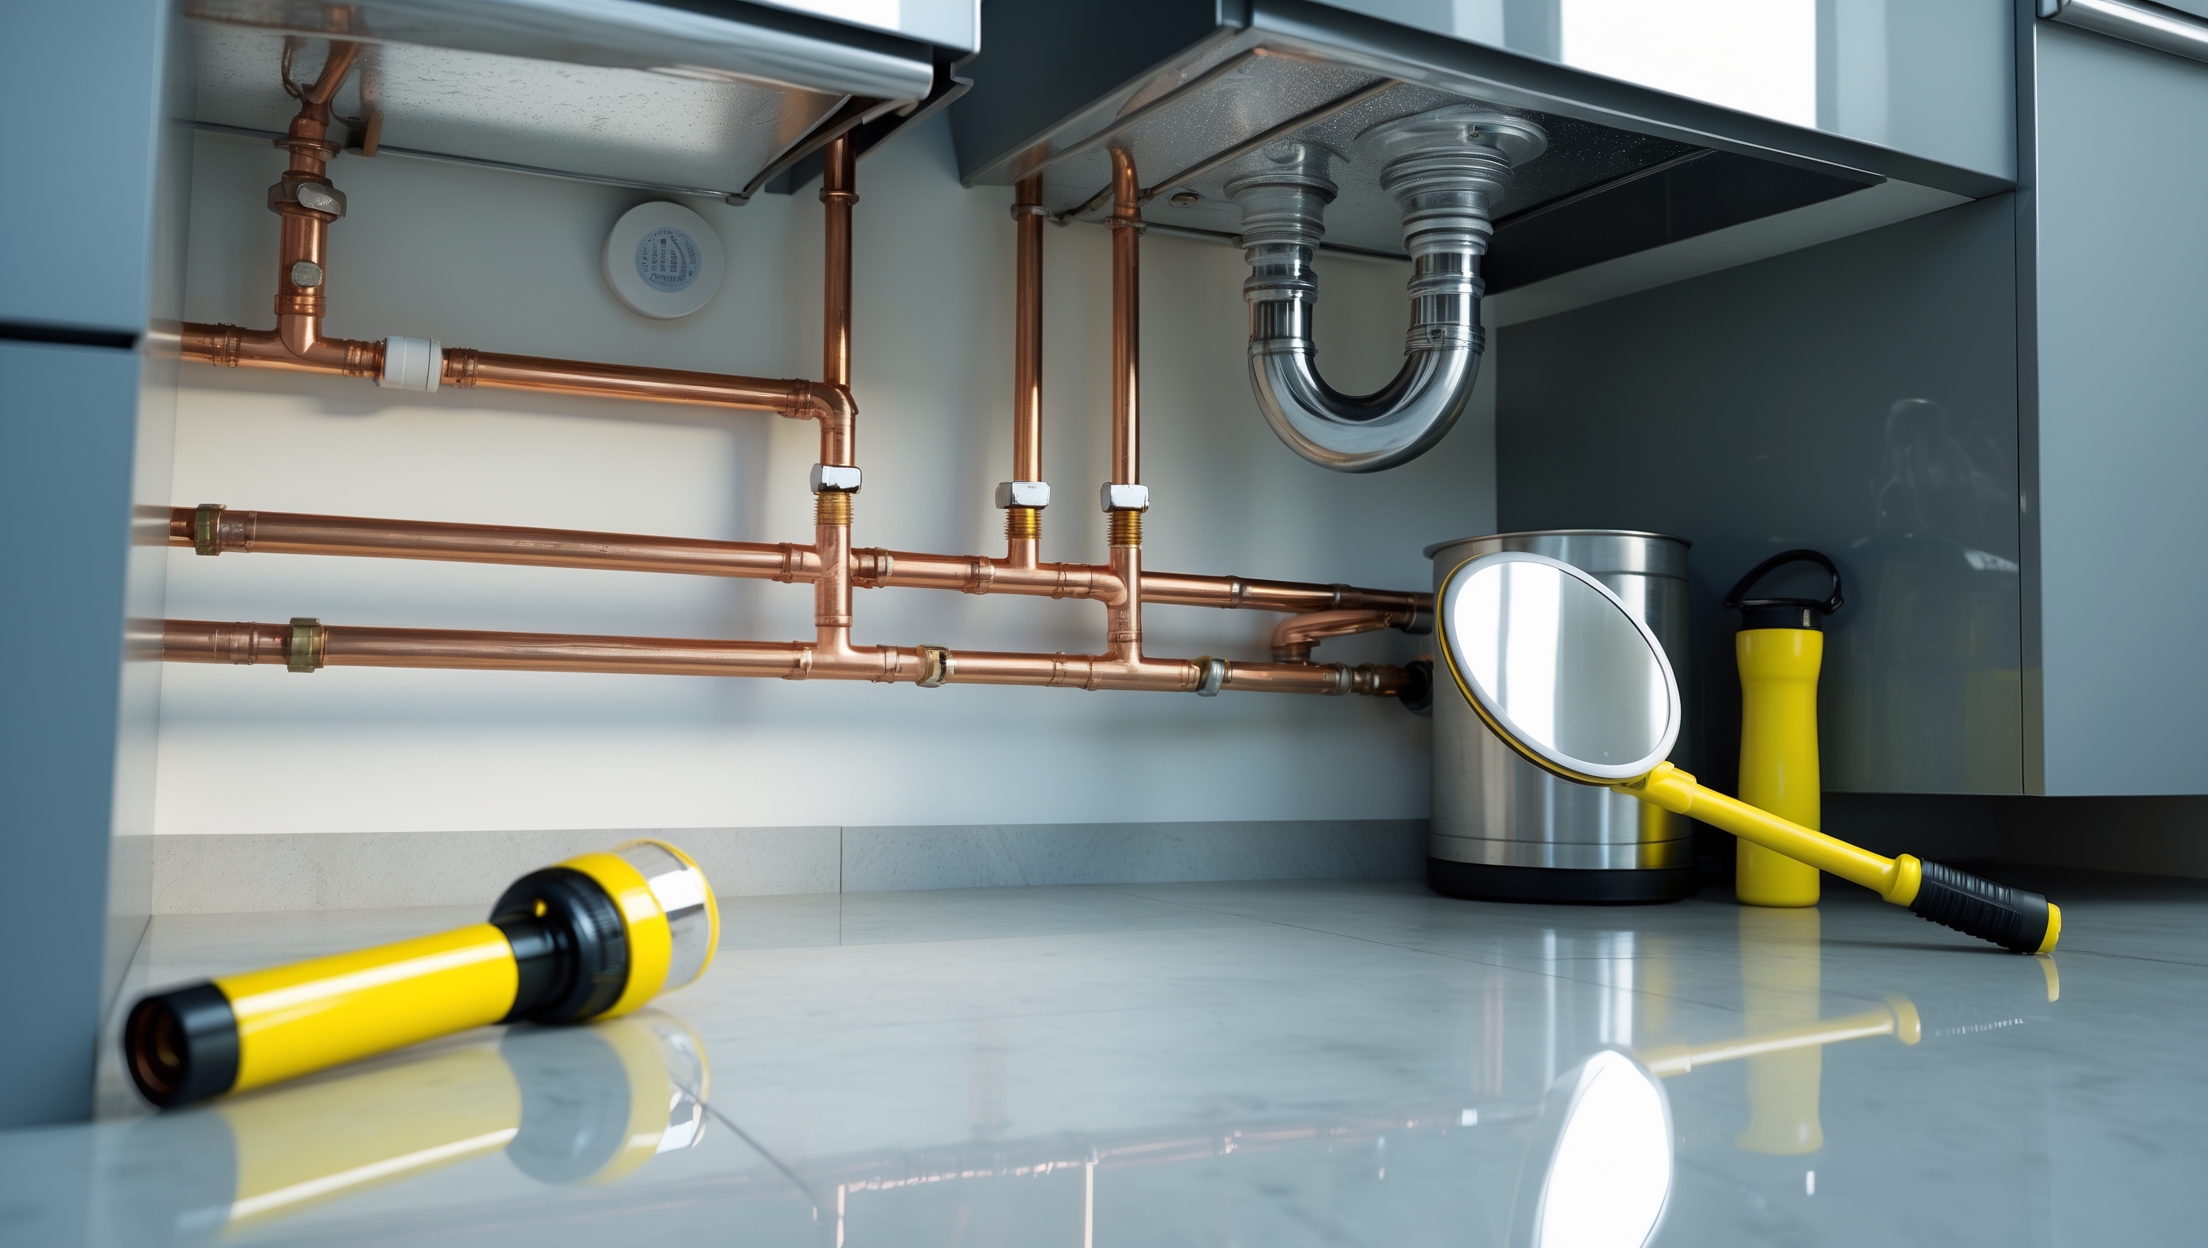
A plumbing inspection camera is a flexible, waterproof video device designed to be inserted into pipes, drains, or tight spaces. It transmits real-time images or video to a screen, letting you see hidden problems like clogs, tree root intrusions, pipe cracks, corrosion, or lost objects.
Main Types of Inspection Cameras
- Handheld Borescopes: Compact, often wireless, suitable for short runs (under 4 feet) and small-diameter pipes. Best for visual checks in sinks, P-traps, or appliance connections.
- Push Rod Cameras: Feature a semi-rigid cable (15–100 feet+) with a camera head. Ideal for home drain lines, main stacks, and lateral sewer lines.
- Self-Leveling Cameras: Keep the video image upright regardless of cable orientation, making it easier to interpret the footage.
- Locator-Enabled Cameras: Equipped with a sonde (electronic beacon) to pinpoint the camera’s location and depth from above ground, invaluable for precise repairs.
- Articulating Head Cameras: Allow the user to steer the camera head for inspecting branch lines or navigating bends.
Key Applications
- Diagnosing drain blockages and their exact location
- Identifying pipe damage, corrosion, or collapsed sections
- Verifying the quality of recent repairs or pipe lining
- Locating lost valuables (rings, toys, tools) in drains
- Documenting pipe conditions for insurance or real estate transactions
How to Choose the Right Inspection Camera
Assessing Your Needs
Start by considering the types of diagnostic tasks you expect to perform:
- Length of Pipe Runs: For simple sink traps, a short borescope suffices. For main drains or lateral lines, opt for a push rod camera with at least 50 feet of cable.
- Pipe Diameters: Smaller pipes (1.25–2”) require miniature camera heads, while larger drains can accommodate standard or even wide-angle heads.
- Lighting: Dark, murky pipes demand high-intensity LED illumination and adjustable brightness.
- Recording and Playback: For documentation or sharing with clients, look for models with video/audio recording, snapshot features, and SD card or USB outputs.
- Durability: Look for waterproof ratings (IP67 or higher), reinforced cable sheaths, and rugged camera housings to survive tough pipe interiors.
- Budget: Entry-level inspections for homeowners can start under $100, whereas professional-grade setups with locators can cost $1500–$5000+.
Must-Have Features for DIYers and Pros
- High-Resolution Camera: 720p or better is recommended for clear pipe condition assessment.
- Flexible Yet Sturdy Cable: Allows navigation through bends without kinking or excessive drag.
- Easy-to-Use Display: A bright, portable screen (integrated or wireless) to view footage live, even in dimly lit basements.
- Rechargeable Battery: At least 4–6 hours of runtime per charge for uninterrupted inspections.
- Replaceable Camera Heads: Reduces downtime and extends tool lifespan.
- Locator Compatibility: If you plan to locate underground pipes, choose a camera system that supports locators or sondes.
Recommended Brands and Models
Some respected names in the market include Ridgid, Milwaukee, Depstech (for budget-friendly options), and Minicam. Always check user reviews, warranty terms, and local service support before purchasing.
Preparation: Setting Up for a Successful Inspection
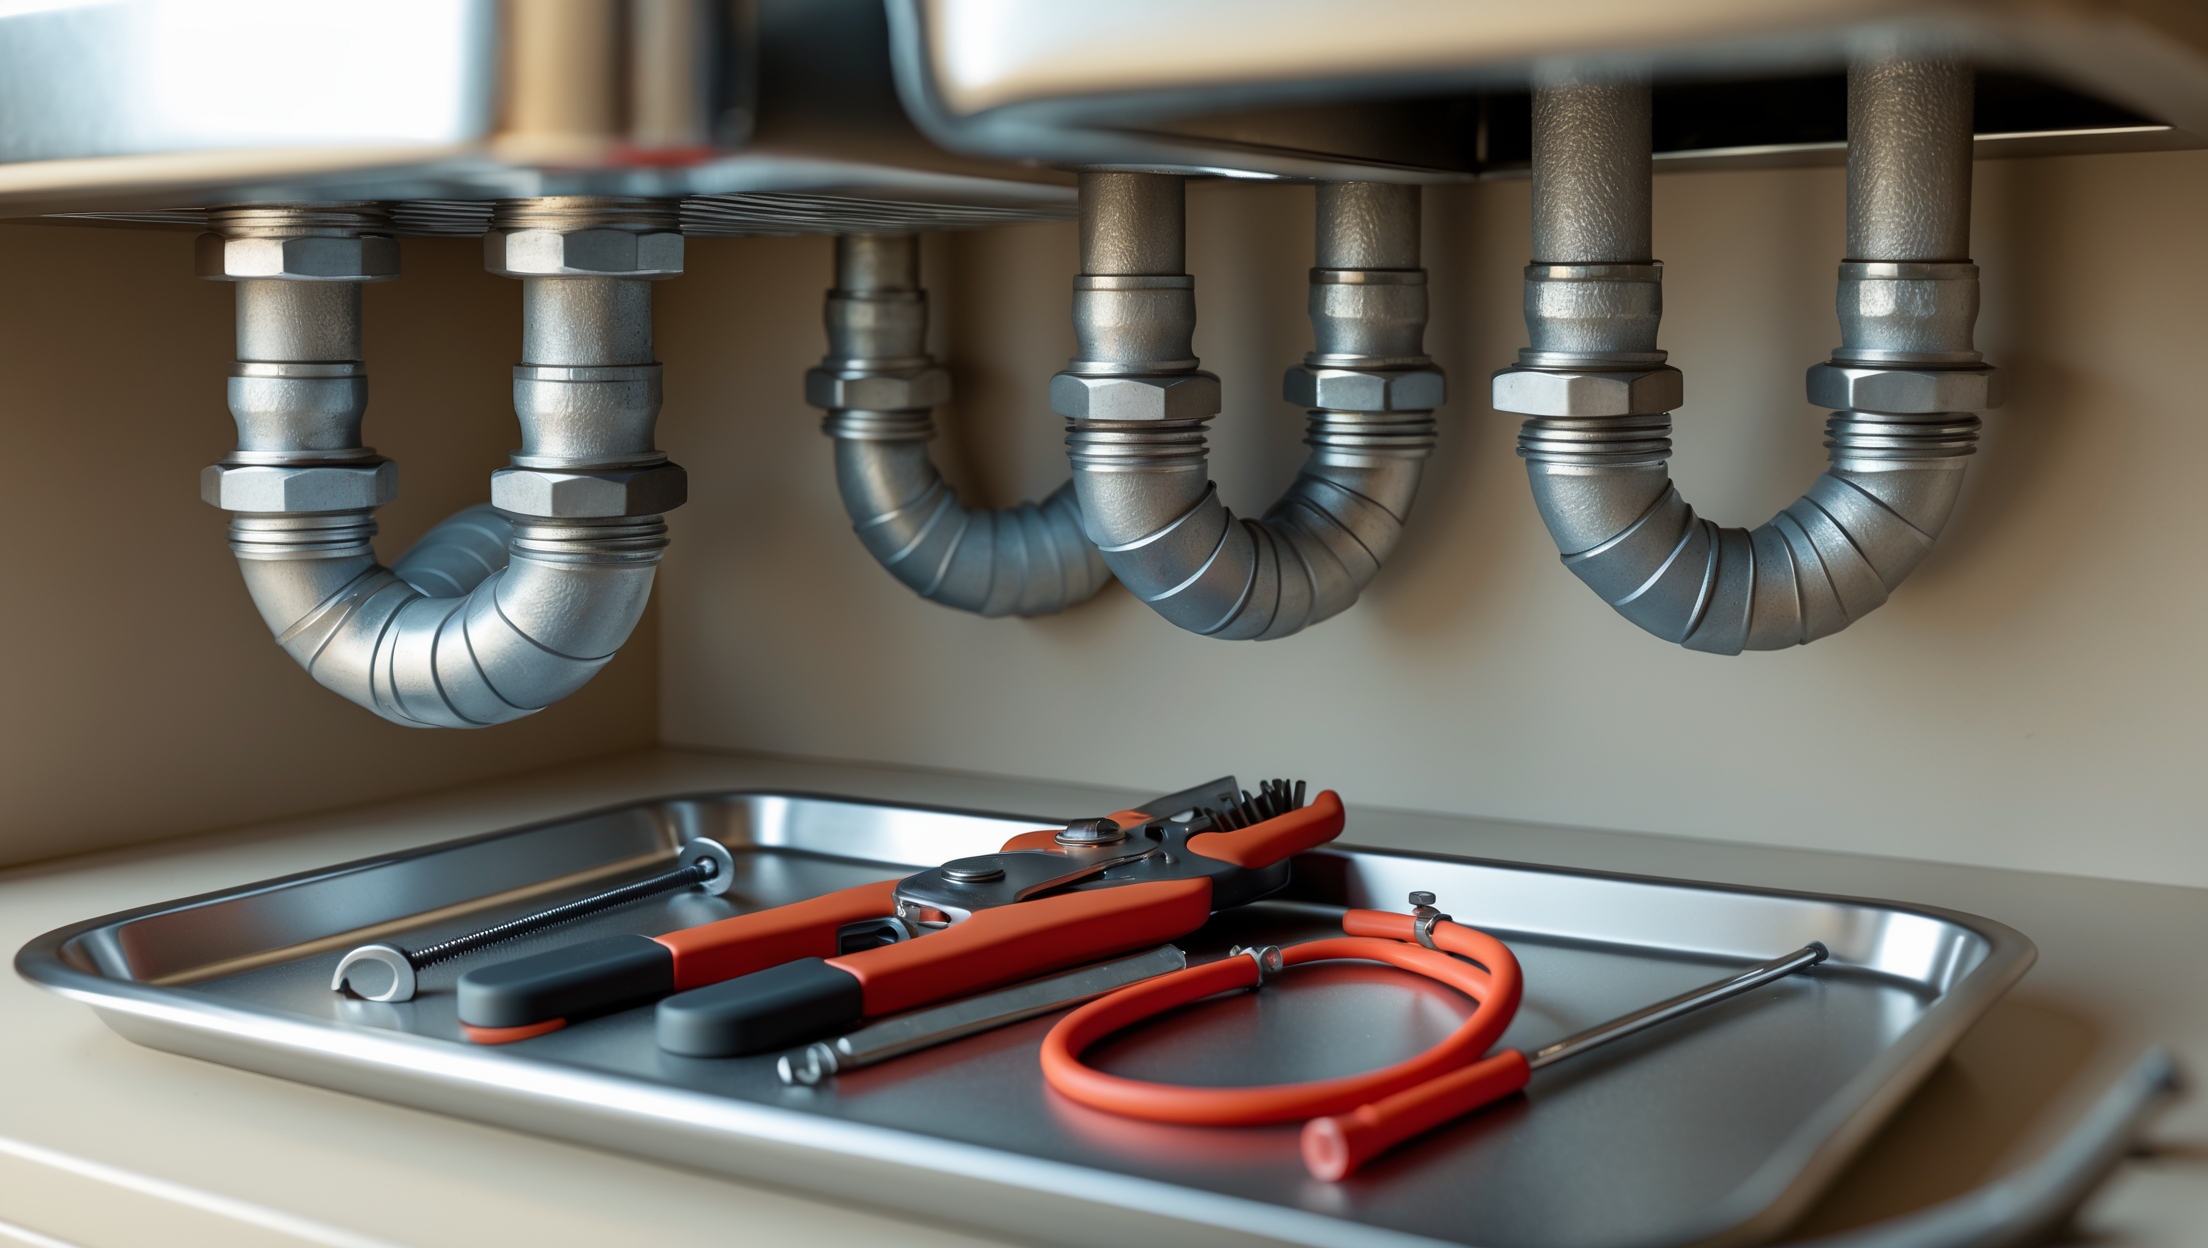
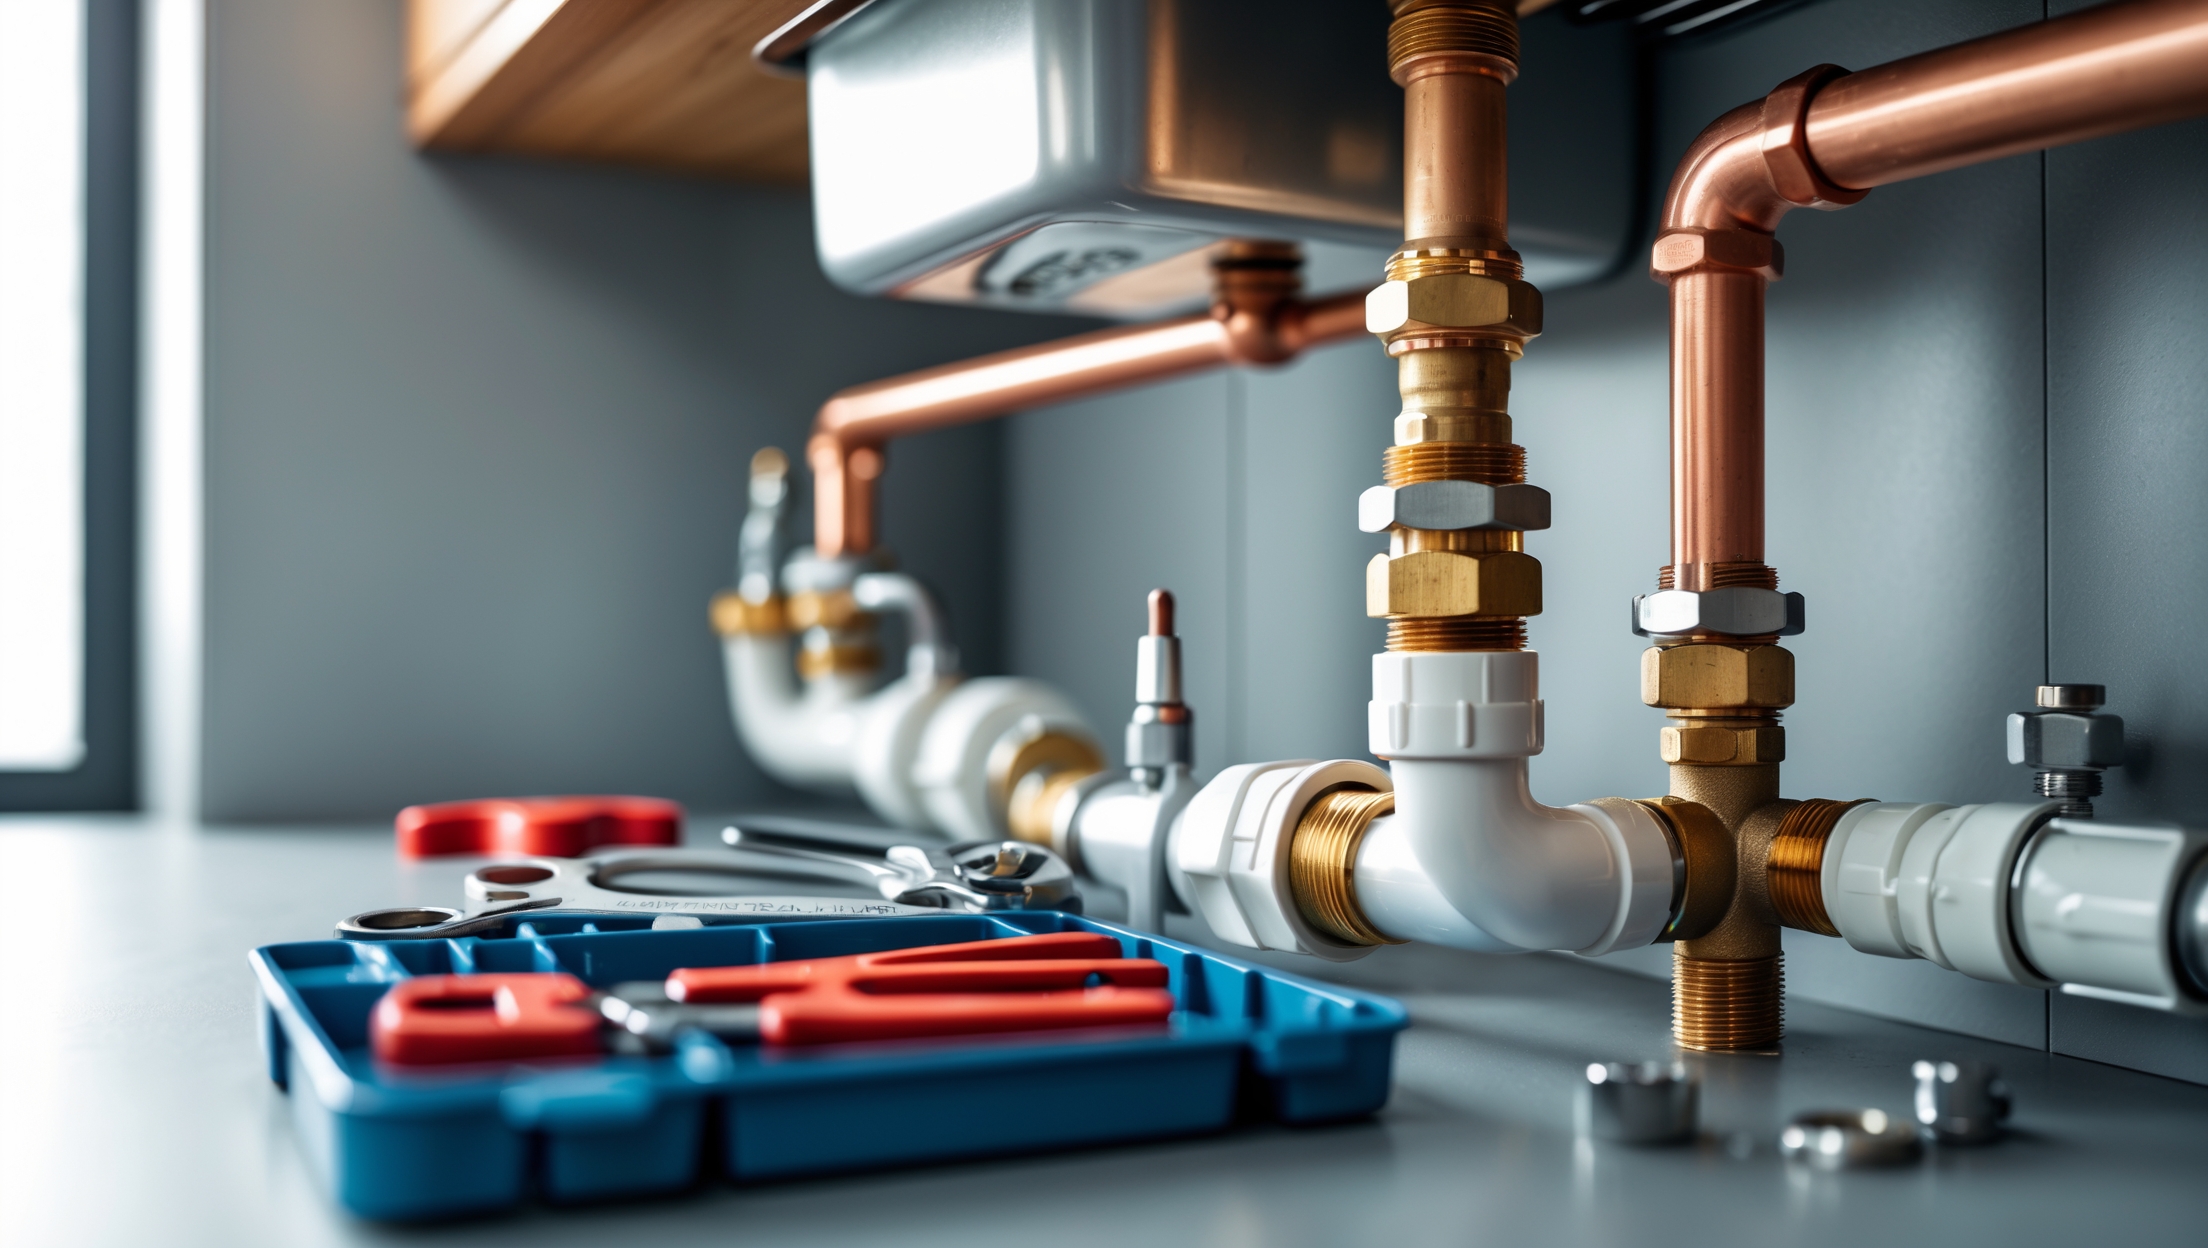
Gathering Tools and Safety Equipment
- Inspection camera with charged batteries and spare memory card
- Gloves (nitrile or latex) for hygiene
- Eye protection (in case of debris or splashes)
- Pipe access tools: adjustable wrench, pipe wrench, or pliers
- Clean towels and bucket (for any residual water in pipes)
- Flashlight for initial pipe entry check
Pre-Inspection Steps
- Clear the Area: Remove any obstructions or stored items near the access point.
- Ventilate: Open windows or doors for airflow, especially in basements or crawlspaces.
- Test the Camera: Power on, check video feed, ensure lights and controls work.
- Sanitize the Camera Head: Wipe with disinfectant before and after each use.
Step-by-Step Guide: Using Your Inspection Camera
1. Access the Pipe or Drain
- Remove the drain cover, cleanout cap, or trap as needed.
- If water is present, bail out excess to improve visibility.
2. Insert the Camera Carefully
- Gently feed the camera head into the pipe, avoiding sharp bends or forcing it past obstructions.
- Maintain a slow, steady pace to prevent cable kinks and ensure thorough inspection.
- Watch the display for visual feedback; adjust brightness as needed.
3. Navigate Bends and Junctions
- If resistance is felt, gently wiggle or rotate the cable to navigate corners.
- For branch lines, use articulating camera features if available.
4. Document Findings
- Use the recording function or take snapshots of problem areas: cracks, clogs, roots, or corrosion.
- Note the approximate depth or distance from the access point using cable markings or on-screen counters.
5. Retract and Inspect the Camera
- Slowly pull the cable back, watching for debris or signs of snagging.
- Wipe the cable and camera head clean as you retract.
6. Review and Interpret the Footage
- Examine all images and videos, looking for discoloration (rust, buildup), cracks, or foreign objects.
- If using a locator, record the surface location and depth of issues for targeted repairs.
Interpreting What You See: Common Findings and What They Mean
Clogs and Blockages
Appear as solid masses or accumulations narrowing the pipe. Grease, hair, soap scum, and foreign objects are common culprits. Identify the material and location to select the best clearing method.
Cracks and Fractures
Hairline or jagged lines in the pipe wall may indicate structural failure. Small cracks can worsen over time, leading to leaks or collapses.
Corrosion and Rust
Orange, brown, or greenish buildup signals rust or copper corrosion. Corroded pipes may require replacement to prevent water quality issues and leaks.
Root Intrusions
Roots appear as fine tendrils or thick mats entering through pipe joints. These must be removed and the breach sealed to prevent recurring blockages.
Pipe Separations and Bellies
Offsets (misaligned joints) or sags (bellies) cause waste to collect and slow drainage. Significant misalignments may require excavation and repair.
Lost Items
Metallic or plastic objects appear distinct from pipe materials. Mark their location for targeted retrieval.
Advanced Techniques: Locating and Mapping Problems
Using a Sonde Locator
Many professional cameras have a built-in sonde—a small transmitter in the camera head. A surface receiver tracks the sonde’s signal, pinpointing the camera’s exact location and depth. This is invaluable for:
- Locating underground leaks or breaks without unnecessary digging
- Mapping pipe routes under slabs or landscapes
- Planning precise, minimally invasive repairs
Mapping Pipe Layouts
As you advance the camera, use cable markings and locator readings to sketch your pipe system. This record helps with future troubleshooting and renovations.
Maintenance Best Practices: Protecting Your Camera Investment
Cleaning and Disinfecting
- Wipe the camera head and cable with disinfectant after every use to prevent cross-contamination.
- Use a soft brush to remove stubborn debris.
- Dry thoroughly before storage to prevent corrosion.
Storage
- Coil cables loosely—avoid sharp bends, kinks, or tangling.
- Keep in a padded, waterproof case away from direct sunlight or extreme temperatures.
- Store batteries separately if not used for extended periods.
Routine Inspections
- Check for cuts or damage to the cable sheath before and after every use.
- Inspect the camera lens for scratches or fogging; clean gently with lens wipes.
- Test lights and controls monthly, even when not in regular use.
Battery Maintenance
- Recharge batteries fully before storage.
- Replace rechargeable cells every 2–3 years, or as recommended by the manufacturer.
Annual Professional Service
For pro-grade cameras, consider annual calibration, connector checks, and waterproofing tests by an authorized service provider.
Common Troubleshooting: When Your Camera Isn’t Cooperating
Blurry or Distorted Images
- Clean the lens and check for condensation.
- Inspect for cracked or scratched lenses; replace if needed.
- Adjust focus if your model allows.
No Video Feed
- Check battery charge and cable connections.
- Test with a different display or cable if possible.
Camera Stuck in Pipe
- Gently reverse and rotate the cable to free snags.
- Never yank or force the cable; severe jams may require pipe disassembly.
Foggy Lens
- Allow the camera to acclimatize to room temperature before use to prevent condensation.
- Use anti-fog wipes on the lens.
When to Call a Professional
Inspection cameras democratize access to pipe diagnostics, but not every situation is DIY-friendly. Call a licensed plumber if you discover:
- Major pipe cracks, collapses, or root intrusions
- Persistent or recurring blockages you can’t clear
- Sewer gas odors or water pooling around foundations
- Complicated pipe layouts or inaccessible cleanouts
Professionals have specialized equipment, advanced locators, and the skills to perform repairs safely and to code.
Conclusion: Make Smart, Informed Plumbing Decisions
Plumbing inspection cameras have transformed how homeowners, property managers, and professionals detect and solve hidden piping problems. By investing in the right camera, mastering its use, and maintaining it well, you gain a powerful tool that saves time, money, and unnecessary disruption. From diagnosing that mysterious clog to documenting pipe conditions before a major renovation, inspection cameras put you in control—armed with real evidence, not guesswork.
Remember to select a camera that matches your needs in cable length, camera size, and features. Practice careful, methodical inspections and keep a record of your findings for future reference or to share with your plumber. Treat your camera as a precision instrument: clean it after each use, store it properly, and perform regular checks to ensure it’s always ready for action.
While these devices open up a new world of DIY diagnostics, never hesitate to call in a professional for complex or hazardous situations. Used wisely, your inspection camera is more than a gadget—it’s your window into the hidden health of your home’s most vital systems. With knowledge, the right gear, and a little curiosity, you’ll catch small problems before they become big headaches—and keep your plumbing running smoothly year after year.


Richard Hernandez
How often do these inspection cameras need to be cleaned or maintained to keep them working well, especially if they’re being used in greasy kitchen drains or old pipes?