
Introduction: Why Install a Water Pressure Booster Pump?
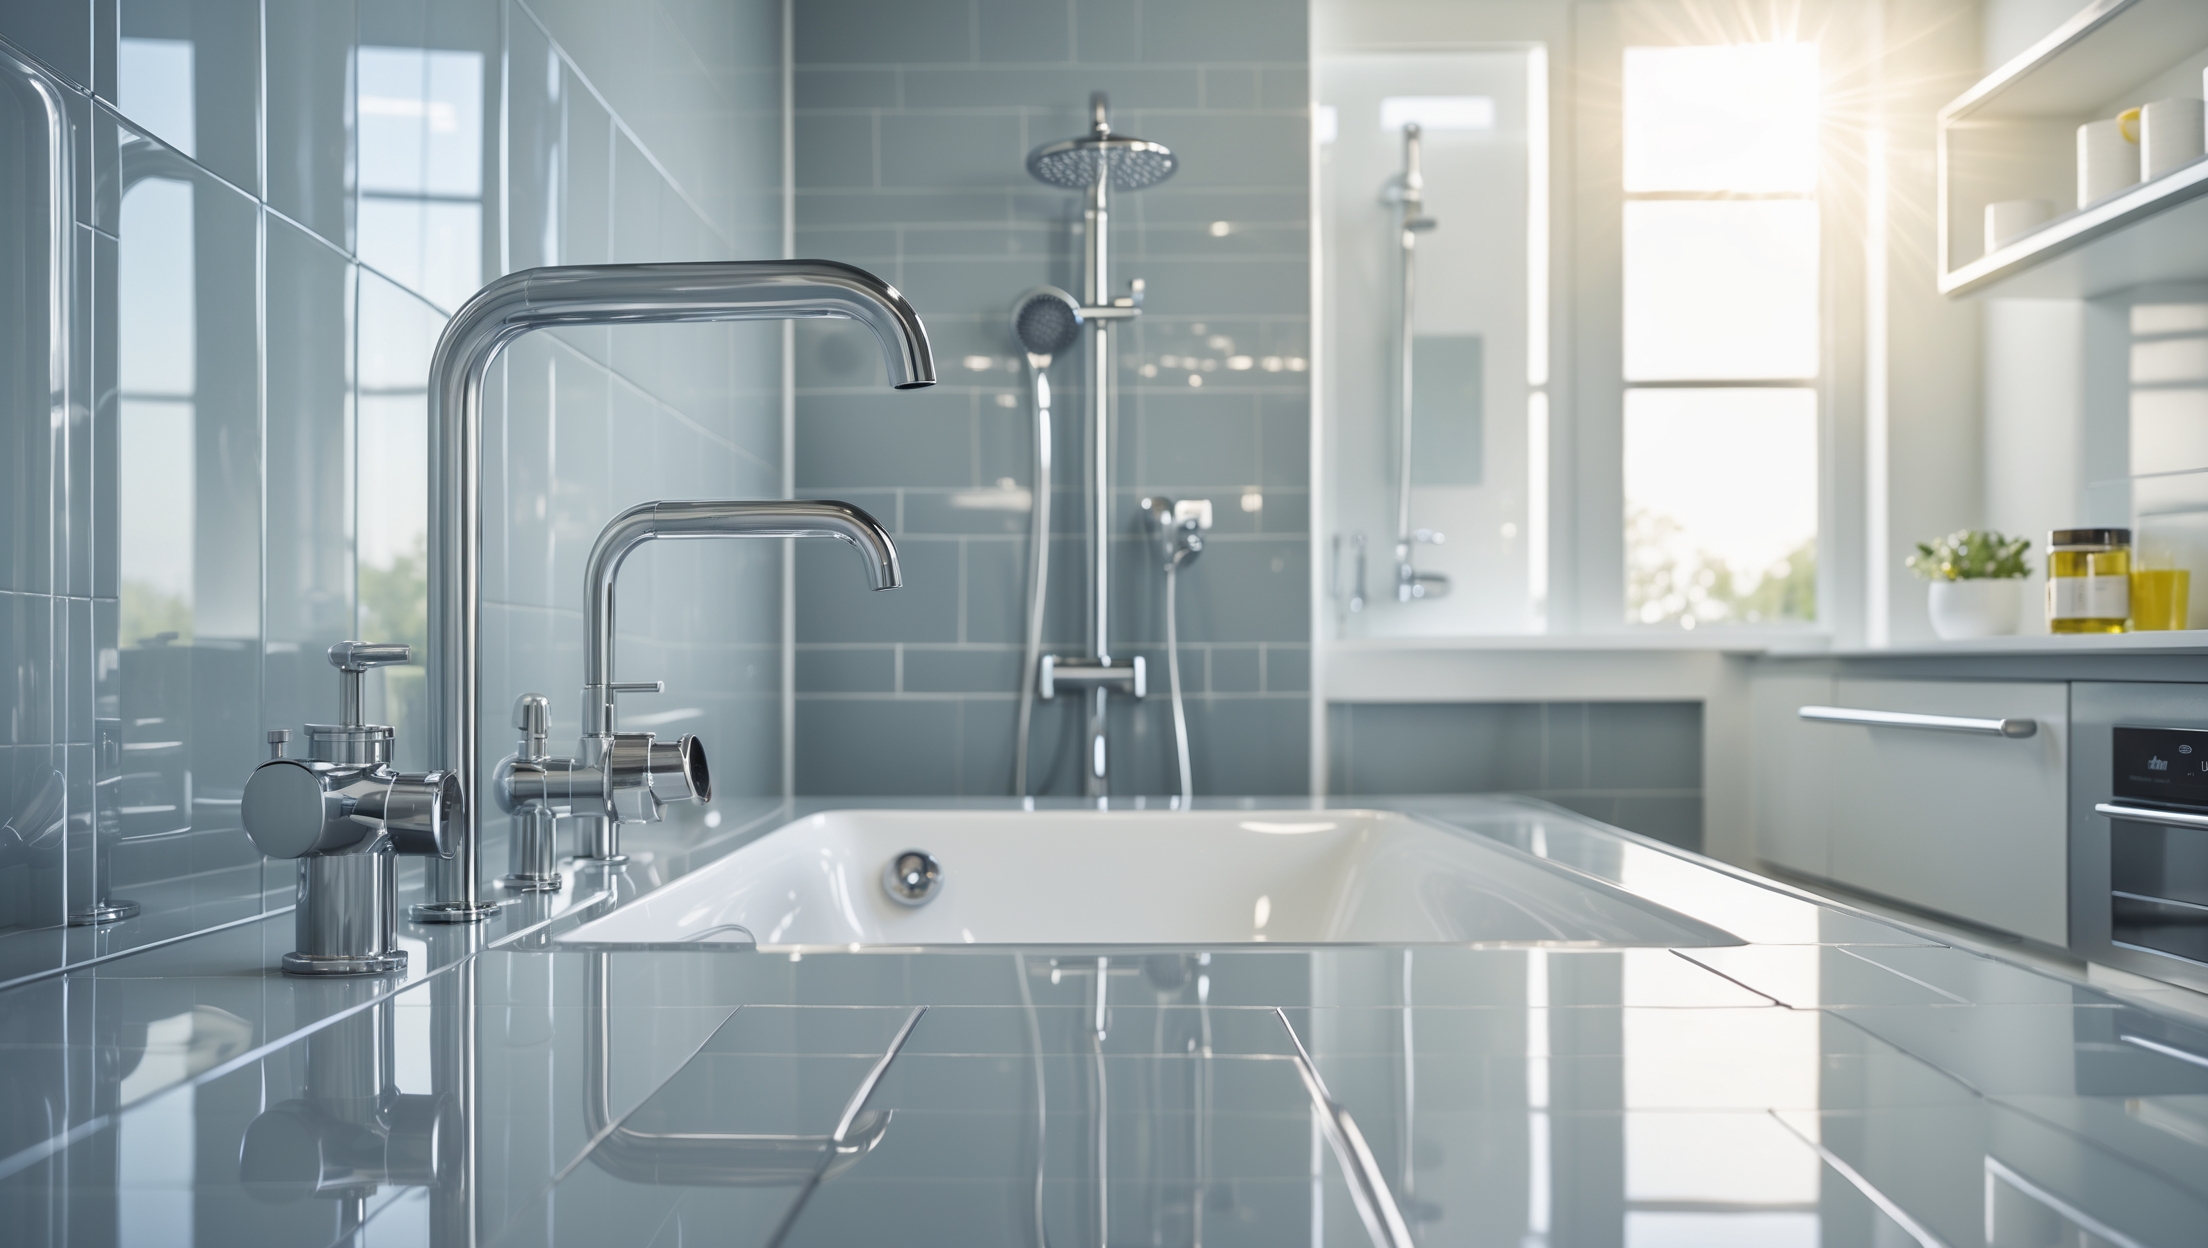
If you’ve ever experienced the frustration of a weak shower spray, sluggish filling washing machines, or inconsistent flow at your kitchen sink, low water pressure is likely to blame. Many homeowners encounter this problem, especially in multi-story houses, older neighborhoods, or properties positioned at the end of a municipal supply line. While some causes—like hidden leaks or corroded pipes—require different remedies, a water pressure booster pump is often the most effective solution for consistently low pressure affecting the entire home.
Installing a booster pump can seem daunting, but with a clear understanding of the process, the right tools, and a careful approach, you can significantly improve your water flow and daily comfort. This comprehensive guide walks you through everything you need to know: from selecting the right pump and prepping your plumbing, to a safe, code-compliant installation and essential maintenance tips. Whether you’re a seasoned DIYer or a plumbing professional looking to sharpen your skills, you’ll find actionable advice and insights to ensure a successful project.
Understanding Water Pressure Problems
Common Causes of Low Water Pressure
- Municipal supply issues: Low main pressure from the utility company.
- Elevation: Homes above street level or on hills often have weaker pressure.
- Old or narrow pipes: Corrosion and scale buildup restrict flow.
- Shared supply lines: Multiple homes on one line can reduce pressure.
Before installing a booster pump, rule out other issues like leaks, clogged aerators, or partially closed shut-off valves. Addressing those first is crucial for safety and efficiency.
How a Booster Pump Works
A water pressure booster pump increases the pressure and flow rate of water entering your home’s plumbing system. The pump draws water from the supply line, accelerates it with an impeller, and pushes it through to your fixtures at a higher pressure. Many systems also include a pressure tank, which reduces pump cycling and maintains steady flow.
Choosing the Right Booster Pump
Key Selection Criteria
- Flow Rate (GPM): Match the pump’s capacity to your household’s peak demand. For a typical home, 10–12 GPM is sufficient.
- Pressure Boost (PSI): Determine how much increase you need. Most residential pumps offer 30–50 PSI boost.
- Type: Options include single-stage or multi-stage, and with or without an integrated tank.
- Noise Level: Check decibel ratings if installing near living spaces.
- Compatibility: Ensure the pump is rated for potable (drinking) water and your pipe size.
Popular Models and Features
- Grundfos MQ Series: Compact with integrated control and tank, ideal for residential use.
- DAB E.sybox Mini: Variable speed, energy-efficient, and very quiet.
- Zodiac Javelin: Durable, stainless steel construction for longevity.
Always consult manufacturer specs and, if in doubt, discuss your needs with a supplier or plumber.
Planning Your Installation
Location and Access
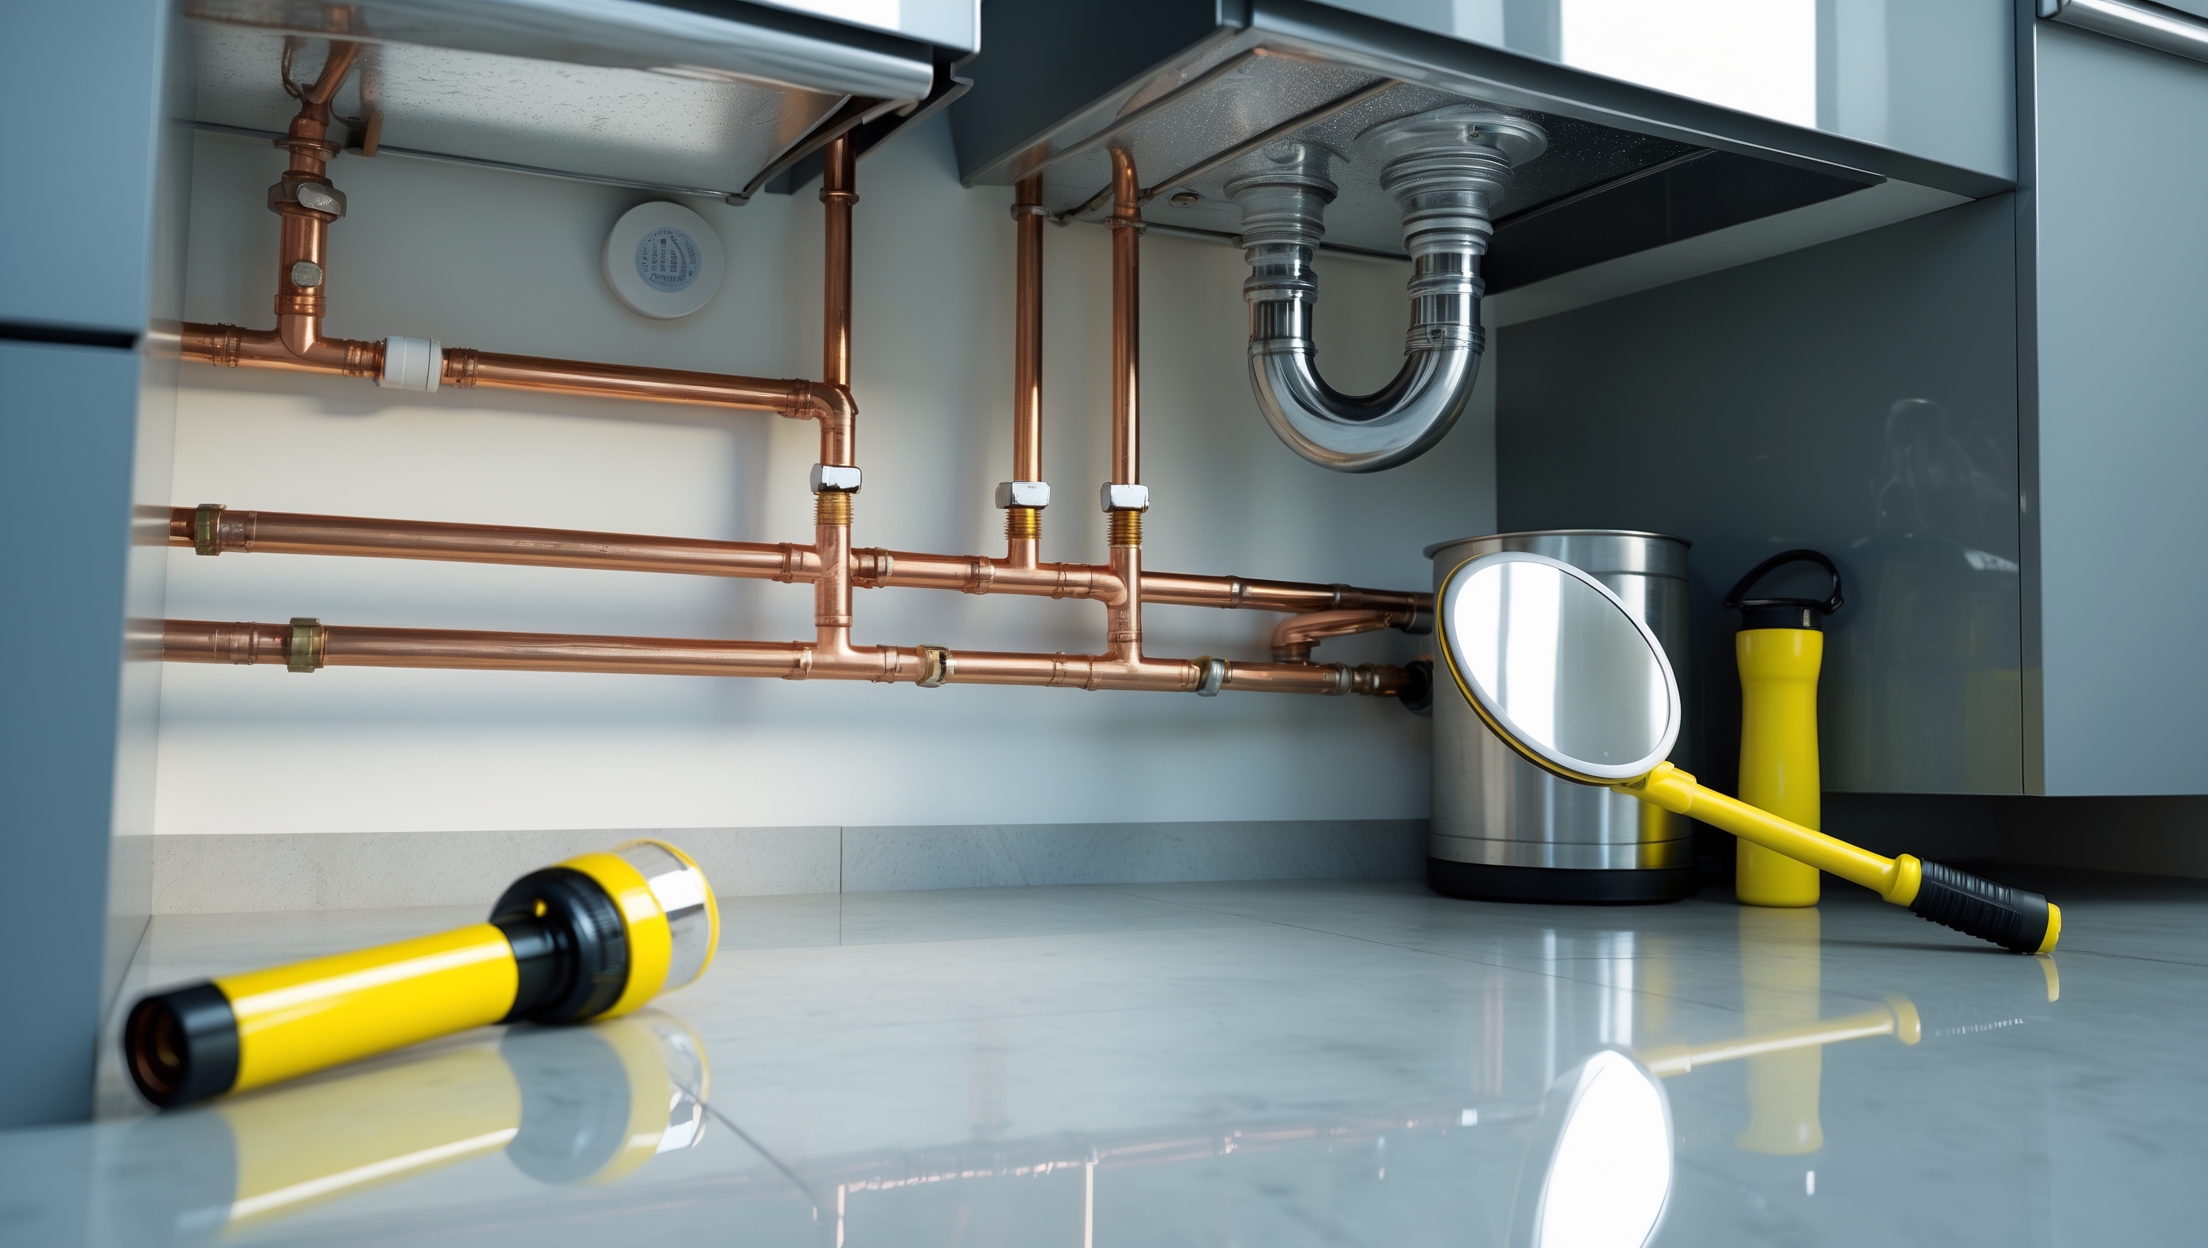
- Near Main Supply: Install after the main shut-off valve but before the water heater or branches.
- Dry and Level Surface: Basements or utility closets are ideal.
- Electrical Outlet: Pumps typically require a grounded 120V or 240V outlet nearby.
- Drainage: If the pump or tank leaks, water should flow safely to a floor drain.
Permits and Compliance
- Check local plumbing codes—some areas require permits for pump installation.
- Backflow prevention devices may be mandated to prevent contamination of the public water supply.
- Electrical work may also be subject to inspection.
Consult your local authority or a licensed plumber before beginning.
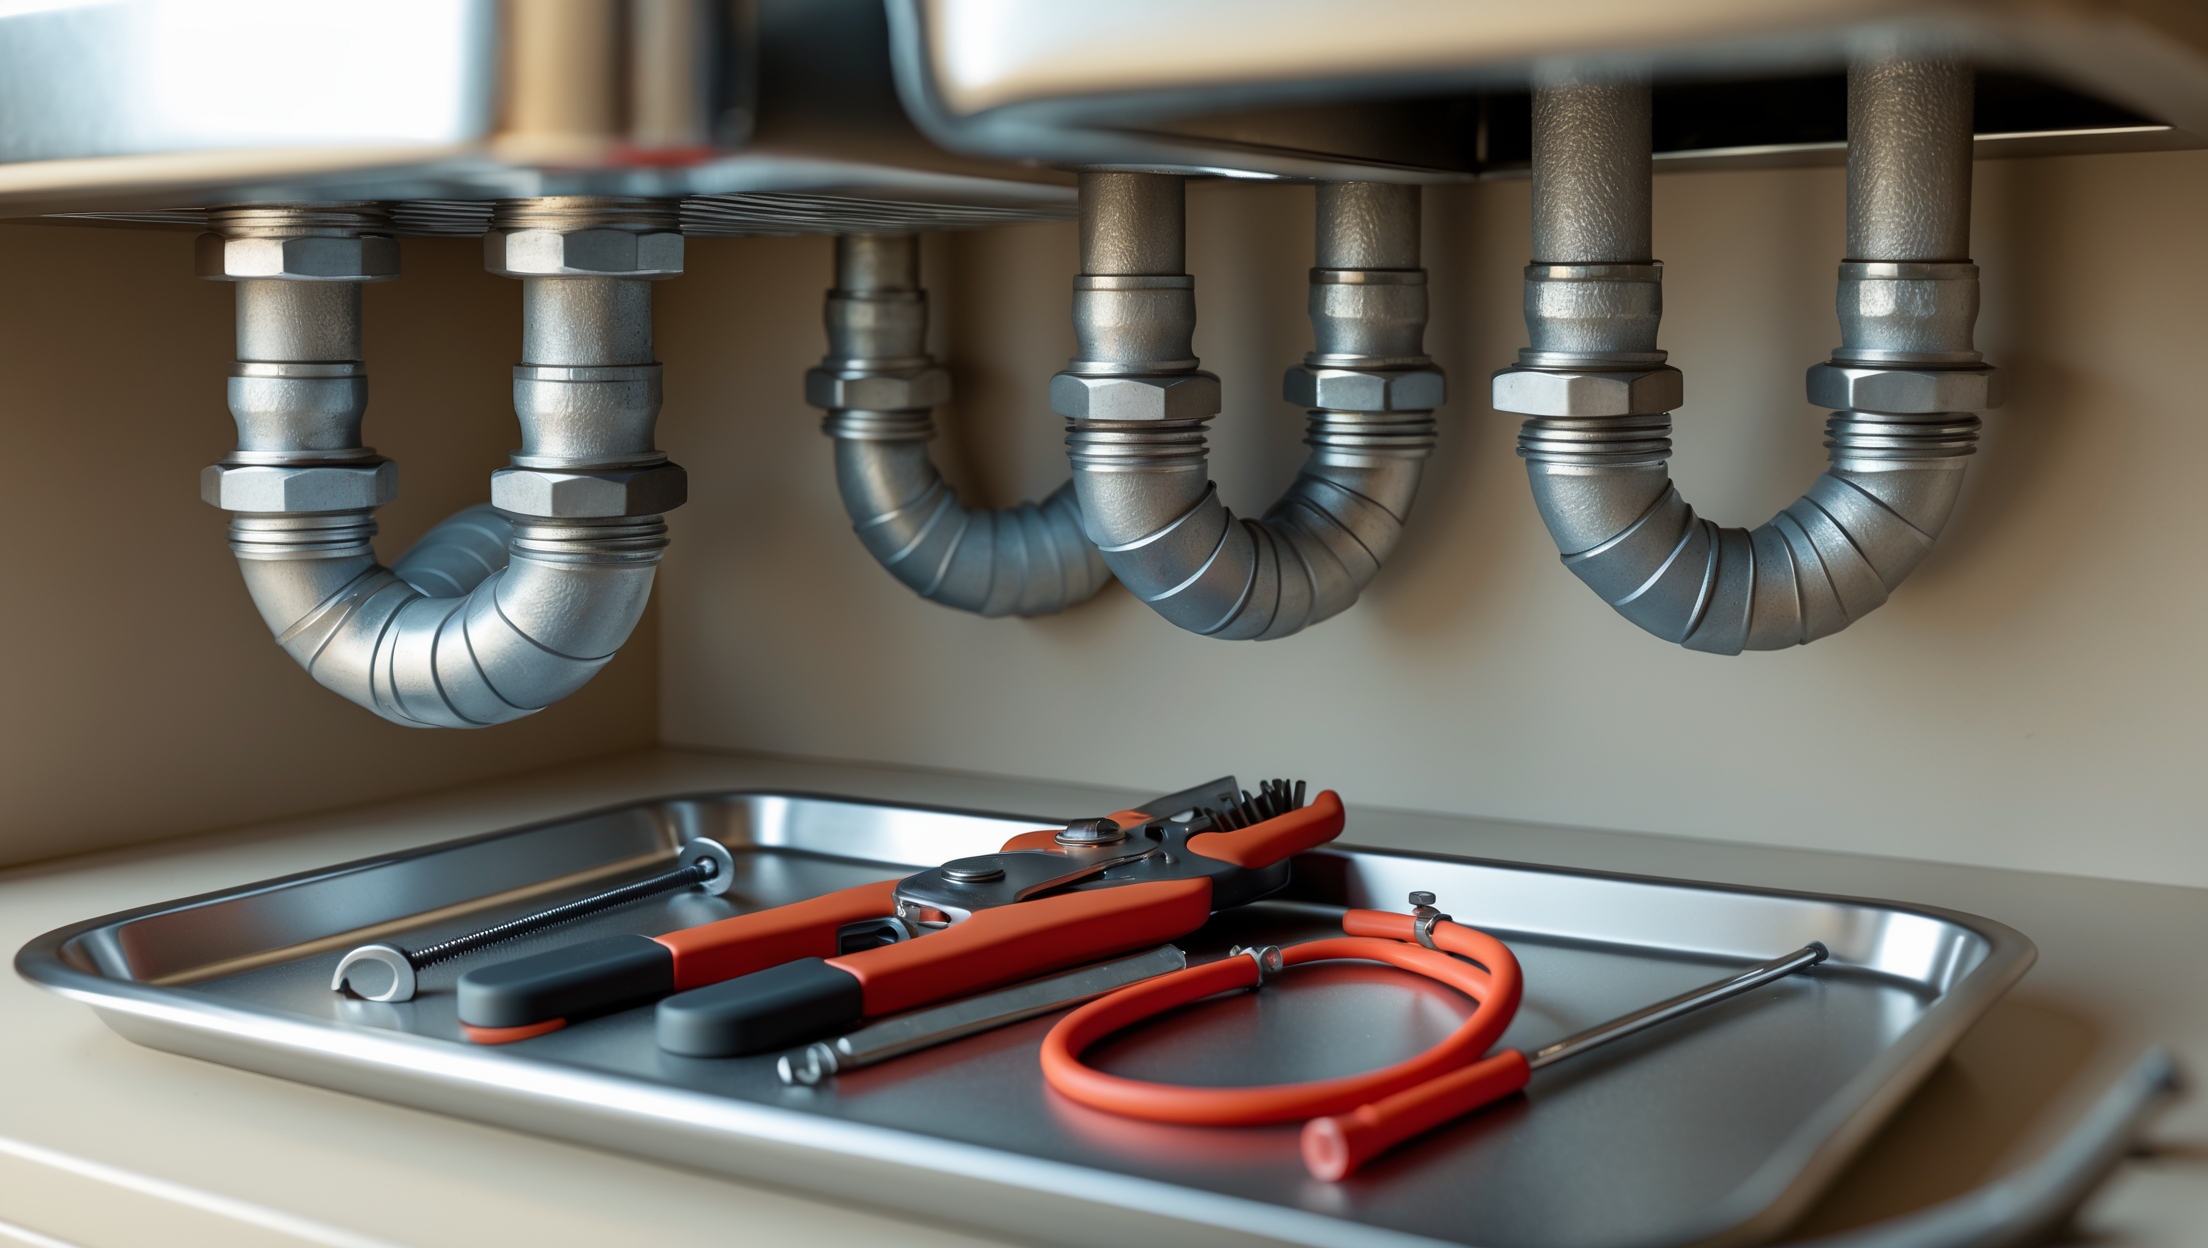
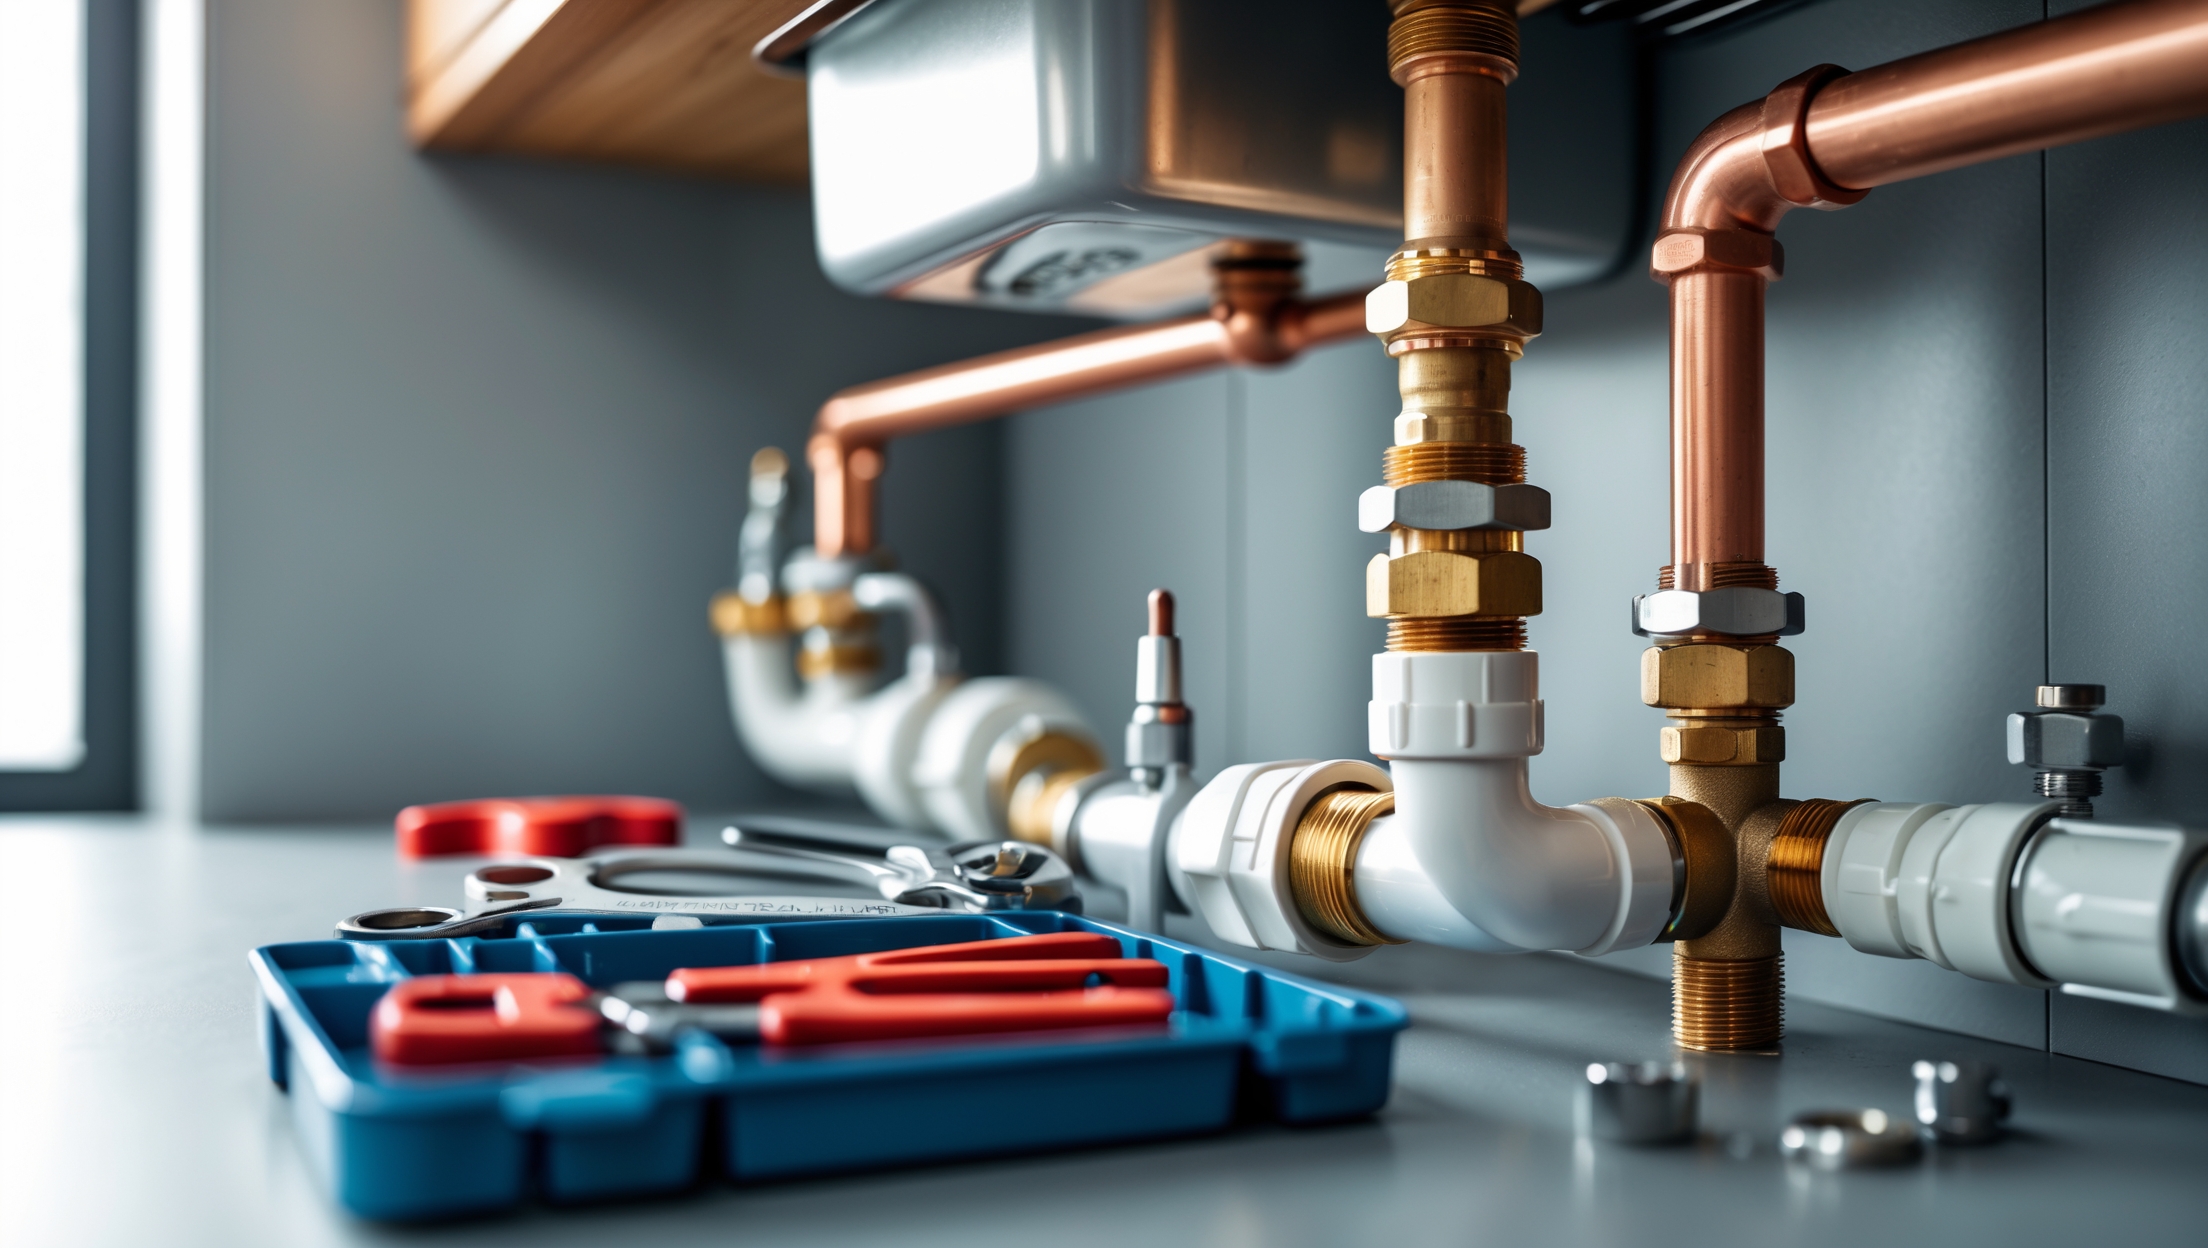
Tools and Materials Checklist
- Water pressure booster pump kit (with tank, if needed)
- PVC or copper pipe, elbows, and couplings (to match your existing system)
- Pipe cutter (for copper or PVC)
- Pipe wrench and adjustable wrench
- PTFE (Teflon) tape
- Thread sealant
- Flexible braided hoses (for vibration isolation)
- Ball valves (for isolation on inlet and outlet)
- Unions (for easy pump removal)
- Pressure gauge (to monitor output)
- Drill and mounting hardware
- Electrical extension cord or hardwired connection (if required by local code)
- Bucket and towels (for water spillage)
- Permanent marker and measuring tape
Step-By-Step Installation Process
1. Prepare the Work Area
- Shut off the main water supply and drain residual water by opening the lowest faucet in the house.
- Clear the installation area of debris and ensure it’s dry and accessible.
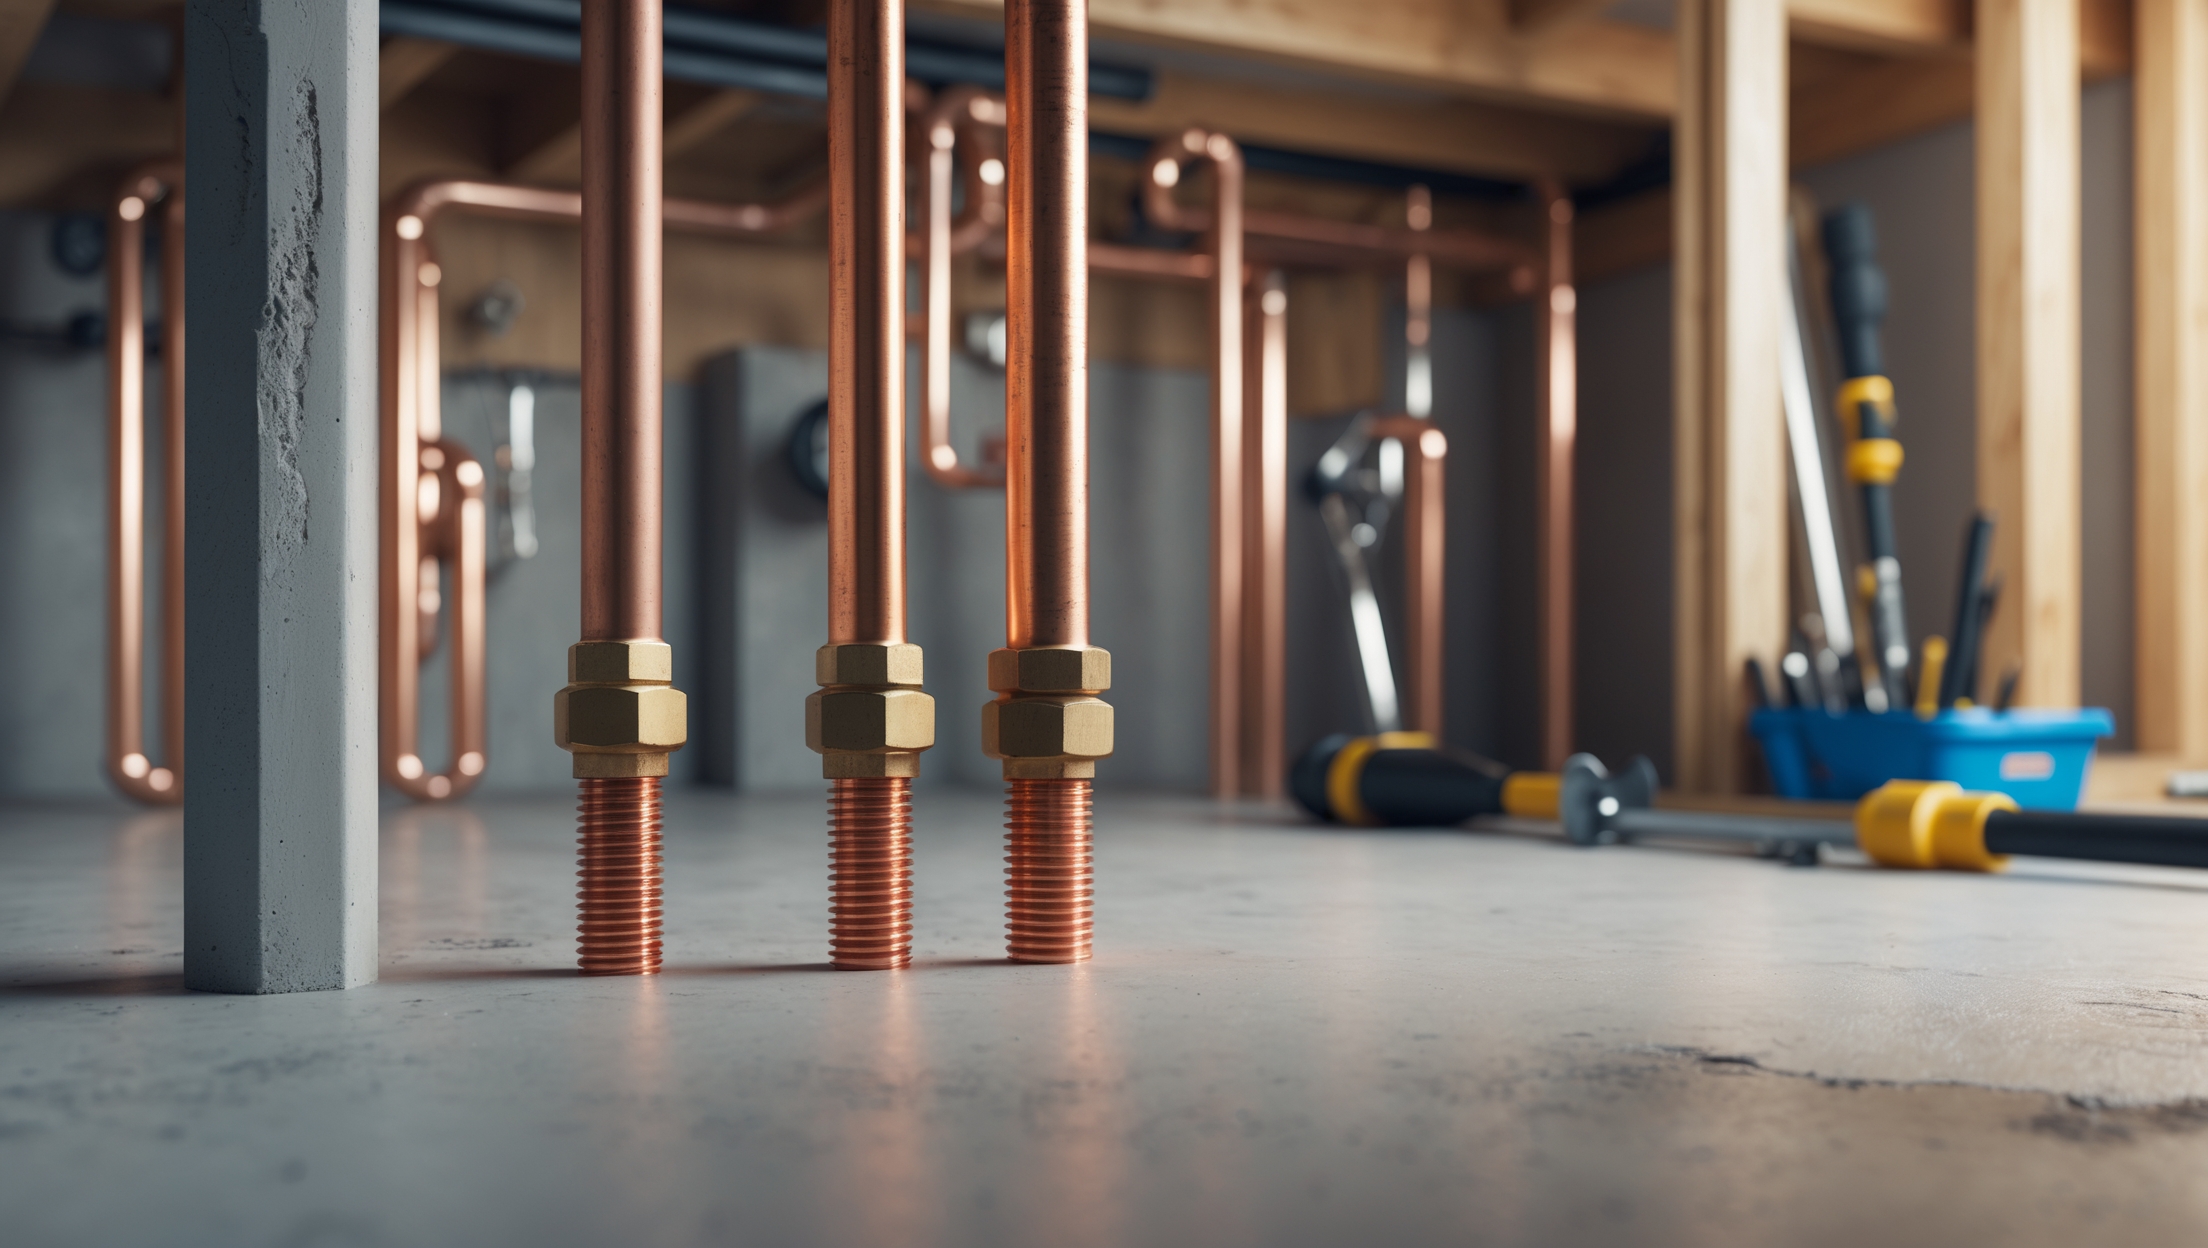
2. Mark and Cut Into the Main Line
- Identify the section of pipe after your main shut-off valve but before any branches or the water heater.
- Mark the pipe where you’ll connect the pump, allowing space for isolation valves and unions.
- Use a pipe cutter to remove the marked section. Have a bucket ready—some water may drain out.
3. Install Isolation Valves and Unions
- Attach a ball valve to both the inlet and outlet sides using PTFE tape or thread sealant.
- Install unions on both sides for easy removal and maintenance of the pump.
4. Mount the Pump and Connect Pipes
- Secure the pump to the floor or wall using the manufacturer’s hardware.
- Connect flexible hoses to the pump inlets and outlets. This helps minimize vibration and noise.
- Connect the hoses to your pre-installed valves and unions.
- Tighten all fittings securely, but avoid over-tightening which can damage threads.
5. Connect the Pressure Tank (If Included)
- If your booster kit includes a pressure tank, mount and connect it per the manufacturer’s instructions. The tank should be close to the pump and level.
- Check that tank pre-charge matches your desired pressure setting (usually 2 PSI below cut-in pressure).
6. Wire the Pump
- Plug the pump into a grounded outlet, or hardwire it according to local code. If unsure, consult an electrician.
- Ensure the cord is clear of water and not a tripping hazard.
7. Test for Leaks and Set Pressure
- Close all isolation valves, then slowly open the main water supply.
- Gradually open the inlet and outlet valves to fill the system.
- Check all joints and fittings for leaks. Tighten as needed.
- Open a faucet and power on the pump. Observe the pressure gauge and test multiple fixtures.
- Adjust the pump’s pressure settings as recommended in the user manual.
8. Final Checks and Safety
- Secure all wires and hoses away from walkways.
- Label the pump shut-off switch and isolation valves for future reference.
- Document installation details for warranty and future servicing.
Maintenance Best Practices
Routine Inspections
- Check for leaks around fittings and the pressure tank every 3–6 months.
- Listen for unusual noises—whining or rattling can indicate worn bearings or air in the system.
- Monitor the pressure gauge for unexpected drops or surges.
Cleaning and Servicing
- Clean pump inlet strainers as recommended (usually annually) to prevent clogging.
- If your pump has a filter, replace or clean it per the schedule in the manual.
- Flush the pressure tank to remove sediment if required.
Troubleshooting Common Issues
- Pump won’t start: Check power supply, circuit breaker, and pressure switch.
- Pump cycles too often: Pressure tank may be waterlogged or too small.
- Noisy operation: Inspect for air leaks, loose mounts, or worn bearings.
- Pressure drops: Look for leaks, clogged filters, or failing check valves.
Safety Considerations
- Always turn off water and power before servicing the pump.
- Wear safety glasses and gloves when cutting pipe or handling sealants.
- Follow all electrical codes, especially regarding GFCI outlets and grounding.
- Do not exceed the pump’s rated pressure—this can damage pipes or fixtures.
Cost Breakdown and Budgeting
Estimated Costs
- Pump and Tank Kit: $350–$800 depending on brand and features.
- Plumbing Supplies: $50–$150 for pipe, valves, fittings, hoses.
- Electrical Work: $0–$250 (if an electrician is needed for a new outlet or circuit).
- Permits: $50–$150 depending on your municipality.
- Total DIY Cost: $400–$1,200
- Professional Installation: $700–$2,000 (includes labor and markup)
Choosing quality materials and a reputable pump brand can save you money in the long run by reducing maintenance and replacement costs.
Frequently Asked Questions
- Will a booster pump fix all water pressure problems?
Not always. If you have major leaks, clogged pipes, or problems with your municipal supply, these issues must be addressed separately. - Can I install the pump outdoors?
Most residential pumps are designed for indoor installation. Outdoor setups require weatherproof enclosures and special considerations. - Is a pressure tank necessary?
While some modern pumps operate without a tank, adding one improves consistency and extends pump life by reducing cycles. - Will the pump increase my water bill?
It may slightly increase if you use more water due to improved flow, but the pump itself is energy-efficient and uses minimal electricity.
Conclusion: Enjoy Consistent Water Pressure—Safely and Efficiently
Upgrading your home’s plumbing with a water pressure booster pump is one of the most effective ways to solve the everyday annoyance of weak showers, slow-filling tubs, and underperforming appliances. With the right preparation and attention to detail, this project is well within the reach of skilled homeowners and essential knowledge for plumbing professionals.
Remember, successful installation starts with understanding your own water pressure needs and choosing a pump that matches both your system and local code requirements. Taking the time to plan your layout, gather the correct tools, and follow safety protocols will pay off in reliability and peace of mind. Once installed, regular maintenance—such as inspecting for leaks, cleaning strainers, and monitoring pressure—can keep your system running smoothly for years to come.
If you ever encounter complications beyond the scope of this guide, don’t hesitate to consult a licensed plumber. Plumbing systems are integral to your home’s safety and comfort, and a properly installed booster pump can be a game-changer for daily living. Invest in quality equipment, follow best practices, and enjoy the powerful, consistent water flow you deserve.


Rachel Martinez
For a business open seven days a week, I worry about downtime during installation. On average, how long does it take to fully install a booster pump, and is there a way to minimize disruption to our water service?