
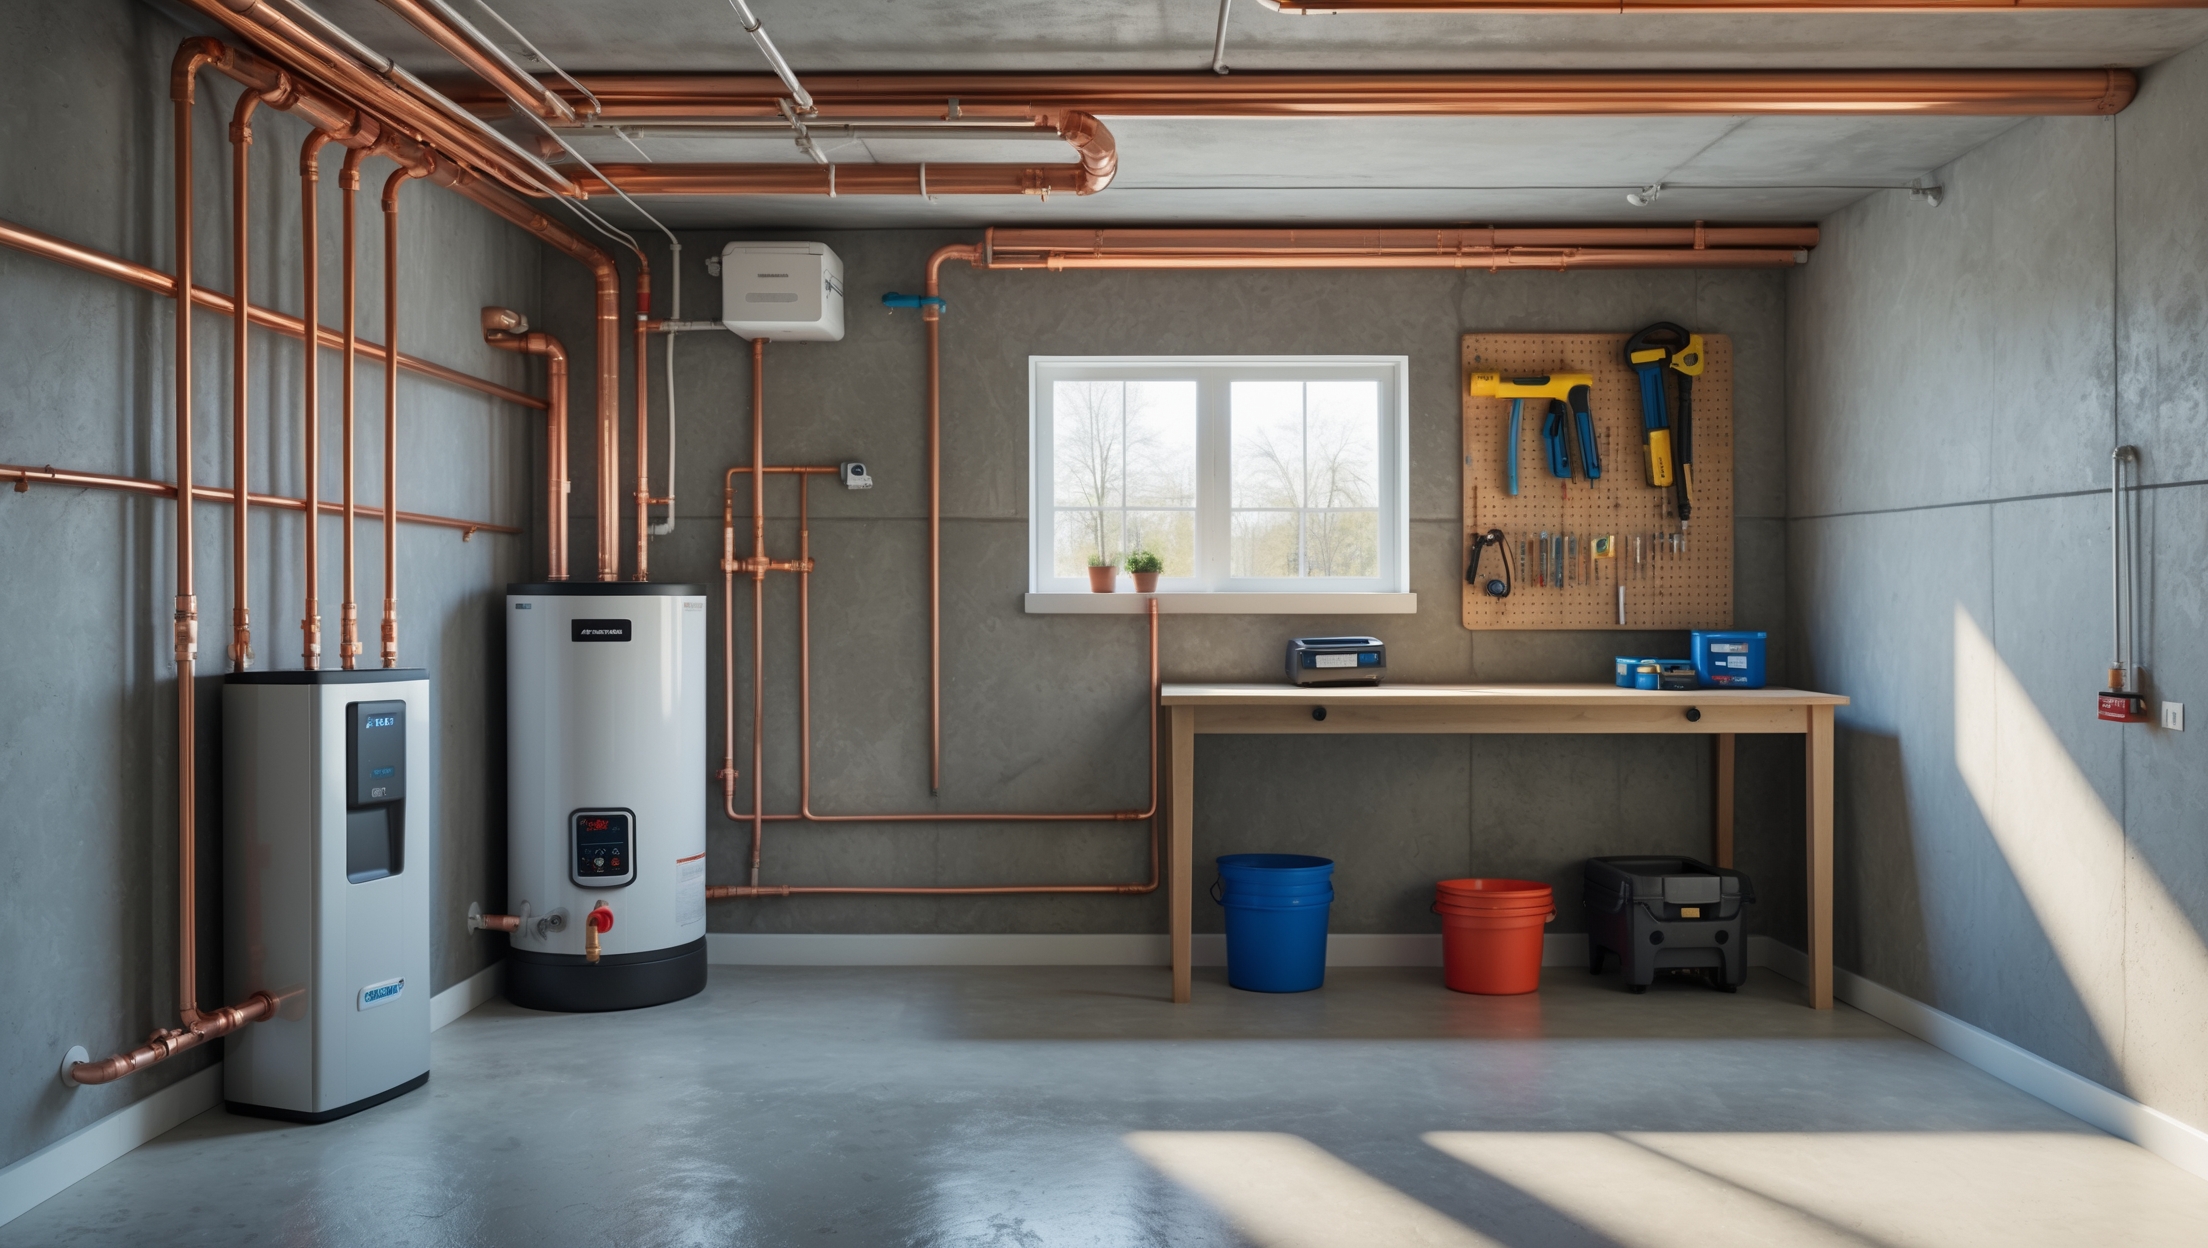
Introduction: Why Spring Plumbing Maintenance Matters
As winter thaws and warmer days approach, homeowners shift their focus to spring cleaning and home tune-ups. But one critical area often overlooked is the plumbing system. After months of freezing temperatures and potential ice buildup, every home’s pipes, fixtures, and appliances deserve a thorough inspection. Spring is the ideal time to spot hidden damage, prevent leaks, and ensure your plumbing system runs efficiently all year. Neglecting these post-winter checks can lead to costly surprises, from burst pipes to water heater failures. This comprehensive checklist is crafted specifically for homeowners who want to tackle spring plumbing maintenance confidently—without missing the details that professionals never skip. Whether you’re a seasoned DIYer or just starting to take charge of your home’s upkeep, following these steps will help you safeguard your property, conserve water, and keep everything flowing smoothly.
1. Exterior Plumbing: Preparing for Rain and Growth
1.1. Inspect Outdoor Faucets and Hose Bibs
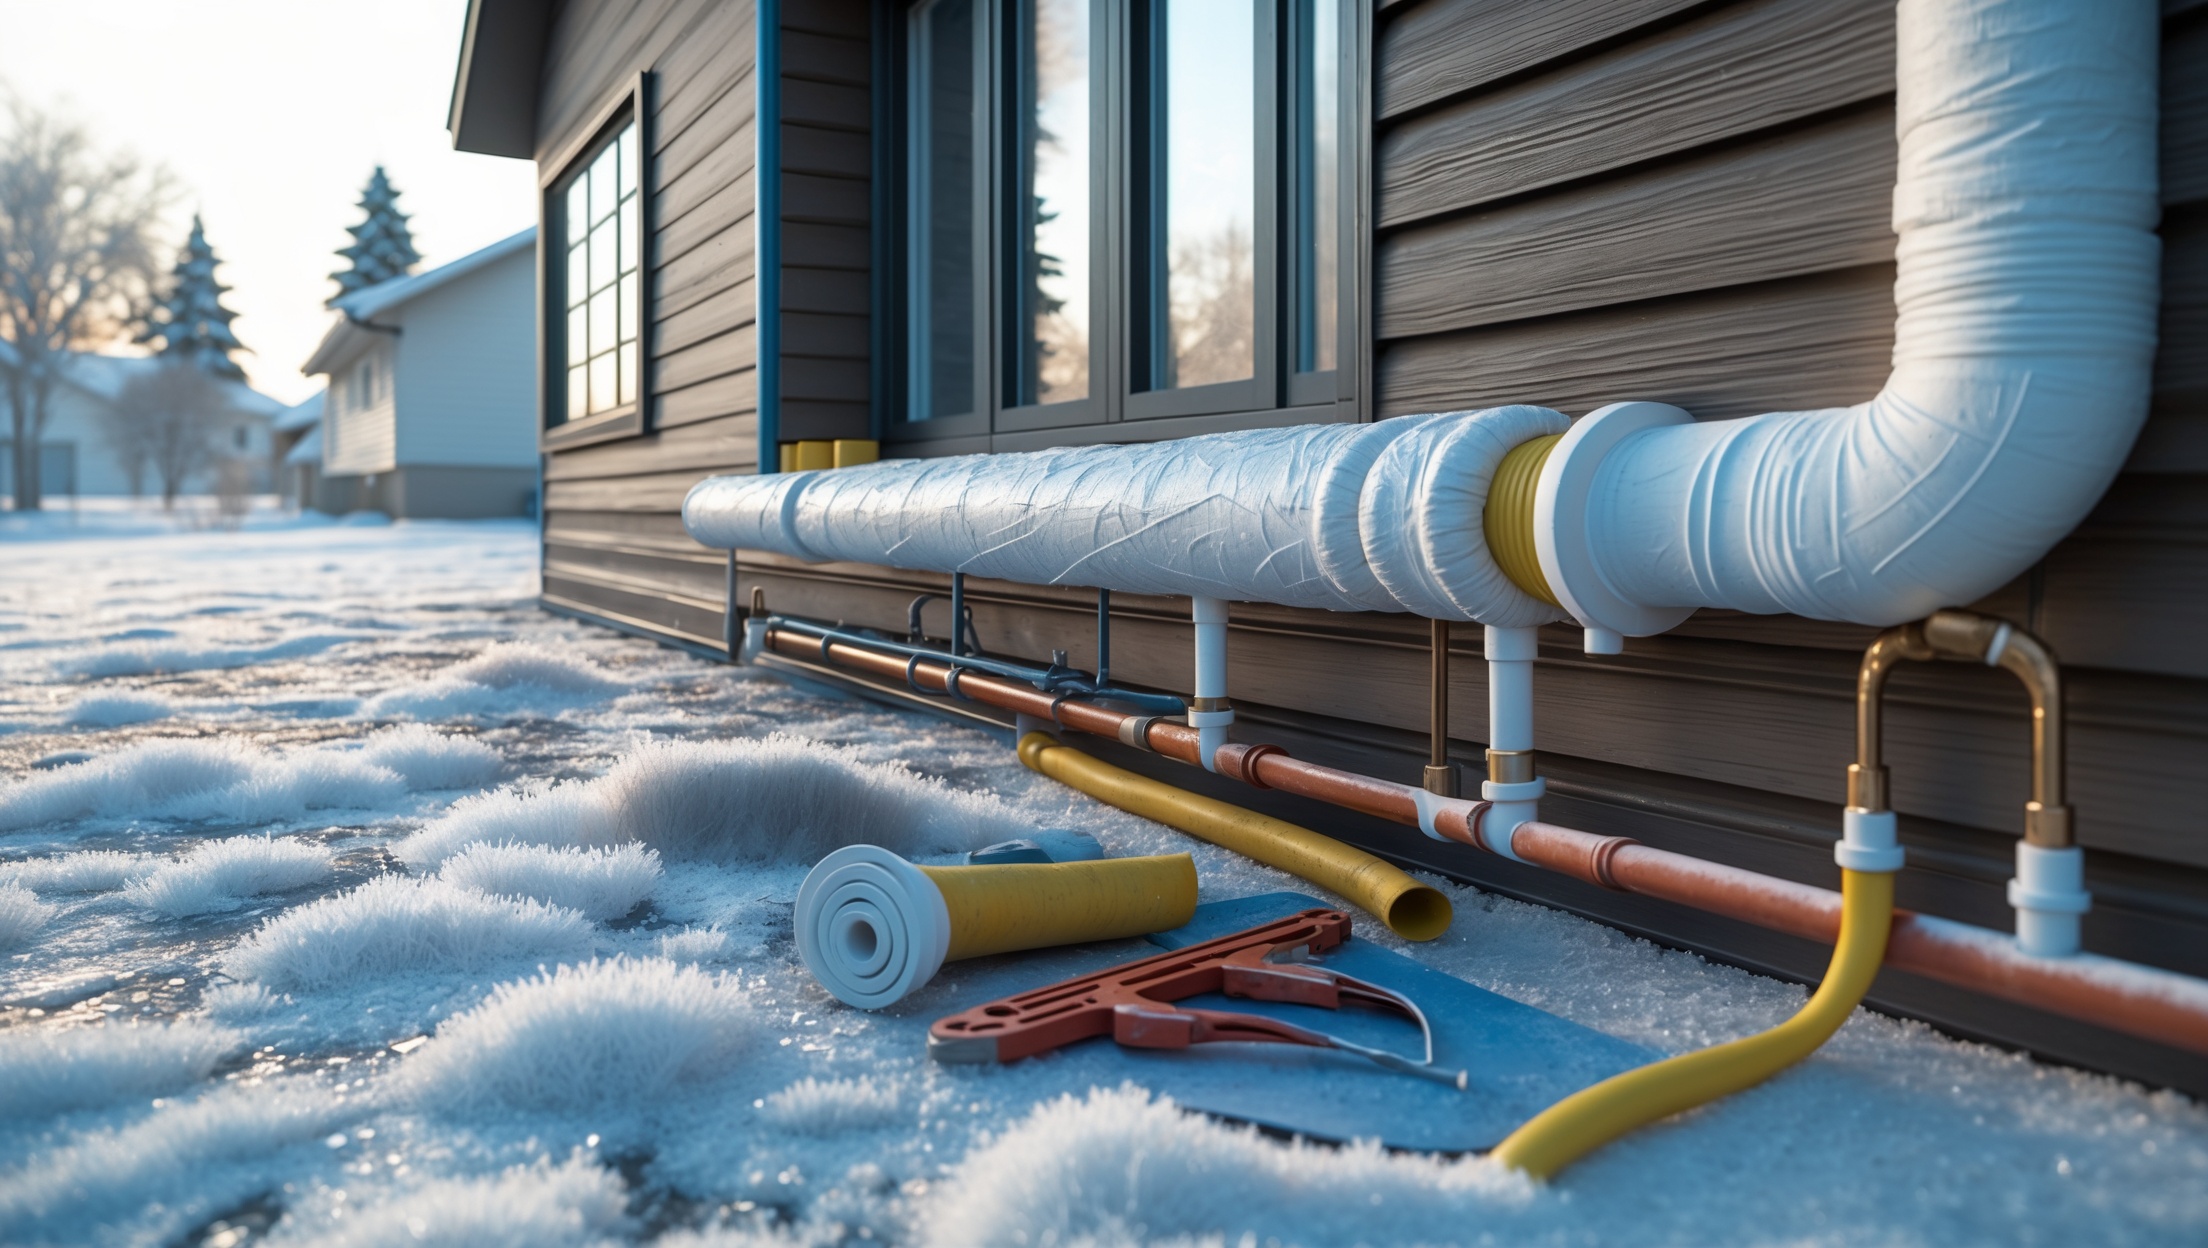
Winter can be tough on outdoor plumbing. Freezing temperatures may cause cracks or leaks that go unnoticed until spring. Begin by turning on each outdoor faucet. Watch for drips, spurts, or low water pressure, which may indicate a split pipe or a loose connection inside the wall.
- Check under the faucet: Look for water pooling or soggy ground, which could signal a hidden leak.
- Test with a hose: Attach a garden hose and run water at full pressure. Inspect the hose bib and connection point for leaks.
- Replace washers and gaskets: If you find dripping, replacing these small components can solve most minor leaks.
1.2. Clean and Check Gutters and Downspouts
Clogged gutters and downspouts can redirect water toward your foundation, increasing the risk of basement leaks or foundation damage.
- Remove leaves, twigs, and debris.
- Ensure downspouts direct water at least three feet away from the house.
- Look for signs of gutter separation or sagging and repair as needed.
1.3. Irrigation and Sprinkler Systems
Before turning on your irrigation or sprinkler system, inspect all lines and heads for visible cracks, leaks, or clogs. Run each zone briefly and check for uneven spray patterns, pooling water, or hissing that may indicate leaks. Replace any damaged sprinkler heads and clean out filters.
2. Interior Plumbing: A Room-by-Room Inspection
2.1. Kitchen
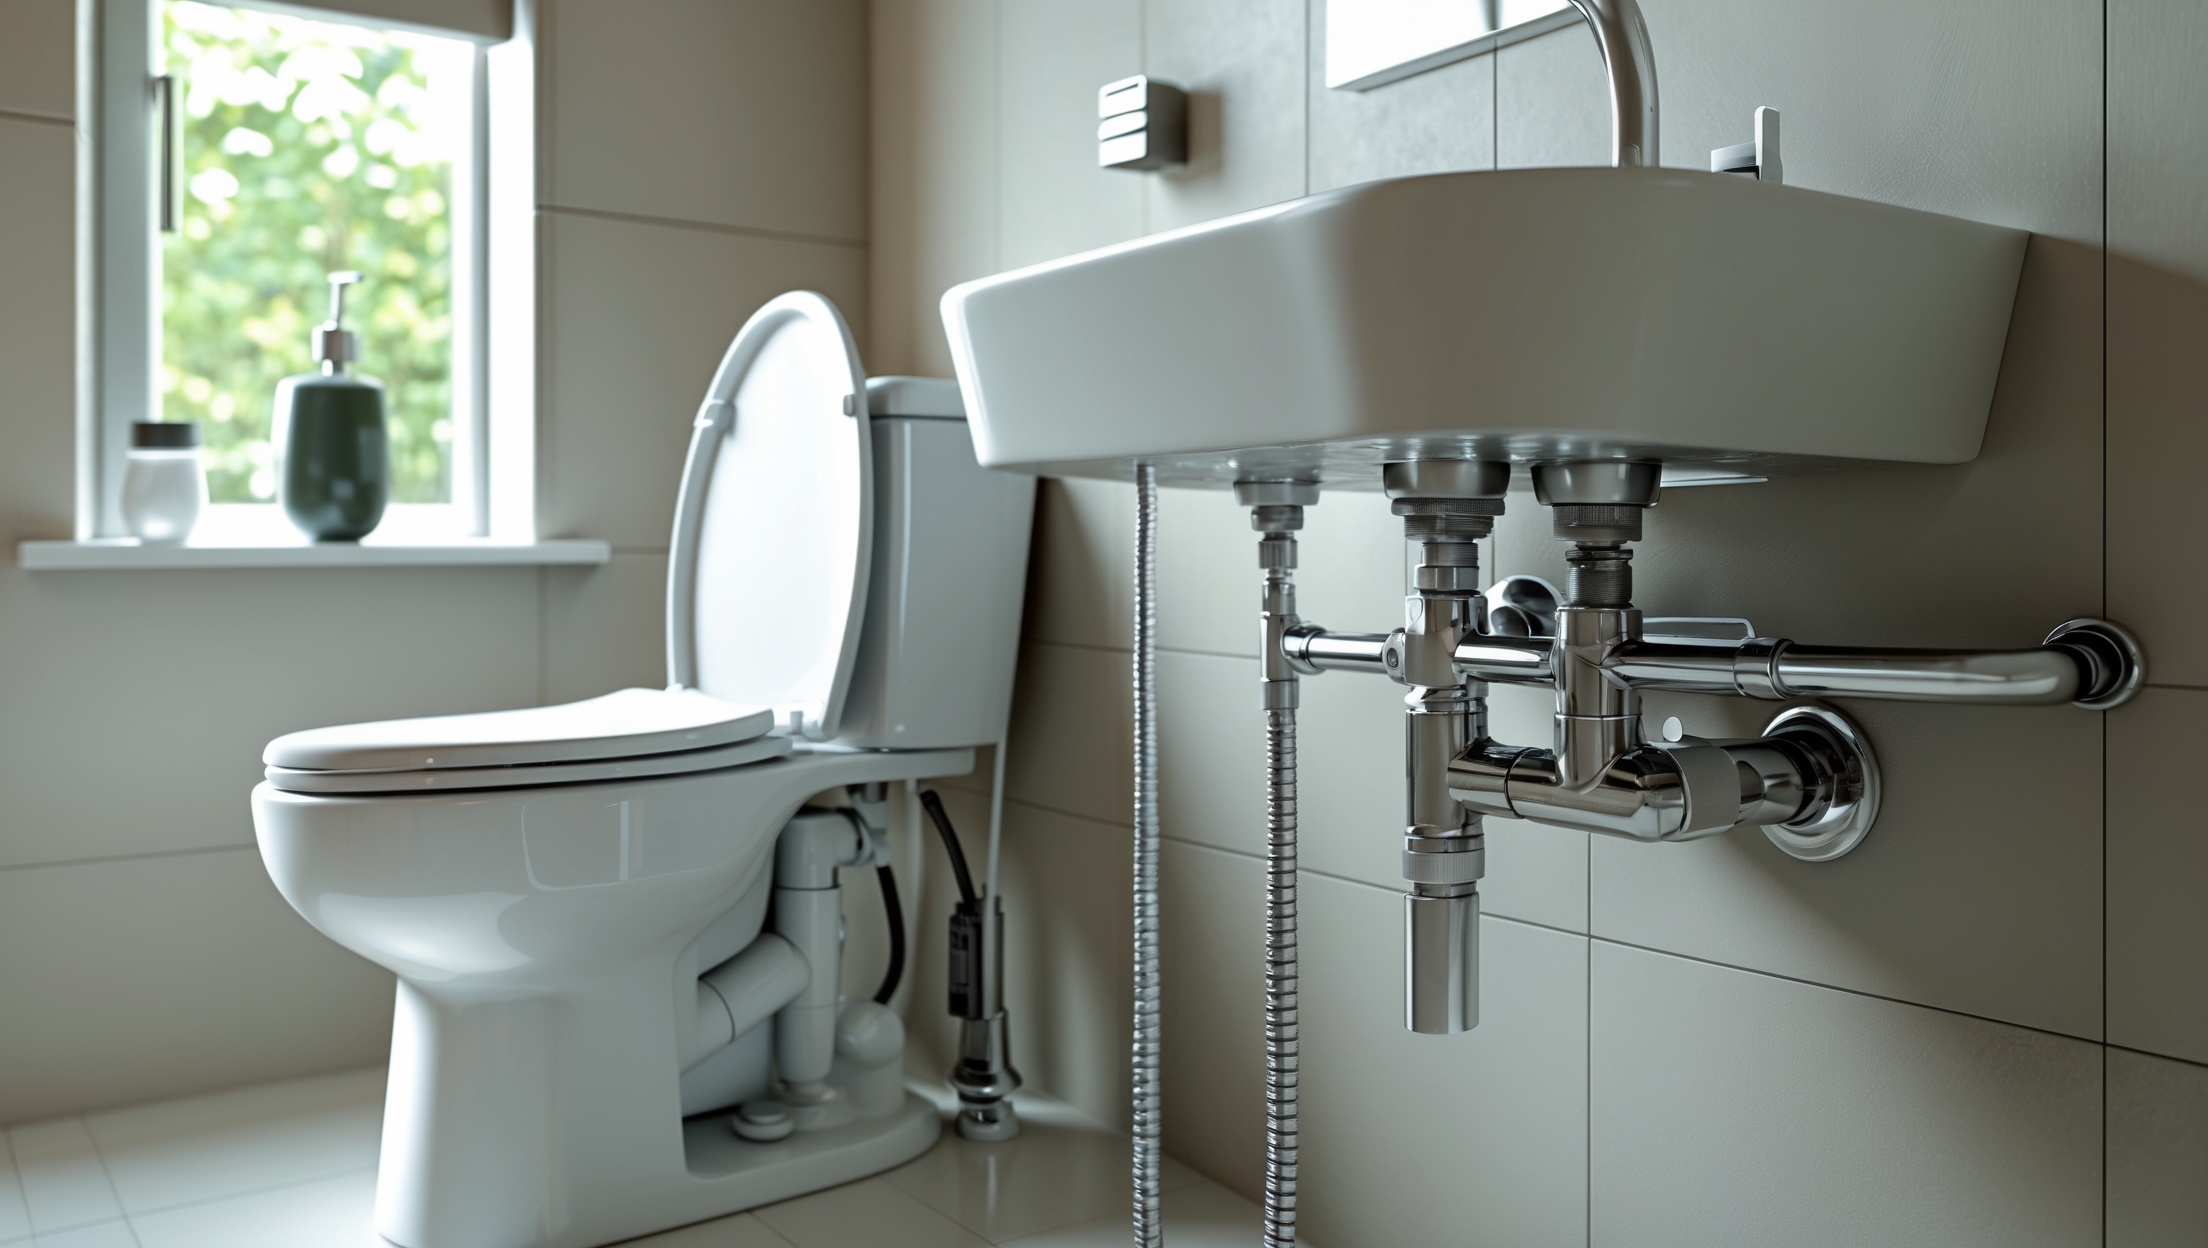
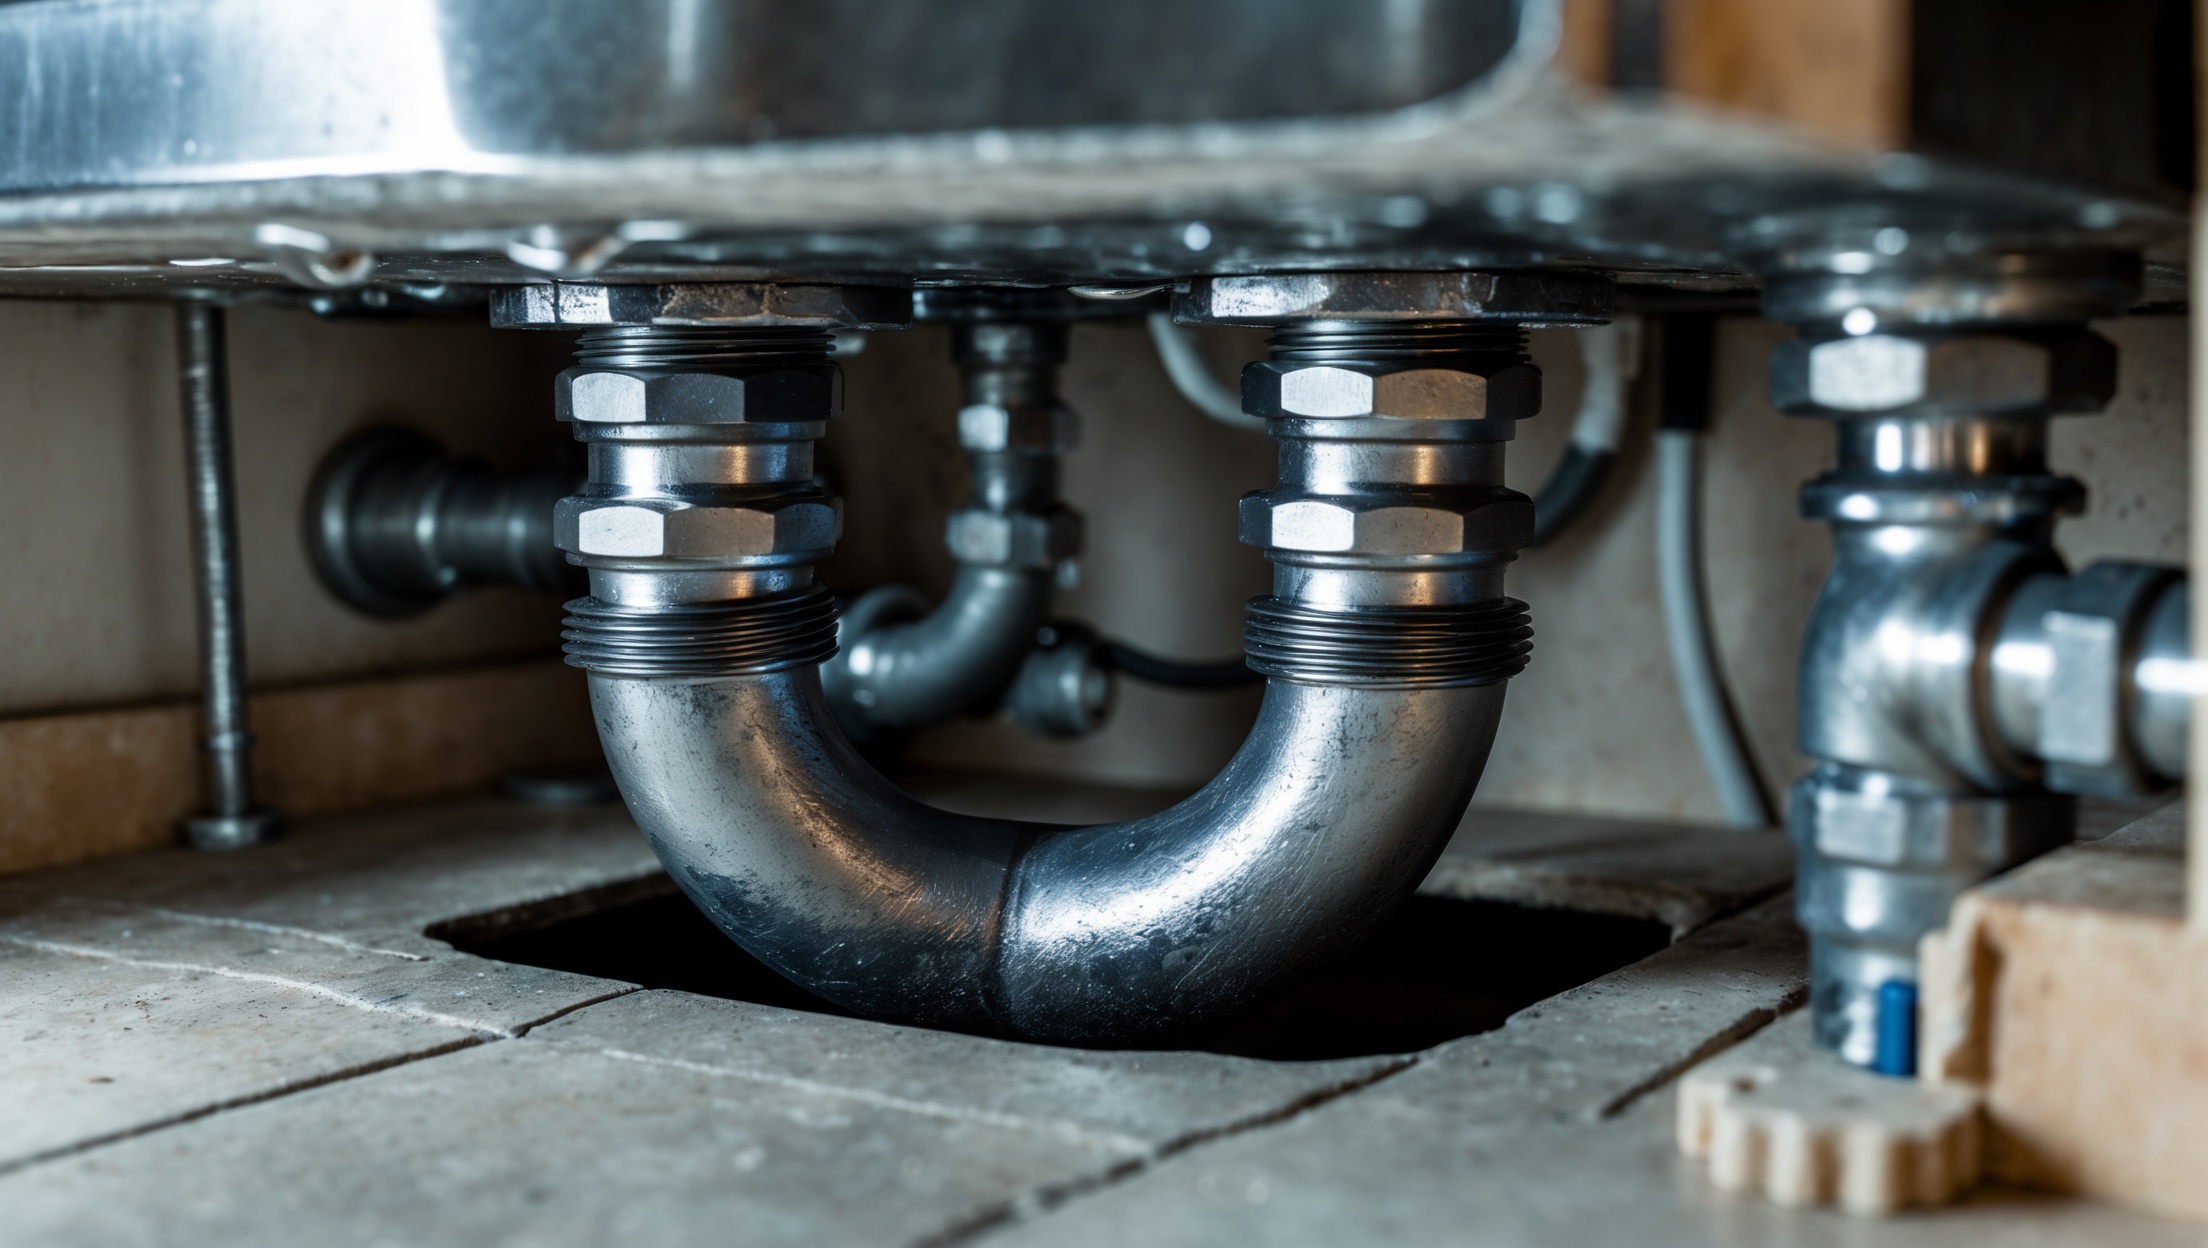
- Check under-sink plumbing: Look for moisture, corrosion, or mineral buildup around pipes and connections.
- Inspect the dishwasher hose: Ensure it’s tightly connected and free of cracks or bulges.
- Test the garbage disposal: Run water and turn on the disposal. Listen for unusual noises and check for leaks at the base.
2.2. Bathroom
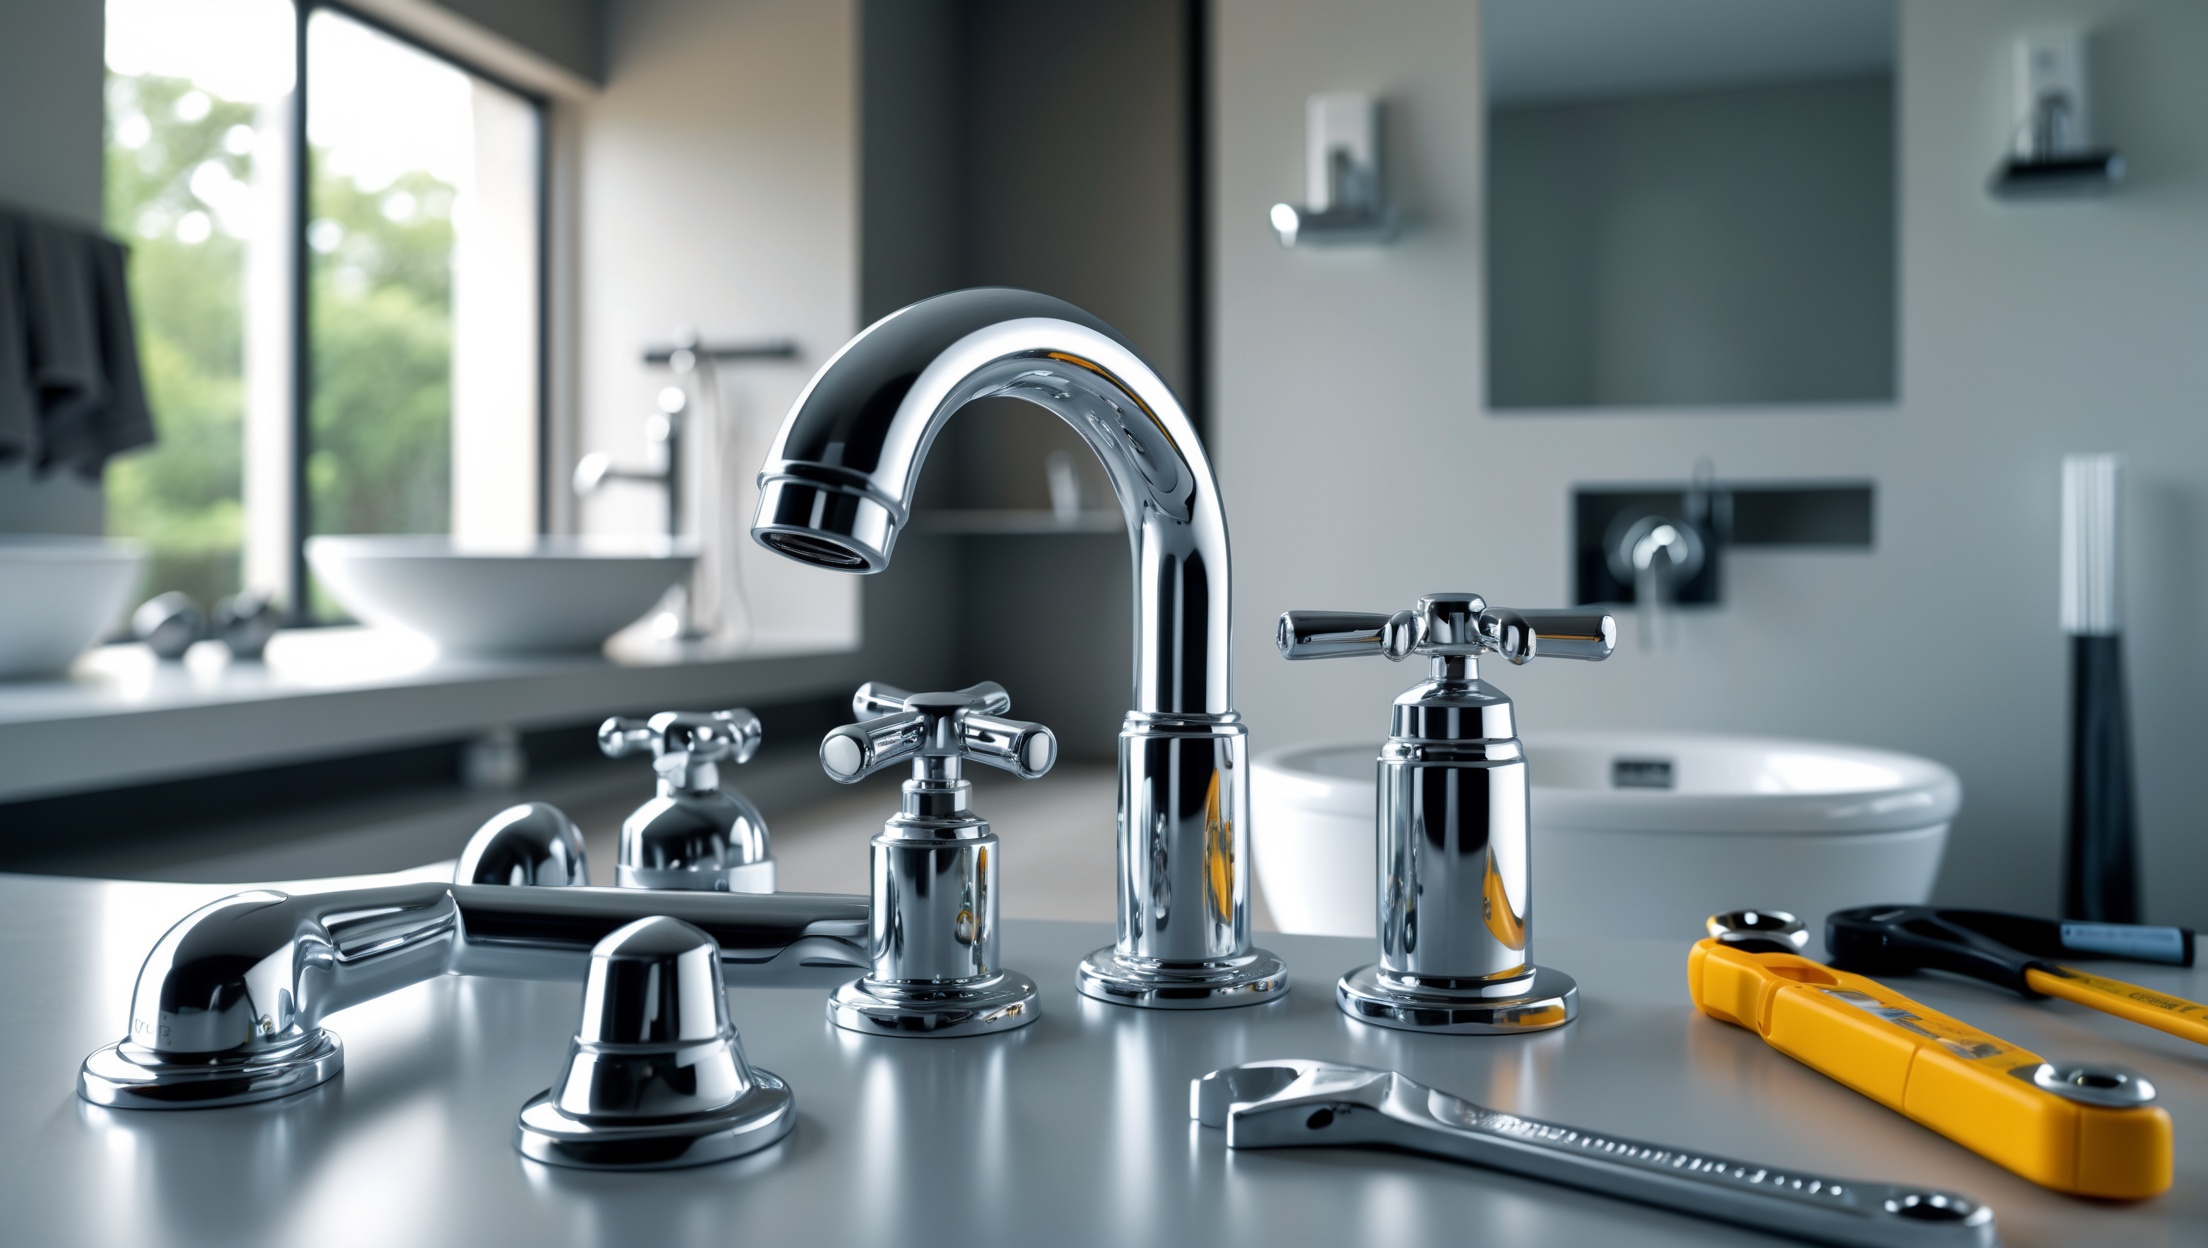
- Examine faucet aerators: Unscrew and clean aerators to remove mineral deposits that reduce flow.
- Check toilet bases: Inspect for water stains or soft flooring, which could indicate a leaking seal.
- Flush toilets: Ensure they stop running promptly and don’t continue to trickle.
- Inspect showerheads and tub spouts: Remove and soak in vinegar if clogged with scale.
2.3. Laundry Area
- Inspect washing machine hoses: Look for bulges, cracks, or leaks. Replace with braided stainless-steel hoses for durability.
- Check utility sinks: Ensure drain lines are clear and connections are tight.
2.4. Basement and Utility Spaces
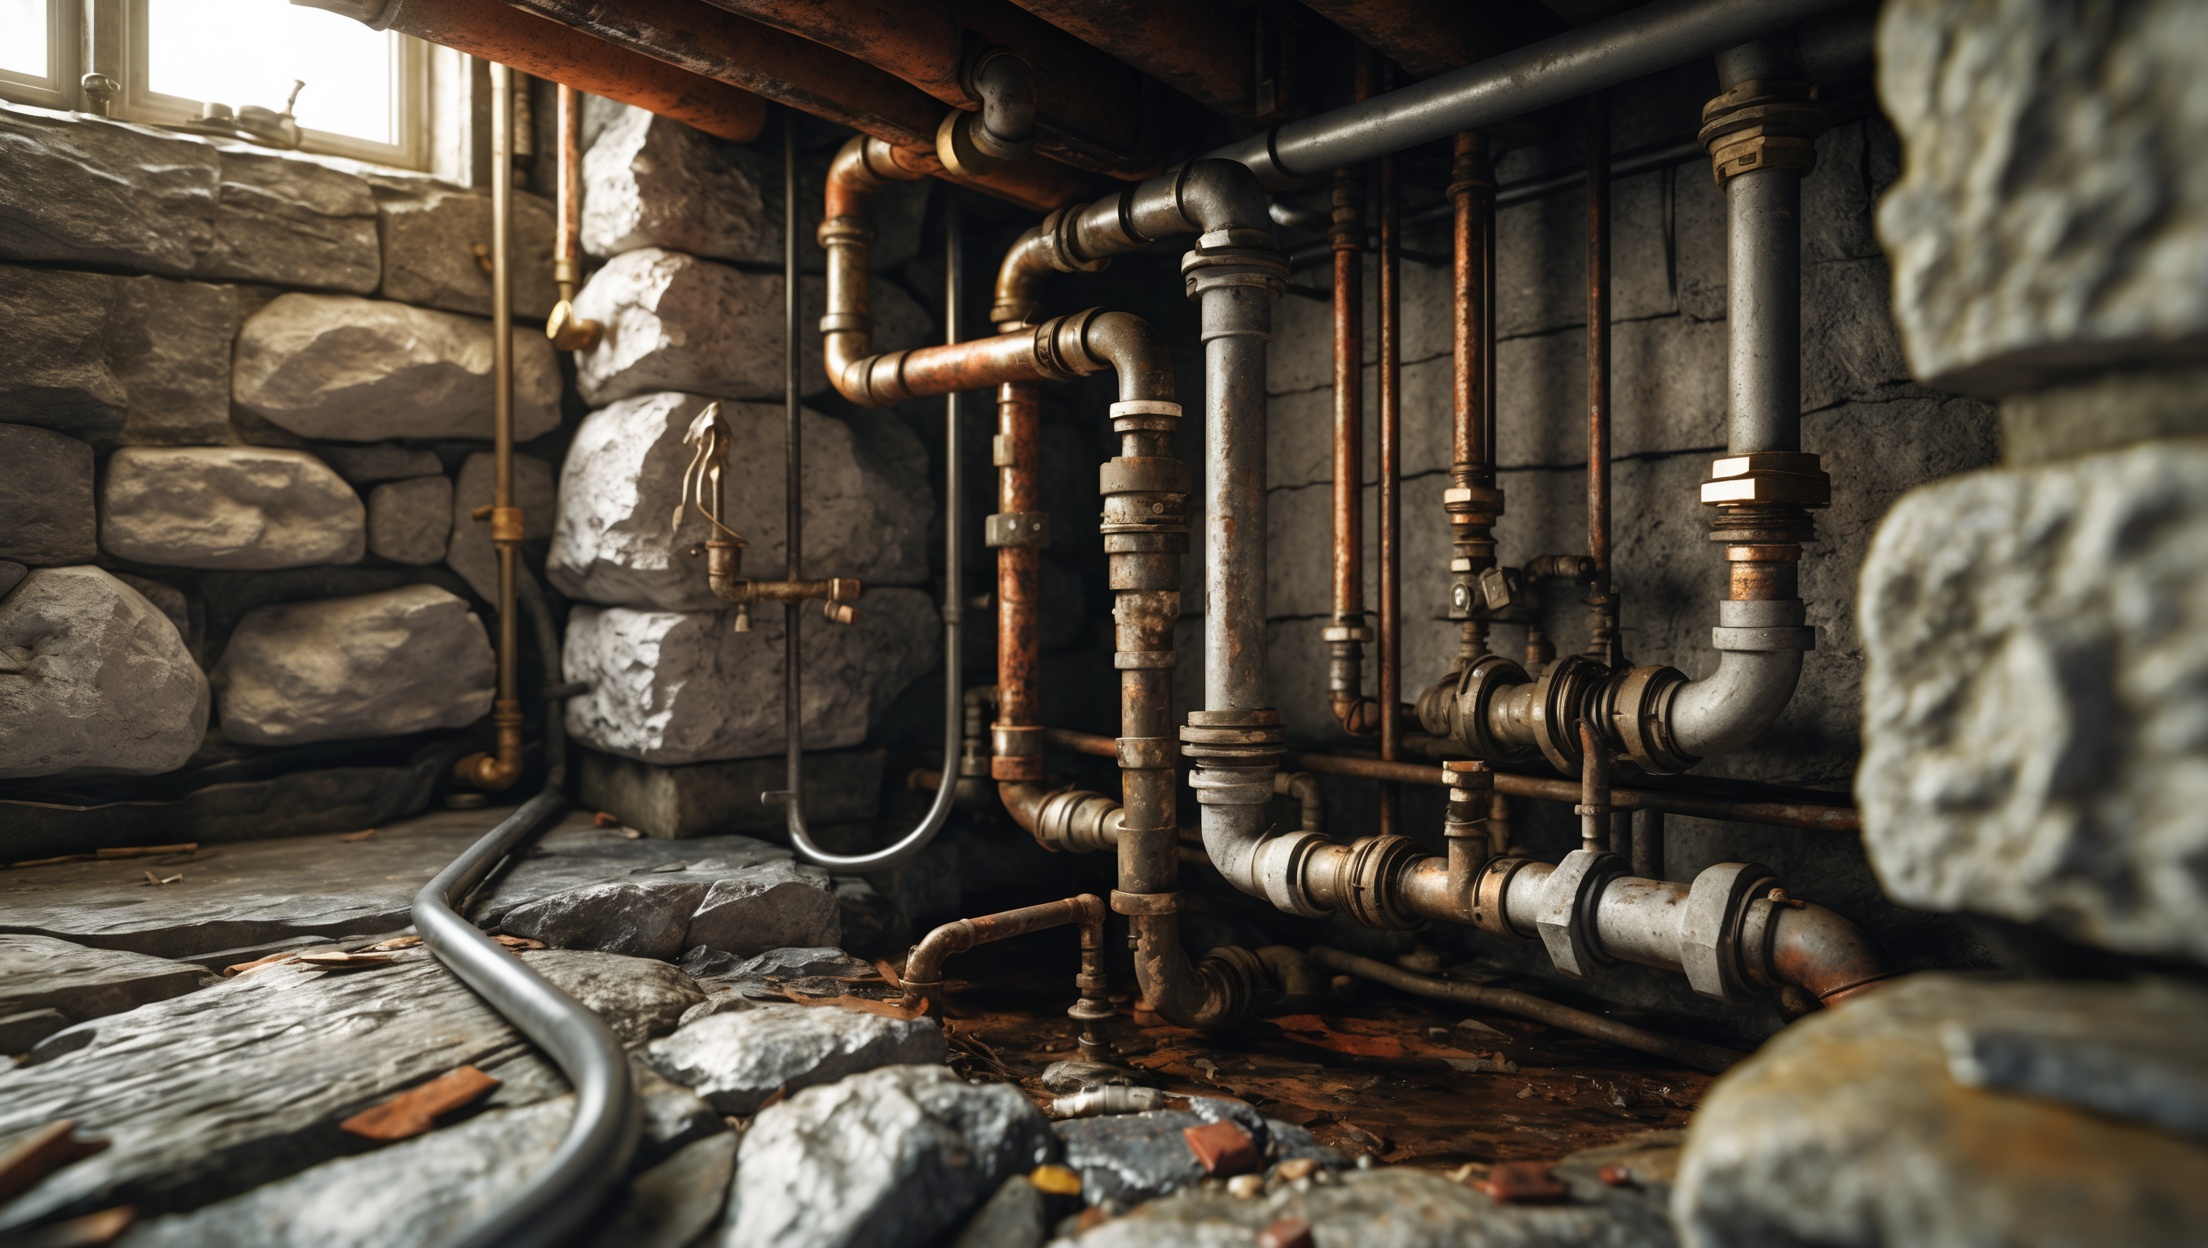
- Inspect exposed pipes: Check for condensation, rust, or mineral buildup, especially on joints and valves.
- Test the main water shut-off valve: Turn it off and back on to prevent seizing. Ensure everyone in the household knows its location.
3. Water Heater Maintenance: Extending Efficiency and Lifespan
3.1. Visual Inspection
Check for signs of rust, standing water, or corrosion on and around the tank. Any moisture could signal a slow leak or impending failure.
3.2. Test the Temperature and Pressure Relief Valve (T&P Valve)
Lift the T&P valve lever gently and let it snap back. A burst of hot water into the discharge tube is normal, but if nothing happens or the valve leaks after testing, it should be replaced.
3.3. Flush the Tank
Over time, sediment accumulates at the bottom of tank-style water heaters, reducing efficiency and shortening lifespan. To flush:
- Turn off the power or gas supply and allow the tank to cool.
- Connect a garden hose to the drain valve and direct it to a floor drain or outdoors.
- Open the drain valve and let water run until clear.
- Close the valve, remove the hose, and restore power/gas.
3.4. Adjust Temperature Settings
Set the thermostat to 120°F for safety and energy savings. Higher temperatures increase the risk of scalding and energy costs.
4. Leak Detection: Finding Problems Before They Escalate
4.1. Monitor Your Water Meter
- Turn off all water-using appliances and fixtures.
- Check the water meter and note the reading.
- Wait two hours and check again. Any movement indicates a hidden leak.
4.2. Inspect Ceilings and Walls
- Look for water stains, bubbling paint, or musty odors—especially in rooms below bathrooms or kitchens.
4.3. Check Under Sinks and Appliances
- Feel for dampness or look for mold/mildew growth.
- Pay special attention to the bases of refrigerators with ice makers and dishwashers.
5. Drainage and Sump Pump Readiness
5.1. Test Floor Drains
Pour a gallon of water into each floor drain to ensure it’s clear and the trap is filled, which prevents sewer gas from entering the home.
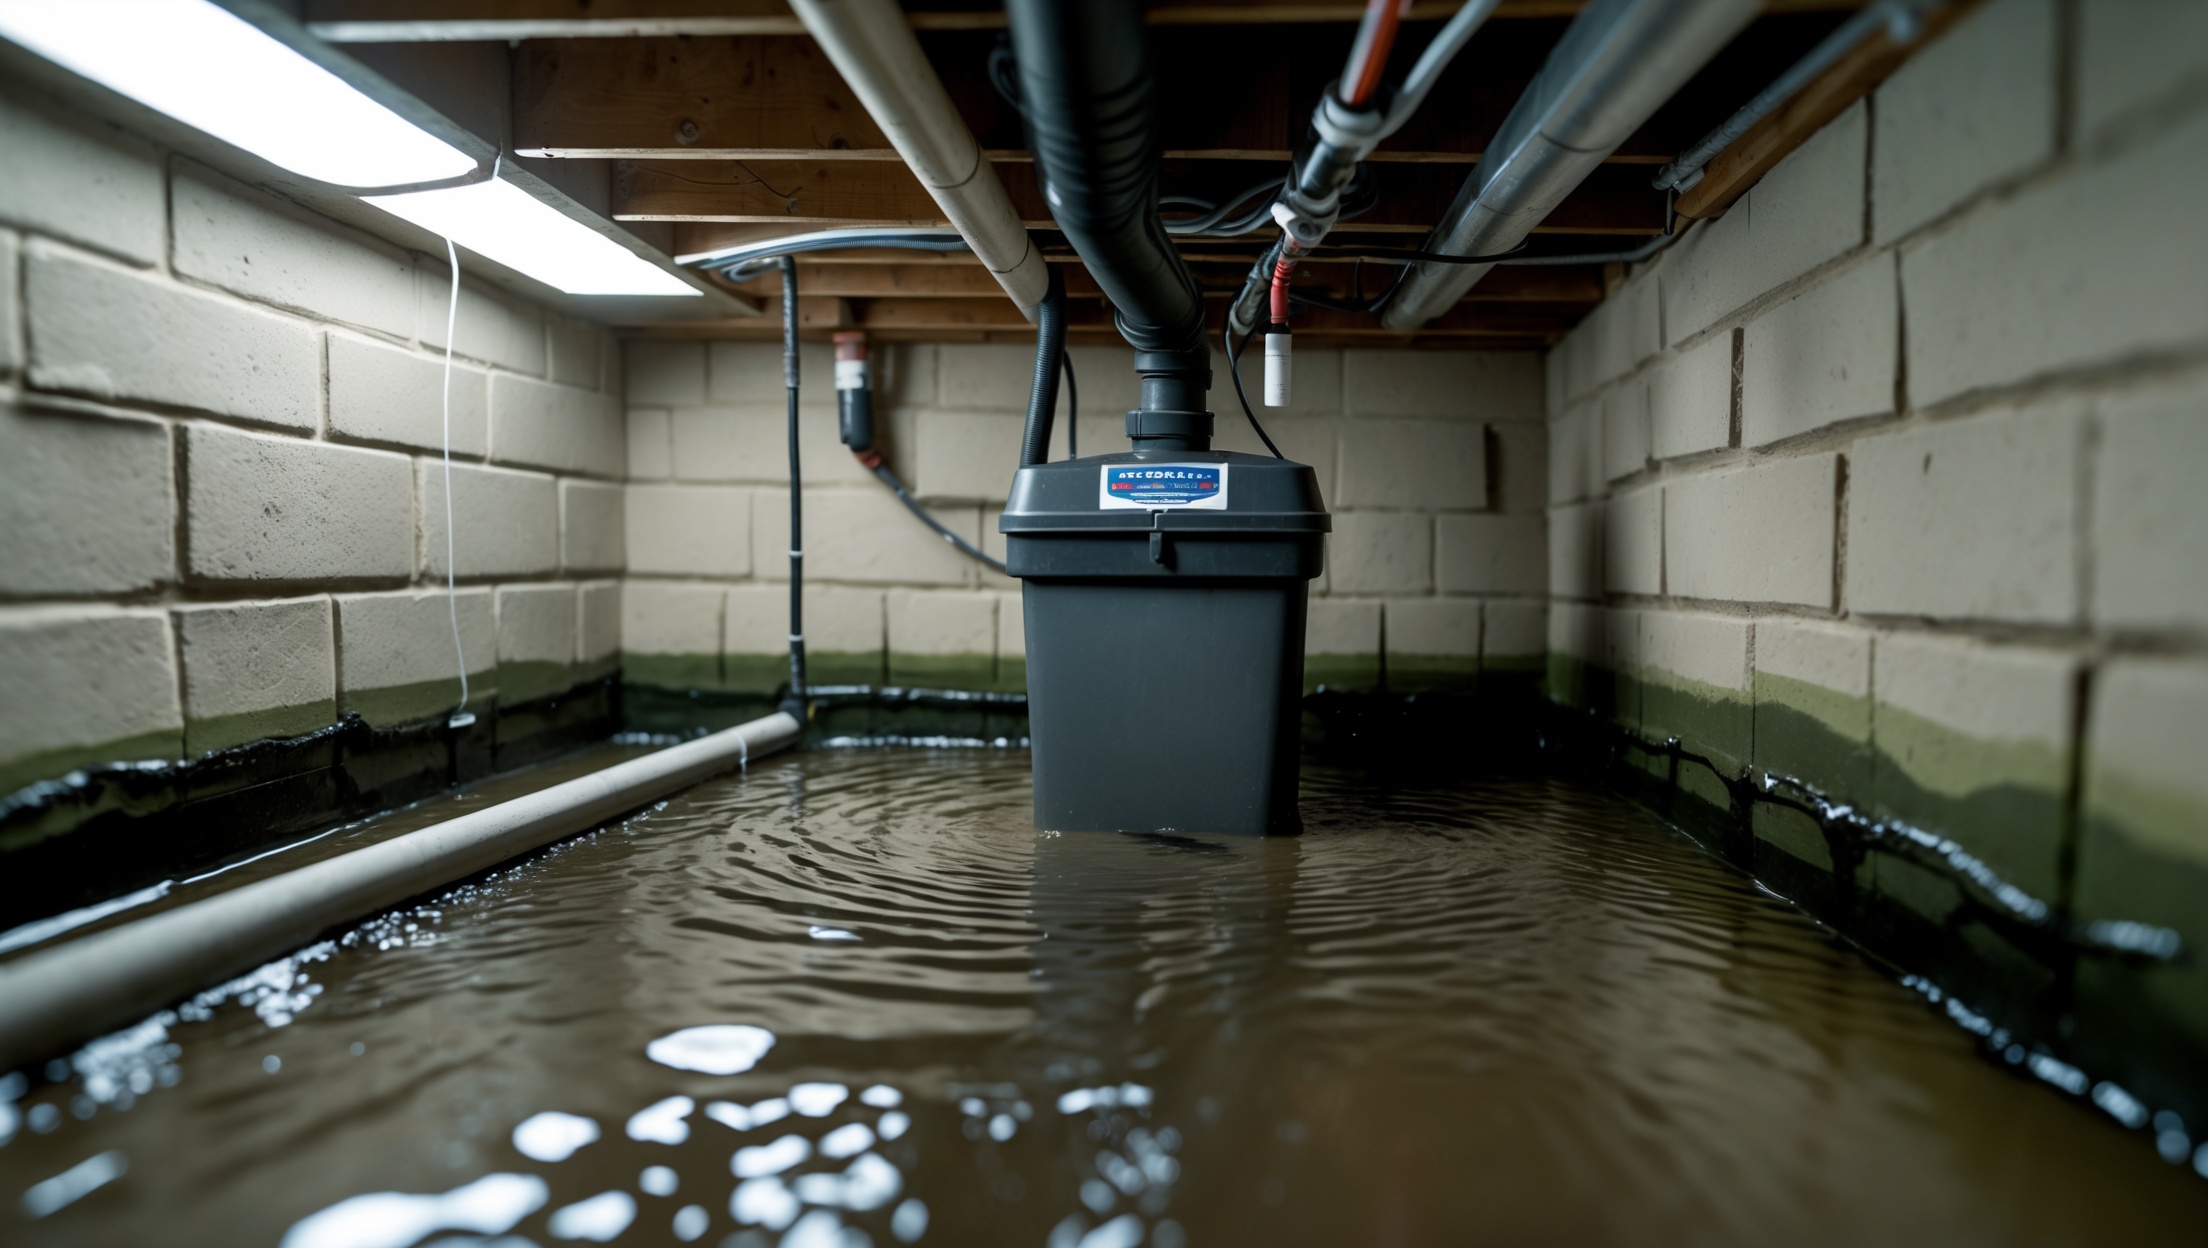
5.2. Sump Pump Inspection
- Remove the lid and check for debris in the pit.
- Pour water into the pit until the pump activates. Watch for proper discharge.
- Listen for unusual noises during operation.
- Check the backup power source (battery or generator).
5.3. Outdoor Drainage
Clear debris from window wells, yard drains, and other exterior drainage channels to prevent flooding during spring rains.
6. Water Quality: Springtime Considerations
6.1. Test Water for Contaminants
Spring can bring runoff and changes in water quality. Use an at-home testing kit or contact your utility for a report on lead, bacteria, and hardness. If issues are found, consider installing or maintaining filters and water softeners.
6.2. Replace Filters
- Change cartridges in under-sink, whole-house, or refrigerator water filtration systems.
- Flush lines after installing new filters to prevent residue from entering your drinking supply.
7. Preventative Upgrades Worth Considering
7.1. Add Pipe Insulation
If you noticed cold spots or slow hot water delivery during winter, now is the time to insulate exposed pipes. Foam sleeves or wrap can prevent future freeze-ups and improve efficiency.
7.2. Install Leak Detectors
Smart leak detectors placed under sinks, near water heaters, or in basements provide instant alerts to your phone, helping you catch problems early.
7.3. Update Shut-Off Valves
Replace corroded or hard-to-turn valves on sinks, toilets, and appliances. Modern quarter-turn ball valves are easier to operate and more reliable in emergencies.
8. Professional Help: When to Call an Expert
While most spring maintenance tasks can be handled by diligent homeowners, certain situations require professional expertise. Call a licensed plumber if you encounter:
- Persistent leaks after tightening connections or replacing washers.
- Low water pressure throughout the home.
- Backed-up drains that don’t respond to plunging or snaking.
- Signs of sewage odor or seepage.
- Unusual noises in pipes (banging, whistling, or gurgling).
- Visible corrosion on major water or gas lines.
Conclusion: Protect Your Home with Proactive Spring Plumbing Care
Spring is a season of renewal, and your home’s plumbing deserves the same fresh start as your gardens and living spaces. By following this systematic maintenance checklist, you’re not only preventing expensive repairs but also extending the life of your pipes, fixtures, and appliances. Addressing small leaks, clearing blockages, and maintaining critical components like your water heater and sump pump now will spare you headaches when the next heavy rain or heat wave hits. Remember, the effort you invest in spring can pay dividends throughout the year in reduced water bills, improved comfort, and peace of mind. Being proactive means fewer emergencies, less disruption, and more time to enjoy your home. If you encounter any issues beyond your skill level, don’t hesitate to consult a trusted plumbing professional. With this detailed approach, you can look forward to a trouble-free spring and a resilient plumbing system for years to come.



Barbara Thomas
For the outdoor faucets and hose bibs, is there a way to tell if a leak is inside the wall rather than just at the connection point? If the ground is soggy, how do I figure out where the actual leak is coming from?