
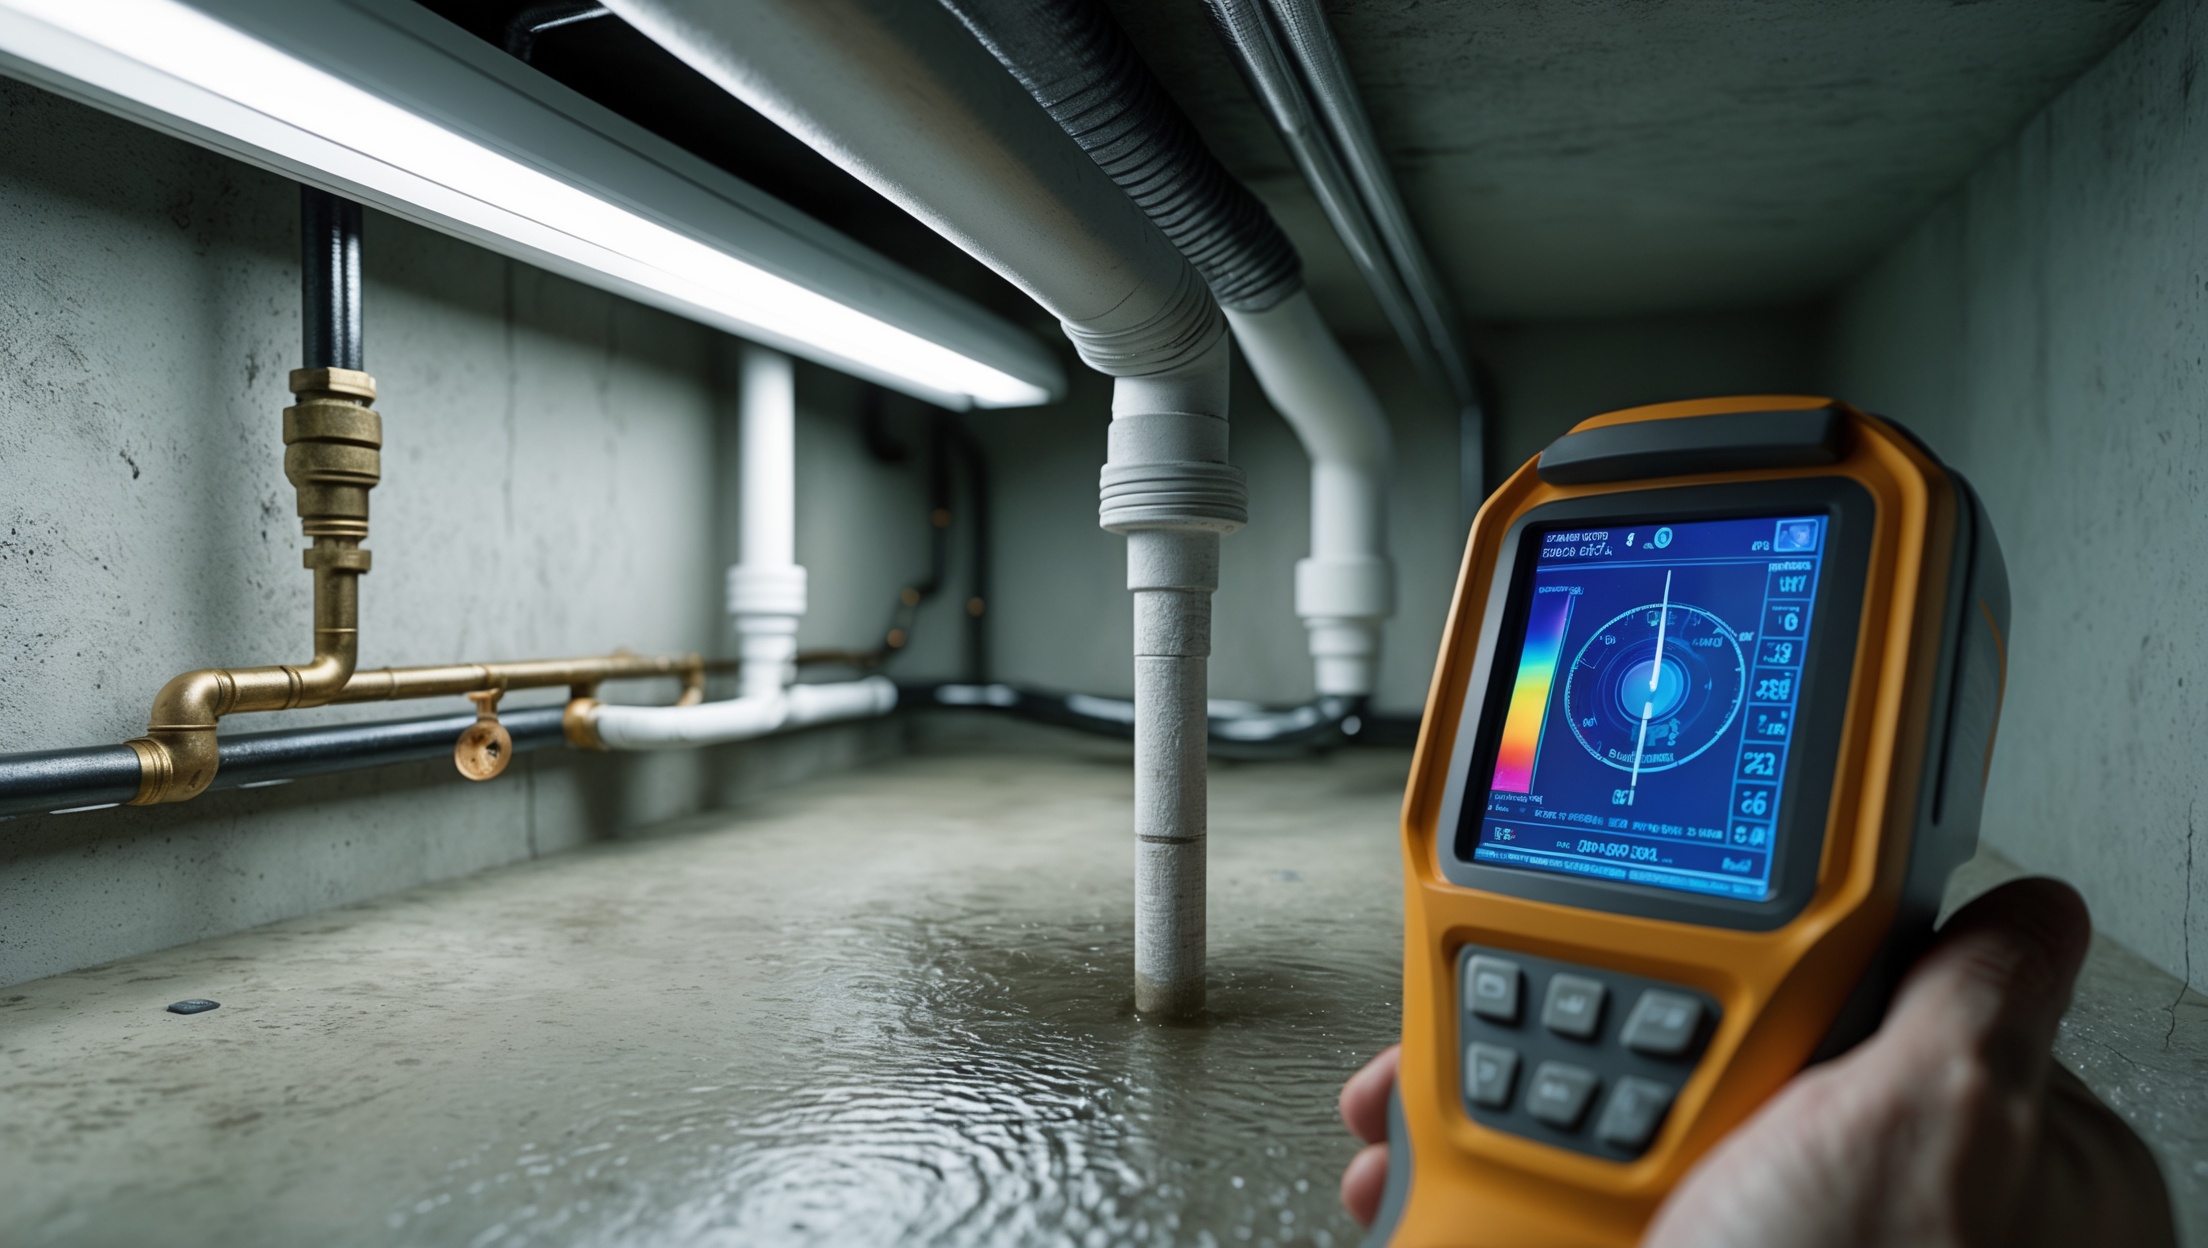
Introduction: Why Advanced Leak Detection Matters
Plumbing leaks are more than just a nuisance — they’re a silent threat to homes and businesses alike. Even a small, undetected leak can lead to extensive water damage, costly repairs, mold growth, and wasted resources. Traditional leak detection methods, like visually checking for water spots or listening for dripping sounds, only catch the obvious issues. But what about leaks behind walls, under slabs, or in seldom-used areas? Today’s homeowners and plumbing professionals need a more sophisticated approach to prevent minor leaks from becoming major disasters. This guide dives deep into advanced leak detection techniques, revealing practical strategies, tool recommendations, and actionable steps to spot hidden plumbing problems early. Whether you’re a DIY enthusiast wanting to safeguard your investment or a pro looking to enhance your diagnostic toolkit, mastering these methods will help you stay ahead of costly surprises and keep plumbing systems in top shape.
Understanding the Risks: What Makes Leaks So Dangerous?
Hidden Damage
Most leaks don’t announce themselves with a visible puddle. Instead, they quietly degrade drywall, insulation, structural supports, or even the foundation. Over time, this kind of hidden damage can compromise the integrity of an entire building.
Health Hazards
Moisture from ongoing leaks creates an ideal environment for mold and mildew. These fungi not only damage materials but can lead to respiratory issues, allergies, and other health problems — especially for children, seniors, or anyone with sensitive immune systems.
Financial Impact
Water bills can spike with even a slow leak, and insurance may not always cover the resulting damage, especially if the leak is deemed the result of neglect. Proactive leak detection is far cheaper than emergency repairs or major renovations.
Early Warning Signs of Plumbing Leaks
- Unexplained Water Bills: A sudden increase could indicate a hidden leak.
- Musty Odors: Persistent earthy smells can signal hidden moisture and possible mold.
- Discoloration: Yellow, brown, or dark spots on walls, ceilings, or floors are classic warning signs.
- Warped or Buckled Surfaces: Flooring or drywall that has warped or bubbled often points to ongoing leaks.
- Sound of Running Water: Hearing water when all fixtures are off may indicate a leak behind walls or under floors.
- Mildew or Mold: Visible growth in corners, under sinks, or along baseboards is a red flag.
- Low Water Pressure: Sudden drops in pressure can result from leaks, especially in supply lines.
Essential Leak Detection Tools and Equipment
1. Moisture Meters
Moisture meters allow you to measure the exact moisture content in building materials. This is essential for detecting leaks in drywall, wood, or flooring before visible damage occurs.
2. Thermal Imaging Cameras
These advanced devices detect temperature differences behind walls or under floors. Wet areas absorb and retain heat differently than dry ones, so thermal cameras can reveal hidden leaks without destructive probing.
3. Acoustic Listening Devices
Listening devices amplify the sound of water escaping from pipes, even through concrete or thick walls. Plumbers use these to pinpoint the exact location of a leak before opening up walls or floors.
4. Pipe Inspection Cameras (Borescopes)
These flexible cameras are threaded into pipes to visually inspect for cracks, corrosion, or blockages. They’re ideal for diagnosing leaks in hard-to-reach areas like drain lines or slab foundations.
5. Pressure Testing Kits
By pressurizing a section of the plumbing system and monitoring for pressure drops, these kits help confirm whether a leak is present and narrow down its general location.
Step-by-Step Leak Detection Process
Step 1: Visual and Sensory Inspection
- Check all accessible pipes, joints, and fixtures for signs of moisture, corrosion, or mineral deposits.
- Look for discoloration on ceilings, walls, and floors, especially near bathrooms, kitchens, and utility rooms.
- Feel for dampness or soft spots in drywall, cabinetry, or flooring.
- Smell for musty or moldy odors in enclosed spaces.
Step 2: Monitor Your Water Meter
- Turn off all water fixtures and appliances inside and outside your home.
- Check your water meter and note the reading.
- Wait 1–2 hours without using any water, then recheck the meter. If the reading has changed, you likely have a leak.
Step 3: Isolate the Leak
- Shut off water valves to specific areas (like bathrooms, kitchens, or outdoor spigots) and repeat the meter test to narrow down the location.
- If the meter stops moving after a certain valve is closed, the leak is in that section of piping.
Step 4: Deploy Advanced Tools
- Use a moisture meter to scan suspect walls, floors, and cabinets for elevated readings.
- Scan surfaces with a thermal imaging camera for unusual cold or hot spots, which may indicate hidden moisture.
- Listen with an acoustic device along pipe runs to detect water movement where it shouldn’t be.
- Insert a pipe inspection camera into accessible clean-outs, drains, or pipe ends to look for visible cracks or corrosion.
Step 5: Pressure Test the Suspected Section
- Use a pressure testing kit to pressurize the isolated section of plumbing. If pressure drops over time, a leak is present in that section.
- Repeat with different zones to further pinpoint the problem area.
Special Focus: Slab and Underground Leak Detection
Leaks under concrete slabs or buried lines are among the hardest to detect. Early intervention is crucial to avoid catastrophic damage.
Signs of Slab Leaks
- Warm spots on the floor (from hot water leaks)
- Cracking or heaving of slab or foundation
- Persistent dampness or moldy smell in ground-floor rooms
- Unusually high water bills with no other explanation
Advanced Techniques for Slab Leaks
- Thermal Imaging: Quickly identifies temperature anomalies indicating hot or cold water leaks below slab.
- Acoustic Tracking: Sensitive microphones detect sounds of water escaping even several inches below concrete.
- Tracer Gas Detection: Pro plumbers can inject harmless tracer gas into pipes and use sensitive detectors to locate leaks by where the gas escapes.
DIY Leak Detection vs. Professional Assessment
When DIY is Enough
- Obvious leaks at fixtures or exposed pipes
- Minor moisture or small stains with easy access
- Routine checks as part of seasonal maintenance
When to Call a Pro
- Suspected slab or underground leaks
- Persistent leaks with no visible source
- Recurring mold, mildew, or unexplained water bills
- Lack of access to advanced detection tools
Professional plumbers bring specialized equipment and the experience to interpret results accurately, minimizing unnecessary demolition and ensuring precise repairs.
Preventive Strategies: Stopping Leaks Before They Start
Regular Inspections
Schedule annual or biannual plumbing inspections, especially in older homes or those with a history of leaks. Early intervention is the best defense.
Upgrade Aging Plumbing Systems
Replace old, corroded, or polybutylene pipes with modern PEX or copper. Upgraded systems are less prone to leaks and easier to inspect and maintain.
Install Leak Detectors and Smart Water Monitors
- Install battery-powered leak sensors in high-risk areas: under sinks, behind appliances, in basements, and near water heaters.
- Consider smart water monitors for whole-home coverage. These devices alert you to leaks via smartphone apps and can even shut off water automatically in emergencies.
Address High Water Pressure
Excessive water pressure stresses pipes and joints, making leaks more likely. Install a pressure regulator and keep home pressure between 40–60 psi.
Protect Against Freezing
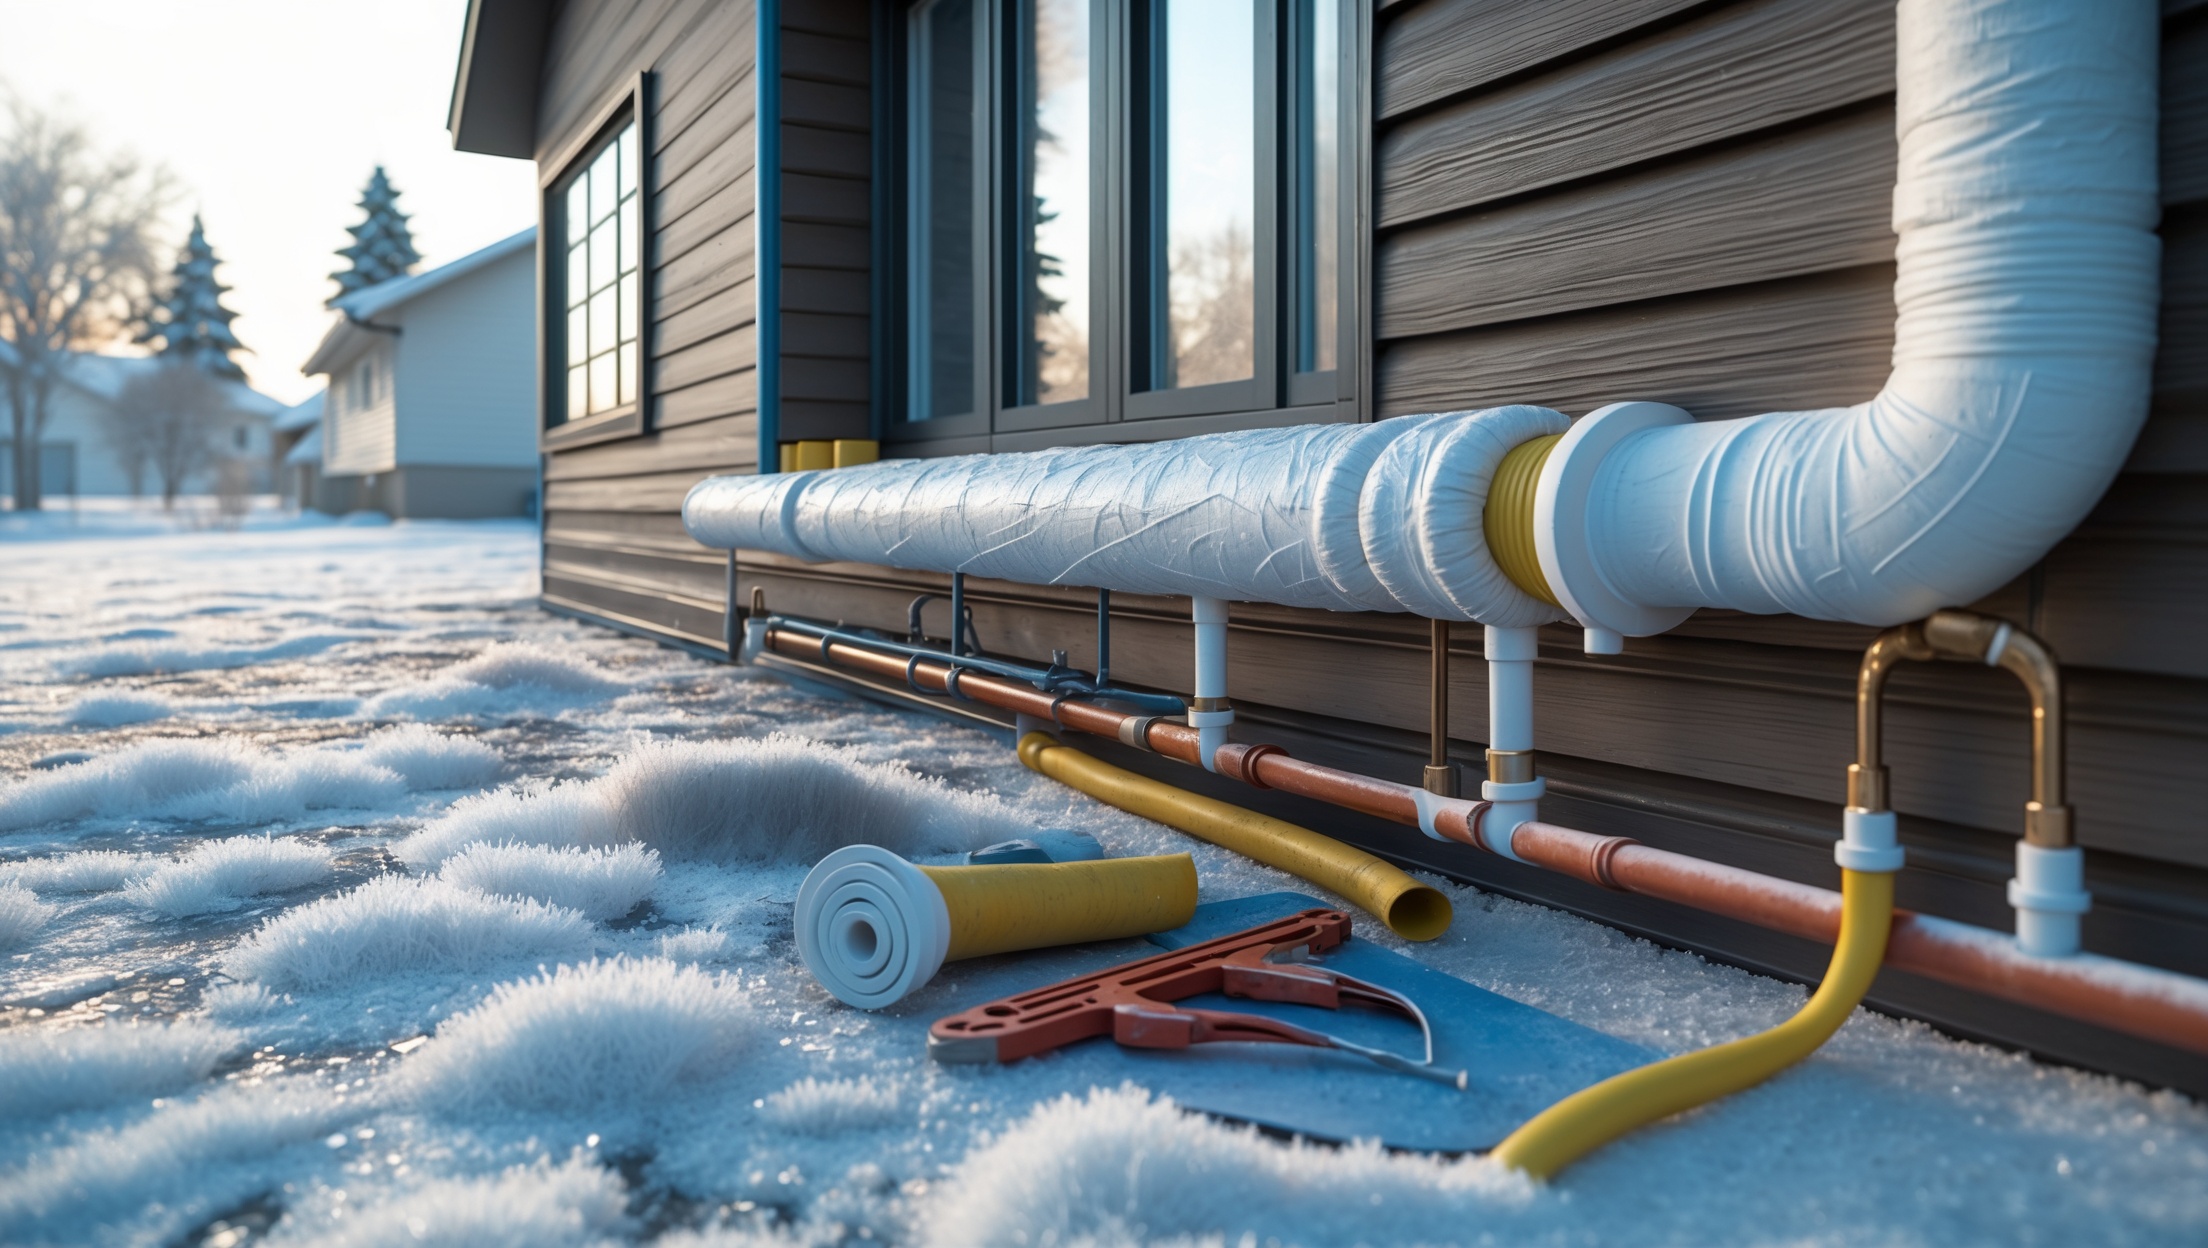
- Insulate exposed pipes in attics, crawl spaces, and exterior walls.
- Allow faucets to drip during severe cold spells to prevent pressure buildup from frozen water.
Common Leak Detection Mistakes (and How to Avoid Them)
- Ignoring Small Signs: Don’t dismiss minor stains or odors — they almost always point to larger issues.
- Overlooking Appliance Connections: Washing machines, dishwashers, and ice makers often cause hidden leaks at hose connections and valves.
- Skipping Outdoor Fixtures: Leaks in irrigation lines, outdoor spigots, or buried pipes can go undetected for months.
- Assuming New Homes Are Immune: Even new construction can hide plumbing mistakes or material defects leading to leaks.
- Relying on Sight Alone: Not all leaks are visible; trust your nose, ears, and advanced tools.
Case Study: Catching a Costly Leak Early
A homeowner noticed a faint musty smell in her living room but saw no visible water damage. She used a moisture meter on the wall shared with a bathroom, which revealed elevated readings. A thermal imaging scan showed a cold spot behind the drywall, confirming hidden moisture. After shutting off the bathroom’s supply valve, the water meter test showed no change — the leak was isolated to that line. A plumber confirmed a pinhole leak in a copper pipe running behind the wall, repaired it, and prevented what could have become a major mold remediation project. Early detection saved thousands in potential repairs and health impacts.
Conclusion: The Value of Proactive Leak Detection
Advanced leak detection is more than a technical skill — it’s a proactive mindset that protects property, health, and wallet. As plumbing systems age, the risk of hidden leaks only increases, especially in areas prone to temperature swings, shifting foundations, or high water pressure. Leveraging today’s advanced tools — from moisture meters and thermal cameras to smart leak detectors — empowers both homeowners and professionals to spot trouble before it escalates. Regular inspections, prompt responses to warning signs, and a willingness to invest in prevention are the cornerstones of leak-free plumbing.
If you’re a homeowner, start incorporating leak checks into your seasonal maintenance routine and consider upgrading to smart detection systems for peace of mind. For plumbing pros, expanding your tool arsenal and refining your diagnostic approach keeps your services ahead of the curve and your clients’ properties protected. The stakes are high, but with the right knowledge and tools, you can outsmart even the sneakiest leaks. Stay vigilant, stay proactive, and let advanced leak detection be your first line of defense against plumbing headaches.





Megan Thompson
You mentioned that moisture from leaks can cause mold and health issues, especially for kids and seniors. What are the best early detection tools for someone worried about hidden leaks in older homes?