
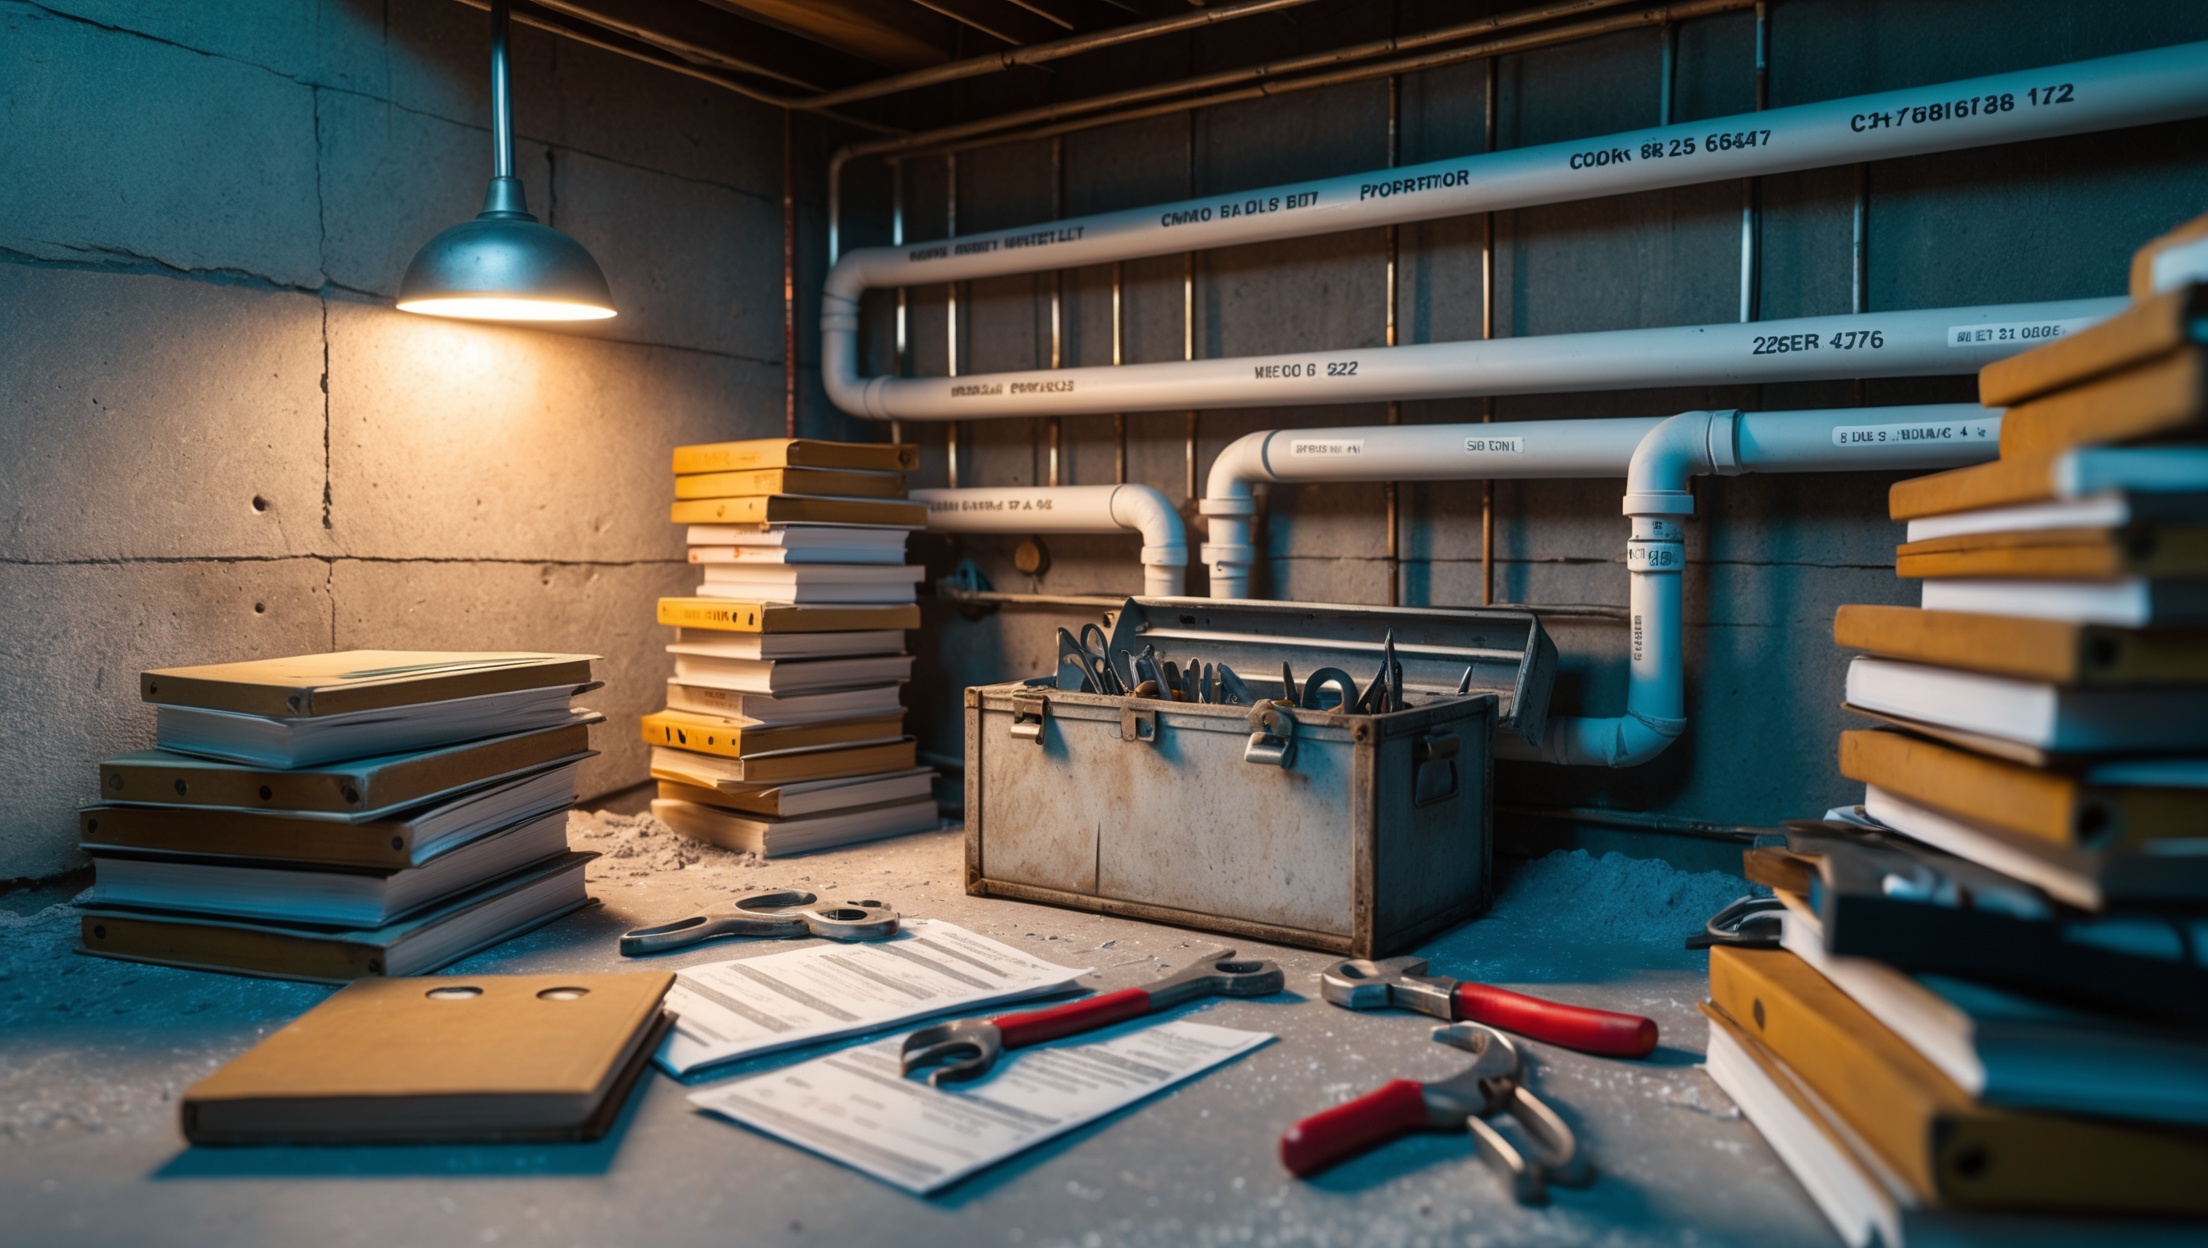
Introduction: Why Plumbing Compliance Matters for DIYers
DIY plumbing can be a satisfying and cost-effective way to upgrade your home, but it comes with a critical responsibility: compliance with local plumbing codes. Many homeowners dive into projects with enthusiasm, only to discover too late that their work doesn’t meet safety or legal standards. This can result in failed inspections, costly redos, and even insurance issues down the road. Understanding and adhering to local regulations isn’t just about avoiding fines—it’s essential for the long-term safety, value, and functionality of your home. In this guide, we’ll walk you step-by-step through the plumbing compliance process, from researching requirements to documenting your work, ensuring your DIY project passes muster every time.
Understanding Plumbing Codes: What Are They and Why Do They Exist?
Plumbing codes are sets of standards created to ensure the safe design, installation, and inspection of plumbing systems. They protect homeowners, occupants, and the wider community by preventing contamination, leaks, water damage, and unsafe repairs. Codes vary by country, state, and even municipality. In the United States, the International Plumbing Code (IPC) or Uniform Plumbing Code (UPC) are often adopted with local amendments.
- Health and Safety: Codes prevent cross-contamination between drinking water and waste, and ensure proper drainage and venting.
- Structural Integrity: Proper pipe sizing, support, and installation prevent leaks and water damage.
- Legal Protection: Compliance shields homeowners from liability in case of future problems.
Step 1: Researching Your Local Plumbing Codes
Before purchasing supplies or tearing open walls, start by identifying which codes apply to your property. Here’s how:
- Check Municipal Websites: Most city or county building departments publish codes online or offer downloadable PDFs.
- Contact Your Building Department: Call or visit for code clarifications, especially if your project is unusual.
- Request Special Amendments: Some areas modify national codes to address local climate, water quality, or infrastructure.
- Ask for Guidance: Inspectors are often willing to explain common requirements for DIYers.
Pay particular attention to:
- Pipe material requirements
- Drain, waste, and vent (DWV) sizing
- Fixture placement rules
- Backflow prevention
- Water heater installation guidelines
Step 2: Determining Permit Requirements
Many plumbing projects require permits—even for homeowners working on their own property. Permits ensure your work will be inspected and meet minimum safety standards. Common projects that usually require a permit include:
- Adding or moving supply/drain lines
- Installing new fixtures (toilets, showers, water heaters)
- Major repairs or system upgrades
Minor repairs (like replacing a faucet or fixing a leaky trap) may not require a permit, but always confirm with your local authority. Applying for a permit typically involves:
- Describing your project in detail
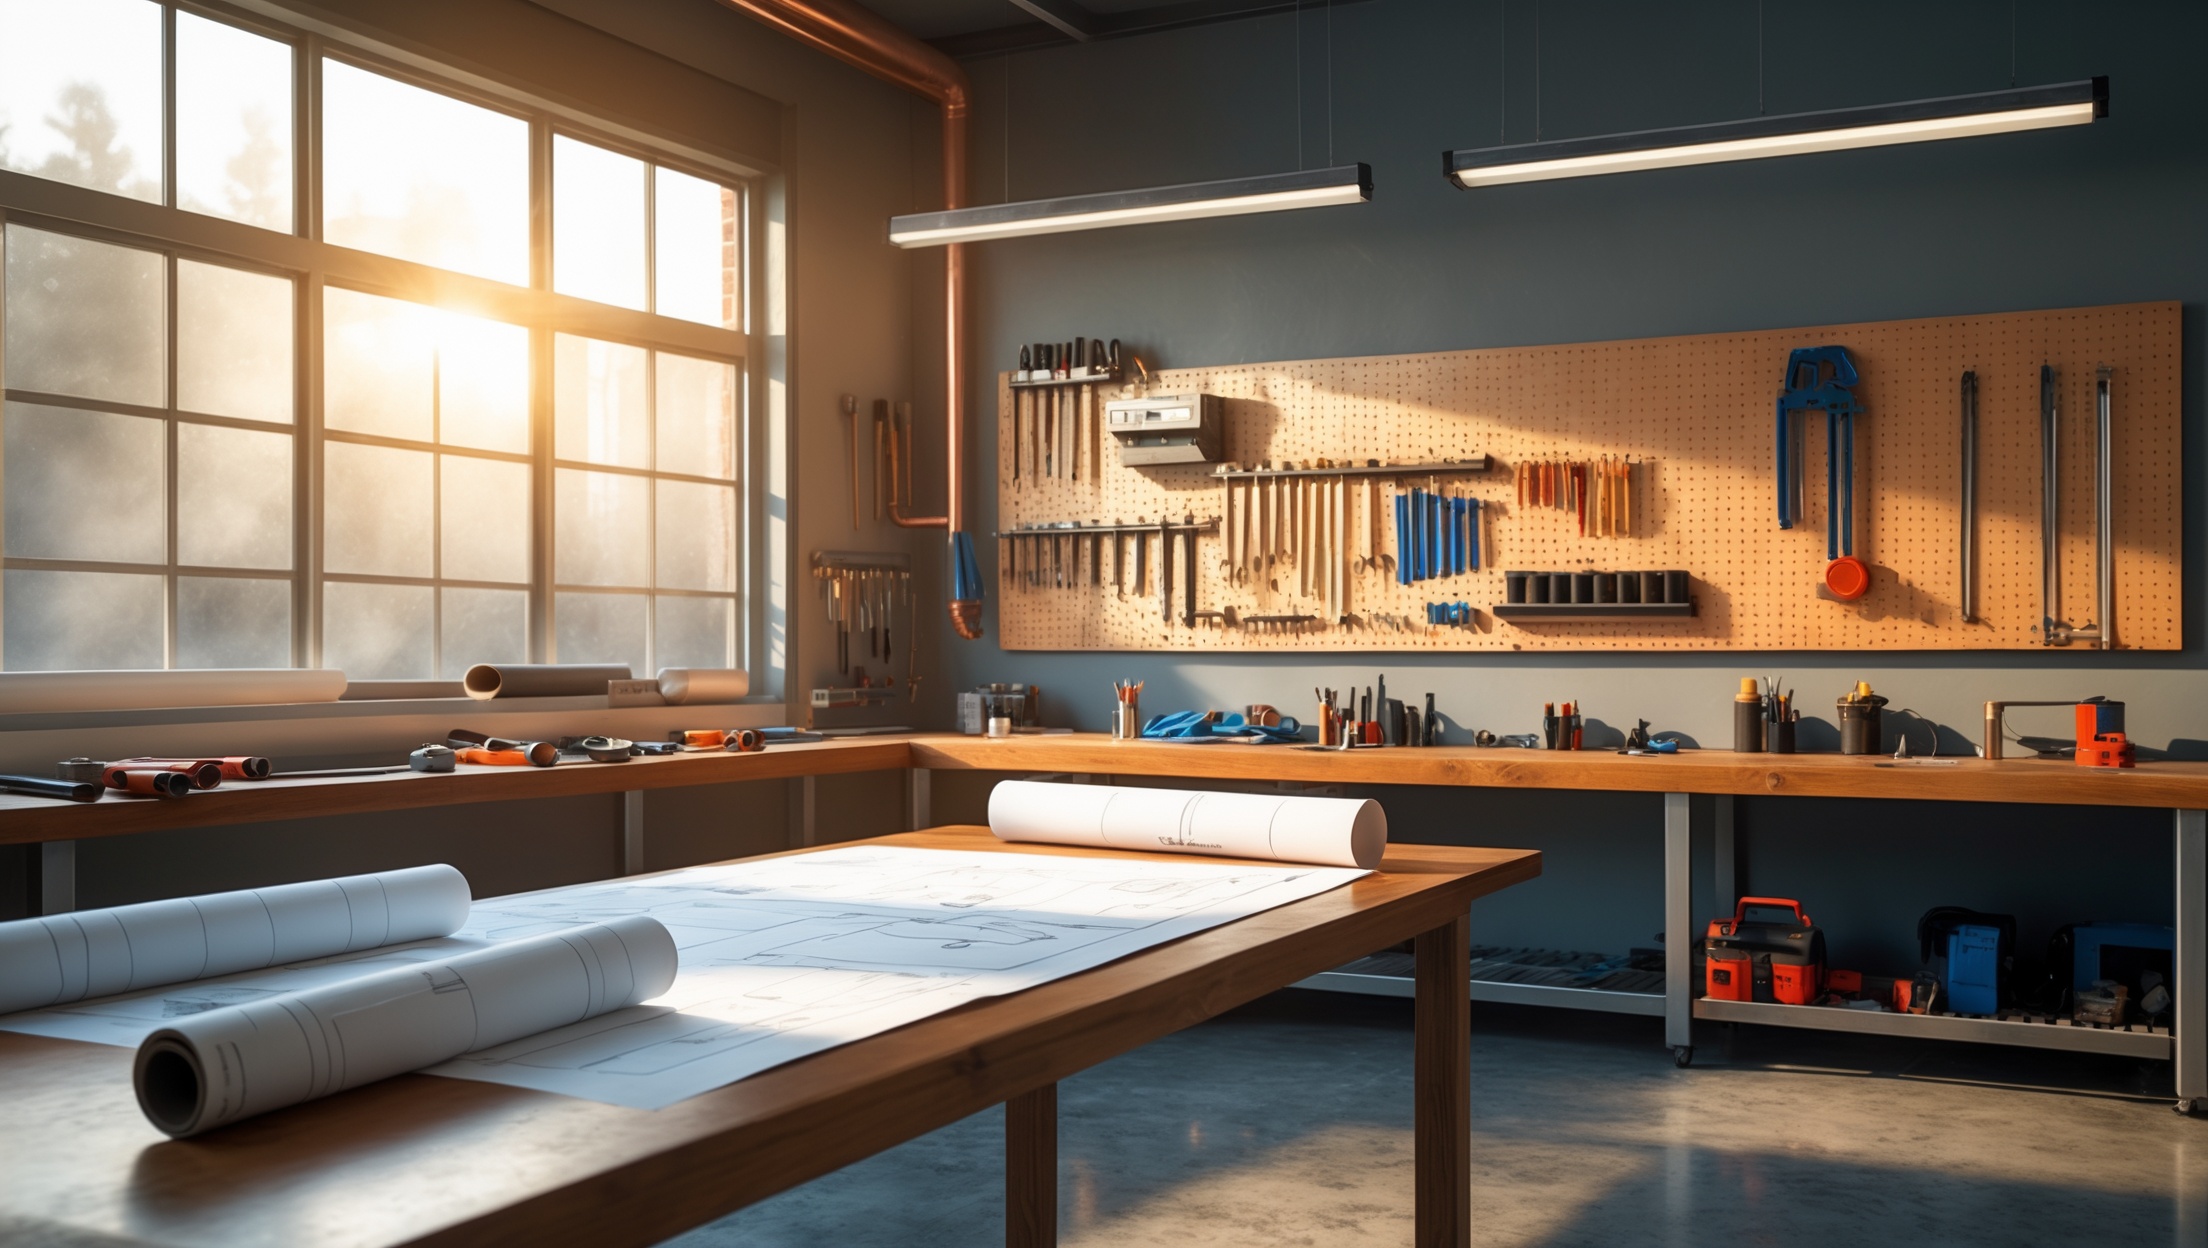
- Submitting plans or diagrams (even hand-drawn can suffice for simple jobs)
- Paying a fee (ranges from nominal to several hundred dollars)
Remember, unpermitted work can create headaches during resale or insurance claims, so err on the side of caution.
Step 3: Planning Your Project for Compliance
Creating a Code-Compliant Plan
Once you’ve gathered relevant codes, sketch a detailed plan for your project. This helps you anticipate potential compliance issues before work begins. Your plan should include:
- Location of all fixtures, supply lines, and drains
- Pipe sizes and materials (as specified by code)
- Locations of shut-off valves and cleanouts
- Distances between fixtures, as required
- Vent stack configurations
Choosing Approved Materials
Codes often specify acceptable types of pipe (e.g., copper, PEX, PVC) for different applications. Using unapproved materials is a common cause of failed inspections. When purchasing supplies:
- Look for markings indicating code compliance (UPC, NSF, ASTM labels)
- Ask suppliers for documentation if unsure
- Keep receipts and packaging for inspection day
Step 4: Common Areas Where DIYers Fail Compliance
Even skilled DIYers can miss details that inspectors flag. Watch out for these frequent pitfalls:
- Insufficient Slope on Drain Lines: Most codes require at least 1/4 inch per foot for proper drainage.
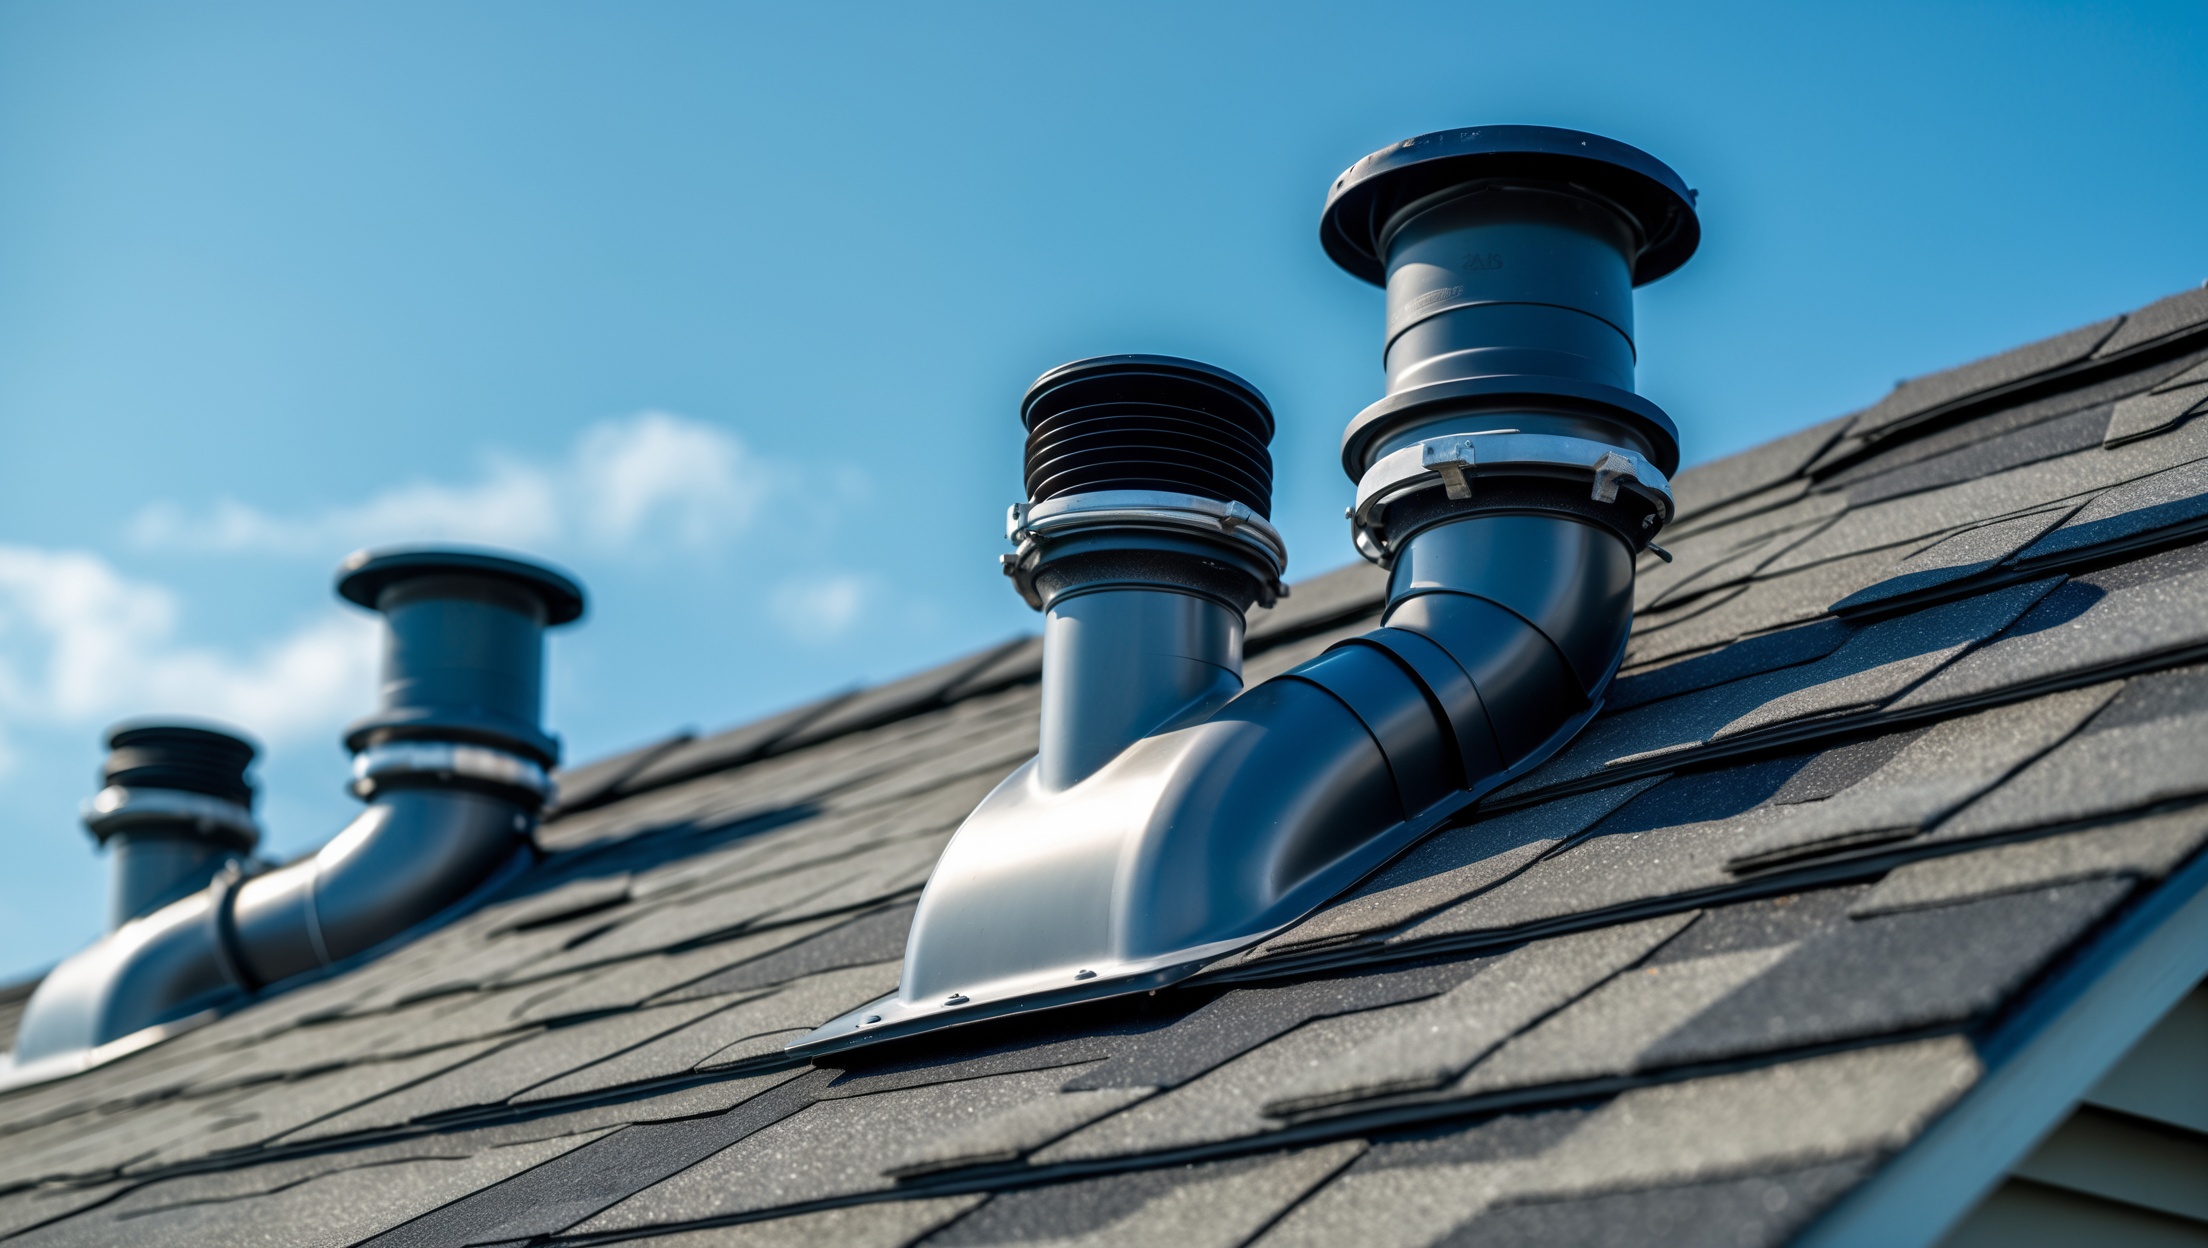
- Missing or Improperly Sized Vents: Every fixture must be vented correctly to prevent traps from siphoning.
- Improper Pipe Support: Codes dictate support intervals for various pipe types; sagging is a red flag.
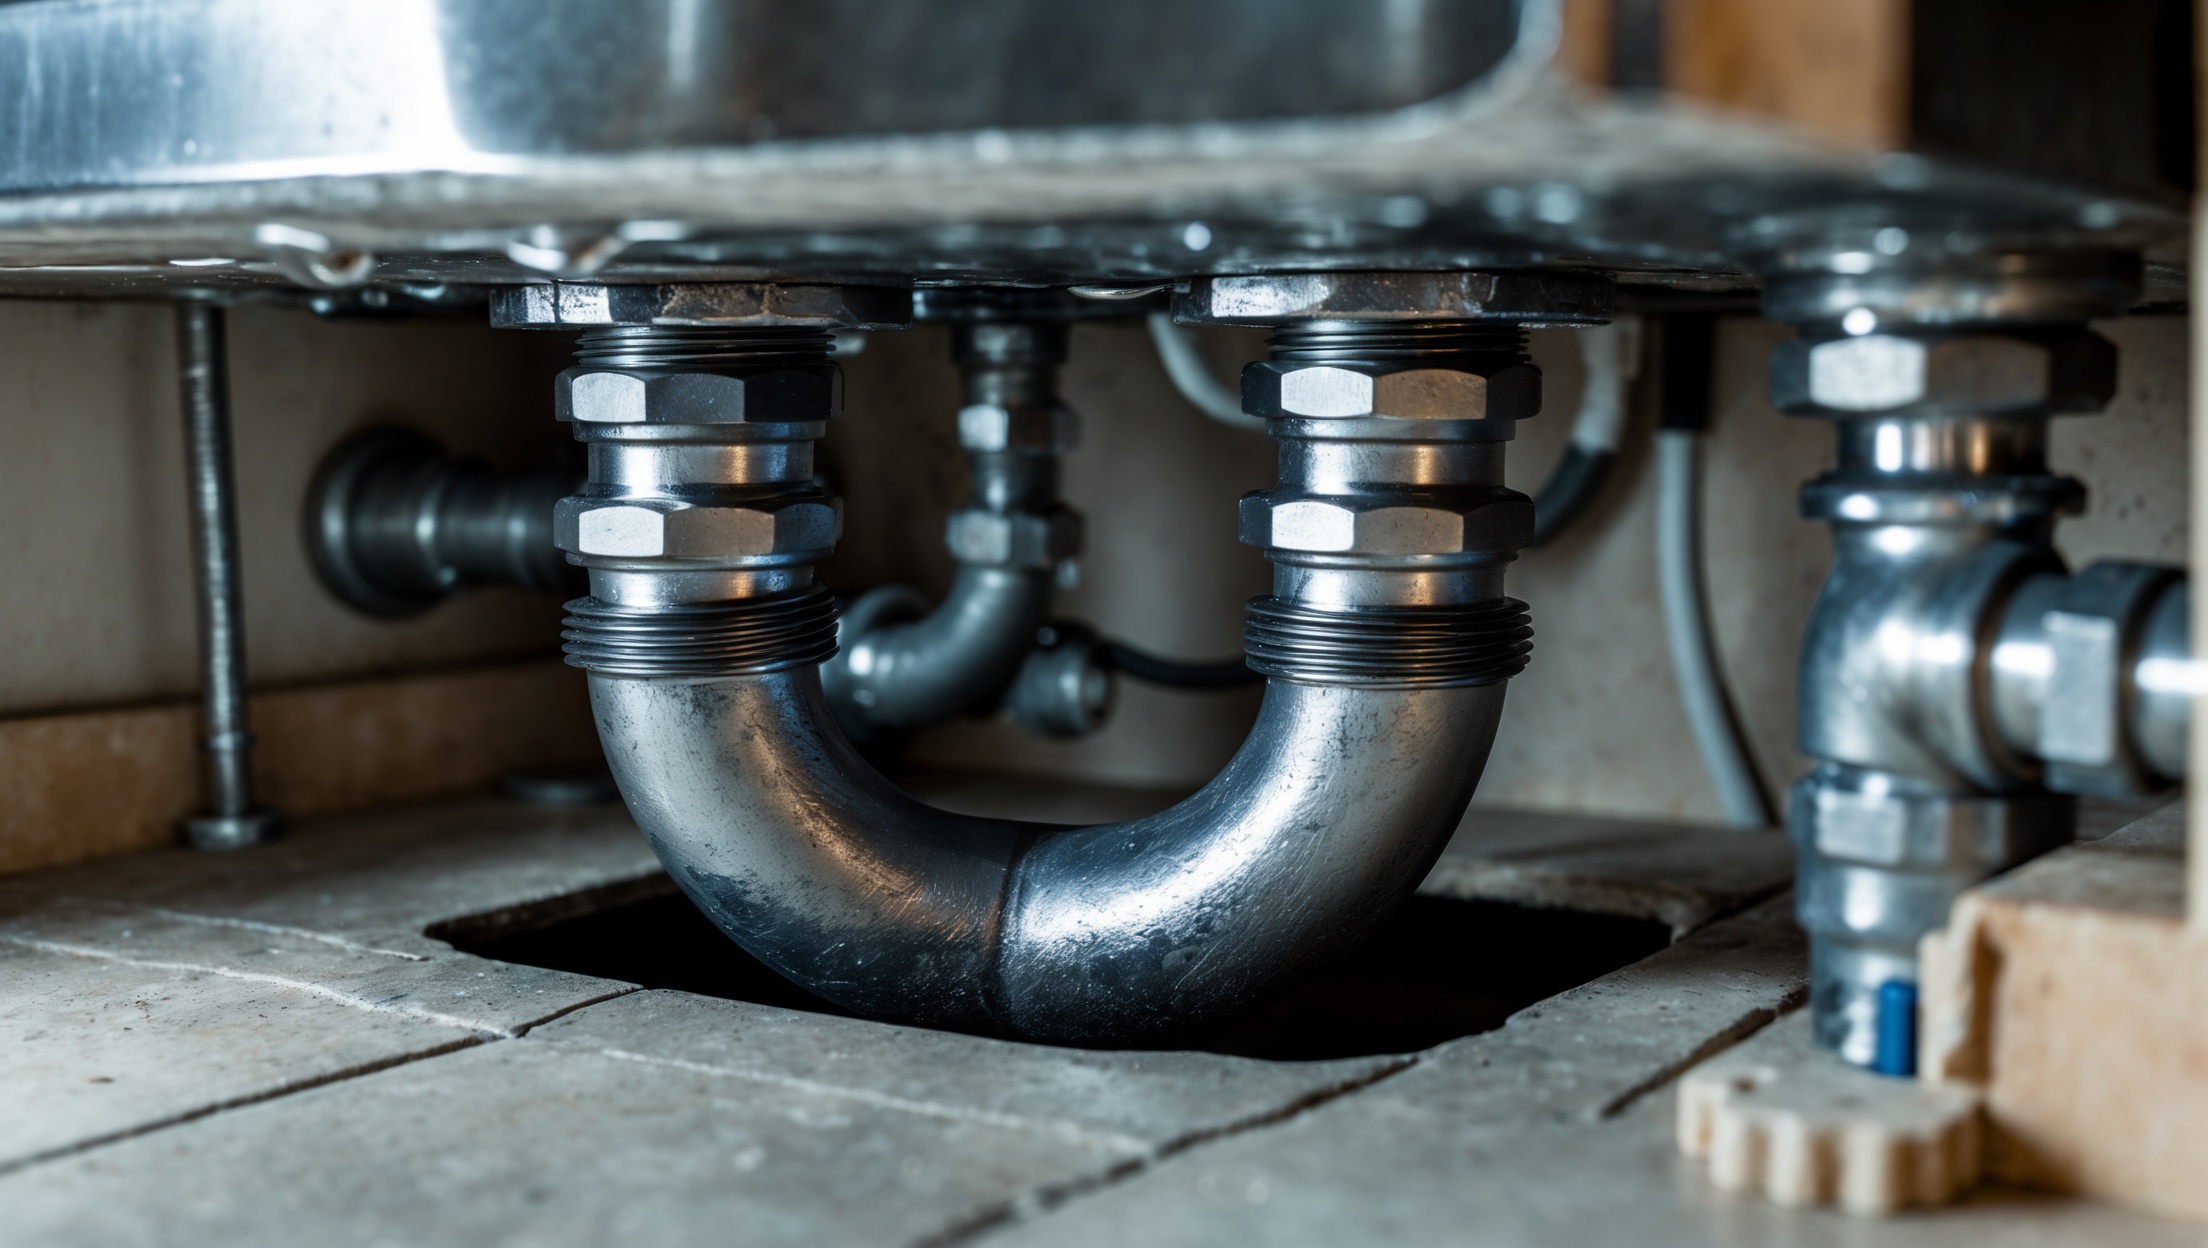
- Unapproved Materials or Fittings: Using garden hoses, flexible traps, or non-rated fittings can lead to failure.
- Backflow Prevention Lapses: Anti-siphon devices and air gaps are mandatory for certain fixtures.
- Buried or Concealed Joints: Inspections must be performed before covering up pipes with drywall or concrete.
Step 5: Scheduling and Preparing for Inspections
Inspection Types
Most permitted projects require at least one inspection. Typical types include:
- Rough-In Inspection: Before walls are closed, checks pipe layout, support, and connections.
- Final Inspection: After fixtures are installed and everything is operational.
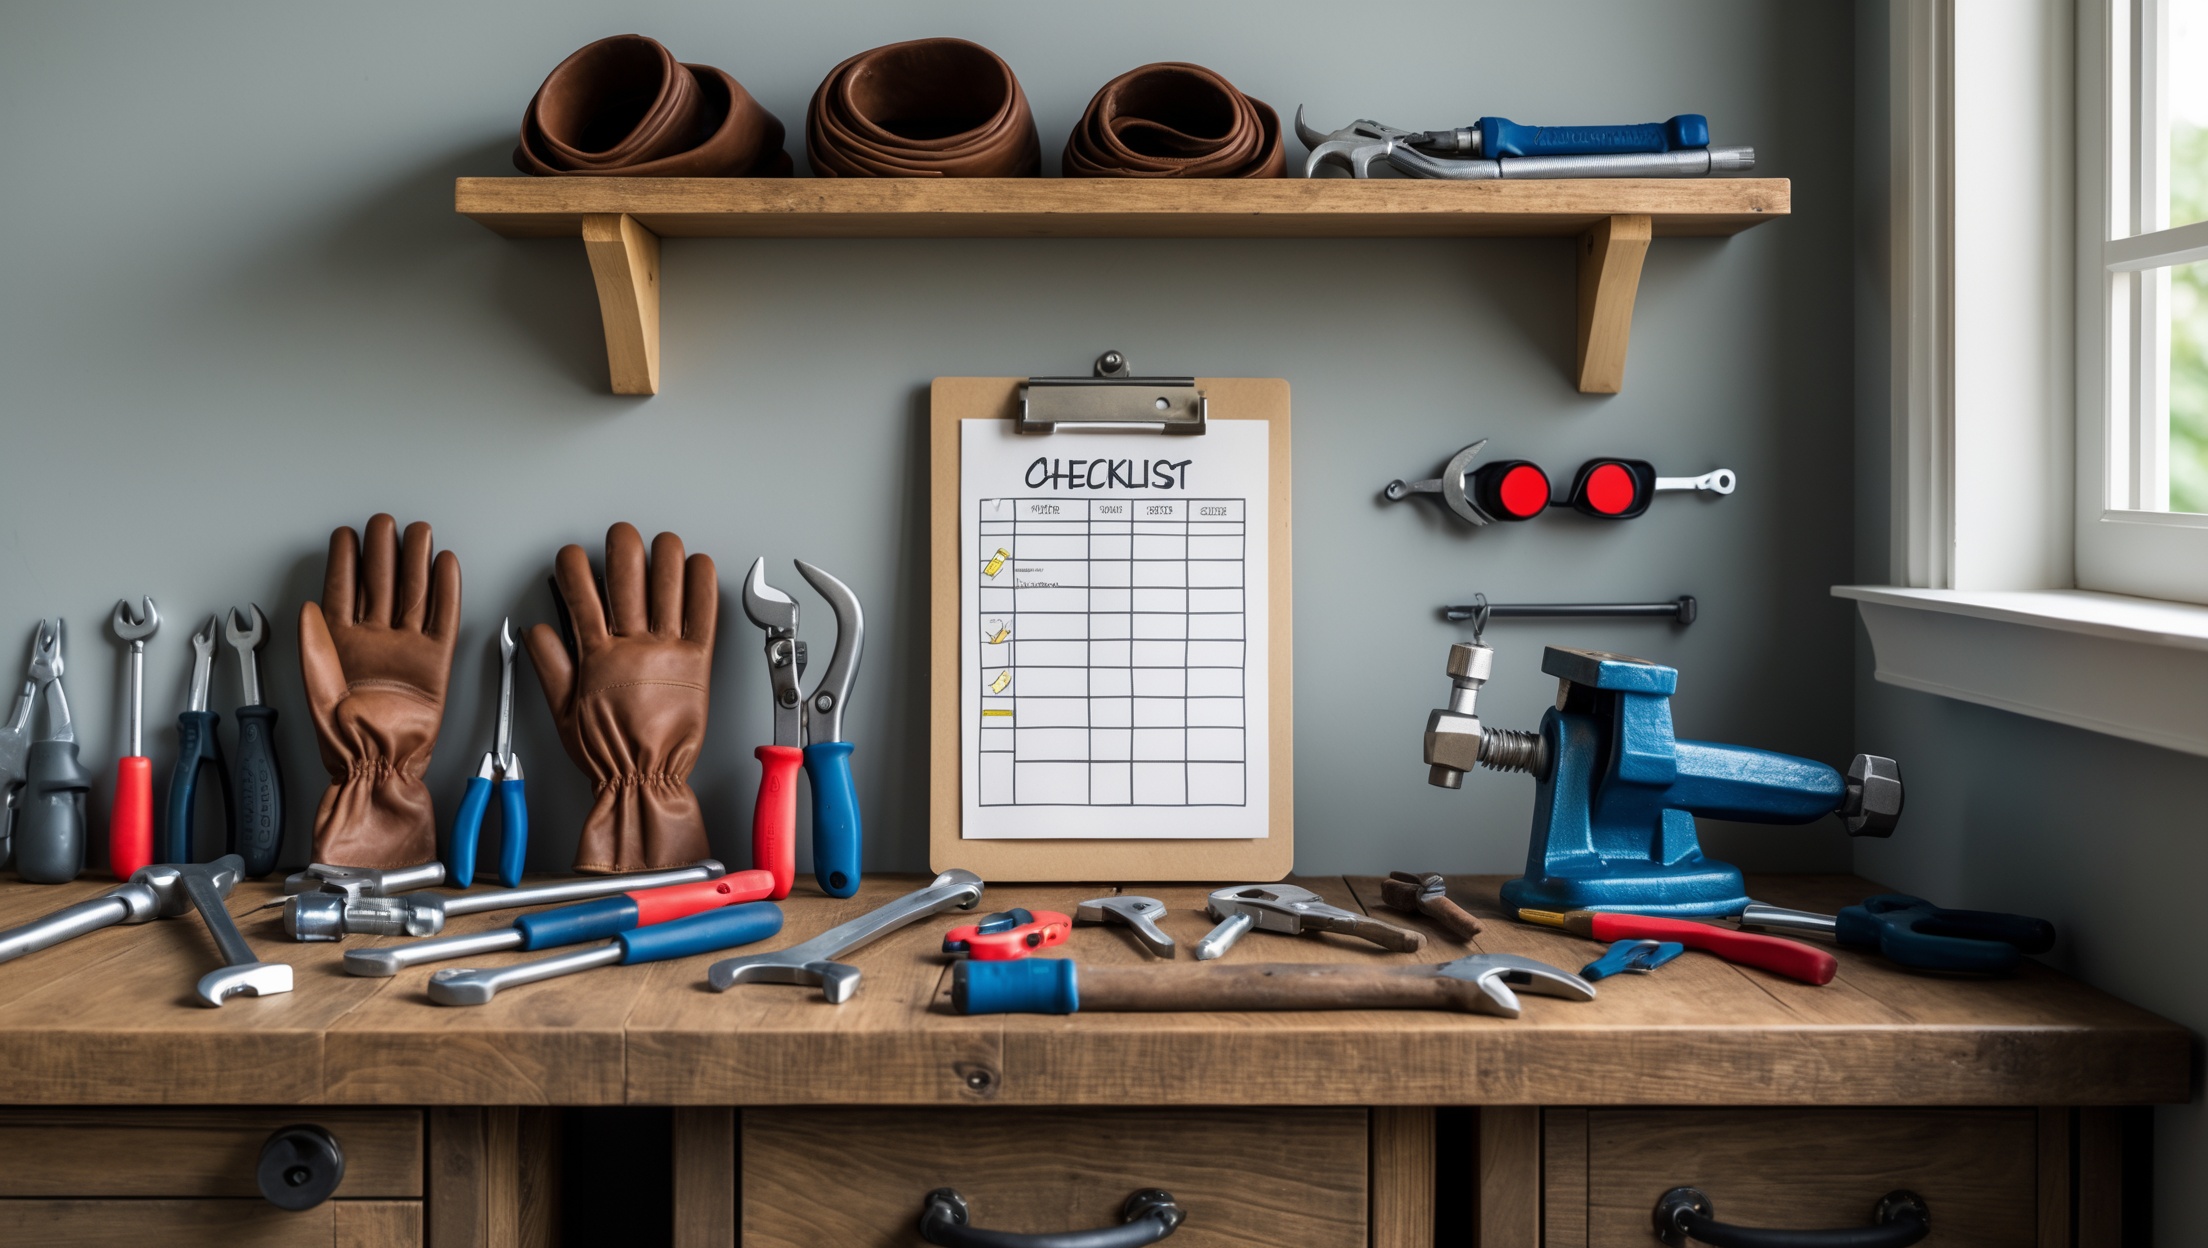
Inspection Preparation Checklist
- Have all plans, permits, and code documents on-site
- Ensure all work is visible and accessible
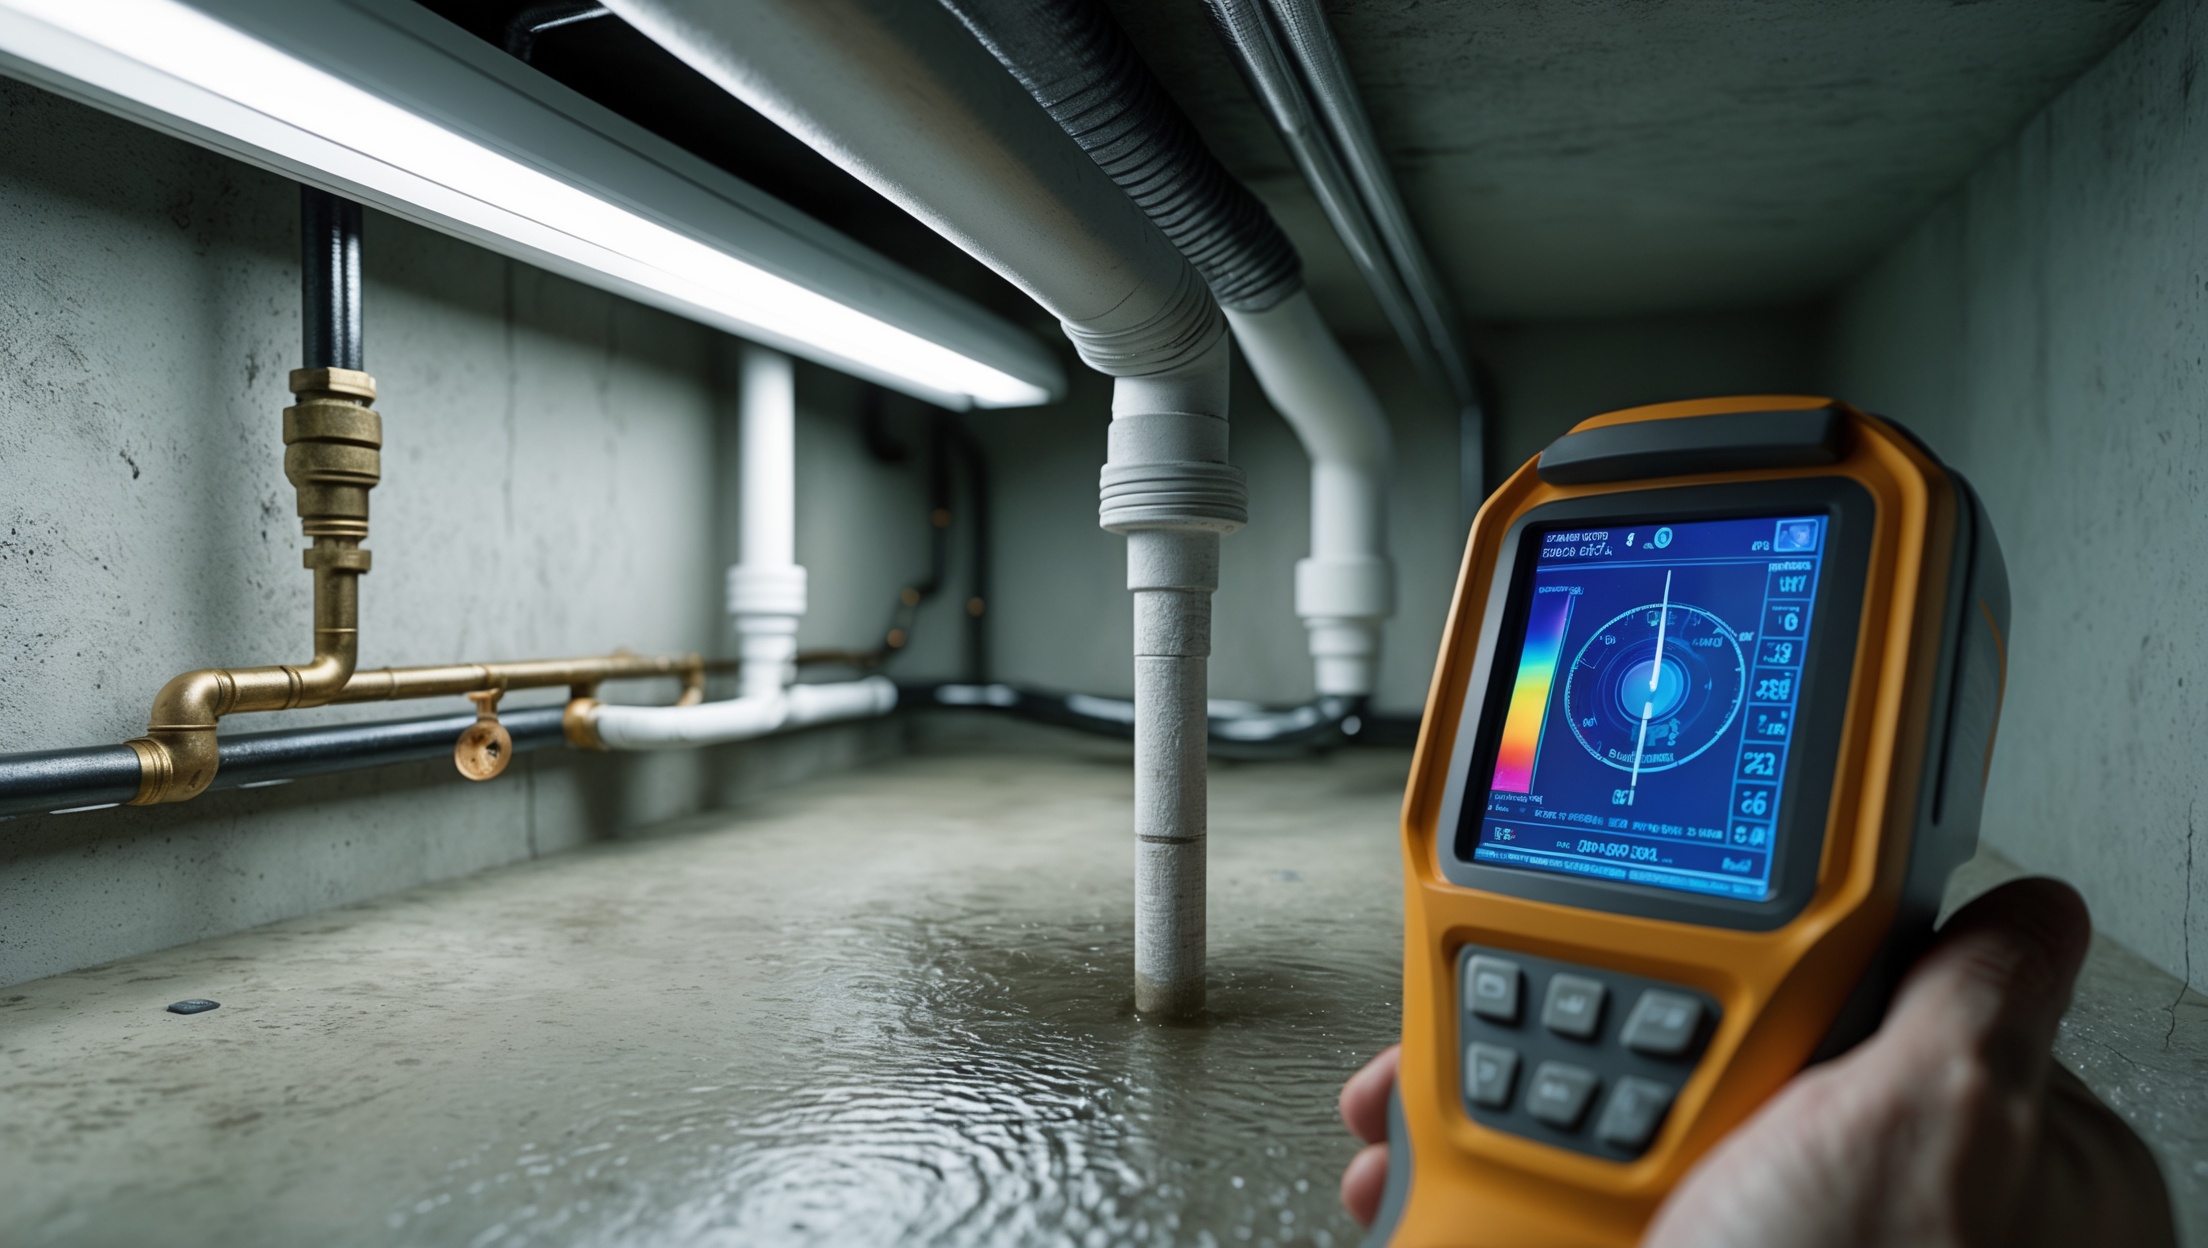
- Test for leaks—pressure test supply lines and fill traps with water
- Label shut-offs and cleanouts
- Fix any temporary connections (inspectors want to see final installations)
Be present during the inspection, ready to answer questions. Take notes on any corrections required.
Step 6: Documenting Your Work
Keep a detailed record of your project. This is invaluable for future maintenance, resale, or insurance claims. Documentation should include:
- Copies of permits and inspection reports
- Photos before, during, and after each stage
- Receipts for materials and fixtures
- Annotated plans or diagrams
Store these in a safe, accessible location. Consider scanning digital copies for backup.
Step 7: Special Considerations for Older Homes
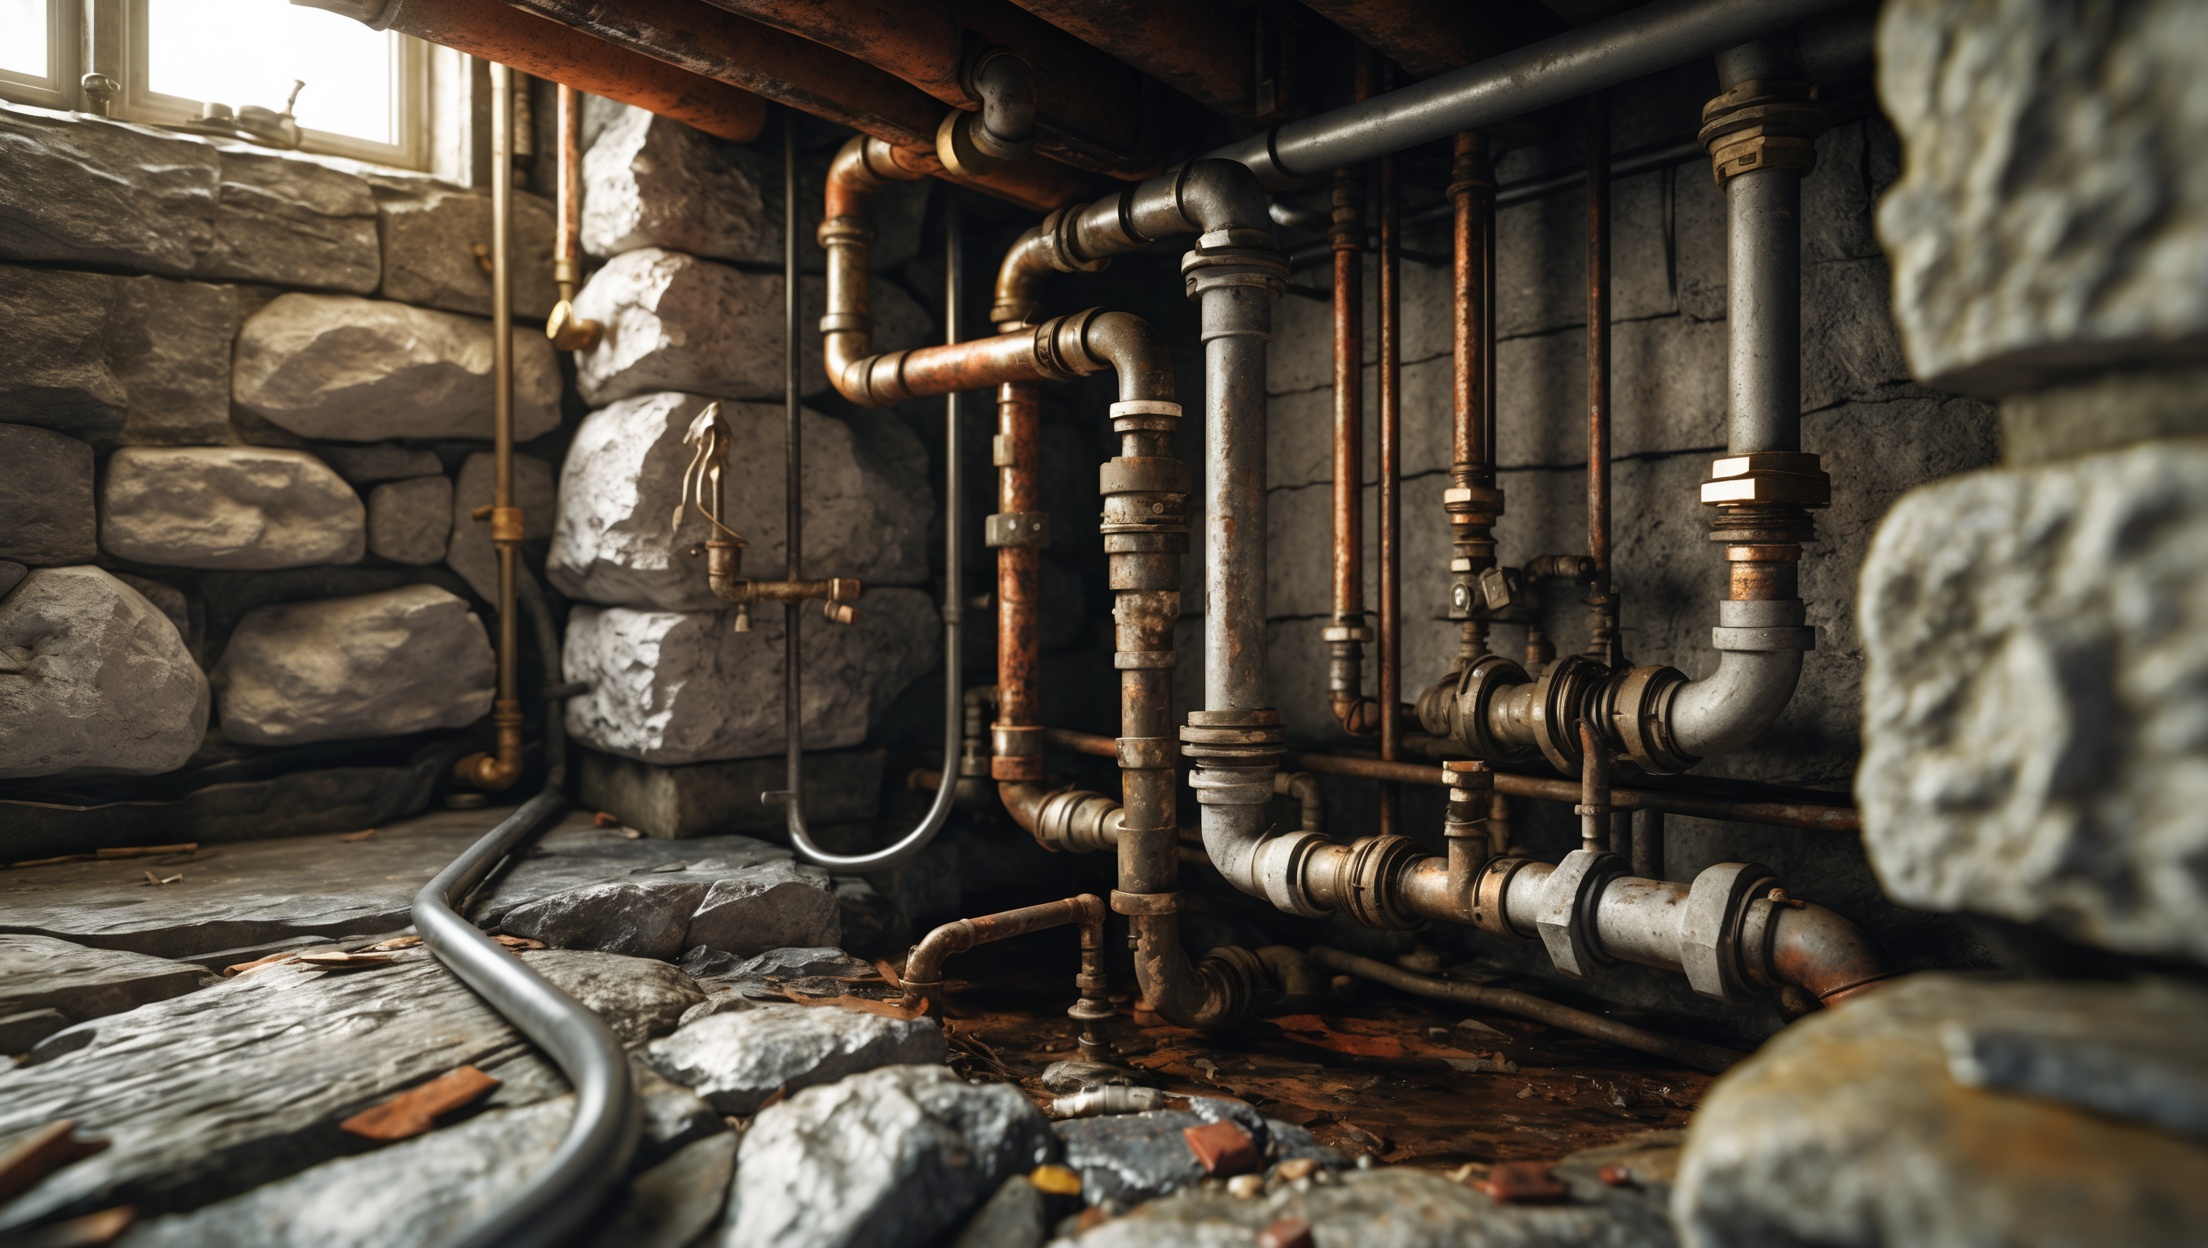
Renovating plumbing in older homes often adds complexity. Watch out for:
- Outdated Materials: Galvanized steel or lead pipes may need full replacement to meet code.
- Hidden Hazards: Asbestos pipe wrap, old electrical wiring, confined spaces, or limited access.
- Historical Restrictions: Some homes in historic districts may have additional permitting requirements.
Always consult your building department before starting work in an older or historically significant property.
Step 8: Post-Project Compliance Check
After passing inspection and closing up walls, do a final self-audit:
- Check for any signs of leaks, drips, or slow drains
- Test all shut-off valves and cleanouts
- Verify that all fixtures have proper water pressure and drainage
- Review your documentation for completeness
This ensures long-term peace of mind and makes future troubleshooting much easier.
FAQ: Plumbing Compliance for DIYers
- Can I do my own plumbing work legally? In many areas, homeowners can do their own work if it’s their primary residence, but permits and inspections are still required.
- What happens if I skip the permit? You may face fines, forced tear-outs, and issues with resale or insurance.
- How do I find my local codes? Start with your city or county building department’s website or office.
- Can I use PEX for everything? Not always—some jurisdictions restrict PEX in certain applications.
Conclusion: Building Confidence Through Compliance
Successfully navigating plumbing compliance as a DIYer isn’t just about checking off boxes for your local inspector. It’s about ensuring that your hard work stands the test of time—providing safe, reliable, and efficient plumbing for your family and future homeowners. By taking the time to research codes, secure permits, plan carefully, and document your project, you protect your investment and avoid headaches that can arise from non-compliance. Remember, inspectors and building departments are valuable resources, not adversaries. Their primary goal is safety, and most are happy to help homeowners get it right.
Whether you’re replacing a bathroom vanity or running new lines for a kitchen upgrade, compliance steps are your roadmap to a successful project. The peace of mind you gain from knowing your work is code-compliant is well worth the extra time and effort. As you tackle your next DIY plumbing project, keep this checklist close at hand—your future self (and your home) will thank you.




Jennifer Lopez
If my city uses the IPC but has its own amendments, how do I figure out exactly which local changes apply to a DIY bathroom remodel? The article mentions contacting the building department, but are there specific documents or checklists I should ask for?