Introduction: Why Plumbing Safety Matters for Every DIYer
DIY plumbing can be empowering, cost-effective, and even enjoyable—until something goes wrong. Every year, homeowners suffer injuries or cause unintended water damage because they underestimate the risks involved in plumbing repairs. From exposure to harsh chemicals and sharp tools to electrical hazards near water lines, the dangers are real and often overlooked. Whether you’re fixing a leaky faucet, replacing a shut-off valve, or unclogging a stubborn drain, preparation is crucial. This comprehensive plumbing safety checklist will walk you through the essential steps to take before you pick up a wrench. Designed for homeowners and DIY enthusiasts of all experience levels, it covers everything from personal protective equipment to system shut-down procedures and workspace organization. By following these detailed guidelines, you can significantly reduce the risk of accidents and protect both yourself and your property from costly mistakes. Let’s dive into the practical steps that set the foundation for safe and successful plumbing repairs.
Personal Protective Equipment (PPE): Your First Line of Defense
Assessing the Right PPE for the Task
Not all plumbing jobs are created equal. Some require minimal gear, while others demand a full suite of protective equipment. Before starting, analyze the job:
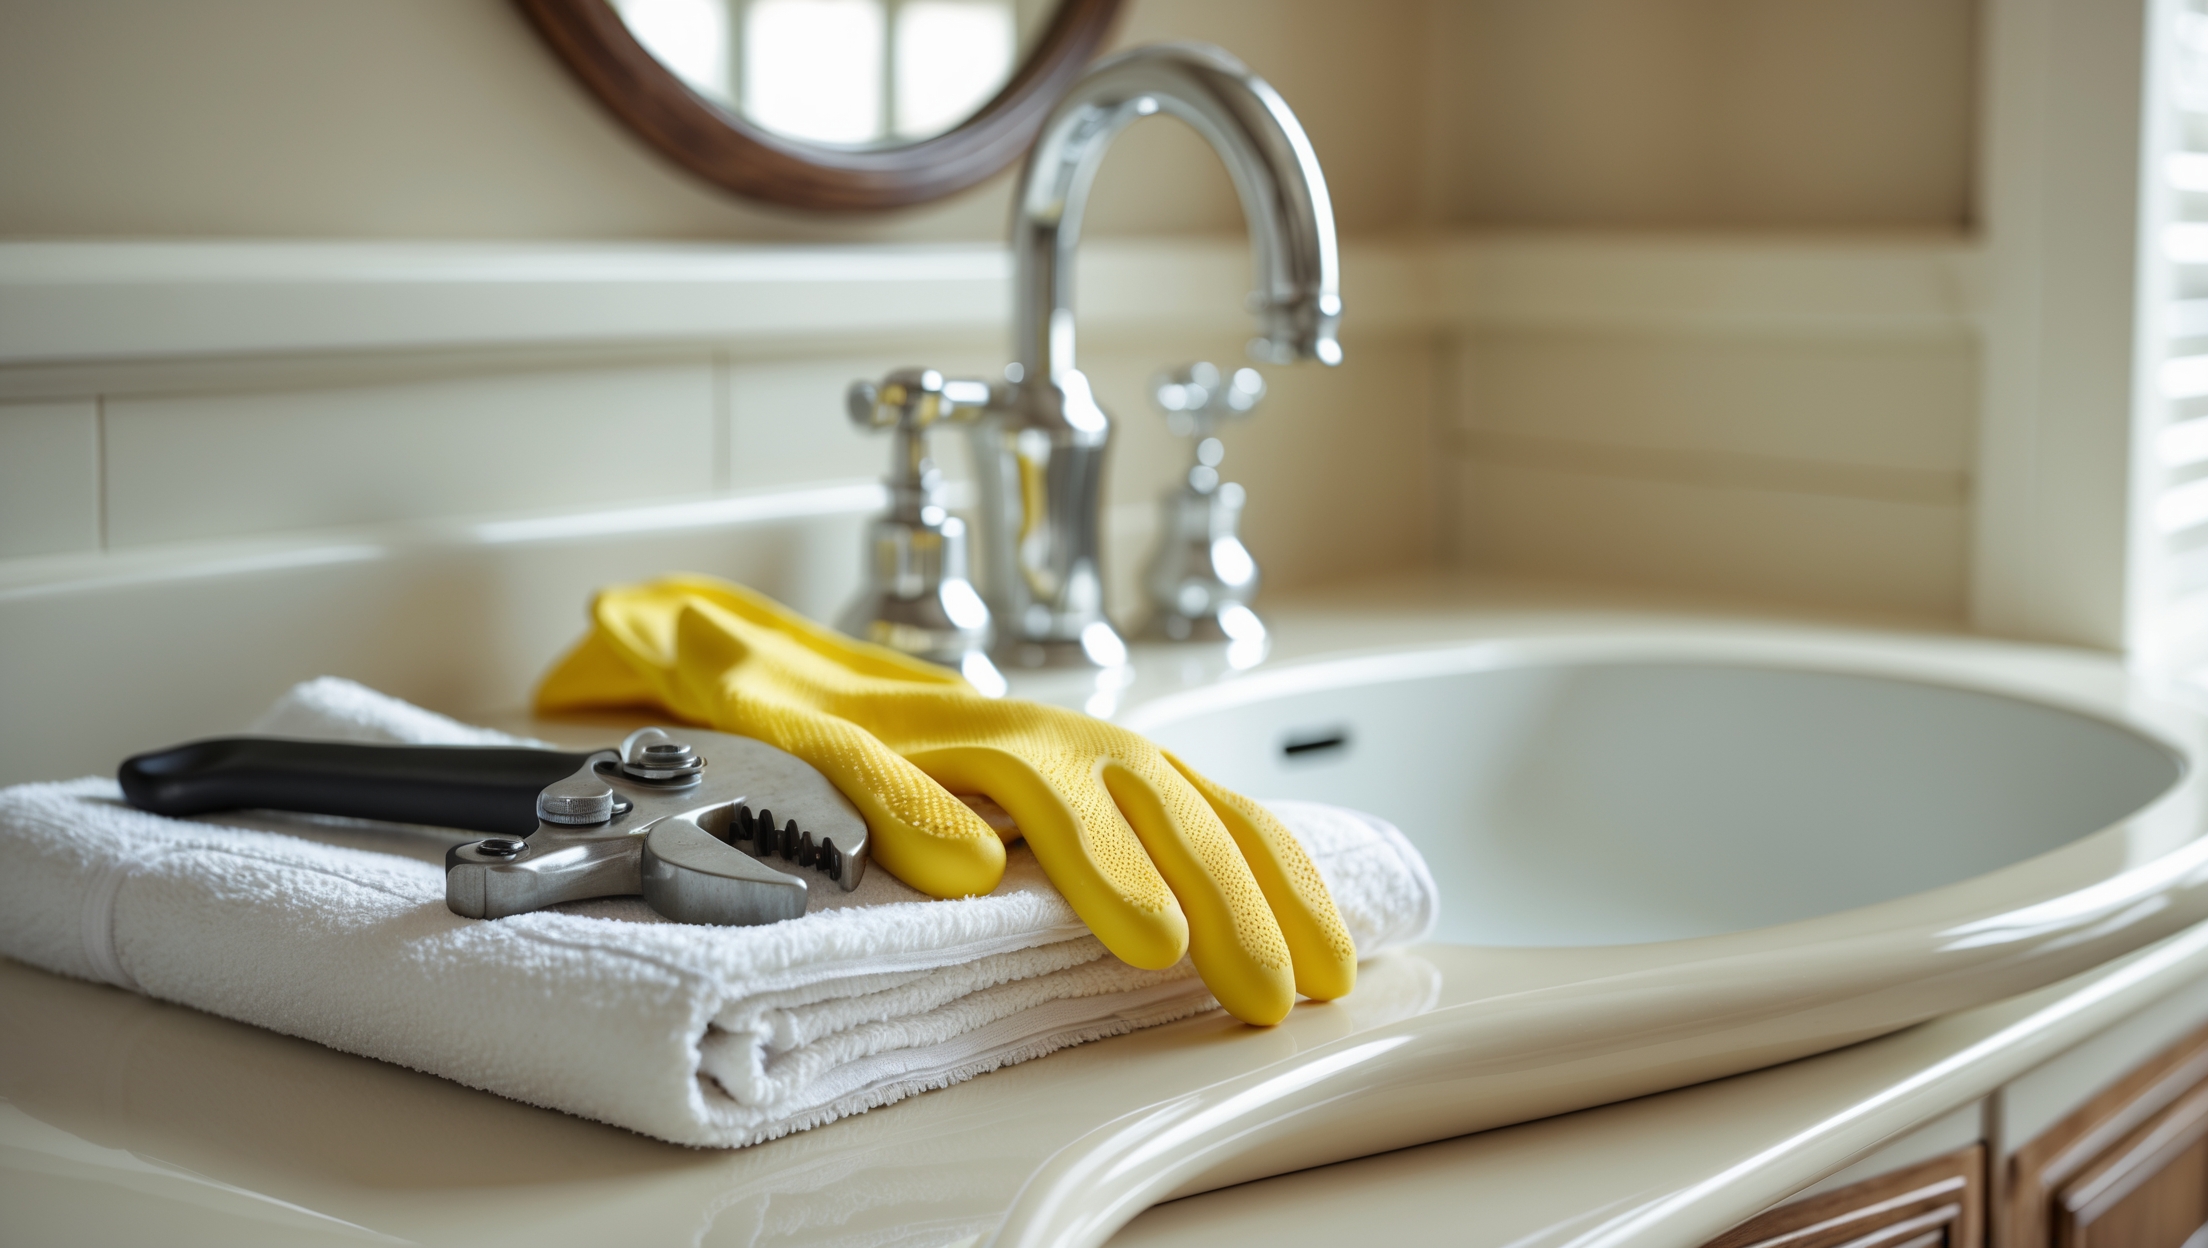
- Gloves: Use durable, waterproof gloves for handling pipes, drains, and fittings. Nitrile gloves protect against chemicals, while cut-resistant gloves shield you from sharp edges.
- Safety Glasses or Goggles: Always wear eye protection to guard against flying debris, splashes from drain cleaners, or accidental water sprays.
- Face Mask or Respirator: If you’re working in dusty environments or with chemical drain cleaners, protect your respiratory system.
- Knee Pads: Extended work under sinks or on hard floors can take a toll—knee pads prevent discomfort and injury.
- Hearing Protection: Power tools or hammering on pipes can cause hearing damage. Use earplugs or earmuffs as needed.
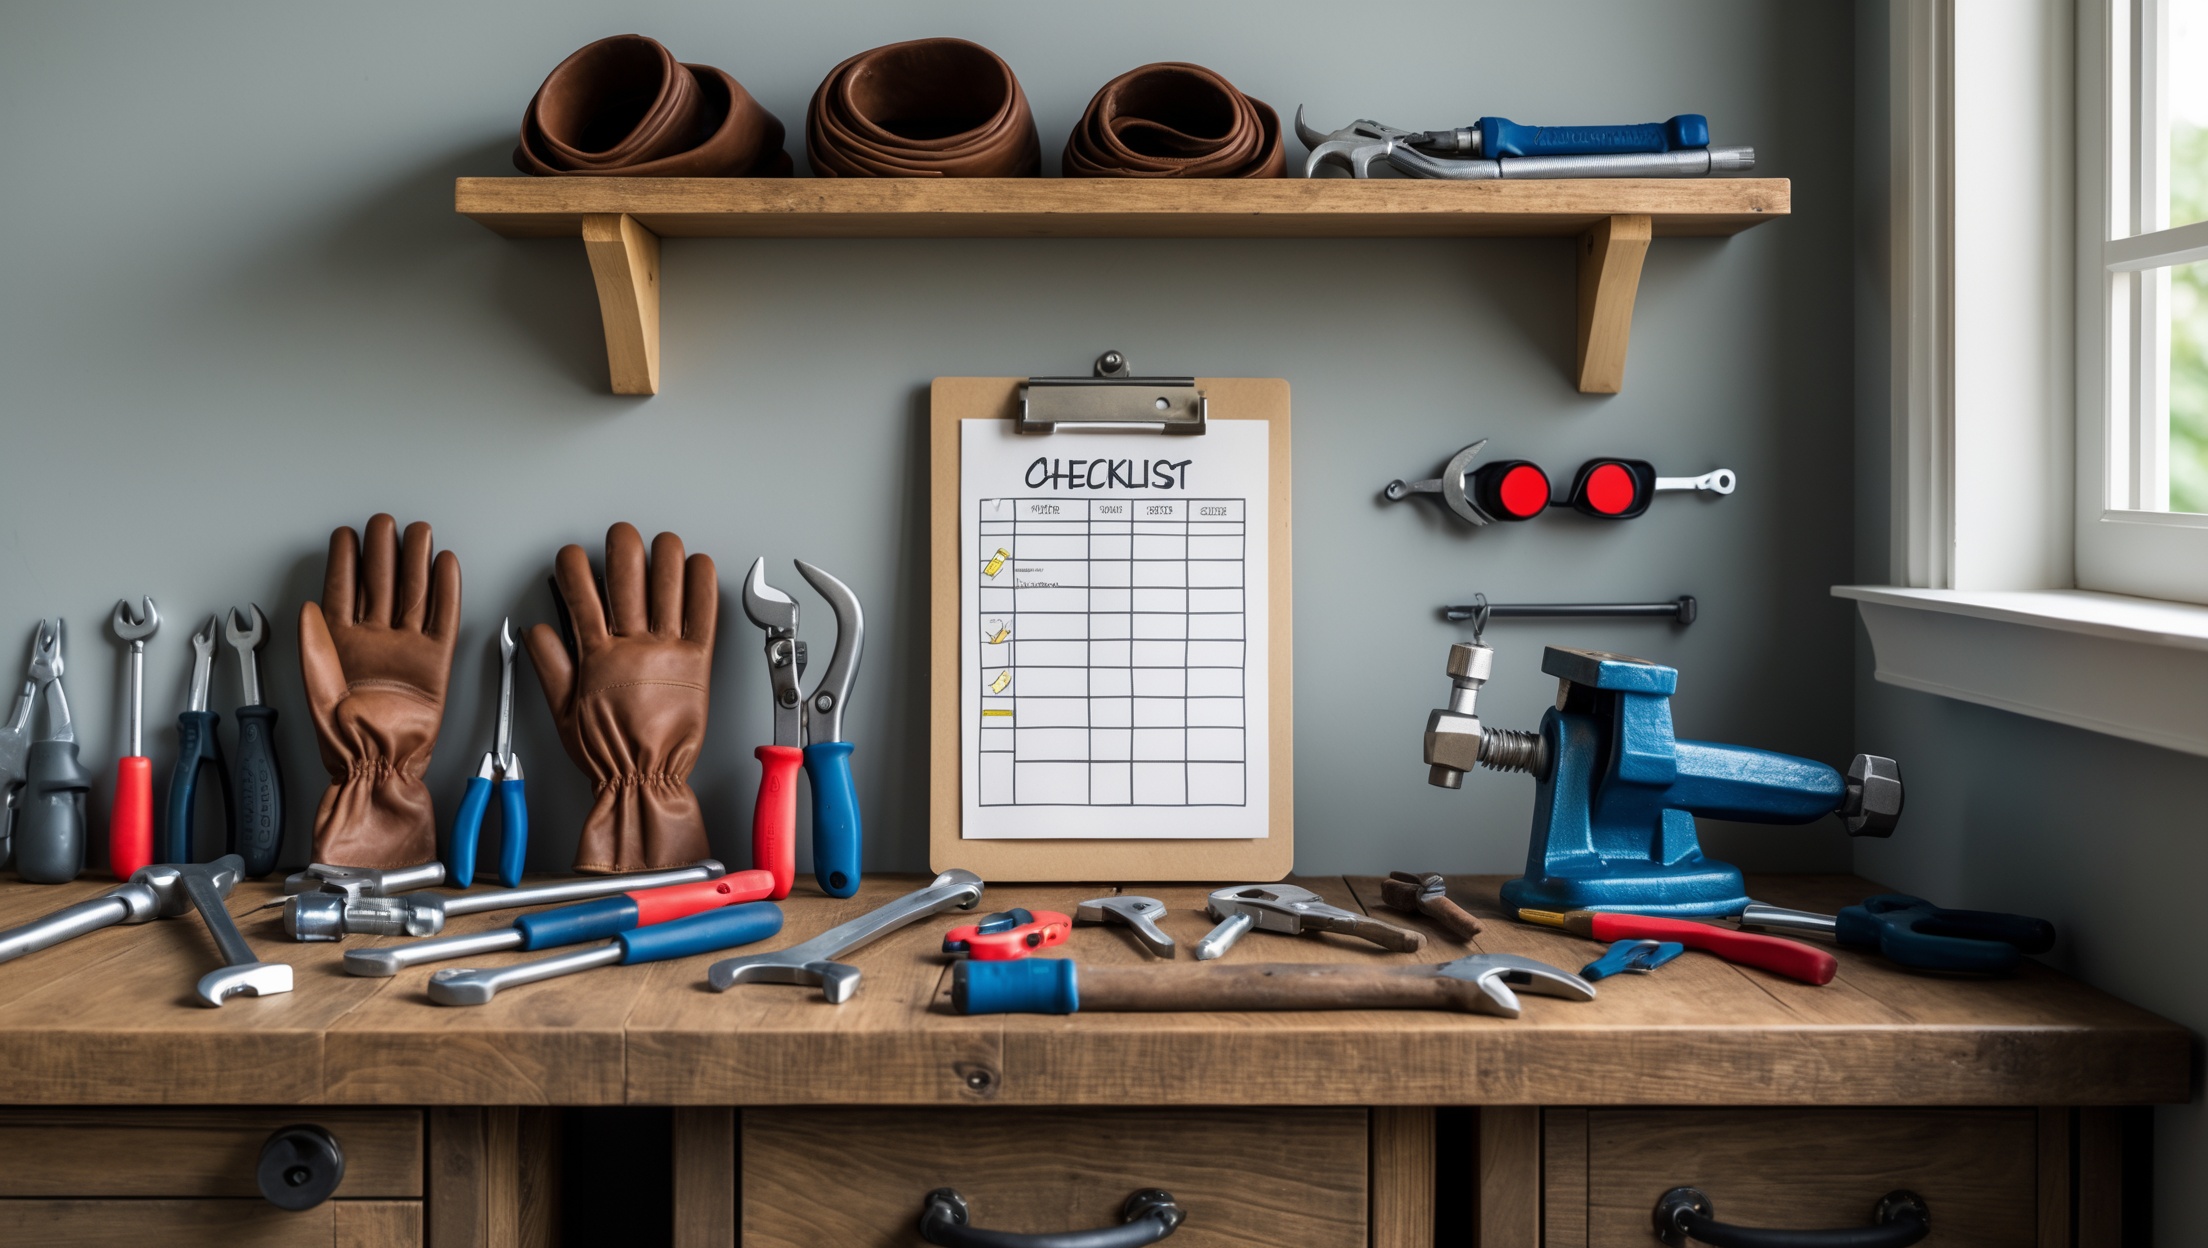
Checklist: PPE Essentials Before You Begin
- Lay out gloves, goggles, and mask before starting.
- Check for tears, cracks, or contamination in all PPE.
- Ensure PPE fits snugly and comfortably.
- Have a spare set of gloves and glasses in case of breakage.
System Shut-Down: Preventing Unintended Floods and Shocks
Water Supply: Know Your Shut-Offs
Before you touch any pipe or fixture, locate and test the relevant shut-off valves:
- Main Water Shut-Off: Identify its location (often near the water meter or where the main line enters your home). Practice turning it off and back on—sometimes valves seize up from disuse.
- Fixture-Specific Valves: Sinks, toilets, and washing machines usually have dedicated shut-off valves. Turn these off before disassembly.
- Drain the Lines: After shutting off water, open the lowest faucet in your home to drain residual water and reduce pressure.
Electricity: Stay Clear of Hidden Hazards
Water and electricity are a dangerous mix. Plumbing work may expose hidden wiring or require the use of power tools near moisture. Follow these steps:
- Shut off power to the area if working near electrical outlets, water heaters, or appliances.
- Test outlets with a voltage tester before starting.
- Never use power tools with wet hands or in standing water.
Workspace Preparation: Organize for Efficiency and Safety
Clear and Clean the Area
- Remove rugs, toiletries, and clutter from the work area.
- Lay down old towels or a waterproof mat to catch drips and protect flooring.
- Ensure adequate lighting; use a battery-powered work light if needed.
- Ventilate the space, especially if using chemicals or working in enclosed spaces (like under sinks or in crawlspaces).
Tool and Material Staging
- Check that you have all necessary tools and replacement parts before starting—running to the store mid-repair increases risk and frustration.
- Arrange tools on a tray or in a tool bucket to prevent accidental drops or spills.
- Have a bucket and absorbent towels ready for unexpected leaks.
Chemical Safety: Handling and Disposal
Read Labels and Instructions
Many plumbing repairs involve the use of chemical drain cleaners, pipe sealants, or adhesives. Each carries risks that can be mitigated by:
- Reading manufacturer labels thoroughly for hazards, first aid, and proper usage.
- Measuring and mixing chemicals exactly as instructed—never mix different cleaners or solvents.
Safe Storage and Disposal
- Keep chemicals out of reach of children and pets.
- Store chemicals in original containers, tightly sealed, and away from heat or open flames.
- Dispose of unused chemicals at a hazardous waste facility—never pour them down the drain unless the label explicitly allows.
Assessing the Plumbing System: Know What You’re Working With
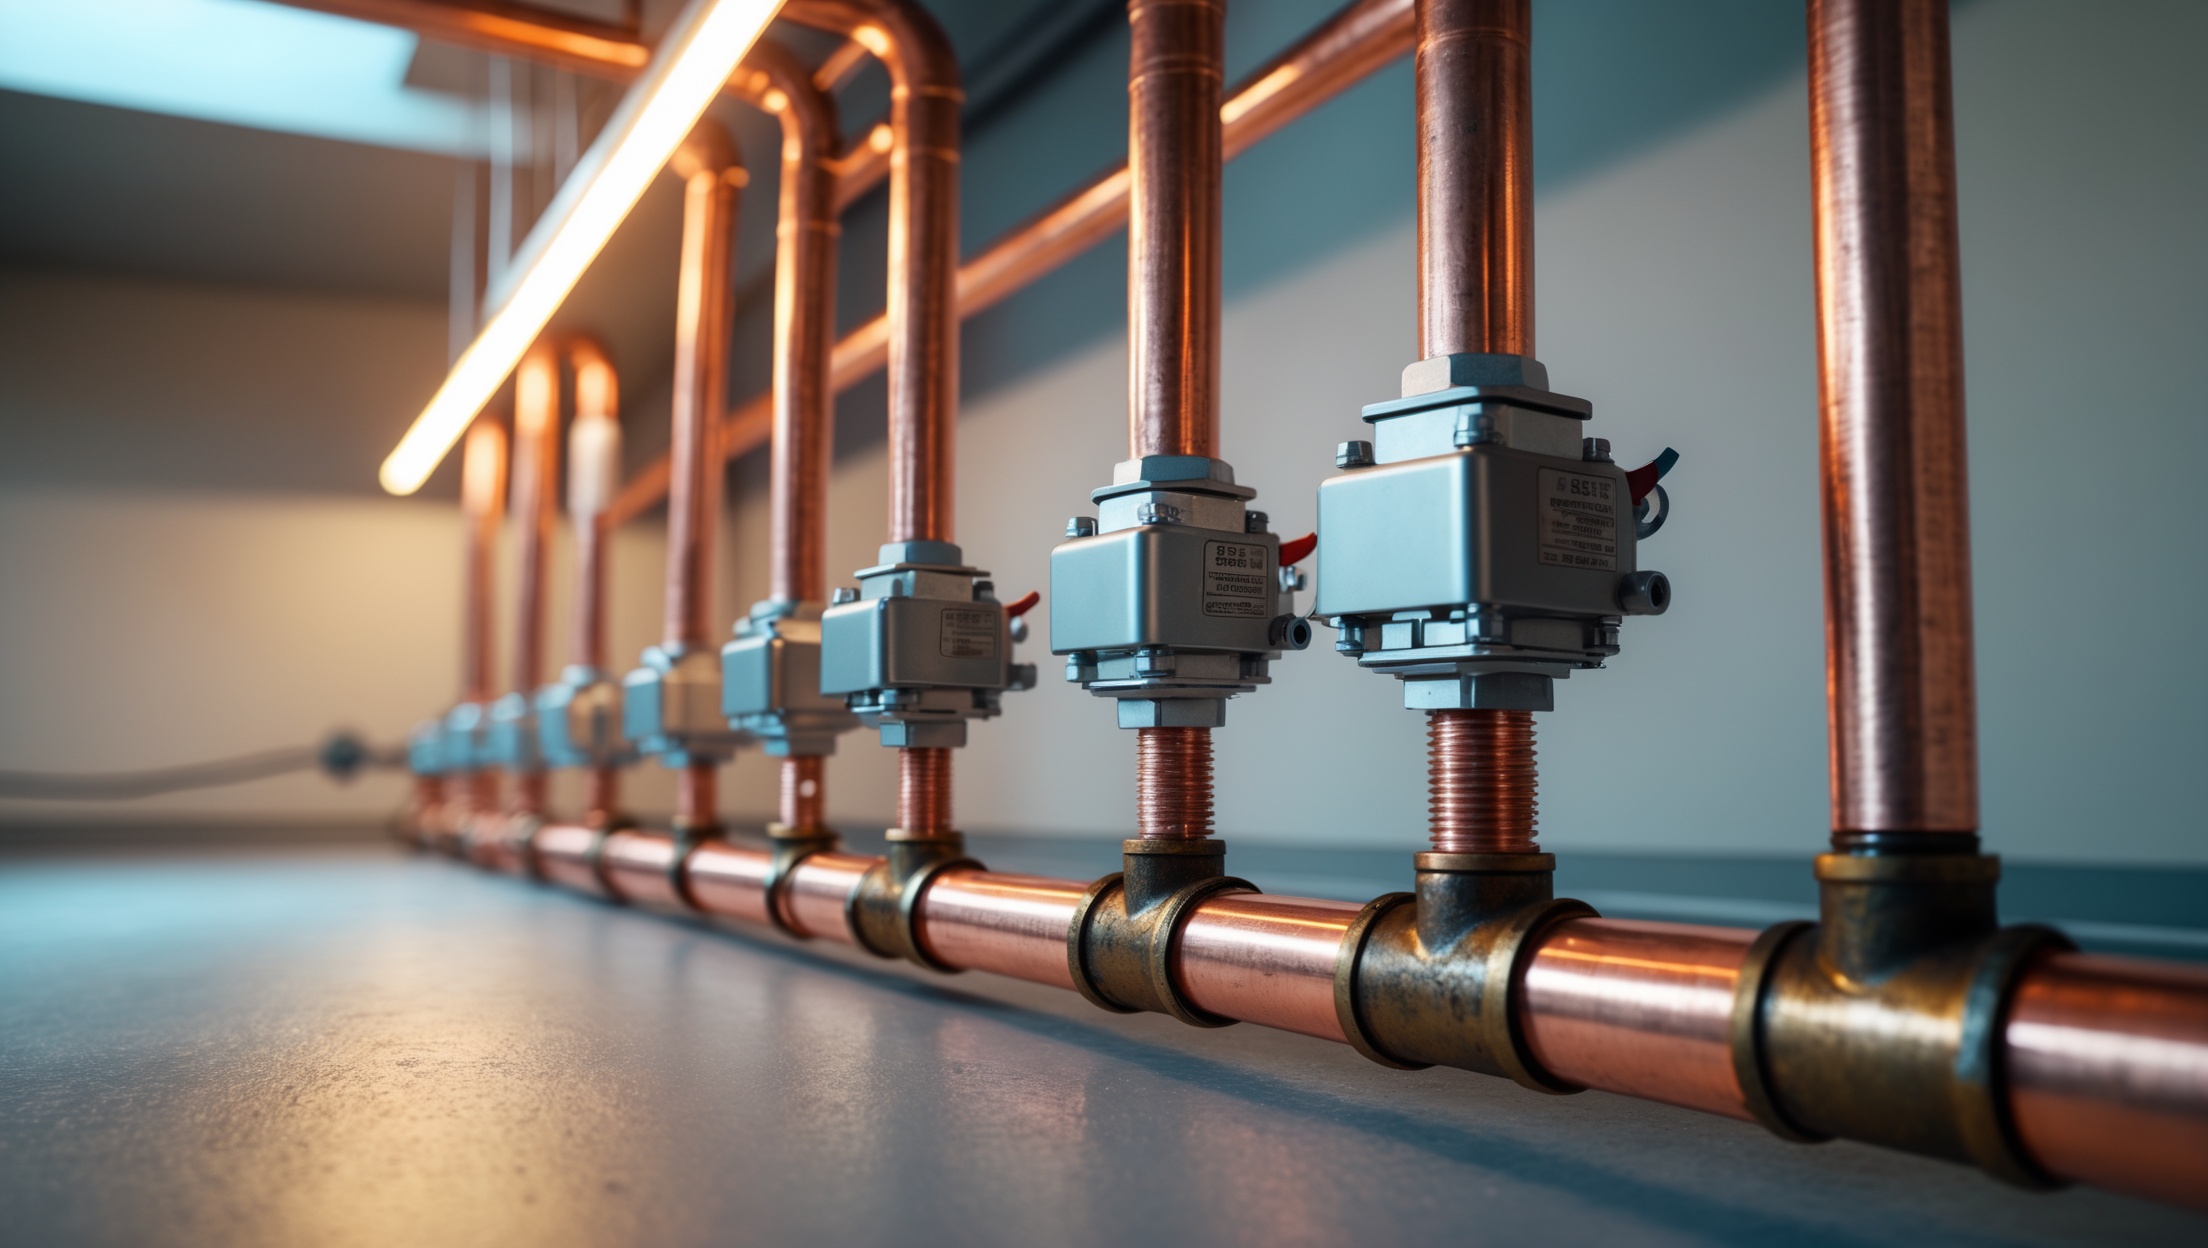
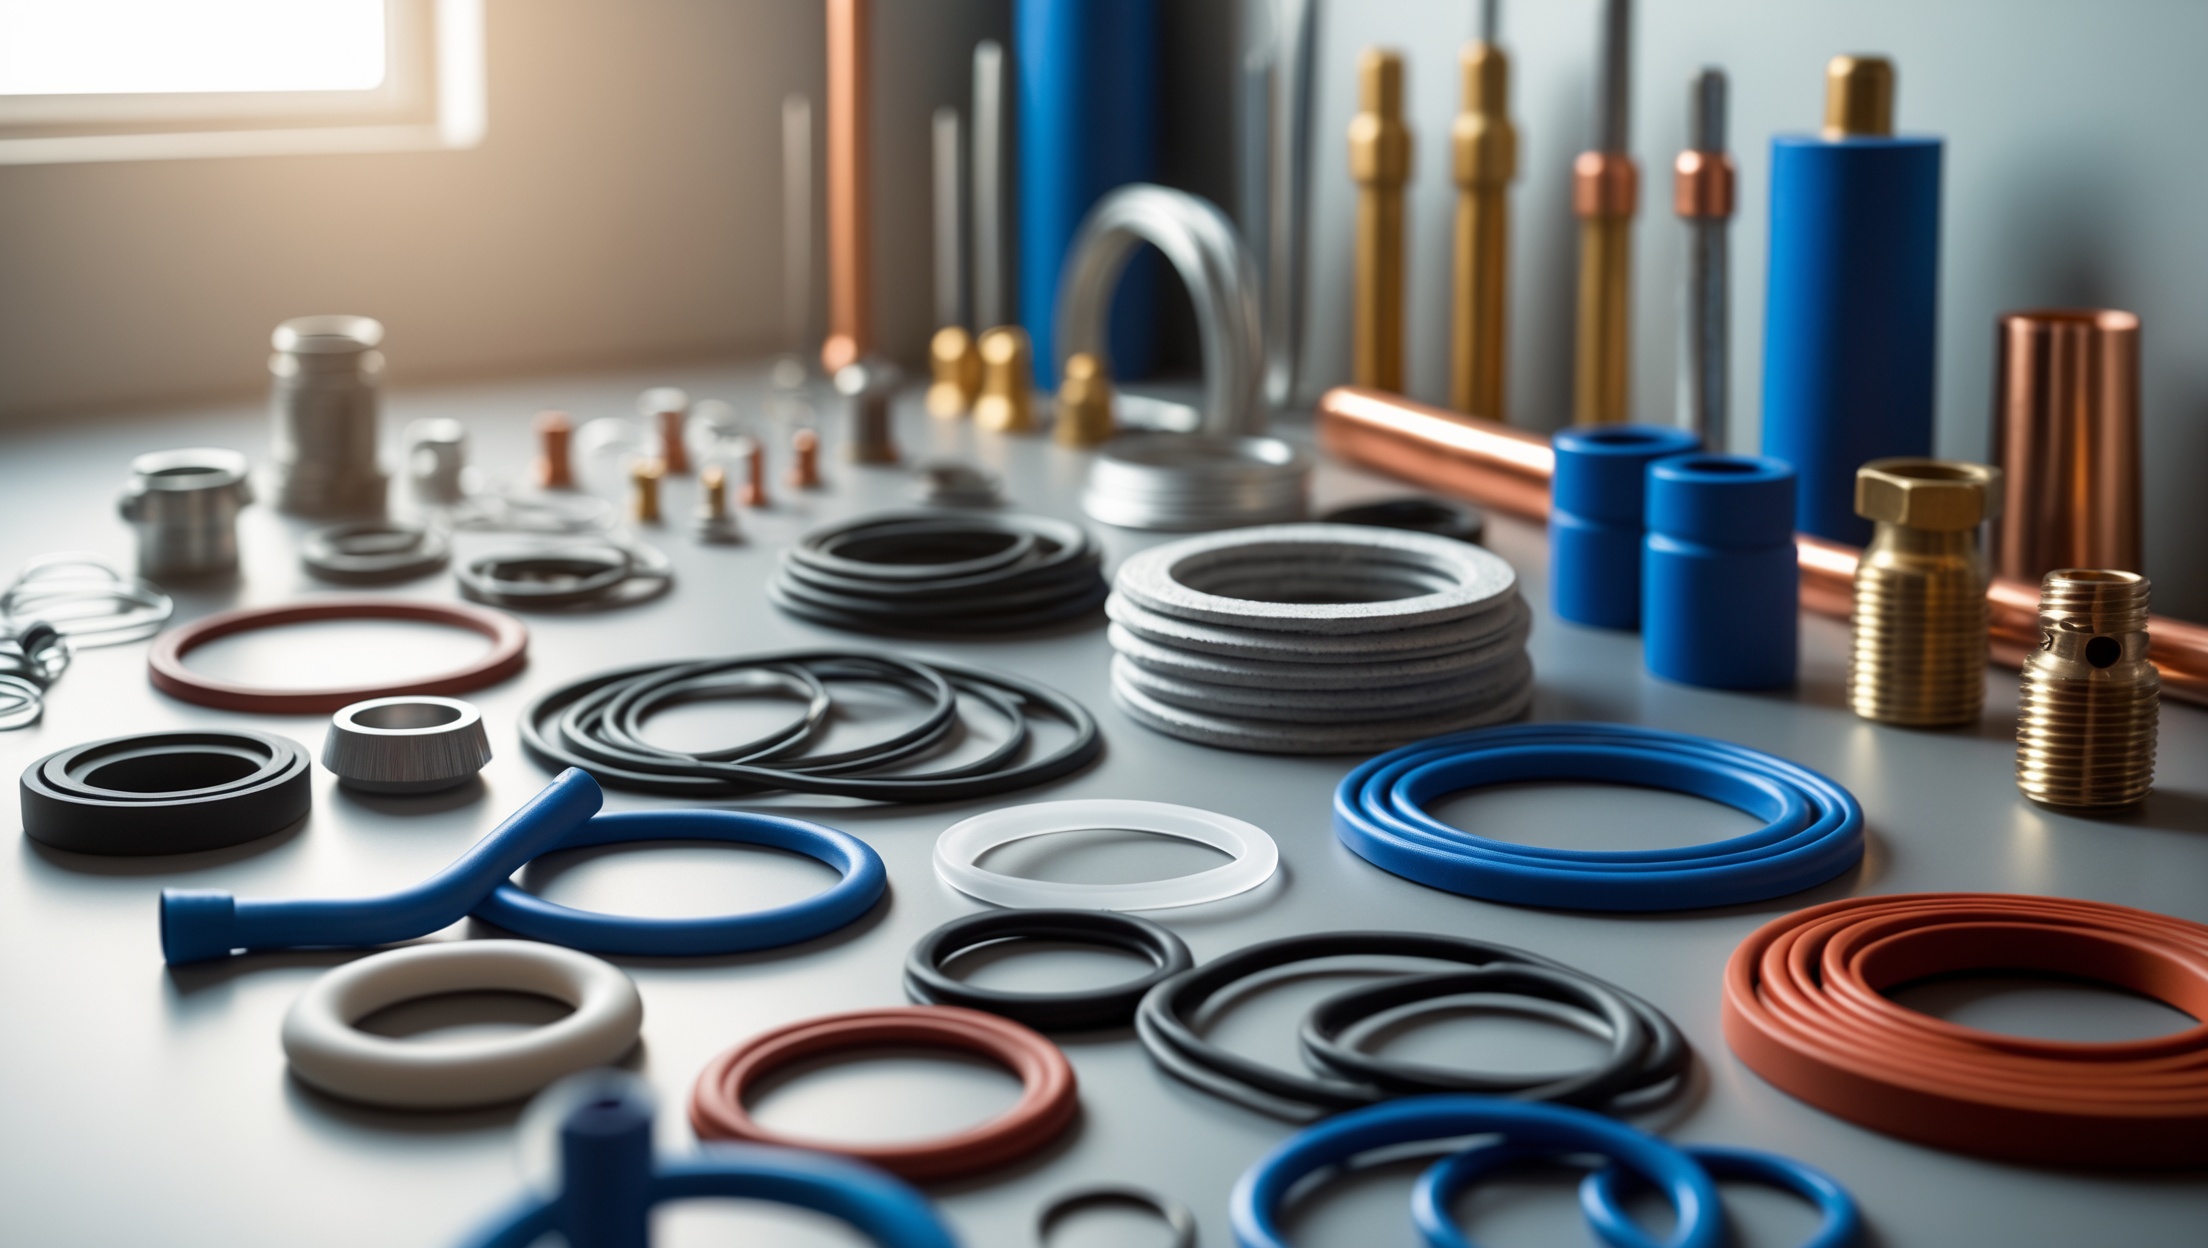
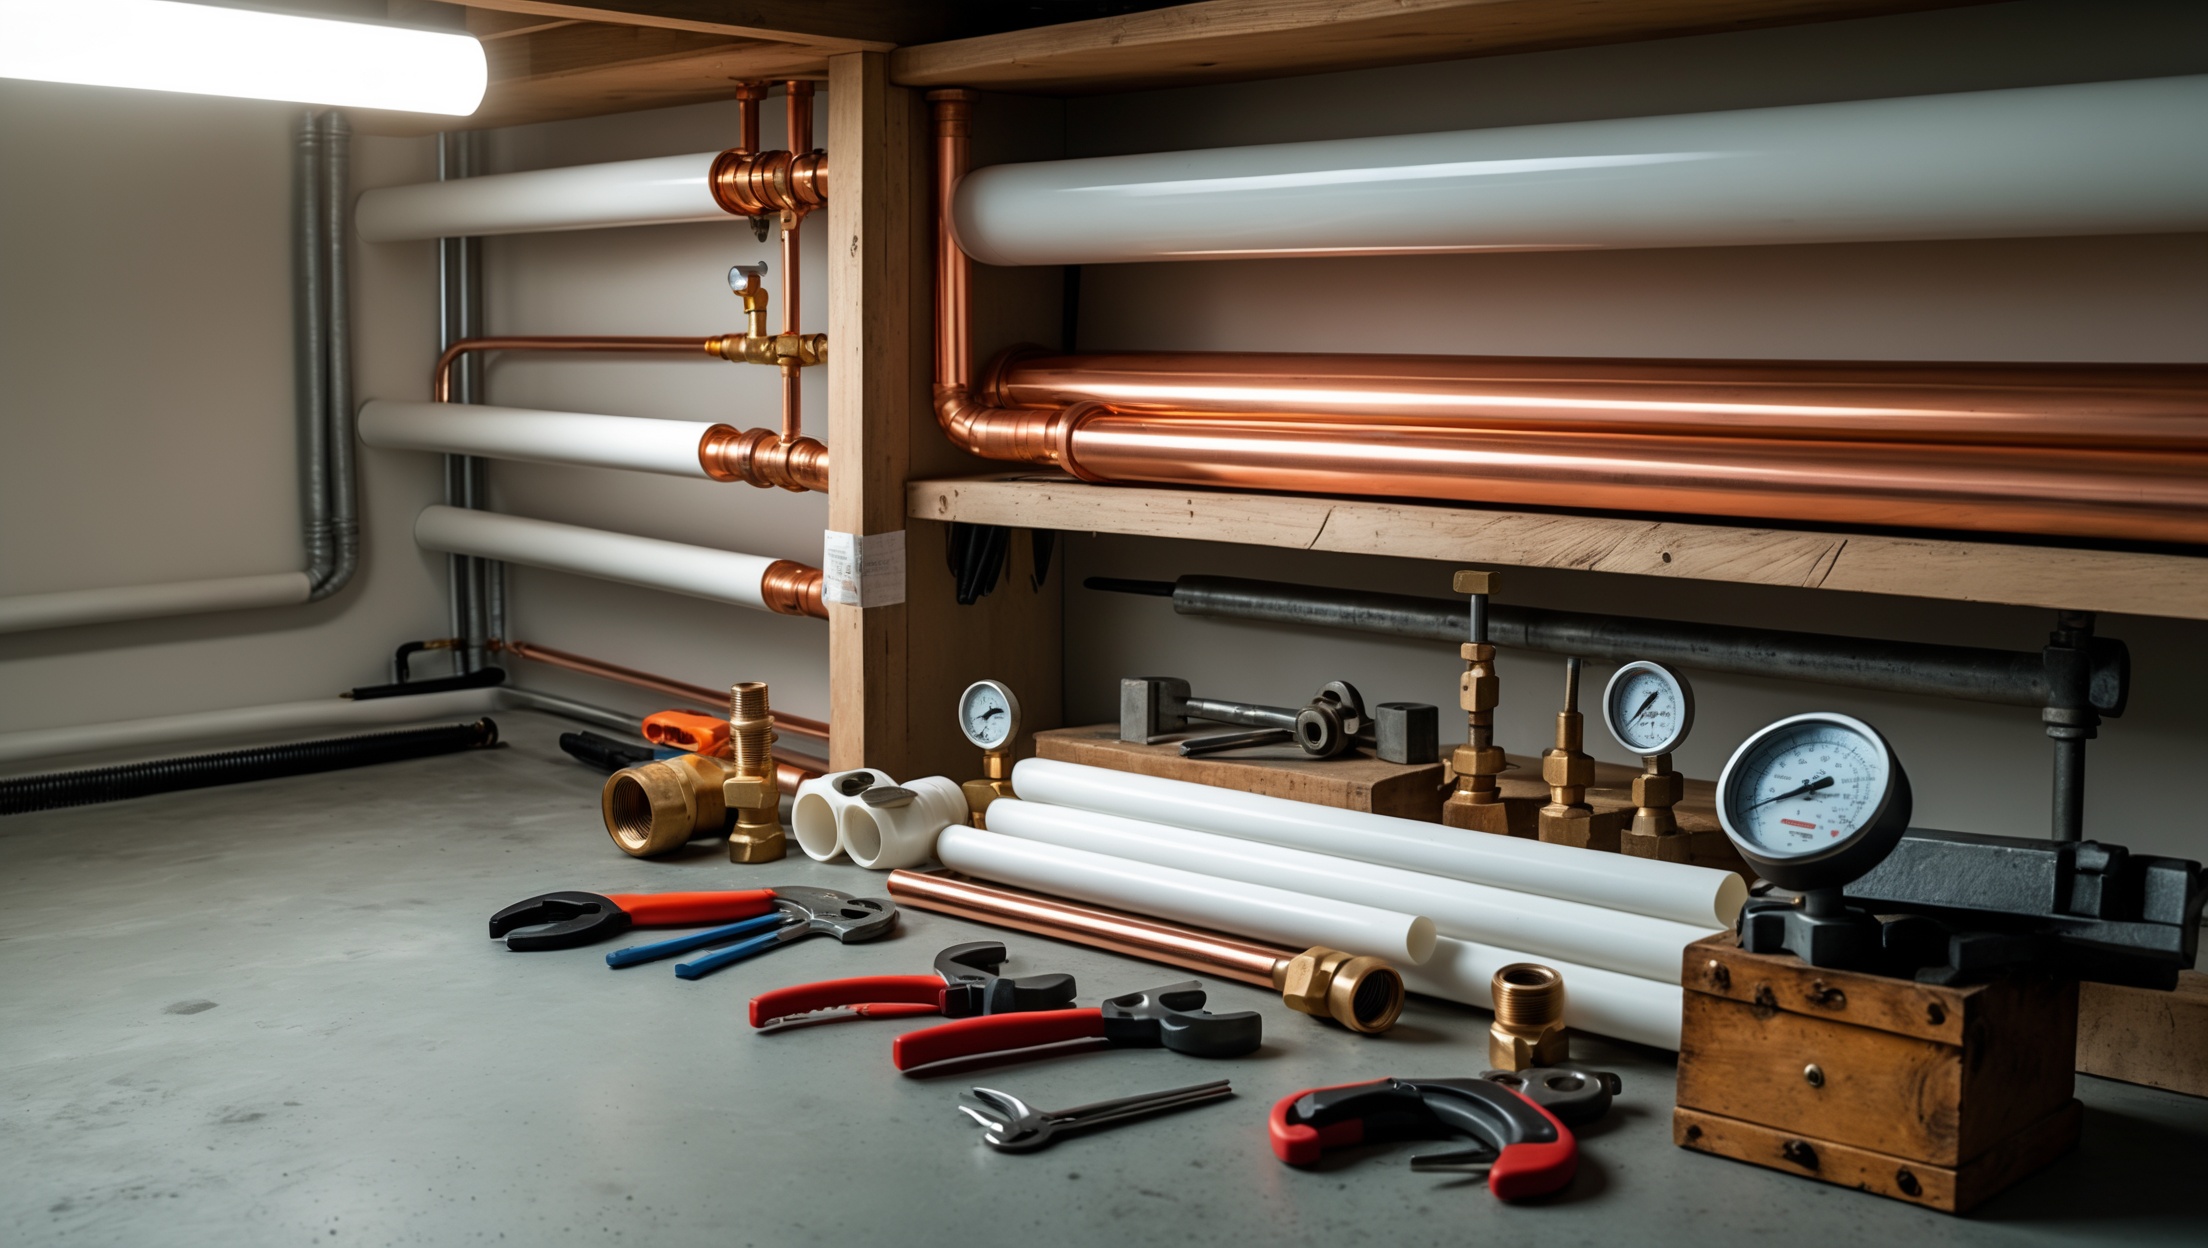
Identify Pipe Material
Pipes may be copper, PVC, PEX, galvanized steel, or even lead. Each material requires different tools and safety considerations:
- Lead Pipes: If you suspect lead, do not disturb—lead exposure is hazardous. Contact a licensed professional.
- Old or Brittle Pipes: Older pipes can break or crumble unexpectedly. Apply gentle force and consider professional help for fragile systems.
Check for Asbestos or Mold
- Insulation around pipes in homes built before 1980 may contain asbestos. If you see white or gray fibrous material, stop work and consult an abatement expert.
- If you notice black or green mold, wear an N95 mask and limit disturbance until it can be safely removed.
Emergency Preparedness: Have a Plan Before You Start
Know Your Emergency Contacts
- Have the number of a local 24/7 emergency plumber saved in your phone.
- Know the location of your nearest urgent care or emergency room in case of injury.
Prepare for Contingencies
- Keep a fire extinguisher nearby if working with torches or soldering tools.
- Have a first aid kit on hand with bandages, antiseptic, and eye wash.
- Notify someone else in the household that you’re about to start a repair—they can assist or call for help if something goes wrong.
Step-by-Step Safety Checklist: Before You Begin Any DIY Plumbing Repair
- Inspect and don all required PPE (gloves, goggles, mask, etc.).
- Identify and test all water shut-off valves pertinent to your repair.
- Shut off electrical circuits in your work area if applicable.
- Clear and organize your workspace; ensure adequate lighting and ventilation.
- Stage all tools, materials, and backup supplies within arm’s reach.
- Read all chemical labels and instructions before use; prep safe storage and disposal options.
- Assess pipe material and system age; avoid disturbing hazardous materials.
- Prepare for spills and leaks with towels, buckets, and a plan for rapid clean-up.
- Have emergency contacts and first aid supplies easily accessible.
- Notify another person when and where you’ll be working.
Common Safety Pitfalls and How to Avoid Them
- Overconfidence: Don’t skip steps or ignore warning signs because a task seems simple. Even basic repairs can go wrong quickly.
- Improper Tool Use: Using the wrong tool damages both pipes and your hands. Match the tool to the job and inspect it for defects before use.
- Ignoring Leaks: Even a small drip can cause water damage or mold if left unaddressed. Always check for leaks after finishing a repair.
- Forgetting to Ventilate: Chemical fumes and dust can build up fast in enclosed spaces. Open windows and use fans if possible.
- Working Alone in Isolation: Always let someone know you’re working, especially when tackling complex or hazardous repairs.
Advanced Safety: When to Call a Professional
Some plumbing jobs are simply not suitable for DIY due to complexity or risk:
- Major leaks or burst pipes: These require immediate, expert attention to prevent water damage and mold growth.
- Gas line repairs: Only licensed professionals should work on natural gas or propane lines.
- Main sewer line backups: Specialized equipment and training are needed to address these safely.
- Suspected hazardous materials: Lead, asbestos, or large mold infestations must be handled by certified abatement experts.
When in doubt, prioritize safety over savings and call a professional.
Conclusion: Proactive Safety is the Best Tool in Your Kit
Undertaking your own plumbing repairs can be a rewarding way to save money, learn new skills, and maintain your home. However, the foundation of any successful DIY project is a commitment to safety. By following the checklist and best practices outlined in this guide, you not only safeguard your well-being but also ensure the integrity of your home’s plumbing system. Every step—from donning the right PPE and shutting off utilities to organizing your workspace and preparing for emergencies—reduces the risk of accidents, injuries, and costly damage. Remember, even the most seasoned professionals never skip fundamental safety checks, and neither should you.
Take the time to prepare, respect the power of water and tools, and don’t hesitate to seek professional help when a job exceeds your expertise or comfort level. With these habits in place, you’ll set yourself up for plumbing success—confident that you’re not just fixing a leak or a clog, but doing so in the safest possible way. Stay safe, stay prepared, and happy DIY plumbing!


Richard Hernandez
For smaller plumbing tasks like fixing a leaky faucet, is it really necessary to wear all the recommended PPE, or can I safely skip some items if the job seems low-risk?