Introduction: Why Plumbing Gaskets Matter More Than You Think
When it comes to plumbing, the smallest components often make the biggest difference. Gaskets—those humble rings and sheets of rubber, fiber, silicone, or metal—are the unsung heroes keeping our water systems leak-free and efficient. Whether you’re a DIY enthusiast tackling your first faucet repair, a seasoned plumber handling complex installations, or a property manager overseeing routine maintenance, understanding gaskets is crucial. A poorly chosen or improperly installed gasket can lead to persistent drips, water waste, costly damage, and even failed inspections. Yet, many homeowners and newcomers to the trade overlook the nuances of gasket selection and installation, inadvertently setting themselves up for frustration down the line.
This comprehensive guide demystifies plumbing gaskets. We’ll explore the most common types used in residential and light commercial systems, explain where and why each type is used, break down the materials and their pros and cons, and offer detailed, step-by-step installation and troubleshooting advice. Armed with this knowledge, you’ll be able to prevent leaks, maximize the lifespan of your plumbing connections, and tackle repairs or upgrades with confidence. Let’s dive into the world of gaskets—one seal at a time.
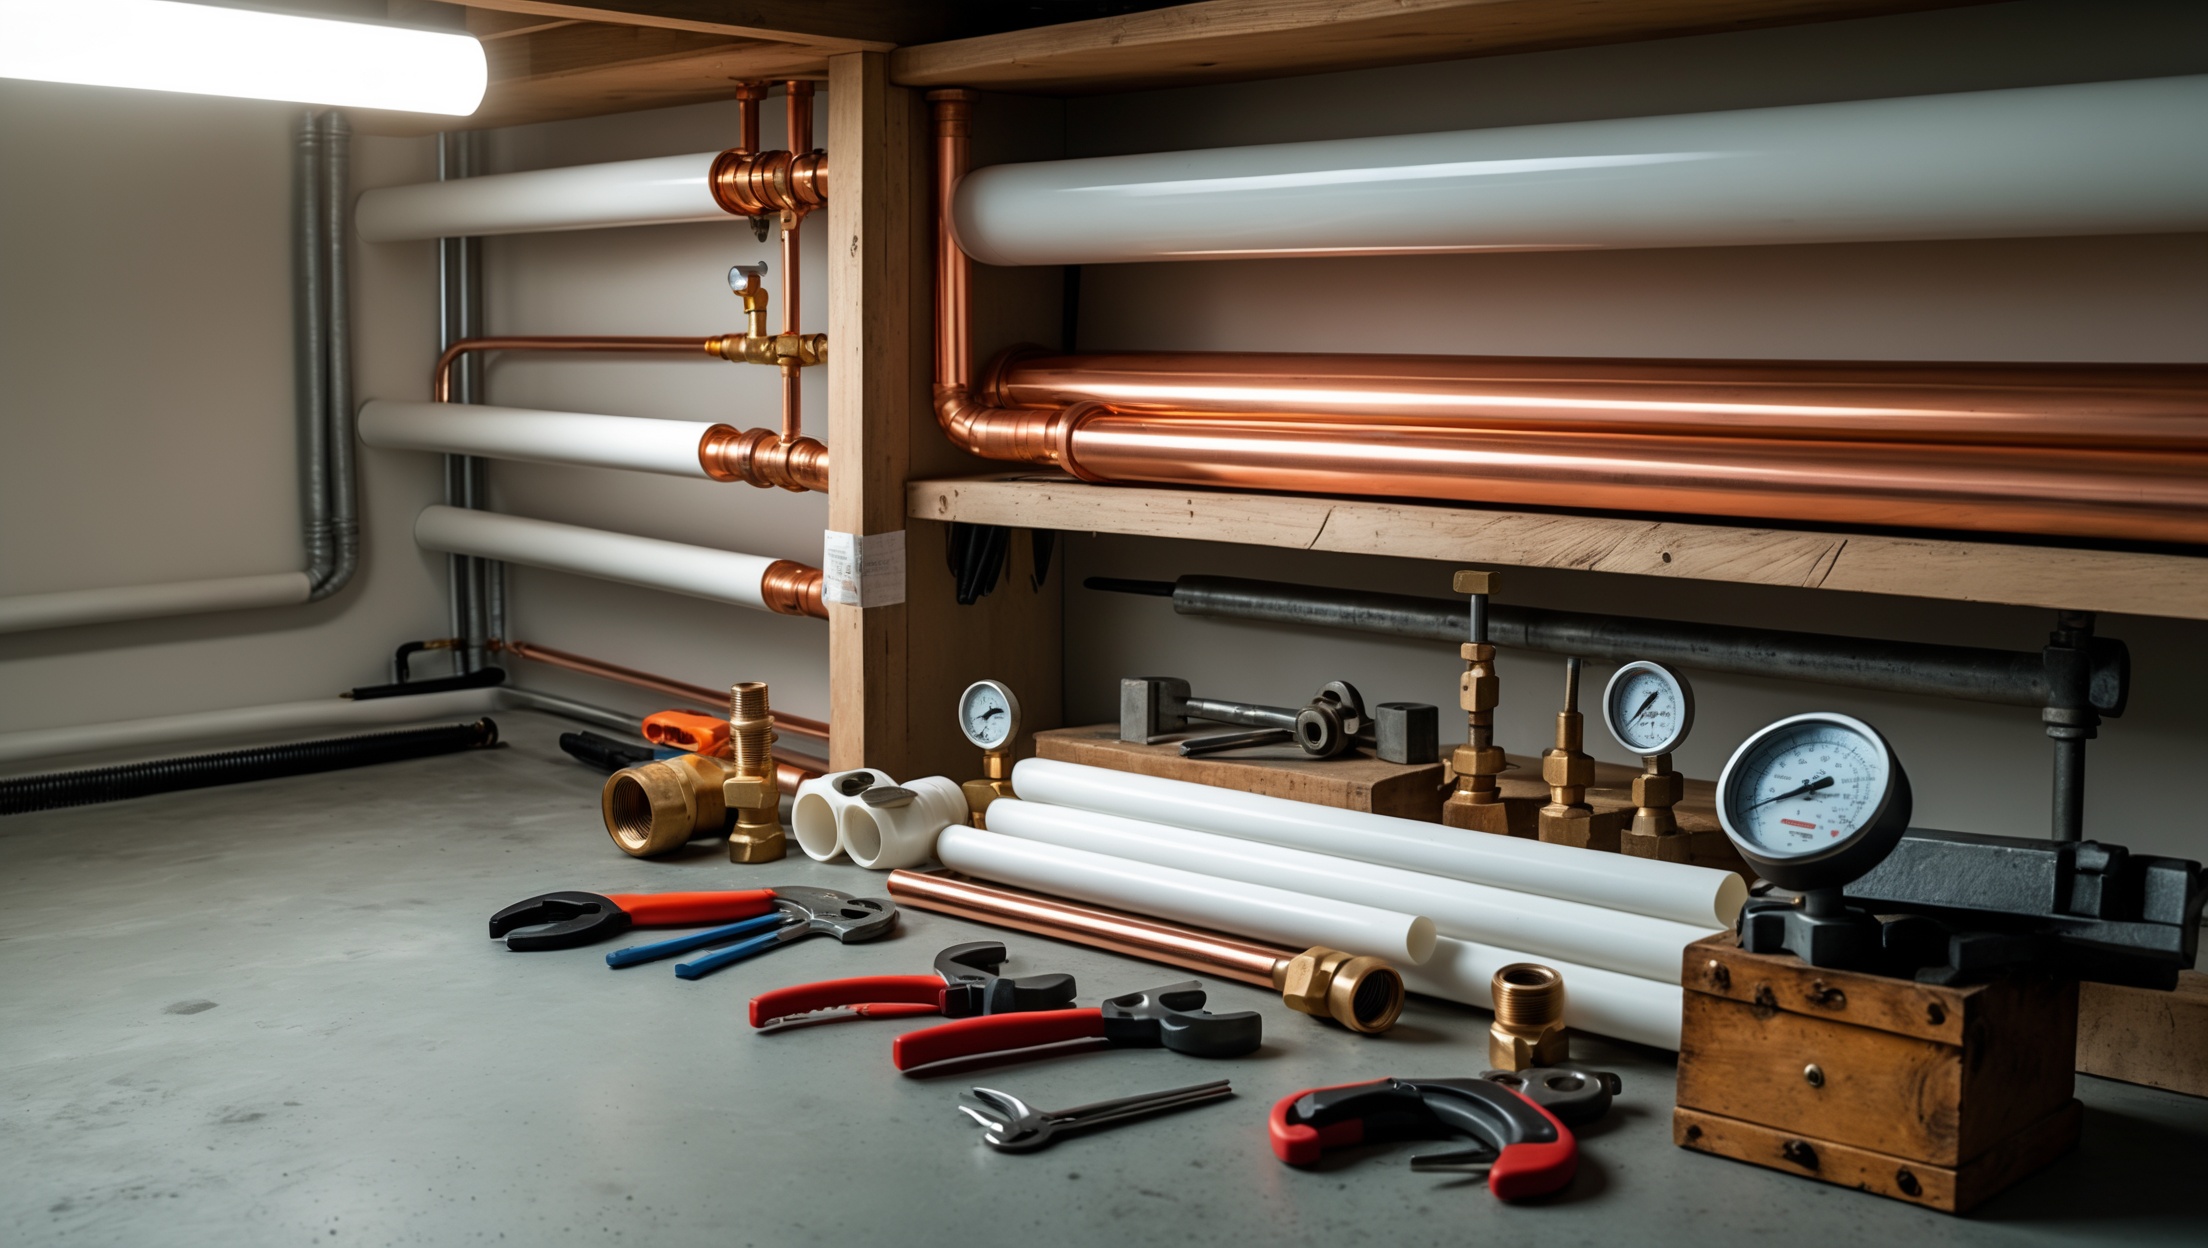
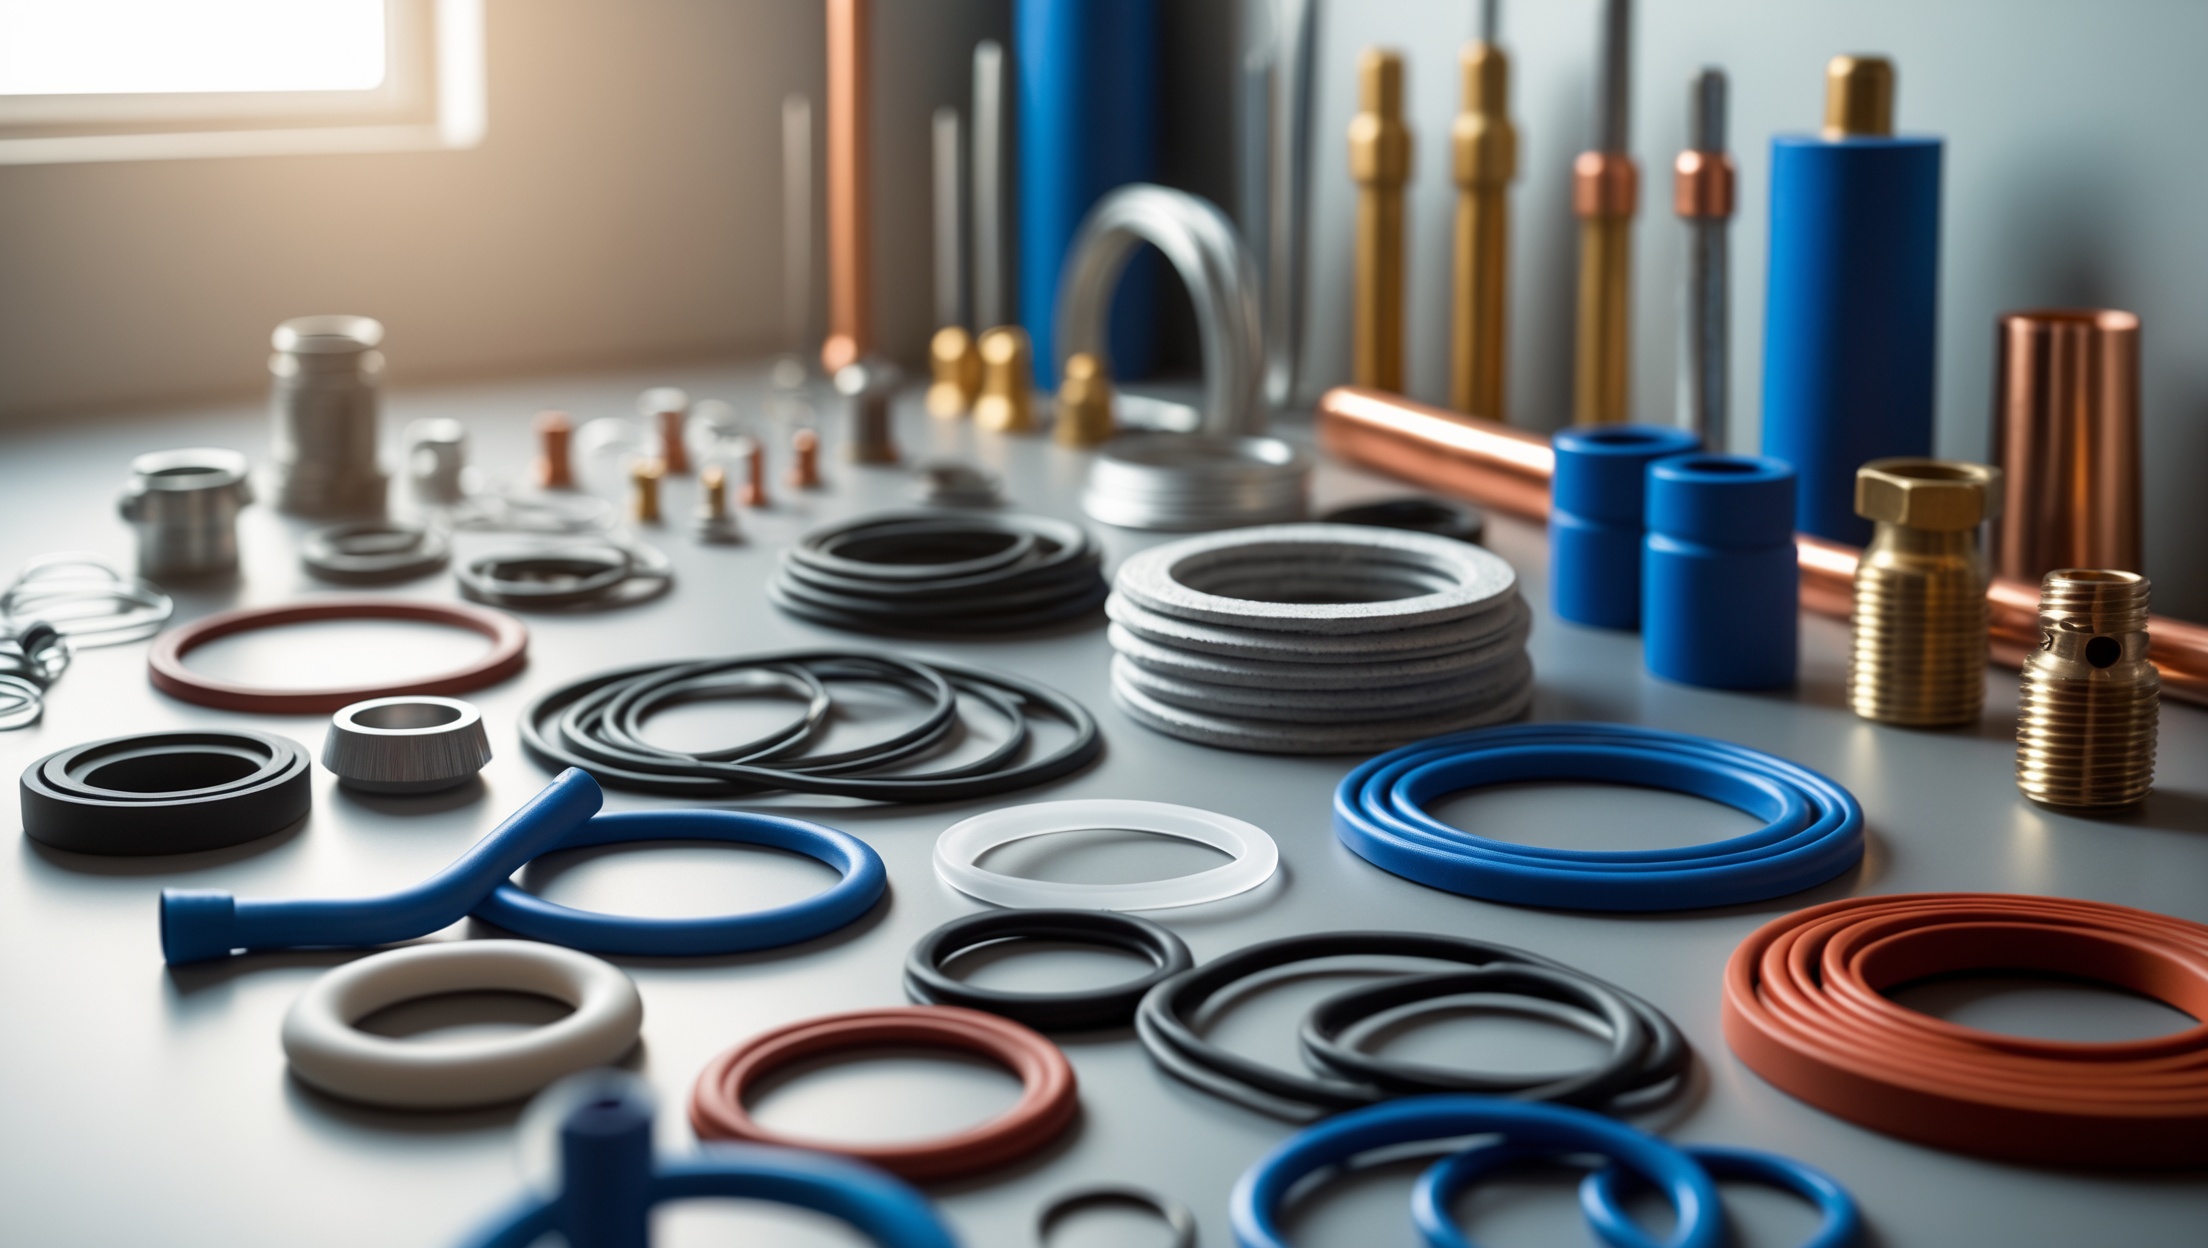
Main Types of Plumbing Gaskets and Their Uses
1. Flat Gaskets
Flat gaskets are among the most widely used in plumbing. They’re usually cut from sheets of rubber, fiber, cork, or composite materials and are designed to be sandwiched between two flat surfaces, such as pipe flanges or faucet bases. Their job is simple: create a watertight seal by compressing slightly when tightened.
- Common Applications: Faucet mounting bases, toilet tank-to-bowl connections, water supply line joints, and pump flanges.
- Materials: Rubber (neoprene, EPDM, nitrile), fiber, cork, silicone.
- Key Tip: Always match the gasket material to the temperature and chemical exposure of the system.
2. O-Rings
O-rings are circular, donut-shaped seals made from flexible materials, primarily rubber or silicone. Their round cross-section is designed to fit snugly in grooves, providing a reliable seal under pressure.
- Common Applications: Cartridge faucets, quick-connect plumbing fittings, valve stems, and showerheads.
- Materials: Buna-N, EPDM, silicone, Viton (for chemical resistance).
- Key Tip: O-rings must be sized precisely; even a slight mismatch can cause leaks.
3. Compression Gaskets (Washer-Type)
Compression gaskets, often called washers, provide a seal under pressure, commonly used in threaded connections.
- Common Applications: Supply line connections, angle stops, hose bibbs, garden hose fittings.
- Materials: Rubber, fiber, nylon, Teflon (PTFE).
- Key Tip: Replace washers whenever a fixture is disassembled to prevent leaks from worn compression surfaces.
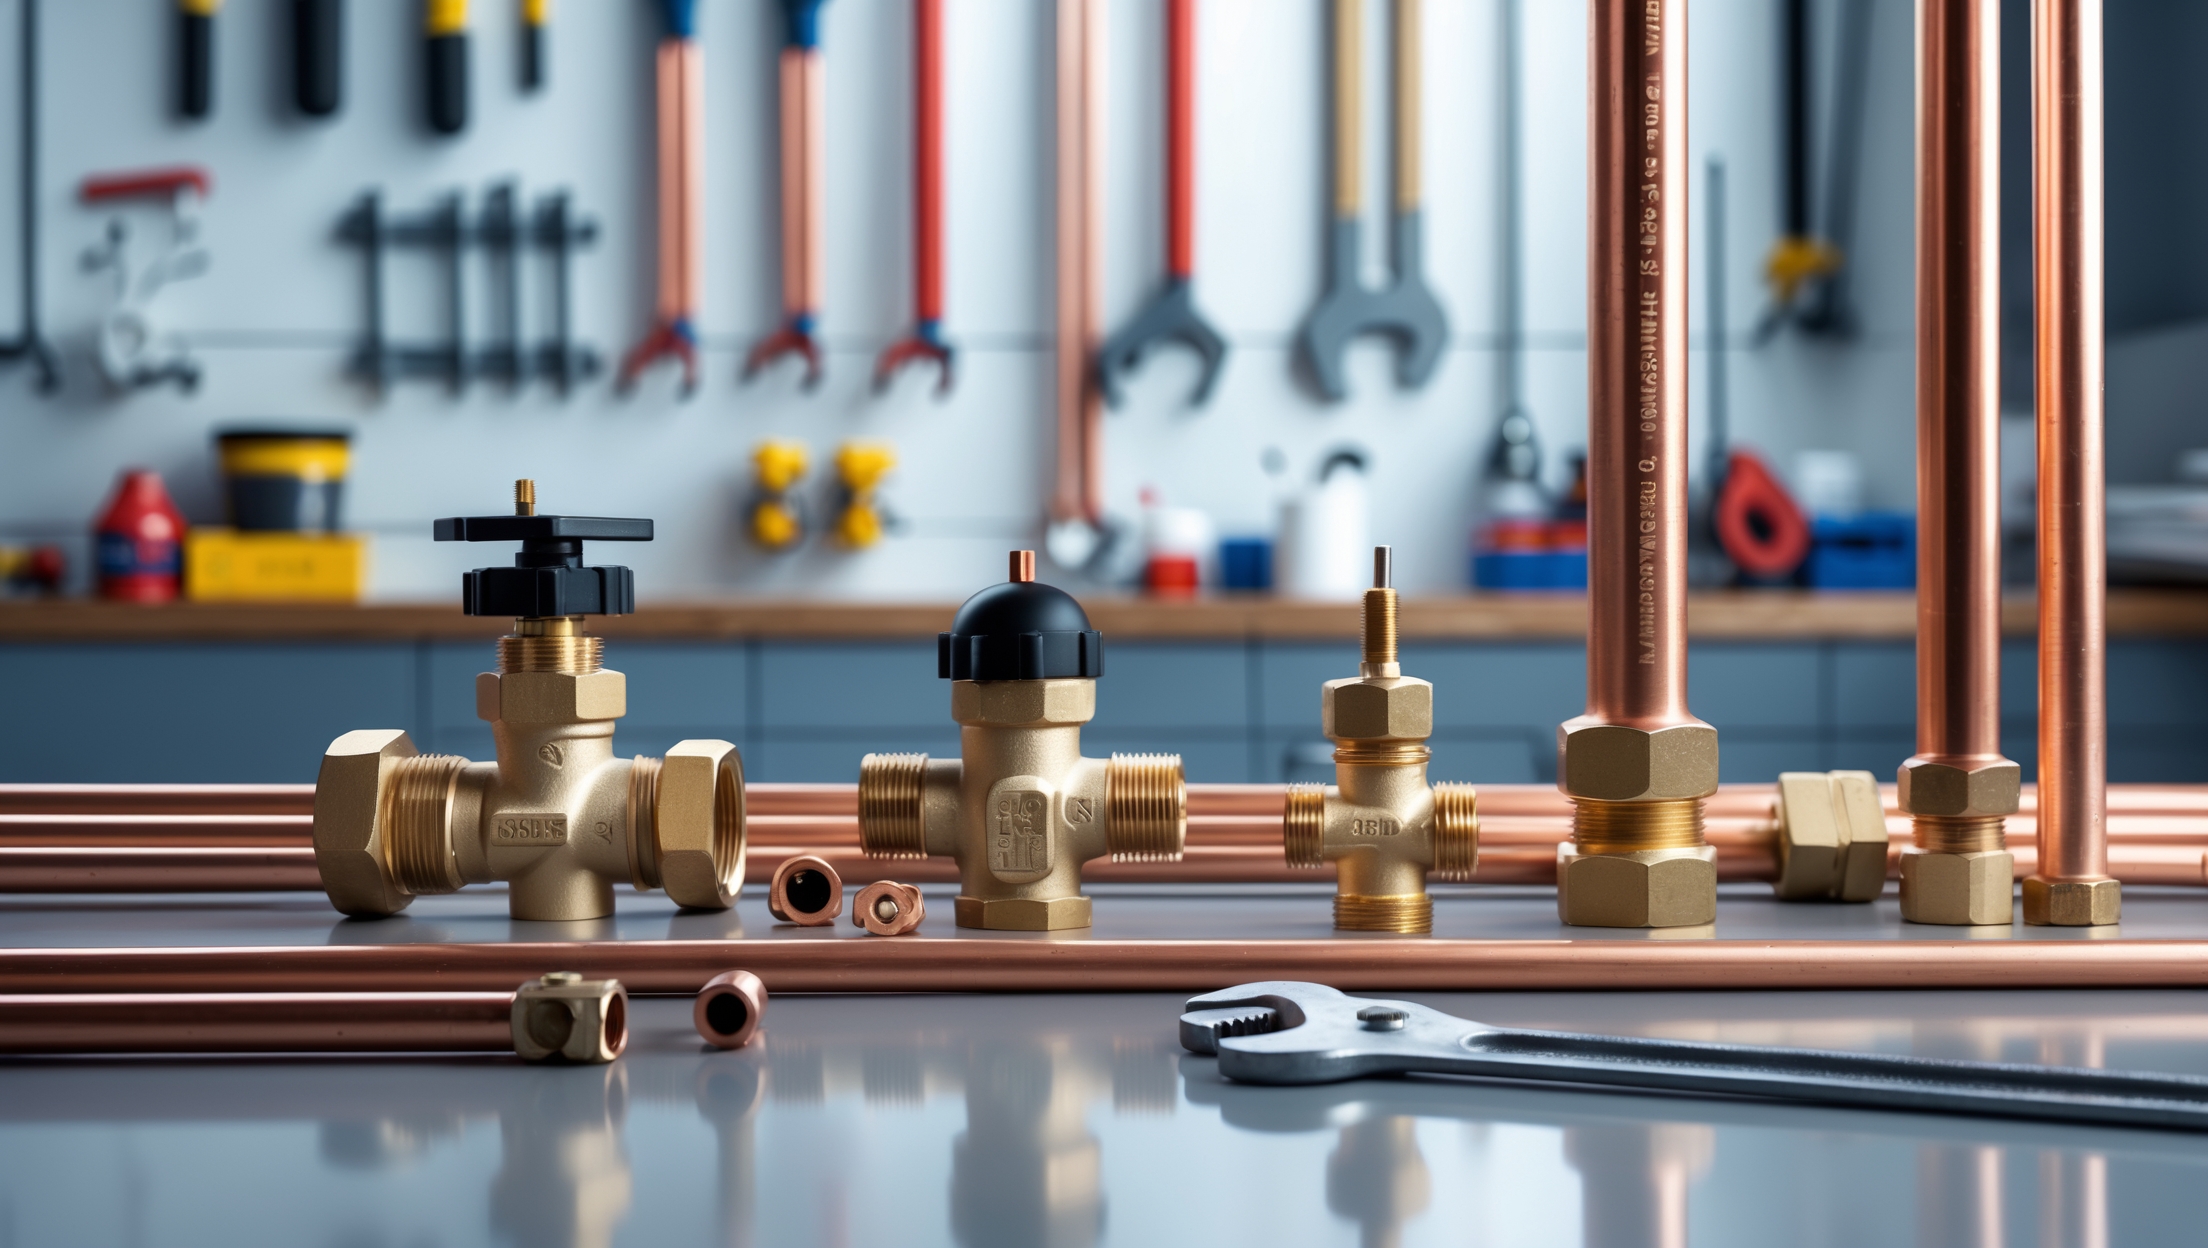
4. Flange Gaskets
Flange gaskets are specifically designed for sealing pipe flanges, typically in larger-diameter pipe systems. They may be flat or have raised or ring-shaped profiles.
- Common Applications: Water main connections, pump assemblies, commercial plumbing installations.
- Materials: Rubber, graphite, PTFE, spiral-wound metal.
- Key Tip: Choose flange gaskets rated for the pressure and temperature requirements of your system.
5. Specialty Gaskets
Beyond the basics, specialty gaskets serve unique roles in modern plumbing:
- Trap Gaskets: For slip-joint connections under sinks and tubs, often made of flexible rubber or foam.
- Wax Rings: Used exclusively for sealing toilets to waste pipes. Some have a built-in rubber or polyurethane core for added durability.
- Flexible Coupling Gaskets: For joining pipes of different materials or diameters, usually within rubber couplings secured by hose clamps.
Gasket Materials: Pros, Cons, and Best Uses
Rubber (Neoprene, EPDM, Nitrile)
- Pros: Excellent flexibility, good sealing properties, affordable.
- Cons: Degrades over time with exposure to heat, sunlight, or certain chemicals.
- Best Uses: General-purpose seals, supply lines, faucet bases.
Silicone
- Pros: Outstanding temperature resistance, stays flexible, good for hot water systems.
- Cons: More expensive than standard rubber, can attract dust and debris.
- Best Uses: High-temperature applications, dishwashers, hot water valves.
Fiber and Composite
- Pros: Resistant to certain chemicals, ideal for older fixtures.
- Cons: Brittle with age, can crack if overtightened.
- Best Uses: Antique fixtures, gas lines (with appropriate ratings).
PTFE (Teflon)
- Pros: Chemically inert, handles wide temperature ranges, low friction.
- Cons: Can be slippery and hard to seat properly, pricier.
- Best Uses: Chemical-resistant and high-performance plumbing (labs, specialty fixtures).
Metal (Spiral Wound, Solid Rings)
- Pros: Extreme durability, high-pressure and high-temperature capability.
- Cons: Overkill for residential plumbing, requires precise installation.
- Best Uses: Commercial/industrial plumbing, steam systems.
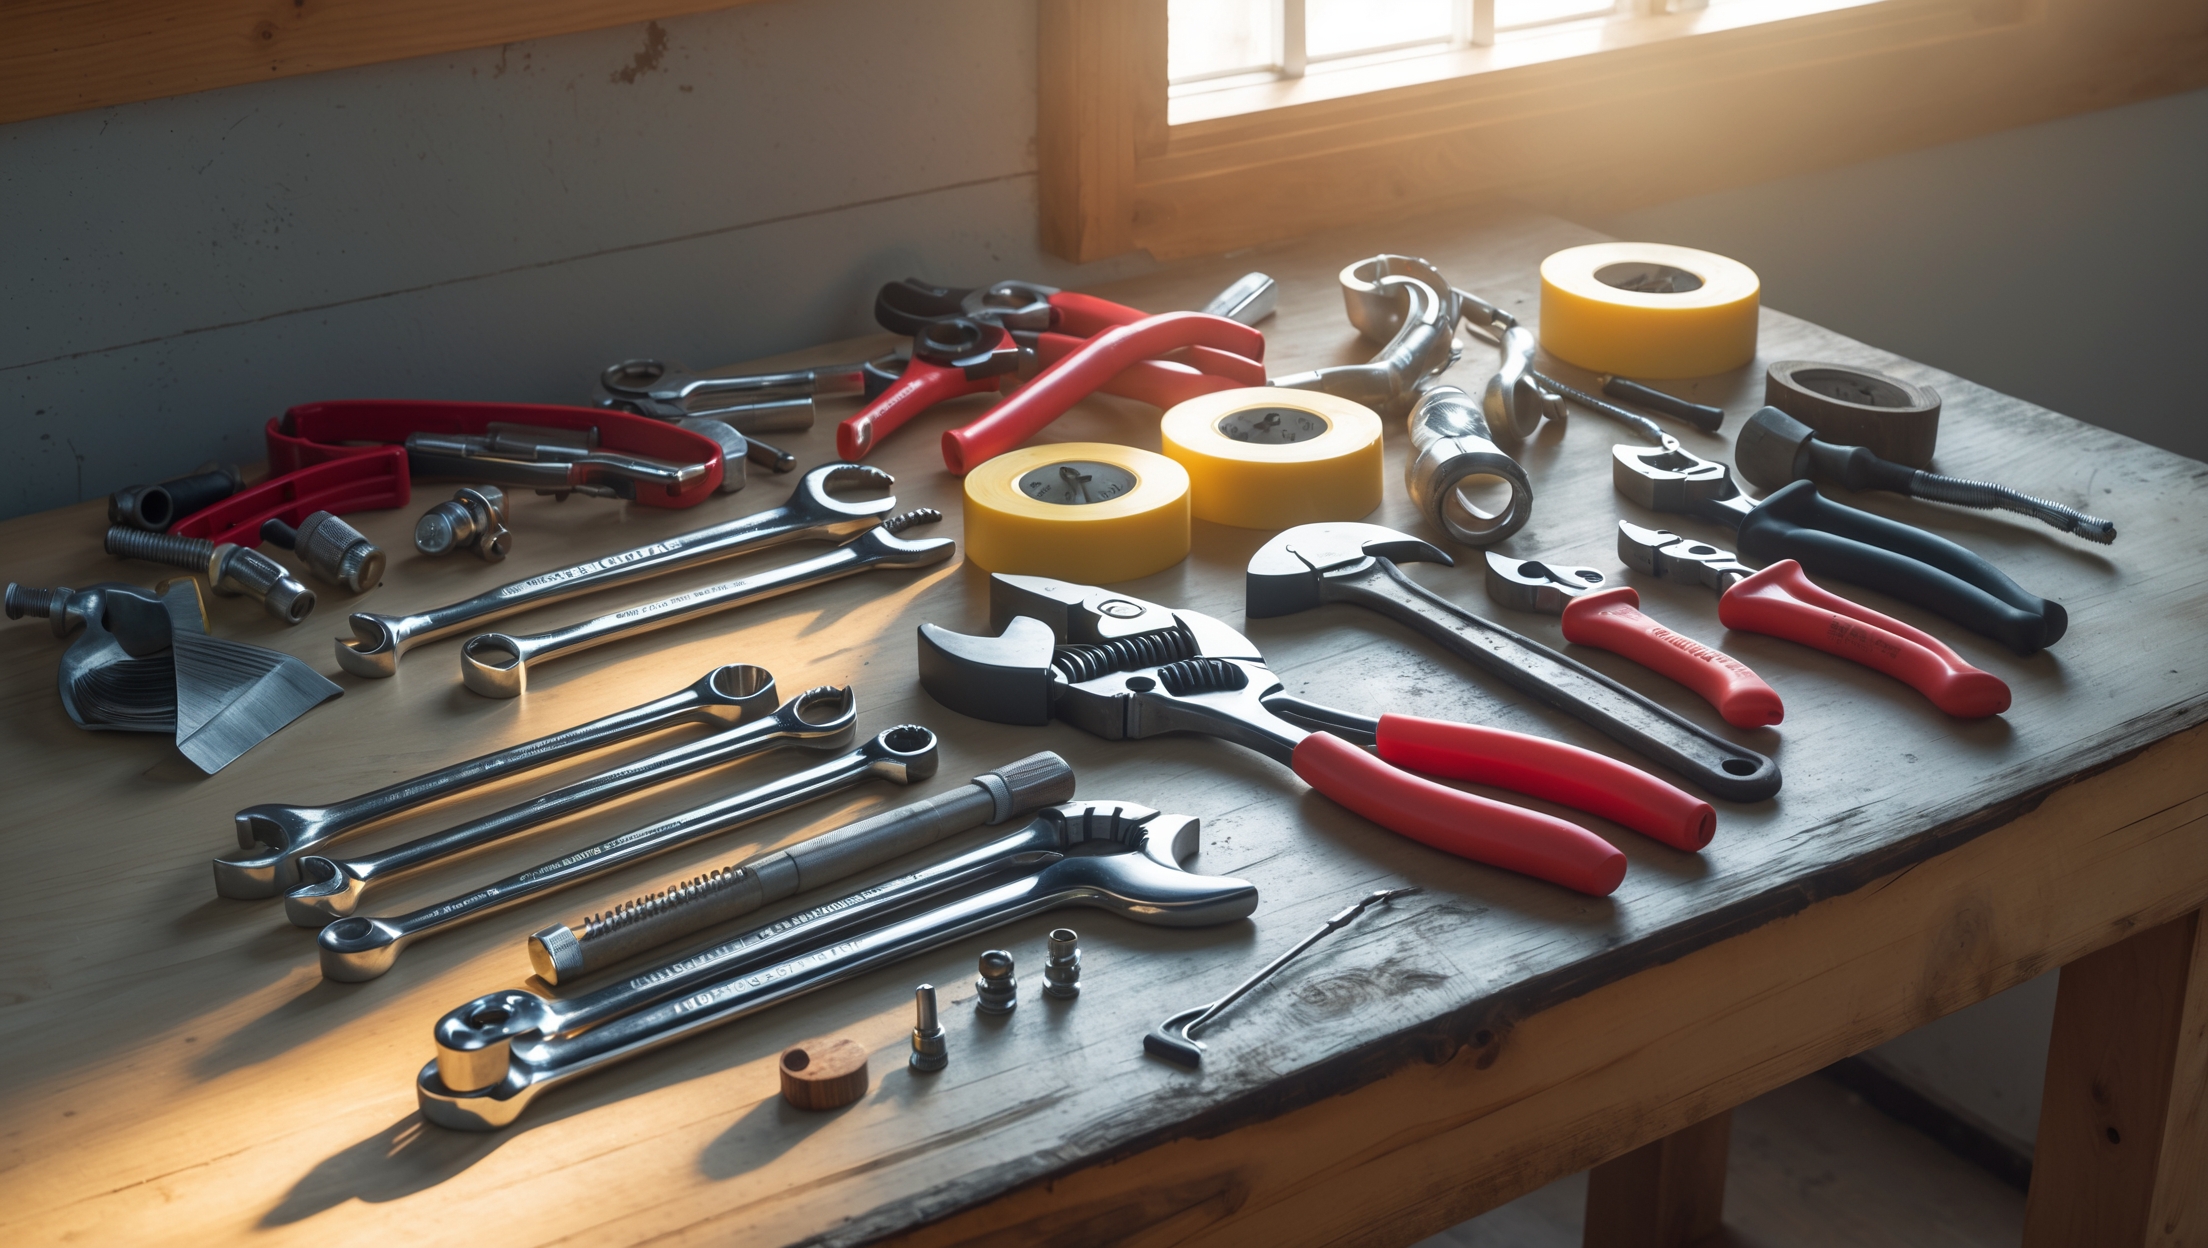
Step-by-Step Gasket Installation: Pro Techniques
1. Preparation
- Shut off water supply to the affected area.
- Disassemble the connection, carefully noting the orientation and order of components.
- Thoroughly clean mating surfaces to remove old gasket residue, mineral buildup, and debris. Use a nylon brush or non-abrasive pad for best results.
- Dry surfaces with a lint-free cloth—moisture can prevent a proper seal.
2. Gasket Selection
- Match the gasket type (flat, O-ring, compression) and material to the application and system requirements.
- Inspect the new gasket for defects: cracks, warping, or uneven thickness are signs to reject.
3. Placement and Alignment
- Seat the gasket squarely on its mating surface. For O-rings, ensure it sits evenly in its groove without twisting.
- For flat gaskets, align all bolt holes or mounting features precisely to prevent shifting during assembly.
4. Assembly and Tightening
- Reassemble the connection, starting bolts or nuts by hand to avoid cross-threading.
- Tighten evenly in a crisscross or star pattern for flanged connections. This distributes pressure and prevents warping.
- Do not overtighten—this can crush or deform the gasket, causing premature failure. Use a torque wrench for critical applications.
5. Testing
- Slowly restore water supply and check for leaks.
- Inspect the joint under pressure for several minutes. For difficult-to-see locations, run a dry tissue along the seam to detect moisture.
Troubleshooting Gasket Leaks
Common Causes of Failure
- Improper Installation: Misaligned or pinched gaskets are a top cause of leaks.
- Incorrect Material: Using the wrong gasket for temperature, pressure, or chemical exposure leads to rapid deterioration.
- O-ring Sizing Errors: Too small or too large O-rings will not seal effectively.
- Overtightening: Excess force can split or extrude gaskets, especially soft rubber types.
- Reusing Old Gaskets: Gaskets are designed for one-time use. Reuse almost always results in leaks.
Fixing the Issue
- Disassemble the connection and inspect the gasket and mating surfaces.
- Replace with a new, properly sized and material-matched gasket.
- Clean all surfaces and reinstall carefully, following the steps above.
- If a leak persists, check for warped flanges or damaged threads, which may require component replacement.
Special Considerations: Gaskets in Modern Plumbing
Compatibility with Pipe Materials
Today’s plumbing systems often combine copper, steel, PVC, CPVC, and PEX. Each material has different thermal expansion and chemical compatibility characteristics. Always verify that the gasket material is approved for use with your pipe type and water quality (e.g., chlorinated water can degrade some rubbers).
Water Quality and Gasket Longevity
High mineral content (hard water) and aggressive water chemistry (low pH, chlorine) can accelerate gasket breakdown. In such cases, opt for higher-grade materials like EPDM or silicone, and inspect gaskets more frequently during maintenance.
Environmental and Safety Considerations
Many older gaskets, especially those in pre-1980 installations, may contain asbestos or other hazardous materials. If you encounter crumbly, fiber-like gaskets in antique plumbing, handle with care and consult a professional for safe removal.
Pro Tips for DIYers and Professionals
- Stock a Variety: Keep an organized kit of common gasket types and sizes on hand to speed up repairs.
- Lubricate O-Rings: A dab of plumber’s silicone grease makes O-ring installation easier and prevents twisting or tearing.
- Label and Store: Store gaskets in sealed bags out of direct sunlight to prevent premature aging.
- Double-Check Sizing: Use calipers or a gasket sizing chart to ensure an exact fit—eyeballing often leads to mistakes.
- Don’t Mix Materials: Avoid using petroleum-based lubricants on rubber gaskets, as they can cause swelling and failure.
When to Call a Professional
While many gasket replacements can be handled by experienced DIYers, there are scenarios where expert intervention is warranted:
- Persistent leaks despite multiple gasket replacements—may indicate warped flanges or hidden damage.
- Large-diameter or high-pressure pipe systems (main shutoffs, boilers, commercial equipment).
- Suspected hazardous materials (asbestos gaskets, unknown substances).
- Unfamiliar or specialty systems (chemical lines, medical water supply, fire sprinklers).
In these situations, a licensed plumber brings the tools, experience, and safety protocols needed to resolve the issue efficiently and safely.
Conclusion: Mastering Gasket Know-How for Leak-Free Plumbing
Gaskets may not be the flashiest part of your plumbing system, but they are among the most vital. Whether you’re preventing a faucet drip, ensuring a watertight toilet seal, or maintaining a commercial water main, the right gasket—properly chosen and expertly installed—makes all the difference. As we’ve explored, understanding the specific types of gaskets, their material properties, common applications, and professional installation techniques is essential for anyone involved in plumbing maintenance or repair. By paying attention to small details, from gasket selection to even torque during assembly, you not only prevent leaks but also extend the life of your fixtures and avoid costly callbacks or property damage.
Don’t overlook the importance of regular inspections and proactive gasket replacement, especially in areas with challenging water chemistry or high usage. Keep a well-stocked gasket kit, follow best practices, and don’t hesitate to call in a professional for complex or persistent issues. With a little know-how and the right approach, you can ensure your plumbing remains watertight, efficient, and trouble-free for years to come.
Ready to take your plumbing skills to the next level? Start by mastering the humble gasket, and you’ll be well on your way to expert-level results in every project.