
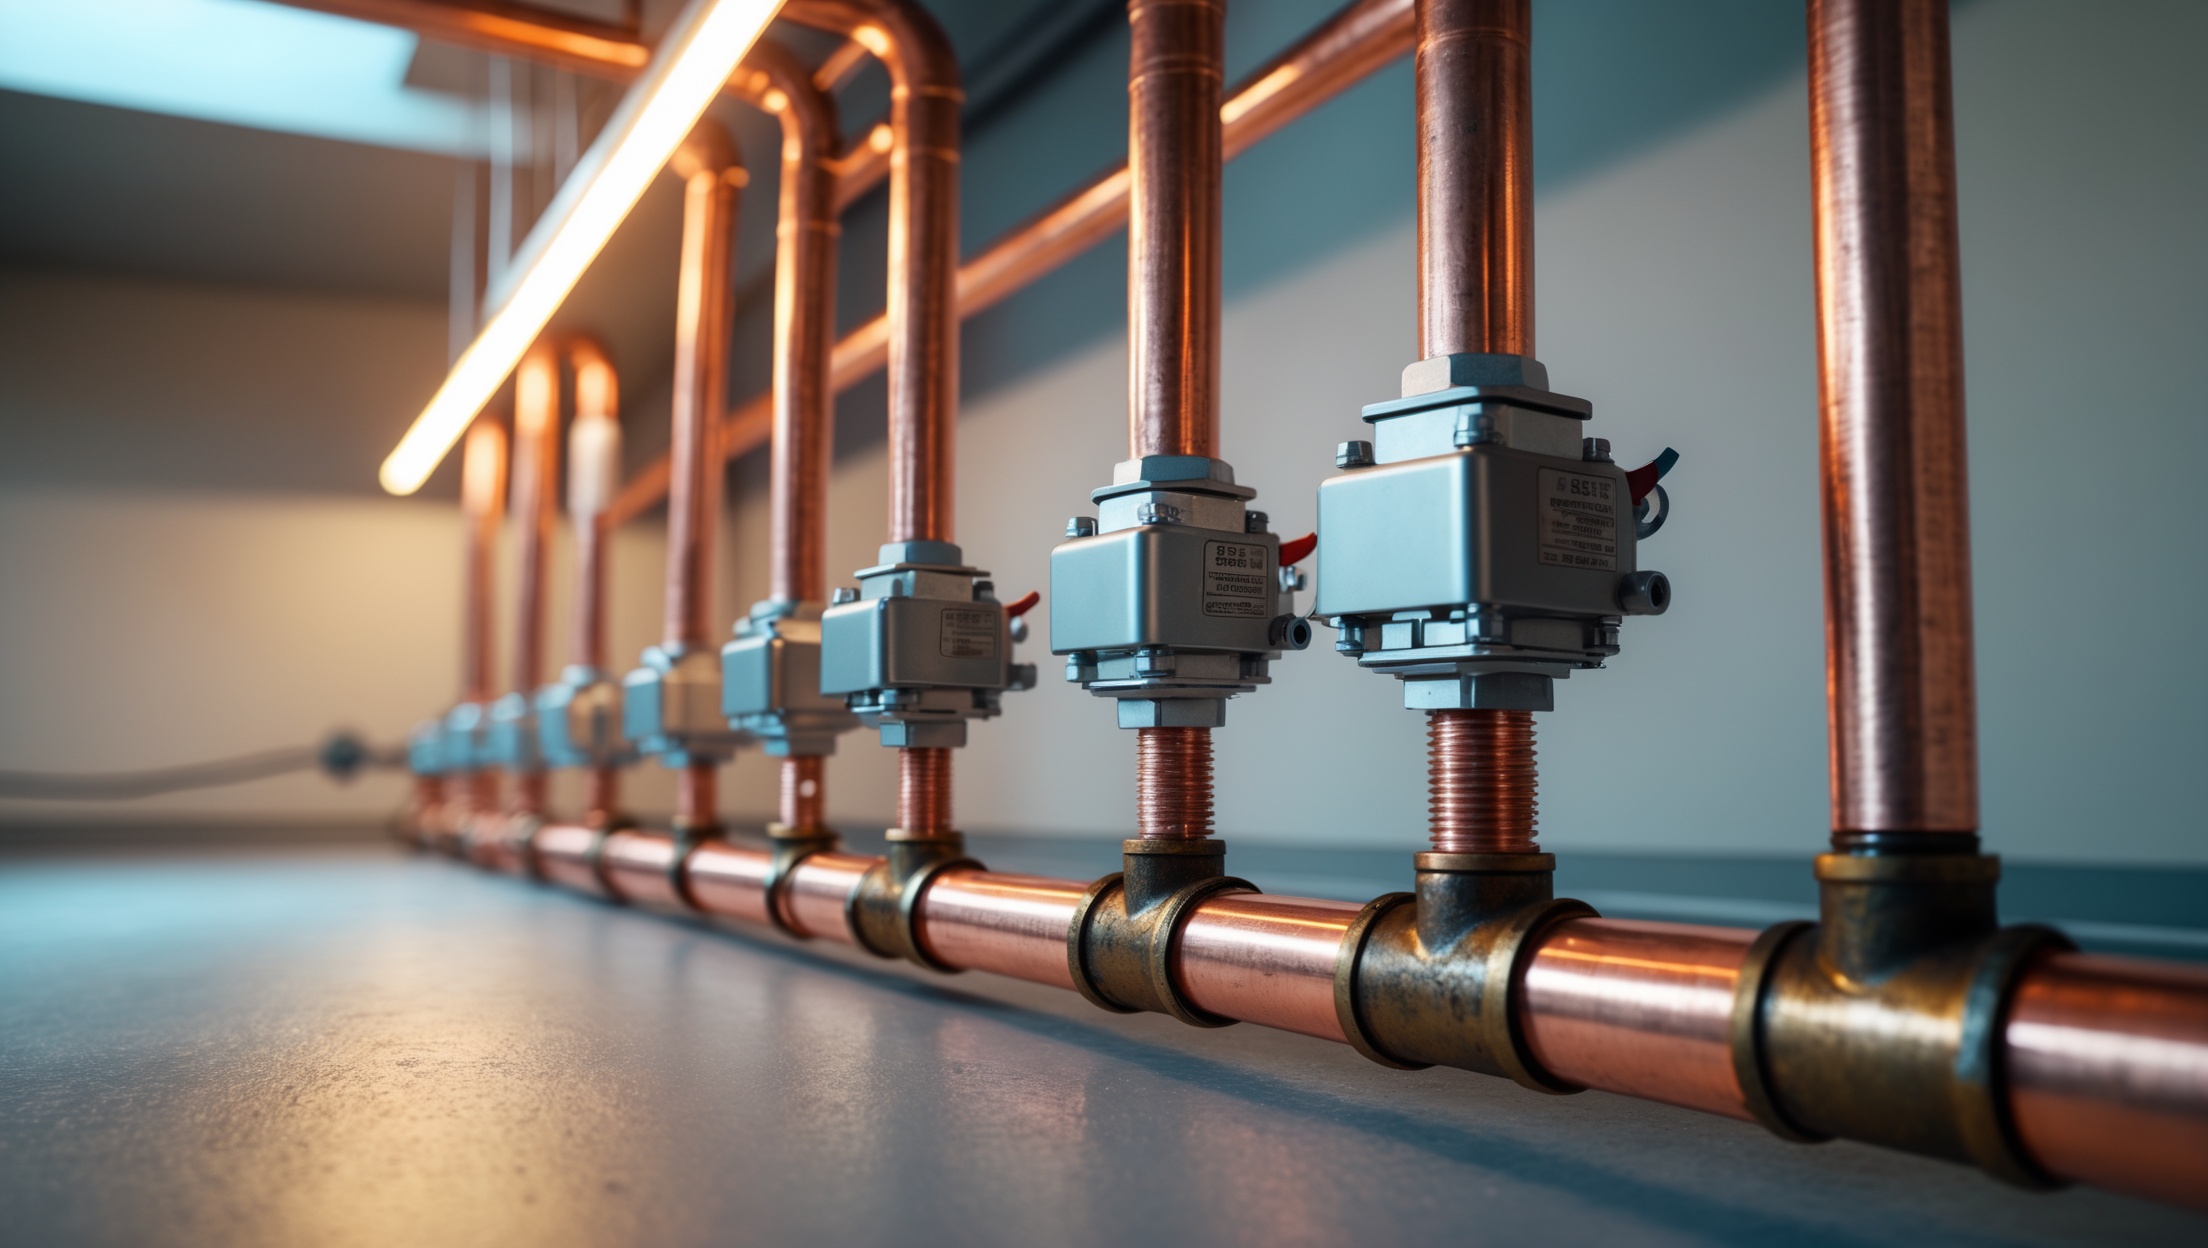
Introduction: Understanding the Riddle of Water Hammer
If you’ve ever heard a loud banging or knocking sound coming from your plumbing when you turn off a faucet or appliance, you’ve encountered water hammer. This unnerving phenomenon can startle homeowners and raise concerns about the health of a plumbing system. Far from being a trivial annoyance, water hammer signals underlying hydraulic shock—sudden changes in water flow that can lead to long-term pipe and fixture damage if left unaddressed. Understanding water hammer is crucial for both seasoned DIYers and those new to home maintenance. In this comprehensive guide, we’ll break down the science of water hammer, its causes, the risks it poses, and—most importantly—how to address it using proven, practical strategies. Whether you want to eliminate pipe noise, prevent leaks, or ensure your plumbing system’s longevity, this post equips you with expert knowledge and actionable steps to silence water hammer for good.
What Is Water Hammer?
The Science Behind the Bang
Water hammer, technically known as hydraulic shock, occurs when a valve, faucet, or appliance shuts off water flow abruptly. As the moving water, with its natural momentum, is suddenly forced to stop, it creates a pressure surge that reverberates through the pipes. This shockwave can cause pipes to move, vibrate, or even bang against adjacent surfaces—hence the term “hammer.”
Spotting Water Hammer in Your Home
- Loud banging or knocking noises after shutting off a valve or faucet
- Vibrations felt through walls, floors, or the pipe itself
- Visible movement of pipes when appliances like washing machines or dishwashers stop filling
- Recurring leaks or pipe joint failures in affected areas
What Causes Water Hammer?
Fast-Acting Valves and Appliances
Modern plumbing features many fast-closing valves: dishwashers, washing machines, ice makers, and even single-lever faucets. These can shut water off almost instantaneously, unlike old-fashioned twist valves that slow water more gradually. The quicker the shutoff, the greater the risk of water hammer.
High Water Pressure
When household water pressure exceeds 60 psi, the speed and force of water increases. This amplifies any shockwave created by sudden stops. High pressure is a leading contributor to severe water hammer and accelerates wear on your entire plumbing system.
Lack of Proper Air Chambers or Arrestors
Older homes were built with vertical pipe stubs (air chambers) near major valves to cushion shocks. Over time, these chambers can fill with water and lose their effectiveness. Newer homes may be equipped with mechanical water hammer arrestors—but these can fail or be absent in critical areas.
Unsecured or Poorly Supported Pipes
If pipes are not properly strapped or anchored, the force of a water hammer can cause them to move, strike framing, or vibrate noisily. Loose pipes are more likely to develop leaks at joints and fittings.
Why Is Water Hammer a Problem?
- Pipe Damage: Repeated hydraulic shock can loosen joints, cause pinhole leaks, and eventually burst pipes.
- Fixture Failure: Faucets, valves, and appliances can be damaged by the repeated, intense pressure spikes.
- Noisy Disruption: The loud banging can disturb household peace and signal deeper plumbing issues.
- Structural Risks: Pipes that strike framing or walls can cause long-term structural damage, including drywall cracks and loosened hardware.
Diagnosing Water Hammer in Your Home
Step 1: Identify Trigger Points
Note when and where the banging occurs. Is it when you turn off a specific faucet? When the washing machine stops filling? Pinpointing the source helps narrow down the solution.
Step 2: Check Water Pressure
Use a screw-on pressure gauge (available at hardware stores) attached to a hose bib or laundry faucet. Read the pressure with all fixtures off. Anything above 60 psi warrants adjustment.
Step 3: Inspect for Proper Pipe Support
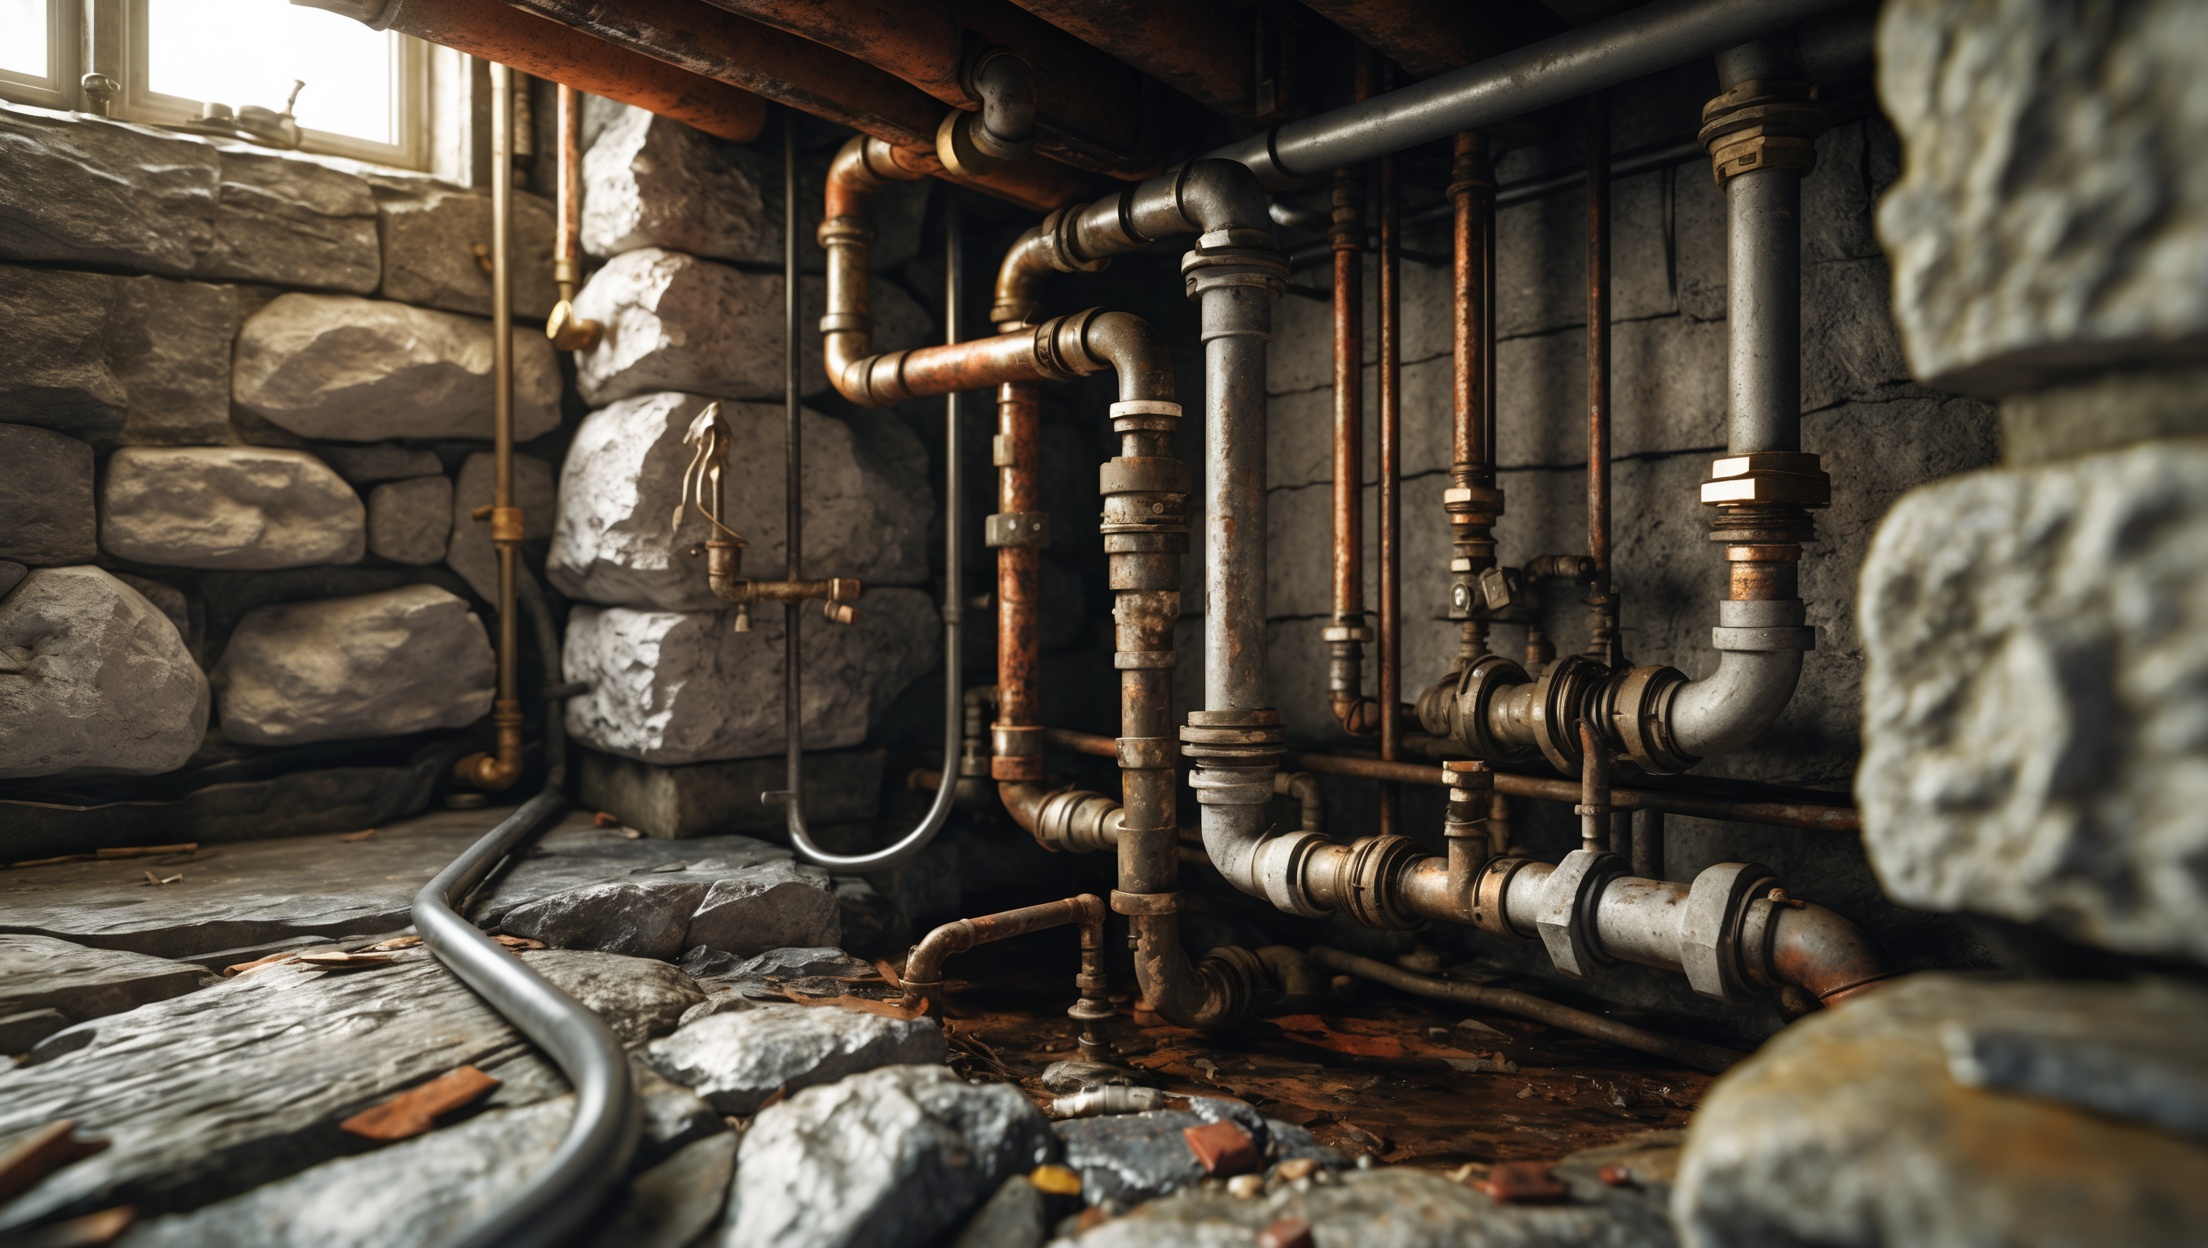
Look for visible pipes in basements, crawlspaces, or utility rooms. Check if they’re loose or unstrapped. Pipes should be firmly secured every 4-6 feet (horizontal) or 8-10 feet (vertical).
Step 4: Locate or Test Air Chambers/Arrestors
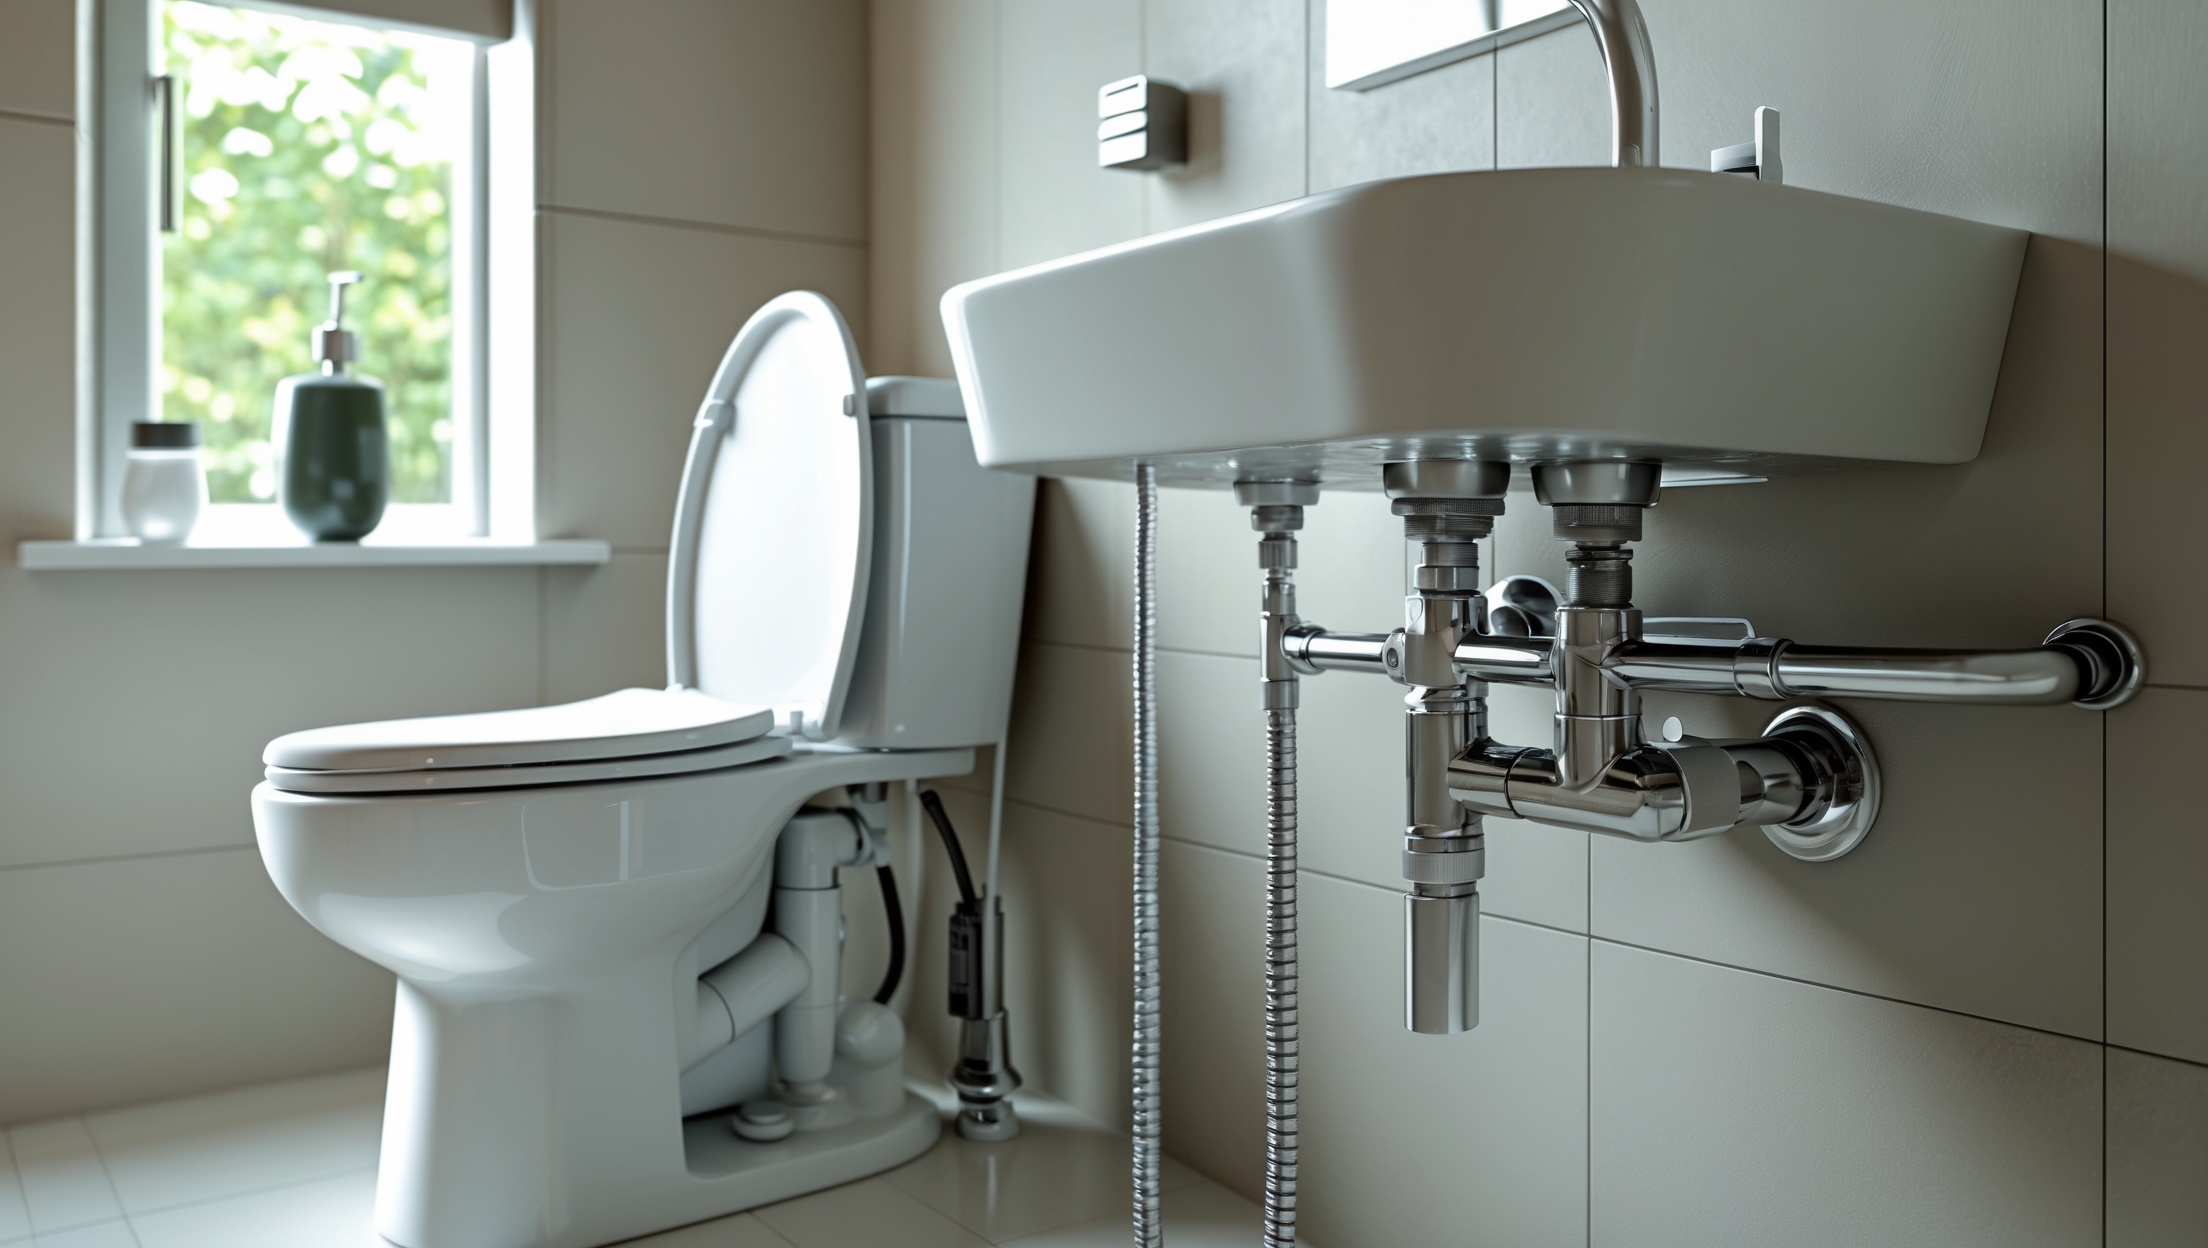
If your home has air chambers, they’ll be short vertical pipes near faucets or appliances. Mechanical arrestors typically look like stubby, cylindrical devices attached to supply lines. If either is present but water hammer persists, they may be waterlogged or faulty.
DIY Solutions to Water Hammer
1. Resetting Air Chambers
Over time, air chambers can fill with water and lose their cushioning effect. To reset:
- Turn off the main water supply.
- Open the highest and lowest faucets in your home to drain the system.
- Close all faucets and turn the main supply back on. Air will refill the chambers.
This method is simple and often effective—if your home actually has air chambers installed. If not, move to the next solutions.
2. Installing Water Hammer Arrestors
Modern water hammer arrestors use a sealed air or piston chamber to absorb shocks. They are available in several formats:
- Inline Arrestors: Screw onto washing machine hoses, dishwasher supply lines, or behind faucets.
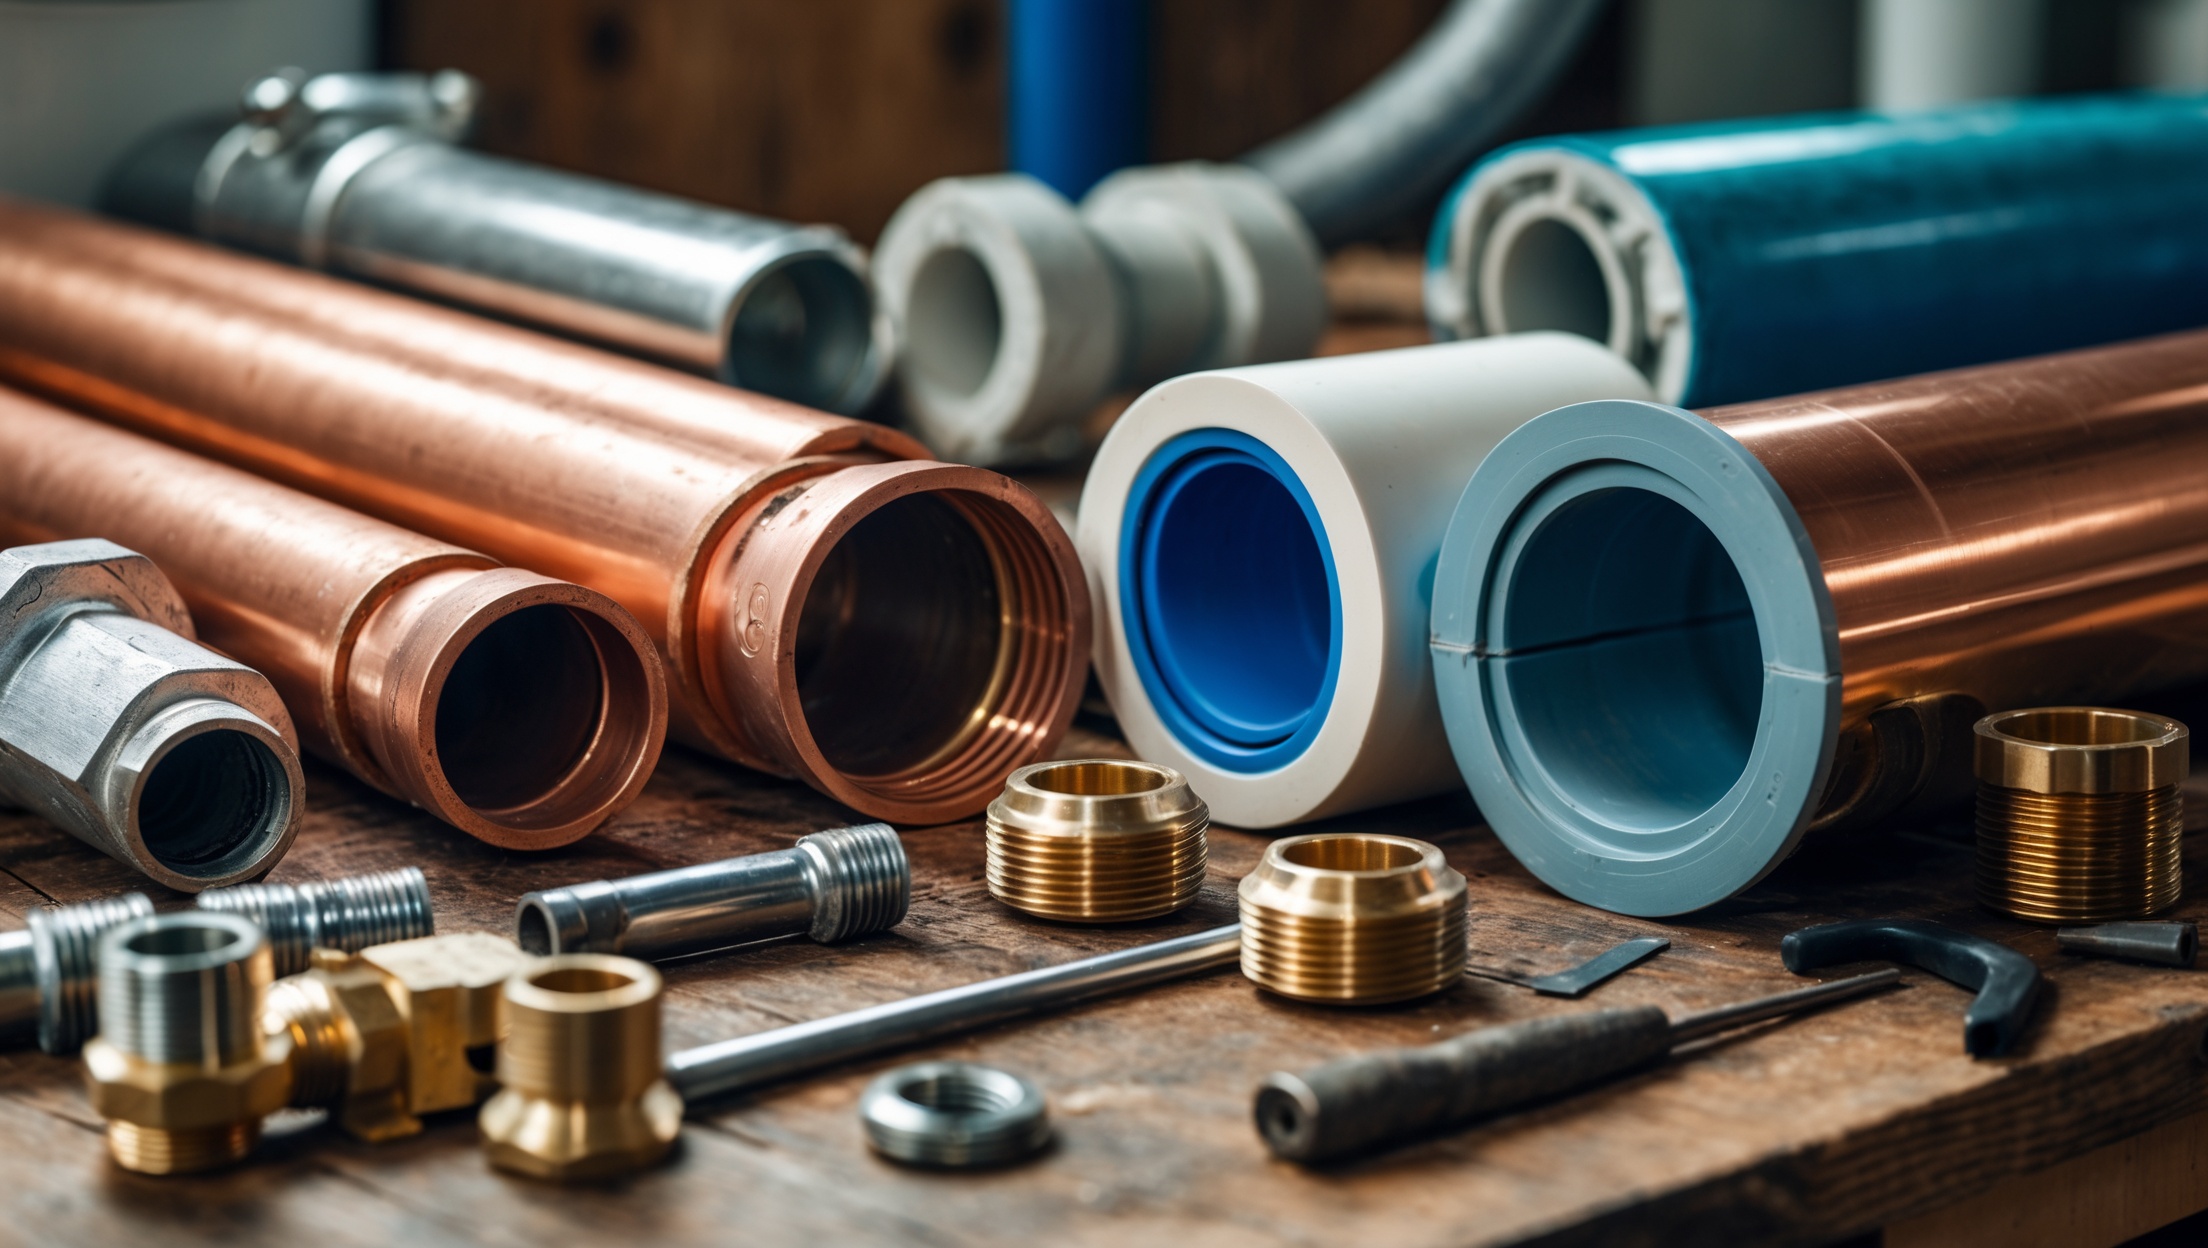
- Compression Fittings: Suitable for copper or PEX lines; require cutting into the pipe and installing the arrestor.
Install arrestors as close as possible to the noisy valve or appliance. Follow the manufacturer’s instructions for proper sizing and installation orientation.
3. Reducing Water Pressure
If your water pressure is too high, install or adjust a Pressure Reducing Valve (PRV) where the main water line enters your home:
- Locate the PRV. It’s a bell-shaped device on the main supply line.
- Use a wrench to turn the adjustment screw counterclockwise to lower pressure.
- Check pressure with your gauge; aim for 50–60 psi.
If you don’t have a PRV, installing one is a worthwhile investment for both water hammer prevention and overall plumbing health.
4. Securing Loose Pipes
Pipes must be securely fastened to minimize movement:
- Use pipe straps or clamps every 4–6 feet for horizontal runs, 8–10 feet for vertical runs.
- For copper, use cushioned or plastic-lined straps to prevent galvanic corrosion.
- Add insulation sleeves if pipes contact framing or floor joists to reduce noise transfer.
5. Slow-Closing Valves
Replace high-risk valves (such as old ballcocks in toilets, or quick-closing appliance valves) with modern slow-closing types. Many new appliances and fixtures offer “soft close” features that reduce shock and noise.
6. Professional Help for Severe Cases
If you’ve tried all the above and still experience persistent water hammer, consult a licensed plumber. You may need system-wide arrestors, additional pipe supports, or specialized expansion tanks.
Advanced Water Hammer Prevention for DIY Enthusiasts
Choosing the Right Water Hammer Arrestor
Arrestors come in different sizes and ratings. Always match the device to your pipe size (e.g., 1/2″, 3/4″) and the flow demand of the fixture or appliance. Oversized arrestors offer more protection but may be harder to fit in tight spaces.
- Washing Machines: Use screw-on inline arrestors at both hot and cold supply lines.
- Dishwashers and Ice Makers: Install compact arrestors on the supply line behind the unit or under the sink.
- Whole-House: For systems with chronic hammer issues, install a large arrestor or expansion tank near the water heater or main supply line.
Best Practices for Pipe Support
- Use two-hole clamps for copper and steel pipes for extra stability.
- For PEX, use manufacturer-approved plastic hangers to allow for pipe expansion and contraction.
- Never overtighten straps; allow slight movement for thermal expansion.
Preventative Maintenance and Routine Checks
- Test water pressure twice a year or whenever you notice changes in flow or noise.
- Inspect pipe supports in accessible areas annually.
- If you have mechanical arrestors, replace them every 5–10 years or at first sign of failure.
- Listen for new or recurring noises—these are early warnings of trouble.
When to Call a Pro
- If you experience water hammer after trying all basic solutions
- If you notice pipe leaks, visible joint separation, or persistent fixture damage
- If your main supply lines are inaccessible or require cutting and soldering
Professional plumbers can diagnose complex issues (such as system-wide pressure fluctuations, failed PRVs, or hidden pipe defects) and recommend advanced solutions like pressure tanks or system redesign.
Conclusion: Silence the Bang—Protect Your Plumbing for the Long Haul
Water hammer is more than a household irritation; it’s a warning bell for your plumbing system that demands attention. The good news is, with the right know-how and a methodical approach, most water hammer issues can be resolved by homeowners armed with basic tools and a little patience. From resetting air chambers to installing modern arrestors and securing loose pipes, the solutions are practical, affordable, and effective. Not only will you enjoy a quieter home, but you’ll also prevent the long-term wear and tear that leads to costly repairs or catastrophic leaks down the road.
Don’t wait for the next bang to take action. Regularly monitor your system, keep your water pressure in check, and upgrade to proven shock-absorbing devices where needed. If you encounter stubborn or system-wide symptoms, don’t hesitate to call in a professional—protecting your investment and your peace of mind is always worth it. By understanding the causes and solutions for water hammer, you’re not just silencing noise; you’re safeguarding the comfort, safety, and value of your home for years to come.




Jennifer Perez
You mentioned that water hammer can actually cause long-term damage to pipes and fixtures. How quickly can those effects start to show up if the problem is ignored? Is it a matter of weeks, months, or years before leaks or pipe failures might happen?