Introduction: Why Plumbing Sealants Matter
Whether you’re tackling a simple faucet repair, assembling a new shower, or working on a major renovation, the right plumbing sealant is often the unsung hero behind every leak-free joint. Sealants do more than just plug gaps—they ensure water-tight integrity, prevent corrosion, and even extend the lifespan of your plumbing system. Yet, with so many options on the market, from pipe thread sealants to silicone caulk, it’s easy to feel overwhelmed. Using the wrong sealant can lead to frustrating leaks, expensive water damage, and unnecessary callbacks for pros.
This guide demystifies plumbing sealants for homeowners, DIYers, and industry professionals alike. We’ll cover the main types of sealants, their best uses, critical dos and don’ts, and expert techniques for application and maintenance. By the end, you’ll be equipped to select the right product every time, apply it with confidence, and keep your plumbing projects reliably water-tight for years to come.
Understanding Plumbing Sealant Types
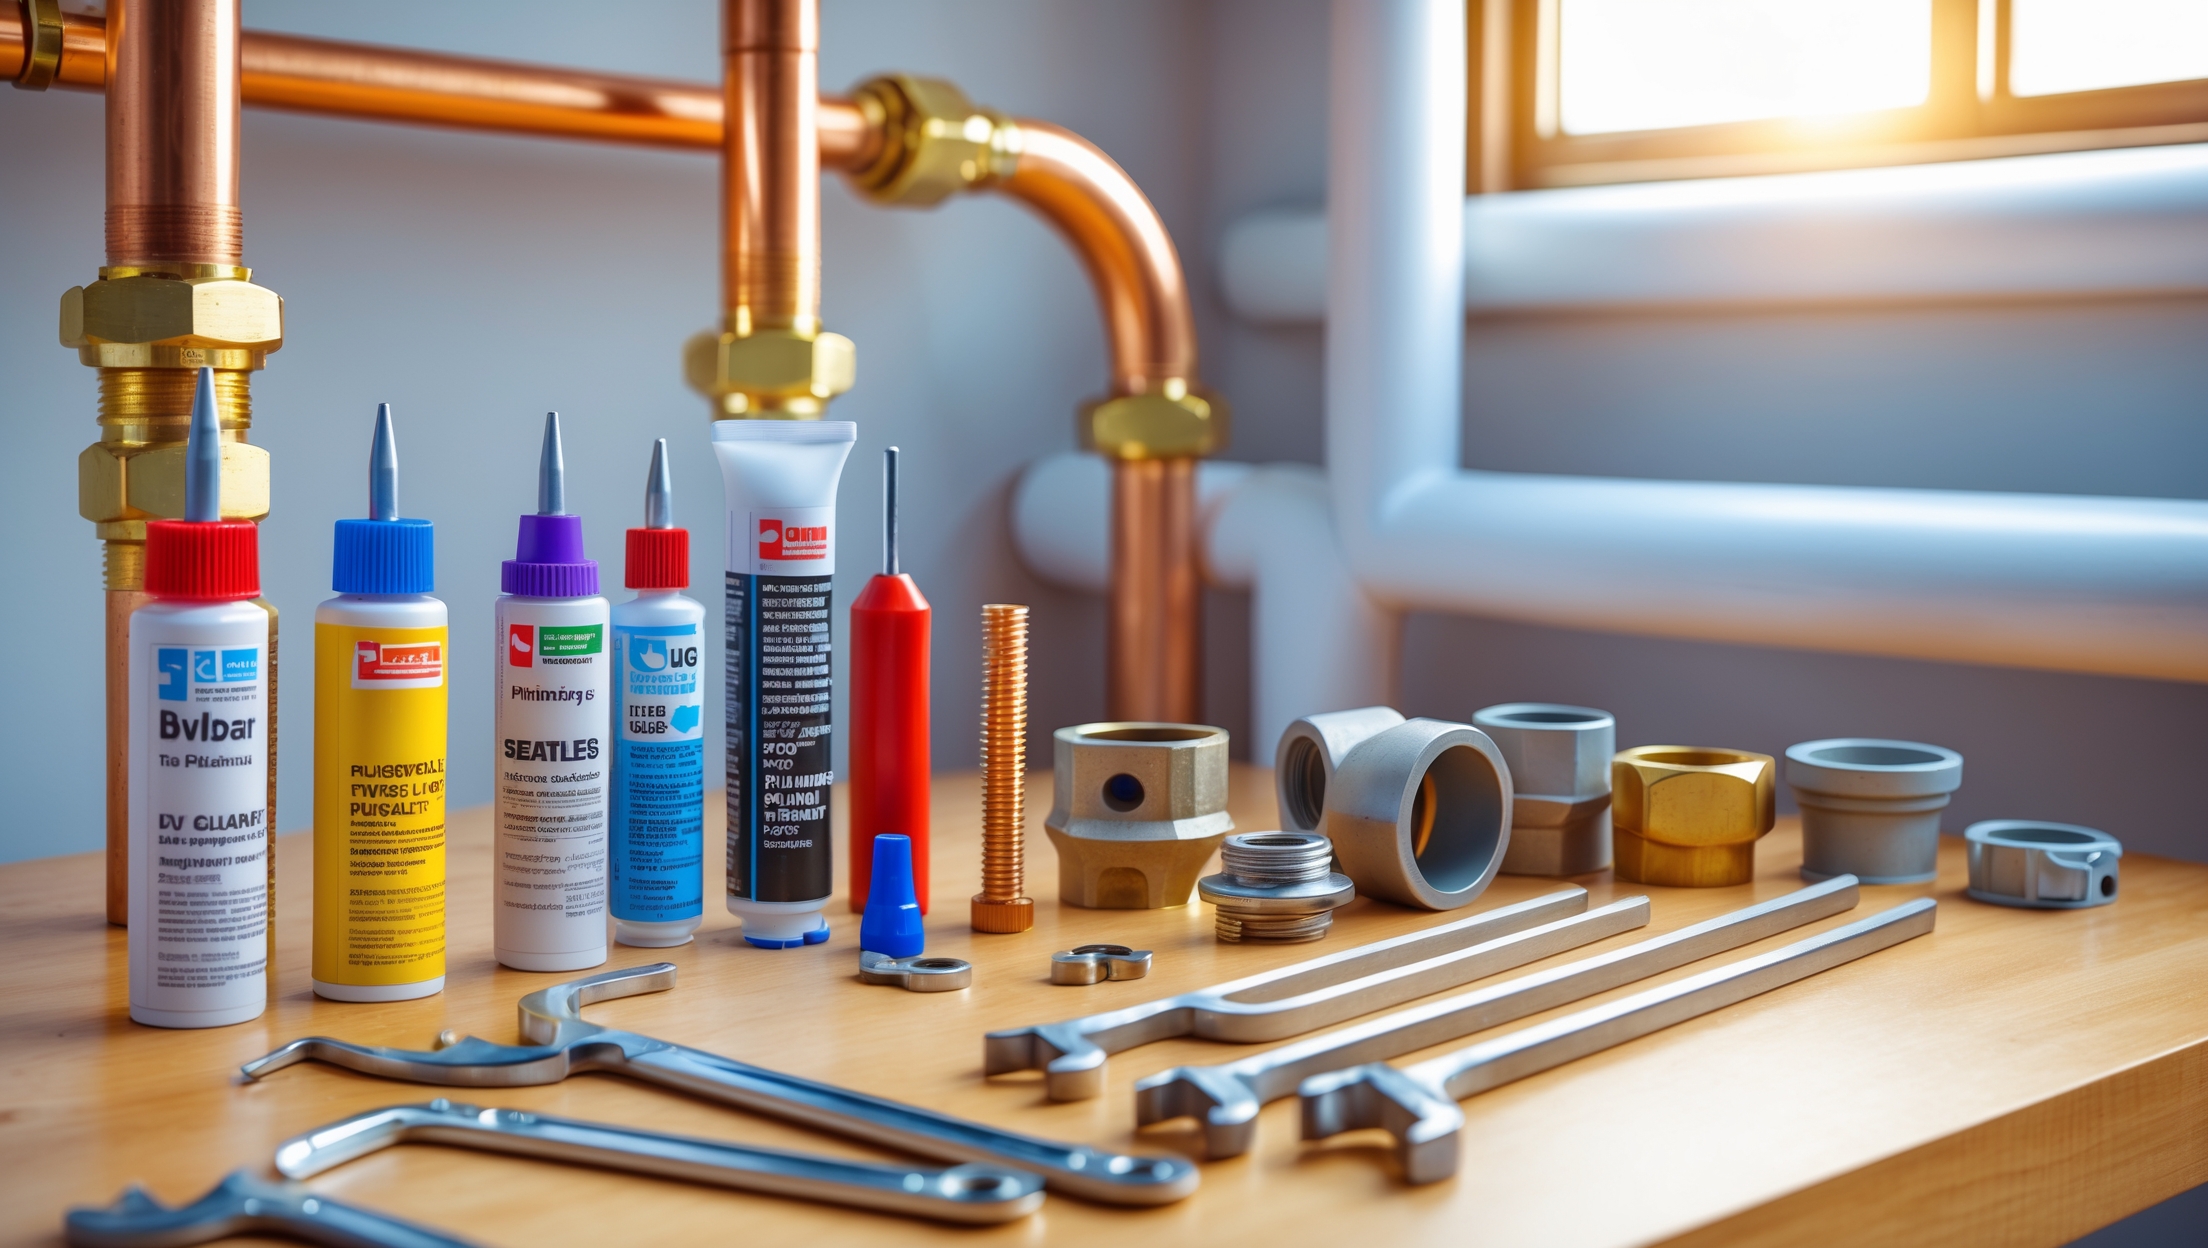
Pipe Thread Sealants (Pipe Dope)
Pipe thread sealants, often called “pipe dope,” are pastes applied to threaded pipe joints to fill microscopic gaps and prevent leaks. They’re commonly used on metal and plastic threaded connections in water, gas, and air lines. Pipe thread sealants differ in composition—some are oil-based, others are PTFE-based (polytetrafluoroethylene, like Teflon). Always check compatibility with the pipe material and the type of fluid being conveyed.
- Best for: Metal-to-metal or metal-to-plastic threaded joints (e.g., galvanized steel, brass, PVC).
- Not suitable for: Compression or flare fittings, or areas exposed to potable water if not NSF-certified.
Teflon Tape (Thread Seal Tape)
Teflon tape is a thin, non-adhesive PTFE tape wrapped around male pipe threads before assembly. It lubricates the threads, making assembly easier and improving seal integrity. Teflon tape comes in different grades: white (standard for water), yellow (for gas), and pink (for water lines with higher pressure).
- Best for: Threaded pipe connections, especially in tight spaces where paste sealants are hard to apply.
- Not suitable for: Flare or compression fittings, or as a gap-filler in non-threaded joints.
Silicone Sealant
Silicone sealant is a flexible, rubbery adhesive used for waterproofing and sealing gaps around sinks, tubs, showers, and fixtures. It’s resistant to mold and mildew, making it ideal for wet environments. There are specialty formulations for kitchen, bath, and plumbing use—always choose a 100% silicone or plumbing-grade version for best results.
- Best for: Sealing joints around sinks, tubs, shower enclosures, and backsplashes.
- Not suitable for: Threaded pipe connections or areas exposed to constant water pressure.
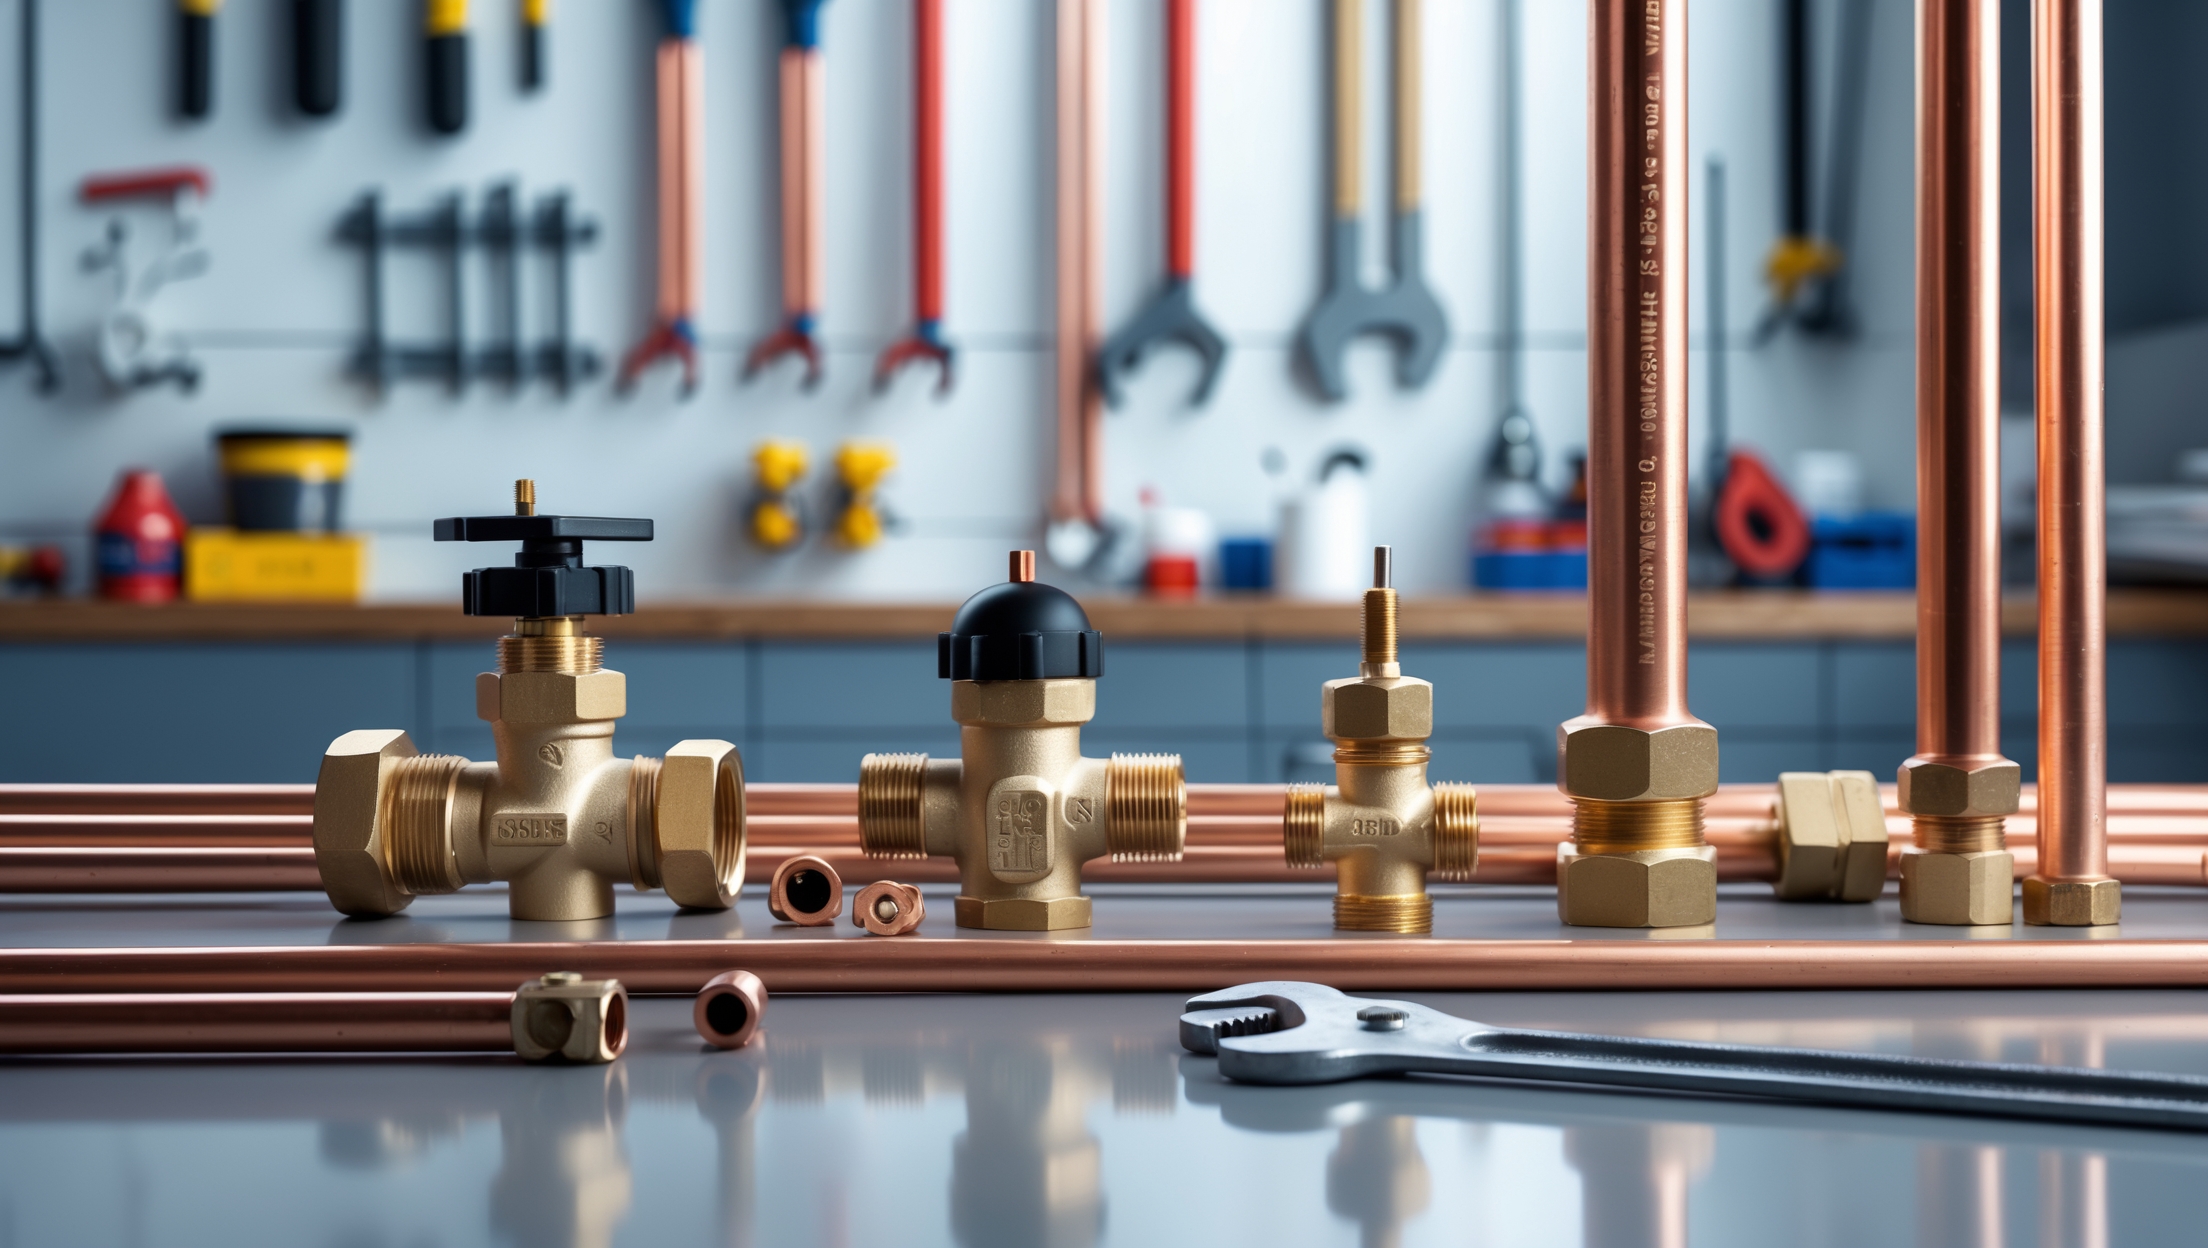
Pipe Joint Compounds vs. Anaerobic Sealants
Pipe joint compounds (pipe dope) and anaerobic sealants might appear similar, but they behave differently. Anaerobic sealants cure only in the absence of air and presence of metal, creating a strong bond ideal for high-pressure applications. They are commonly used in industrial settings and on metal pipe threads—never on plastic or flexible pipes.
- Best for: High-pressure water or hydraulic lines with metal threads.
- Not suitable for: Plastic pipes or any joint exposed to air before assembly.
Specialty Sealants (Epoxy, Polyurethane, Marine-Grade)
Some plumbing situations demand specialty sealants. Epoxy putties are used for emergency repairs on leaking pipes or tanks; polyurethane sealants are valued for their durability and adhesion in heavy-duty, outdoor, or underground applications. Marine-grade sealants are designed for constant submersion and harsh environments.
- Best for: Emergency patching, outdoor installations, or plumbing exposed to the elements.
- Not suitable for: Everyday joint sealing, as removal and permanent repair are usually necessary after temporary fixes.
Choosing the Right Sealant: Factors to Consider
Pipe Material Compatibility
Not all sealants adhere properly or cure correctly on every pipe material. For example, some thread compounds contain solvents that damage PVC or CPVC. Always match the sealant to the pipe—manufacturers list compatibility on the label.
Temperature and Pressure Requirements
Plumbing systems vary from low-pressure residential potable water to high-pressure steam or gas lines. Choose a sealant rated for the maximum temperature and pressure of your system. Overlooking these specs can result in premature failure or hazardous leaks.
Potable Water Safety
If a sealant will contact drinking water, ensure it’s certified to NSF/ANSI Standard 61 or marked as safe for potable use. Some compounds leach chemicals that can contaminate water or degrade over time.
Ease of Application and Curing Time
Consider whether you need instant sealing (such as with Teflon tape), or if you can wait for a compound to cure. Some sealants require several hours to fully set before water is turned on, while others are ready for immediate use.
Accessibility for Future Repairs
Some sealants, especially strong adhesives or epoxies, can make disassembly difficult. For fixtures that may require frequent maintenance, opt for removable options like Teflon tape or non-hardening pipe dope.
Step-by-Step: How to Apply Plumbing Sealants Like a Pro
Applying Teflon Tape
- Clean threads with a wire brush to remove debris and old sealant.
- Wrap tape clockwise around the male threads (the same direction the fitting will be turned), overlapping by at least 50% and covering the threads 3–4 times.
- Press the end of the tape firmly into the threads to prevent unraveling during assembly.
- Assemble the joint by hand, then tighten with a wrench as needed. Do not overtighten.
Using Pipe Thread Sealant (Pipe Dope)
- Stir the sealant if required (some products separate in the can).
- Apply a thin, even layer to the male threads—avoid globbing it on.
- Keep sealant off the first thread to prevent contamination inside the pipe.
- Assemble the joint and tighten per manufacturer’s instructions.
Silicone Sealant Application
- Clean and dry the surfaces thoroughly—any moisture or grease will prevent adhesion.
- Cut the tip of the tube to match the desired bead size.
- Apply a continuous bead, avoiding gaps or air pockets.
- Smooth the bead with a wet finger or caulk finishing tool for a neat finish.
- Allow sealant to cure fully before exposing to water (typically 12–24 hours).
Anaerobic and Specialty Sealants
- Apply only to clean, dry, metal threads.
- Do not use on plastic or flexible piping unless specifically approved.
- Assemble and tighten immediately; curing begins when air is excluded.
- Observe recommended curing time before pressurizing the system.
Common Problems and How to Avoid Them
Overusing or Mixing Sealants
More isn’t better—a thick glob of sealant can hinder proper joint assembly or even clog pipes. Similarly, never mix Teflon tape and pipe dope on the same joint; this can prevent either from working effectively.
Using the Wrong Sealant
Applying standard silicone caulk to a pressurized joint, or using a non-potable compound on drinking water lines, frequently causes leaks or contamination. Always double-check the label for suitability.
Insufficient Surface Preparation
Sealants need clean, dry surfaces to work. Any oil, old sealant, or debris left on threads or fittings can compromise the seal. Take the extra time to prep properly before application.
Not Allowing Proper Cure Time
Turning the water back on before a sealant has cured is a common mistake—this can wash away uncured product and lead to leaks. Follow manufacturer’s recommendations for cure times every time.
Sealant Maintenance and Longevity
Inspecting Sealed Joints
Periodically check visible sealed joints for signs of weeping, corrosion, or deterioration. In bathrooms and kitchens, mold or mildew around silicone seams signals the need for replacement. For threaded joints, watch for mineral buildup or rust, which can indicate slow leakage.
Replacing and Touching Up Sealants
- Remove old, failing sealant completely before reapplying new material. Use a scraper, wire brush, or solvent as needed.
- For silicone, cut out the bead cleanly and wipe surfaces with isopropyl alcohol before resealing.
- For threads, clean and re-tape or reapply pipe dope as appropriate.
When to Call a Professional
If you encounter recurring leaks, suspect hidden water damage, or need to seal a joint in a critical system (like gas lines or high-pressure pipes), it’s best to consult a licensed plumber. Professionals have access to industrial-grade sealants and pressure-testing equipment to ensure safety and compliance with local codes.
Sealants and Plumbing Codes: What You Need to Know
Building and plumbing codes may dictate which sealants are allowed for specific applications, especially for potable water, gas, or high-pressure systems. Always check local code requirements and manufacturer certifications. Using an unapproved sealant can result in failed inspections, costly rework, or liability in the event of failure.
Real-World Case Studies
Case Study 1: Stopping a Persistent Leak in a Copper Joint
A homeowner noticed a slow drip from a threaded copper fitting, despite repeated tightening. Inspection revealed the use of a non-compatible thread sealant that had degraded over time. The solution: the joint was disassembled, threads cleaned thoroughly, and a PTFE-based thread sealant approved for copper and potable water was applied. The leak stopped instantly and did not return, demonstrating the importance of proper product selection.
Case Study 2: Emergency Epoxy Repair in a Rental Property
After a tenant reported a burst PVC drain pipe on a weekend, a temporary repair was made using a two-part epoxy putty. This stemmed the leak until a permanent replacement could be scheduled. The property owner avoided emergency water shut-off and major water damage, highlighting the value of keeping specialty sealants on hand for quick fixes.
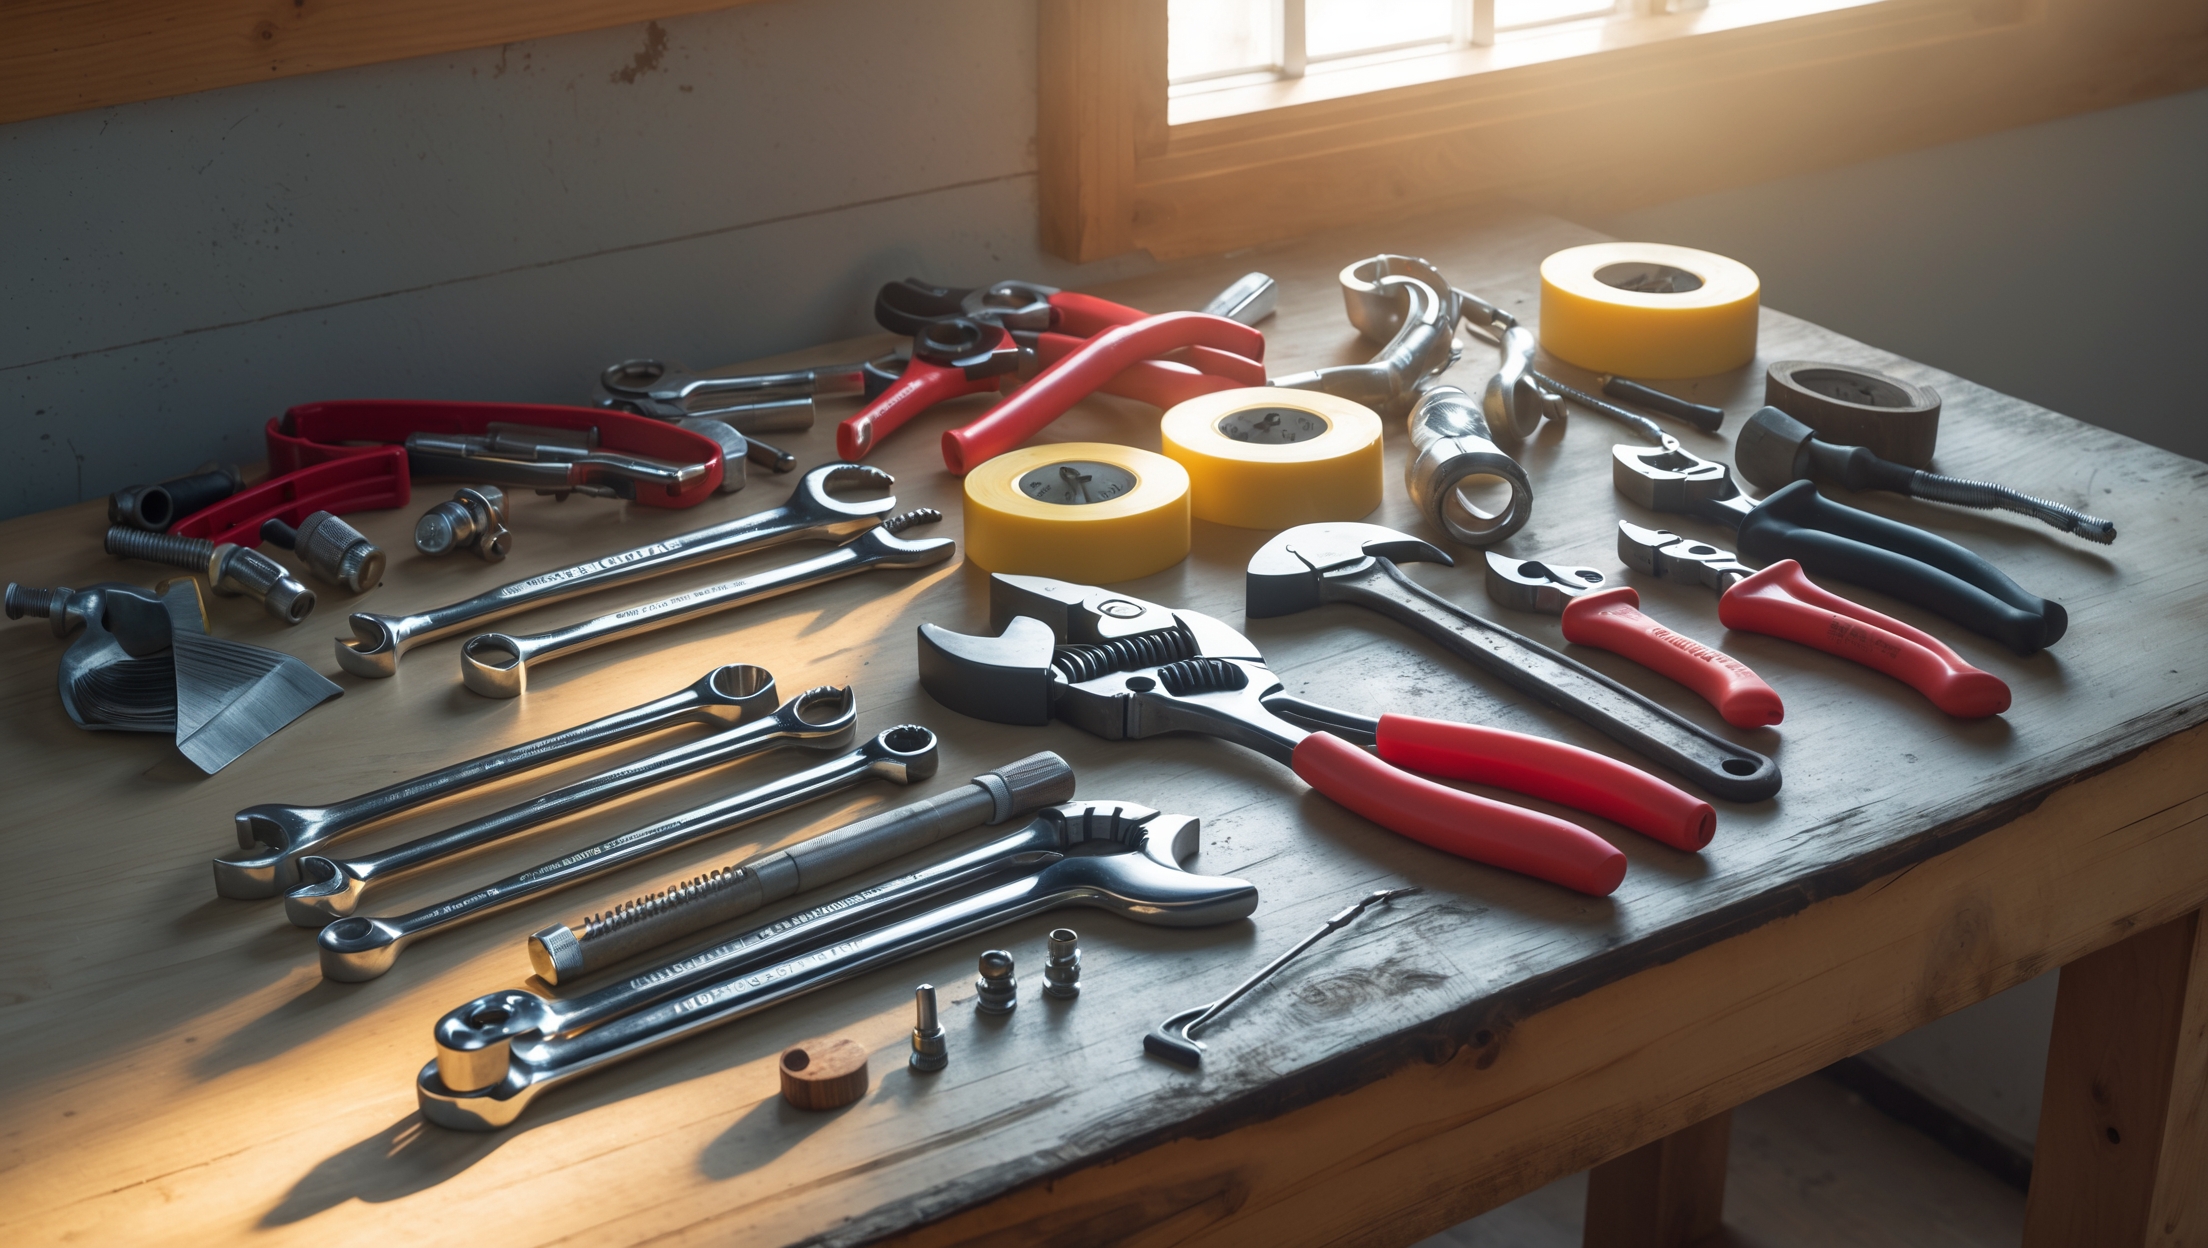
Sealant Toolkit: What Every DIYer and Pro Should Have
- Variety of Teflon tapes (white, yellow, pink)
- PTFE-based and non-hardening pipe thread sealants
- 100% silicone, kitchen and bath grade
- Epoxy putty for emergency repairs
- Wire brush and pipe cleaners for thread prep
- Straight razor or caulk removal tool
- Disposable gloves and rags
Conclusion: Seal With Confidence
Choosing the right plumbing sealant isn’t just a minor detail—it’s a critical step that determines the performance and reliability of every plumbing job, from the smallest faucet fix to the most complex pipe installation. With a clear understanding of the different sealant types, their best uses, and the importance of careful application, you can prevent leaks, water damage, and costly repairs down the line. Remember: always match your sealant to the pipe material, fluid type, and specific job requirements, and never cut corners on surface preparation or cure time. The right sealant, applied with care and expertise, will keep your plumbing running smoothly and safely for years to come.
Whether you’re a homeowner tackling your first DIY fix or a seasoned pro looking to streamline your workflow, investing a little extra attention into sealant selection and application pays off in peace of mind and long-lasting results. Stay informed, stock your toolkit wisely, and don’t hesitate to consult product data sheets or local codes for specialized projects. With the tips and techniques shared here, you’ll be able to seal every joint with professional confidence and ensure leak-free success in any plumbing project.