Introduction: Why Every Homeowner Needs to Master Shut-Off Valves
Picture this: a pipe bursts under your kitchen sink. Water gushes out, threatening to soak cabinets, floors, and everything in sight. In these moments, knowing exactly where and how to operate your plumbing shut-off valves can make the difference between a quick fix and a costly disaster. Yet, many homeowners overlook these simple but vital devices, often until it’s too late. Understanding shut-off valves is more than just a plumbing curiosity—it’s an essential skill for anyone who owns or manages property. In this comprehensive guide, we’ll break down the main types of shut-off valves, show you where each should be placed, and offer practical steps for maintaining them. Whether you’re prepping for a DIY project, responding to a plumbing emergency, or simply aiming to extend the life of your plumbing system, mastering shut-off valves will give you control, peace of mind, and potentially save you thousands in damage and repairs.
Understanding Shut-Off Valves: The Basics
What Is a Shut-Off Valve?
A shut-off valve is a mechanical device installed on your plumbing system to control the flow of water to specific fixtures or entire sections of your home. By turning a handle or lever, you can quickly stop water flow to faucets, toilets, appliances, or the whole house.
Why Shut-Off Valves Matter
- Emergency Control: Instantly halt leaks or bursts to minimize water damage.
- Maintenance Ease: Isolate sections for repairs or upgrades without disrupting the whole house.
- Convenience: Quickly shut off water to problem fixtures instead of searching for the main valve.
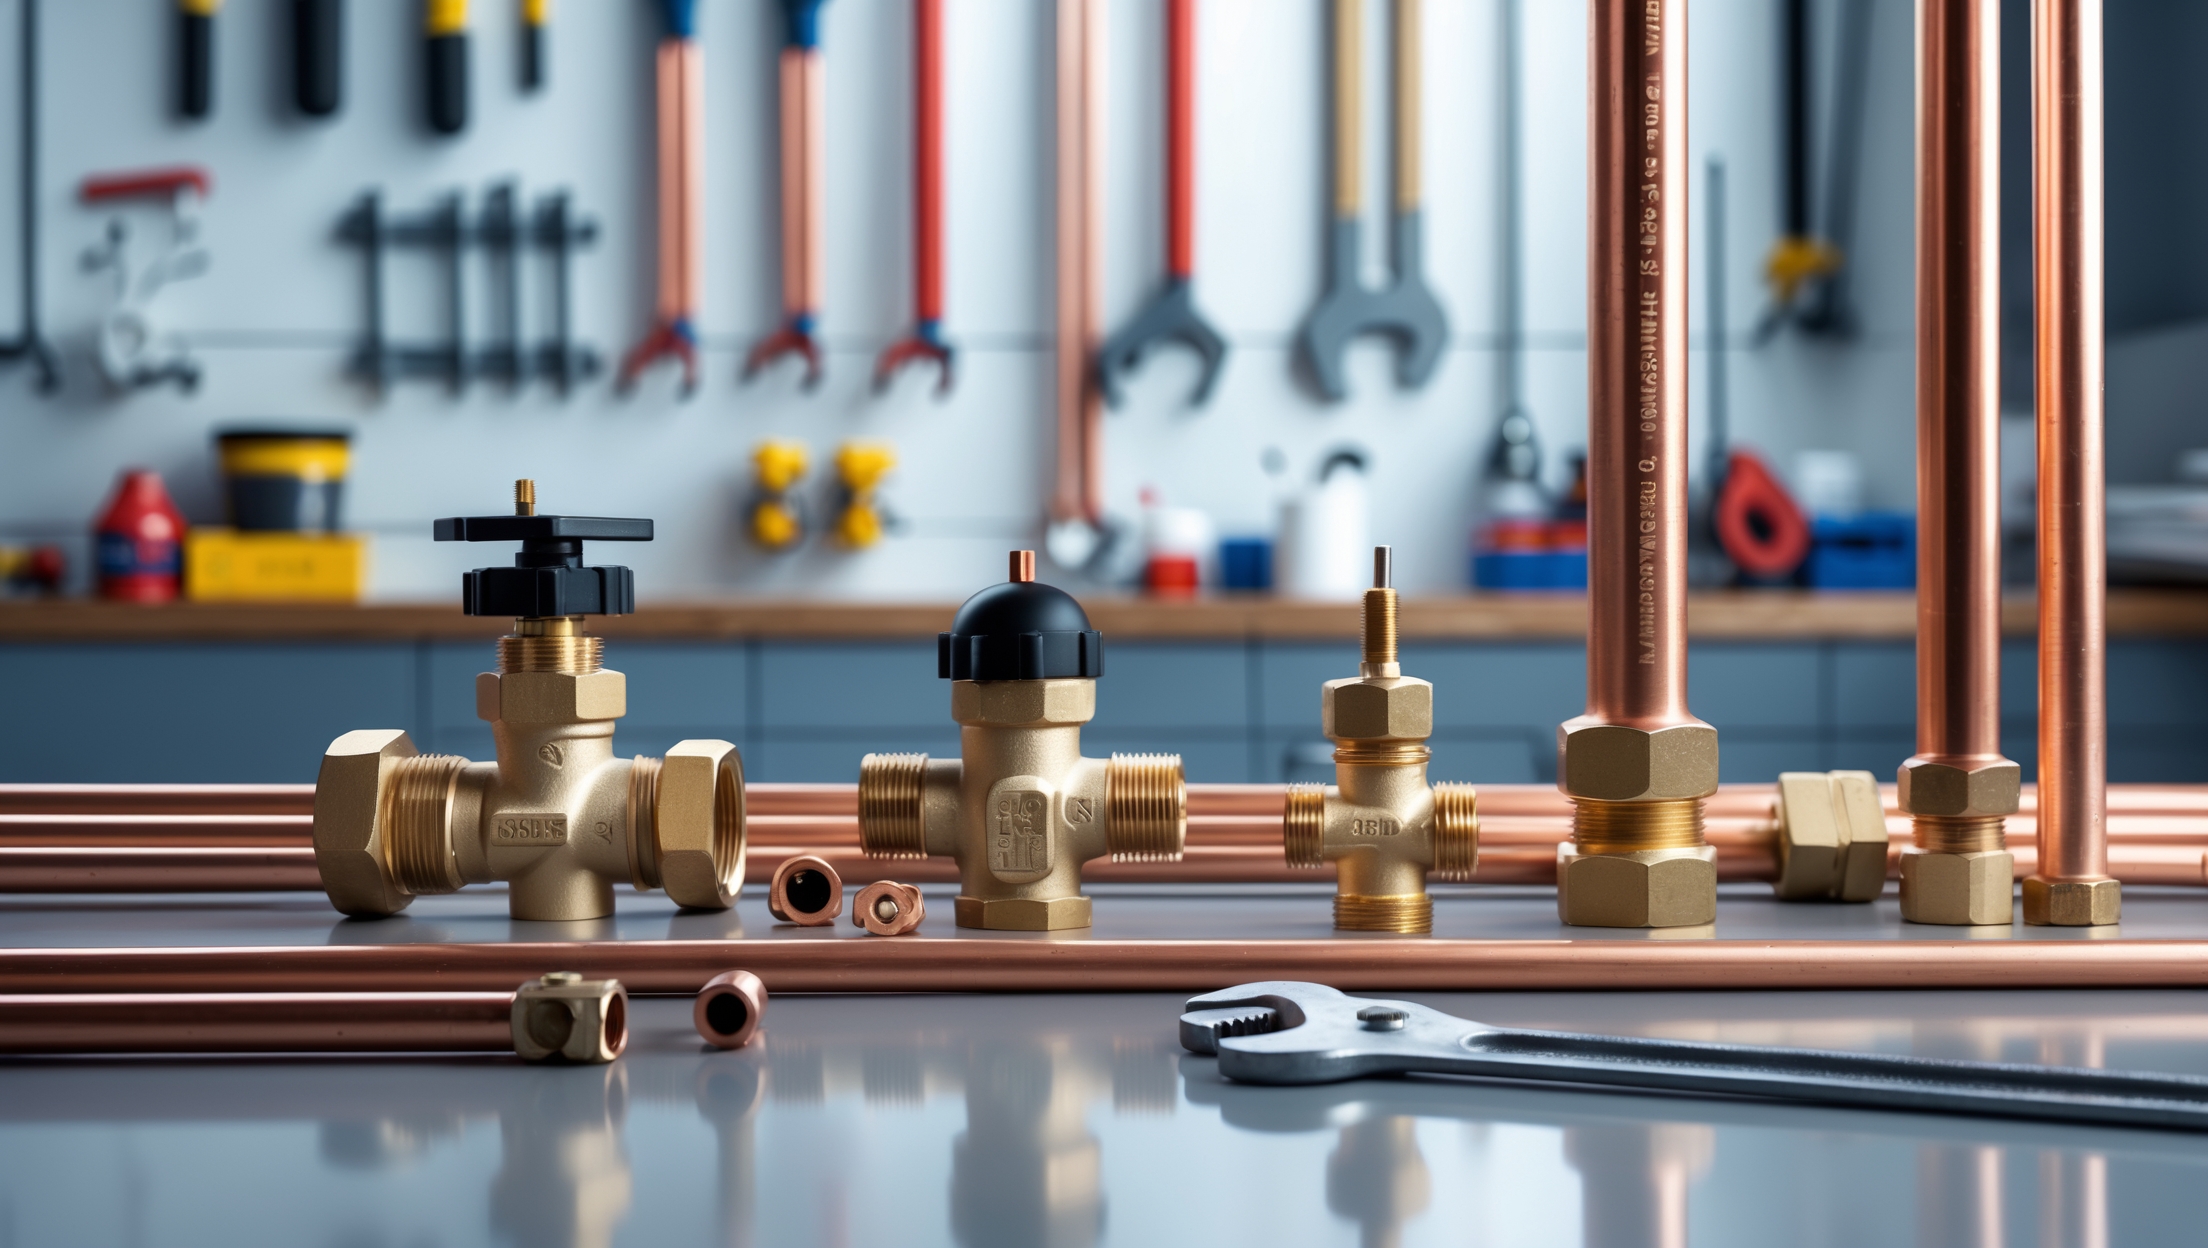
Types of Plumbing Shut-Off Valves
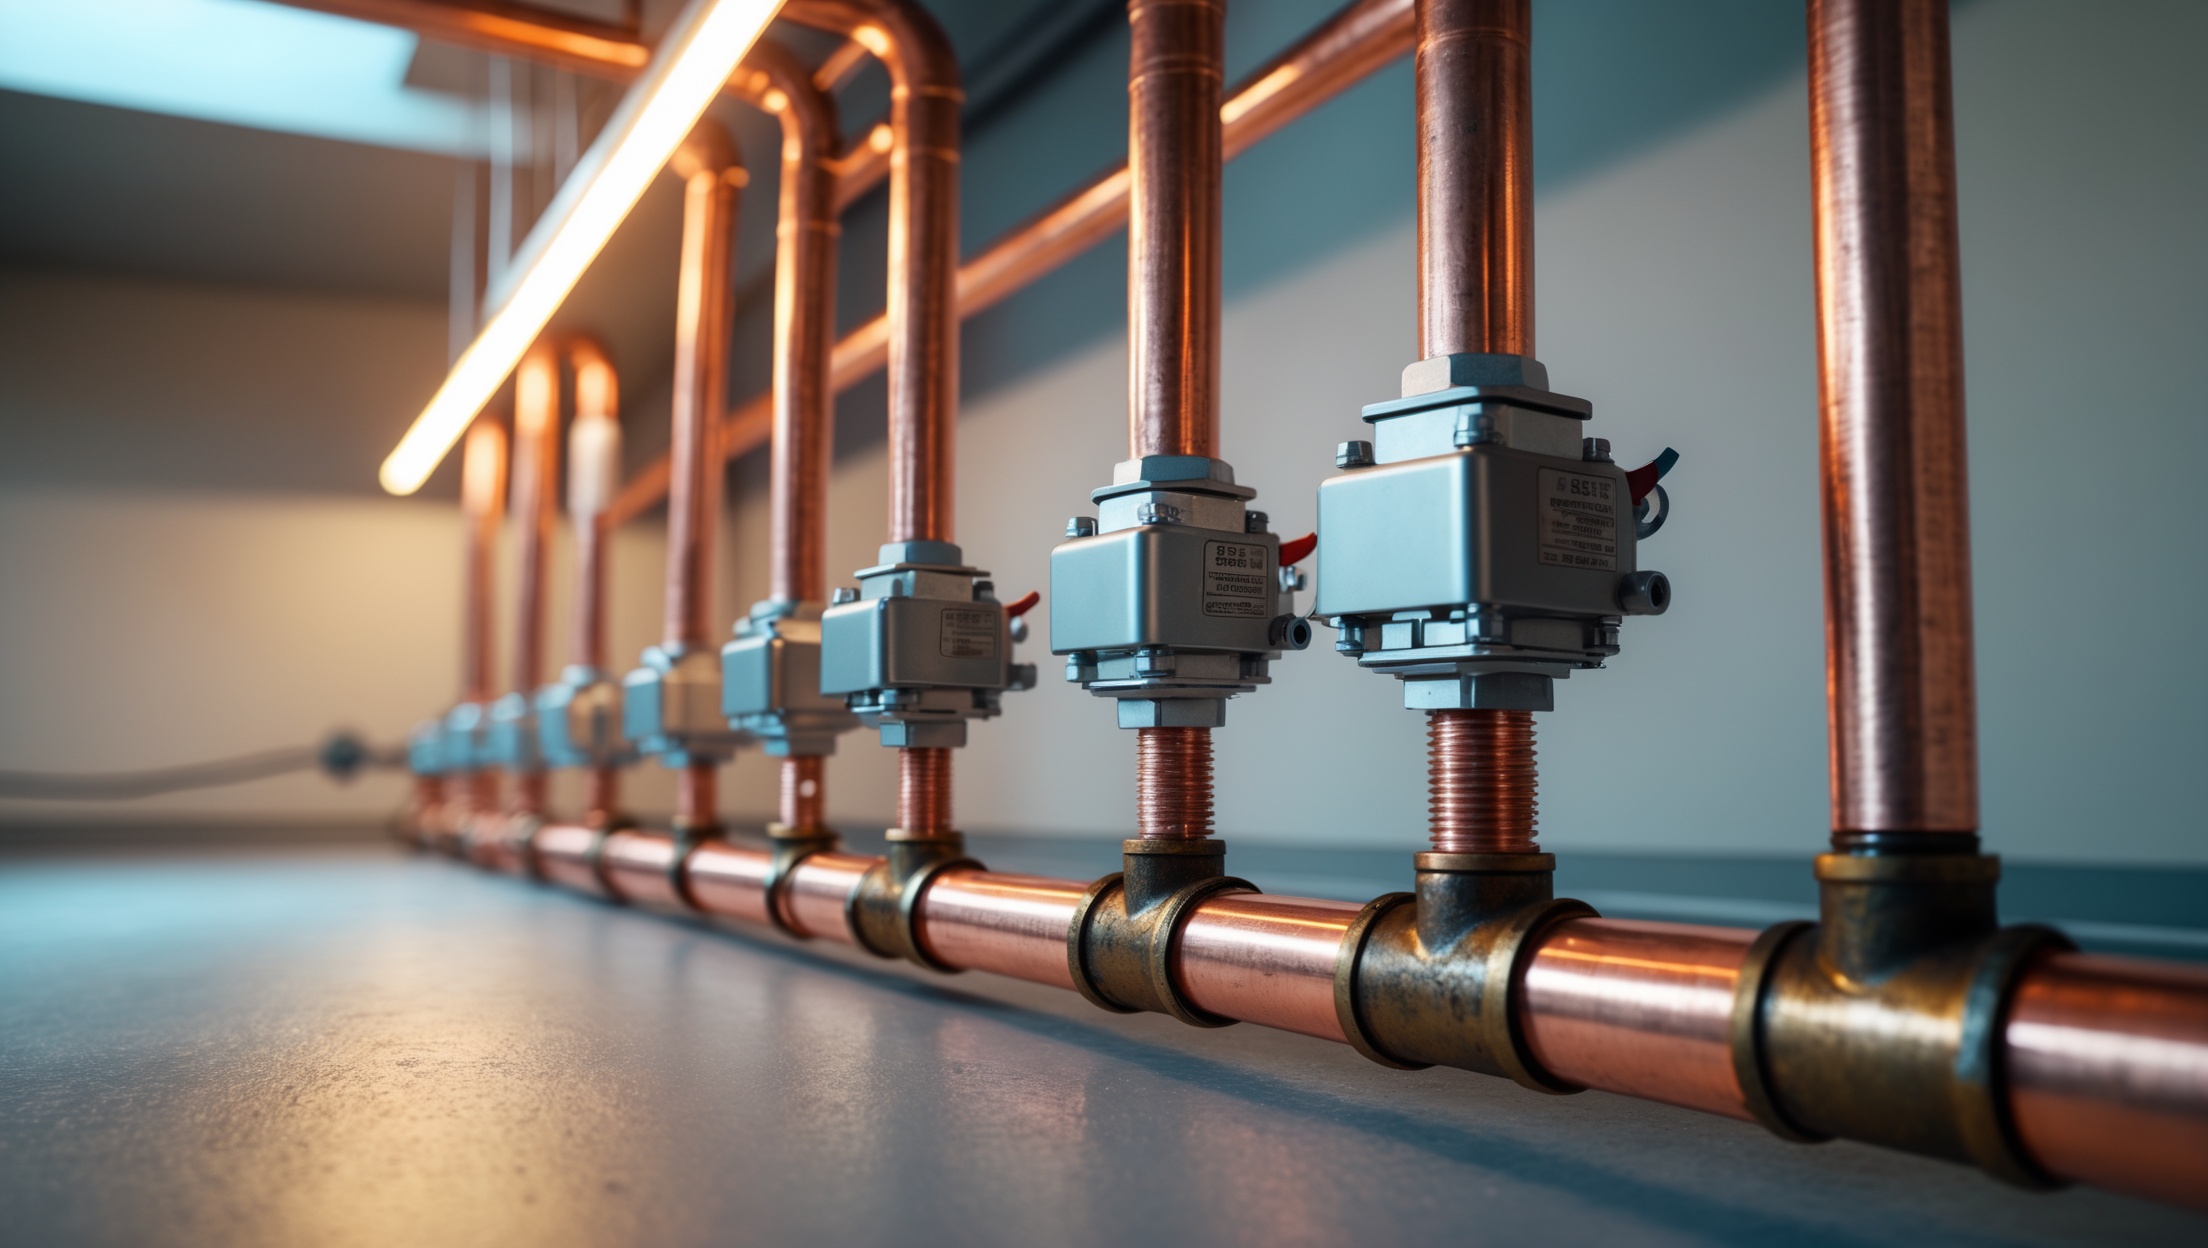
Ball Valves
Ball valves feature a quarter-turn handle and a spherical closure inside. They are reliable for full on/off operation and are less likely to get stuck. Commonly used as main water shut-offs and in newer installations.
- Pros: Easy to operate, durable, provide a clear open/closed indication.
- Cons: Slightly more expensive than other types.
Gate Valves
Gate valves use a rising or non-rising stem to move a gate up or down, controlling water flow. Older homes often have these as main shut-offs.
- Pros: Good for infrequent operation; minimal flow restriction when fully open.
- Cons: Can seize up over time; not recommended for frequent use.
Globe Valves
Globe valves use a threaded stem to compress a disc against a seat, allowing for finer control over water flow. Less common in main lines, more often found in appliance hookups.
- Pros: Good for throttling flow, precise control.
- Cons: Higher pressure drop; more complex internals.
Angle Stop Valves
Angle stop valves are compact, typically installed under sinks and toilets to control water to a single fixture. Operated with a small handle, they’re essential for isolating leaks or servicing fixtures.
- Pros: Space-saving, inexpensive, easy fixture isolation.
- Cons: Prone to seizing if not exercised periodically.
Straight Stop Valves
Similar to angle stops but with straight-through connections, these are used when the supply pipe enters the fixture from below or behind, rather than from the wall.
Push-Fit Shut-Off Valves
Designed for quick, tool-free installation on copper, PEX, or CPVC pipes. Popular for DIY upgrades and emergency repairs.
- Pros: No soldering or gluing; can be installed in minutes.
- Cons: Slightly bulkier; more expensive than compression or sweat valves.
Where Shut-Off Valves Belong: Placement Best Practices
Main Water Shut-Off
This valve controls water flow to the entire property. Common locations include:
- Where the main supply line enters the home (often in the basement, crawl space, or utility area).
- At the water meter (outdoors, in a meter pit, or curb box).
Tip: Clearly label the main shut-off and ensure all household members know its location.
Fixture Shut-Off Valves
Each sink, toilet, dishwasher, and washing machine should have its own shut-off. Typical placements include:
- Under sinks (hot and cold lines).
- Behind toilets (cold line only).
- Behind appliances (washing machines, dishwashers, refrigerators with ice makers).
Branch Line Shut-Offs
Larger homes may benefit from valves on branch lines (e.g., to a bathroom group or outdoor spigot), allowing for sectional isolation during repairs or upgrades.
Outdoor and Specialty Valves
- Hose Bibb Valves: Control water to exterior faucets; essential for winterizing outdoor plumbing.
- Whole-House Filter or Softener Valves: Allow isolation during filter changes or system maintenance.
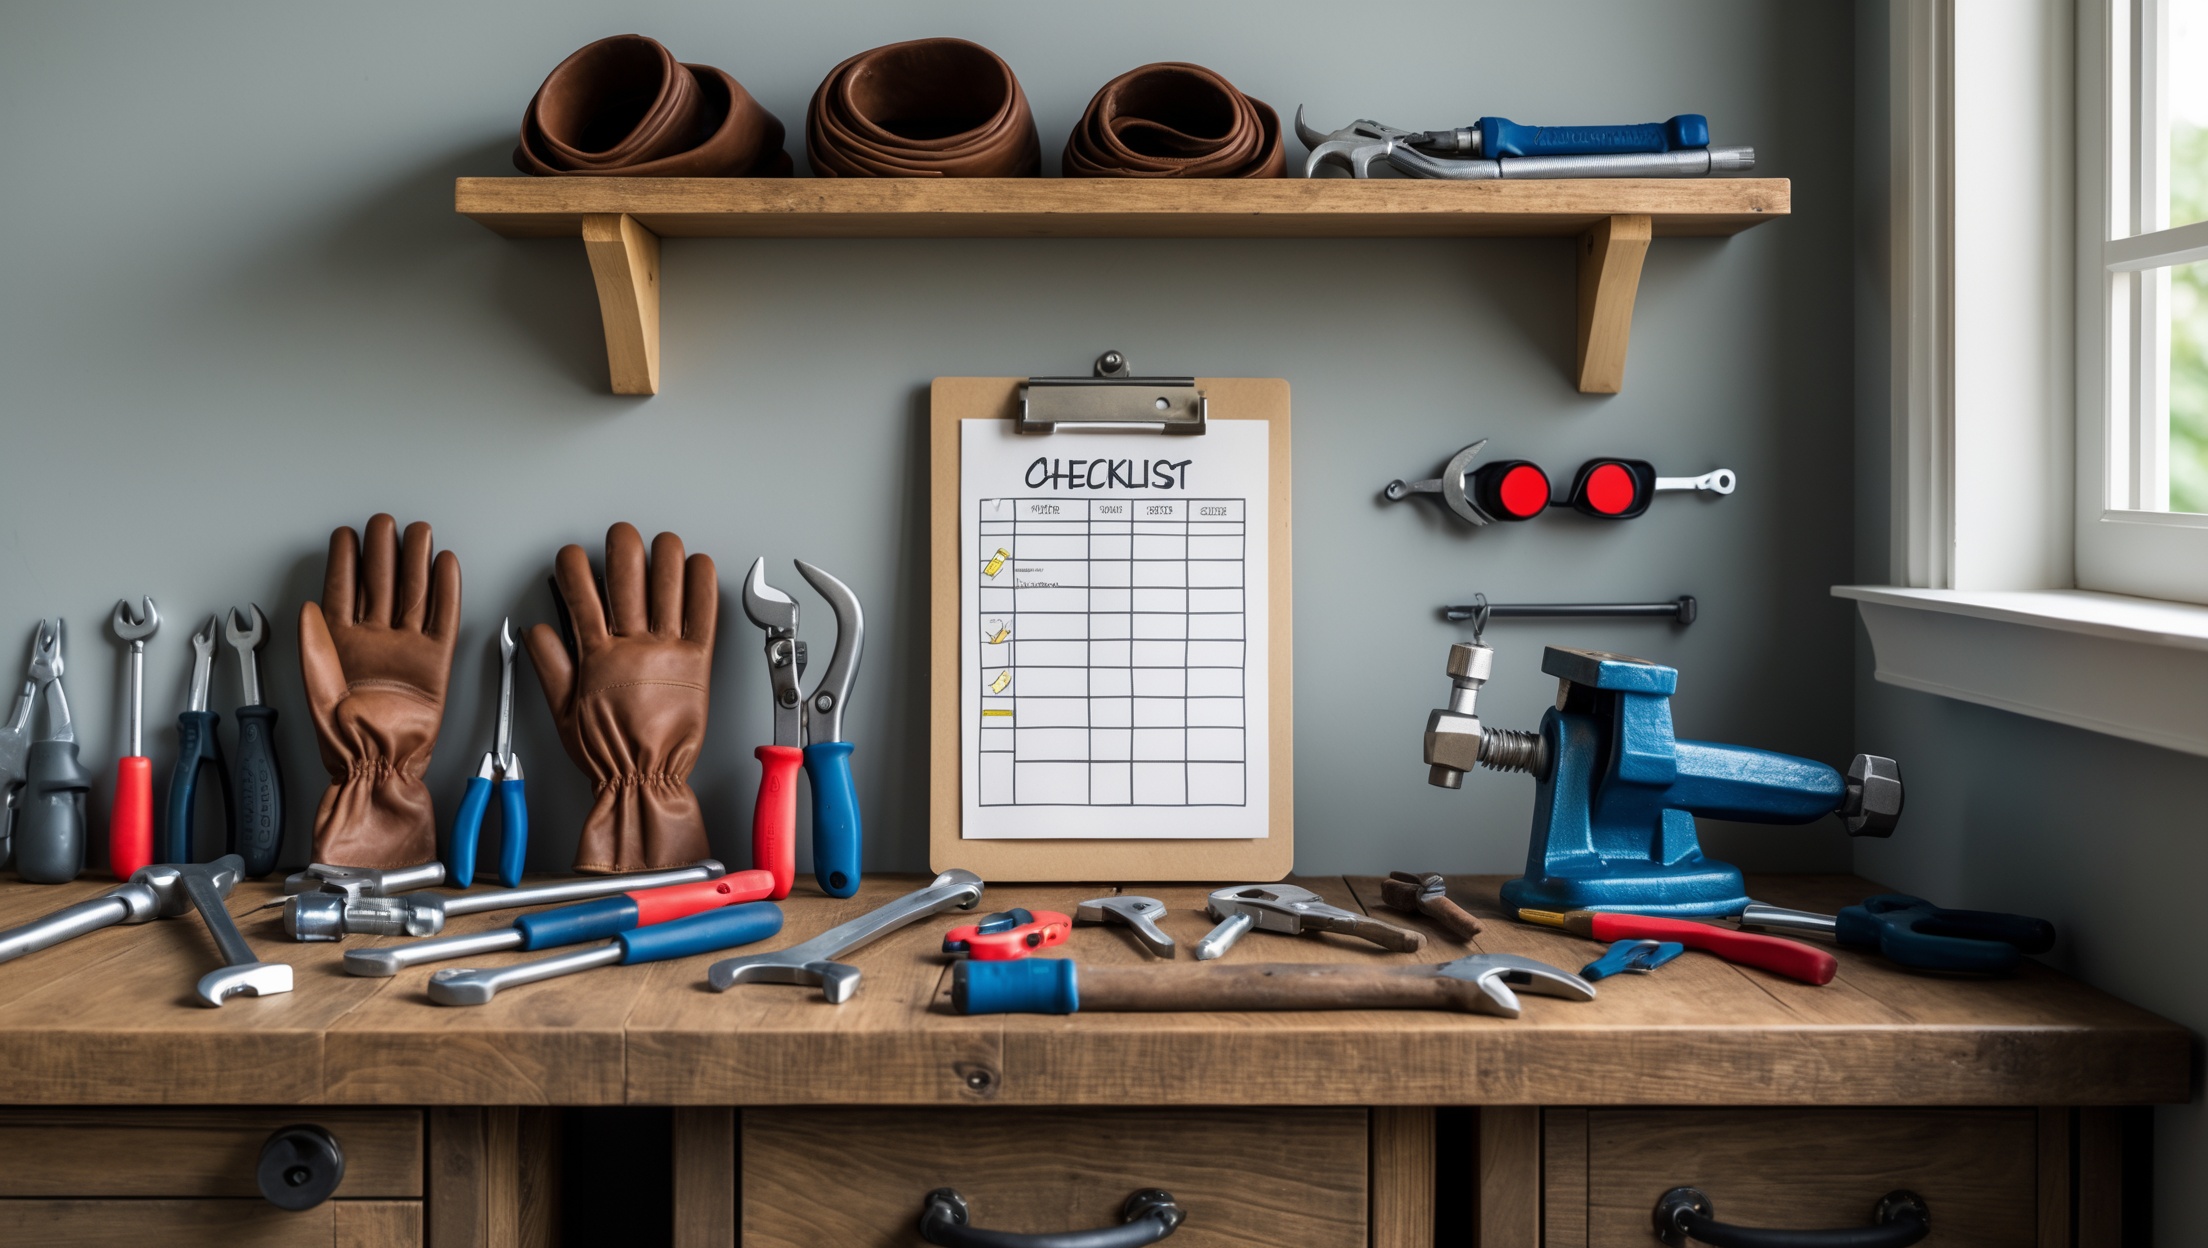
How to Identify, Test, and Label Your Shut-Off Valves
Locating All Valves
Walk through your home and make a list or diagram of every shut-off valve. Check under sinks, behind toilets, in utility rooms, and at the main entry point. Don’t forget outdoor spigots and appliances.
Testing Valves for Functionality
- Turn the handle clockwise (right) to close, counterclockwise (left) to open. For ball valves, the handle should be perpendicular to the pipe when closed.
- After closing, turn on the connected faucet or appliance to ensure water flow stops. If water continues to run, the valve may be faulty.
- Return valves to their fully open position after testing (unless you’re performing maintenance).
Labeling for Quick Access
- Use weatherproof, easy-to-read labels or tags.
- Mark the main shut-off, branch shut-offs, and individual fixture valves.
- Consider a color-coded system (e.g., red for hot, blue for cold, yellow for gas if applicable).
Shut-Off Valve Maintenance: Keep Them Working When You Need Them
Exercise Valves Annually
Valves that sit unused can seize or become difficult to operate due to mineral buildup or corrosion. At least once a year:
- Gently turn each valve fully on and off two or three times.
- Check for leaks at the stem or body while operating.
- Wipe away any dust or debris.
Inspect for Leaks and Corrosion
- Look for moisture, green or white deposits (indicative of corrosion), or rust on metal valves and fittings.
- If you find leaks, try tightening the packing nut just behind the handle. If leaking persists, the valve may need to be replaced.
Lubrication Tips
If a valve handle is difficult to turn, a small application of plumber’s grease on the stem threads after shutting off and disassembling the valve can restore smooth operation. Avoid using petroleum-based lubricants on rubber or plastic internals.
Replacing Faulty or Outdated Valves
Older gate or globe valves are prone to failure. If a valve is stuck, leaks, or cannot shut off flow completely, it’s time to replace it. Choose a modern ball or angle stop valve for reliability. For DIYers, push-fit valves offer a straightforward upgrade option. Always turn off the main water supply before replacing any valve, and check for leaks after installation.
Shut-Off Valve Upgrades: When and Why to Modernize
Signs It’s Time for an Upgrade
- Difficulty turning handle or incomplete closure.
- Visible corrosion, mineral buildup, or leaks.
- Valves more than 20 years old, especially gate or globe types.
- Planning renovations or fixture replacements.
Choosing the Right Replacement
- Ball valves for main lines and branch shut-offs
- Angle stop valves for fixtures (sink, toilet, appliance)
- Push-fit for DIY upgrades without soldering or specialized tools
Always match the valve size (e.g., 1/2″, 3/4″) and connection type (compression, threaded, or push-fit) to your existing plumbing.
Plumbing Code and Shut-Off Valve Compliance
Do Plumbing Codes Require Shut-Off Valves?
Most building codes require shut-off valves at the main water entry and at each fixture (toilet, sink, appliance). During renovations or new installations, verify local code requirements, as some regions have specific rules for valve types and placement. Proper compliance ensures safety, easier maintenance, and insurance coverage in case of plumbing failures.
Permit Considerations
Replacing or adding shut-off valves typically does not require a permit if you’re swapping like-for-like in an existing location. However, major plumbing changes (e.g., relocating supply lines or adding new branches) may require a permit and inspections. Always check with your municipality before starting significant plumbing work.
Common Shut-Off Valve Problems and Solutions
Valve Won’t Turn
- Apply a penetrating lubricant to the stem and try gently working the handle back and forth.
- If stuck, avoid forcing the handle—this can break internal parts or snap the stem.
- If the valve won’t budge after lubrication, plan for replacement.
Valve Leaks at the Stem
- Tighten the packing nut just behind the handle by a quarter-turn.
- If leaking persists, turn off the water, remove the handle, and replace the packing washer or repack with plumber’s graphite packing cord.
Valve Won’t Stop Water Flow
- Internal parts may be worn or broken. Replace the valve.
- In an emergency, shut off water at the next upstream valve or the main supply.
DIY Installation: Step-by-Step Shut-Off Valve Replacement
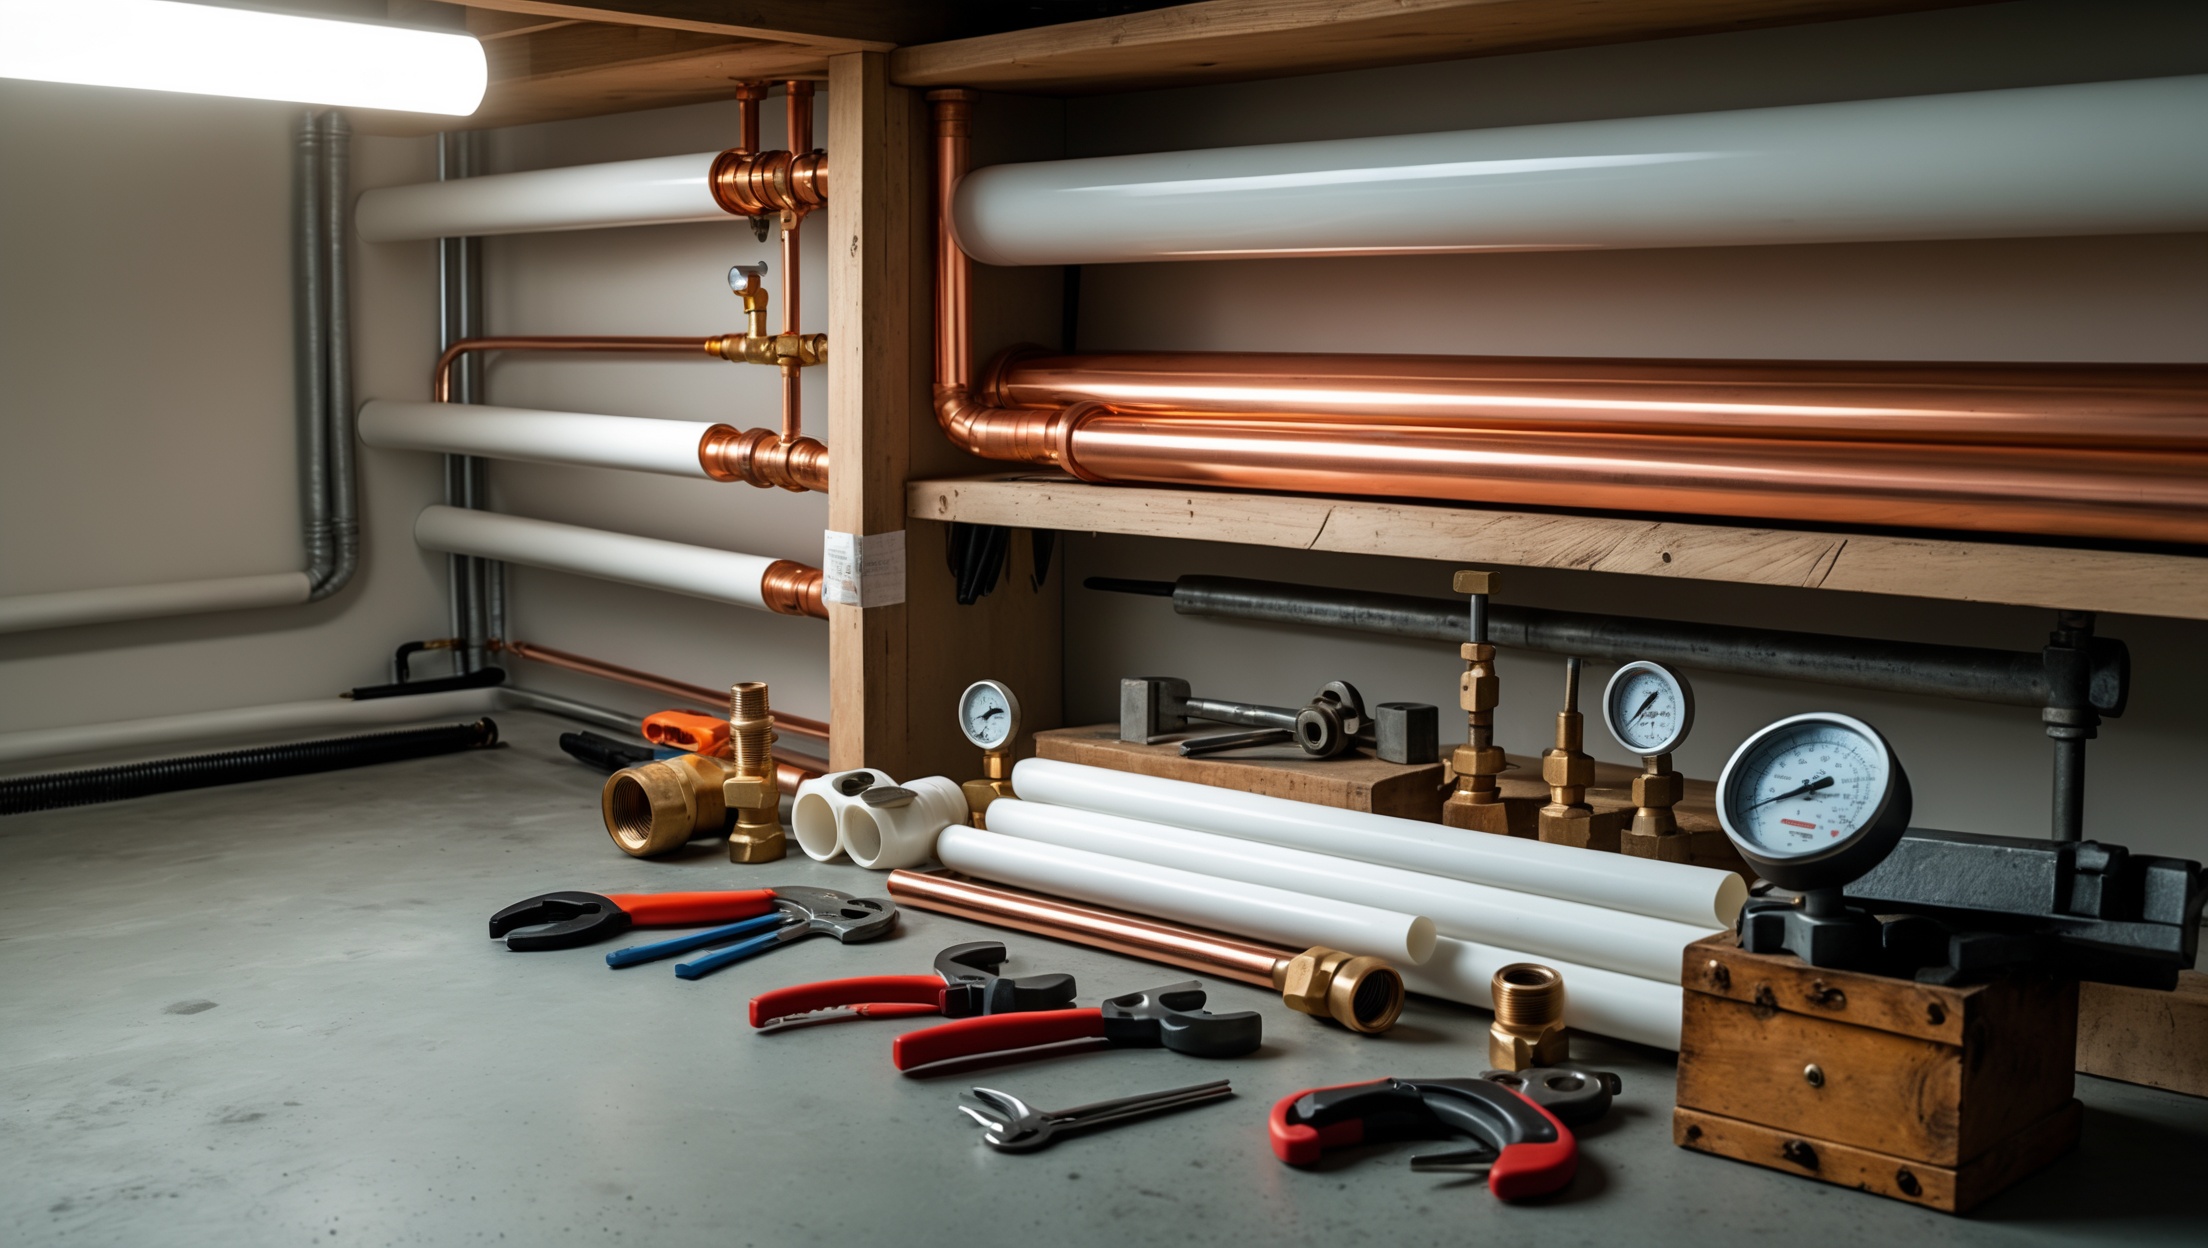
Tools and Materials Needed
- New shut-off valve (match size and type)
- Adjustable wrench
- Pliers
- Tubing cutter (for copper or PEX)
- Plumber’s tape (for threaded connections)
- Bucket and towels
Step 1: Shut Off Water Supply
Turn off the main water supply and open a faucet to relieve pressure. Catch any remaining water in a bucket.
Step 2: Remove Old Valve
Loosen the compression nut or unscrew the threaded connection. For soldered valves, use a tubing cutter to remove the valve and a short section of pipe.
Step 3: Prepare Pipe Ends
Clean pipe ends with emery cloth or a brush. For push-fit valves, ensure the pipe is round, clean, and free from burrs.
Step 4: Install New Valve
For compression or threaded valves, wrap threads with plumber’s tape and tighten securely. For push-fit, press the valve onto the pipe until fully seated. Ensure the valve handle is accessible and oriented correctly.
Step 5: Test for Leaks
Turn water back on gradually. Inspect for leaks at all connections. Tighten as needed, but avoid overtightening.
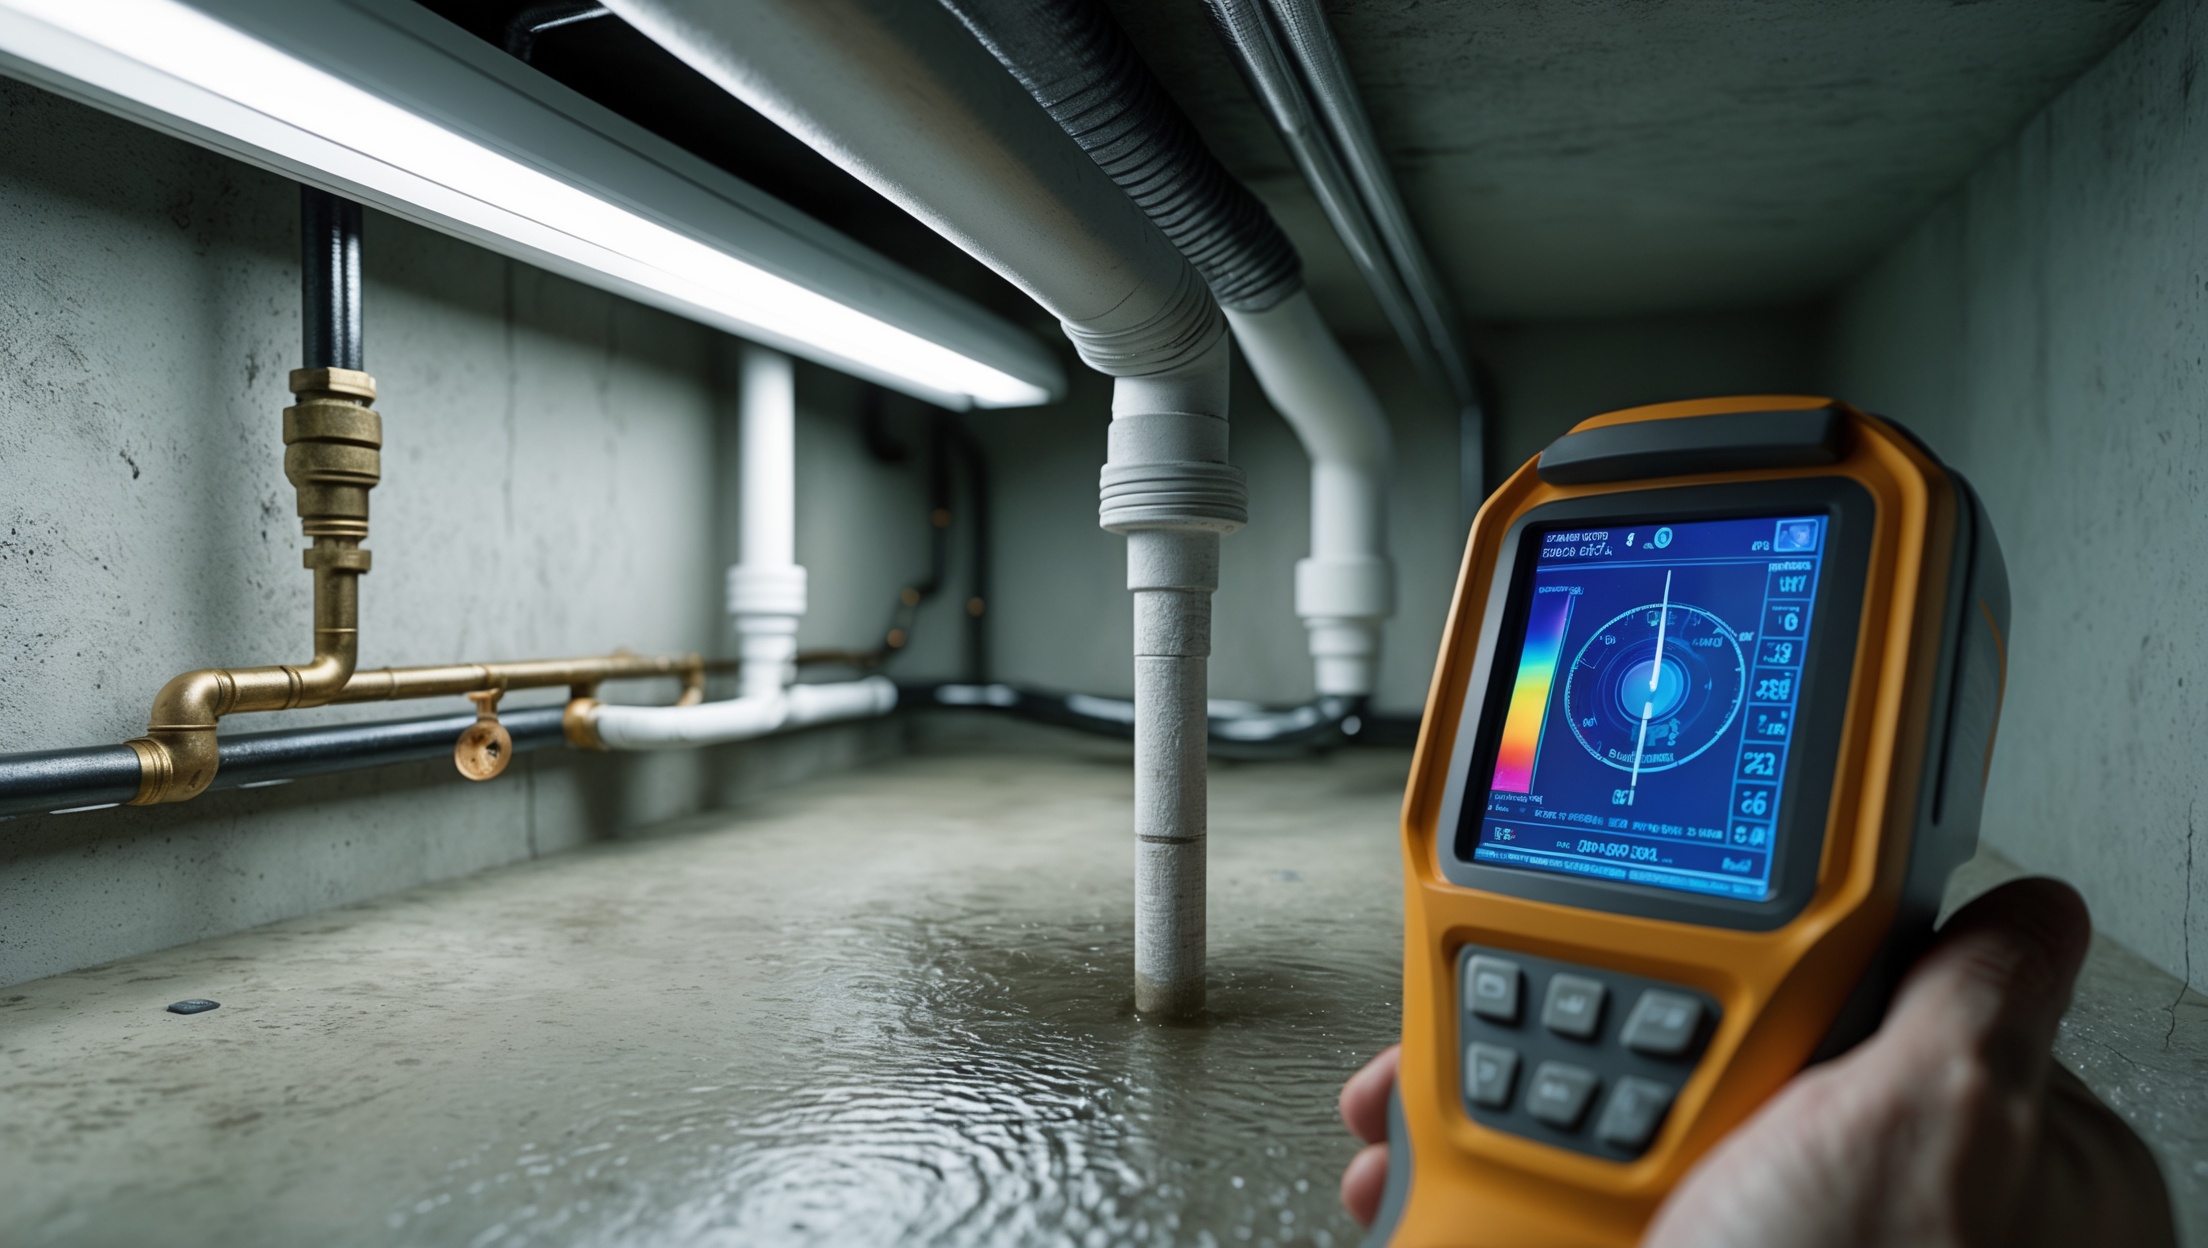
Preventing Water Damage: The Role of Shut-Off Valves in Home Safety
Quick access to effective shut-off valves can prevent catastrophic water damage from plumbing failures, frozen pipes, or appliance malfunctions. Consider installing smart leak detectors near vulnerable fixtures; some models can even automatically shut off water when a leak is detected, providing an extra layer of protection for your home.
Conclusion: Equip Yourself for Plumbing Peace of Mind
Mastering your home’s shut-off valves is a small investment of time and attention that pays off with significant rewards. By understanding the different types of valves, knowing where they should be installed, and practicing regular maintenance, you put yourself in control during emergencies and everyday repairs. Don’t wait until water is pooling at your feet—take a proactive approach: locate, test, and label all your shut-off valves, exercise them annually, and upgrade outdated or unreliable models. Doing so not only safeguards your property but also empowers you as a homeowner, reducing stress and avoiding expensive water damage. Whether you’re tackling a plumbing project, prepping for seasonal changes, or simply want to be ready for the unexpected, shut-off valves are your first line of defense. Share this knowledge with family or housemates, and you’ll create a safer, more resilient home for years to come.


Charles Davis
I see you mention ball valves as being common in newer installations and good for the main shut-off. For an older home that still has gate valves, is there a recommended way or timeline to upgrade those, or is it fine to leave the old valves unless they fail?