Introduction: The Unsung Hero of Your Plumbing System
When most people think of plumbing, they picture pipes, faucets, and drains. But behind the scenes, an essential component keeps everything flowing smoothly and odor-free: the plumbing vent system. Often overlooked, venting is the secret backbone that ensures proper drainage, prevents dangerous sewer gas from entering your home, and protects your fixtures from damage. Whether you’re a homeowner tackling DIY improvements or a contractor staying ahead of code requirements, understanding plumbing vents is crucial. This comprehensive guide dives deep into the design, troubleshooting, and upgrade options for vent systems, arming you with the insights you need for efficient, compliant, and worry-free plumbing.
How Plumbing Vent Systems Work
The Primary Functions of Vents
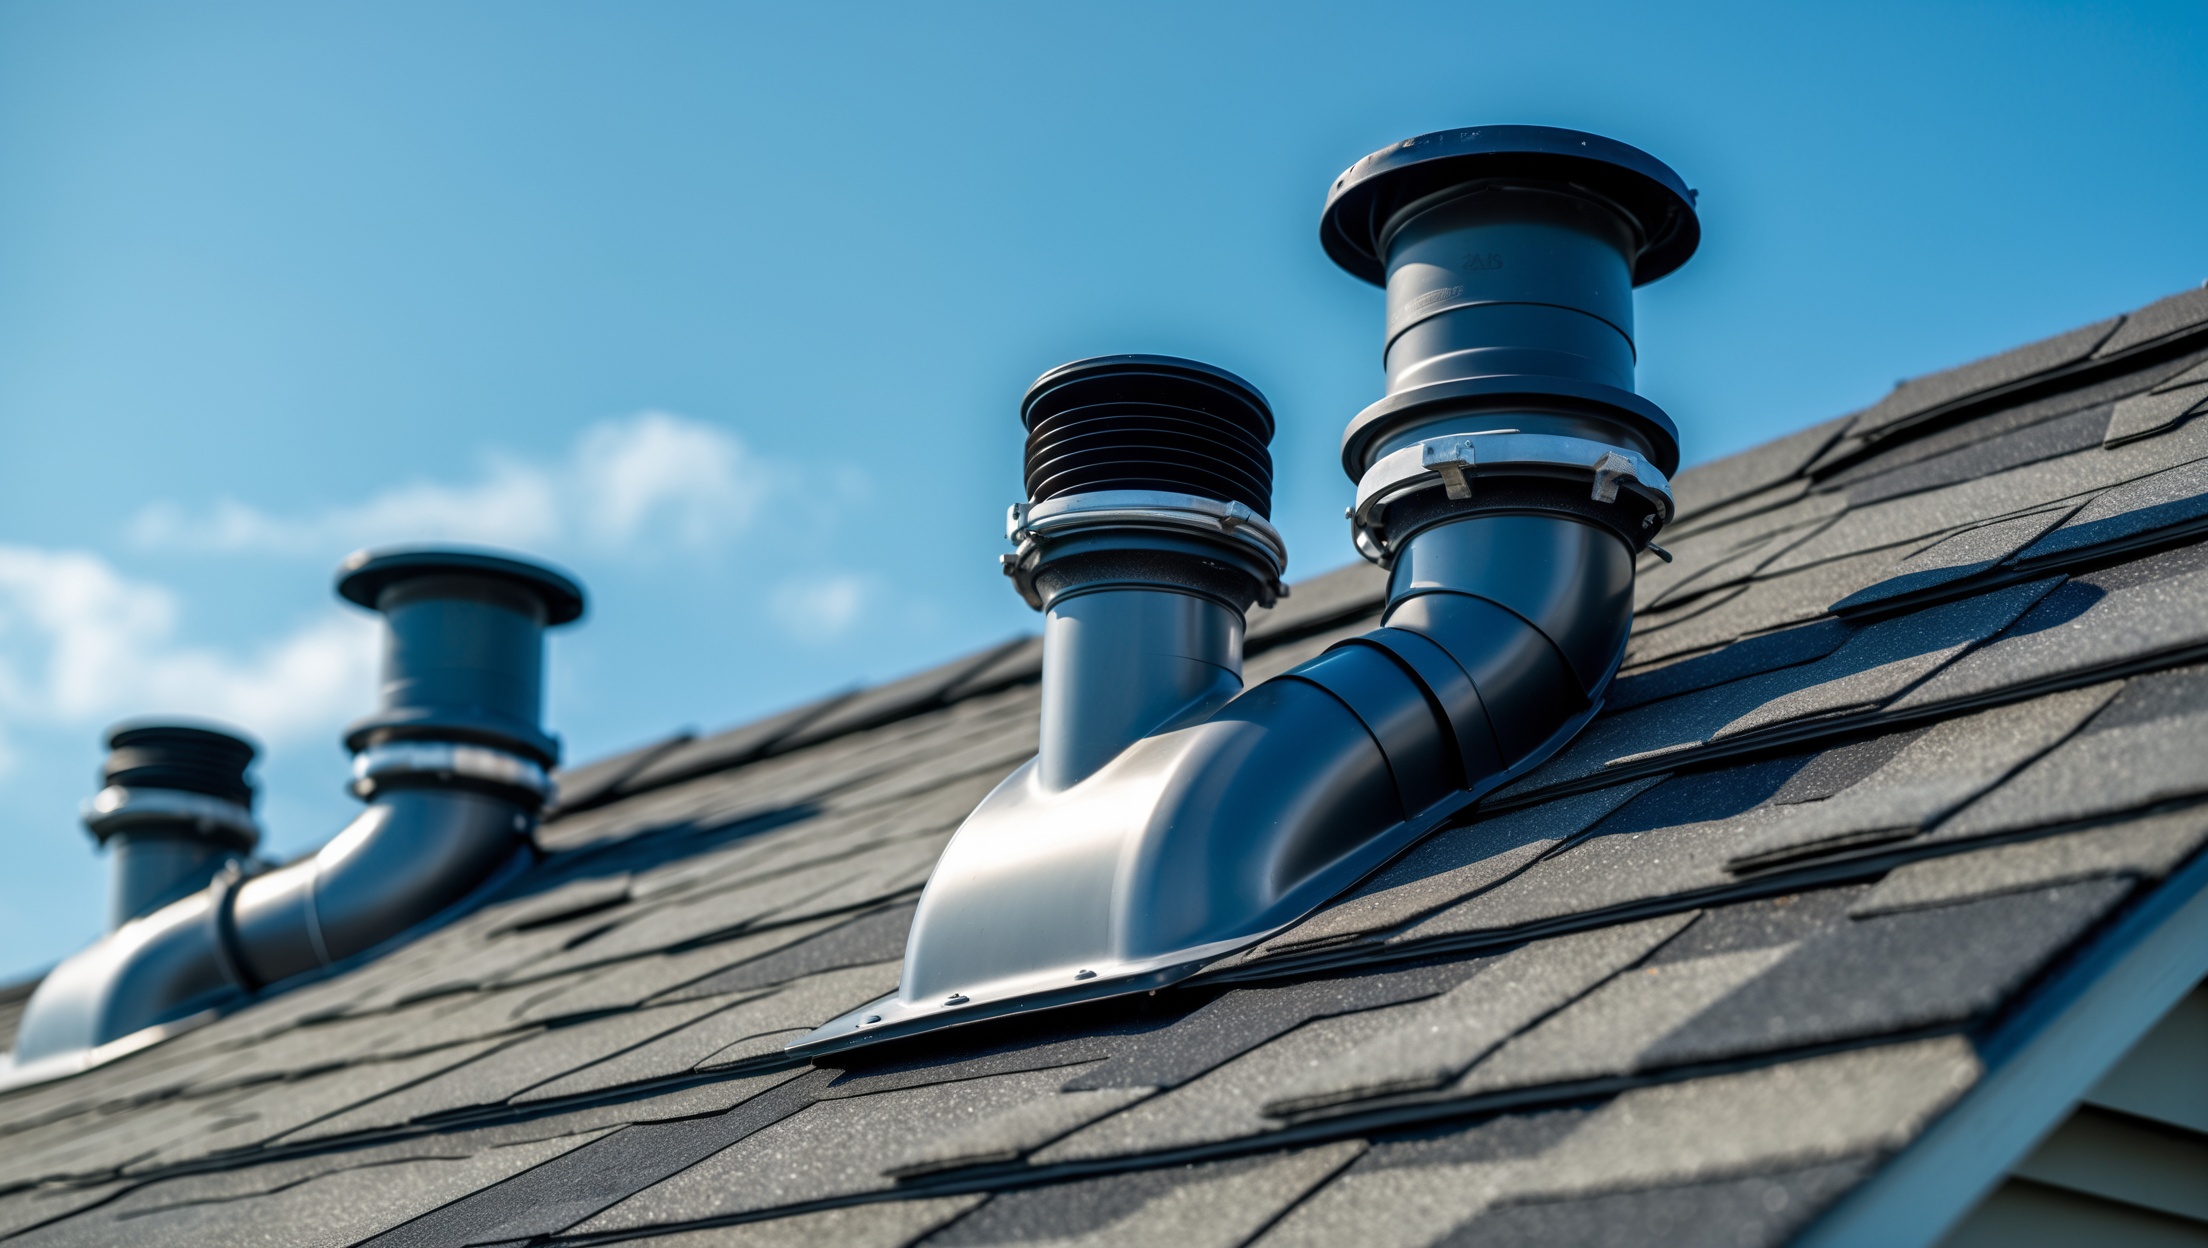
Plumbing vents—also known as vent stacks, air admittance valves, or vent pipes—serve several critical purposes:
- Equalize Air Pressure: Vents allow air to enter the drainage system, preventing vacuum formation that can disrupt water flow.
- Facilitate Drainage: By balancing pressure, vents help water and waste move efficiently through pipes.
- Block Sewer Gas: Vents safely direct sewer gases outside, keeping indoor air safe and odor-free.
Main Types of Plumbing Vents
- Main Vent Stack: The primary vertical pipe extending through the roof, servicing multiple fixtures.
- Branch Vents: Smaller pipes connecting individual fixtures to the main stack.
- Air Admittance Valves (AAVs): Mechanical devices that allow air in but block gas out—useful where traditional venting is impractical.
- Loop and Island Vents: Specialty configurations for sinks or fixtures not adjacent to walls.
Basic Venting Principles
Every plumbing fixture must have access to a vent. The vent must rise above the roofline or terminate in an approved AAV location to ensure gases escape safely. Slope, diameter, and distance rules—governed by plumbing codes—ensure vents function correctly.
Designing an Efficient Vent System
Key Considerations
- Fixture Units: Each fixture has a value; your vent system must be sized to handle the total load.
- Pipe Diameter: Smaller fixtures (sinks) require 1.5″ vents; toilets and main stacks often need 2″ or 3″.
- Distance to Vent: The further a fixture is from the vent, the larger the pipe may need to be.
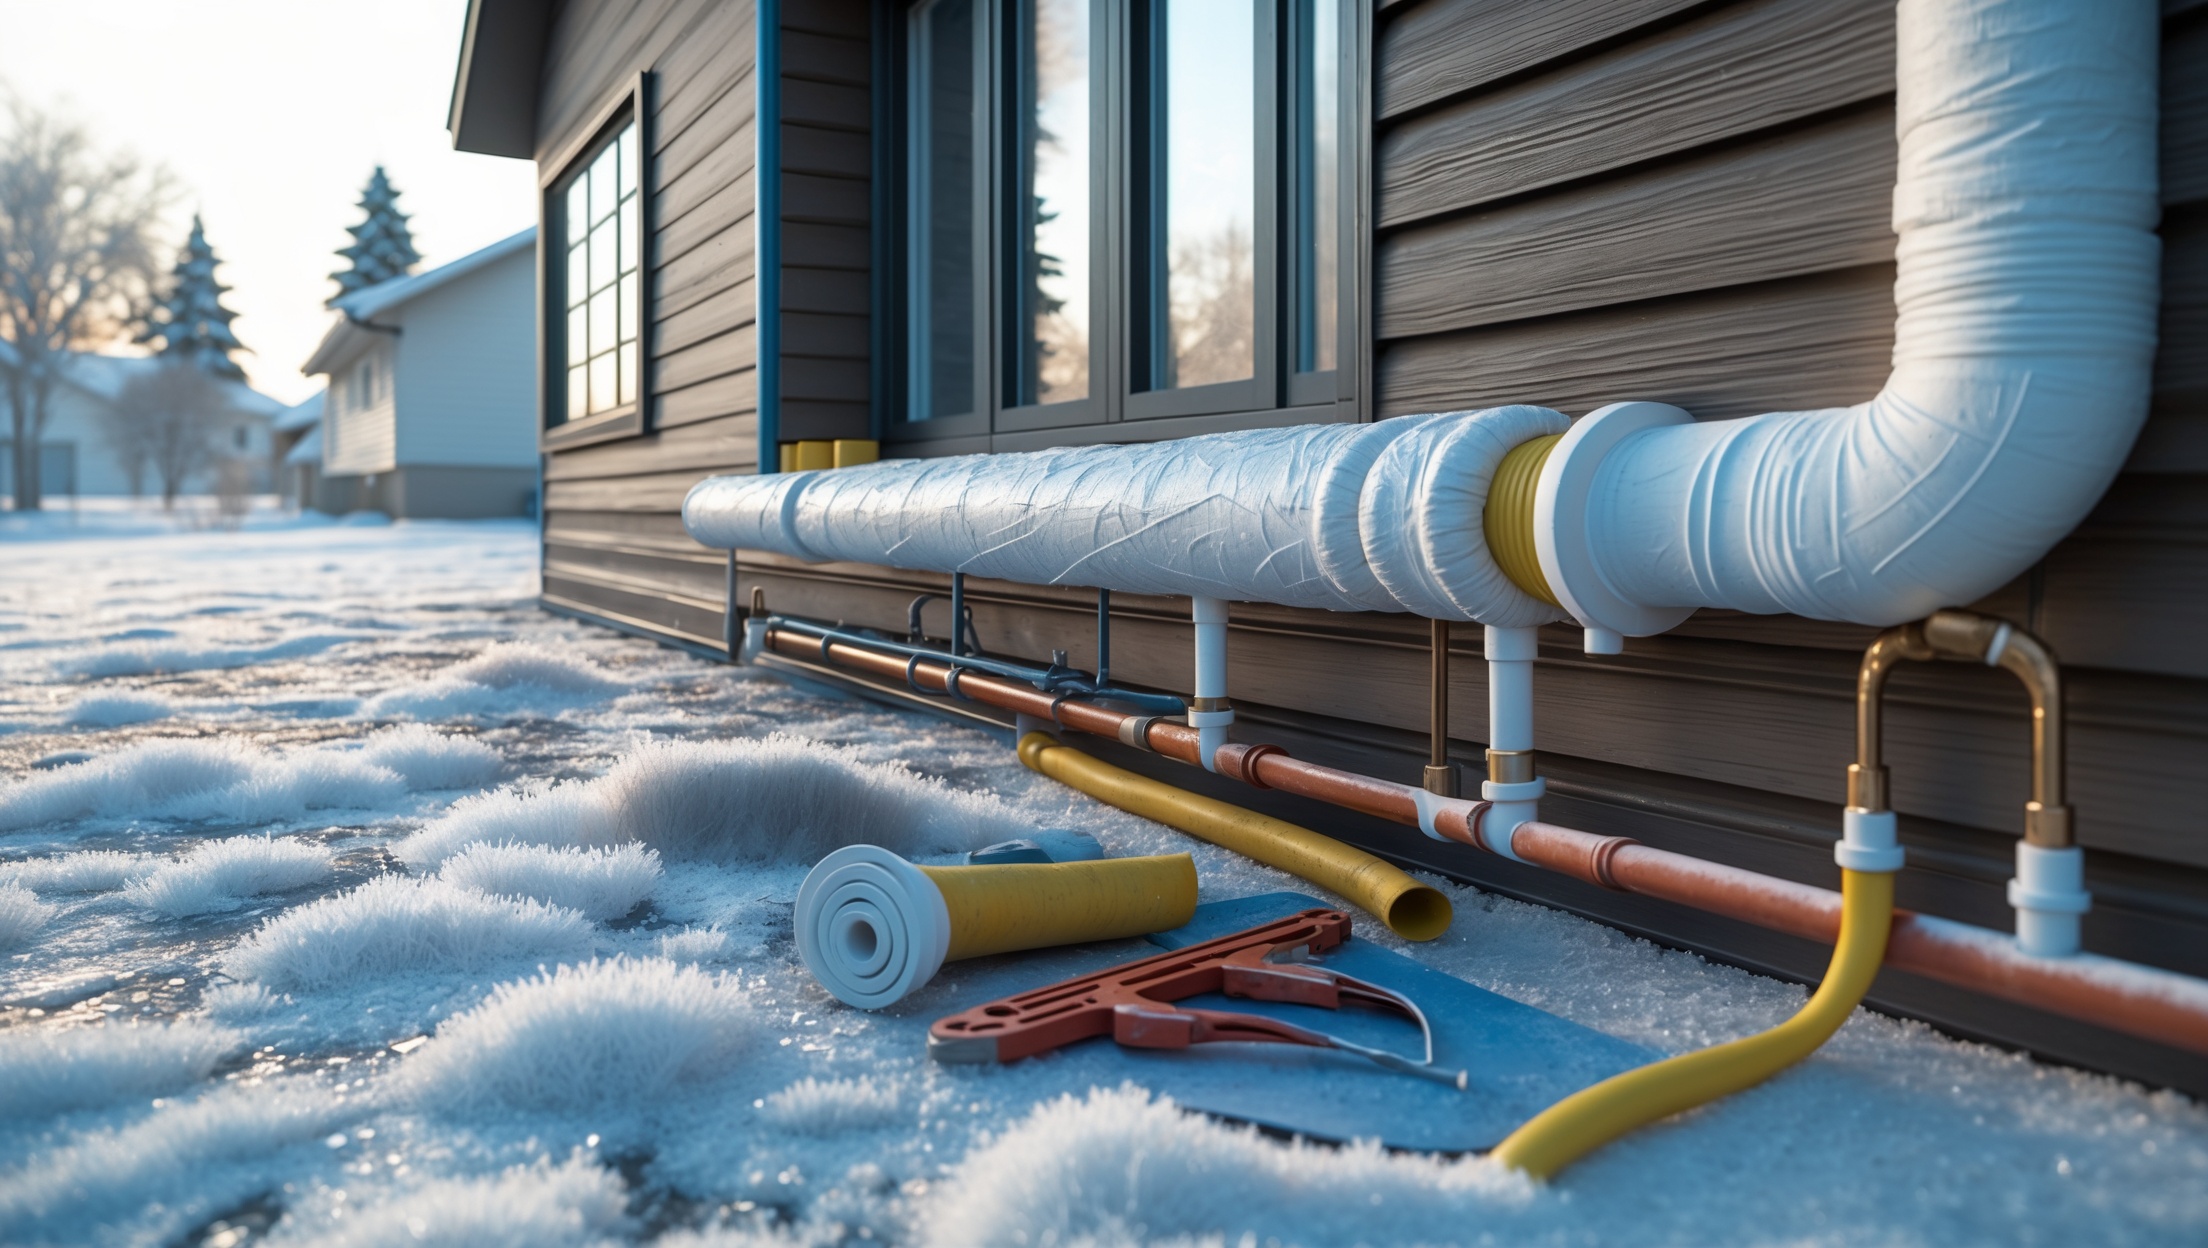
- Climate Factors: In cold climates, vents may freeze—proper insulation and placement are vital.
Planning Vent Routes
Efficient vent layouts minimize pipe length, avoid unnecessary bends, and group fixtures where possible. Common strategies include:
- Wet Venting: Using a drain pipe as a vent for multiple fixtures—common in bathrooms.
- Re-venting: Adding an extra vent when the primary route is too long or complex.
- Island Venting: Special vent loops for kitchen islands or fixtures away from walls.
Code Compliance
Local plumbing codes dictate vent sizing, placement, and materials. Always consult regional regulations or a licensed professional before making changes.
Common Venting Problems and How to Diagnose Them
Warning Signs of Vent Issues
- Slow Drains: When multiple fixtures drain slowly, vent blockage could be the culprit.
- Gurgling Sounds: Air pulled through water traps indicates negative pressure and poor venting.
- Sewer Odors Indoors: If you notice a rotten egg smell, sewer gases may be entering due to a compromised vent.
- Backups and Overflows: Inadequate venting can cause water to back up or overflow in unexpected places.
Step-by-Step Troubleshooting
- Visual Inspection: Check vent pipes on the roof for visible blockages (leaves, nests, debris).
- Trap Test: Fill and drain a sink; if gurgles or slow drainage occur, the nearest vent may be obstructed.
- Dye Test: Add food coloring to a fixture trap and observe if water is sucked out after draining another fixture nearby—indicating vent problems.
- Camera Inspection: For persistent issues, use a drain camera to inspect vent lines for internal obstructions or breaks.
Typical Causes of Vent Failure
- Debris Accumulation: Leaves, animal nests, or ice can block roof vent openings.
- Improper Installation: Incorrect pipe sizing or routing leads to chronic venting issues.
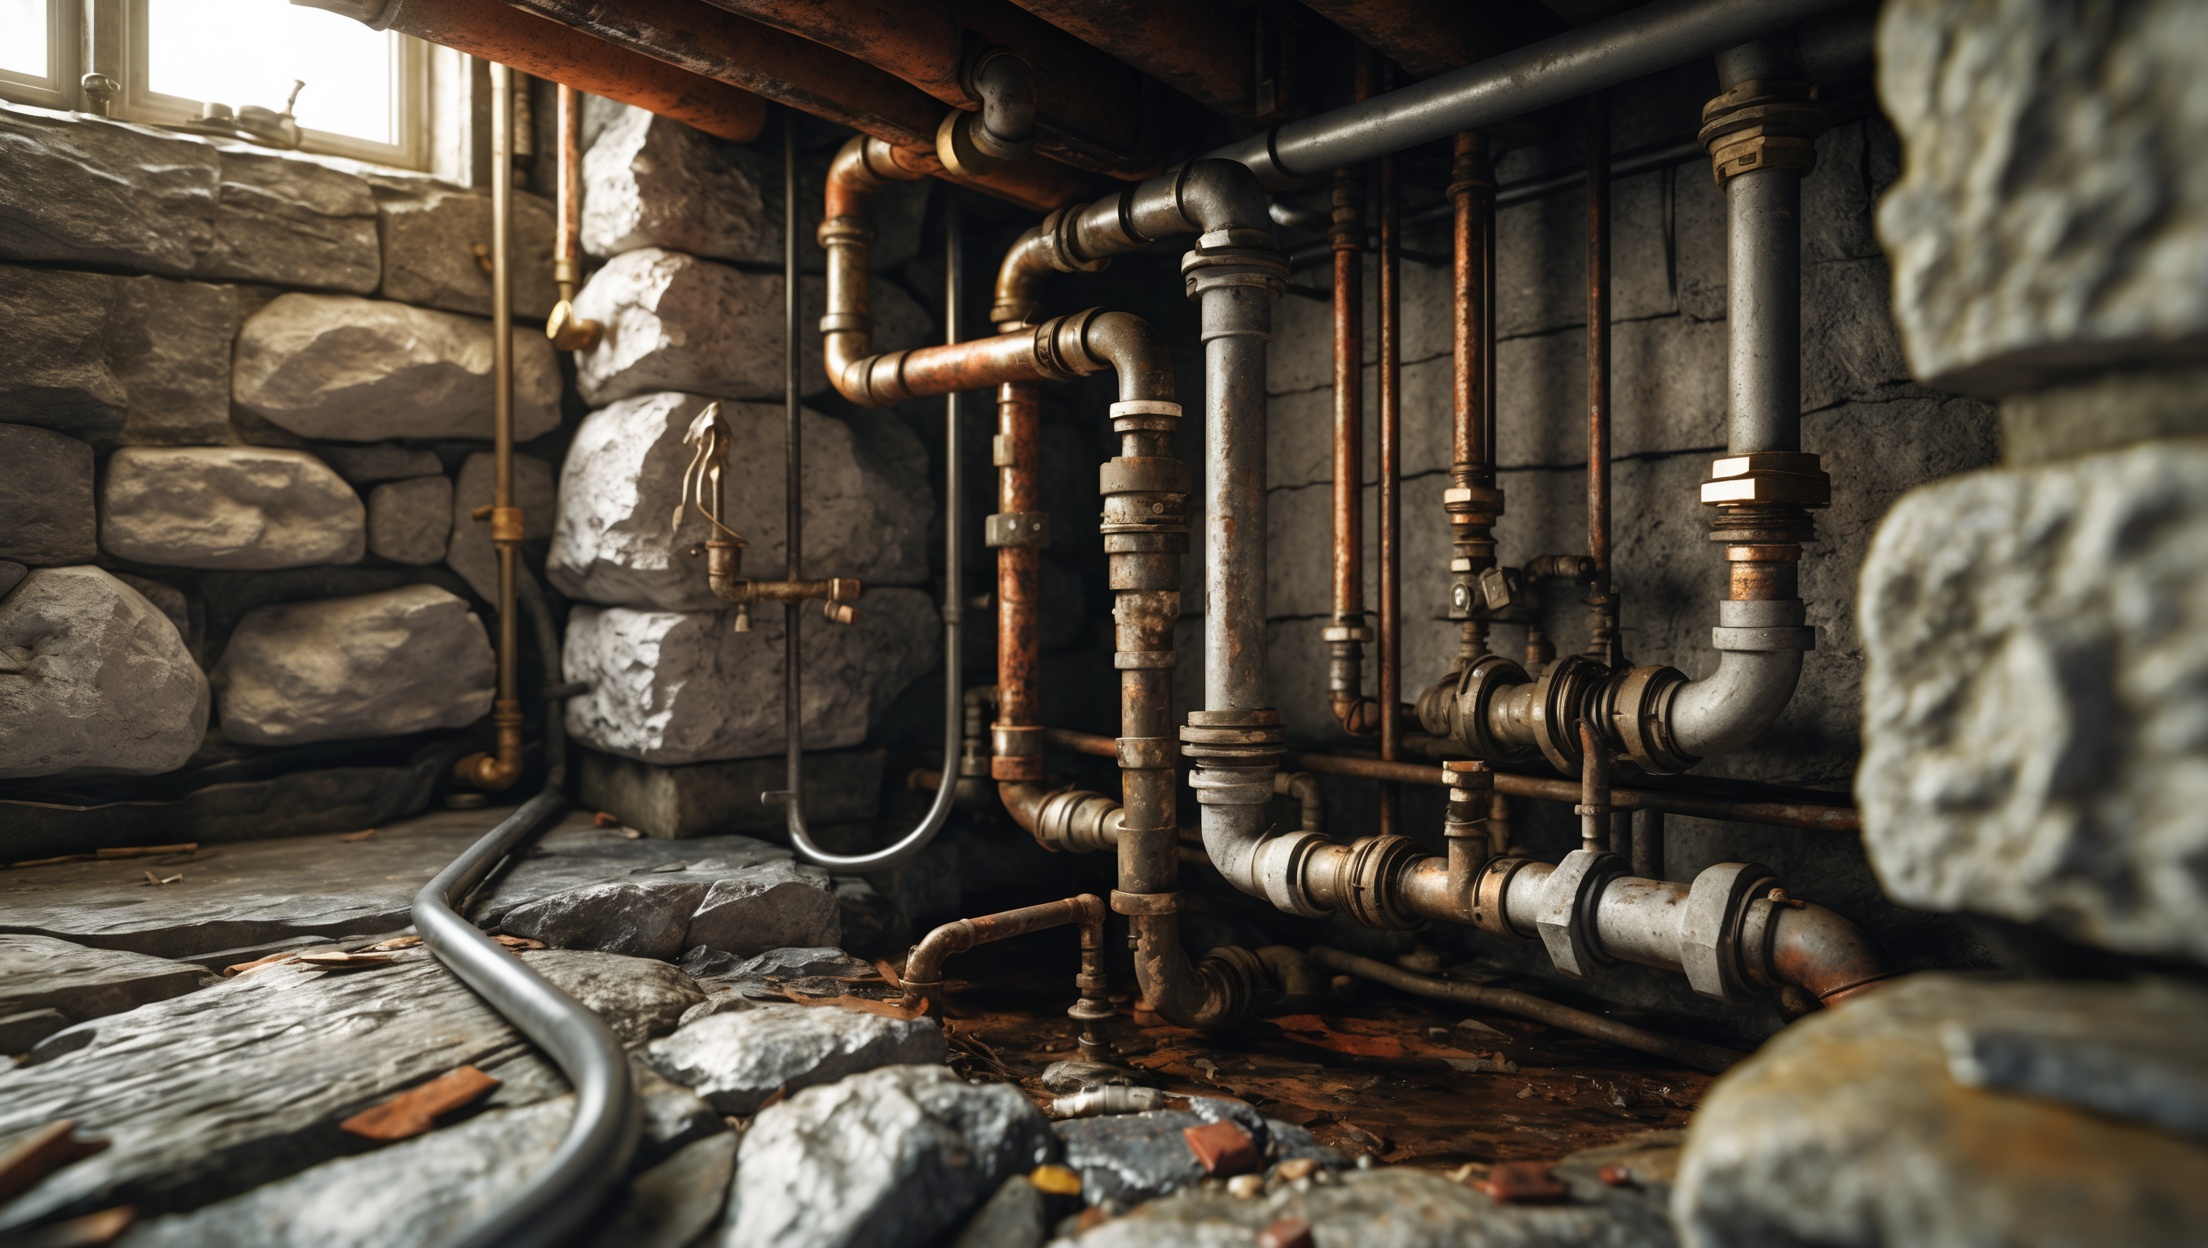
- Corrosion or Collapse: Older metal pipes may rust through, while plastic pipes can sag or crack.
- Unapproved Modifications: Cutting or capping vents during renovations without rerouting can cripple the system.
DIY Fixes and Best Practices
Clearing a Blocked Vent
Before starting, ensure you can safely access your roof. Always use a sturdy ladder and non-slip shoes.
- Remove visible debris from the vent opening by hand or with a grabber tool.
- Flush the vent with a garden hose—short bursts of water can dislodge minor obstructions.
- Use a plumber’s auger (drain snake) for stubborn blockages. Feed the auger down the vent pipe and rotate to break up clogs.
- If you encounter resistance you can’t clear, call a professional—forcing tools may damage pipes or cause leaks.
Preventing Future Blockages
- Install a vent cap or screen to keep out debris and animals.
- Trim back overhanging tree branches near vent stacks to reduce leaf accumulation.
- In cold climates, consider heat tape or insulation to prevent ice formation inside vents.
Replacing or Upgrading Vents
In older homes, vent pipes may need replacement due to corrosion or outdated sizing. When upgrading:
- Use code-approved materials (PVC, ABS, or cast iron as specified by local regulations).
- Maintain proper slope (minimum 1/4-inch per foot) to ensure water drains from vent pipes.
- Secure joints with solvent welds (for plastic) or no-hub couplings (for cast iron).
- After installation, test all fixtures for adequate drainage and absence of gurgling sounds.
Smart Upgrades: Modern Solutions for Better Venting
Air Admittance Valves (AAVs)
For homes where venting to the roof isn’t practical (finished basements, island sinks), AAVs offer a solution. These one-way mechanical valves admit air but seal out gases. Key considerations:
- Only use AAVs approved by your local building authority.
- Install in accessible locations for future inspection or replacement.
- Never use AAVs to vent toilets—most codes require full atmospheric venting for toilets.
Expanded Vent Stacks
If you’re adding new fixtures or remodeling, upgrading to a larger main vent stack may be necessary. Consider:
- Calculating total fixture units for your home and upsizing the main stack if needed.
- Using double-walled vent pipes in cold climates to prevent condensation and ice blockages.
- Grouping new fixtures near existing vent lines to minimize new piping runs.
Ventilation in Green and High-Performance Homes
Modern airtight homes need careful venting design to prevent negative indoor air pressure. Consult with a plumbing engineer for:
- Integrating venting with whole-house ventilation systems.
- Sealing and insulating vent penetrations to prevent heat loss.
Professional Insights: When to Call an Expert
Complex Renovations and Additions
Major kitchen, bathroom, or laundry remodels often require new venting routes. Licensed plumbers can:
- Ensure compliance with local and national plumbing codes.
- Calculate correct pipe sizing and slopes.
- Obtain required permits and coordinate inspections.
Persistent Odors or Chronic Drain Issues
If you’ve ruled out simple clogs and blockages, and still experience sewer smells or slow drains, a professional inspection is warranted. Plumbers have specialized equipment to:
- Perform smoke or pressure tests to locate vent leaks.
- Inspect hidden piping within walls or ceilings.
- Recommend permanent solutions rather than temporary fixes.
Case Study: Solving a Whole-House Gurgle
Consider a two-story home that experienced gurgling in upstairs bathrooms each time the kitchen sink drained. Investigation revealed an improperly sized branch vent between floors. The solution involved:
- Re-routing the branch vent to tie directly into the main stack.
- Replacing undersized piping with a larger diameter to handle cumulative fixture units.
- Adding a secondary vent to equalize pressure during heavy usage.
The result: faster drainage, elimination of gurgles, and improved indoor air quality.
Maintenance Checklist for Plumbing Vent Systems
- Inspect roof vent openings each spring and fall for debris or animal nests.
- Check for signs of corrosion, cracks, or sagging in visible vent pipes annually.
- Test all fixture drains for gurgling or slow flow twice a year.
- Verify integrity of vent caps and screens during seasonal roof inspections.
- After severe storms, check for wind or hail damage to vent stacks.
Conclusion: Keep Your Plumbing Healthy with Proper Venting
While hidden behind walls and above ceilings, your plumbing vent system works tirelessly to maintain safe, efficient, and odor-free drainage throughout your home. Overlooking venting can lead to slow drains, costly repairs, or even hazardous sewer gas exposure. But with a solid understanding of vent principles, diligent maintenance, and strategic upgrades, you can ensure your system performs optimally for years to come. Whether you’re clearing a blocked vent, planning a remodel, or simply striving for peace of mind, proactive attention to your venting system is an investment in your property’s value and your family’s health. Don’t hesitate to consult a professional for complex issues—an expert eye can spot code violations or subtle flaws before they escalate. With the right knowledge and care, your plumbing will remain a reliable, worry-free part of your home for decades. Stay informed, stay safe, and let your vents do their vital work—silently, but effectively.