Introduction: Why Upgrade Your Plumbing Fixtures?
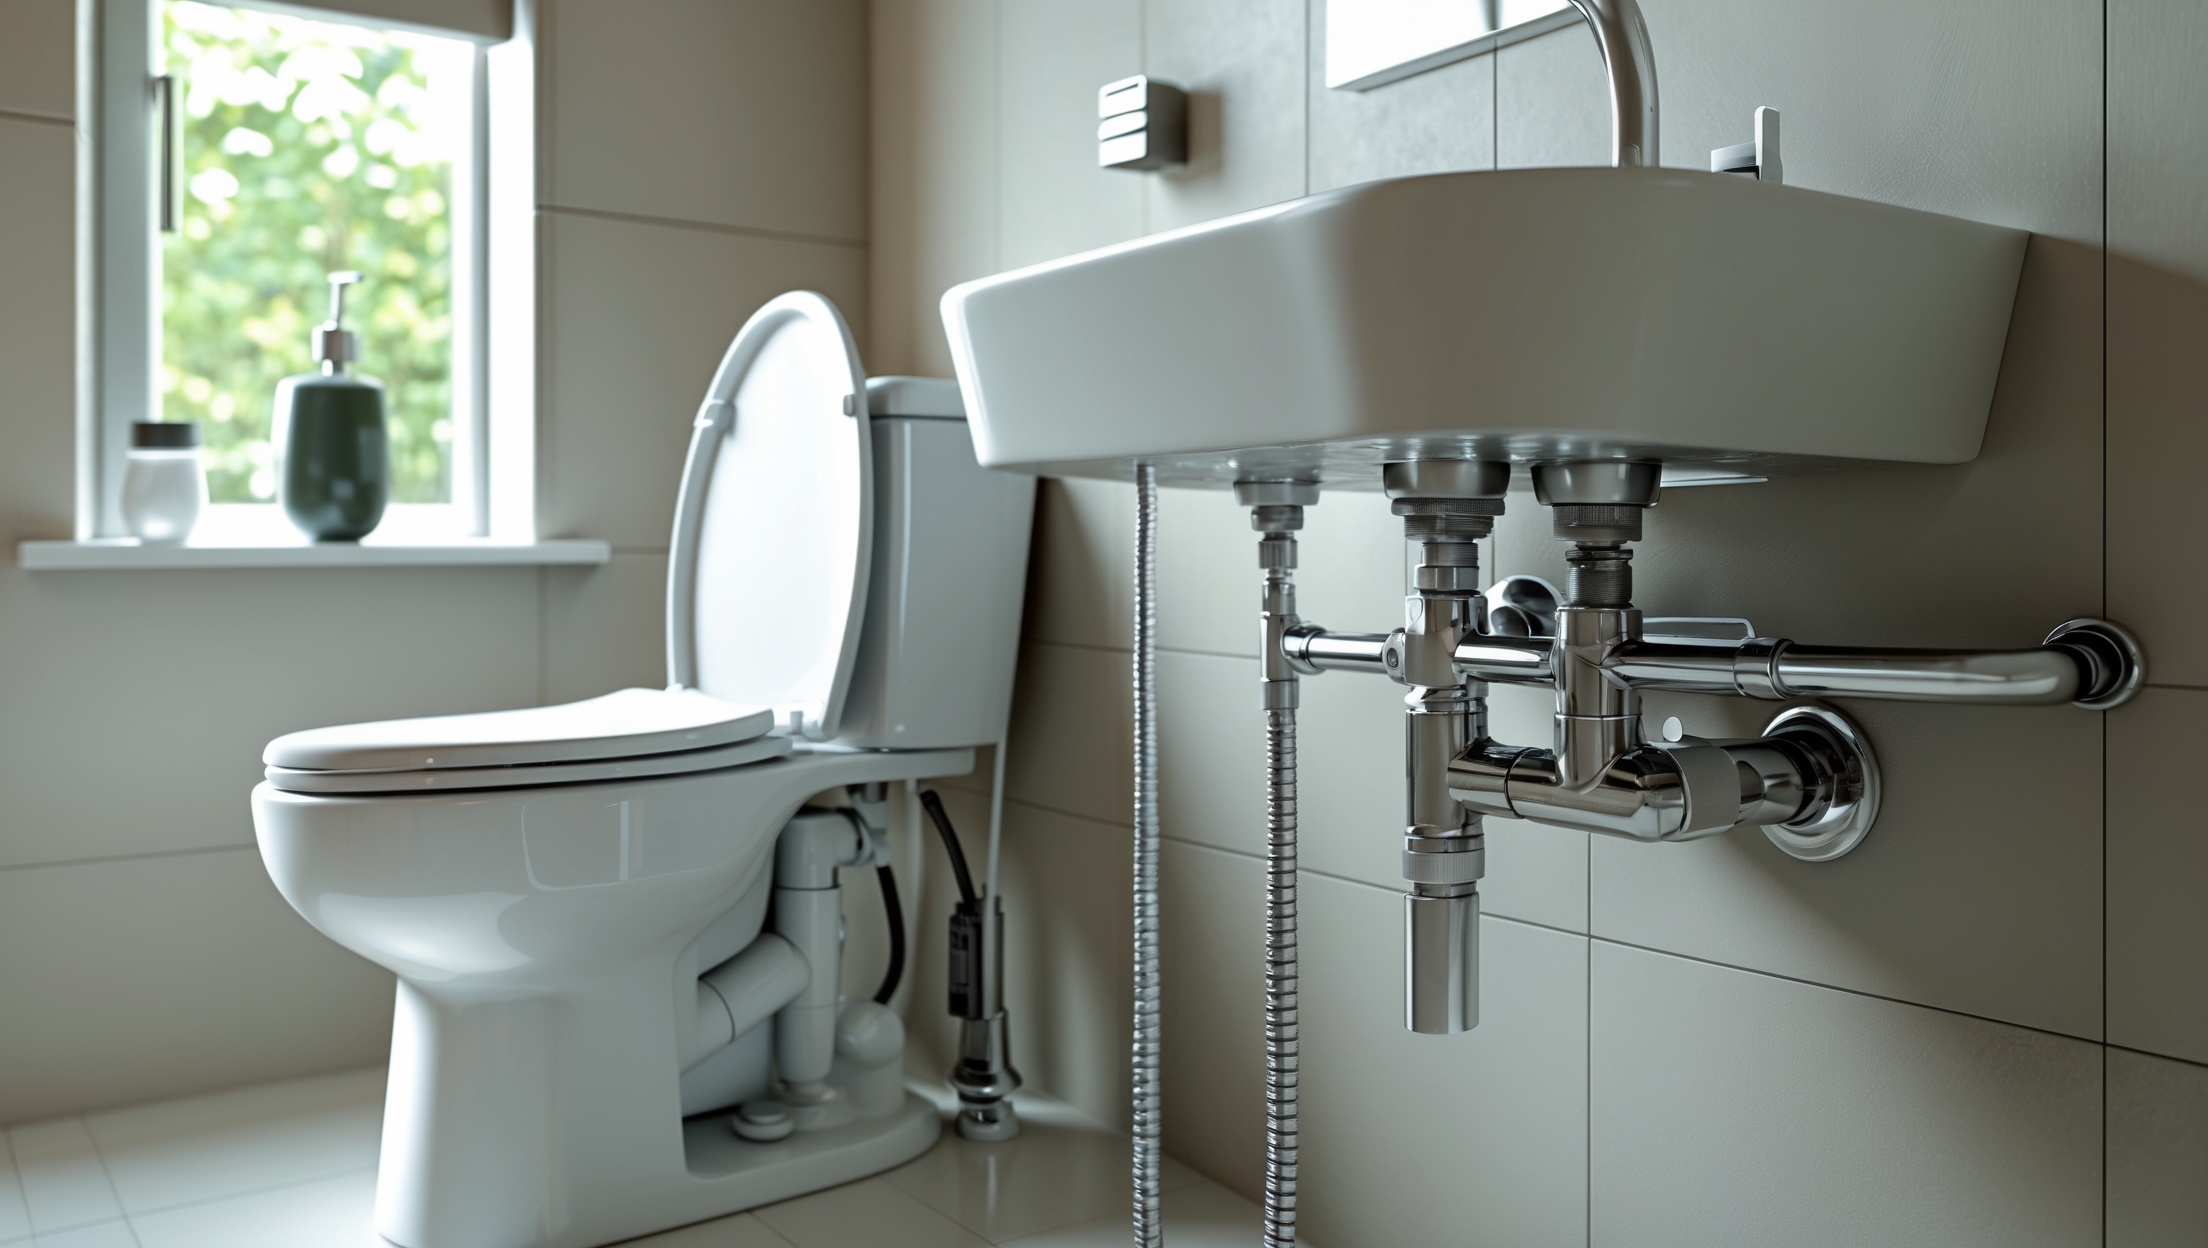
Plumbing fixtures like faucets, showerheads, and toilets are the unsung heroes of every household. Beyond delivering water where you need it, they impact water efficiency, comfort, and the look and feel of your home. Over time, even the sturdiest fixtures succumb to wear, mineral buildup, leaks, or outdated style. Upgrading them not only refreshes your space but also offers a chance to save water, reduce utility bills, and address hidden issues before they escalate. While the thought of replacing plumbing fixtures might seem daunting, with the right guidance, tools, and precautions, even beginners can tackle these upgrades confidently. This comprehensive guide will walk you through the process of selecting, removing, and installing new fixtures—faucets, showerheads, and toilets—in detail. You’ll also find practical advice to avoid common pitfalls, ensure watertight connections, and maintain your new installations for years to come.
Section 1: Choosing the Right Fixtures for Your Needs
Assessing Compatibility
Before purchasing any new fixture, it’s crucial to ensure it’s compatible with your existing plumbing and space. For faucets, measure the spacing of the mounting holes (center set vs. widespread). For toilets, check the rough-in measurement—the distance from the wall to the center of the floor drain (commonly 12 inches but can vary). For showerheads, confirm the thread size (typically 1/2-inch NPT in the U.S.).
Prioritizing Efficiency and Quality
- Look for WaterSense labels: Fixtures certified by the EPA’s WaterSense program use at least 20% less water than standard models without sacrificing performance.
- Choose durable finishes: Brushed nickel, chrome, and stainless steel resist corrosion and are easy to clean.
- Opt for trusted brands: Established manufacturers offer better warranties and readily available replacement parts.
Consider Special Features
- Faucets: Pull-down sprayers, touchless sensors, or integrated filtration.
- Showerheads: Adjustable spray patterns, low-flow technology, or built-in filters.
- Toilets: Dual-flush mechanisms, comfort height bowls, or quiet-close lids.
Section 2: Tools and Materials Checklist
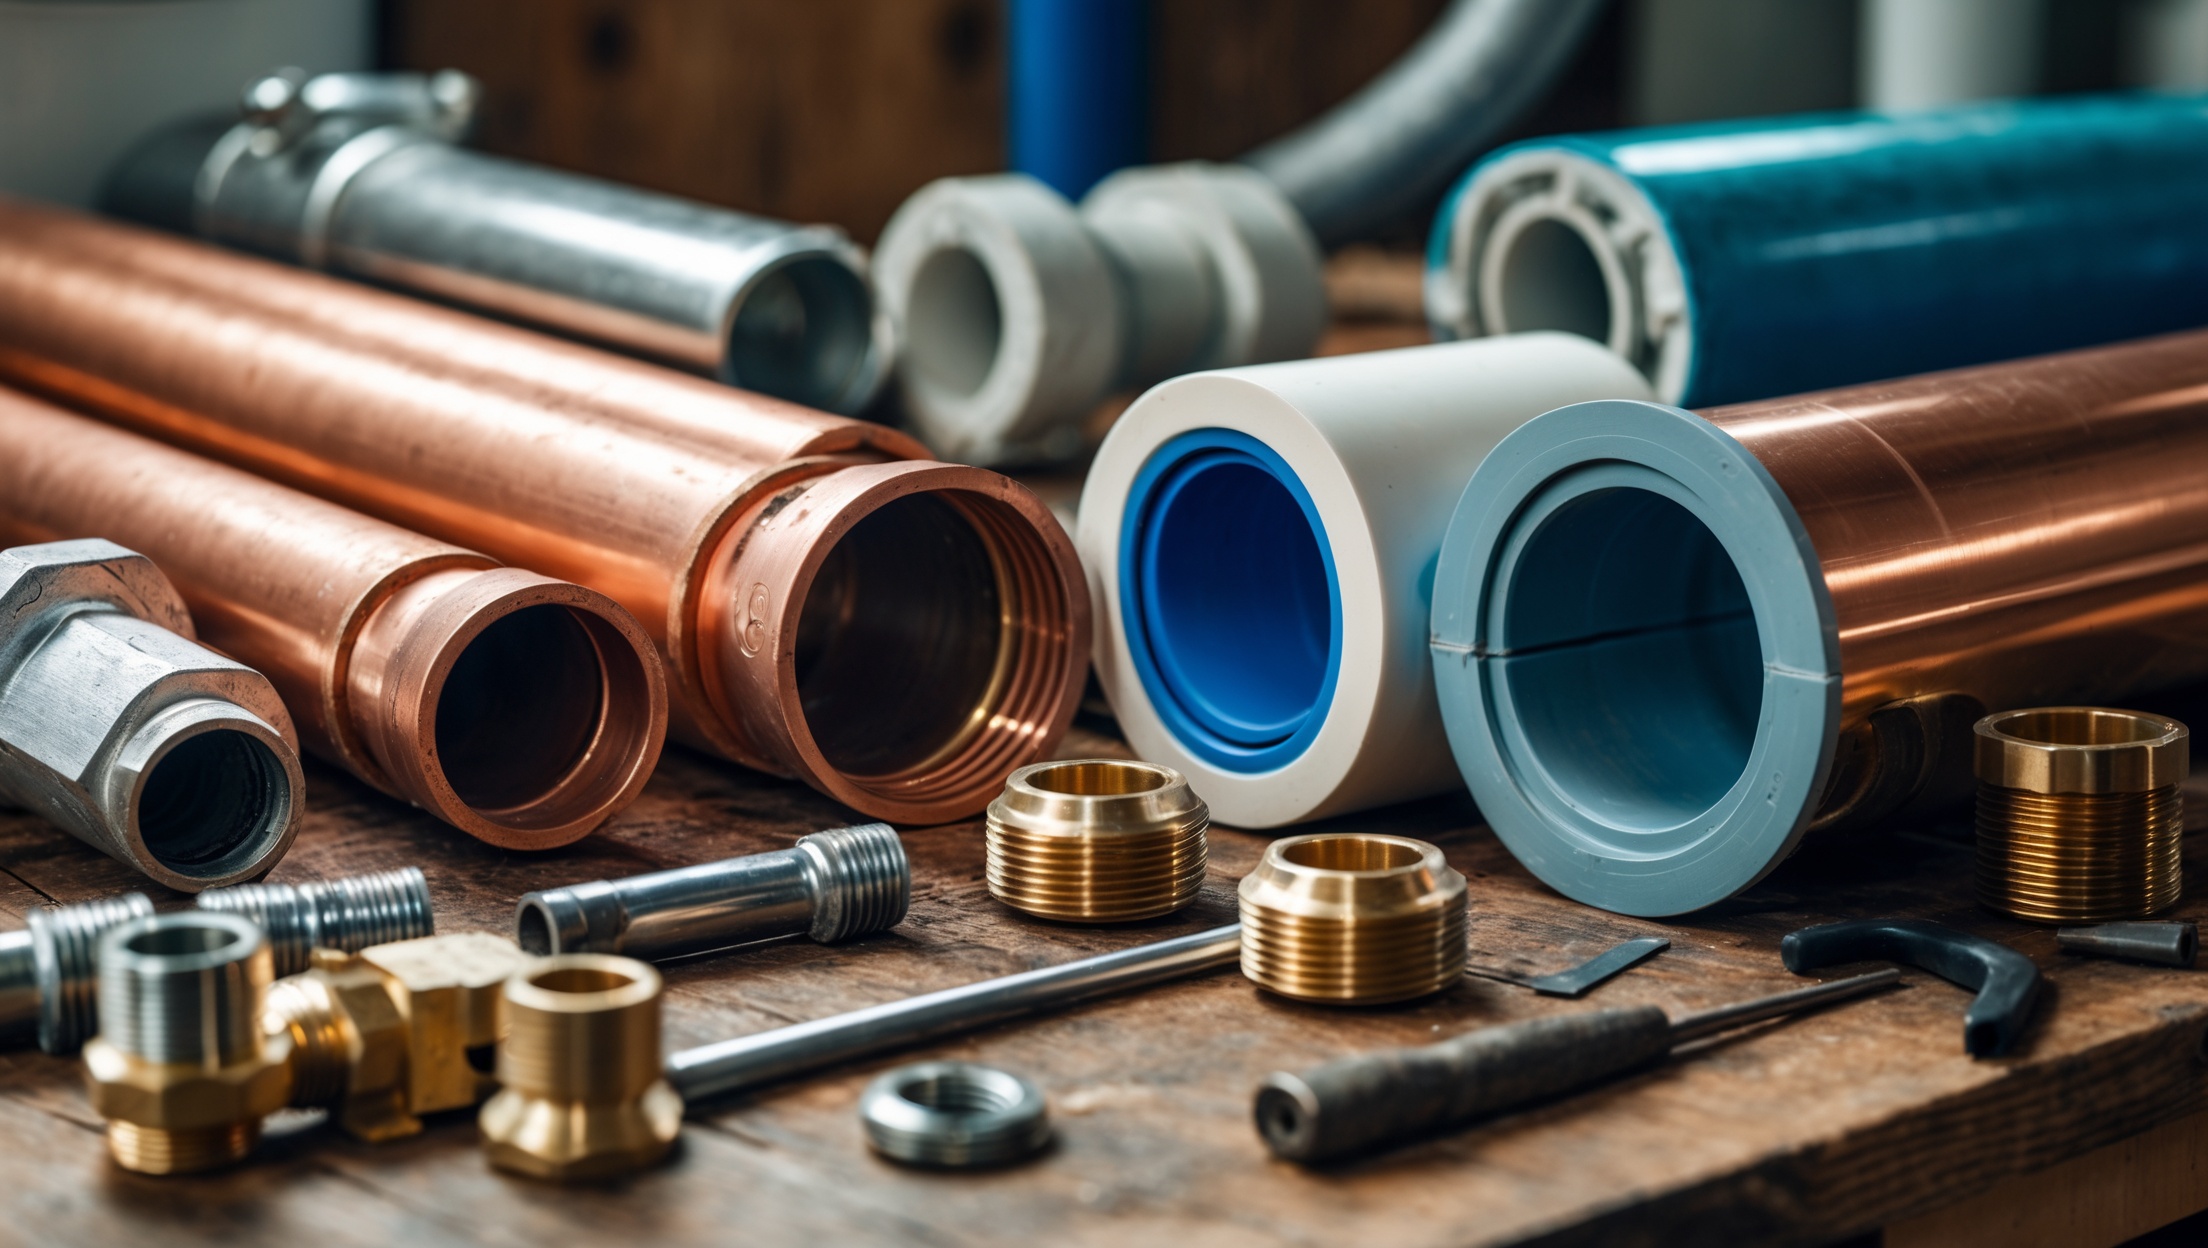
Having the right tools on hand is essential for a smooth fixture replacement. Here’s what you’ll typically need:
- Adjustable wrench
- Basin wrench (for hard-to-reach faucet nuts)
- Channel-lock pliers
- Bucket and towels
- Utility knife
- Plumber’s putty or silicone caulk
- Plumber’s (PTFE) tape
- Level
- Screwdrivers (Phillips and flathead)
- New supply lines (if needed)
- Wax ring (for toilets)
- Cleaning supplies
Section 3: Replacing a Faucet
Step 1: Shut Off Water and Prep the Area
Turn off the shut-off valves under the sink. If they’re stuck or absent, turn off the main water supply. Open the faucet to relieve pressure and drain any remaining water. Place a bucket under the supply lines and lay down towels to catch drips.
Step 2: Disconnect and Remove the Old Faucet
- Use an adjustable wrench to loosen and disconnect the hot and cold supply lines from the faucet tailpieces.
- Unscrew and remove the mounting nuts securing the faucet to the sink. A basin wrench is invaluable here.
- If the faucet is stuck, gently pry it up after cutting through any sealant with a utility knife.
- Clean the surface thoroughly, removing old putty or debris.
Step 3: Install the New Faucet
- Apply a bead of plumber’s putty or silicone caulk around the base of the new faucet (as recommended by the manufacturer).
- Insert the faucet into the mounting holes and secure it with the provided nuts. Use a basin wrench to tighten evenly.
- Attach the supply lines to the faucet’s tailpieces, wrapping threads with plumber’s tape if needed. Tighten connections—snug but not overtight.
- Reconnect the supply lines to the shut-off valves.
- Turn on the water, check for leaks, and tighten connections as necessary.
- Flush the faucet for a minute to clear debris and check operation.
Section 4: Replacing a Showerhead
Step 1: Remove the Old Showerhead
- Twist the old showerhead counterclockwise by hand. If it’s stuck, use channel-lock pliers with a cloth to protect the finish.
- Clean the shower arm threads of old tape or mineral deposits.
Step 2: Install the New Showerhead
- Wrap the shower arm threads with plumber’s tape (2-3 turns clockwise) to ensure a watertight seal.
- Screw on the new showerhead by hand until snug. Tighten with pliers as needed, but avoid over-tightening.
- Turn on water and check for leaks. Replace tape or retighten if you see drips.
Section 5: Replacing a Toilet
Step 1: Remove the Old Toilet
- Shut off the water supply at the wall and flush the toilet to drain the tank and bowl.
- Sponge out any remaining water from the tank and bowl.
- Disconnect the supply line from the tank.
- Remove the caps from the closet bolts at the base and unscrew the nuts.
- Rock the toilet gently to break the wax seal, then lift it straight up and set aside on an old towel or cardboard.
- Scrape away the old wax ring from the flange. Inspect the flange for cracks or damage.
Step 2: Install the New Toilet
- Press a new wax ring onto the toilet outlet or set it on the flange per manufacturer’s instructions.
- Carefully lower the toilet onto the flange, aligning the bolts with the mounting holes. Press down to compress the wax ring.
- Install washers and nuts on the closet bolts. Tighten by hand, then a quarter-turn with a wrench. Avoid over-tightening to prevent cracking the porcelain.
- Reconnect the supply line to the tank.
- Turn on the water and let the tank fill. Check for leaks at the base and supply line.
- Replace bolt caps and caulk the base (optional) for a finished look.
Section 6: Common Challenges and How to Overcome Them
Stuck Supply Line Connections
If supply lines are corroded or stuck, spray with penetrating oil and wait a few minutes before trying again. For severe cases, use locking pliers for extra grip.
Dealing with Leaky Joints
Leaks often result from insufficiently tightened connections or missing plumber’s tape. Disassemble, reapply tape, and retighten. For persistent leaks, check washers and gaskets for wear.
Flange or Mounting Surface Damage
If a toilet flange is damaged, use a repair ring or consult a professional. For uneven sink surfaces, a thicker bead of plumber’s putty can help, but chronic unevenness may require sink or countertop repair.
Section 7: Maintenance Best Practices for New Fixtures
- Inspect connections regularly: Check for drips or moisture under sinks and behind toilets every few months.
- Clean aerators and showerheads: Unscrew annually and soak in vinegar to remove mineral buildup.
- Avoid harsh chemicals: Use mild cleaners to protect finishes and internal components.
- Test shut-off valves: Exercise them twice a year to prevent seizing.
Section 8: When to Call a Professional
While most fixture replacements are DIY-friendly, certain situations warrant a licensed plumber:
- Leaking or damaged supply pipes behind walls
- Corroded or incompatible shut-off valves
- Cracked toilet flanges or rotted subflooring
- Major modifications (relocating supply or drain lines)
- Unexplained drops in water pressure after installation
Conclusion: Enjoy the Benefits of Seamless Fixture Upgrades
Replacing faucets, showerheads, and toilets brings immediate rewards—improved performance, water savings, and a refreshed look in your home. Each step, from careful selection to precision installation, contributes to lasting satisfaction and fewer headaches down the road. By following this guide, you’ve learned how to assess compatibility, gather the right tools, and tackle common challenges with confidence. Remember, attention to detail is key: double-check connections for leaks, use quality plumber’s tape, and don’t rush the alignment of new fixtures. Regular maintenance and prompt attention to any warning signs will keep your upgrades running smoothly for years. And while most replacements are well within reach for determined DIYers, never hesitate to consult a professional for complex issues or code compliance. With these skills and insights, your plumbing fixtures will not only serve you reliably but also enhance the comfort and value of your home. Happy upgrading!