Plumber Las Vegas News

Your trusted source for plumbing updates, DIY fixes, and industry insights in Las Vegas. Stay informed with practical tips, local trends, and expert advice for homeowners and professionals alike.

How to Winterize Your Plumbing: A Complete Step-by-Step Guide for Homeowners

Introduction: Why Winterizing Your Plumbing Matters

As the temperatures drop and winter approaches, many homeowners focus on weatherproofing their windows and insulating attics, but one critical aspect is often overlooked: the plumbing system. Each year, frozen pipes cause thousands of dollars in damage, flooding homes and leading to expensive repairs. Winterizing your plumbing isn’t just about peace of mind—it’s about protecting your home’s infrastructure and your wallet. The process is not complicated, but it does require careful attention to detail and a methodical approach. In this comprehensive guide, we’ll walk you through everything you need to know to winterize your plumbing, from tools and materials to step-by-step instructions, troubleshooting, and maintenance tips. Whether you’re a seasoned DIYer or a first-time homeowner, you’ll find actionable advice to keep your plumbing safe and functional through even the harshest winter.

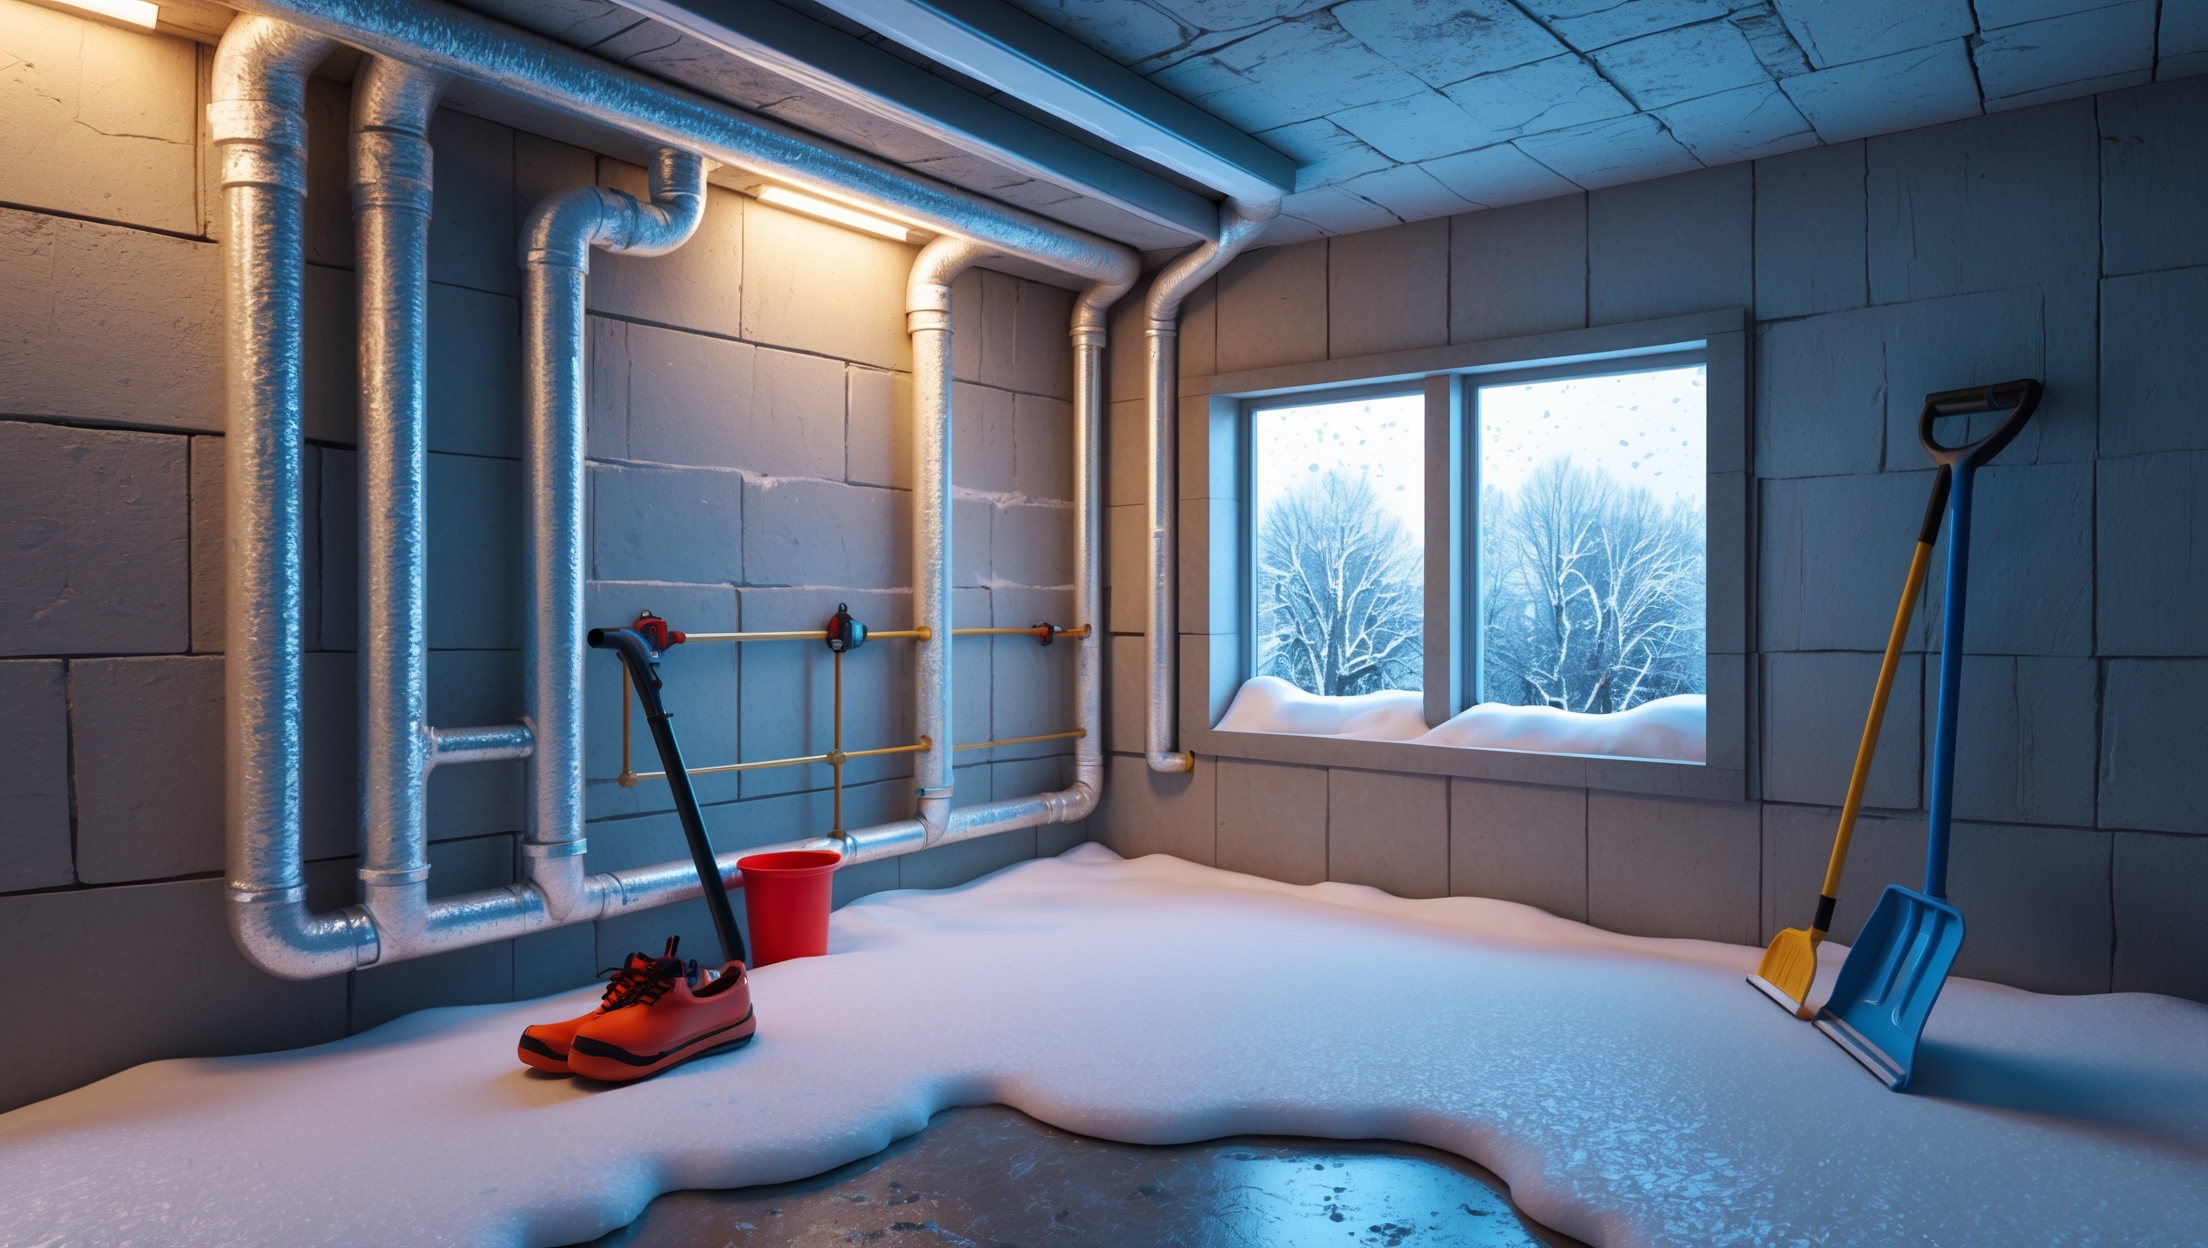
Understanding the Risks: What Happens When Pipes Freeze?

When water inside your pipes freezes, it expands. This expansion puts tremendous pressure on the pipe walls—whether they’re metal or plastic. Eventually, the pipe can burst, leading to leaks or flooding when the ice thaws. Pipes most at risk are those in unheated spaces such as basements, attics, garages, and exterior walls. Even a small crack from a frozen pipe can spew hundreds of gallons of water in a single day. Beyond the immediate mess, water damage often means replacing drywall, insulation, flooring, and even electrical systems.

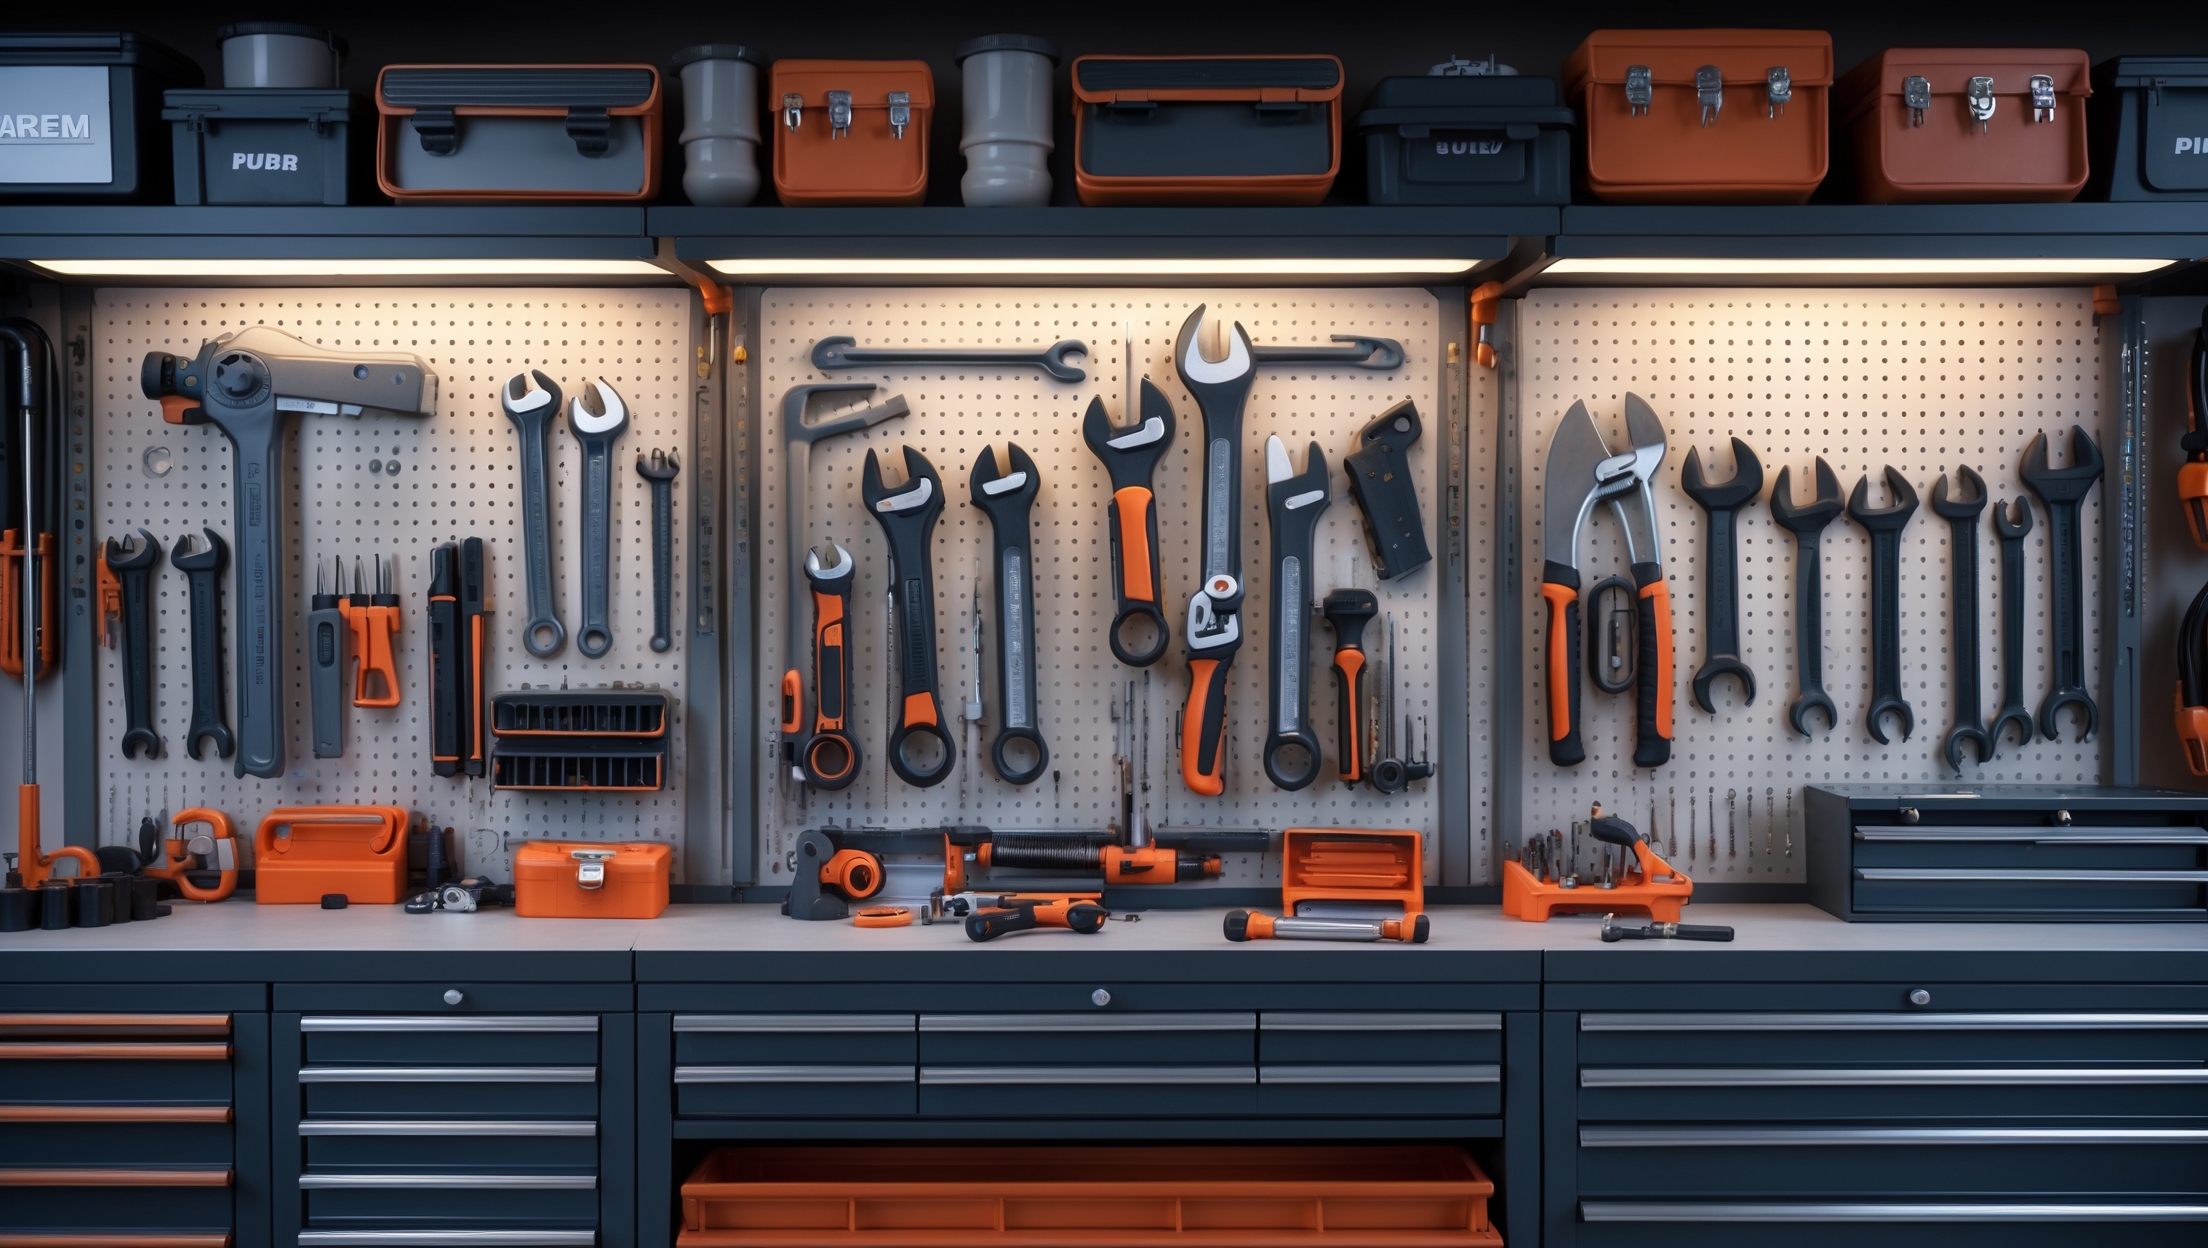
Essential Tools and Materials for Plumbing Winterization

  • Pipe insulation sleeves (foam or fiberglass)
  • Heat tape or heat cables (UL-listed for safety)
  • Weatherproof faucet covers
  • Caulk and weatherstripping
  • Adjustable wrench and channel-lock pliers
  • Bucket and towels (for draining water lines)
  • Utility knife or scissors (for cutting insulation)
  • Zip ties or duct tape (for securing insulation)
  • Flashlight or headlamp (for dark crawlspaces)
  • Non-toxic RV antifreeze (for unused drains)

Step-by-Step Guide: Winterizing Your Plumbing System

Step 1: Inspect and Identify Vulnerable Pipes

Start by walking through your home, including the basement, attic, garage, and crawlspaces. Look for exposed pipes, especially those near exterior walls or windows. Make a list of any pipes that aren’t protected by insulation or that run through unheated areas. Pay special attention to outdoor spigots, irrigation lines, and pipes under sinks located against outside walls.

Step 2: Shut Off and Drain Exterior Water Lines

  • Locate the shut-off valve for outdoor faucets, hose bibs, and irrigation systems. Turn it off.
  • Open the exterior faucets to allow any remaining water to drain out. Leave them open through the winter.
  • Disconnect hoses and store them indoors to prevent cracking.
  • Attach weatherproof faucet covers to all outdoor spigots.
  • If you have a sprinkler system, follow the manufacturer’s instructions to blow out and drain the lines completely.

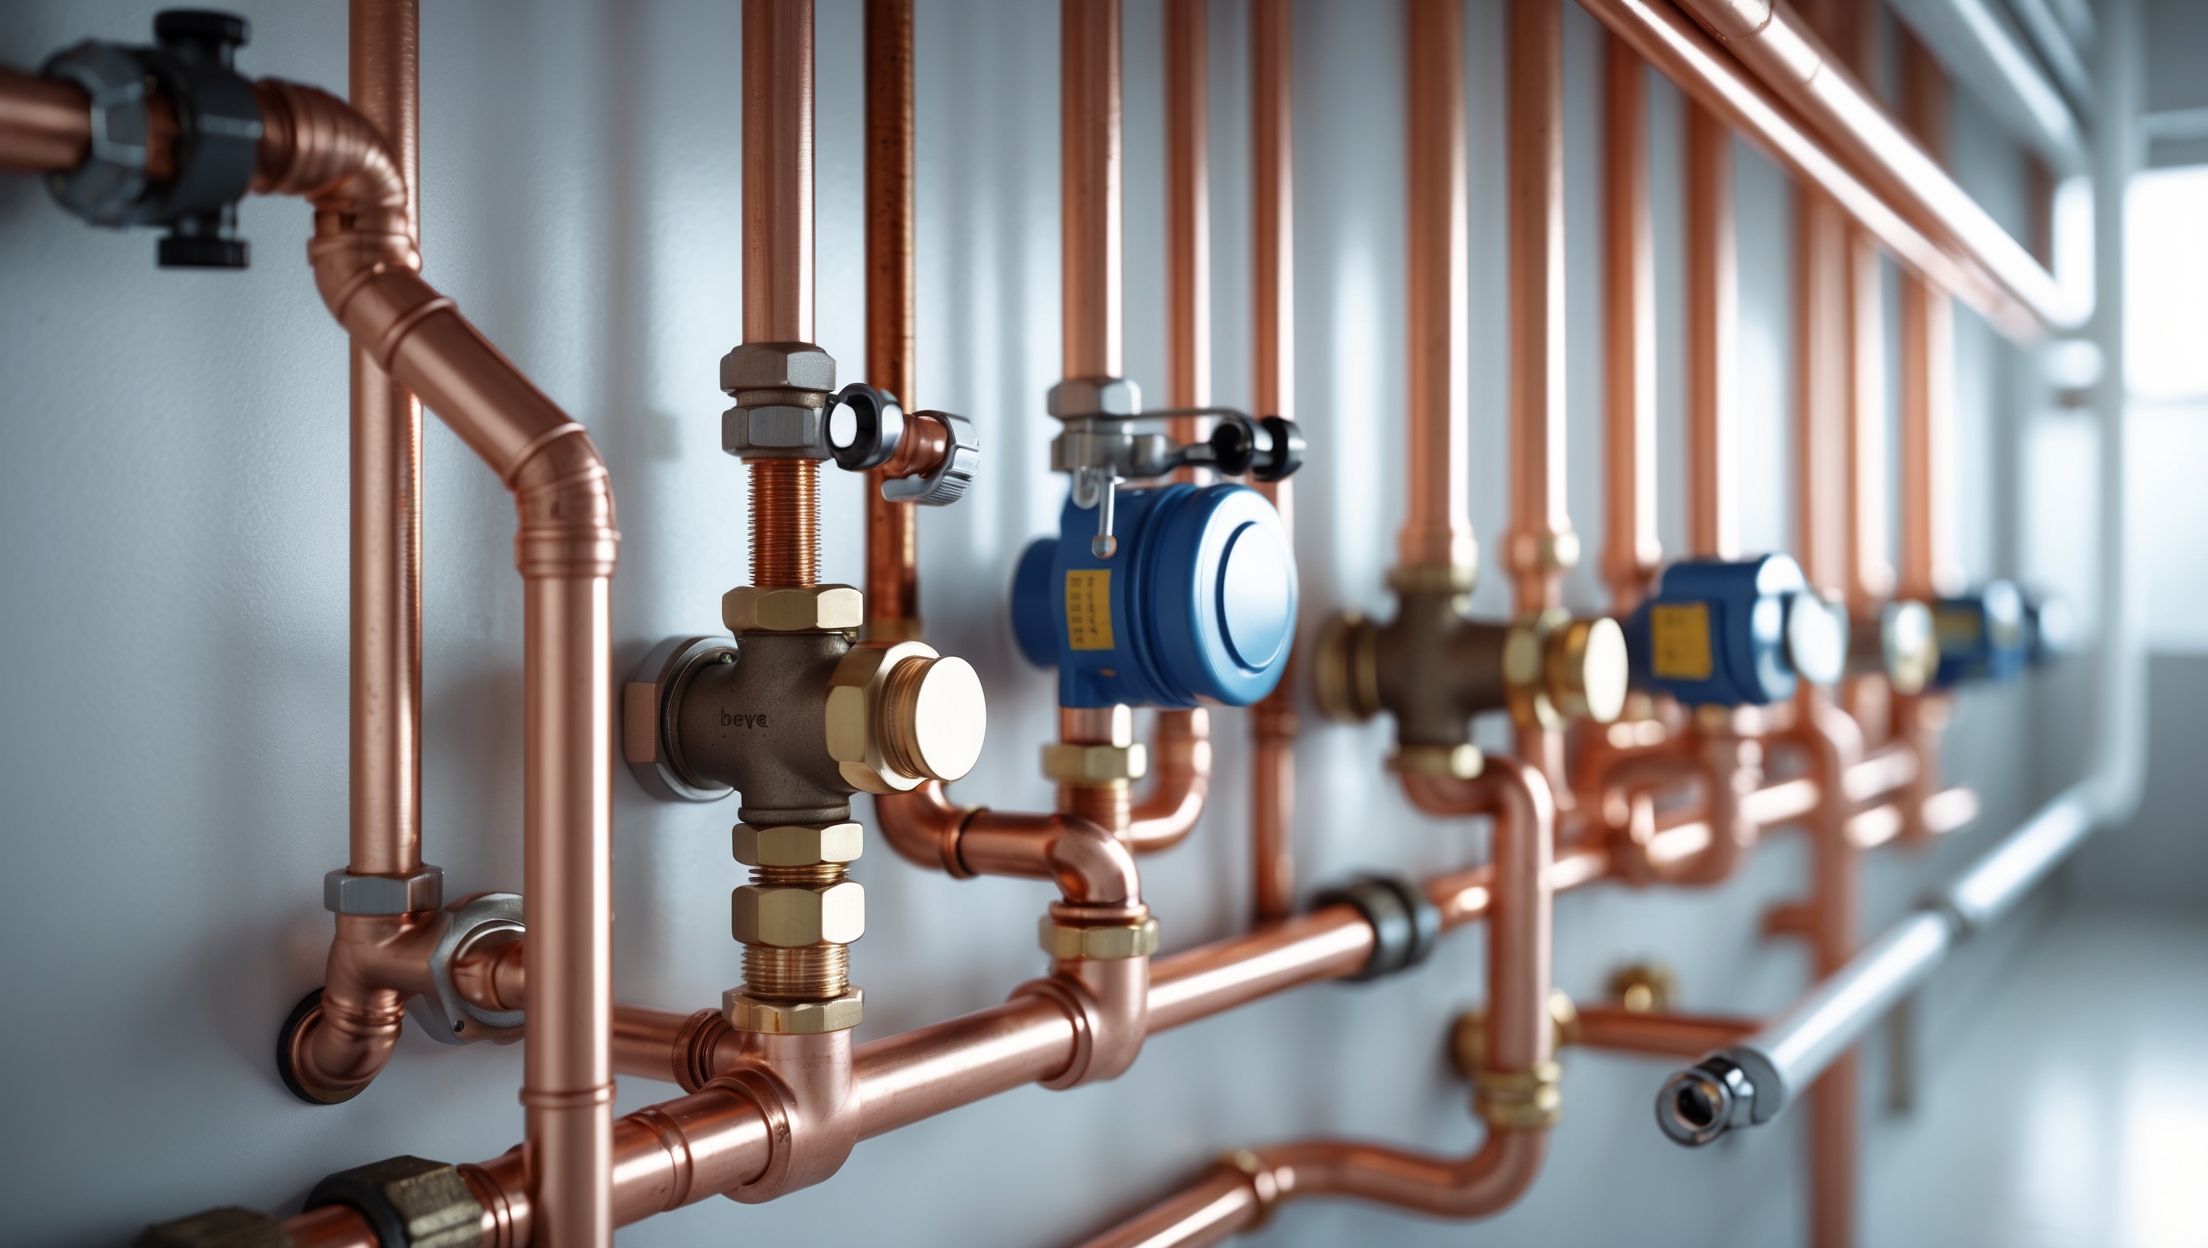
Step 3: Insulate Exposed Pipes

  • Wrap all exposed water pipes in unheated areas with foam or fiberglass insulation sleeves. Cut to fit and secure with tape or zip ties.
  • For pipes in extremely cold areas, consider installing heat tape or cables. Always follow the manufacturer’s safety instructions and never overlap heat tape.
  • Don’t forget pipes under kitchen and bathroom sinks—especially those against outside walls. You may need to insulate the cabinet itself or leave cabinet doors open during cold snaps.

Step 4: Seal Gaps and Leaks

  • Check for gaps around pipe penetrations, basement windows, and crawlspace vents. Seal any leaks with silicone caulk or expanding spray foam.
  • Install weatherstripping on basement doors and windows to keep cold air out.
  • Ensure crawlspace vents are closed or covered for the winter, unless your home requires ventilation for moisture control.

Step 5: Protect Indoor Plumbing During Severe Cold

  • When a hard freeze is expected, let faucets drip slightly. Moving water is less likely to freeze.
  • Open cabinet doors under sinks to allow warm air to circulate around pipes.
  • Keep your home’s thermostat set to at least 55°F (13°C), even if you’re away.
  • Consider placing a space heater in particularly cold rooms, but never leave heaters unattended.

Step 6: Prepare for Extended Absences

  • If you’ll be gone for several days or more, consider shutting off the main water supply and draining the plumbing system.
  • Flush toilets and run faucets to clear water from the lines.
  • Pour a small amount of non-toxic RV antifreeze into toilet bowls and sink traps. This prevents residual water from freezing and cracking porcelain or pipes.
  • Ask a neighbor or friend to check in regularly, or install a smart water leak detector for peace of mind.

Special Considerations: Unique Plumbing Features

Well Systems

If your home uses a well, insulate the wellhead and pressure tank. Install a heat lamp or heater in the well house if necessary. Use heat tape on exposed pipes.

Mobile Homes and Manufactured Housing

These homes often have plumbing running under the floor. Make sure all skirting is intact and insulate pipes thoroughly. Consider heated tape for extra protection.

Older Homes

Many older homes lack adequate insulation. Inspect crawlspaces and attics, and add insulation where needed. Pay close attention to any pipes routed through uninsulated exterior walls.

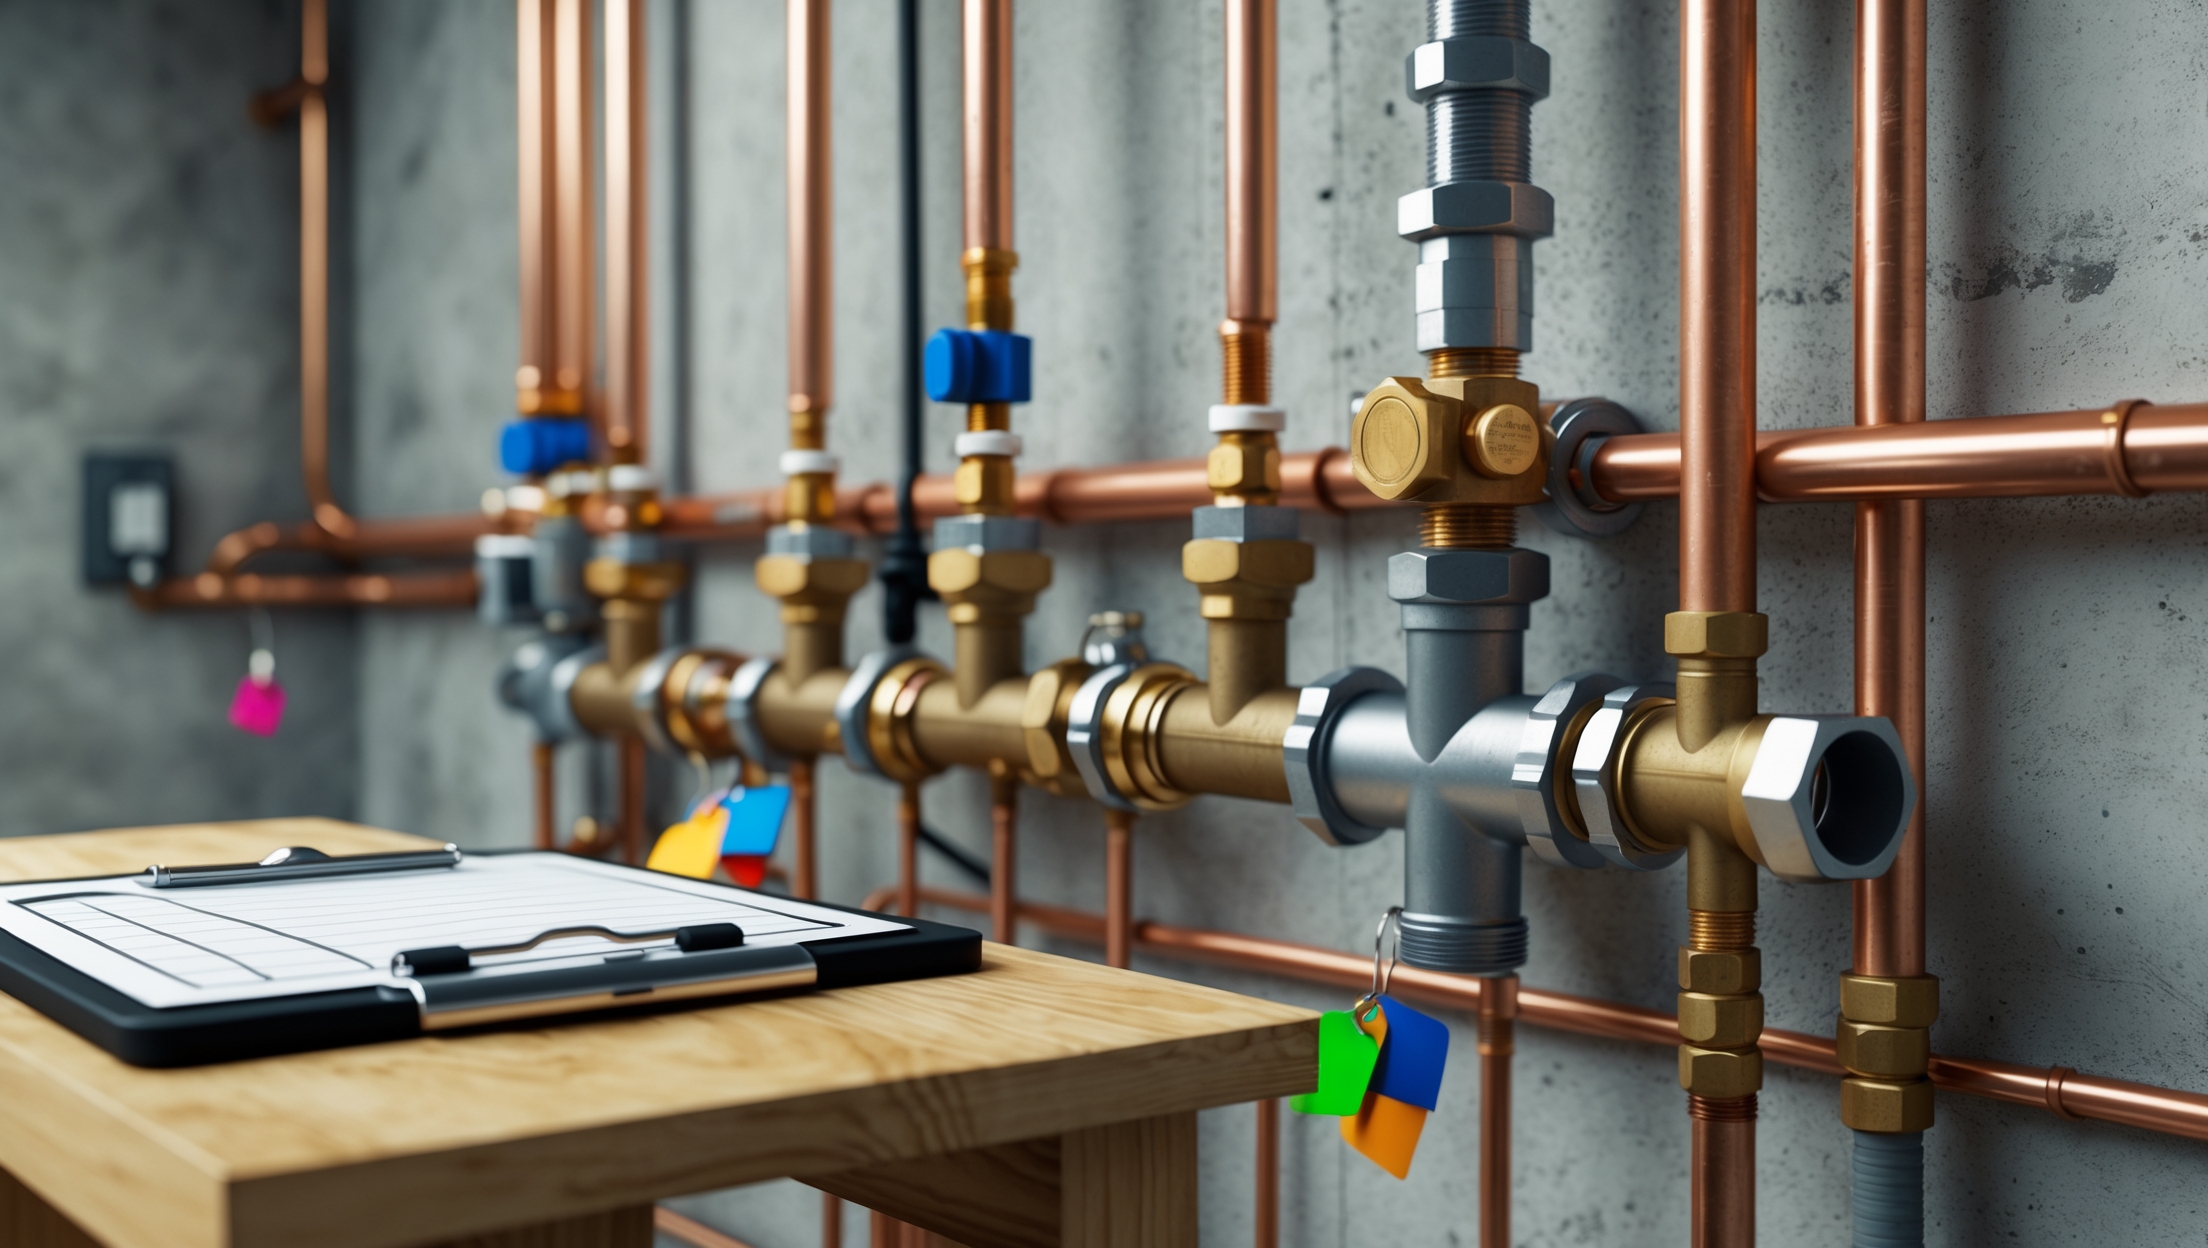
Checklist: Winterizing Your Plumbing

  • Shut off and drain all exterior water lines
  • Disconnect and store hoses
  • Install faucet covers on all outdoor spigots
  • Wrap exposed pipes with insulation sleeves
  • Install or check heat tape on vulnerable pipes
  • Seal gaps and leaks in walls, floors, and around pipes
  • Open cabinets and allow warm air to reach pipes during cold spells
  • Maintain indoor temperature at or above 55°F (13°C)
  • Prepare for absences by draining pipes and using RV antifreeze in traps
  • Inspect and insulate well systems or mobile home plumbing as needed

Troubleshooting: What If a Pipe Freezes?

  • If you suspect a frozen pipe (e.g., no water from a faucet), turn off the main water supply immediately to prevent flooding if the pipe bursts.
  • Use a hair dryer, heat lamp, or portable space heater to gently warm the frozen section. Start at the faucet end and work toward the frozen area.
  • Never use an open flame or torch to thaw pipes—this is a major fire hazard.
  • Once water is flowing again, check for leaks. If you find a burst pipe, call a licensed plumber immediately.

Maintenance Best Practices for Ongoing Protection

  • Inspect pipe insulation every fall and replace any that is damaged or missing.
  • Test heat tape annually before the first freeze.
  • Check exterior faucets for leaks after the first thaw.
  • Keep crawlspaces dry and well-ventilated to prevent mold and mildew.
  • Install a water leak detector with automatic shut-off for added security.
  • Schedule annual plumbing inspections, especially for older homes.

Frequently Asked Questions

Is pipe insulation really necessary if I keep my home heated?

Yes. Unheated areas, such as basements, garages, or crawlspaces, can still drop below freezing, even if your main living space stays warm. Pipe insulation is inexpensive and helps prevent costly damage.

Can I use regular household antifreeze in my plumbing?

No. Only use non-toxic RV or marine antifreeze, which is safe for plumbing systems and septic tanks. Regular automotive antifreeze is poisonous and not suitable for home use.

How do I know if my heat tape is working?

Most modern heat tapes have an indicator light. If yours does not, plug it in and carefully feel the tape—it should become slightly warm (but not hot) to the touch. Always follow the manufacturer’s instructions.

Conclusion: Stay Ahead of Winter Plumbing Problems

Winterizing your plumbing isn’t just a precaution—it’s an essential home maintenance task that can save you from the frustration and expense of burst pipes and water damage. By taking the time to inspect your plumbing, insulate vulnerable areas, and follow the step-by-step procedures outlined in this guide, you’re investing in the long-term health of your home. Remember that every home is unique; always tailor your approach to your property’s specific needs, and don’t hesitate to consult a licensed plumber for complex situations or older systems. With the right tools, materials, and know-how, you can face winter’s challenges confidently and keep your pipes flowing smoothly until spring. Stay proactive, stay safe, and enjoy the peace of mind that comes from a well-protected plumbing system all winter long.

64 comments
Matthew Lewis

The article talks about water damage and flooding from burst pipes. If a frozen pipe does burst, what immediate steps should I take to limit water damage while I wait for a plumber?

    Mario The Plumber

    If a frozen pipe bursts, first shut off your home’s main water supply right away to stop more water from flowing. If safe, turn off electricity to affected areas to prevent electrical hazards. Open nearby faucets to drain remaining water from the pipes. Mop up standing water quickly to prevent further damage and move valuables out of harm’s way. Keep the area as dry as possible while you wait for the plumber to arrive.

Linda Lee

I noticed you list both foam and fiberglass pipe insulation sleeves—do you recommend one over the other for older commercial spaces with exposed pipes, and how much of a difference does the material actually make?

    Mario The Plumber

    For older commercial spaces with exposed pipes, fiberglass sleeves are usually more durable and provide better insulation, especially in colder climates. Foam is easier to install and often used in residential settings, but fiberglass handles temperature extremes and physical wear better. The material can make a noticeable difference in heat retention and freeze prevention, so for older, exposed commercial pipes, fiberglass is typically the stronger choice.

Megan Harris

How long does it typically take to fully winterize all the plumbing in a house if it’s my first time? Should I plan for a whole weekend or can this be done in just a few hours?

    Mario The Plumber

    For your first time winterizing all the plumbing in your house, it’s smart to set aside most of a day, especially if you’re unfamiliar with the process or have a larger home. Smaller homes or those with simpler systems may only take a few hours. Allow extra time to gather supplies, follow each step carefully, and check for any issues along the way.

John Hernandez

When you mention using heat tape or heat cables, is there a specific type or brand you recommend for older metal pipes? Also, how do you make sure they’re installed safely to avoid any risk of electrical issues in damp areas like basements?

    Mario The Plumber

    For older metal pipes, look for heat cables specifically labeled as safe for metal, such as self-regulating or automatic thermostat models, which adjust their heat output and reduce fire risk. Brands like Frost King and EasyHeat are commonly used. When installing, always follow the manufacturer’s instructions, ensure the cable never overlaps itself, and use only GFCI outlets in damp areas like basements. Wrapping the pipe with insulation over the cable can also help improve safety and efficiency.

Margaret Anderson

How long does it usually take for a first-time DIYer to fully winterize the plumbing in an average-sized home? I want to make sure I set aside enough time before the first freeze.

    Mario The Plumber

    For a first-time DIYer, fully winterizing the plumbing in an average-sized home generally takes around 4 to 6 hours. The exact time can vary depending on the number of fixtures and your familiarity with the process. Be sure to allow extra time for gathering materials and double-checking each step to ensure nothing is missed before the first freeze.

Julie Anderson

If I start this winterizing process a little late in the season and the temperatures have already dropped below freezing a few times, is it still effective to go through the steps now, or is it too late?

    Mario The Plumber

    It’s still worthwhile to winterize your plumbing, even if temperatures have already dipped below freezing. While some pipes may have experienced minor freezing, completing the steps now can help prevent further damage and protect any pipes that haven’t frozen yet. Just be sure to check pipes carefully for any existing cracks or leaks before you begin, and address those issues right away.

Andrew White

I noticed you listed caulk and weatherstripping as essential materials. Is this mainly for sealing around outside faucets, or are there other plumbing areas where I should use these for winterizing?

    Mario The Plumber

    Caulk and weatherstripping are helpful not just around outside faucets, but also for sealing gaps or cracks near any plumbing that passes through walls to the outside, such as pipes in basements, crawl spaces, or around hose bibs. These materials help prevent cold air from reaching your pipes, reducing the risk of freezing anywhere vulnerable.

Robert Robinson

Could you clarify how to use heat tape safely on pipes in a crawl space? I noticed you recommend UL-listed heat cables, but I’m worried about potential fire risks if pipes are near insulation.

    Mario The Plumber

    When installing heat tape in a crawl space, make sure the heat tape is UL-listed and designed for use with your pipe material. Secure the tape directly onto clean, dry pipes as instructed by the manufacturer, and never overlap the tape. Keep all insulation at least a few inches away from the heat tape unless the product is specifically rated for contact with insulation. Always plug the tape into a GFCI-protected outlet and check it regularly for signs of damage.

John Jones

If I have pipes running through an unheated garage, should I drain them completely, or is insulating and adding heat tape usually sufficient to keep them safe during a harsh winter?

    Mario The Plumber

    If your pipes run through an unheated garage, insulating them and applying heat tape is usually enough to prevent freezing, even in harsh winters. Draining them is an extra precaution, but it’s typically only necessary if you expect extended periods of extreme cold or won’t be using the plumbing for a long time. Regularly check the insulation and heat tape to make sure they’re in good condition throughout winter.

Jessica Davis

If you discover a pipe has already started to freeze even after winterizing, is there a safe way to thaw it without causing more damage, especially in commercial spaces where some pipes are hard to reach?

    Mario The Plumber

    If you notice a pipe has started to freeze, it’s important to thaw it slowly to prevent it from bursting. For accessible pipes, try wrapping them with towels soaked in hot water or use a hair dryer on a low setting, moving it along the pipe. For hard-to-reach or hidden pipes, especially in commercial spaces, it’s best to contact a professional plumber who has specialized equipment. Never use open flames or high heat, as this can damage pipes and create safety hazards.

Jason Smith

What are the next steps after installing weatherproof faucet covers outdoors—do I need to drain the water lines as well, or is covering them enough to prevent freezing?

    Mario The Plumber

    After installing weatherproof faucet covers, it’s still important to drain the outdoor water lines. The covers help insulate faucets but don’t fully prevent freezing if water is left inside the pipes. Turn off the outdoor water supply from inside your home, open the exterior faucets to let any remaining water drain out, and leave them open through winter. This extra step helps protect your pipes from freezing and possible bursts.

Megan Perez

As a business owner, my shop has a few exterior faucets that get very little use in winter. Beyond weatherproof faucet covers, do you suggest fully shutting off the water to those lines or is insulating enough if I can’t easily access the shutoff valves?

    Mario The Plumber

    If you don’t have easy access to shutoff valves for your exterior faucets, thorough insulation is your best option. Use high-quality insulation sleeves or wraps on both the faucets and any exposed pipes. Also, make sure weatherproof covers are securely in place. If you can eventually access the shutoff valves, turning off the water and draining the lines is always the safest approach to prevent freezing and potential pipe bursts.

Emily Moore

If I’m on a tight budget, are there any areas where it’s okay to use more affordable materials, like pipe insulation sleeves, or would cutting costs here increase my risk of frozen pipes?

    Mario The Plumber

    Using affordable pipe insulation sleeves is usually fine as long as they’re thick enough—at least 1/2 inch, but 3/4 inch is better for colder climates. The key is to make sure there are no gaps and all exposed pipes are covered. You don’t need to buy the priciest insulation, but skipping insulation altogether or using very thin sleeves does raise your risk of frozen pipes.

Sandra Sanchez

What’s the typical cost range for winterizing plumbing in a small business building? I’m trying to budget for supplies and possible handyman help this season.

    Mario The Plumber

    For a small business building, the cost to winterize plumbing can range from $200 to $800. This depends on the building’s size, the condition of your pipes, and whether you hire a handyman or do it yourself. Supplies like pipe insulation and faucet covers are usually under $100, while professional labor makes up the rest. Getting quotes from local professionals can help fine-tune your budget.

Margaret Hernandez

For business owners on a tight budget, which of these winterization steps are absolutely critical to prevent frozen pipes, and which could potentially be skipped or delayed?

    Mario The Plumber

    For business owners on a tight budget, focus on draining outdoor hoses, insulating exposed pipes (especially in unheated areas), and shutting off exterior water lines—these are the most critical to prevent pipes from freezing. Steps like upgrading insulation or installing heat tape are helpful but could be delayed if necessary. Regularly check for drafts around pipes and seal them if you can, since that’s a cost-effective prevention measure.

Richard Thompson

When insulating pipes in my basement and garage, do I need to remove any old pipe insulation before adding new sleeves, or can I just add more on top? I want to make sure I’m doing it right the first time.

    Mario The Plumber

    It’s usually best to remove any old or damaged pipe insulation before adding new sleeves. Old insulation may be compressed, deteriorated, or moldy, which reduces its effectiveness. By taking it off, you ensure the new insulation fits tightly and works properly. If the existing insulation is in good condition, dry, and not compressed, you can layer new sleeves over it, but full removal gives the best results.

Joseph Moore

As a business owner in an older building with some pipes running through an unheated basement, I wonder if the insulation sleeves you recommend are enough or should I combine them with heat tape for extra protection?

    Mario The Plumber

    For older buildings with pipes in unheated areas, combining pipe insulation sleeves with heat tape is often the best approach. Insulation sleeves help retain heat, but in very cold conditions, heat tape adds active warming and extra protection against freezing. Make sure to install the heat tape according to manufacturer instructions before covering it with insulation. This dual method is especially important for metal pipes in drafty or poorly insulated basements.

Susan White

If a pipe does freeze but hasn’t burst yet, what are the immediate troubleshooting steps you would advise before calling a plumber?

    Mario The Plumber

    If you find a frozen pipe that hasn’t burst, turn off the main water supply first. Open nearby faucets to relieve pressure. Gently warm the frozen section using a hairdryer, heating pad, or towels soaked in hot water—never use an open flame. Start heating closest to the faucet and work toward the coldest part. Monitor for leaks, and if you see any, call a plumber immediately.

Karen Moore

Could you clarify how to tell if a pipe in an exterior wall is already frozen or in danger of freezing, especially in areas where access is limited, like crawl spaces or behind drywall?

    Mario The Plumber

    To check if a pipe is frozen in hard-to-access places, feel the wall or area for cold spots—frozen pipes often make surrounding surfaces unusually cold. If you can access the pipe, tap it lightly: a frozen pipe sounds solid, while one with running water sounds hollow. Signs of danger also include reduced or no water flow from fixtures connected to those pipes. If you suspect freezing but can’t reach the pipe, monitor water pressure and look for frost on exposed sections nearby.

Ashley Martinez

If a pipe has already started to freeze but hasn’t burst yet, what should I do right away before calling a professional? Are any of the materials on your list helpful for emergency situations, or is there something else I should keep on hand?

    Mario The Plumber

    If a pipe is starting to freeze but hasn’t burst, you should turn off the main water supply first to minimize damage if it does burst. Use materials like towels, a hair dryer, or a heat lamp from the article to gently warm the pipe—never use an open flame. It’s also wise to keep a bucket and mop nearby in case of leaks, and pipe insulation can help prevent future freezing.

Karen Lewis

The article says to use caulk and weatherstripping as part of the process. Does that mean I need to seal around all my indoor plumbing fixtures, or is this just for pipes running through exterior walls and crawl spaces?

    Mario The Plumber

    You only need to use caulk and weatherstripping around pipes that pass through exterior walls, crawl spaces, or other areas where cold air could enter and cause pipes to freeze. Sealing around all your indoor plumbing fixtures isn’t necessary unless those fixtures are located along exterior walls. Focus on spots where drafts might reach your pipes.

Jessica Smith

If we notice a pipe has already frozen but not burst, what immediate troubleshooting steps should we take before calling a plumber, especially to minimize downtime for our business?

    Mario The Plumber

    If a pipe is frozen but hasn’t burst, first turn off the main water supply to prevent leaks if it thaws suddenly. Open nearby faucets to relieve pressure. Gently warm the frozen section with a hair dryer or space heater—never use an open flame. Start warming from the faucet end toward the frozen area. Monitor for leaks as it thaws. If you can’t access the pipe easily or if it doesn’t thaw, call a plumber to minimize business downtime.

David Miller

I noticed you listed heat tape as a recommended material—are there specific safety precautions or brands you would suggest when installing heat cables on pipes in a basement?

    Mario The Plumber

    When installing heat cables or tape in a basement, always follow the manufacturer’s safety instructions closely. Choose UL-listed brands like Frost King or EasyHeat, and never overlap the cable on itself as it can overheat. Make sure the cable is rated for the pipe material you have, and use a grounded outlet. Inspect the cable each year for damage before use for added safety.

Thomas Brown

After insulating pipes and covering outdoor faucets, should I also consider shutting off water to specific areas like my garage or basement, or is that only necessary if I plan to leave the house vacant during winter?

    Mario The Plumber

    It’s a good idea to shut off water to areas like your garage or basement if they aren’t heated and aren’t used frequently during winter, even if you’re staying in the house. This adds an extra layer of protection against frozen or burst pipes. However, if those areas are kept warm and you use them regularly, insulating the pipes and covering faucets should be sufficient.

James Robinson

If a pipe does burst despite winterizing steps, what is the very first thing I should do before calling for professional help to minimize water damage?

    Mario The Plumber

    If a pipe bursts, the very first thing you should do is shut off your home’s main water supply immediately. This will stop water from continuing to flow and minimize damage. Once the water is off, open faucets to drain any remaining water in the pipes. After taking these actions, you can then contact a professional for repairs.

Jason Thomas

If my pipes are already in the exterior walls and I can’t access them easily, are there any specific troubleshooting tips if I suspect they might freeze despite using insulation?

    Mario The Plumber

    If your pipes are in exterior walls and may still freeze, try keeping cabinet doors open to allow warmer air to circulate around the pipes. Letting faucets drip slightly can also help prevent freezing. If you suspect a freeze, use a hair dryer or space heater (safely) to gently warm the area. Watch for reduced water flow, which can signal a frozen pipe, and turn off the main water supply if you think a pipe has burst.

Anthony Anderson

When using heat tape or heat cables as mentioned in your guide, is it safe to leave them plugged in all winter, or should they only be used during particularly cold nights? I want to avoid any fire hazards but keep my pipes protected.

    Mario The Plumber

    You can leave heat tape or heat cables plugged in all winter if they are the type with a built-in thermostat, as these only activate when temperatures drop near freezing. Always follow the manufacturer’s instructions, check that the product is UL-listed, and inspect wiring for damage before use. If your cables are manual (without thermostats), only plug them in during cold spells to reduce fire risk.

Anthony Garcia

If I’m not really handy and don’t have things like an adjustable wrench or channel-lock pliers yet, do you recommend I buy them, or are there simpler alternatives for some of these steps?

    Mario The Plumber

    For basic winterizing, some steps—like shutting off indoor valves or draining faucets—can be done without special tools. However, if you need to disconnect hoses or open drain plugs, adjustable wrenches or channel-lock pliers make the job much easier and safer. If you plan to handle these tasks yourself in the future, investing in these tools is worthwhile, but for now, you might be able to borrow them from a neighbor or ask a friend for help.

Megan Gonzalez

If a pipe already froze but hasn’t burst yet, what’s the safest way to thaw it out before there’s serious damage? I’d love more troubleshooting tips for those situations since I’m worried about missing early warning signs.

    Mario The Plumber

    If you have a frozen pipe that hasn’t burst, turn off the main water supply first. Apply gentle heat to the frozen section using a hair dryer or heating pad—never use an open flame. Start warming near the faucet and work your way toward the coldest part. Look for early signs like reduced water flow, odd smells, or frost on pipes, and keep those areas warm to prevent future freezes.

Aaron Hernandez

I’m on a tight budget this year. Are there any lower-cost alternatives to weatherproof faucet covers or heat tape that still do a good job of preventing frozen outdoor pipes?

    Mario The Plumber

    Yes, there are a few budget-friendly options you can try. Wrapping outdoor faucets and exposed pipes with old towels or rags, then securing them with plastic bags and duct tape, offers basic protection. Foam pipe insulation is also inexpensive and effective. Just be sure to remove garden hoses and shut off outdoor water supply lines if possible for added protection.

Lisa Martin

You mentioned using caulk and weatherstripping for winterizing. Should I focus just on sealing pipes that are exposed to outside air, or do I need to seal around indoor pipes as well?

    Mario The Plumber

    You should prioritize sealing pipes exposed to outside air, as these are most vulnerable to freezing. However, it’s also wise to inspect and seal around indoor pipes in unheated areas like basements, crawl spaces, or garages. Any spots where cold drafts can reach pipes should be addressed with caulk or weatherstripping to help prevent freezing and heat loss.

Joshua Jones

How long does it typically take for a DIYer to complete all the winterizing steps for a standard single-family home, especially for someone who has never done plumbing work before?

    Mario The Plumber

    For someone new to plumbing, winterizing a standard single-family home’s plumbing usually takes about 3 to 5 hours. This includes draining pipes, insulating exposed sections, shutting off outdoor water, and checking for leaks. If you take your time and follow each step carefully, it’s perfectly manageable in a single afternoon, even for a first-timer.