Introduction: Plumbing Traps—Your Home’s Unsung Defense
Behind every smoothly draining sink, shower, or appliance lies a critical but often overlooked component: the plumbing trap. These curved sections of pipe—typically U, S, or P-shaped—serve as your home’s frontline defense against sewer gases and pests. They also play a vital role in preventing clogs and maintaining proper drainage. Yet, despite their importance, plumbing traps are a frequent source of household frustration. From foul odors and slow drains to mysterious leaks and recurring blockages, trap-related issues can appear deceptively simple but often require a nuanced approach to diagnose and solve. This comprehensive guide dives deep into the world of plumbing traps. We’ll explore how to recognize trap-specific problems, tackle common DIY fixes, avoid costly pitfalls, and adopt best practices to keep your system healthy for years to come. Whether you’re a homeowner, landlord, or aspiring DIYer, understanding plumbing traps is essential for maintaining a safe, efficient, and odor-free home.
Understanding Plumbing Traps: Functions and Types
What Is a Plumbing Trap?
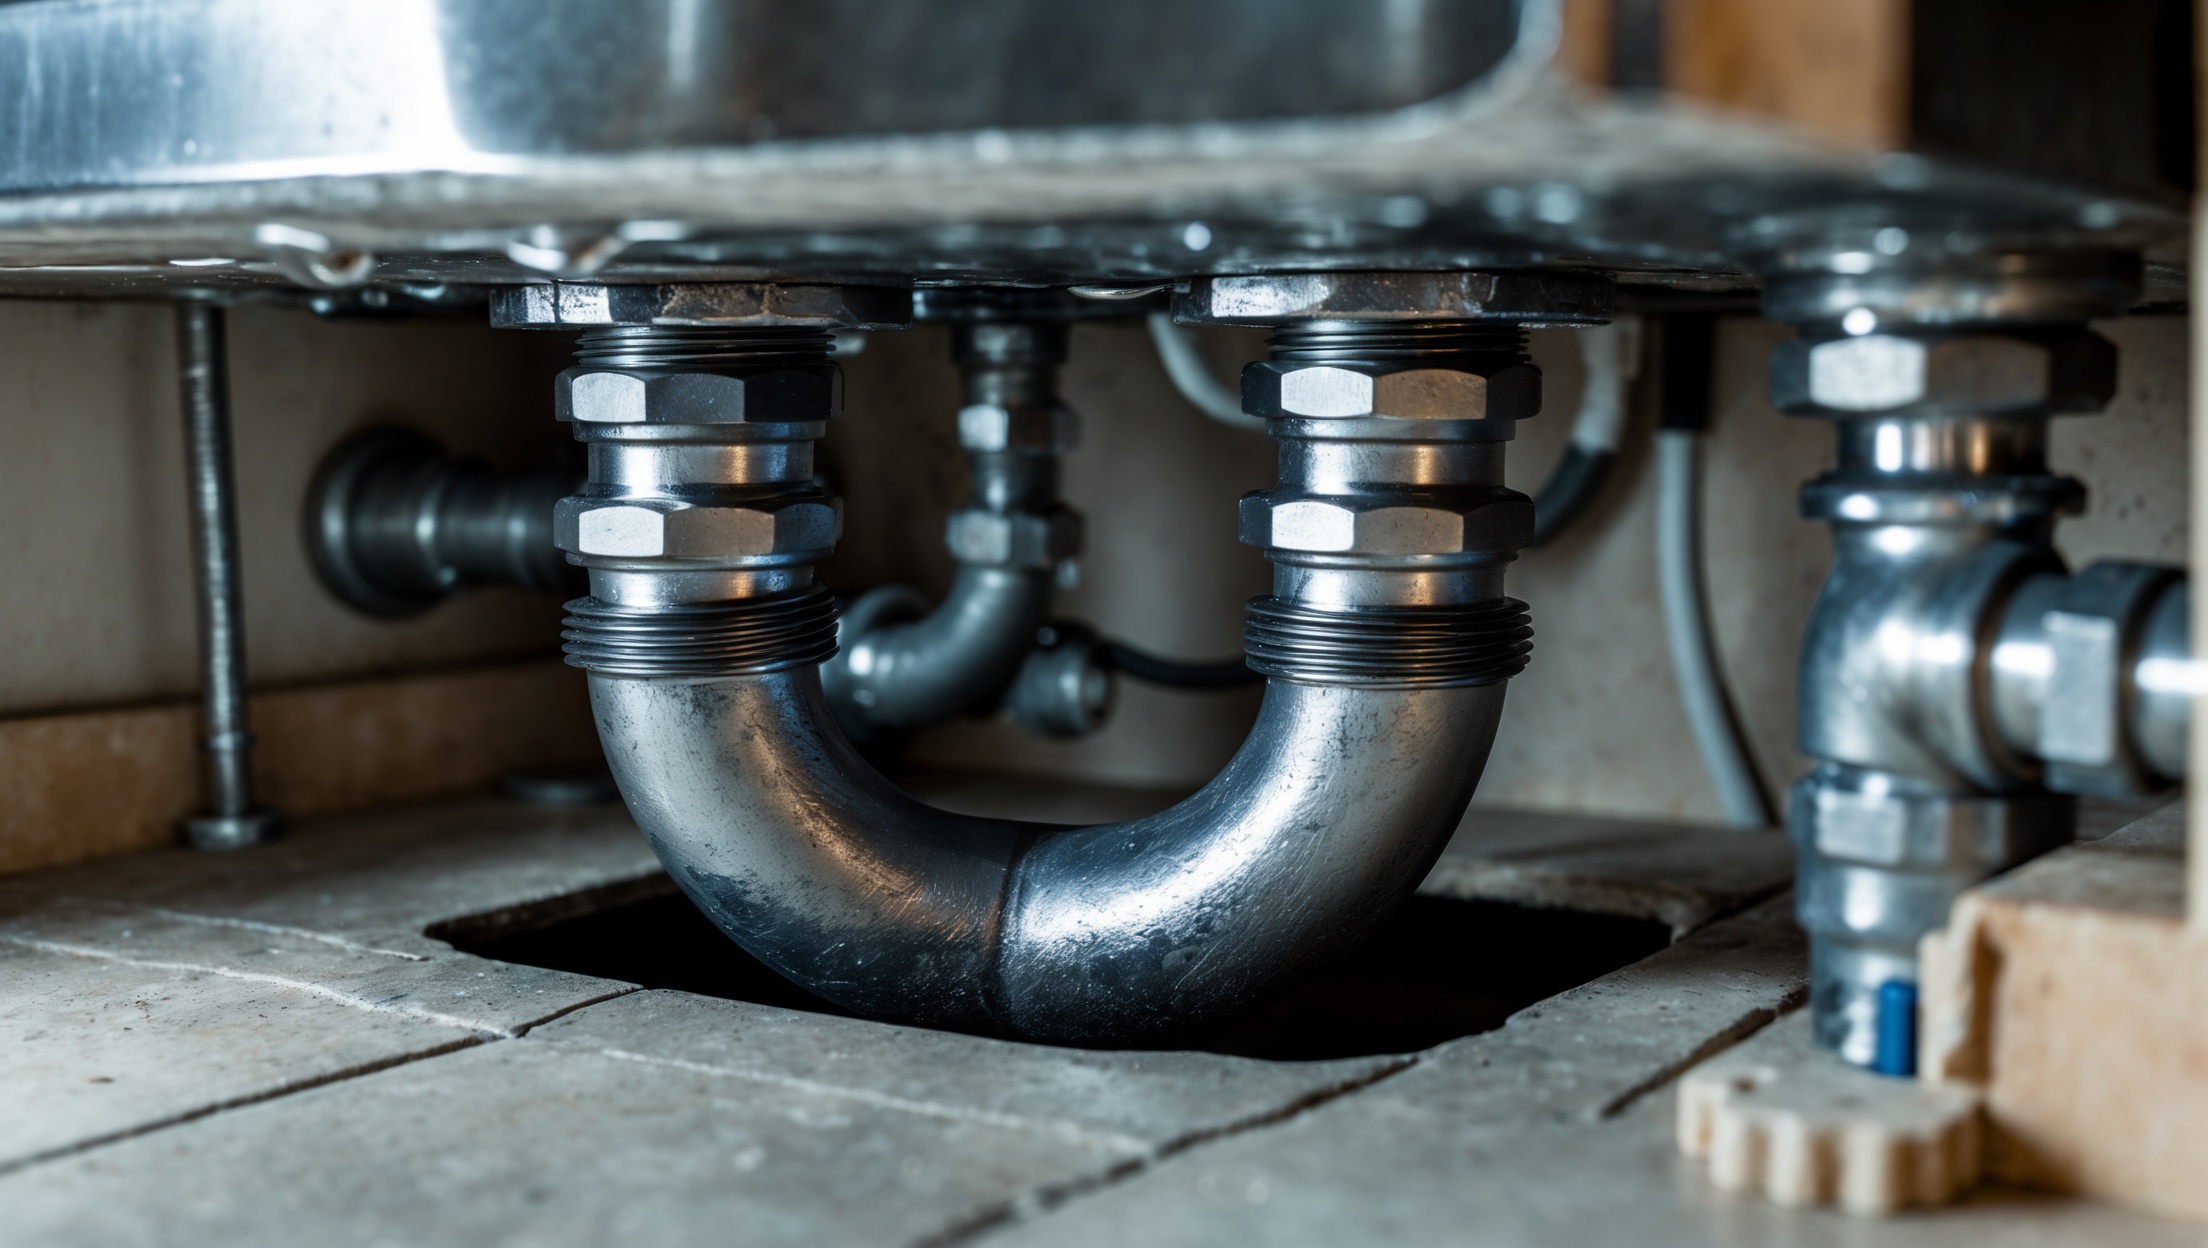
A plumbing trap is a curved section of drainpipe designed to hold a small amount of water at all times. This water barrier blocks sewer gases from entering your living space while letting wastewater flow out. Traps are required by code in all fixtures that connect to the drainage system, including sinks, tubs, showers, and washing machines.
Common Trap Designs
- P-Trap: The most common design in modern homes, used for sinks and lavatories. It has a distinct “P” shape and is easy to remove for cleaning.
- S-Trap: An older style, now largely obsolete and often replaced due to siphoning issues. S-traps can cause water to be sucked out of the trap, allowing gases to escape.
- U-Bend Trap: Often used in shower or floor drains, this simple curve works similarly to P-traps but may be harder to access.
- Drum Trap: Found in some older homes, these cylindrical traps require periodic cleaning and are less efficient by today’s standards.
Materials Used in Traps
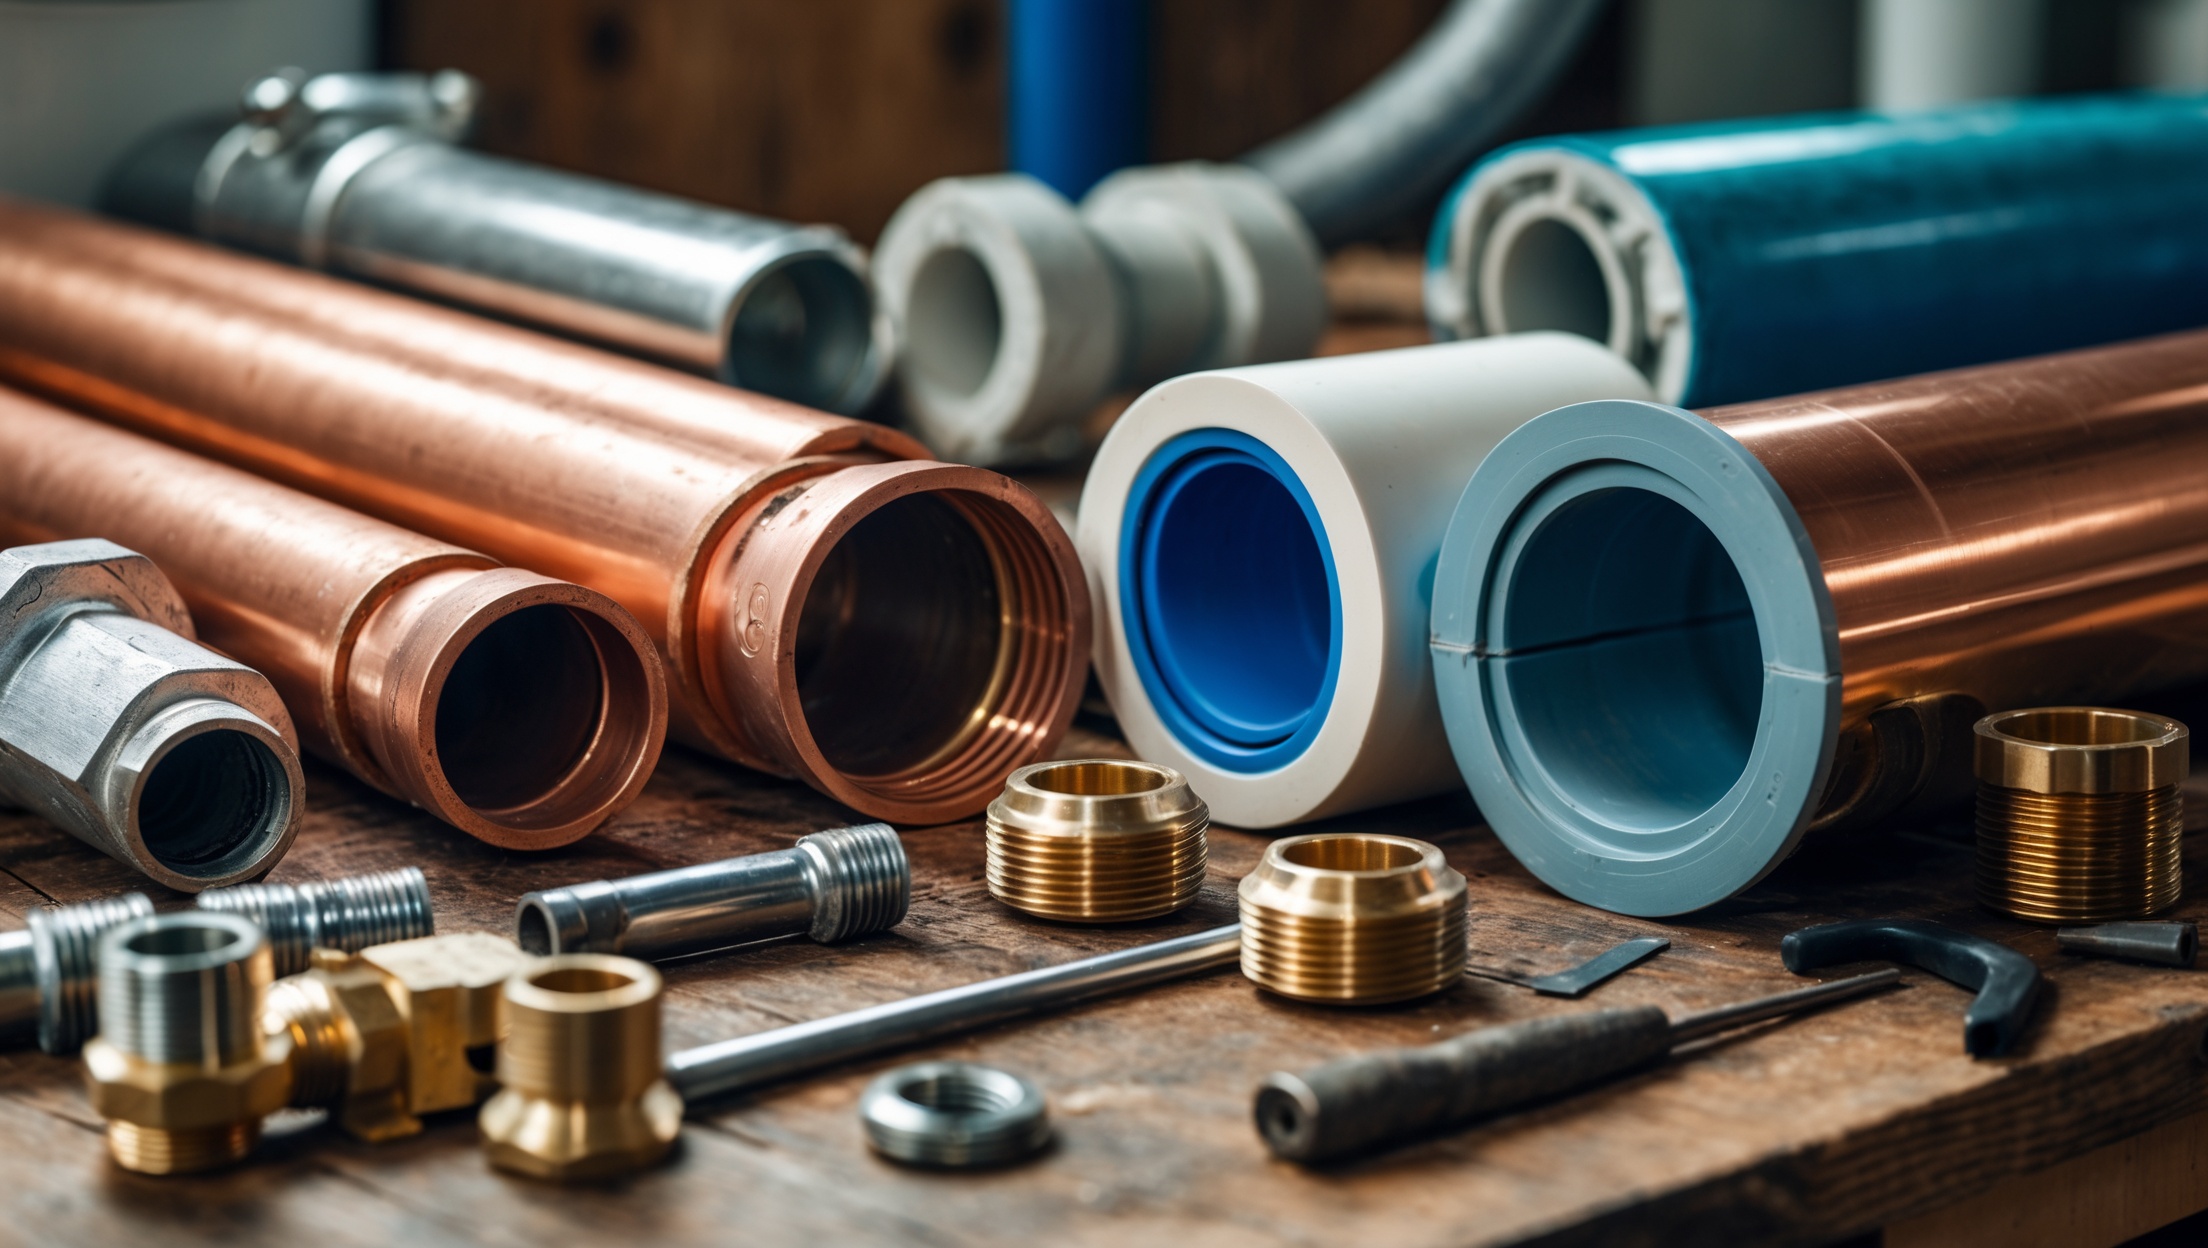
- PVC: Lightweight, corrosion-resistant, and easy to assemble—ideal for most residential applications.
- ABS: Similar to PVC but black in color and more impact-resistant.
- Chrome-Plated Brass: Common in exposed locations for aesthetic appeal, but prone to corrosion over time.
- Cast Iron: Durable but heavy and more common in older installations.
Common Plumbing Trap Issues and How to Identify Them
1. Foul Odors
One of the first signs of a trap problem is an unpleasant smell near a fixture. If sewer or musty odors are present, it could indicate:
- Dry Trap: Evaporation of water barrier due to infrequent use.
- Leaky Trap: A crack or loose fitting allowing gases to escape.
- Improper Venting: Negative pressure drawing water out of the trap.
2. Slow Draining Fixtures
If water pools in your sink, shower, or tub, the trap may be partially clogged with hair, soap, grease, or debris. Persistent slow draining suggests a buildup inside the trap or further downstream.
3. Leaks Under the Sink or Fixture
Visible water beneath the trap assembly points to:
- Loose slip nuts or washers
- Cracked or corroded pipes
- Improper alignment or installation
4. Gurgling Sounds
Gurgling noises from drains indicate venting problems or air being pulled through the trap. This often leads to water being siphoned out and odors escaping.
DIY Inspection: How to Check Your Plumbing Traps
Visual Inspection
- Shine a flashlight on the trap assembly to look for drips, corrosion, or mineral deposits.
- Check connections and slip nuts for tightness and signs of wear.
Odor Test
- Wave your hand near the drain or under the cabinet. A strong odor is a telltale sign of trouble.
Water Test
- Fill the fixture with water and let it drain. Watch for slow drainage or leaks at the trap.
Touch Test
- Feel for moisture or condensation around the trap, which may signal a slow leak or poor insulation.
Step-by-Step: Clearing a Clogged Trap
Tools and Materials Needed
- Adjustable wrench or slip-joint pliers
- Bucket or shallow pan
- Old towels or rags
- Pipe brush or bottle brush
- Replacement washers (optional)
- Gloves and eye protection
Procedure
- Prepare the Area: Place a bucket under the trap to catch water. Lay down towels to protect cabinetry and floors.
- Loosen the Slip Nuts: Using pliers or by hand, unscrew the slip nuts on either end of the trap. Be gentle to avoid cracking plastic fittings.
- Remove the Trap: Carefully pull the trap free and empty its contents into the bucket.
- Clean the Trap: Use a pipe brush to scrub away debris and buildup. Inspect for cracks or thinning walls.
- Check Washers and Seals: Examine the washers for wear. Replace if necessary to ensure a watertight fit.
- Reinstall and Test: Reattach the trap, tightening slip nuts by hand first, then snug with pliers. Run water to check for leaks and proper drainage.
Advanced Troubleshooting: When DIY Isn’t Enough
Recurring Odors or Clogs
If problems persist after cleaning the trap, the issue may lie deeper in the drain line or with the venting system. At this stage, consider:
- Video inspection: Professionals can use a small camera to locate obstructions or damaged pipes.
- Hydro-jetting: High-pressure water jets clear stubborn buildup beyond the trap.
- Venting repairs: A plumber can diagnose and correct venting deficiencies causing siphoning or backflow.
Leakage at Pipe Joints
Persistent leaks, even after tightening, may indicate:
- Cracked threads or stripped connectors
- Incorrectly sized washers
- Corroded metal traps needing full replacement
In such cases, replacing the entire trap assembly is often the most reliable fix.
Trap Replacement: Signs It’s Time
- Visible rust or corrosion (for metal traps)
- Cracks or holes in the body
- Stubborn, recurring leaks despite new washers
Choose a high-quality replacement suited to the fixture and local code requirements.
Preventative Maintenance for Plumbing Traps
1. Regular Cleaning
- Clean sink and shower traps every 3–6 months, or more often if you notice slow drainage.
- Use a combination of hot water, mild detergent, and a brush. Avoid harsh chemicals that can damage pipes and seals.
2. Keep Water in Unused Traps
- Pour a cup of water down rarely used drains (such as basement floor drains or guest baths) every few weeks to maintain the water seal.
3. Use Drain Screens
- Install fine-mesh screens or strainers in sinks and showers to catch hair, food particles, and debris before they reach the trap.
4. Watch for Early Warning Signs
- Don’t ignore gurgling, odors, or slow draining. Addressing problems early prevents major repairs.
5. Inspect After Major Plumbing Work
- After renovations or fixture replacements, double-check that traps are correctly installed and sealed.
Upgrading and Retrofitting Traps: Modern Solutions
Switching to PVC or ABS
If your home still uses metal or drum traps, upgrading to modern PVC or ABS traps can significantly reduce maintenance and corrosion risks. These materials are easier to clean, less prone to leaks, and comply with today’s plumbing codes.
Installing Clean-Out Traps
Some new trap designs feature integrated clean-out plugs, making future maintenance much simpler. Consider this option if you’re replacing traps in hard-to-access locations.
Automatic Trap Primers
In locations where traps are likely to dry out (such as basement drains), an automatic trap primer can be installed. These devices periodically add water to the trap, maintaining the seal and preventing odors.
Ensuring Proper Venting
Upgrading venting systems or adding air admittance valves (AAVs) can resolve persistent siphoning or gurgling issues. Consult a licensed plumber for major venting modifications.
Compliance and Best Practices: What Homeowners Should Know
Code Requirements
- Every fixture must have its own trap—never share traps between fixtures.
- Traps must be readily accessible for cleaning and inspection.
- Trap size and material must comply with local codes (typically 1-1/4″ for basins, 1-1/2″ for kitchen sinks).
- Never use a double trap or install a trap with a vertical leg longer than 24 inches.
When to Call a Professional
- Persistent odors, leaks, or recurring clogs after DIY efforts
- Major venting or drainage modifications
- Suspected sewer line issues or backflow
Conclusion: Proactive Trap Care for a Healthier Home
Plumbing traps are humble heroes in the fight against sewer gases, pests, and water damage. Yet, because they’re out of sight, they’re often neglected until trouble strikes. By understanding how traps work, recognizing early warning signs of trouble, and adopting a regular maintenance routine, you can avoid the most common—and costly—trap-related issues in your home. Whether you’re clearing a stubborn clog, replacing a leaky trap, or upgrading to modern materials, the right knowledge and tools are your best defense against frustration and expensive repairs.
Remember, not all trap problems are created equal. Some issues, like a dry or slightly clogged trap, are easily handled by a careful DIYer, while persistent leaks or venting problems may demand professional intervention. Always prioritize safety: use proper protective gear, be gentle with old fittings, and never hesitate to call a licensed plumber if you’re uncertain. With attentive care, your plumbing traps will continue to protect your home’s health, comfort, and efficiency for years to come. Make proactive trap maintenance part of your plumbing checklist—it’s a small investment that pays off with peace of mind and trouble-free drains.