
Introduction: Why the Right Drain Cleaning Tools Matter
Every homeowner, property manager, or aspiring plumbing pro eventually faces the dreaded slow drain or stubborn clog. Whether it’s a kitchen sink backing up after a hearty meal, a shower that refuses to drain, or a mysterious gurgle from the laundry room, these problems are more than just inconvenient—they can signal larger issues or even lead to costly water damage if left unchecked. While chemical drain cleaners are tempting, they often do more harm than good, damaging pipes and causing environmental harm. The real solution lies in having the right drain cleaning tools—and knowing exactly how and when to use them.
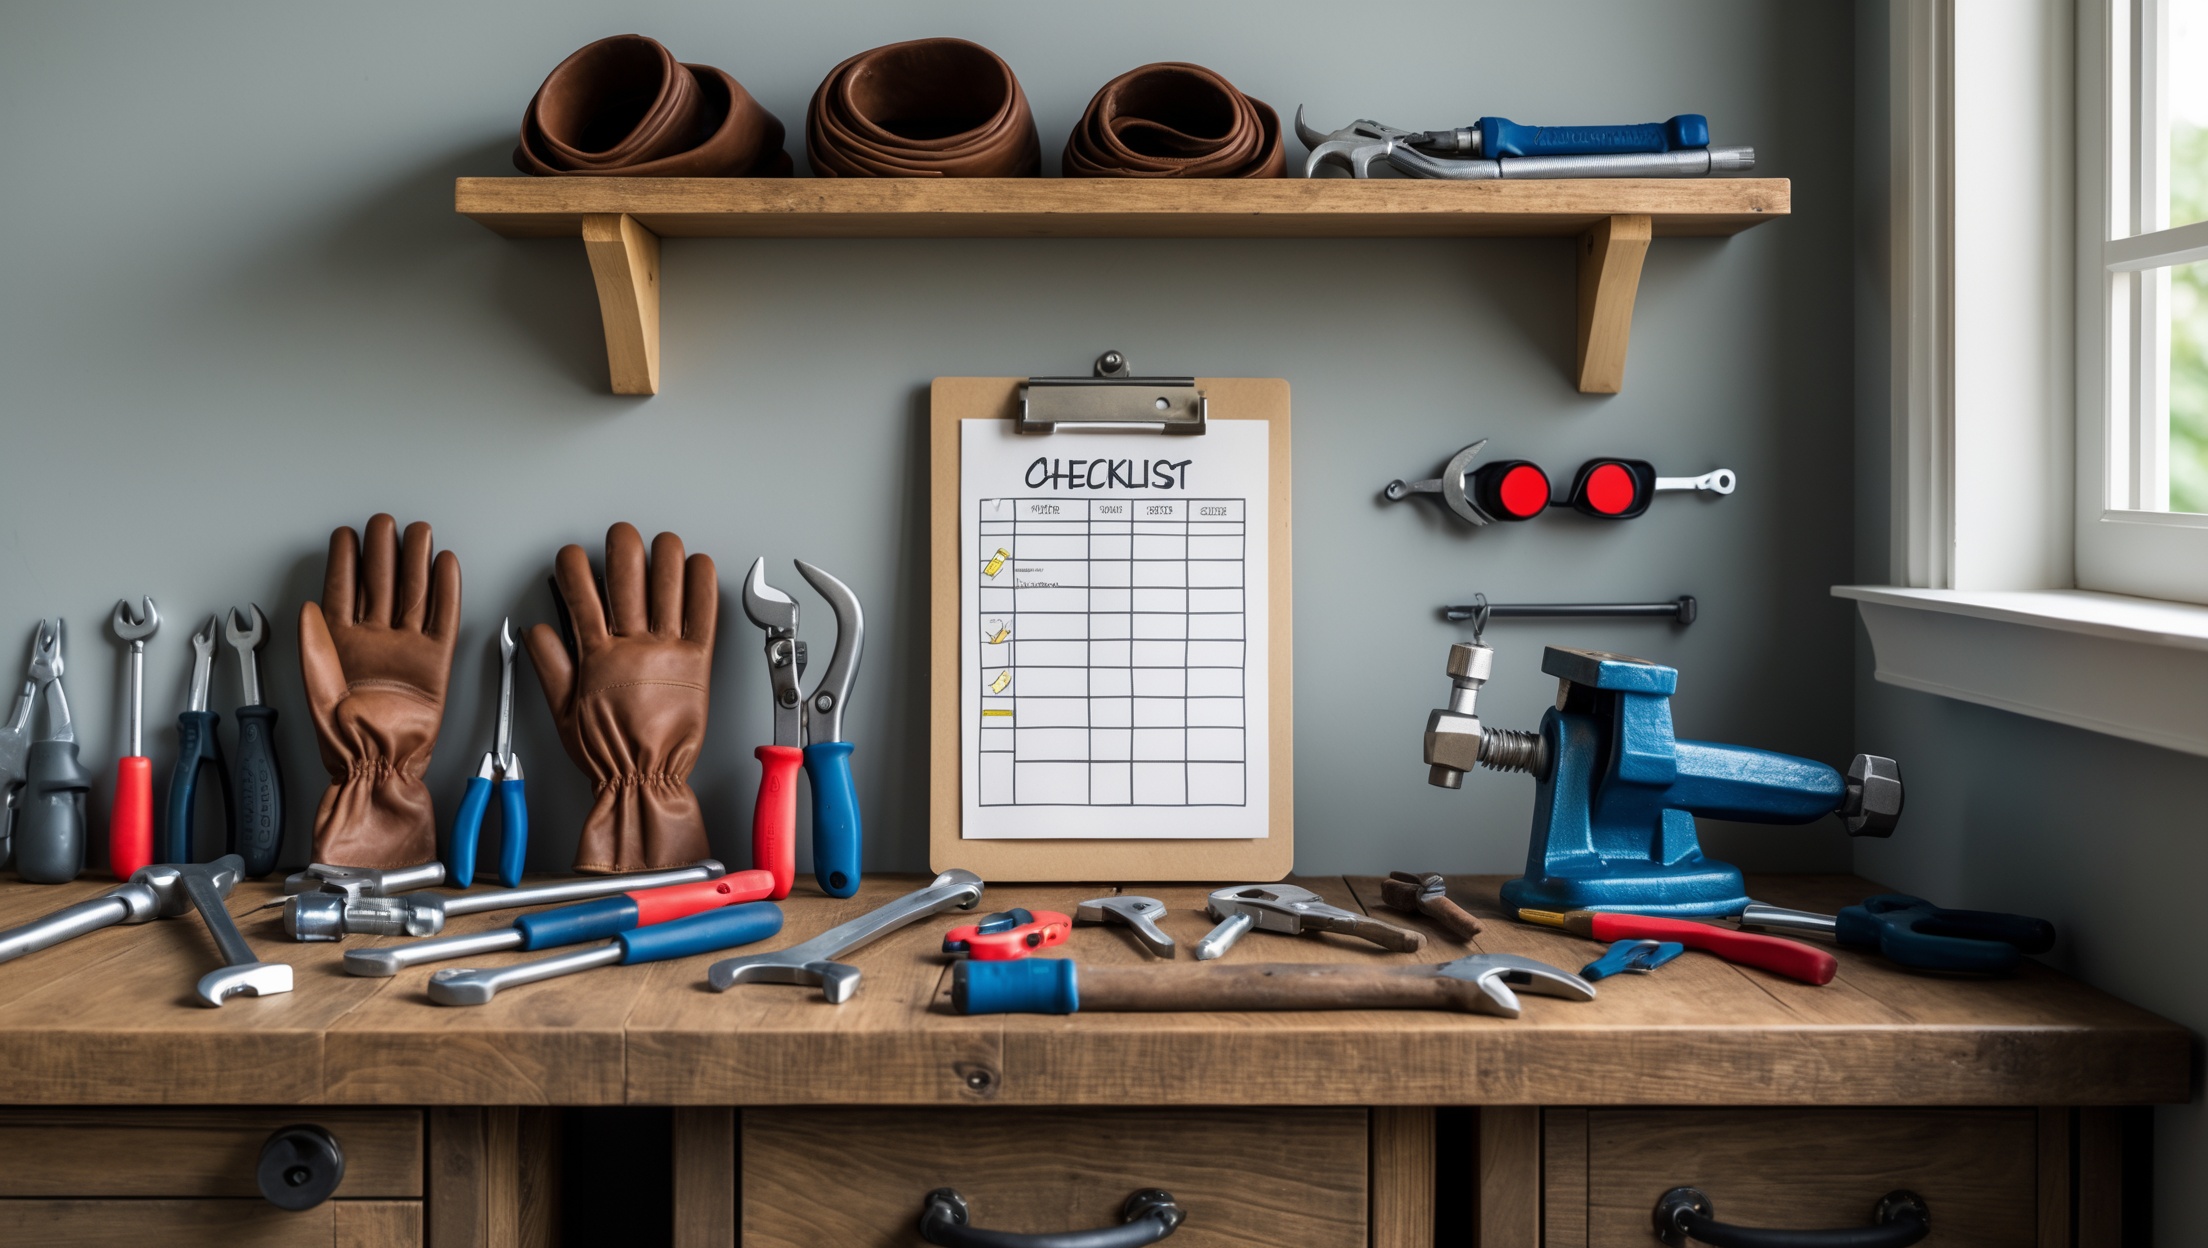
This comprehensive guide will walk you through the essential drain cleaning tools used by professionals, how to select the right one for every situation, and step-by-step instructions for safe, effective use. You’ll also find troubleshooting tips for stubborn blockages, maintenance advice to prevent future issues, and expert guidance on when to call in a pro. Whether you’re a dedicated DIYer or an industry newcomer, mastering these tools will save you time, money, and headaches while keeping your plumbing system running smoothly.
Understanding Drain Clogs: Causes and Symptoms
Common Causes of Drain Clogs
- Hair and Soap Scum: Typically affects bathroom sinks, tubs, and showers.
- Grease and Food Debris: Primary culprits in kitchen sinks.
- Foreign Objects: Toys, wipes, paper towels, and hygiene products can block toilets and laundry drains.
- Mineral Buildup: Particularly in hard water areas, leading to pipe narrowing over time.
- Tree Roots: Invade main sewer lines, causing recurring clogs and backups.
Symptoms of a Clogged Drain
- Slow draining water
- Foul odors from drains
- Gurgling sounds
- Water backing up into sinks, tubs, or toilets
- Frequent need to plunge or snake the same drain
Recognizing these early warning signs helps you address issues before they escalate, making the choice of the right tool even more crucial.
Drain Cleaning Tools: Types, Features, and Best Uses
1. Plungers
Key Types: Cup plunger (flat-bottom, for sinks and tubs), flange plunger (with an extended lip, for toilets).
- Best For: Minor clogs near the drain opening.
- How They Work: Create a vacuum seal and rapid pressure changes to dislodge clogs.
- Pro Tip: Always ensure enough water covers the plunger’s cup for a proper seal.
2. Hand Augers (Manual Drain Snakes)
Design: Flexible steel cable with a crank handle, typically 15–25 feet long.
- Best For: Sinks, tubs, showers, and small-diameter pipes.
- How They Work: The cable is fed into the drain and rotated to break up or retrieve blockages up to 2 inches in diameter.
- Pro Tip: Use gentle, steady pressure—forcing the cable can kink it or damage pipes.
3. Toilet Augers
Design: Short, rigid auger with a protective plastic sleeve to prevent scratching porcelain.
- Best For: Toilet traps and short blockages that can’t be cleared with a plunger.
- How They Work: The auger head breaks up or pulls back obstructions lodged in the toilet’s S-bend.
- Pro Tip: Never use a regular drain snake in a toilet—it can scratch or crack porcelain.
4. Power Augers (Drum Machines / Electric Snakes)
Design: Motorized unit with a long, heavy-duty steel cable (up to 100 feet), often with interchangeable cutting heads.
- Best For: Tough, deep clogs in main lines, long pipe runs, or tree root intrusions.
- How They Work: The motor rotates the cable, which advances through pipes and cuts or breaks up tough clogs.
- Pro Tip: Always wear gloves and eye protection. Power augers can cause injury if mishandled.
5. Drain Cleaning Bladders (Expansion Bladders)
Design: Rubber bladder attached to a garden hose, inserted into a clogged drain.
- Best For: Clearing soft blockages in straight, unobstructed pipe runs.
- How They Work: The bladder expands to create a seal, then blasts water through the clog.
- Pro Tip: Use with caution—high water pressure can damage old or fragile pipes.
6. Wet/Dry Shop Vacs
Uses: Suctioning out standing water or pulling loose debris from drains (with appropriate filter and hose attachments).
- Best For: Sinks, showers, and floor drains with loose or partially broken-up clogs.
- Pro Tip: Always remove the filter when vacuuming liquids to avoid damage to the vac.
7. Specialty Tools
- Drain Cameras: For inspecting clogs deep within pipes or identifying pipe damage.
- Hydro Jetters: High-pressure water jets for clearing built-up grease or scaling (usually professional use only).
For most homeowners, a basic toolkit of plunger, hand auger, and possibly a shop vac will tackle 90% of common clogs. More advanced tools can be rented or handled by professionals for persistent or complex blockages.
How to Select the Right Tool for Each Plumbing Scenario
Kitchen Sink Clogs
- Start with a cup plunger to dislodge soft food debris.
- For deeper or stubborn clogs, use a hand auger.
- Avoid chemical cleaners—especially in homes with septic systems or older pipes.
Bathroom Sink, Tub, or Shower Drains
- Remove the drain stopper and clear visible hair/debris.
- Use a hand auger for blockages past the trap.
- Wet/dry vac can help pull out loosened material.
Toilet Clogs
- Flange plunger should be your first line of defense.
- For persistent clogs, switch to a toilet auger.
- Never use a regular snake to avoid damaging the bowl.
Main Drain or Sewer Line Backups
- Look for slow or backed-up drains in multiple fixtures.
- Power auger (drum machine) or hydro jetting may be needed—often best left to professionals.
- Consider a camera inspection if tree roots or pipe collapse are suspected.
Floor Drains and Laundry Drains
- Hand auger for minor blockages.
- Bladder or shop vac for standing water or soft debris.
Step-by-Step: Safe and Effective Use of Each Tool
Using a Plunger
- Step 1: Add enough water to submerge the plunger’s cup.
- Step 2: Position the plunger to create a tight seal.
- Step 3: Pump up and down vigorously for 15-20 seconds.
- Step 4: Remove plunger and check drainage; repeat if necessary.
Using a Hand Auger (Drain Snake)
- Step 1: Remove the drain cover or stopper.
- Step 2: Insert the auger cable slowly into the drain.
- Step 3: Rotate the handle clockwise as you advance.
- Step 4: When you feel resistance, continue rotating to break up or snag the clog.
- Step 5: Retract the cable, cleaning off debris as you go.
- Step 6: Run hot water to flush the line.
Using a Toilet Auger
- Step 1: Insert the auger’s protective plastic sleeve into the toilet bowl opening.
- Step 2: Crank the handle as you push the auger into the trap.
- Step 3: Work gently to break up or retrieve the obstruction.
- Step 4: Retract and clean the auger; flush the toilet to clear debris.
Using a Power Auger (Electric Snake)
- Step 1: Wear gloves and eye protection.
- Step 2: Position the machine near the cleanout or fixture trap.
- Step 3: Feed the cable into the drain, then engage the motor.
- Step 4: Advance slowly, letting the machine do the work.
- Step 5: Withdraw the cable, cleaning and inspecting as you go.
- Step 6: Test the drain with water, and repeat if necessary.
Using a Drain Cleaning Bladder
- Step 1: Attach the bladder to a garden hose.
- Step 2: Insert the bladder into the drain at least 6 inches past the opening.
- Step 3: Turn on the water slowly; allow the bladder to expand and pressurize.
- Step 4: Keep water running for 1-2 minutes; turn off and remove bladder.
- Step 5: Check for leakage or pipe movement to ensure no damage occurred.
Using a Wet/Dry Shop Vac
- Step 1: Remove the filter if vacuuming up water.
- Step 2: Create as tight a seal as possible around the drain opening with the hose.
- Step 3: Alternate between suction and blowing modes if your model supports it.
- Step 4: Clean out the vac and reassemble filter after use.
Drain Cleaning Safety: Essential Precautions
- Always wear protective gloves and eye protection when using augers or handling debris.
- Turn off water supply to the affected fixture when necessary.
- Never mix chemical cleaners with mechanical tools—residual chemicals can cause burns or toxic fumes.
- Be cautious with older pipes; excessive force or pressure can cause cracks or leaks.
- Unplug power tools when adjusting cables or heads.
- Work in well-ventilated areas, especially when clearing sewer lines or using shop vacs.
When to DIY and When to Call a Professional
- If multiple fixtures are affected simultaneously, suspect a main line problem—call a plumber.
- Persistent or recurring clogs after several attempts may indicate pipe damage or deeper issues.
- If you notice foul sewage smells, water backing up in unusual places, or hear gurgling from drains, professional inspection is recommended.
- Never attempt to clear pipes with visible cracks, corrosion, or leaking joints.
- Hydro jetting, camera inspections, and repairs to buried or main lines are best left to licensed professionals.
Maintaining Your Tools: Cleaning, Storage, and Longevity
After Each Use
- Rinse augers and plungers thoroughly with hot water and disinfectant.
- Dry tools completely to prevent rust.
Storage Tips
- Hang cables and hoses to avoid kinks or tangles.
- Store in a dry, cool area away from direct sunlight.
- Lubricate moving parts of augers periodically.
When to Replace Tools
- Replace cables with signs of fraying, kinks, or rust.
- Inspect plungers for cracks or loss of flexibility.
- Check power cords and switches on electric tools regularly for safety.
Proper care extends the lifespan of your tools and ensures they’re ready to handle the next clog.
Preventing Future Clogs: Proactive Plumbing Habits
- Use drain screens/catchers in sinks and tubs to trap hair and debris.
- Never pour grease or oil down the kitchen drain; collect and dispose of it in the trash.
- Flush only toilet paper and waste—never wipes, paper towels, or hygiene products.
- Run hot water through drains weekly to help dissolve soap scum and buildup.
- Schedule annual professional inspections if you have mature trees near sewer lines or experience recurring issues.
Conclusion: Mastering Clog Removal for Healthy, Hassle-Free Plumbing
Drain clogs are an inevitable part of homeownership and property management, but they don’t have to be a source of anxiety or excessive expense. By arming yourself with the right drain cleaning tools—and knowing how to use them safely and effectively—you can tackle the vast majority of blockages with confidence. Remember, not all tools are created equal; matching the tool to the specific clog and plumbing fixture is key to avoiding damage and achieving long-lasting results. Mastering plungers, augers, and shop vacs puts you in control of your plumbing system, allowing you to resolve issues quickly and maintain free-flowing pipes.
Equally important is developing good plumbing habits, such as preventing debris from entering drains and maintaining your tools after each use. While certain situations will always warrant a call to a professional, most household clogs can be resolved with patience, the correct equipment, and a little know-how. By following the steps and safety tips outlined in this guide, you’ll not only save money but also extend the life of your plumbing, avoid unnecessary chemical use, and enjoy the peace of mind that comes from a well-maintained home or property. Invest in quality drain cleaning tools and make them a staple in your plumbing arsenal—your pipes (and wallet) will thank you!


Mary Clark
You mentioned that chemical drain cleaners can cause pipe damage and environmental harm. Are there any non-chemical alternatives you recommend for situations where physical tools aren’t effective or accessible?