Introduction: Why Spring Is Prime Time for Plumbing Maintenance
As winter’s chill fades and the days grow longer, spring offers the perfect opportunity to assess, maintain, and upgrade your home’s plumbing system. Months of cold weather can take a toll on pipes, fixtures, and appliances—often in ways that go unnoticed until minor issues become expensive emergencies. Tackling plumbing tasks in spring is not just about repairs; it’s about prevention, efficiency, and peace of mind for the seasons ahead.
Whether you’re an experienced DIYer or a homeowner eager to avoid costly surprises, a thorough spring plumbing checklist helps you catch hidden leaks, prevent backups, and extend the lifespan of your plumbing investments. This guide details essential inspection points, maintenance tips, and upgrade opportunities. From outdoor spigots to sump pumps and water heaters, we’ll walk you through what to look for, how to fix common problems, and when to call in a pro. Use this checklist to keep your plumbing in peak condition and enjoy a worry-free year.
1. Inspect for Winter Damage: Pipes, Fixtures, and Foundations
1.1 Check Exposed Pipes for Cracks and Leaks
Winter freezing can cause pipes to expand, contract, or even burst. Begin your inspection in basements, crawl spaces, and utility rooms. Look for:
- Visible cracks or splits in copper, PVC, or PEX pipes
- Water spots, puddles, or corrosion around joints
- Unusual odors indicating hidden leaks or mold growth
Run water through all faucets and fixtures while watching exposed pipes. Even a slow drip can signal a developing issue.
1.2 Examine Outdoor Faucets and Hose Bibs
Unprotected outdoor faucets are especially prone to freeze damage. Check by:
- Turning on the faucet and observing for weak flow or leaks near the wall
- Feeling for dampness or unexplained wet patches on exterior walls
- Inspecting vacuum breakers and backflow preventers for cracks
If you suspect damage, shut off the supply line and plan for prompt repair or replacement.
1.3 Survey Foundations and Basements for Moisture
Melting snow and heavy spring rains can reveal foundation leaks or hidden pipe failures. Walk your basement perimeter looking for:
- Damp spots, mold, or musty odors near the floor
- Efflorescence (white powdery residue) on foundation walls
- Pooling water or unexplained humidity increases
Address any signs of water intrusion immediately to prevent structural damage and mold growth.
2. Test Sump Pumps and Backup Systems
2.1 Sump Pump Functionality Check
Sump pumps are critical during spring rains. To test yours:
- Remove the lid and clear any debris from the pit
- Slowly pour a bucket of water into the pit—ensure the pump activates and discharges water properly
- Listen for odd noises (grinding, rattling) that may indicate mechanical issues
Clean the pump intake screen and verify the float switch moves freely. Replace any worn or failing components.
2.2 Backup Power and Alarm Systems
If your sump pump uses a battery backup or water-powered backup, inspect:
- Battery charge level and connections (replace if over 3 years old)
- Test the alarm system to ensure audible alerts are working
Consider installing a smart water sensor for remote monitoring and peace of mind.
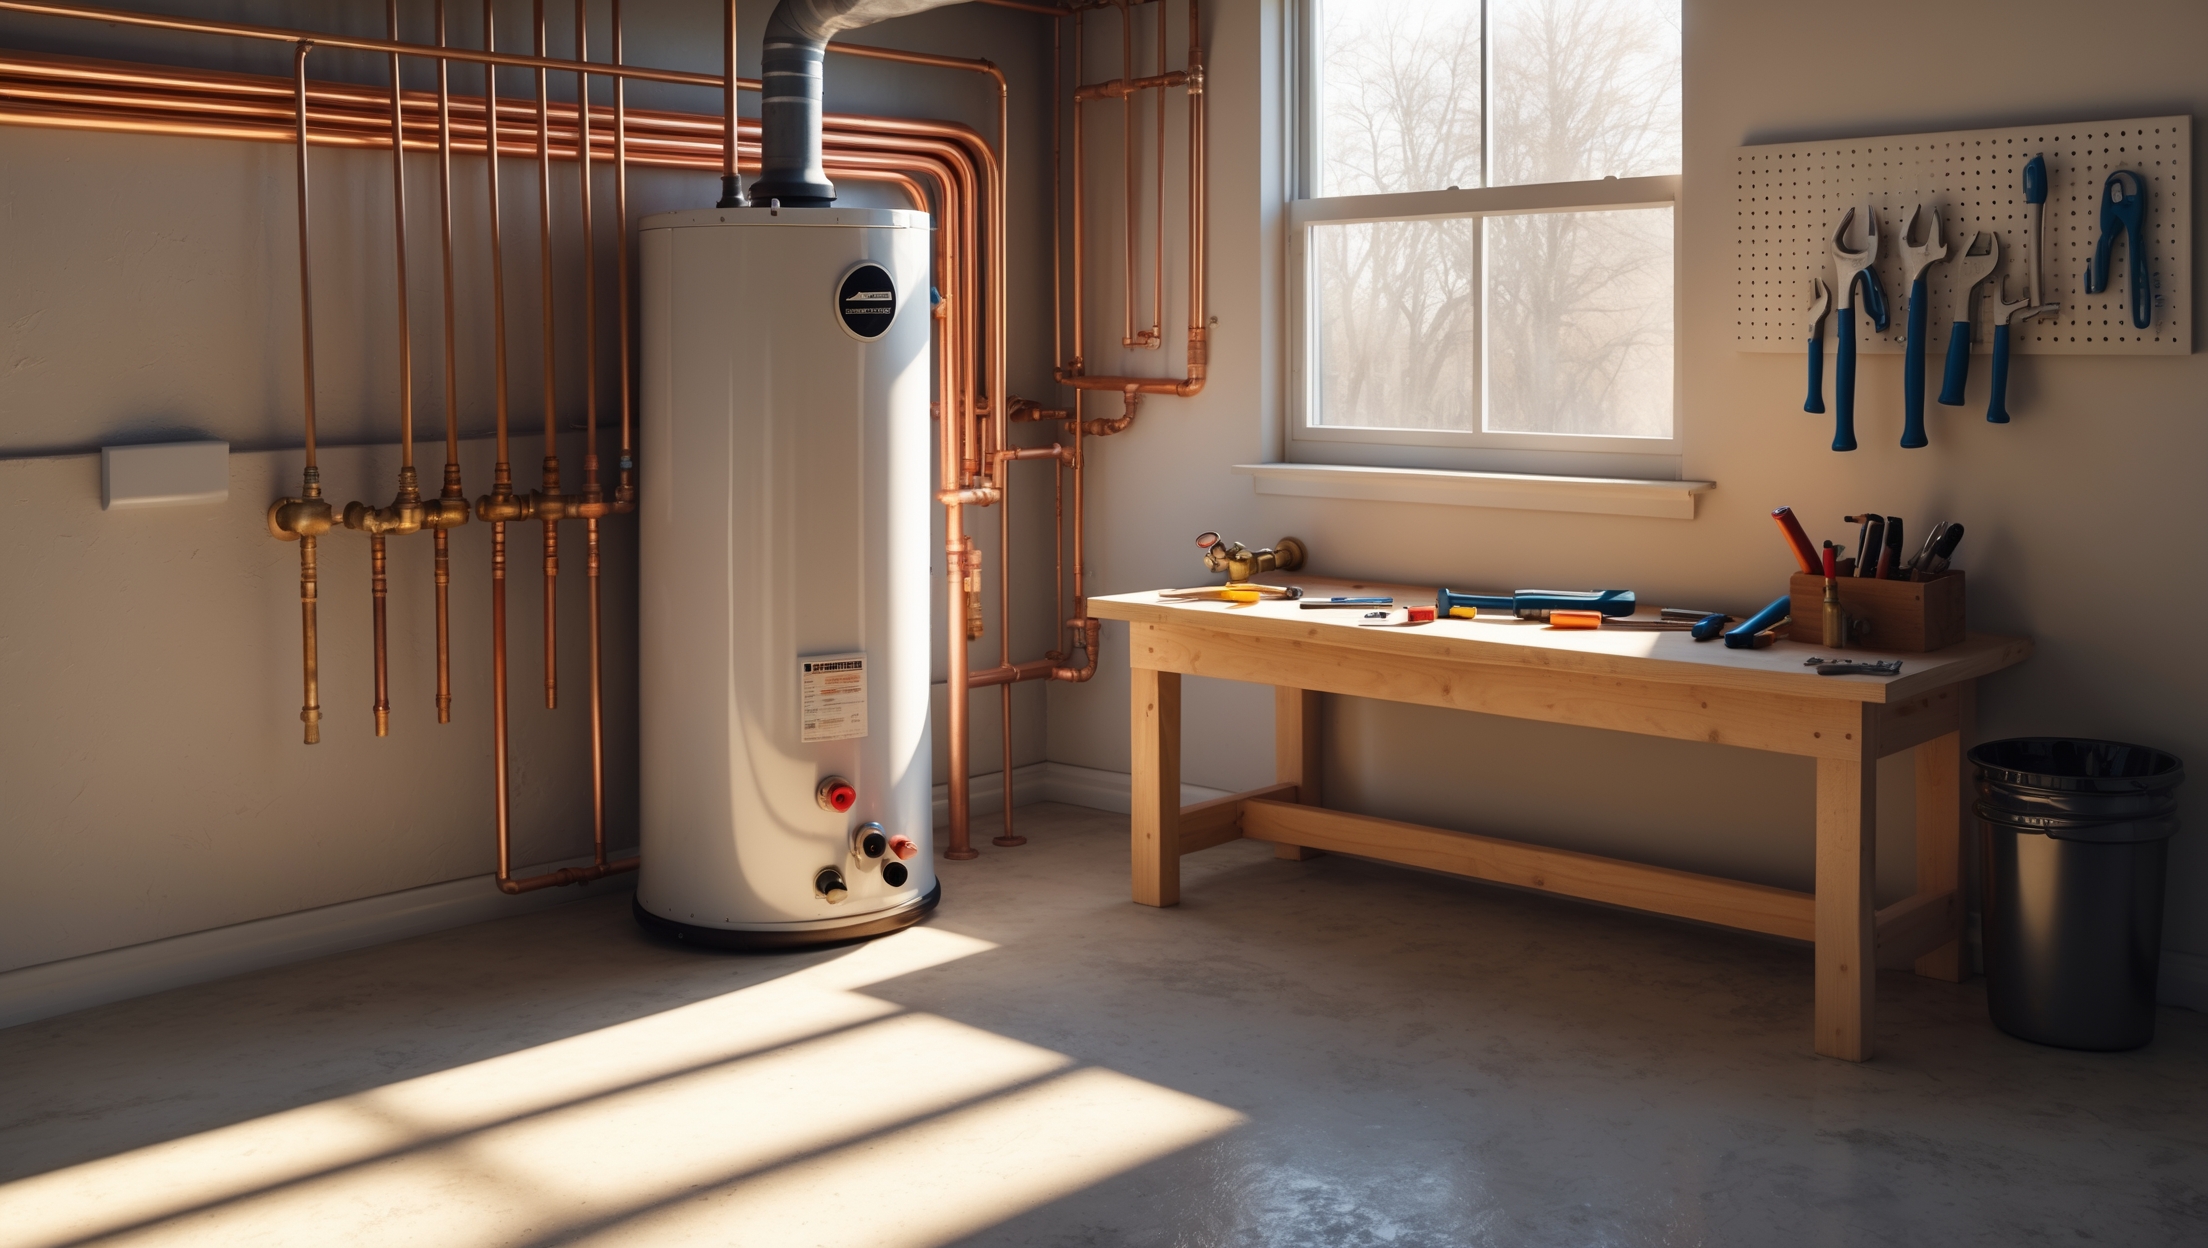
3. Water Heater Inspection and Maintenance
3.1 Check for Leaks and Corrosion
Water heaters work overtime during winter. In spring:
- Look for rust or water pooling beneath the tank
- Inspect pipe connections and the pressure relief valve for drips
- Listen for popping or rumbling noises (a sign of sediment buildup)
3.2 Drain Sediment from the Tank
Flush at least a few gallons from the tank to remove sediment and improve efficiency:
- Turn off the water heater’s power or gas supply
- Connect a hose to the drain valve and direct it to a safe drain
- Slowly open the valve, drain partially, and close
Restore power/gas only after the tank refills completely. Regular flushing extends the heater’s lifespan and lowers energy bills.
4. Assess Drains and Sewer Lines
4.1 Test Every Drain for Proper Flow
Winter debris and root growth can clog drains. In every sink, tub, and shower:
- Run water and observe the speed of drainage
- Listen for gurgling sounds or bubbling, which indicate vent or sewer issues
- Check for foul odors—these often signal trapped debris or dry traps
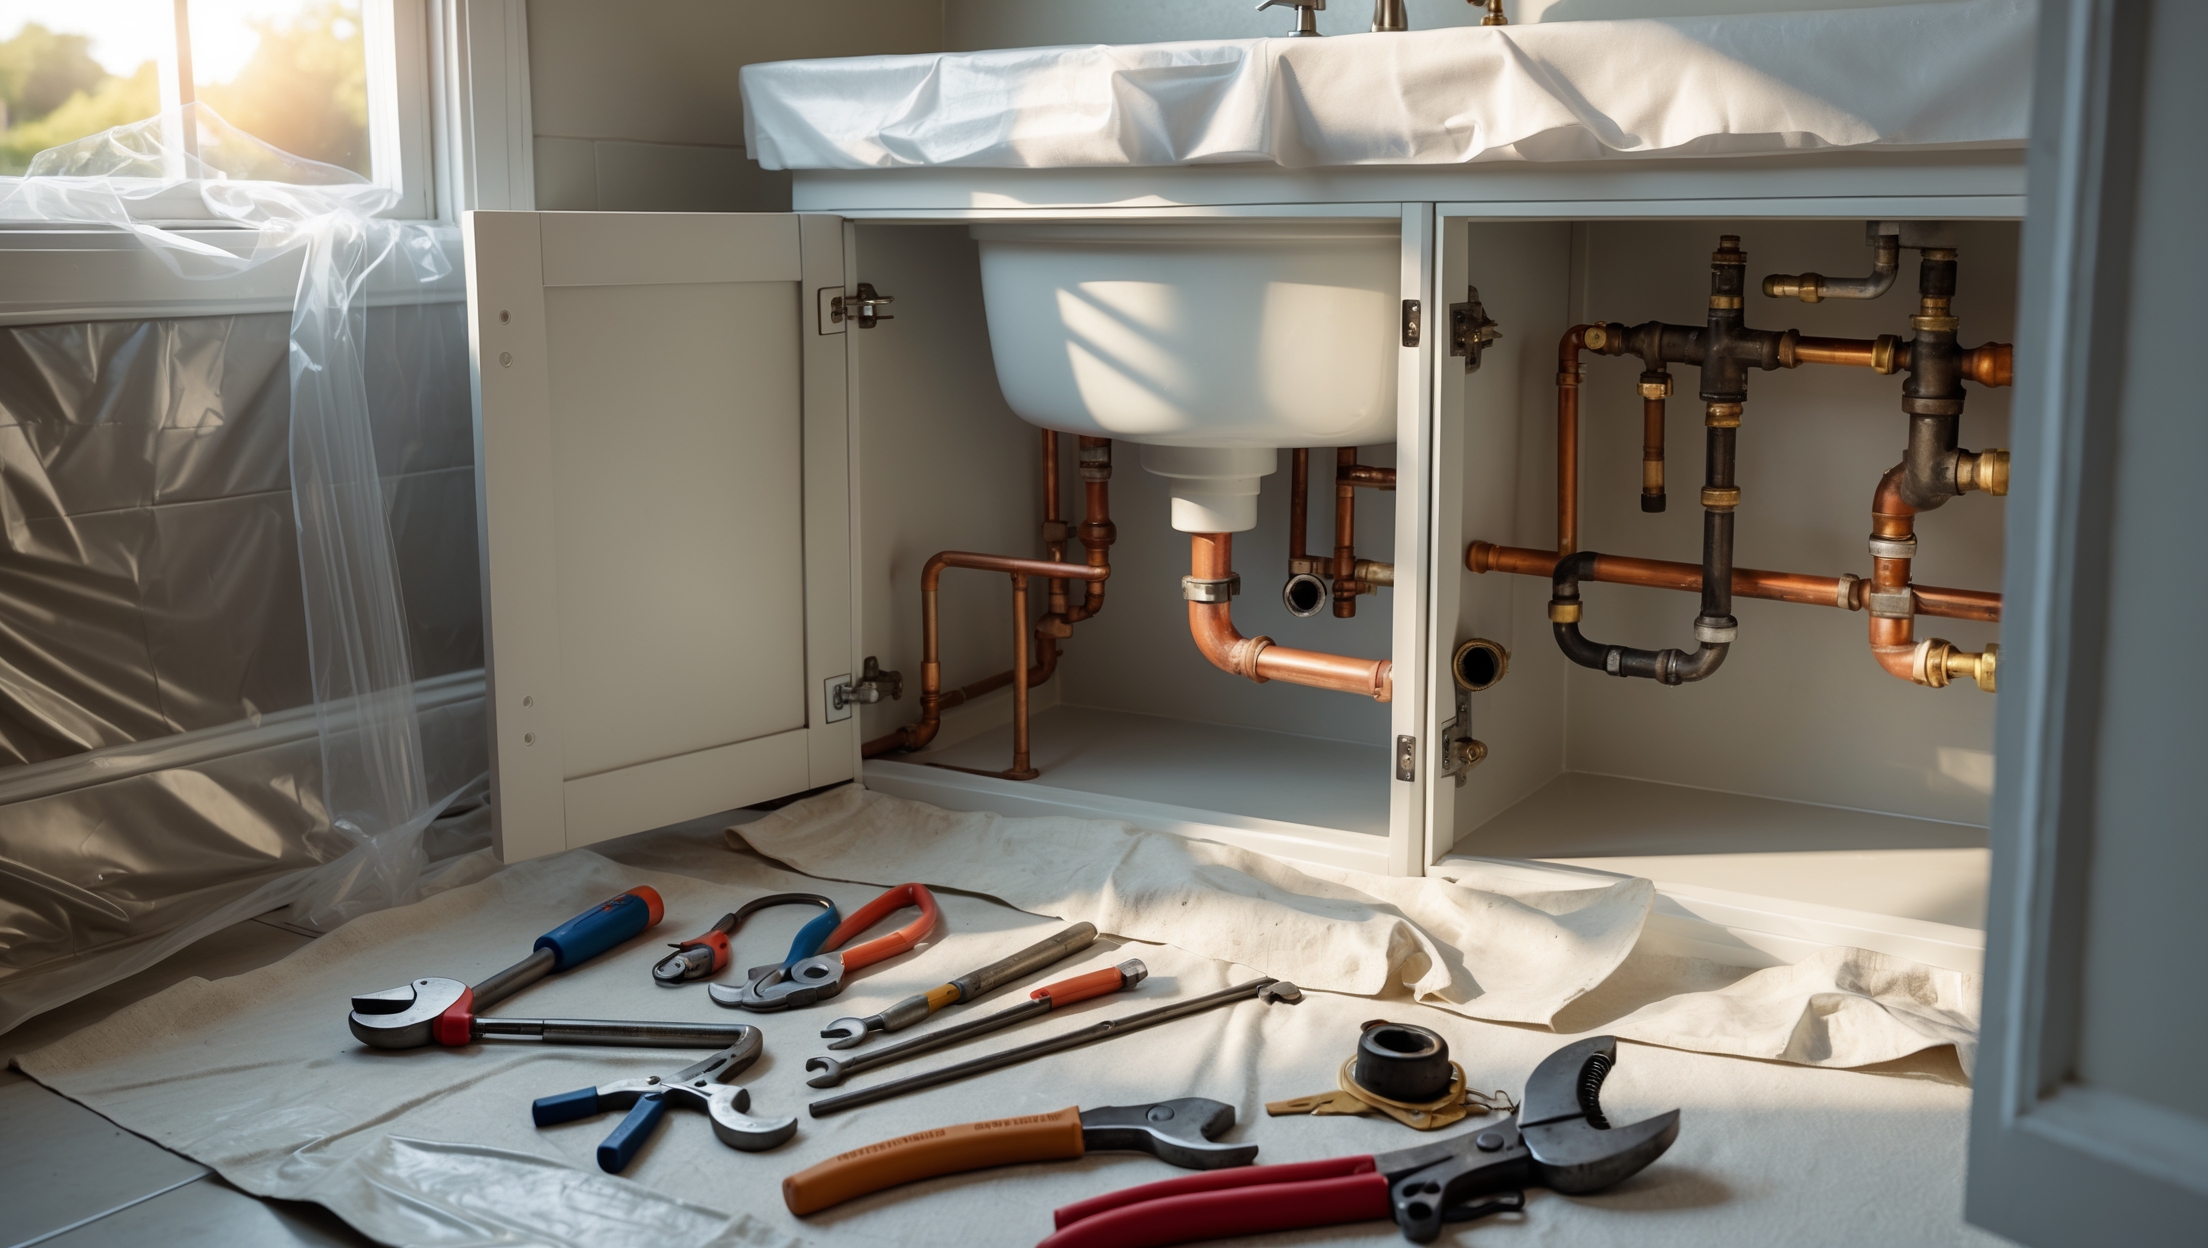
4.2 Clean Out P-Traps and Strainers
Remove hair, soap scum, and debris from bathroom and kitchen drains. To clean a P-trap:
- Place a bucket under the trap
- Loosen slip nuts and remove the U-shaped pipe
- Rinse thoroughly before reassembling
Regular maintenance prevents future blockages.
4.3 Consider a Professional Sewer Line Video Inspection
If you notice recurring backups or slow drains, spring is a smart time to have a plumber perform a video inspection. This can catch root intrusion, cracks, or misalignments before they become emergencies.
5. Faucets, Toilets, and Fixtures: Tune-Up and Leak Check
5.1 Inspect All Faucets for Drips and Wear
Even slow leaks add up to wasted water and higher bills. Check:
- Bathroom, kitchen, and laundry faucets for drips or leaks at the base
- Loose handles or corrosion around joints
Replace worn washers or cartridges as needed. Tighten connections with appropriate tools.
5.2 Toilet Leak Detection
Toilets are notorious for silent leaks. Test by adding a few drops of food coloring to the tank—if color appears in the bowl within 15 minutes (without flushing), you have a leak. Replace flappers or fill valves as necessary.
5.3 Showerheads and Aerators: Remove Mineral Buildup
- Unscrew and soak in vinegar for 30–60 minutes
- Scrub with an old toothbrush to clear out scale
This improves water flow and fixture lifespan.
6. Inspect Washing Machine and Dishwasher Connections
6.1 Hoses and Supply Lines
Rubber hoses degrade over time, risking catastrophic leaks. In spring:
- Check for bulges, cracks, or soft spots on hoses
- Ensure connections are tight but not overtightened
Upgrade to stainless steel braided hoses for extra durability. Replace hoses every 5 years, sooner if you see signs of wear.
6.2 Check Appliance Drains
Make sure drain hoses are properly inserted and secured. Look for leaks at hose clamps and under the appliance after a wash cycle.
7. Outdoor Plumbing: Sprinklers, Spigots, and Gutters
7.1 Reactivate and Inspect Sprinkler Systems
In regions with irrigation, spring startup is critical:
- Turn on the main water supply slowly to avoid pressure surges
- Walk the yard and observe for leaks, sputtering heads, or sunken spots (could mean underground leaks)
- Clean or replace clogged nozzles
7.2 Check Gutter Downspouts and Drainage
Clear all gutters and downspouts of debris to prevent water from backing up and seeping into your foundation. Ensure downspouts direct water at least 3 feet away from the house.
8. Water Pressure and Quality: Test and Adjust
8.1 Test Home Water Pressure
Attach a pressure gauge to an outdoor spigot. Ideal pressure is 40–60 psi for most homes. Too high can damage pipes and appliances; too low signals possible supply issues. Adjust pressure regulators as needed or consult a plumber for persistent problems.
8.2 Replace Old or Clogged Water Filters
Spring is a great time to change fridge, under-sink, or whole-house water filters. This ensures clean, safe water and protects appliances from mineral buildup.
9. Preventative Upgrades Worth Considering
9.1 Install Leak Detectors and Smart Shut-off Valves
New technology allows you to catch leaks instantly. Installing wireless leak detectors near water heaters, under sinks, and behind appliances provides alerts before damage spreads. For ultimate peace of mind, consider a smart shut-off valve that can stop leaks remotely.
9.2 Upgrade to Frost-Proof Outdoor Faucets
Frost-proof models prevent freeze damage and leaks next winter. Installation is straightforward for most DIYers or can be handled by a plumber during other repairs.
10. Seasonal Plumbing Safety and Compliance Reminders
10.1 Know Your Shut-off Valves
Review the location and operation of your main water shut-off and individual fixture valves. Make sure everyone in the household knows how to turn off water in an emergency.
10.2 Verify Backflow Prevention Devices
Municipal codes often require backflow preventers on irrigation and some plumbing systems. Inspect for visible wear or call for professional testing if required in your area.
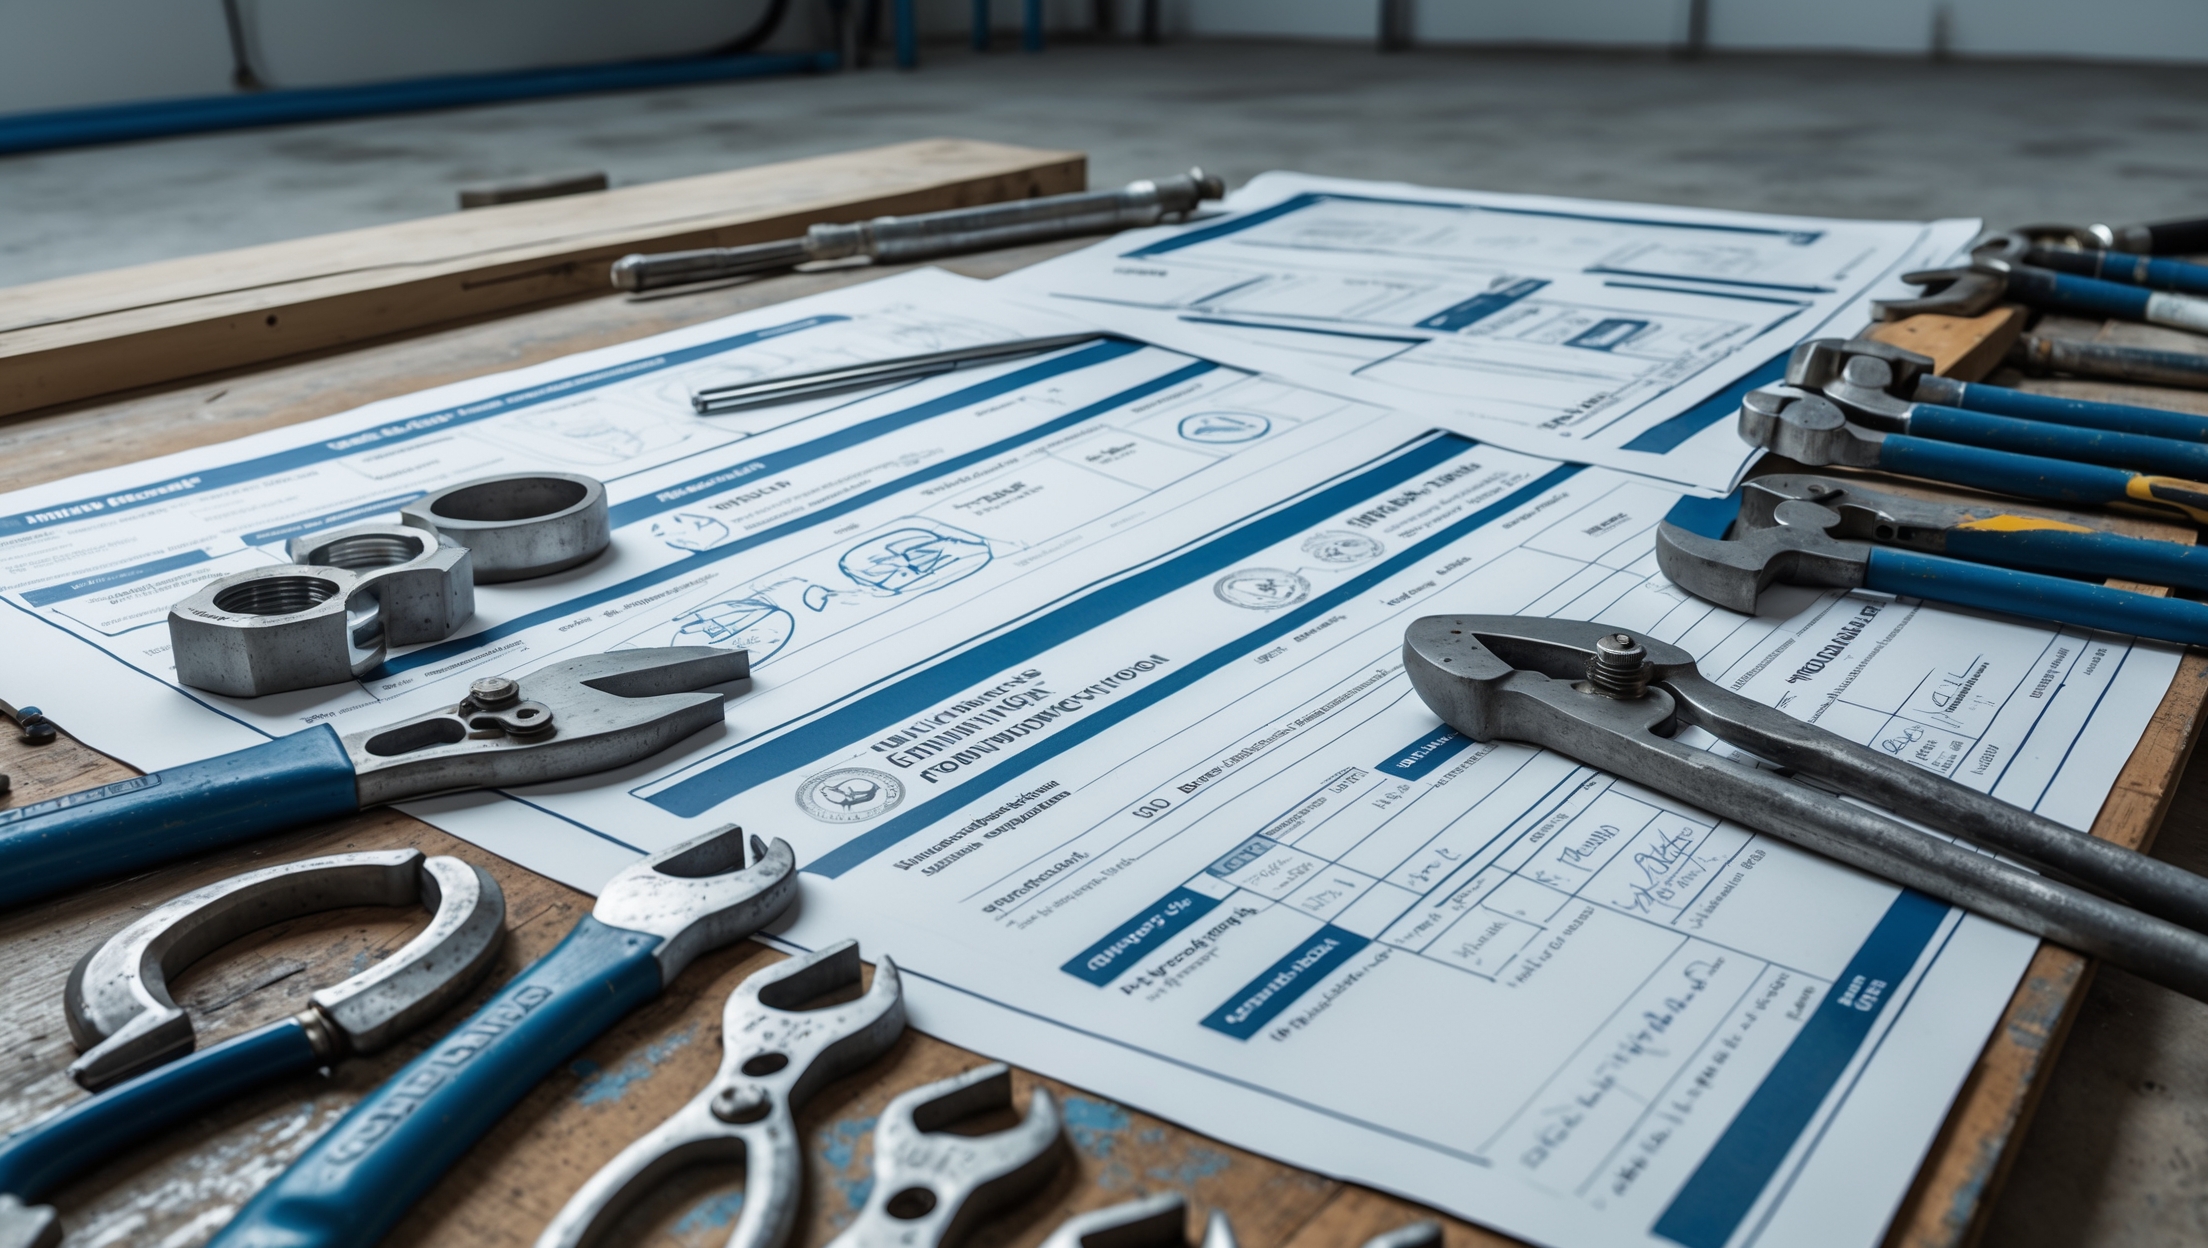
10.3 Check Permits for Large Projects
If spring maintenance turns into a renovation, verify if permits are required for upgrades like new water heaters, repiping, or major fixture replacements. Compliance prevents headaches down the road.
Conclusion: A Little Spring Effort Saves a Year of Headaches
Proactive spring plumbing maintenance is one of the most cost-effective steps a homeowner or DIY enthusiast can take. The tasks above are designed to catch minor issues before they escalate, ensure all parts of your system are running efficiently, and prepare your home for the demands of warmer weather. By following this comprehensive checklist, you’ll not only avoid leaks, clogs, and water damage, but also extend the life of your fixtures and appliances—saving money and reducing stress throughout the year.
Remember, while many spring plumbing tasks are well within the reach of a confident DIYer, don’t hesitate to call in a professional for complex repairs, persistent leaks, or if anything in your inspection seems amiss. Investing a weekend in thorough inspection and maintenance now can spare you from expensive emergencies and disruptive repairs later on.
Make this spring the start of a new tradition: schedule your annual plumbing review, involve the whole household in safety and shut-off training, and consider smart upgrades that give you even greater control over your home’s water system. With a little effort, you’ll enjoy reliable plumbing, healthy water, and the peace of mind that comes from knowing you’ve prepared your home for whatever the seasons bring.


Aaron Ramirez
If I notice a slow drip coming from one of my exposed basement pipes but I’m not sure where it’s actually leaking, what’s the best way to track down the exact location before calling a plumber?