Plumber Las Vegas News

Your trusted source for plumbing updates, DIY fixes, and industry insights in Las Vegas. Stay informed with practical tips, local trends, and expert advice for homeowners and professionals alike.

Plumbing Tool Maintenance: Extending the Life of Your Equipment

Introduction: Why Plumbing Tool Maintenance Matters

Whether you’re a seasoned professional or a dedicated DIYer, your plumbing tools are your most essential allies. The right wrench, pipe cutter, or auger can mean the difference between a smooth repair and a costly disaster. Yet, too often, tool maintenance is neglected—leading to rusted wrenches, jammed cutters, and sudden tool failures when you need them most. Investing time in proper tool care not only extends the life of your equipment but also ensures safety, efficiency, and reliable results on every job.

This guide will walk you through the practical steps of maintaining your plumbing tools—from daily cleaning routines to seasonal deep care, smart storage solutions, and recognizing when it’s time for repair or replacement. You’ll learn how to prevent the most common causes of tool damage, the best products and practices for various materials, and how regular maintenance can ultimately save you money and stress. Whether you operate a busy plumbing business or tackle home repairs on weekends, adopting these strategies will keep your toolkit—and your reputation—in excellent condition.

Common Plumbing Tools and Their Specific Maintenance Needs

Wrenches (Pipe, Basin, Adjustable)

Wrenches are the workhorses of plumbing, often exposed to water, grime, and corrosion. After each use, wipe down with a dry cloth to remove moisture and debris. For stubborn grime, use a wire brush. Regularly inspect for rust, especially around the jaws and adjustment mechanisms. Apply a light machine oil to moving parts every few weeks to prevent seizing.

  • Pipe wrenches: Check the teeth for wear. Replace or re-sharpen if grip is compromised.
  • Basin wrenches: Lubricate the pivoting head and ensure the telescoping shaft slides smoothly.

Pipe Cutters

Pipe cutters are precision tools. After each use, clean off metal shavings and debris. Check the cutting wheel for nicks or dullness—replace as needed. A drop of oil on the wheel and adjustment knob extends life and ensures a smooth cut every time.

Plungers and Augers (Drain Snakes)

Sanitation is critical with these tools. Rinse thoroughly after each use, especially if used on waste lines. Disinfect with a bleach solution to prevent odor and bacterial buildup. Dry completely before storing to avoid mildew and rust on metal components. Inspect cables for kinks or breaks and lubricate moving parts as recommended by the manufacturer.

Pliers (Tongue-and-Groove, Needle-Nose)

Pliers are often exposed to water and corrosion. Clean with a wire brush if necessary, dry thoroughly, and apply a light coat of oil to the joint. Store in a dry place to prevent rust.

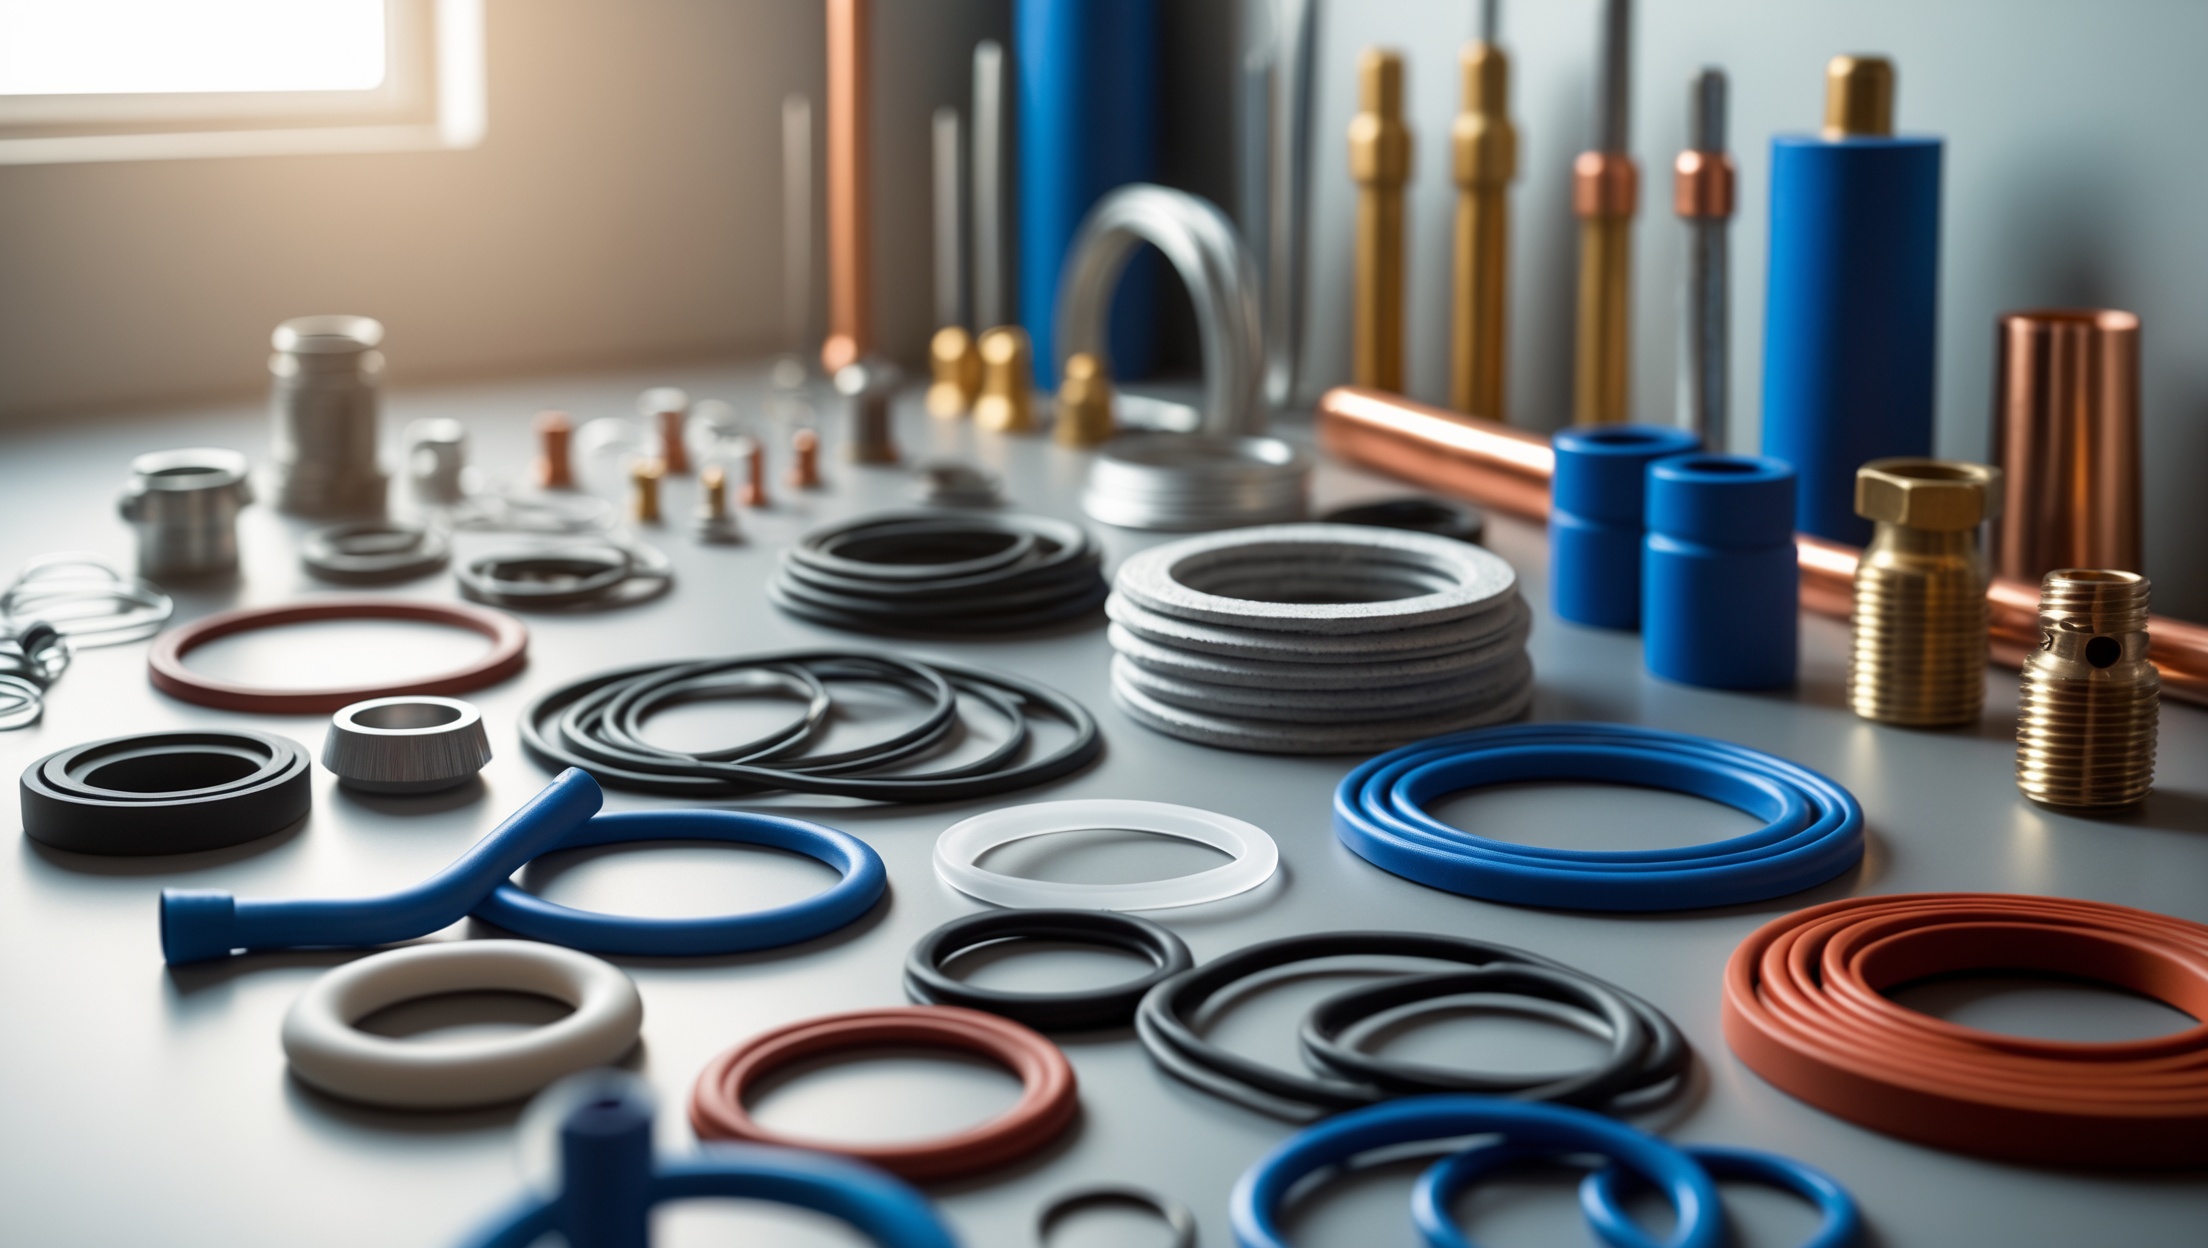
Teflon Tape, Sealants, and Consumables

While not tools in the strictest sense, proper storage of consumables prevents waste. Keep Teflon tape in sealed bags or containers to avoid moisture and dust. Sealant tubes should be tightly closed and stored upright.

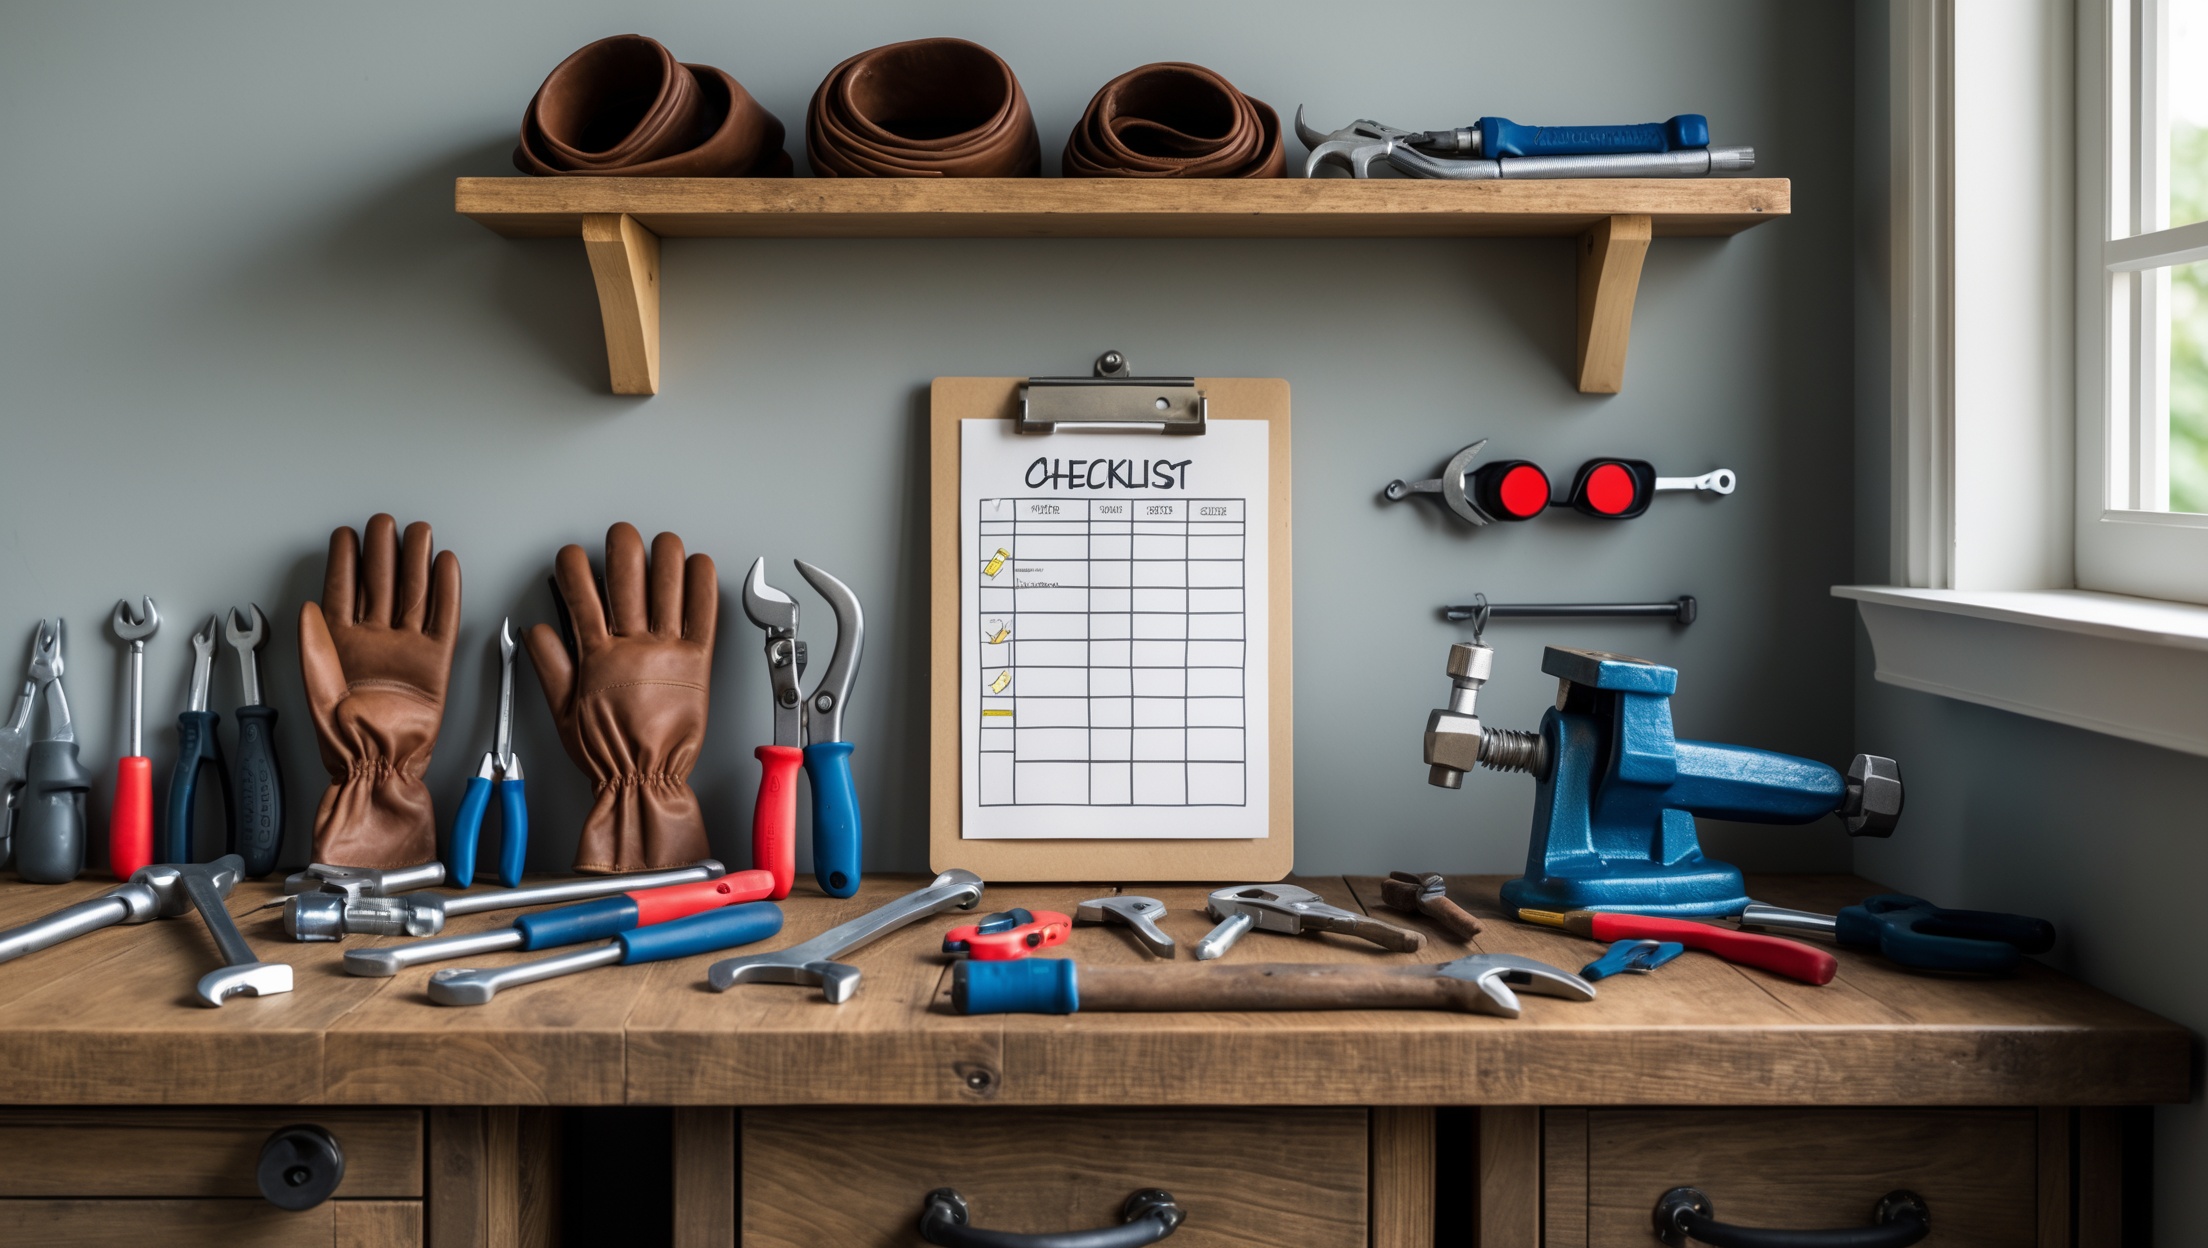
Daily and Weekly Maintenance Routines

Post-Job Cleaning

After every job, take a few minutes to wipe down all tools. Remove any dirt, water, or chemical residue with a clean rag. For greasy tools, use a degreasing wipe or mild detergent and water. Be sure to dry thoroughly to prevent corrosion.

Weekly Inspection

Set aside time each week to inspect your tools. Look for signs of:

  • Rust or corrosion
  • Loose handles or grips
  • Worn or damaged teeth on wrenches and pliers
  • Frayed or kinked cables on augers

Address minor issues immediately—tighten screws, oil moving parts, and replace damaged components before they cause bigger problems.

Deep Cleaning: Monthly and Seasonal Tool Care

Soaking and Scrubbing

Give your most-used tools a monthly deep clean. Submerge metal tools in a solution of warm water and mild detergent for 10–15 minutes. Use a wire brush to scrub away built-up grime and rust. Rinse thoroughly and dry completely to avoid flash rust.

Rust Removal Techniques

  • Light Rust: Use a paste of baking soda and water or a commercial rust remover. Scrub with a wire brush, then rinse and dry.
  • Heavy Rust: Soak in white vinegar for several hours. For stubborn spots, use fine steel wool. Repeat as necessary, then neutralize with water and dry.

Lubrication and Protection

After cleaning, apply a thin layer of light machine oil or a specialized tool lubricant to all moving parts, hinges, and metal surfaces. Wipe away excess to avoid attracting dust. For tools stored long-term, consider a rust-inhibitor spray or tool wax for added protection.

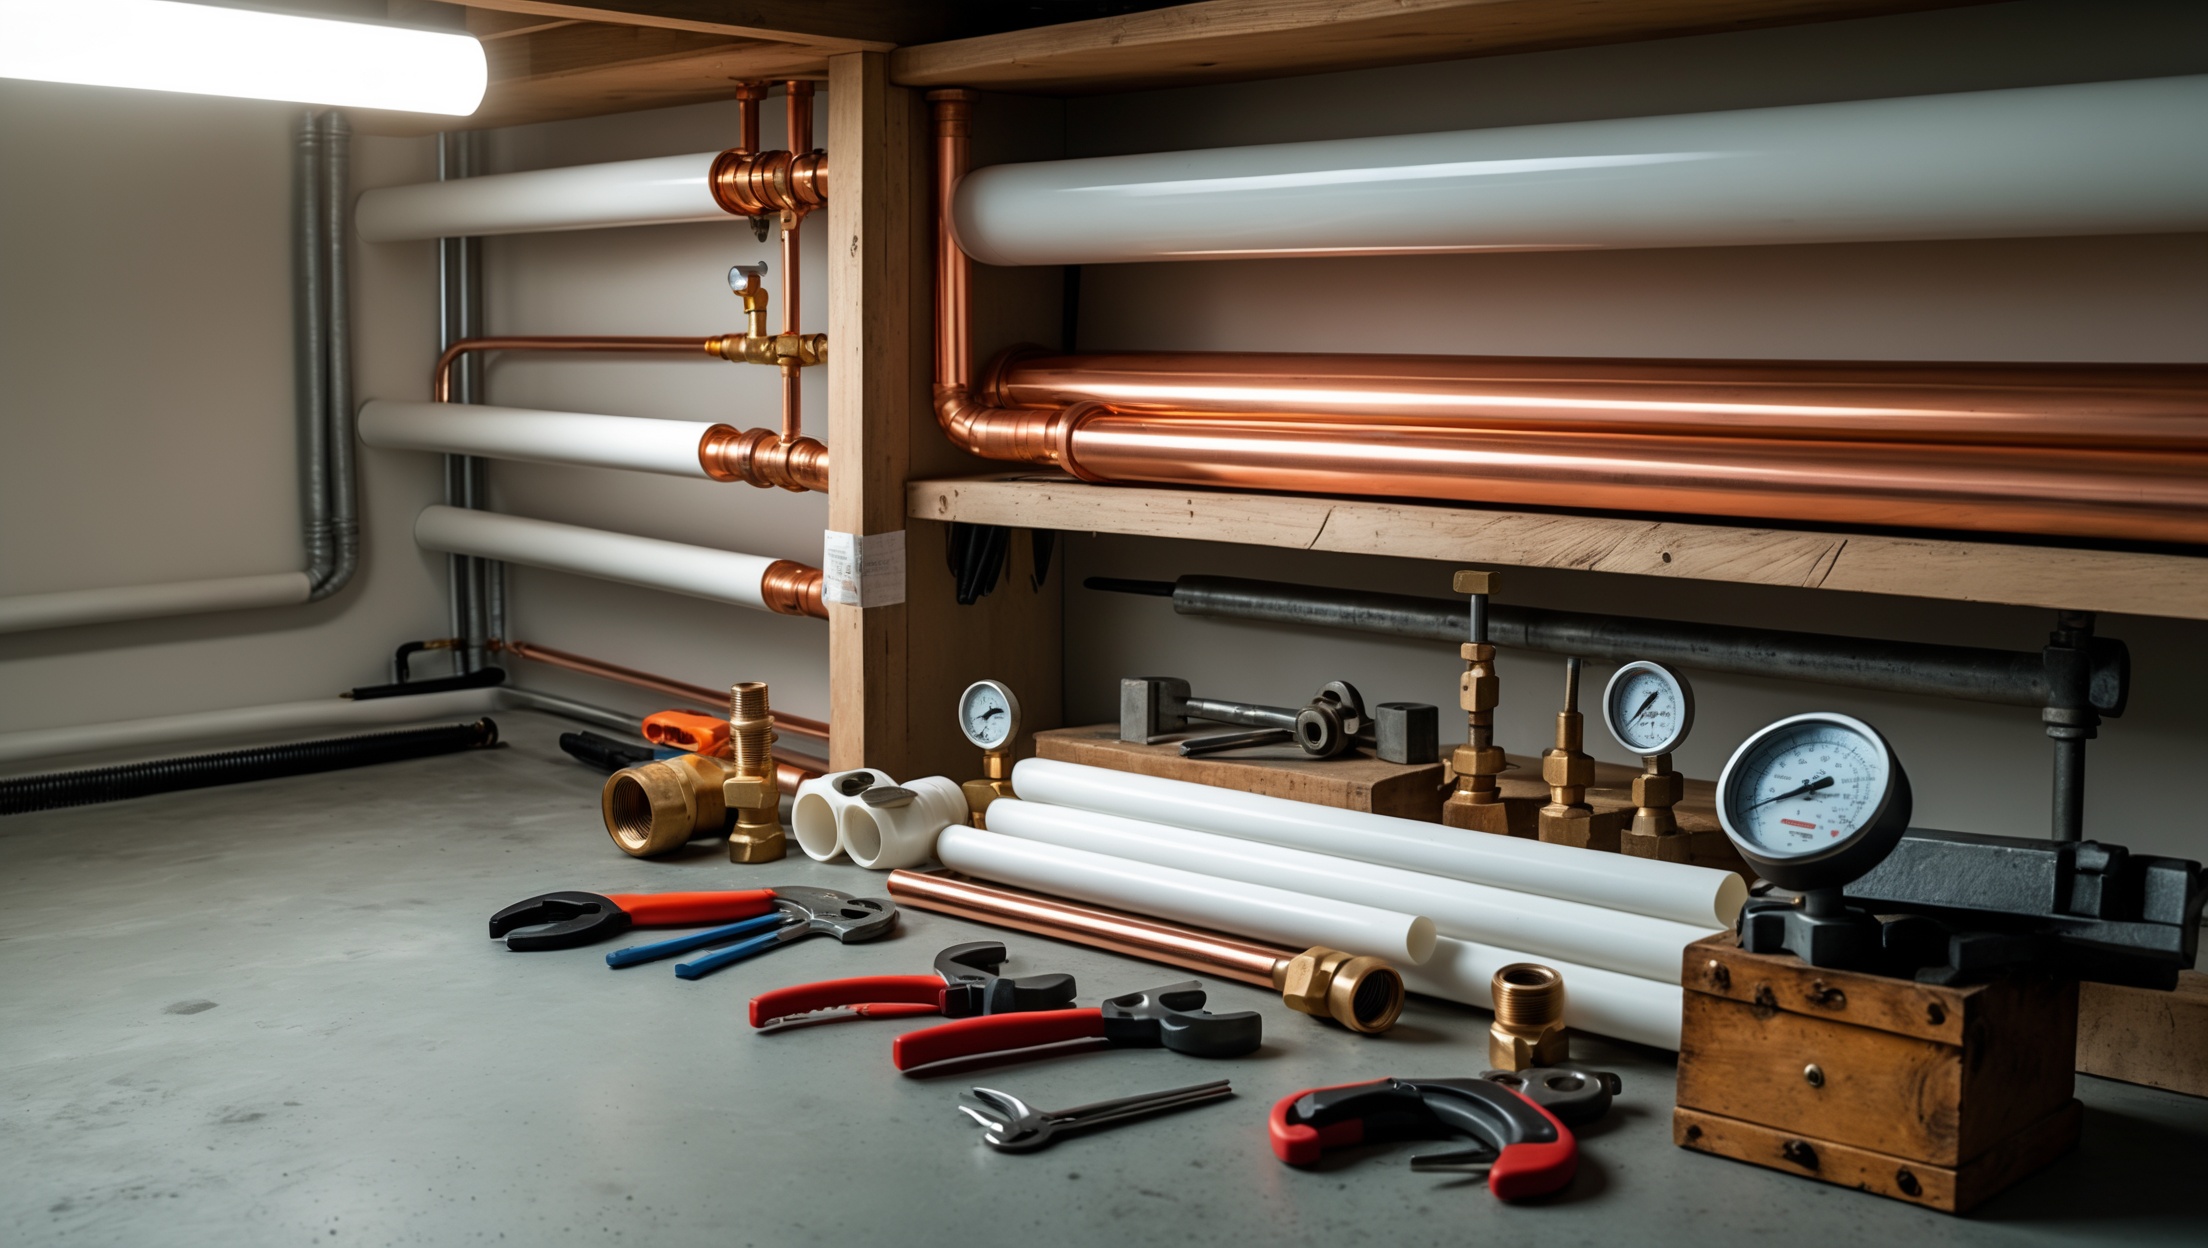
Smart Storage Solutions

Toolboxes and Bags

Store tools in a sturdy, dry toolbox or dedicated tool bag. Use foam or fabric liners to prevent metal-on-metal contact, which can dull edges and promote corrosion. Keep consumables (like tape and sealants) in separate compartments to avoid contamination.

Wall Racks and Pegboards

For garages and workshops, install wall racks or pegboards to hang commonly used tools. This promotes air circulation and makes it easier to spot missing or damaged items at a glance.

Climate Control

Avoid storing tools in damp or unheated spaces, especially in humid climates or during the winter. Basements and garages are prone to condensation—use silica gel packs or dehumidifiers to keep moisture at bay. For van-based professionals, ventilate storage areas and avoid leaving wet tools in closed vehicles overnight.

Repair, Sharpening, and Replacement

When to Repair

  • Loose or cracked handles: Tighten or replace as needed. Wooden handles can be sanded smooth and treated with linseed oil.
  • Worn adjustment knobs: Replace worn hardware to maintain tool performance.

Sharpening Blades and Cutters

Pipe cutters and utility knives lose efficiency when dull. Use a sharpening stone or dedicated sharpening tool. Always follow manufacturer guidelines for blade angle and technique. Replace blades that show chips or excessive wear.

Signs It’s Time to Replace a Tool

  • Persistent rust or pitting that compromises strength
  • Worn-down, rounded-off wrench jaws
  • Cracked or broken handles that can’t be safely repaired
  • Loose or jammed moving parts that resist repair

Investing in a quality replacement is cheaper—and safer—than risking a job with compromised equipment.

Best Practices for Specialized Plumbing Equipment

Inspection Cameras

Clean camera heads with a non-abrasive, damp cloth after each use. Avoid harsh chemicals. Store in a padded case to protect lenses and electronics from shock and moisture. Charge batteries fully before storage to extend their lifespan.

Pipe Threaders and Press Tools

Disassemble and clean after each project. Check for metal shavings in moving parts. Lubricate as recommended, and store in original cases to protect calibration and alignment.

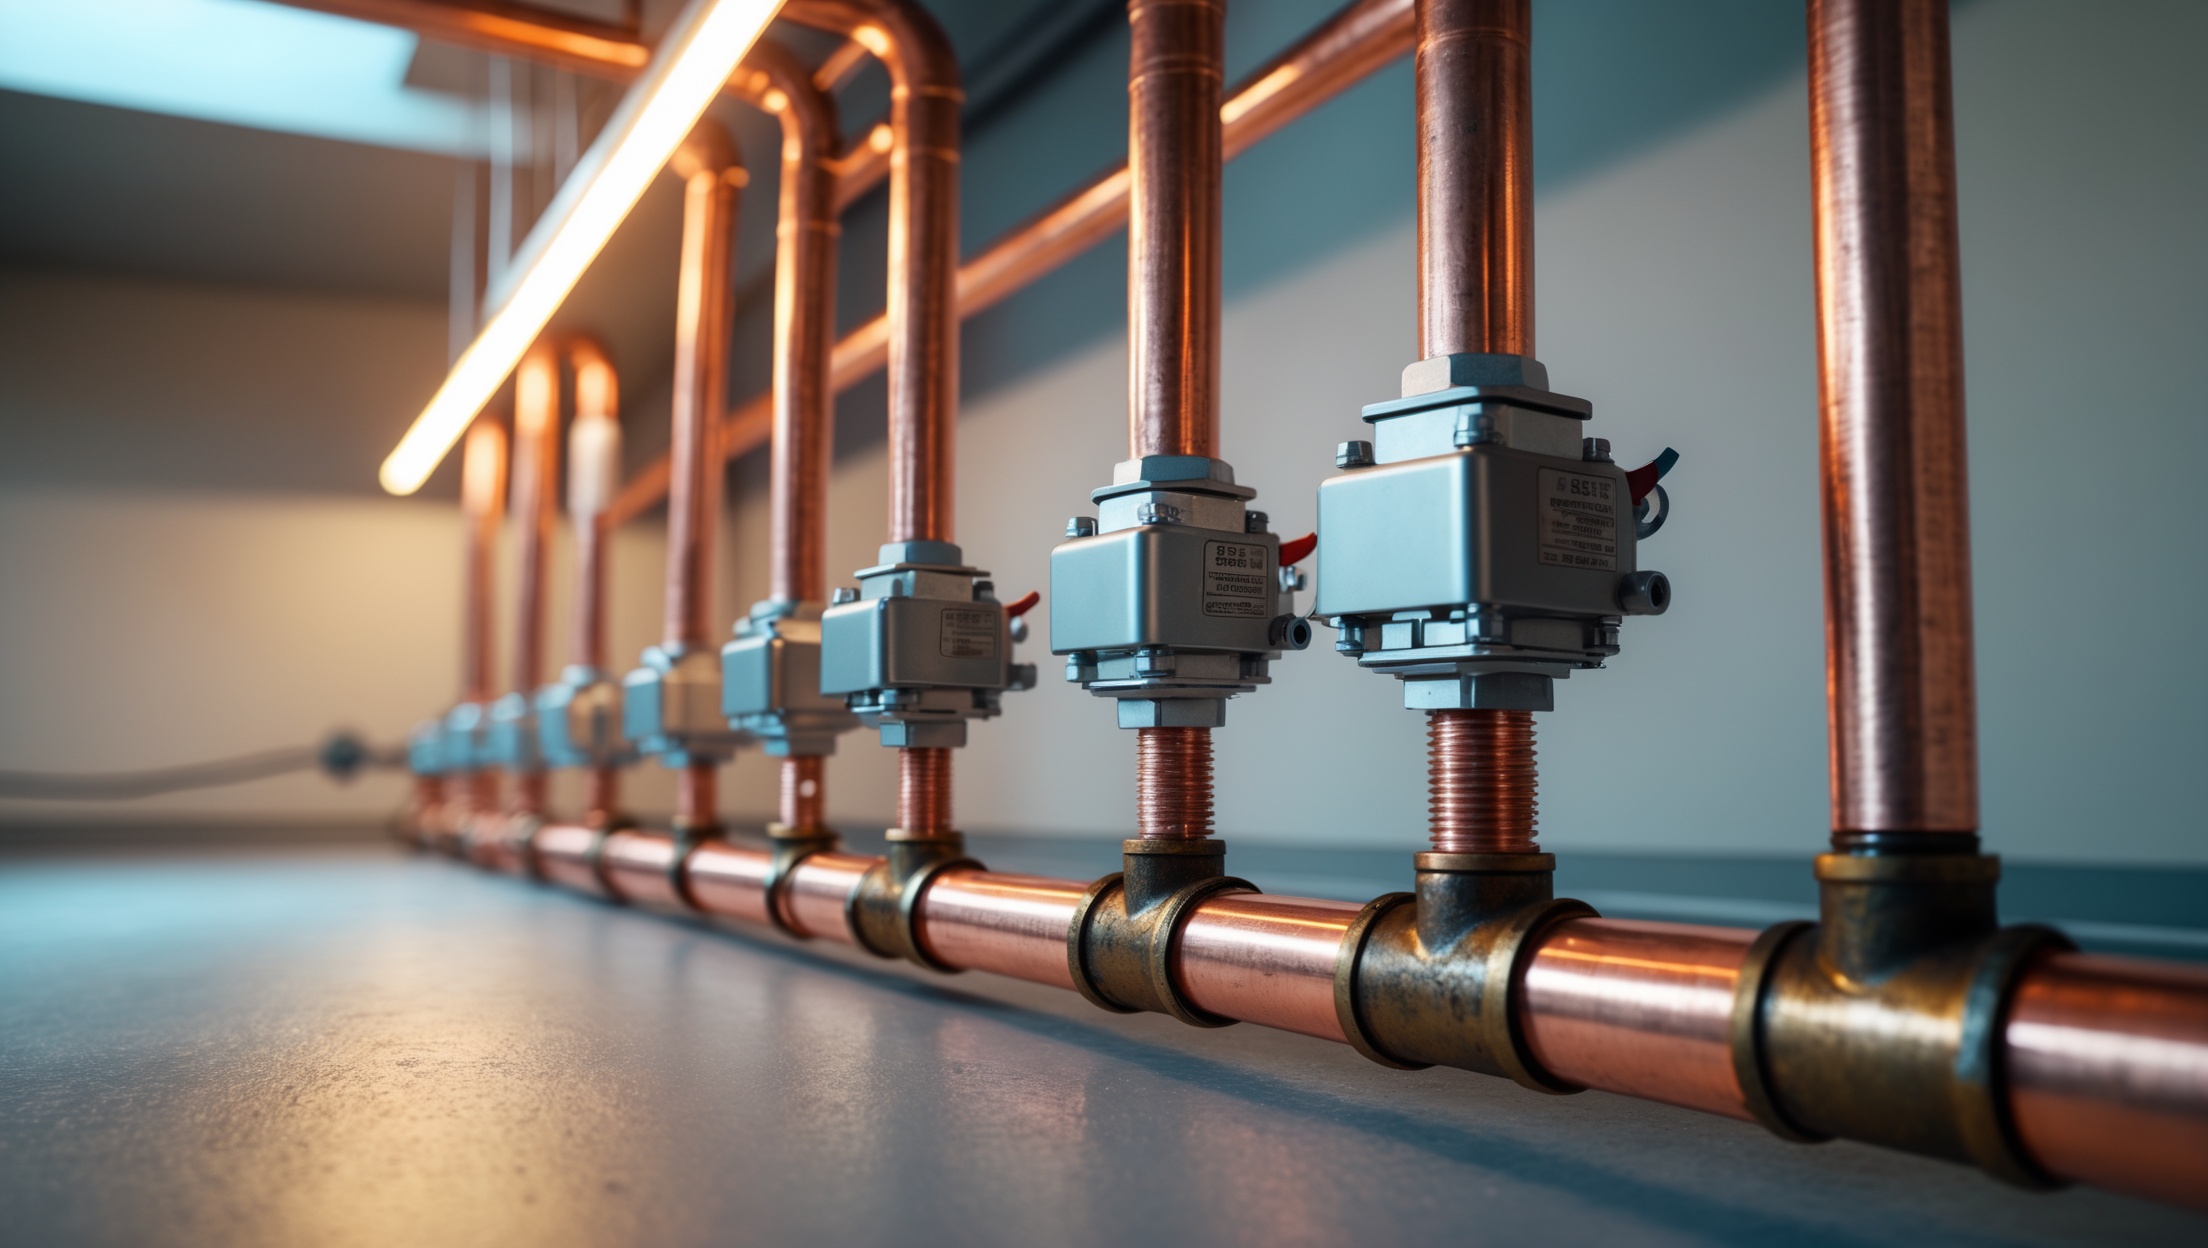
Pressure Testers and Gauges

Wipe down after each use, especially after exposure to water or chemicals. Store upright in a dry, temperature-stable environment. Calibrate annually or as required by manufacturer guidelines.

Tool Maintenance Safety Precautions

  • Always disconnect power before cleaning or servicing electric tools.
  • Wear gloves and eye protection when using wire brushes or chemicals.
  • Work in a well-ventilated area when using solvents or rust removers.
  • Keep sharp tools sheathed or in dedicated compartments to prevent injury.

Maximizing Return on Investment: The Business Case for Tool Care

For plumbing professionals and business owners, regular tool maintenance is more than good practice—it’s a direct investment in your bottom line. Well-maintained tools reduce downtime, ensure consistent quality, and minimize unexpected costs for replacements or repairs. A clean, organized toolkit also reflects professionalism to your clients and can be a deciding factor in repeat business and referrals.

Consider implementing a maintenance log for your team. Track usage, maintenance, and repairs for each major tool. This not only helps with warranty claims but also informs future purchasing decisions and budgeting.

Maintenance Myths: What Not to Believe

  • Myth: “Stainless steel tools never rust.”
    Fact: Stainless steel resists rust but is not immune—proper cleaning and drying are still necessary.
  • Myth: “WD-40 is a substitute for all tool lubricants.”
    Fact: WD-40 displaces moisture but doesn’t provide long-term lubrication. Use dedicated machine oil for moving parts.
  • Myth: “If a tool looks clean, it doesn’t need maintenance.”
    Fact: Internal mechanisms and hidden corrosion require periodic inspection and care.

Conclusion: Building Habits for Long-Lasting Tools

Maintaining your plumbing tools might seem like a small task in the grand scheme of a busy workweek, but it pays major dividends over time. From preventing unexpected breakdowns to ensuring safety and professionalism on every job, regular maintenance is the silent partner in your plumbing success. By cleaning, inspecting, lubricating, and storing your equipment with care, you extend the lifespan of every tool and reduce the risk—and cost—of sudden replacements.

Start by integrating quick daily cleanings and weekly inspections into your workflow. Schedule monthly deep cleans and address minor repairs before they become liabilities. Invest in smart storage solutions and climate control for your workshop or vehicle. And perhaps most importantly, educate your team or family on the importance of tool care—making it a shared responsibility rather than an afterthought.

Whether you’re running a plumbing business or simply want to keep your home toolkit in top shape, these habits will help you work smarter, safer, and more efficiently. Remember: the best tools are the ones you can rely on, year after year.

96 comments
Linda Miller

For someone who only does occasional DIY plumbing, how often should I do the ‘seasonal deep care’ you talk about? Is once a year enough, or does it depend on how frequently I use my tools?

    Mario The Plumber

    For occasional DIY plumbing, doing a seasonal deep care once a year is usually enough to keep your tools in good shape. If you notice your tools sitting unused for long periods, a yearly check and maintenance should prevent rust or damage. Only consider more frequent care if you start using them more often or notice specific issues.

Joseph Lewis

When you talk about lubricating wrench mechanisms with machine oil, is there a specific type or brand you recommend that won’t damage rubber or plastic components found on some newer tools?

    Mario The Plumber

    When lubricating wrench mechanisms, it’s best to use a light, non-detergent machine oil such as 3-in-One or sewing machine oil. These oils are generally safe for rubber and plastic parts. Avoid oils that contain solvents or additives, as they can degrade non-metal components. Always check your tool’s manual, as some manufacturers may suggest specific products compatible with their materials.

Karen Moore

If I’ve already got some light rust on my adjustable wrench, what’s the best way to remove it without causing further wear, and will regularly oiling it after help prevent it from coming back?

    Mario The Plumber

    To remove light rust from your adjustable wrench, try scrubbing it gently with steel wool or a wire brush and some penetrating oil, being careful not to use excessive force that could scratch the metal. After cleaning, wipe it dry and apply a thin layer of oil to protect it from future rust. Regular oiling is a great way to help prevent rust from returning.

Kimberly Anderson

When cleaning my wrenches, is there a particular type of machine oil you recommend for home use, or will any lightweight oil do the trick?

    Mario The Plumber

    For cleaning and lubricating your wrenches at home, any general-purpose lightweight machine oil, such as 3-in-1 oil or sewing machine oil, will work well. The key is to use a non-gumming oil that prevents rust and keeps moving parts smooth. You don’t need anything too specialized; just avoid heavy or sticky oils, as they can attract dirt.

Brian Clark

Do you have any tips for keeping tools organized and dry in work vans? I feel like my tools always end up wet after jobs, and I’m worried about long-term damage from moisture.

    Mario The Plumber

    To keep tools organized and dry in your work van, consider using plastic bins or waterproof toolboxes with tight-fitting lids. Install shelves or racks to keep items off the floor, where water often collects. After each job, wipe down tools before storing them, and use moisture-absorbing packets to reduce humidity inside storage areas. Regularly check for leaks in your van to prevent water from getting in.

Andrew Rodriguez

I sometimes struggle with storing my tools in a damp basement. Do you have tips or recommended storage methods to minimize rust, especially during humid months?

    Mario The Plumber

    To prevent rust when storing tools in a damp basement, try keeping them off the floor on shelves or in cabinets, and use airtight containers or toolboxes with silica gel packs to absorb moisture. Wipe tools dry before storage and occasionally apply a light coat of oil. Using a dehumidifier in the basement can also help control humidity during wetter months.

Sandra Martinez

For someone who uses plumbing tools mainly for occasional home repairs, what would be a practical maintenance schedule to follow so tools remain in good shape, but without spending too much time after every use?

    Mario The Plumber

    For occasional home use, a simple maintenance routine is enough. After each use, wipe tools clean and dry them to prevent rust. Once every few months, inspect moving parts, apply a light oil to hinges or joints, and check for any damage. Store tools in a dry place, and avoid leaving them in damp areas. This approach keeps your tools in good shape without a lot of effort.

Nathan Martinez

For someone doing plumbing repairs outdoors or in damp environments, do you have any extra tips for preventing rust on tools, especially pipe cutters and wrenches?

    Mario The Plumber

    When working outdoors or in damp areas, it’s best to dry your tools thoroughly after each use and store them in a moisture-free container or toolbox. Applying a light coat of machine oil or a rust inhibitor spray to pipe cutters and wrenches can provide extra protection. Also, consider using silica gel packs or dehumidifiers in your storage area to reduce humidity and further prevent rust.

John Miller

What are some signs that a woodworking tool is past the point of repair and really needs to be replaced, rather than trying further maintenance?

    Mario The Plumber

    When a woodworking tool shows severe rust or corrosion, cracks in critical parts, persistent alignment issues, or worn-out components that can’t be replaced (like a stripped gear or a broken motor), it’s usually time to replace it. Also, if repairs cost more than a new tool or the tool no longer operates safely or efficiently, replacement is the better option.

Mark Anderson

I’m trying to keep costs manageable—are there affordable storage solutions that help prevent rust and wear, or is it better to invest in pricier toolboxes with built-in moisture control?

    Mario The Plumber

    You don’t have to buy expensive toolboxes to protect your tools from rust. Sealed plastic bins, pegboards, or basic metal tool chests kept in a dry space can work well. Add silica gel packs or inexpensive moisture absorbers inside storage containers to help control humidity. Just make sure your tools are clean and dry before storing them.

Tyler Williams

For someone running a small plumbing business, what’s a practical storage solution for keeping tools dry and organized on job sites where conditions aren’t always ideal?

    Mario The Plumber

    A practical solution is to use heavy-duty, weather-resistant toolboxes or storage bins with secure lids. These keep tools dry and shielded from dust and rain. For added organization, choose boxes with removable trays or dividers. If your vehicle allows, consider installing a lockable storage chest or shelving system inside to further protect tools and make access easier at each job site.

Tyler Perez

I noticed the guide suggests both daily cleaning and seasonal deep care for tools. How much time should a typical seasonal maintenance routine take for a small home plumbing toolkit?

    Mario The Plumber

    For a small home plumbing toolkit, a thorough seasonal maintenance routine usually takes about one to two hours. This includes inspecting tools for wear, lubricating moving parts, checking handles for cracks, and giving everything a careful deep clean. Setting aside a bit of time each season helps keep your tools in top condition and ready for any job.

Charles Taylor

I’ve had some issues with pipe cutter wheels dulling faster than I expected. Is there a way to sharpen the cutting wheel, or is replacing the wheel always the better option for precision?

    Mario The Plumber

    While it’s technically possible to sharpen a pipe cutter wheel with a fine file or sharpening stone, it’s not usually recommended. Sharpening can alter the shape of the wheel and affect your cutting precision. For the best results, replacing the cutting wheel is the preferred option when it becomes dull. This ensures cleaner cuts and helps avoid damage to your pipes.

Nancy Harris

For someone on a tight budget, are there any low-cost alternatives to machine oil for lubricating moving parts on wrenches and cutters, or is that a must-have product?

    Mario The Plumber

    You don’t necessarily have to use machine oil if you’re on a tight budget. Light household oils, like 3-in-1 oil or even a few drops of vegetable oil, can work for lubricating moving parts on wrenches and cutters. Just remember that vegetable oil may gum up over time, so reapply and clean more often if you go that route. Avoid using WD-40 as a long-term lubricant, since it’s more of a cleaner than a true lubricant.

Mary Jones

When lubricating the moving parts on wrenches, is there a specific type or brand of machine oil you recommend to avoid damaging the tool or leaving a residue that could attract more grime?

    Mario The Plumber

    For lubricating wrench moving parts, a light machine oil like 3-in-One or a few drops of WD-40 works well. Choose oils labeled as non-gumming and avoid anything thick or sticky, as these can attract grime. Stay away from vegetable-based oils, which can go rancid. Wipe off any excess after application to minimize residue and keep the tool clean.

Rachel Lopez

If I need to buy lubricants and machine oil for tool maintenance, do you have budget-friendly brands that are still effective, or should I invest in more well-known products for better protection?

    Mario The Plumber

    You don’t have to spend a lot to get good results—there are budget-friendly lubricants and machine oils that work well for routine tool maintenance. Brands like 3-IN-ONE and WD-40 offer affordable options that provide solid protection. For most home or light professional use, these are reliable. If your tools see heavy daily use, investing in a premium brand might offer extra longevity, but for many, the budget choices are just fine.

George Jones

Could you elaborate on smart storage solutions for plumbing tools, especially in humid environments? I sometimes have issues with rust even though I wipe down my tools after use.

    Mario The Plumber

    To prevent rust in humid environments, consider using airtight storage bins with silica gel packs or moisture absorbers to keep humidity low. Wall-mounted racks and pegboards allow air circulation but may expose tools to more moisture, so they’re best for well-ventilated, dry spaces. For extra protection, apply a thin coat of light oil to metal surfaces before storage. Also, storing tools in a dedicated toolbox with anti-rust liners can help maintain their condition.

Rachel Perez

I noticed you mentioned lubricating the moving parts of wrenches every few weeks. Is there a particular type or brand of oil you recommend for preventing both rust and seizing, especially in humid environments?

    Mario The Plumber

    For lubricating wrench joints and preventing rust in humid environments, a light machine oil or a dedicated tool oil works well. Brands like 3-IN-ONE Multi-Purpose Oil or WD-40 Specialist are reliable choices. These oils help keep the movement smooth and protect against moisture. Just apply a few drops to the moving parts and wipe away any excess to avoid attracting dirt.

Susan Wilson

When inspecting the pipe cutter’s cutting wheel for nicks or dullness, are there visible signs I should look for, or is it more of a feel thing when trying to cut pipe? Any beginner tips to spot issues early?

    Mario The Plumber

    Look closely at the cutting wheel for any chips, flat spots, or uneven edges—these are visible signs of nicks or dullness. Also, if the wheel looks shiny or has worn-down areas, it may be getting dull. When cutting, if you notice slipping, rough cuts, or need to use extra force, the wheel might need replacement. For beginners, inspect the wheel before and after each use, and clean off debris to help spot issues sooner.

Mary Sanchez

When you talk about seasonal deep care for tools, what exactly does that involve? Do you recommend any extra steps beyond the routine wiping and oiling, especially in climates with lots of humidity or temperature changes?

    Mario The Plumber

    Seasonal deep care goes beyond regular cleaning. It includes disassembling tools if possible, thoroughly removing rust or buildup, sharpening cutting edges, and checking handles or grips for cracks. In humid or fluctuating climates, you should also use moisture-absorbing packs in storage areas, apply a rust inhibitor, and ensure all tools are stored completely dry to prevent corrosion.

Robert Lopez

Could you expand a bit on storage solutions for plumbing tools in damp environments? I often work in areas with fluctuating humidity and want to be sure my storage method is actually helping prevent rust.

    Mario The Plumber

    For damp environments, it’s important to use airtight or weatherproof toolboxes and cabinets to keep moisture away from your plumbing tools. Including silica gel packets or moisture absorbers inside storage containers can help control humidity. Try wiping tools dry before storing and, if possible, use wall-mounted racks to keep them off the ground where condensation may collect. Regularly inspect storage areas for leaks or dampness to address any issues early.

Thomas Davis

Do you have any suggestions for affordable storage solutions that will help prevent tool rust, especially in damp or unheated garages?

    Mario The Plumber

    To help prevent rust in damp or unheated garages, consider using plastic storage bins with tight-fitting lids to keep moisture away from your tools. Adding silica gel packets or moisture-absorbing products like DampRid inside the bins can further reduce humidity. Wall-mounted pegboards with hooks are also helpful for keeping tools off the ground and allowing air circulation. Regularly wiping tools with a light coat of oil can add extra protection against rust.

Jason Thomas

For someone who only uses plumbing tools occasionally for home repairs, how often should I be doing a deeper maintenance routine versus just wiping down after use, especially for things like pipe wrenches and cutters?

    Mario The Plumber

    If you only use your plumbing tools occasionally, a thorough maintenance routine every 3 to 6 months is usually enough. After each use, wiping down your pipe wrenches and cutters will prevent surface rust and buildup. During a deeper maintenance, clean them more thoroughly, check for wear, lubricate moving parts, and tighten any loose components. This way, your tools will stay in good shape without needing constant attention.

Charles White

When it comes to re-sharpening the teeth on a pipe wrench, do you suggest any particular technique or tool to do this safely and effectively at home?

    Mario The Plumber

    For re-sharpening the teeth on a pipe wrench at home, use a small, fine-toothed flat file. File gently along the original angle of the teeth, removing as little metal as possible to preserve their shape and grip. Be sure to clamp the wrench securely in a vise for stability, and wear safety glasses to protect your eyes from metal filings. Avoid power tools, as they can easily remove too much material or overheat the metal.

Susan Perez

If a pipe wrench’s teeth start to dull, is it usually better to try re-sharpening at home or just replace the head? I’d like to keep costs down but also want to make sure the tool stays reliable.

    Mario The Plumber

    If your pipe wrench’s teeth are only slightly dull, you can try re-sharpening them at home with a fine file, taking care to follow the original tooth angles. This can restore grip and save money. However, if the teeth are badly worn or damaged, replacing the wrench head or the whole tool is safer to ensure reliable performance.

John Williams

Could you provide some guidance on what to look for when deciding whether to repair or replace a worn-out pipe cutter? Sometimes it’s hard to tell if a small issue is fixable or if I need a new one.

    Mario The Plumber

    When deciding whether to repair or replace a pipe cutter, check the cutting wheel first—if it’s dull or nicked but the rest of the tool is solid, a replacement wheel is usually inexpensive and easy to install. Look at the tool’s frame for cracks or bent parts; damage here often means replacement is safer. Also, test the adjustment mechanism—if it no longer tightens smoothly or slips, repairs might not be worthwhile. If it’s mostly minor wear, repair makes sense, but persistent issues or major damage usually call for a new one.

Nancy Ramirez

For someone on a tight budget, which maintenance products are really essential for keeping plumbing tools in good condition, and are there any household alternatives you’d recommend?

    Mario The Plumber

    For basic tool maintenance on a budget, a few essentials are all you need: a wire brush or old toothbrush for scrubbing off grime, light machine oil or even a few drops of household vegetable oil for preventing rust, and a clean rag for wiping tools dry. White vinegar works well for removing rust and buildup too. These household items can help keep your plumbing tools in good shape without extra expense.

Karen Miller

You mention that dull or nicked cutting wheels on pipe cutters should be replaced, but I always wonder if it’s better to try sharpening them first or just buy new ones. Any tips on making that call for someone on a tight budget?

    Mario The Plumber

    Sharpening cutting wheels is sometimes possible, especially if the dullness is minor and you have the right tools, like a fine file or sharpening stone. However, if the wheel is badly nicked or chipped, sharpening may not restore its effectiveness and could cause uneven cuts. For those on a budget, try careful sharpening first, but be prepared to replace the wheel if performance doesn’t improve.

Kevin Gonzalez

You mentioned lubricating the moving parts of wrenches every few weeks. Is there a particular type or brand of machine oil that works best for plumbing tools, especially in damp environments?

    Mario The Plumber

    For plumbing tools used in damp environments, it’s best to choose a light machine oil that offers rust protection, such as 3-in-One Oil or WD-40 Specialist. These oils help displace moisture and prevent corrosion. Apply a small amount to the moving parts, then wipe off any excess. Avoid heavy oils or greases, as they can attract dirt and grime. Regular application every few weeks should keep your wrenches in top condition.

Jessica Garcia

If I notice a bit of surface rust starting on my basin wrench, what’s the safest way to remove it without damaging the tool? Should I reach for a wire brush, or is there a gentler approach you’d recommend for beginners?

    Mario The Plumber

    If you’re seeing some surface rust on your basin wrench, a gentle approach is best for beginners. Try using fine steel wool or a soft cloth with a bit of vinegar to rub off the rust. Avoid harsh wire brushes at first, as they can scratch the metal. After cleaning, dry the tool thoroughly and apply a light coating of oil to help prevent future rust.

Kevin Ramirez

You mentioned inspecting wrenches for rust, especially around the jaws and moving parts. If I notice only minor rust, is it safe to remove it myself, and what’s the safest method to do so without damaging the tool?

    Mario The Plumber

    If you spot only minor rust on your wrenches, you can safely remove it yourself. Use a wire brush or fine steel wool to gently scrub the rusty area, taking care not to scratch or gouge the metal. Afterward, wipe the tool clean and apply a light coat of oil to prevent future rust. Avoid harsh chemicals or excessive force to protect the tool’s finish.

Charles Smith

I see you say to replace or re-sharpen pipe wrench teeth if the grip is compromised. How do you know when it’s time to re-sharpen versus just buying new jaws or a new tool entirely?

    Mario The Plumber

    If your pipe wrench teeth are rounded off, chipped, or can’t grip pipes securely even after cleaning, it’s time to act. Minor dullness can often be fixed by re-sharpening with a file. However, if the teeth are very worn, broken, or the jaws are damaged or bent, replacing the jaws or the entire wrench is safer and more effective. Always check if your model offers replaceable jaws before buying a new tool.

Patricia Jackson

I’ve had trouble with my pipe cutter getting jammed after it sits for a while. If I notice some resistance even after cleaning, is there a safe way to take it apart for a deeper clean, or should I avoid disassembling it?

    Mario The Plumber

    If your pipe cutter still feels stiff after cleaning, a deeper clean can help. Many pipe cutters are designed to be disassembled—usually, you can remove the retaining clip or screw to take apart the cutting wheel and rollers. Just remember to keep track of all small parts and reassemble carefully. If your model’s manual advises against disassembly or if you’re unsure, it’s best to consult the manufacturer or a professional to avoid damaging the tool.

Julie Martin

If a tool starts showing signs of rust even after following your recommended cleaning routines, are there specific products or techniques you suggest for removing rust without damaging the tool?

    Mario The Plumber

    If rust appears despite regular cleaning, you can try using a rust remover gel or spray that’s safe for tools. Another gentle method is rubbing the rusted area with fine steel wool or a wire brush, then wiping it clean. For tougher spots, soak the tool in white vinegar for a few hours before scrubbing. Always dry thoroughly and apply a light coat of oil afterward to prevent future rusting.

Karen Thomas

You mention wire brushes for cleaning stubborn grime off wrenches. Could using a wire brush damage the wrench finish or jaws over time, and are there gentler alternatives if I want to be cautious?

    Mario The Plumber

    Yes, frequent use of a wire brush can eventually wear down the finish or even slightly round the edges of wrench jaws, especially with softer coatings. If you’d like to be gentler, try using a nylon or brass brush, which are less abrasive. For mild grime, soaking the tool in soapy water first can help loosen dirt, so less scrubbing is needed.

Margaret Clark

For someone on a tight budget, which regular maintenance step from your guide would you consider most crucial for extending the life of essential plumbing tools, if you had to pick just one?

    Mario The Plumber

    If you’re only able to focus on one maintenance step, consistently cleaning your plumbing tools after each use is the most crucial. Removing dirt, grease, and moisture right away prevents rust and buildup, which significantly extends the life of essential tools and saves money in the long run.

Kimberly Wilson

Sometimes my pipe cutter feels stiff after a few months in the garage, even though I try to clean off shavings after each use. Could this be a storage issue, or is there another step I should add to prevent this?

    Mario The Plumber

    Stiffness in your pipe cutter is often due to a combination of storage conditions and lack of lubrication. Even if you clean off shavings, moisture in the garage can cause internal parts to stick or corrode over time. Try applying a light machine oil to the moving parts after each use and before storing it. Also, storing tools in a dry, closed container can help prevent stiffness.

Jason Lewis

How can I tell when a pipe cutter’s cutting wheel is too dull to be effective, versus when it’s just slightly worn? Are there signs to look for besides visible nicks?

    Mario The Plumber

    A pipe cutter’s wheel is too dull when it starts requiring extra force to cut or leaves ragged, uneven edges on the pipe. If you notice the tool slipping instead of making a clean score, or if it flattens the pipe rather than cutting smoothly, the wheel likely needs replacing. Slight wear may show up as minor resistance, but consistent poor performance is a sure sign of dullness, even if there are no obvious nicks.

Kimberly Rodriguez

The part about recognizing when a tool needs repair or replacement caught my attention. Could you give some more specific warning signs for when an adjustable wrench is no longer safe to use?

    Mario The Plumber

    Some clear warning signs that an adjustable wrench needs repair or replacement include jaws that won’t stay parallel or grip securely, a worn or stripped adjustment mechanism, visible cracks or chips in the handle or jaws, and excessive rust that has weakened the metal. If you notice the wrench slipping or not holding bolts firmly, it’s best to stop using it to avoid accidents.

Betty Lopez

Could you give more details on how often deeper tool cleaning or seasonal care should be done for a small plumbing business? I’m trying to schedule regular maintenance without overdoing it.

    Mario The Plumber

    For a small plumbing business, deep cleaning of tools is generally best done every three to six months, depending on usage. Seasonal care, like lubricating moving parts and checking for rust, should be done at least twice a year—ideally before and after your busiest seasons. Regular quick cleaning after each job is still important, but the more thorough maintenance can be scheduled less frequently to save time without neglecting your tools.

Helen Lee

Are there affordable alternatives to machine oil for lubricating moving parts, or will using basic household oils cause any issues in the long run?

    Mario The Plumber

    Basic household oils like vegetable or olive oil aren’t ideal for lubricating plumbing tools. They can become sticky or gum up over time, attracting dirt and causing more wear. If you’re looking for an affordable alternative to specialized machine oil, light mineral oil or sewing machine oil are good options. These provide proper lubrication without the long-term issues that household oils can cause.

Jennifer Williams

When it comes to smart storage solutions, do you have any tips for keeping pipe cutters and wrenches organized and protected during transport in a work van?

    Mario The Plumber

    For pipe cutters and wrenches, a foam-lined or padded toolbox can prevent scratches and damage during transport. Consider using tool rolls or pouches with dedicated slots to keep each tool in place. Magnetic strips mounted inside the van can hold metal tools securely. Also, labeling storage bins or drawers helps you quickly find and return tools, keeping everything organized.

Donna Lewis

I don’t have a dedicated workspace, so most of my plumbing tools end up in a garage that gets pretty humid in the summer. Any tips for storing them so they don’t rust up as quickly, especially since I don’t use them every week?

    Mario The Plumber

    Humidity can really speed up rust on plumbing tools. Try storing your tools in a sealed plastic container with some silica gel packets or moisture absorbers inside to reduce moisture. Wipe your tools dry before storing them, and applying a light coat of machine oil can add extra protection. If possible, you might also consider hanging tools rather than letting them sit flat, which helps airflow and keeps them drier.

Mark Perez

If I already have some rust forming on the jaws of my wrenches, do you have a preferred method to remove it without damaging the tool or weakening its grip?

    Mario The Plumber

    To remove rust from your wrench jaws without harming the tool or its grip, try using a wire brush or steel wool to gently scrub the affected areas. For tougher rust, soak the jaws in white vinegar for a few hours, then rinse and dry thoroughly. After cleaning, apply a light coating of machine oil to prevent future rust.

Daniel Jones

If I accidentally leave my pipe wrench out in the garage overnight and it gets a little rusty, what’s the best way to remove the rust without damaging the tool? And should I reapply oil after cleaning it up?

    Mario The Plumber

    If your pipe wrench has a bit of rust, gently scrub the affected areas with steel wool or a wire brush to remove it, being careful not to scratch the tool more than necessary. After cleaning off the rust, wipe the wrench dry and then apply a light coat of machine oil or WD-40 to protect it from future rust. This will help keep it in good shape.

Betty Lee

For a small plumbing business on a tight budget, what are the most cost-effective maintenance products or habits that make the biggest difference in tool lifespan?

    Mario The Plumber

    For a small plumbing business, regular cleaning and drying of tools is the most cost-effective habit—this prevents rust and corrosion. Applying a light machine oil to metal parts also helps preserve them. Store tools in a dry, organized space to avoid damage. Basic products like rags, lubricant, and rust inhibitor sprays are inexpensive but can significantly extend your tools’ lifespan if used consistently.

William Hernandez

If my pipe cutter’s wheel has a tiny nick but still seems to cut okay, should I replace it immediately as you suggest, or is there a way to extend its life a bit longer without risking pipe damage?

    Mario The Plumber

    If your pipe cutter’s wheel only has a small nick and it’s still making clean cuts, you don’t have to replace it immediately. Just keep an eye on your cuts for any signs of burrs, uneven edges, or difficulty turning the cutter. Clean and lubricate the wheel regularly to minimize wear. Replace the wheel as soon as you notice performance dropping or pipe damage starting.

Margaret Moore

Could you elaborate on how often you should be applying oil to both wrenches and pipe cutter wheels? Is it strictly after every use, or do you recommend a scheduled routine regardless of tool use frequency?

    Mario The Plumber

    For both wrenches and pipe cutter wheels, it’s best to apply a light coat of oil after each use, especially if they’ve been exposed to moisture or debris. If you aren’t using the tools regularly, a monthly oiling can help prevent rust and keep them in good condition. Adjust frequency based on your usage and storage environment.