Introduction: Why Effective Leak Detection Matters
Plumbing leaks are among the most common and costly issues facing both homeowners and business operators. A small, undetected drip can lead to structural damage, skyrocketing water bills, and even hazardous mold growth. The challenge? Many leaks remain hidden behind walls, under floors, or within ceilings until extensive (and expensive) harm has already occurred. Modern leak detection isn’t just about noticing puddles; it’s a proactive blend of visual inspection, specialized tools, and smart technology. In this comprehensive guide, you’ll discover proven methods for detecting leaks in any setting, learn how to choose the right tools for your needs, and pick up expert tips for preventing future water damage. Whether you’re a DIY enthusiast, property manager, or seasoned plumber looking to stay updated on the latest industry advances, this article will equip you with practical, step-by-step knowledge to safeguard your property—and your peace of mind.
Understanding the Types and Causes of Plumbing Leaks
Common Types of Leaks
- Pinhole Leaks: Tiny perforations in pipes, often caused by corrosion or water chemistry.
- Joint Leaks: Failures at pipe connections due to poor installation, aging seals, or vibration.
- Slab Leaks: Leaks beneath concrete floors, particularly problematic in older buildings.
- Fixture Leaks: Dripping faucets, leaking toilets, or faulty appliance connections.
- Underground Leaks: Water supply or drainage pipes buried outdoors.
Primary Causes
- Corrosion: Aging metal pipes are especially vulnerable.
- High Water Pressure: Excessive pressure can strain joints and fixtures.
- Temperature Fluctuations: Freezing and thawing cycles cause pipes to expand and contract, leading to cracks.
- Poor Installation: Incorrectly joined pipes or low-quality materials often fail prematurely.
- Soil Movement: Shifting foundations or settling can stress pipes underground or beneath slabs.
Early Warning Signs: How to Spot Hidden Plumbing Leaks
Visual Clues
- Stains or Discoloration: Brown or yellow spots on ceilings and walls.
- Warped Flooring: Buckling or soft spots in wood, laminate, or vinyl flooring.
- Mold or Mildew: Persistent musty odors or visible growth near plumbing lines.
- Dripping Sounds: Unexplained water sounds, especially at night when the house is quiet.
Utility Bill Red Flags
- Sudden Spikes in Water Usage: Compare your monthly bills for unexplained increases.
- Running Water Meter: If all fixtures are off but your meter is still spinning, you may have a leak.
Manual Leak Detection: Step-by-Step Techniques
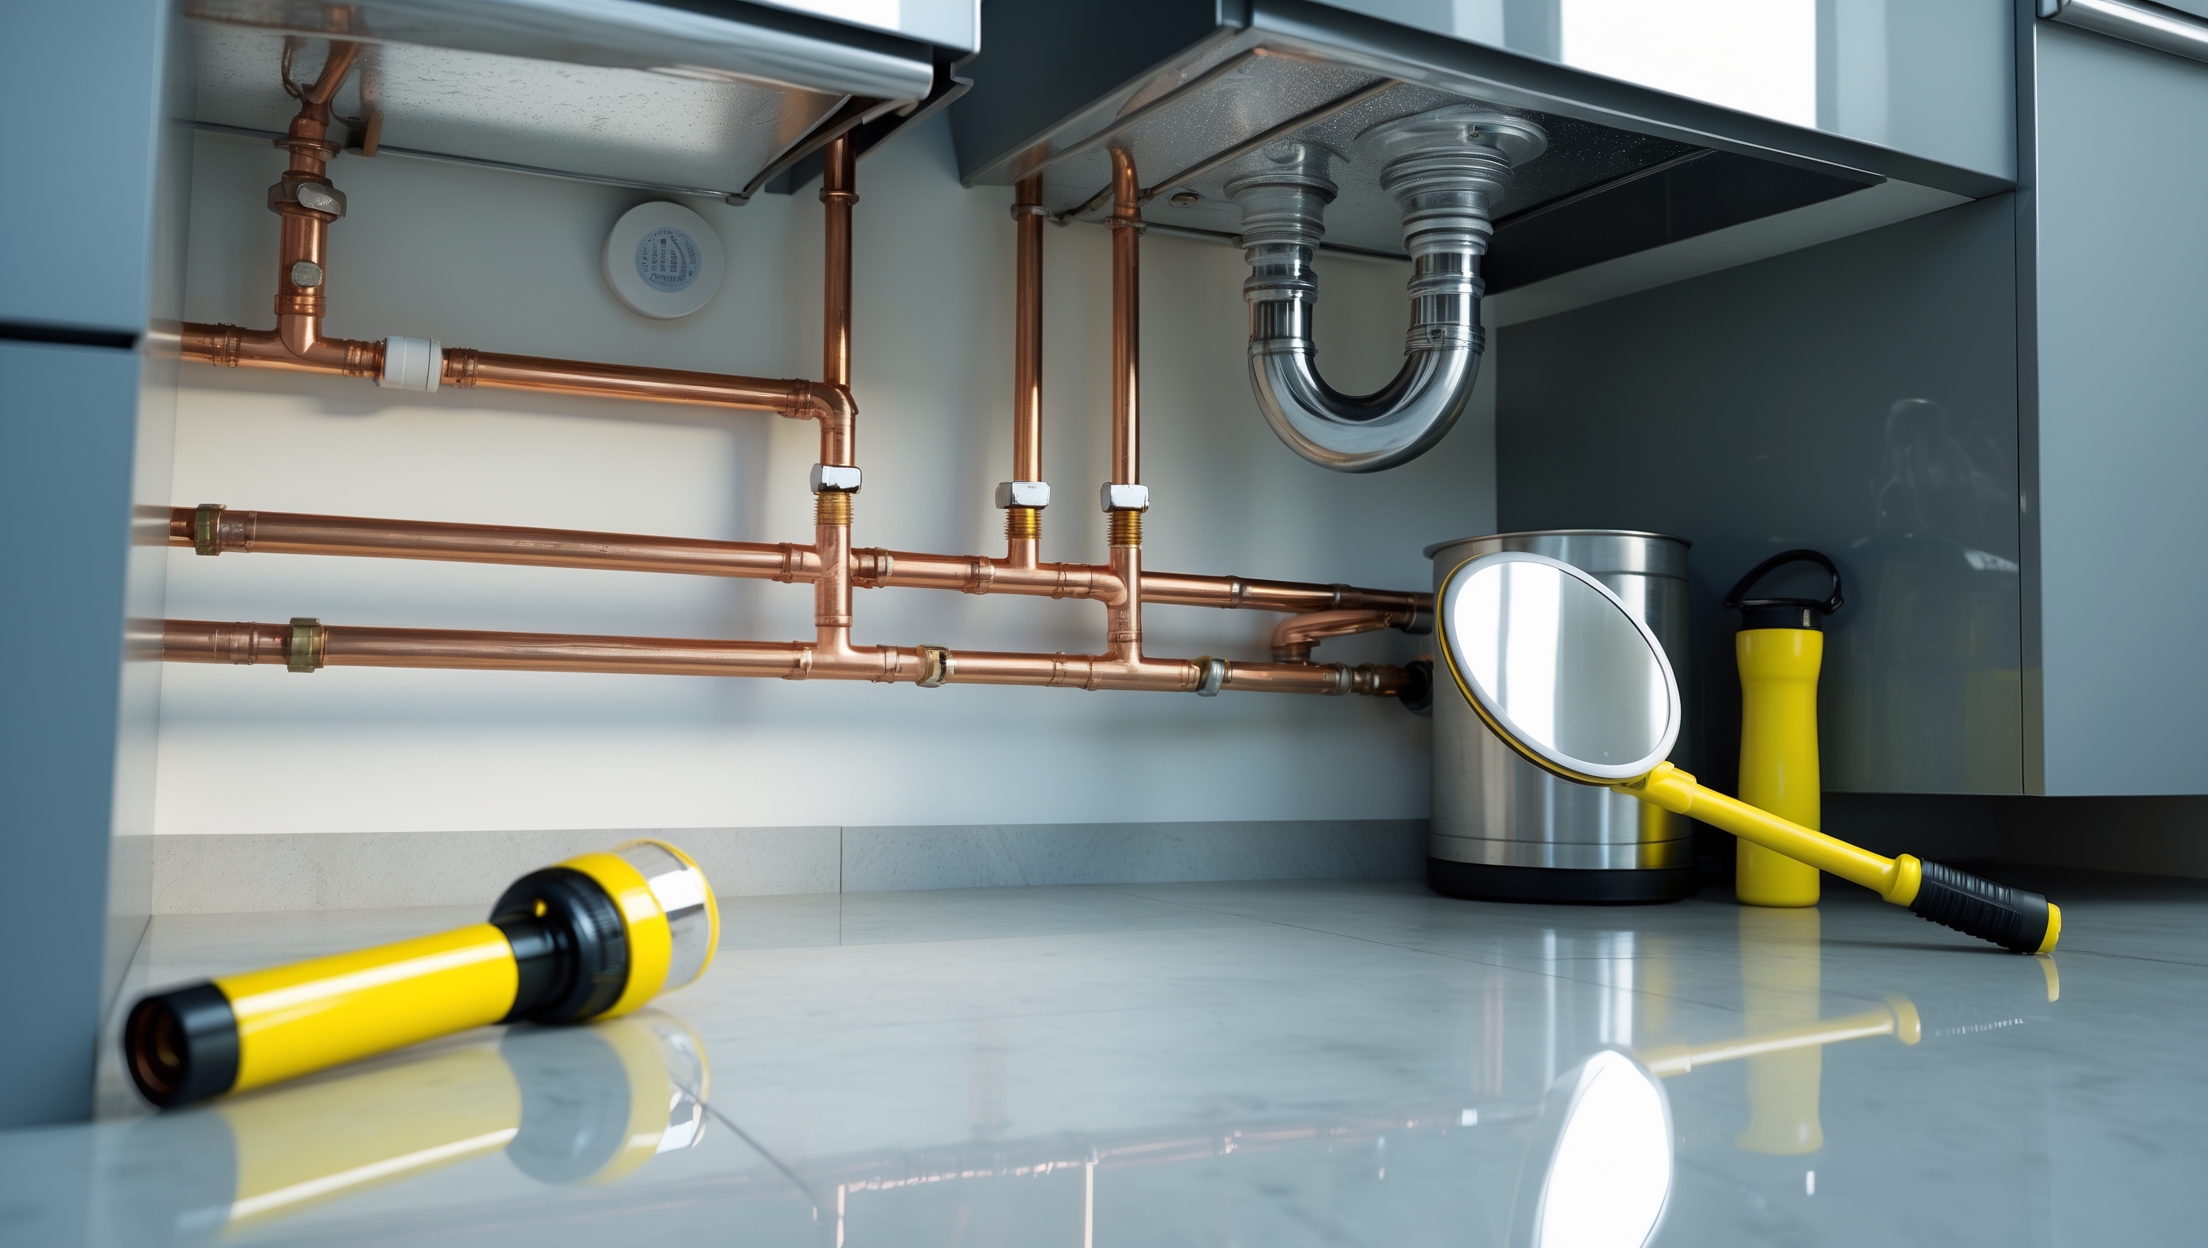
1. Visual Inspection
Start with accessible pipes under sinks, behind toilets, and near water heaters. Use a flashlight and an inspection mirror to check for moisture, corrosion, or mineral buildup at joints.
2. Toilet Dye Test
- Add a few drops of food coloring to the toilet tank.
- Wait 15–30 minutes without flushing.
- If colored water appears in the bowl, the flapper or seal is leaking.
3. Faucet and Showerhead Check
- Listen for drips and look for water pooling around the base.
- Tighten connections or replace washers as needed.
4. Meter Check Method
- Turn off all water-using appliances and fixtures.
- Record your water meter reading.
- Wait two hours (without using any water), then check the meter again.
- If the reading changes, there’s a leak somewhere in the system.
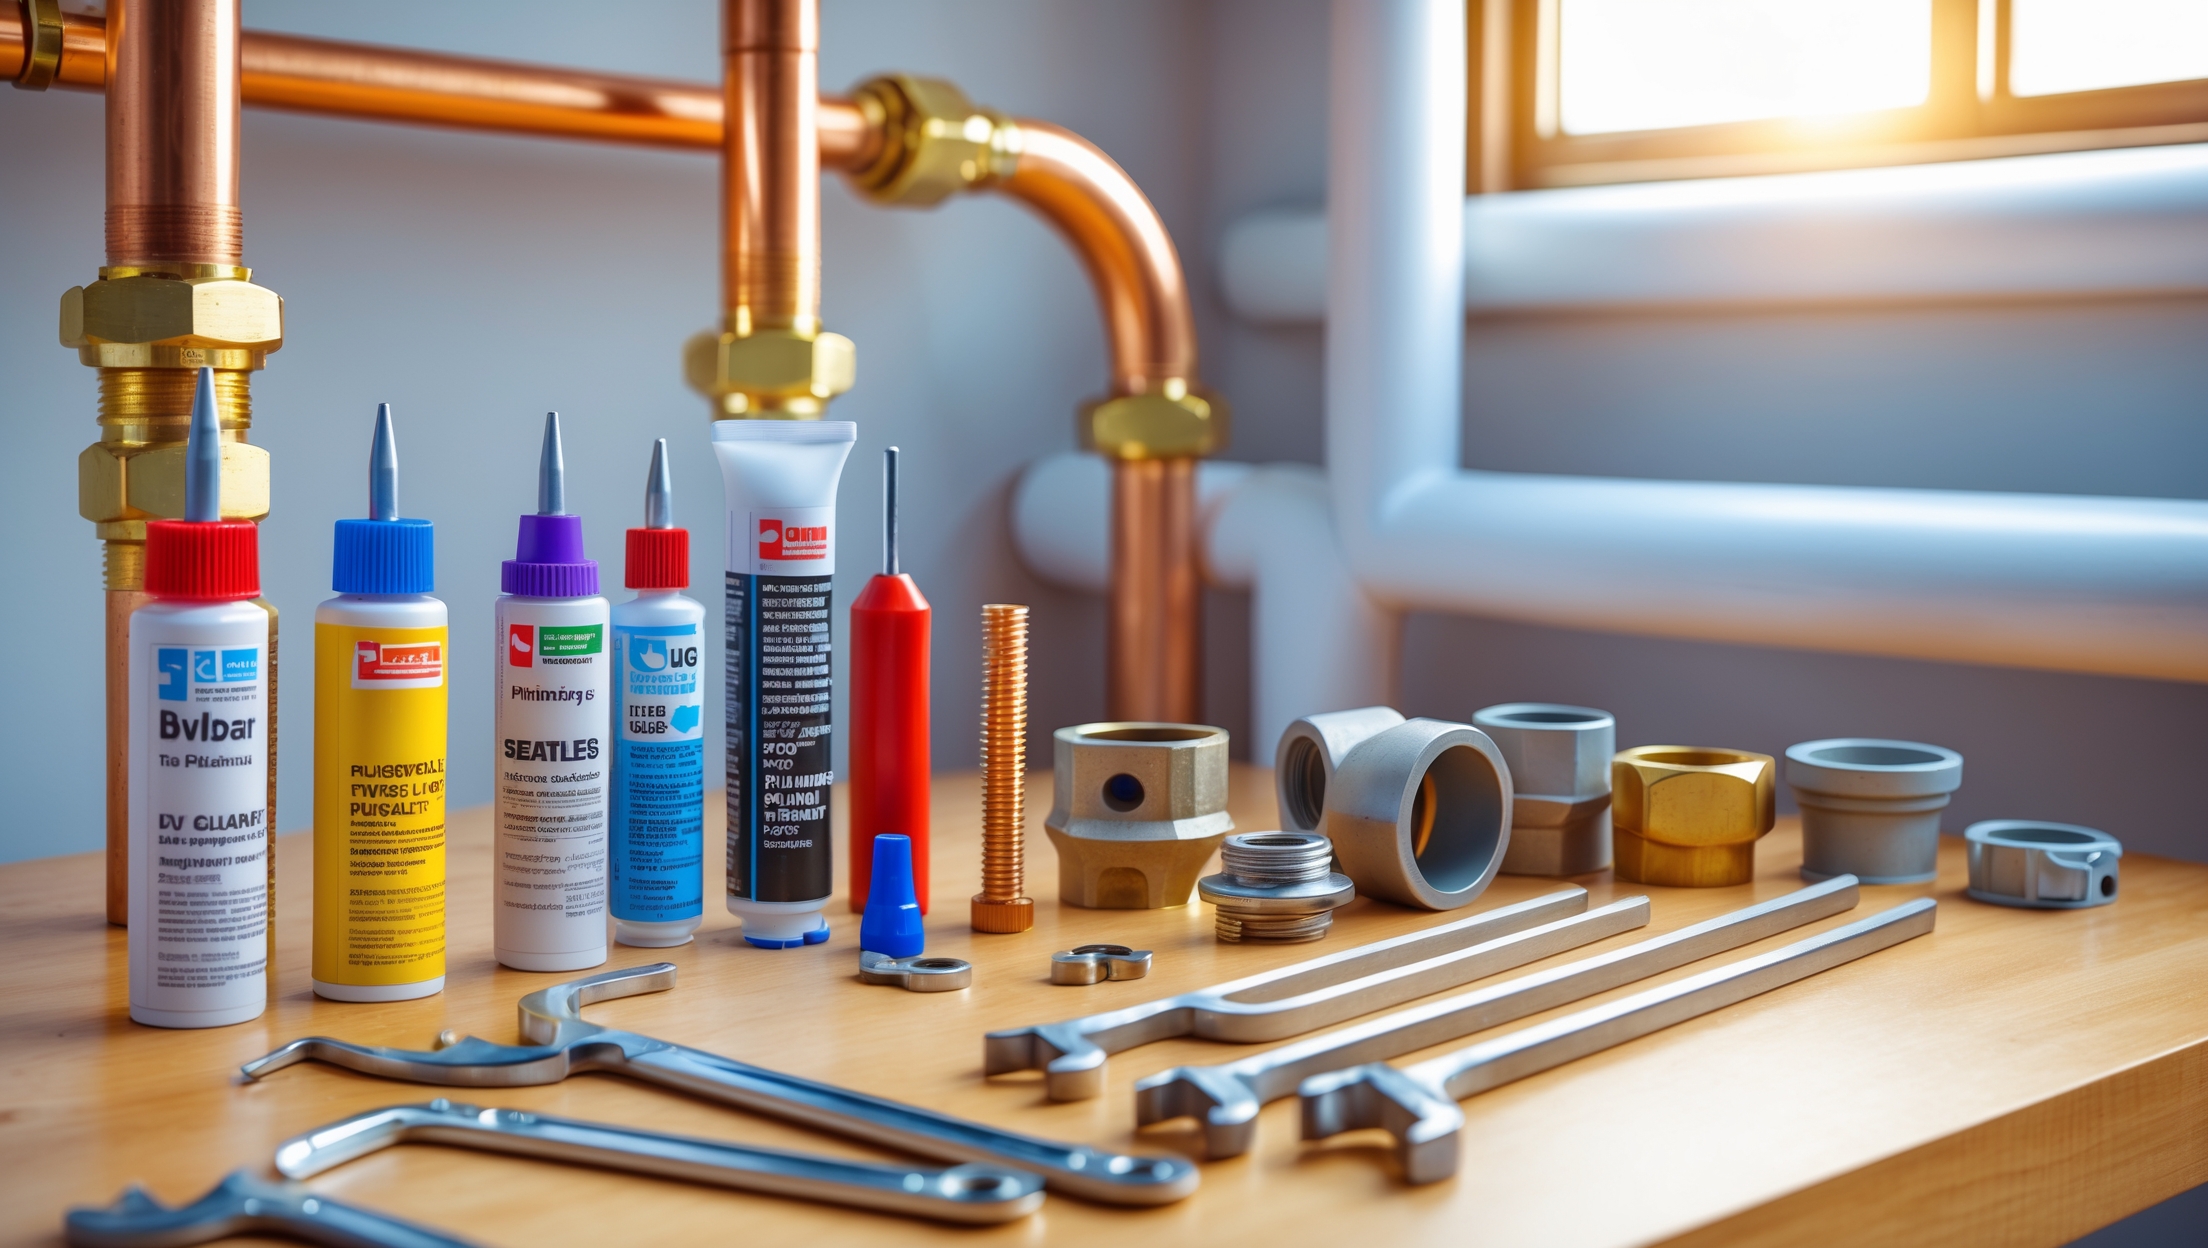
Advanced Tools for Leak Detection
Acoustic Leak Detectors
These electronic devices amplify the sound of water escaping from pipes. Place the probe against the suspected area and listen through headphones for the telltale hiss or trickle. Acoustic detectors are especially helpful for pinpointing leaks under slabs or behind walls without invasive demolition.
Infrared (Thermal) Cameras
Infrared cameras detect temperature differences in building materials. Cold or damp spots often indicate hidden leaks. Move the camera slowly across walls and floors; a leak will usually appear as a distinct blue or green area against warmer surroundings.
Moisture Meters
These handheld devices measure the water content in building materials. Press the meter’s pins into drywall, wood, or flooring to find dampness that may be invisible to the eye. Moisture meters are invaluable for determining the extent of water damage and monitoring drying progress after repairs.
Tracer Gas and Electronic Sniffers
Professionals sometimes use a safe, odorless gas (like nitrogen or hydrogen) introduced into the pipes. Sensitive detectors can then “sniff” out escaping gas at the surface, revealing the precise leak location—even beneath concrete or landscaping.
Video Pipe Inspection Cameras
A small, waterproof camera attached to a flexible cable allows you to inspect the interior of pipes. Video inspection is critical for locating blockages, cracks, or root intrusion in drain and sewer lines.
DIY vs. Professional Leak Detection: When to Call in the Experts
DIY Leak Detection: Best Fit Scenarios
- Visible drips or pooling under sinks and fixtures.
- Toilet, faucet, or showerhead leaks.
- Testing for leaks with food coloring or water meter checks.
- Checking accessible appliance connections.
When to Hire a Professional
- Suspected leaks inside walls, under slabs, or in underground pipes.
- Unexplained mold or persistent water damage despite visible repairs.
- Water meter indicates a leak but the source is not obvious.
- Commercial properties where downtime or damage can be costly.
- Need for specialized tools (acoustic sensors, infrared cameras, tracer gas).
Case Study: Leak Detection in a Commercial Property
Scenario: A local restaurant noticed warped hardwood flooring near the kitchen, but no visible leaks. Water bills had increased by 20% over three months.
- Step 1: Staff checked all sinks, dishwashers, and ice machines—no obvious leaks.
- Step 2: A plumber conducted a meter check, confirming continuous water flow even with all fixtures off.
- Step 3: Using an acoustic leak detector, the plumber localized the leak to a section of copper pipe running beneath the kitchen floor.
- Step 4: An infrared camera revealed a cold spot along the subfloor, matching the acoustic reading.
- Outcome: Targeted removal of two floorboards exposed a pinhole leak. The repair minimized disruption and prevented further damage.
Lessons Learned: Investing in professional leak detection tools enabled a fast, non-invasive solution that saved the business thousands in potential repairs and downtime.
Preventing Future Leaks: Maintenance and Monitoring Tips
Routine Visual Checks
- Inspect all visible pipes, joints, and fixtures monthly for signs of corrosion, moisture, or mineral buildup.
- Look under sinks, behind toilets, and near appliances for early warning signs.
Monitor Water Pressure
- Install a pressure gauge on an outdoor spigot.
- Ideal residential water pressure is 40–60 psi; anything above 80 psi can stress pipes and joints.
- If pressure is consistently high, consider a pressure reducing valve.
Upgrade Old Plumbing
- Replace aging galvanized, polybutylene, or corroded copper pipes with modern materials like PEX or CPVC.
- Upgrade old shutoff valves and supply lines with high-quality, burst-resistant options.
Smart Leak Detection Devices
- Install Wi-Fi enabled leak detectors near water heaters, washing machines, and sump pumps.
- Some models can automatically shut off the water supply if a leak is detected, preventing catastrophic damage.
- Connect these devices to your phone for instant alerts.
Special Considerations for Business and Multi-Unit Properties
Regular Scheduled Inspections
- Set up quarterly professional inspections for high-use or high-risk areas.
- Document all plumbing maintenance for insurance and compliance purposes.
Employee Training
- Educate staff or tenants on how to spot and report leaks promptly.
- Post emergency shutoff valve locations and instructions in accessible areas.
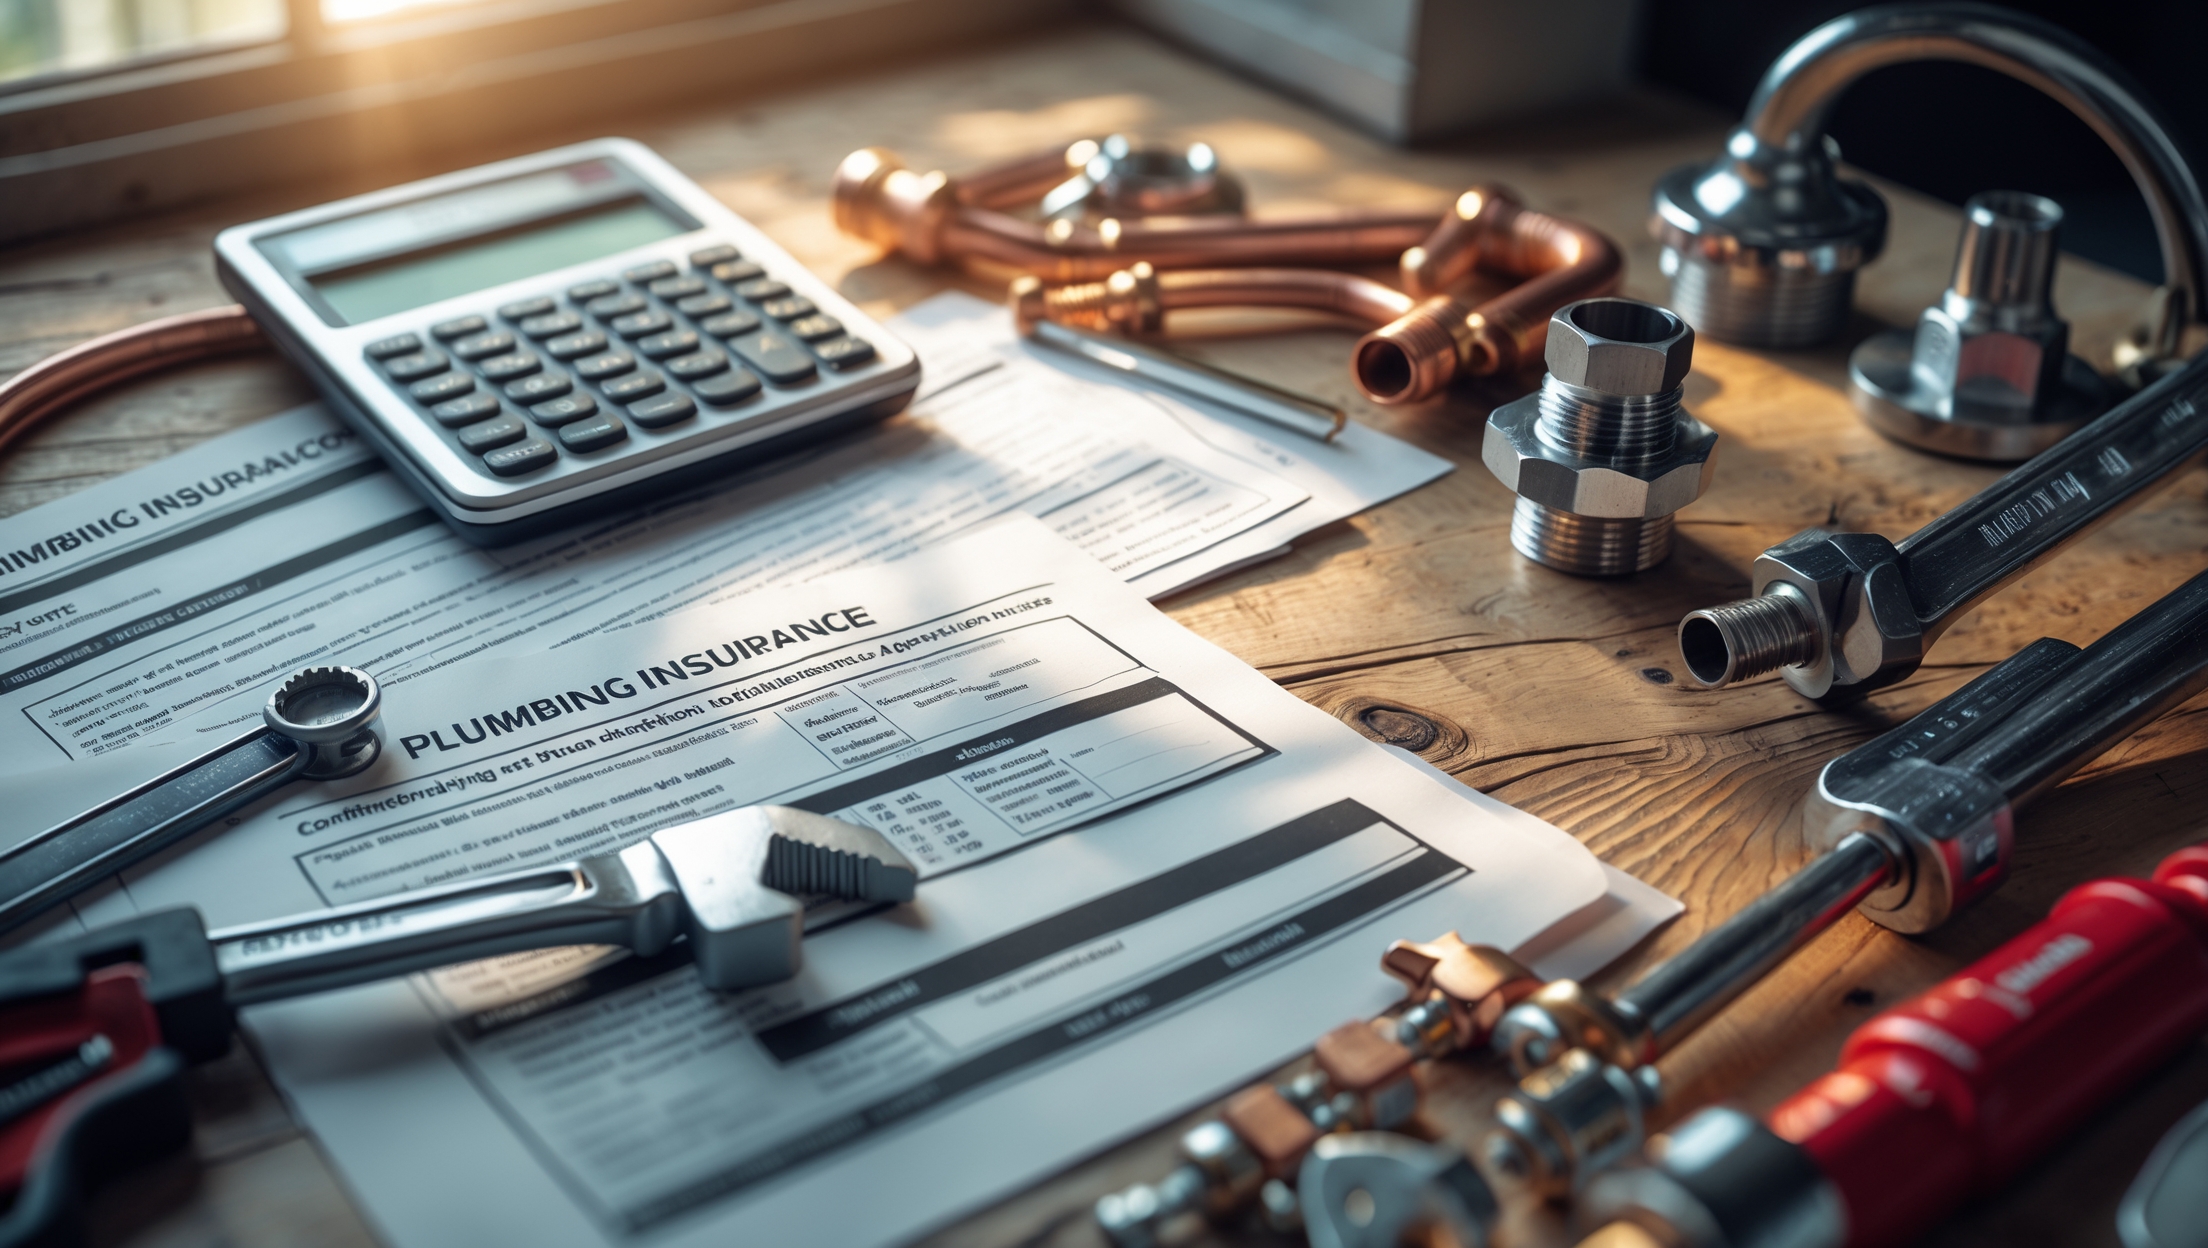
Insurance and Risk Management
- Review your property insurance policy for water damage coverage specifics.
- Promptly address small leaks to avoid denied claims due to “neglect.”
Conclusion: Protect Your Property with Proactive Leak Detection
Unchecked plumbing leaks can turn a minor inconvenience into a major financial setback, whether you’re managing a home or a bustling commercial property. The good news is that advancements in leak detection technology—paired with regular inspection and maintenance—make it easier than ever to find and fix leaks before they escalate. By learning to recognize early warning signs, investing in the right tools, and knowing when to call in seasoned professionals, you’re not just preventing water damage—you’re protecting the value, safety, and comfort of your property. Smart leak detection isn’t a one-time fix; it’s an ongoing process of vigilance and care. Commit to routine checks, upgrade outdated materials, and embrace modern monitoring devices for true peace of mind. Ultimately, the cost and effort of proactive leak detection pale in comparison to the expense and disruption of water damage repairs. Make leak detection a core part of your plumbing maintenance strategy, and you’ll save money, preserve your property, and avoid countless headaches down the line.


James Perez
When dealing with slab leaks under concrete floors, how do modern detection technologies compare to older methods in terms of accuracy and the amount of disruption they cause to the property?