Plumber Las Vegas News

Your trusted source for plumbing updates, DIY fixes, and industry insights in Las Vegas. Stay informed with practical tips, local trends, and expert advice for homeowners and professionals alike.

Plumbing Repipe Projects: Realistic Timelines, Costs, and Lessons from Case Studies

Introduction: Why Whole-House Repiping Is a Game-Changer

Few home improvement projects impact daily comfort and peace of mind like a whole-house repipe. Whether you’re dealing with persistent leaks, rusty water, low pressure, or failing galvanized pipes, the prospect of replacing all your plumbing lines can be daunting. Homeowners and property managers frequently ask: How much will it really cost? How long will it take? What unexpected challenges might come up? The answers are rarely simple—every home is different, and each project brings its own twists. But learning from real-world case studies is the best way to set realistic expectations and avoid the most costly pitfalls.

This deep-dive post explores three real-life repipe projects—ranging from mid-century homes to newer builds—in diverse regions of the U.S. We’ll break down costs, timelines, materials, permitting, and the lessons learned by both homeowners and contractors. Whether you’re planning a DIY repipe or hiring a licensed plumber, you’ll find actionable tips on budgeting, prepping your home, and ensuring a smooth, code-compliant upgrade. Let’s walk through what to expect, how to prepare, and how to avoid the most common repipe regrets.

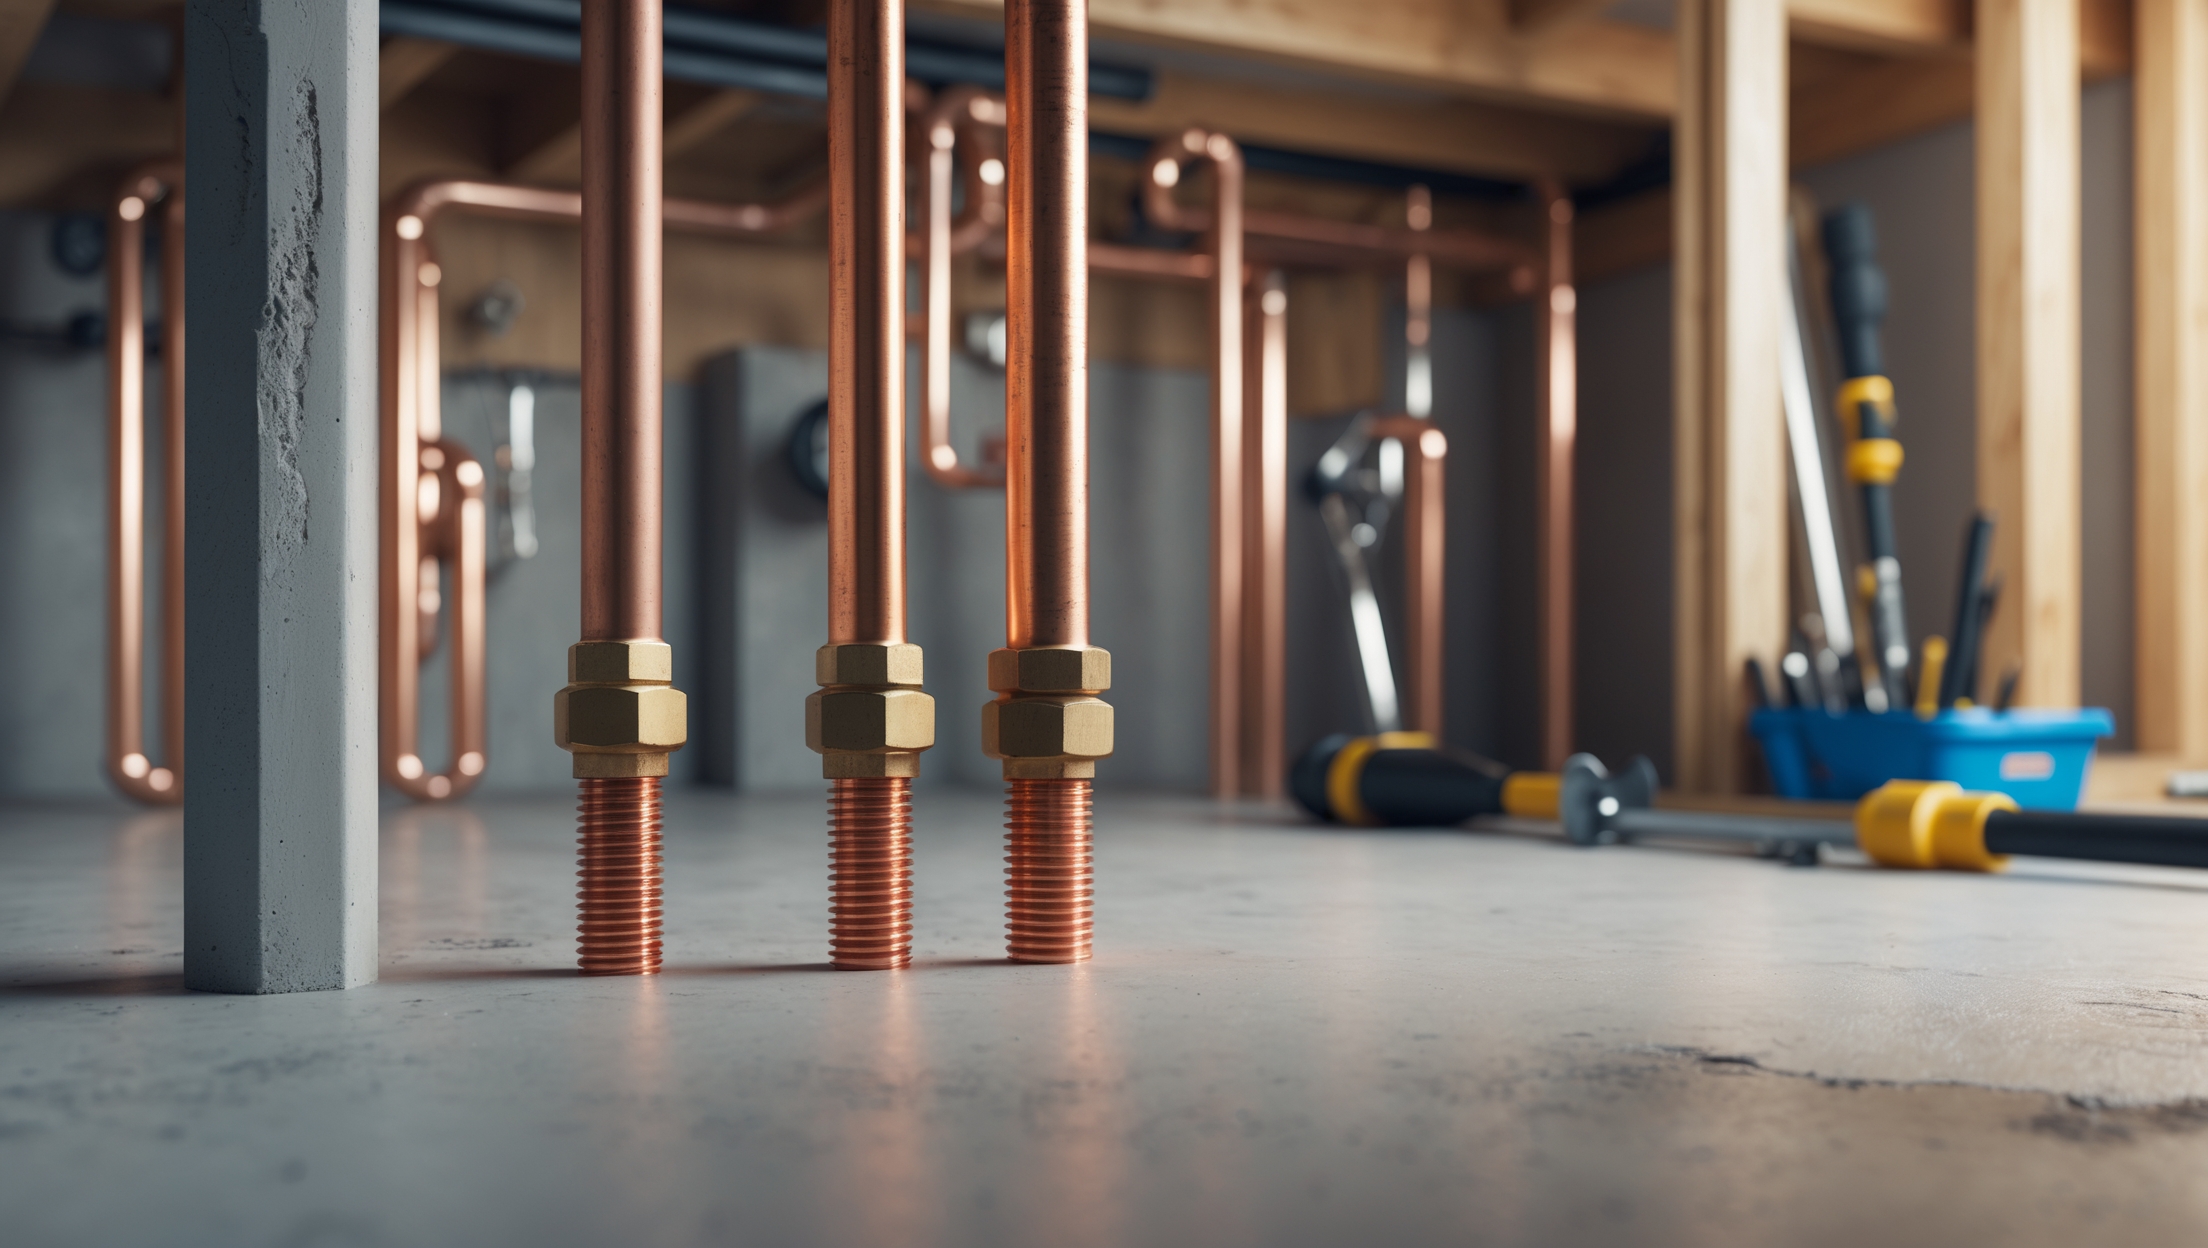
Understanding Whole-House Repiping: What’s Involved?

When Is Repiping Necessary?

Repiping isn’t a minor repair—it’s a complete replacement of a home’s hot and cold water supply lines. Most repipe projects are triggered by:

  • Recurring leaks in walls or under floors
  • Visible corrosion, discoloration, or rust in water
  • Low water pressure throughout the home
  • Old galvanized steel, polybutylene, or failing copper pipes
  • Major renovations or property sales requiring code upgrades

What’s Replaced?

Typical whole-house repiping includes:

  • All accessible supply pipes (hot and cold)
  • Shut-off valves and hose bibs
  • Supply lines to fixtures (sinks, toilets, showers, appliances)
  • Sometimes the main line from the meter to the house

Drain and waste lines are usually separate and not included unless they’re also failing.

Case Study 1: 1950s Ranch in the Midwest – Galvanized to PEX

Project Overview

  • Home Size: 1,600 sq. ft., single story, unfinished basement
  • Original Pipes: Galvanized steel (severe corrosion, multiple leaks)
  • New Pipes: PEX-A with copper manifolds
  • Occupants: Family of four (remained in home during project)

Timeline

  • Prep & Permitting: 1 week (local permit required; submitted by contractor)
  • Demolition & Access: 2 days (minimal drywall cutting in basement and utility room)
  • Pipe Installation: 4 days (main runs, manifold installation)
  • Fixture Connections: 2 days
  • Inspection & Sign-off: 1 day (passed on first try)
  • Drywall Repair: 3 days (separate contractor)
  • Total Project Time: 2.5 weeks (with overlap)

Cost Breakdown

  • Plumbing Labor & Materials: $8,200
  • Permits & Inspections: $320
  • Drywall & Paint Repairs: $1,150
  • Total: $9,670

Challenges & Lessons Learned

  • PEX allowed for fewer wall cuts and faster installation compared to rigid pipe.
  • Basement access reduced labor—homes with finished basements or slab foundations require more demolition and repair.
  • Water was off for only 6 hours at a time; contractor staggered shutoffs to allow evening use.
  • Homeowner handled drywall painting to save costs.

Case Study 2: 1970s Two-Story in the Southwest – Copper to PEX Hybrid

Project Overview

  • Home Size: 2,400 sq. ft., two stories, slab foundation
  • Original Pipes: Copper (pinhole leaks; slab leaks detected)
  • New Pipes: PEX-B for main runs, copper risers to fixtures
  • Occupants: Couple (temporarily relocated for 3 days)

Timeline

  • Prep & Permitting: 10 days (city permit, HOA approval)
  • Demolition & Access: 4 days (ceiling cuts for second floor, extensive wall opening)
  • Pipe Installation: 5 days
  • Inspection: 2 days (partial re-inspection needed for one fixture connection)
  • Drywall & Texture Repairs: 5 days
  • Total Project Time: 3 weeks

Cost Breakdown

  • Plumbing Labor & Materials: $17,800
  • Permits & Inspections: $550
  • Drywall & Texture: $3,400
  • Total: $21,750

Challenges & Lessons Learned

  • Slab foundation required all new pipes to be routed overhead—no access from below.
  • Ceiling repairs added significant cost and time; matching 1970s texture required a specialist.
  • Partial re-inspection delayed final sign-off; always double-check all fixture connections before inspection.
  • HOA approval added a week—factor in association rules if you’re in a managed community.

Case Study 3: 2000s Tract Home in the Pacific Northwest – Polybutylene to PEX

Project Overview

  • Home Size: 1,900 sq. ft., two stories, crawl space
  • Original Pipes: Polybutylene (multiple leaks, class action warning)
  • New Pipes: PEX-A, color coded, with new shut-offs throughout
  • Occupants: Family of five (stayed in home; water off at night only)

Timeline

  • Prep & Permitting: 1 week
  • Crawl Space Access & Demolition: 1 day
  • Pipe Installation: 3 days (two teams working simultaneously)
  • Fixture Connections & Testing: 2 days
  • Inspection: 1 day (passed)
  • Drywall Repair: Minimal (patches only); DIY by homeowner
  • Total Project Time: 1.5 weeks

Cost Breakdown

  • Plumbing Labor & Materials: $7,200
  • Permits & Inspections: $250
  • Drywall Materials: $120
  • Total: $7,570

Challenges & Lessons Learned

  • Polybutylene pipes required full replacement for insurance compliance.
  • Crawl space access allowed for quick main line runs but required dust and insulation precautions.
  • DIY drywall and painting saved $1,000+ but increased homeowner workload.
  • Color-coding PEX simplified future repairs and inspections.
  • Water shutoffs were scheduled overnight to minimize family disruption.

Key Factors That Influence Repipe Costs and Timelines

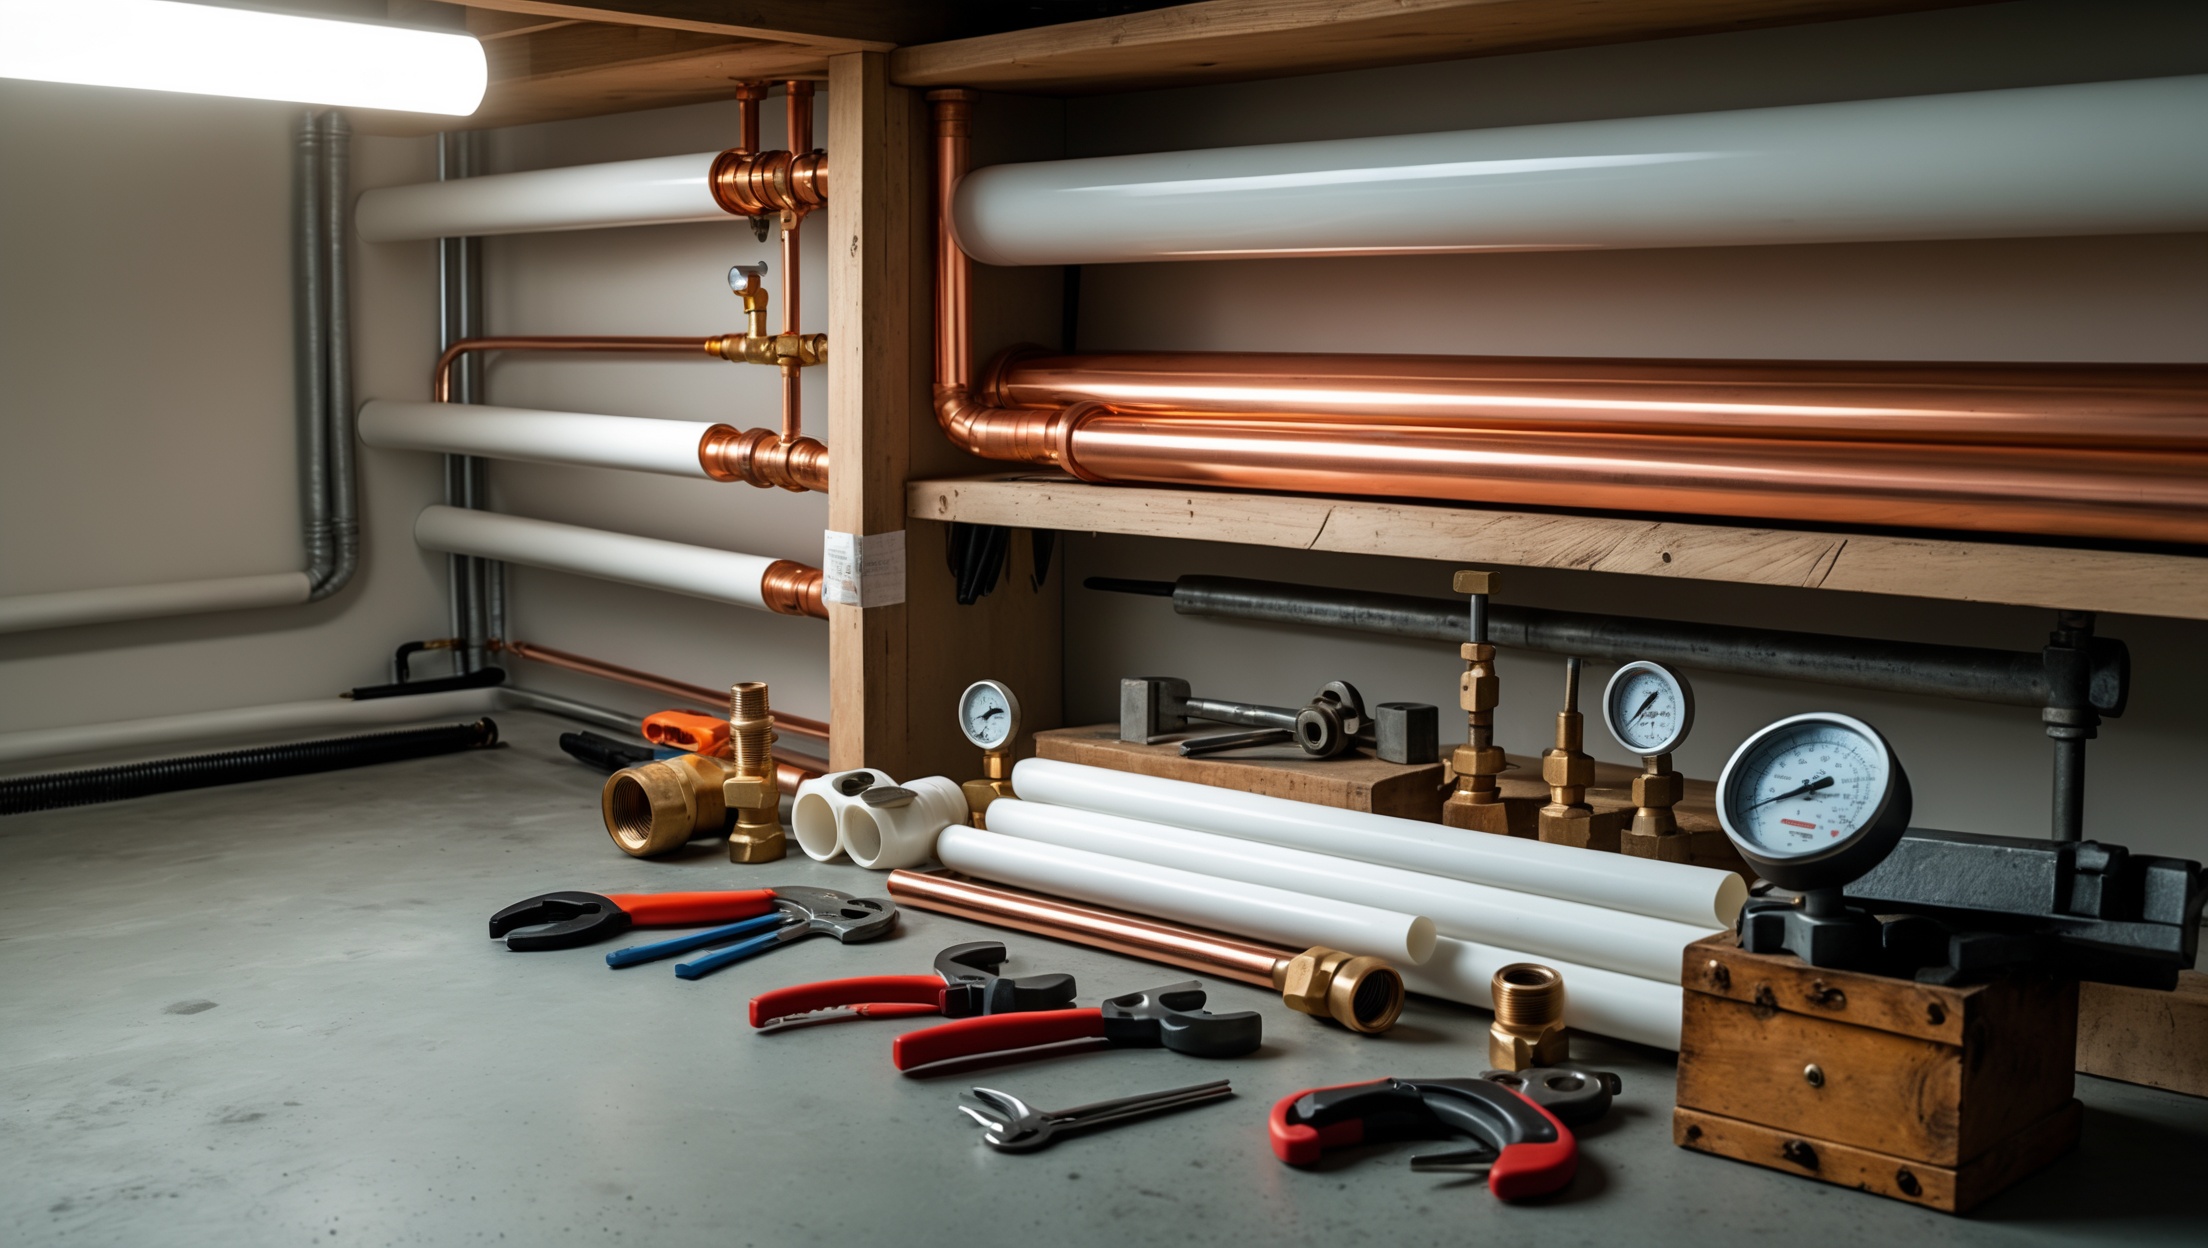
1. Pipe Material Choices

  • PEX: Flexible, requires fewer joints, less wall cutting; fastest and most cost-effective for most homes.
  • Copper: Durable, preferred in some regions, but pricier and more labor-intensive.
  • CPVC: Budget-friendly, but less common for whole-house repipes due to code and longevity concerns.

2. Home Layout & Access

  • Basements and crawl spaces make repiping easier and less invasive.
  • Slab foundations and multi-story homes increase the need for ceiling and wall access.
  • Historic homes may require special routing or code upgrades.

3. Demolition & Repairs

  • Drywall, plaster, and ceiling repairs can add 10–30% to project costs.
  • Wallpaper, tile, and specialty finishes increase complexity.
  • Plan for professional repairs—DIY saves money but requires skill and time.

4. Permitting & Inspections

  • Most municipalities require permits and one or more inspections for whole-house repipes.
  • Inspection delays are common; plan for at least one re-inspection.
  • HOA or historical district approvals may be needed.

5. Occupancy and Scheduling

  • Remaining in the home is possible, but expect water shutdowns and dust.
  • Larger families or homes with only one bathroom may prefer to relocate during the most disruptive days.
  • Plan for pet care, kitchen use, and bathing alternatives during the project.

Budgeting for Your Repipe: What to Expect

National Cost Ranges (2024)

  • Small single-story home: $6,500 – $10,000
  • Mid-sized two-story: $12,000 – $22,000
  • Larger or complex homes: $20,000 – $40,000+

Get three written estimates, and ask for a line-item breakdown of labor, materials, permits, and wall/ceiling repairs. Factor in at least 10% contingency for surprises.

Tips for Saving Money

  • Ask if you can do some demolition or drywall repairs yourself.
  • Choose PEX if allowed by code; it’s typically 20–30% less expensive than copper.
  • Schedule during off-peak seasons (late winter or early summer) for potential discounts.
  • Verify that your contractor pulls all required permits—illegal work can void insurance and resale value.

Prepping Your Home for a Smooth Repipe

Before Work Starts

  • Clear access to all plumbing fixtures, including under sinks and in utility rooms.
  • Remove valuables and cover furniture in work areas.
  • Discuss daily schedules and water shutdown times with your contractor.
  • Plan for pets—loud noises and open wall cavities can be stressful or hazardous.
  • Ask for a written schedule of when each area will be worked on and restored.

During the Project

  • Expect dust, debris, and temporary inconvenience—especially in kitchens and bathrooms.
  • Check fixture connections and shut-off valve locations before drywall is closed.
  • Confirm that pipes are properly insulated in attics, crawl spaces, or exterior walls.
  • Take photos of new pipe layout for future reference.

Lessons from the Field: Pro Tips for a Successful Repipe

  • Always get a detailed, written contract that includes all steps—demolition, piping, reconnection, repairs.
  • Hire licensed, insured plumbers; check reviews and request references for similar projects.
  • Ask for or schedule a pre-inspection walkthrough with your city inspector to clarify code issues.
  • Request color-coded PEX or clearly labeled pipes for easy future repairs and inspections.
  • Document every stage with photos—helpful for insurance, resale, and future maintenance.
  • Don’t skip pressure testing before walls are closed; leaks discovered later are far more costly.
  • Budget extra time for wall/ceiling repairs—and be realistic about matching textures or finishes.
  • Communicate daily with your contractor about what’s completed and what’s next.

Conclusion: What to Take Away from Real-World Repipe Projects

A whole-house repipe is a major investment, but the rewards—improved water quality, higher home value, and peace of mind—are significant. As these case studies show, costs and timelines vary widely based on your home’s age, layout, and the materials you choose. Expect a minimum of one to three weeks of disruption, and plan for additional time if your home has special access issues or high-end finishes. Don’t underestimate the importance of permits, inspections, and professional repairs. Skimping on any of these can lead to failed inspections, water damage, or insurance headaches down the road.

Whether you’re hiring the job out or tackling part of it yourself, being prepared is your best defense against cost overruns and project delays. Gather multiple bids, ask tough questions, and make sure every step—from demolition to final inspection—is clearly spelled out. If possible, talk to neighbors or local real estate agents who’ve been through similar projects. Their firsthand perspective is invaluable.

Finally, remember that repiping is a one-time project for most homeowners. Do it right, and you’ll enjoy decades of worry-free plumbing. Armed with the lessons from real-life case studies, you can approach your repipe with confidence, clarity, and control over your budget and timeline.

54 comments
Aaron Brown

Could you elaborate on how homeowners should budget for unexpected costs during a repipe? For example, are there common hidden expenses that tend to catch people off guard even after reading through case studies?

    Mario The Plumber

    It’s smart to plan for unexpected costs during a repipe. Common hidden expenses include repairing drywall or flooring after plumbing work, updating outdated valves or fixtures, and addressing unseen issues like corroded pipes or mold. Homeowners should set aside a contingency fund—typically 10-20% of the project estimate—for these surprises. Reviewing your contractor’s proposal for exclusions can also help you anticipate extra costs.

Kevin Thompson

I’m curious about the difference in disruption between DIY and hiring a licensed plumber for a repipe. From your examples, did any homeowners try partial DIY, and how did that impact the overall smoothness or code compliance of the project?

    Mario The Plumber

    In our case studies, a few homeowners attempted partial DIY repiping, such as removing old pipes or prepping walls before bringing in professionals. This did save a bit on labor costs, but it generally led to longer project timelines and more disruption at home. Code compliance was also trickier—some needed to redo work after inspections. Licensed plumbers completed repipes more smoothly, with fewer setbacks and faster city approval.

Elizabeth Thompson

You mentioned that the costs and timelines can vary significantly between homes. For a mid-century house compared to a newer build, what were the main factors that caused one repipe project to be more expensive or time-consuming in the case studies?

    Mario The Plumber

    In the case studies, mid-century houses were often more expensive and time-consuming to repipe mainly due to factors like outdated plumbing layouts, harder-to-access pipes, and the need to address issues with older materials such as galvanized steel. Newer builds typically had more straightforward layouts and modern materials, making the repipe process quicker and less costly.

Betty Garcia

For someone considering a DIY repipe versus hiring a licensed plumber, what are the main risks or code issues that have come up in the real-world examples you explored?

    Mario The Plumber

    In the real-world case studies we covered, DIY repipes often ran into code violations, like improper pipe sizing, incorrect connection types, and lack of required permits. Homeowners also risked leaks or water damage from missed steps, especially at joints. Licensed plumbers not only ensure the work passes inspection but also handle unexpected issues, such as hidden corrosion or unsafe pipe materials, so the overall risk is much lower with a professional.

Susan Anderson

The article mentions that timelines for repiping can vary a lot depending on the age and type of house. For a mid-century home with plaster walls, what kind of extra prep work or surprises should I expect compared to drywall?

    Mario The Plumber

    In a mid-century home with plaster walls, you can expect more careful prep work than with drywall. Plaster is more brittle and can crack or crumble when cut into, so plumbers may need to use special tools and techniques to minimize damage. Repairs afterward can also be more labor-intensive, as patching and matching old plaster requires skill. Sometimes, unexpected issues like hidden wiring or lath damage are found behind plaster walls, so setting aside extra time and budget for repairs is wise.

Margaret Martinez

For a small business property with mixed plumbing—some copper, some old galvanized—do you recommend repiping all at once or only replacing the failing sections? Did any of your case studies address this type of partial approach?

    Mario The Plumber

    In the article’s case studies, a few business owners faced mixed plumbing systems. Some opted for partial repipes to save on upfront costs, but most found that fully repiping provided better long-term reliability and avoided repeated disruptions. While replacing only the failing sections can be less expensive initially, it risks future leaks and compatibility issues between materials. If budget allows, a complete repipe is typically more cost-effective and less disruptive over time.

Donna Taylor

When replacing the main line from the meter to the house, do you usually need special equipment or professionals compared to just doing inside plumbing? Are there extra code requirements to consider for outdoor lines in different climates?

    Mario The Plumber

    Replacing the main line from the meter to the house often requires specialized equipment like trenchers or pipe-boring tools, which most homeowners don’t have. Professionals are usually recommended because the work may involve digging near utilities, following strict local codes, and ensuring proper pipe depth for frost protection in colder climates. Outdoor main lines often have additional code requirements regarding materials, burial depth, and insulation, which can vary depending on your location and climate.

Daniel Martin

You discussed budgeting for whole-house repiping, but how do homeowners typically handle surprises like finding hidden leaks or code violations once the walls are open? Any tips on preparing for those costs?

    Mario The Plumber

    Homeowners often set aside a contingency fund, usually about 10–20% of the total repiping budget, to handle unexpected issues like hidden leaks or code violations. It’s also helpful to discuss potential surprises with your contractor before work begins so you can understand possible risks. Getting a detailed inspection and written estimate upfront can also minimize unwelcome financial surprises during the project.

Julie Ramirez

Can you share more about lessons learned from the different case studies regarding code compliance or permit issues? I’m trying to anticipate potential delays if my local municipality has a slow inspection process.

    Mario The Plumber

    Several case studies highlighted that delays often stemmed from waiting on permit approvals and inspections, especially in areas with strict or understaffed local authorities. Homeowners found it helpful to check code requirements early, submit all documents promptly, and maintain clear communication with their municipal office. In some cases, scheduling inspections ahead of time or hiring a contractor familiar with local codes helped avoid unnecessary holdups. Factoring in extra buffer time for permits and inspections is a smart move if your municipality tends to move slowly.

Andrew Lewis

For homeowners tackling a repipe in an older home with lath and plaster walls, what’s a realistic way to minimize wall repairs afterward, based on the cases you covered?

    Mario The Plumber

    To minimize wall repairs in older homes with lath and plaster, the case studies highlighted the benefit of accessing pipes through closets, crawl spaces, or basements whenever possible. In rooms with delicate plaster, some homeowners coordinated closely with plumbers to make smaller, more strategic openings rather than long cuts. Planning ahead for pipe routes and marking them precisely also helped reduce unnecessary damage to walls.

Julie Moore

In the case studies mentioned, did you find that certain plumbing materials like PEX or copper tended to stay closer to the original project timeline, or did material choice not have much impact on how long the repipe actually took?

    Mario The Plumber

    In the case studies from the article, PEX piping projects generally stayed closer to the original timelines compared to copper. This is mainly because PEX is more flexible and easier to install, which reduces labor time and minimizes unexpected delays. Copper projects sometimes ran longer, especially in homes with complex layouts, due to the extra cutting, soldering, and maneuvering required. So yes, material choice did have a noticeable impact on project duration.

David Anderson

If drain and waste lines are usually handled separately, do you recommend tackling both supply and drain repiping at the same time, or is it better to stagger these projects? What have you seen in your case studies?

    Mario The Plumber

    Based on our case studies, homeowners often find it most efficient to repipe both supply and drain lines at the same time, especially if walls and floors will already be opened up. This approach can reduce labor costs and minimize disruption, since your home only needs to undergo one major plumbing project. However, if your budget is tight or only one system is problematic, staggering the projects can be a reasonable choice.

Barbara Martinez

You mentioned different pipe materials are used in repiping projects. Is there a noticeable cost or durability benefit between choosing PEX versus copper based on the situations you covered?

    Mario The Plumber

    PEX is generally less expensive than copper, both for materials and installation, because it is flexible and quicker to fit. In terms of durability, PEX holds up well against corrosion and is less likely to burst in freezing conditions, making it a good choice for most homes. Copper, while more durable in high-heat situations and resistant to UV light, is more costly and can be prone to corrosion in certain water conditions. So, the best choice often depends on your budget, local climate, and water quality.

James Robinson

In the case studies, were there any unexpected challenges that caused delays or added to the budget, like hidden pipe locations or problems discovered behind walls? How should a homeowner prepare for surprises like these?

    Mario The Plumber

    Yes, the case studies highlighted several unexpected challenges, such as pipes hidden behind walls and unanticipated corrosion or leaks that added time and costs to the projects. To prepare, homeowners should build a contingency fund of about 10-20% above the initial estimate, allow for some scheduling flexibility, and ask their plumber about possible risks during the inspection phase. Being ready for surprises helps reduce stress and keeps the project on track.

Megan Brown

Do your case studies show any recurring surprises during repiping, like finding mold or hidden pipe runs that delayed the project? I’m trying to plan for the unexpected before getting started.

    Mario The Plumber

    Yes, the case studies highlight a few recurring surprises during repiping projects. Hidden pipe runs behind walls or under floors often take longer to locate and replace, which can extend the timeline. Finding mold or water damage is also fairly common and usually requires additional remediation before work can continue. Planning extra time and budget for these possibilities is definitely wise.

Linda Sanchez

When you say ‘budgeting and prepping your home,’ what are some easily overlooked expenses or prep steps that ended up surprising homeowners in the cases you covered?

    Mario The Plumber

    Some homeowners were surprised by costs for patching drywall or repainting after pipes were replaced, as these aren’t always included in plumbing quotes. Others didn’t expect to pay for permits, moving furniture, or temporary accommodations if the water had to be shut off for long periods. Scheduling with other contractors, like painters or cleaners, also added expenses that weren’t initially anticipated.

Betty Moore

If I’m not experiencing visible leaks but have low pressure and occasional rusty water, how urgent is it to start a repipe, or are there troubleshooting steps I should try first before committing to a whole-house project?

    Mario The Plumber

    Low pressure and rusty water can indicate corrosion or buildup inside your pipes, even if you haven’t seen visible leaks. Before deciding on a full repipe, you might want to check for localized issues—such as a clogged aerator, old water heater, or isolated pipe corrosion. A licensed plumber can help diagnose whether it’s a widespread problem or something fixable. If most pipes are aging and symptoms persist, a repipe may become more urgent to prevent future leaks.

Andrew Jones

You mentioned that every home brings unique challenges during a repipe project. Could you share more about what kinds of unexpected issues might come up and how homeowners handled them according to the case studies?

    Mario The Plumber

    Unexpected issues during repipe projects often include discovering outdated or hidden pipes behind walls, finding mold or water damage, and dealing with tight crawl spaces or unusual layouts. In the case studies, homeowners handled these by working closely with their plumbers, allowing extra time for repairs, and sometimes adjusting their budgets. Open communication and flexibility helped minimize delays and manage surprises effectively.

Nathan Anderson

If you discover partway through a project that the drain or waste lines also need attention but the original plan was just for supply lines, how does that impact the repipe project’s overall scope, budget, and length of disruption?

    Mario The Plumber

    If you find out during the project that drain or waste lines also need work, the repipe project’s scope will expand since these lines are a separate system from supply pipes. This usually increases both the budget and the time required, since more materials, labor, and possibly permits are involved. The disruption to your home will likely last longer, since additional areas may need to be accessed and more plumbing work completed.

William Thomas

If I’m considering replacing just the most damaged supply lines instead of doing a whole-house repipe, how much risk am I taking with future leaks or code issues? Are there situations where a partial repipe made sense in the case studies?

    Mario The Plumber

    Replacing only the most damaged supply lines can save money upfront, but it does carry some risk. Future leaks may occur in older pipes that remain, potentially leading to more repairs. Code issues are possible if the new and old materials aren’t compatible or if local codes require uniform piping. In the case studies, partial repipes made sense when budget was tight or damage was isolated, but most experts recommended a full repipe for long-term reliability.

Joshua Gonzalez

The article mentions both DIY repipes and hiring licensed plumbers. Can you elaborate on which materials are safest for a homeowner to work with themselves, versus those best left to the pros, especially when it comes to meeting code requirements?

    Mario The Plumber

    For DIY repiping, PEX is generally considered the safest and easiest material for homeowners. It’s flexible, lightweight, and often uses simple crimp or clamp fittings. However, copper and galvanized steel require soldering or threading, which can be hazardous and may need specialized tools. Local codes often have strict requirements for copper or steel, so these are best left to licensed plumbers who are familiar with inspections and compliance.

Michael Robinson

Could you elaborate on how permitting requirements might impact both the timeline and cost of a whole-house repipe? I’m curious if you noticed big differences in permitting delays or fees across the case studies you covered.

    Mario The Plumber

    Permitting requirements can significantly influence both the timeline and cost of a whole-house repipe. In some of the case studies, projects in areas with stricter permit processes experienced delays of several days to a few weeks, especially when inspections were required at multiple stages. Permit fees also varied, ranging from modest flat rates to higher costs based on home size or project complexity. These differences largely depended on local regulations, so it’s important to check your municipality’s specific requirements before starting your project.

Margaret Taylor

When budgeting for a whole-house repipe, how should I account for possible unexpected costs, like hidden pipe locations or damaged walls, that might not show up until the project is underway?

    Mario The Plumber

    It’s smart to plan for surprises during a whole-house repipe. A good rule is to set aside a contingency fund—typically 10–20% of your main budget—to cover hidden issues like inaccessible pipes or unexpected wall repairs. Ask your plumber about common surprises in homes like yours, and get a clear estimate for possible extra work before starting. This way, you’ll be better prepared if something unforeseen comes up.

Robert Williams

Could you give more detail on how long water will be shut off during a whole-house repipe? I’m worried about being without water if I try a DIY approach or even hire it out over several days.

    Mario The Plumber

    During a whole-house repipe, water is usually shut off for about 4 to 8 hours per day, depending on the size of your home and the complexity of the plumbing. If you’re hiring professionals, they’ll often try to restore at least partial water supply each evening. With a DIY approach, it might take longer, and water could be off for more extended periods if work isn’t finished each day. Planning ahead and communicating with your plumber can help minimize inconvenience.

Diane Robinson

How often does repiping actually solve water pressure problems, or are there other factors I should check before going all-in on a repipe? We’ve had fluctuating pressure for months, and I’d like to make sure a repipe is necessary.

    Mario The Plumber

    Repiping often fixes pressure issues when old pipes are corroded or clogged, but it’s not always the only cause. Before committing, consider checking for hidden leaks, faulty pressure regulators, partially closed shutoff valves, or issues with the municipal supply line. It’s smart to have a plumber do a thorough inspection to confirm if a full repipe is really needed or if a simpler fix might restore your water pressure.

Richard Jones

For families who can’t easily move out during the project, how disruptive is a whole-house repipe on daily routines like showering, cooking, and laundry, based on the real-life examples you discussed?

    Mario The Plumber

    Based on the real-life examples in the article, a whole-house repipe can be quite disruptive, but contractors often plan in phases to minimize the impact. Usually, water is turned off in sections, so you might lose access to showers, sinks, or laundry for a day at a time, but not the entire house all at once. Communication with your contractor about daily needs helps them schedule work to keep some facilities usable whenever possible.

Matthew Perez

The case studies mention different materials and regions—did you notice any significant differences in timelines or costs between using copper versus PEX piping based on location or house age?

    Mario The Plumber

    Yes, the case studies showed some clear differences. Copper piping usually led to higher costs and slightly longer timelines, especially in older homes or areas with stricter plumbing codes. PEX piping projects tended to be more affordable and faster to complete, regardless of region, but some older homes needed extra prep for PEX installation. Regional labor rates also affected overall costs, but the material choice made the biggest difference.