
Introduction: Why Winter-Proofing Your Plumbing Matters
When temperatures drop, your plumbing system faces unique challenges that can lead to inconvenient and costly disasters. Burst pipes, frozen faucets, and undetected leaks are just some of the issues homeowners and property managers confront in cold climates every year. Yet, with proper winter-proofing strategies, most of these problems are preventable. In this comprehensive guide, you’ll learn actionable, field-tested techniques for protecting your pipes and fixtures from freezing temperatures, minimizing the risk of water damage, and ensuring your plumbing system continues to operate efficiently throughout the coldest months. Whether you’re a DIY enthusiast, a new homeowner, or a seasoned pro looking to brush up on best practices, the tips and checklists here will help you safeguard your investment, save money, and enjoy peace of mind all winter long.
Understanding the Risks: How Cold Weather Impacts Plumbing
Why Pipes Freeze and Burst
Water expands as it freezes, exerting immense pressure on the walls of metal and plastic pipes. When the pressure builds beyond what the pipe can withstand, it bursts—often when the ice thaws and water starts to flow again. Pipes in unheated interior spaces like basements, attics, crawl spaces, and garages are especially vulnerable, as are those running along exterior walls with inadequate insulation.
Common Vulnerable Areas
- Exposed pipes in unconditioned spaces (basements, crawl spaces, attics)
- Pipes along exterior walls
- Outdoor hose bibs and irrigation lines
- Garage and utility room plumbing
- Cabinet plumbing under sinks on outside walls
Consequences of Inadequate Winterization
- Flooding and extensive water damage
- Costly emergency repairs
- Mold growth and structural deterioration
- Disrupted water supply during freezing weather
Step 1: Inspect and Identify At-Risk Plumbing
Conduct a Thorough Walkthrough
Begin your winter-proofing by inspecting the entire property to locate pipes at risk. Use a flashlight to examine basements, crawl spaces, garages, attics, and under sinks. Check for:
- Uninsulated or partially insulated pipes
- Cracks or gaps in walls where cold air can reach pipes
- Drafty windows or doors near plumbing
- Old or damaged insulation
Map Your Plumbing System
Create a simple diagram or take notes on the layout of your plumbing, marking areas that need attention. Pay special attention to plumbing in exterior walls and seldom-used fixtures.
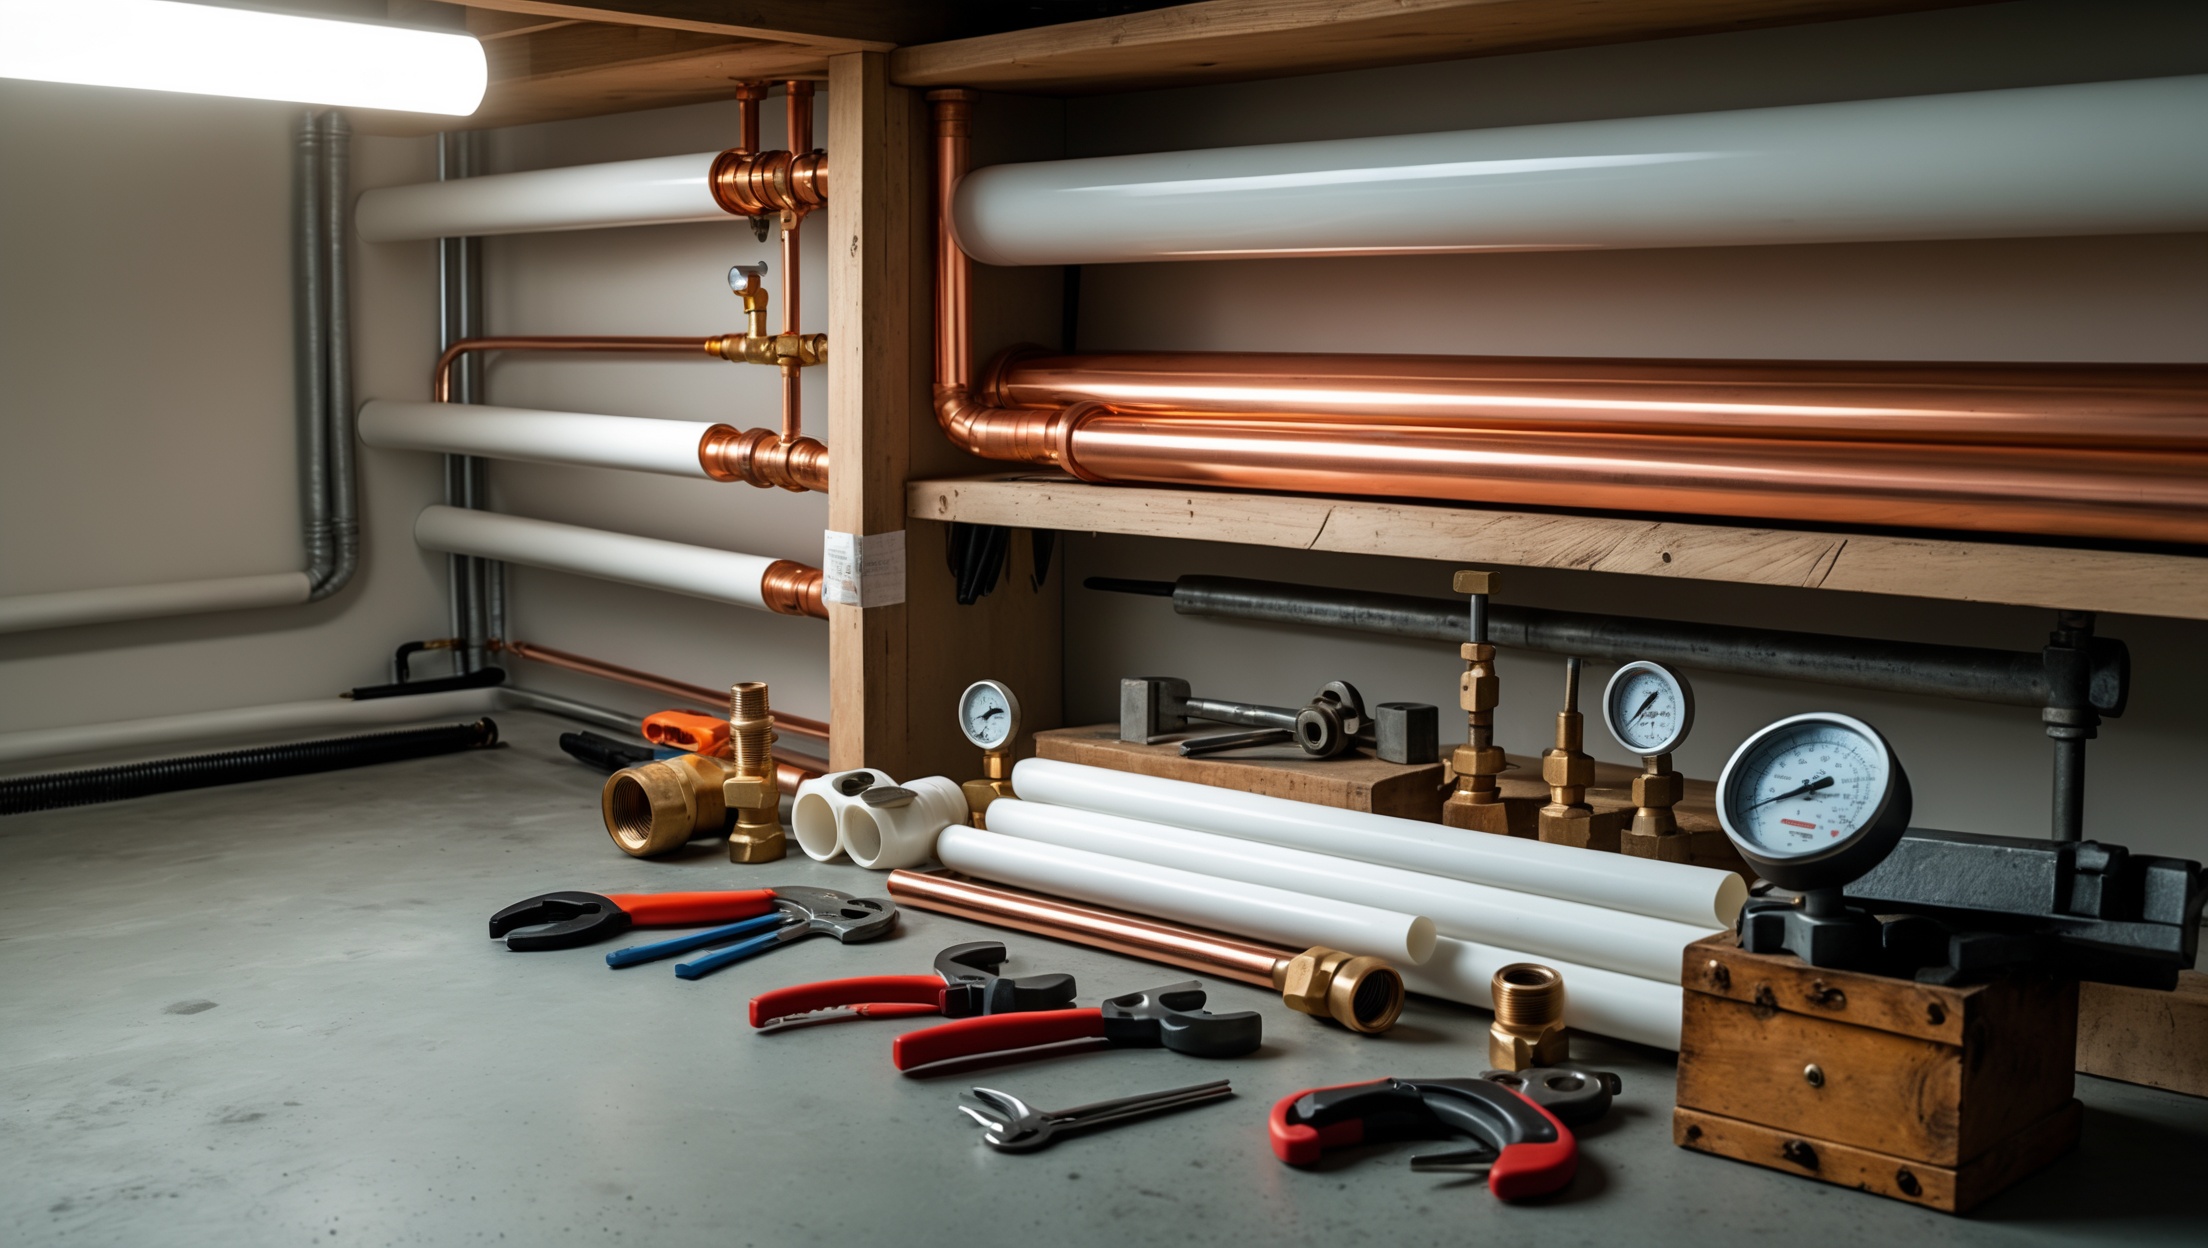
Step 2: Pipe Insulation—Types, Techniques, and DIY Tips
Choosing the Right Insulation
There are several types of pipe insulation, each with its pros and cons:
- Foam Tubing: Easy to install, affordable, good for straight runs of pipe.
- Fiberglass Wrap: Flexible, suitable for high-heat areas, but requires vapor barrier.
- Rubber Insulation: Durable, resists moisture, ideal for frequently handled pipes.
- Heating Cable: Provides active warming, used with insulation for severe cold.
Best Practices for Installation
- Measure and cut insulation to fit snugly without gaps.
- Seal seams with appropriate tape (e.g., foam insulation tape or duct tape).
- Wrap elbows, joints, and valves thoroughly—these areas are most likely to freeze.
- For extreme cold, combine heating cable with insulation and follow manufacturer instructions carefully.
- Replace any damaged or missing insulation annually.
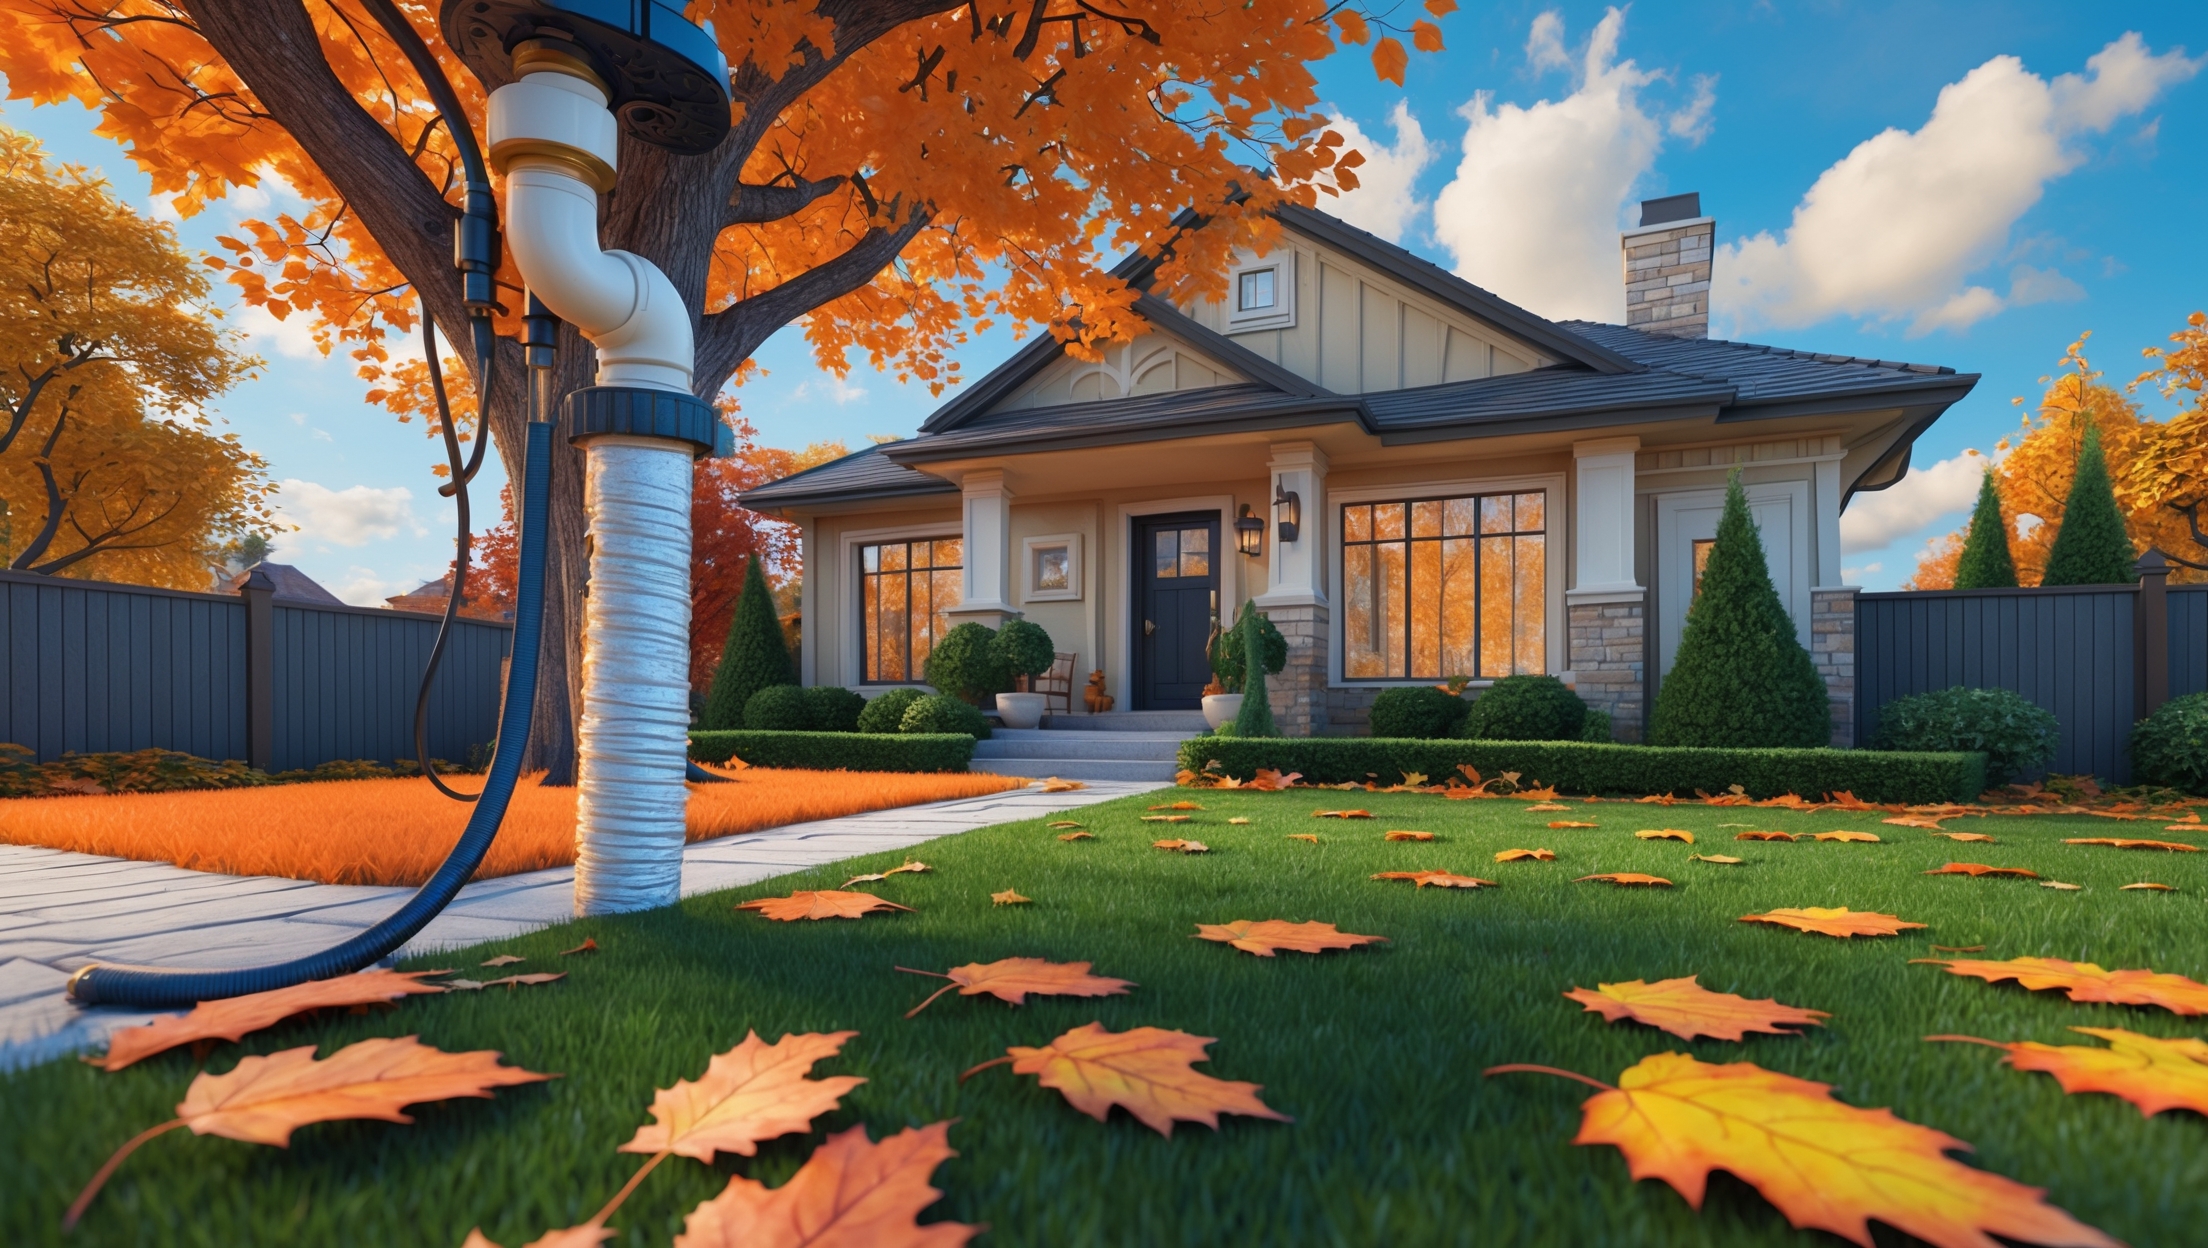
Step 3: Protecting Outdoor Plumbing and Fixtures
Winterizing Hose Bibs and Outdoor Faucets
- Remove and store all hoses. Water left inside can freeze and expand into connected pipes.
- Shut off the water supply to outdoor faucets from inside the house if possible.
- Open the faucet to drain remaining water.
- Install insulated faucet covers for added protection.
Irrigation Systems and Sprinklers
- Shut off water to the irrigation system.
- Drain lines according to manufacturer instructions—usually by blow-out method with compressed air.
- Insulate any above-ground pipes or backflow preventers.
- Check for leaks or damage before reactivating in spring.
Step 4: Sealing Drafts and Improving Heat Retention
Locate and Seal Air Leaks
Even the best-insulated pipes can freeze if exposed to persistent drafts. Inspect your home for gaps around windows, doors, and utility penetrations near plumbing. Use caulk or expanding foam to seal openings. Weatherstrip doors and windows for an extra layer of protection.
Keep Warm Air Circulating
- Open cabinet doors under sinks to allow warm air to reach pipes, especially on exterior walls.
- Keep garage doors closed when not in use.
- Maintain a consistent, moderate indoor temperature—even if you’re away.
Step 5: Smart Use of Heat and Water Flow
Strategic Heating Solutions
- Use space heaters safely in unconditioned areas with exposed plumbing (follow all safety guidelines).
- Install pipe heating cables for high-risk sections.
- Insulate unfinished basements or crawl spaces to reduce heat loss.
Preventing Freezes with Water Flow
- During extreme cold snaps, let a trickle of water run from faucets served by vulnerable pipes. Moving water is less likely to freeze.
- Prioritize hot and cold taps on exterior walls or in unheated areas.
- Monitor usage to avoid waste while maintaining protection.
Step 6: Preparing for Extended Absences
Shutting Down Safely
- Turn off the main water supply if you’ll be away for several days or more.
- Open all faucets and drain the system completely.
- Flush toilets and pour non-toxic antifreeze into traps to prevent freezing smells or damage.
- Consider a smart leak detector and temperature monitor for remote alerts.
Step 7: Emergency Response—What to Do If Pipes Freeze or Burst
Recognizing the Signs of Frozen Pipes
- No water or reduced flow from faucets
- Frost visible on pipes
- Unusual odors from drains (indicating an ice blockage)
Thawing Pipes Safely
- Shut off the main water supply before thawing to prevent flooding.
- Use a hair dryer, heat lamp, or hot towels to warm frozen sections. Never use open flames or torches.
- Start thawing closest to the faucet, then work toward the frozen area.
- Check for leaks as pipes thaw; even a small split can cause major damage.
Handling Burst Pipes
- Keep the main water valve off.
- Call a licensed plumber immediately.
- Document the damage for insurance purposes—take photos and notes.
- Begin water removal and drying as soon as it’s safe to do so.
Maintenance and Monitoring: Staying Ahead of Winter Plumbing Problems
Regular Checks
- Inspect insulation and exposed pipes at the start and midpoint of winter.
- Test shut-off valves for proper function.
- Look for signs of moisture or frost around plumbing.
Upgrade with Smart Technology
- Install leak detectors in basements, crawl spaces, and under sinks.
- Use smart thermostats to maintain safe temperatures during cold spells.
- Consider temperature sensors on critical pipes for real-time alerts.
Cost Considerations: Budgeting for Winter-Proofing
Material and Labor Costs
Insulating pipes is generally inexpensive, with foam tubes costing $0.50–$2 per foot. Heating cables range from $20–$60 for standard lengths. Professional installation may cost $100–$500 depending on the job’s complexity. Faucet covers and weatherstripping add only minor expenses.
Long-Term Savings
Avoiding just one burst pipe incident can save thousands in repairs and water damage restoration. Investing in winter-proofing is a smart, cost-effective strategy.
Pro Tips and Common Mistakes to Avoid
- Don’t leave installation gaps or exposed joints when insulating pipes.
- Avoid using open flames to thaw pipes—fire risk is high.
- Don’t neglect less obvious areas like crawl spaces or under mobile homes.
- Replace worn insulation promptly; compressed or waterlogged insulation is ineffective.
- Confirm all outdoor faucets are fully drained before the first freeze.
Conclusion: Stay Safe and Dry All Winter Long
Winter-proofing your plumbing isn’t just a one-time task—it’s a smart, ongoing commitment to protecting your home or business from the costly aftermath of frozen and burst pipes. By following the practical steps outlined in this guide, you’ll be well-equipped to identify risks, implement proven insulation and heating strategies, and respond quickly if cold weather threatens your system. Remember, a few hours of preparation can save you days of inconvenience and thousands of dollars in repairs. Review your system annually, stay informed about the latest products and techniques, and don’t hesitate to consult a professional for complex or high-risk scenarios. With these strategies in place, you can enjoy the colder months with confidence, knowing your plumbing is protected against whatever winter brings.


Charles Lopez
The article mentions that cabinet plumbing under sinks on outside walls is a common risk. Are there simple steps homeowners can take to protect these areas without doing major renovations, especially for those on a tight budget?