Introduction: Why Pipe Insulation Is a Must for Every Homeowner
When most homeowners think of plumbing, their minds jump to leaky faucets, clogged drains, or the occasional burst pipe during deep winter freezes. Yet, one of the most overlooked—and cost-effective—ways to protect your home’s plumbing system is by investing in quality pipe insulation. Far from being a seasonal fix, proper insulation delivers year-round benefits: it reduces energy costs, prevents frozen pipes, controls condensation, and even extends the lifespan of your plumbing. Whether you’re a DIY enthusiast or simply want to make informed decisions when hiring a pro, understanding the essentials of pipe insulation can save you significant money and headaches down the line. This guide will walk you through the science behind pipe insulation, material options, step-by-step installation for various pipe types, maintenance tips, and advanced strategies tailored to your home’s unique needs. By the end, you’ll know exactly how to implement or upgrade insulation—whether you’re prepping for harsh winters, hot summers, or just want to maximize efficiency all year long.
The Science Behind Pipe Insulation: How It Works
Thermal Transfer and Heat Loss Explained
Pipes carry water at temperatures that often differ from the surrounding air. Without insulation, heat moves from hot water pipes to cold ambient air (or vice versa), causing energy loss and increased utility bills. In cold climates, this can lead to freezing, while in humid areas, condensation can cause corrosion and rot. Insulation acts as a barrier, reducing the flow of heat or cold between the pipe and its environment.
Condensation and Moisture Control
When warm, humid air contacts cold pipes, condensation forms. Over time, this moisture can drip onto wooden joists, drywall, or insulation materials, leading to mold, mildew, and structural damage. Pipe insulation not only keeps water inside pipes at the desired temperature but also prevents the formation of damaging condensation.
Types of Pipe Insulation: Materials, Pros, and Cons
- Foam Tubing (Polyethylene or Rubber): Affordable, easy to install, and widely available. Best for indoor pipes. Look for pre-slit versions for quick DIY jobs.
- Fiberglass Wrap: Superior for high-temperature pipes (e.g., near boilers or water heaters). Often comes with a vapor barrier to prevent moisture ingress.
- Foil-Backed Insulation: Offers both thermal resistance and a moisture barrier. Ideal for pipes in unconditioned spaces like attics or crawl spaces.
- Spray Foam: Used for hard-to-reach spots, elbows, or junctions. Provides custom coverage but is more expensive and requires careful application.
- Rubber Insulation (EPDM): Flexible, durable, and resistant to UV and ozone. Excellent for outdoor or exposed piping.
Choosing the Right Material for Your Application
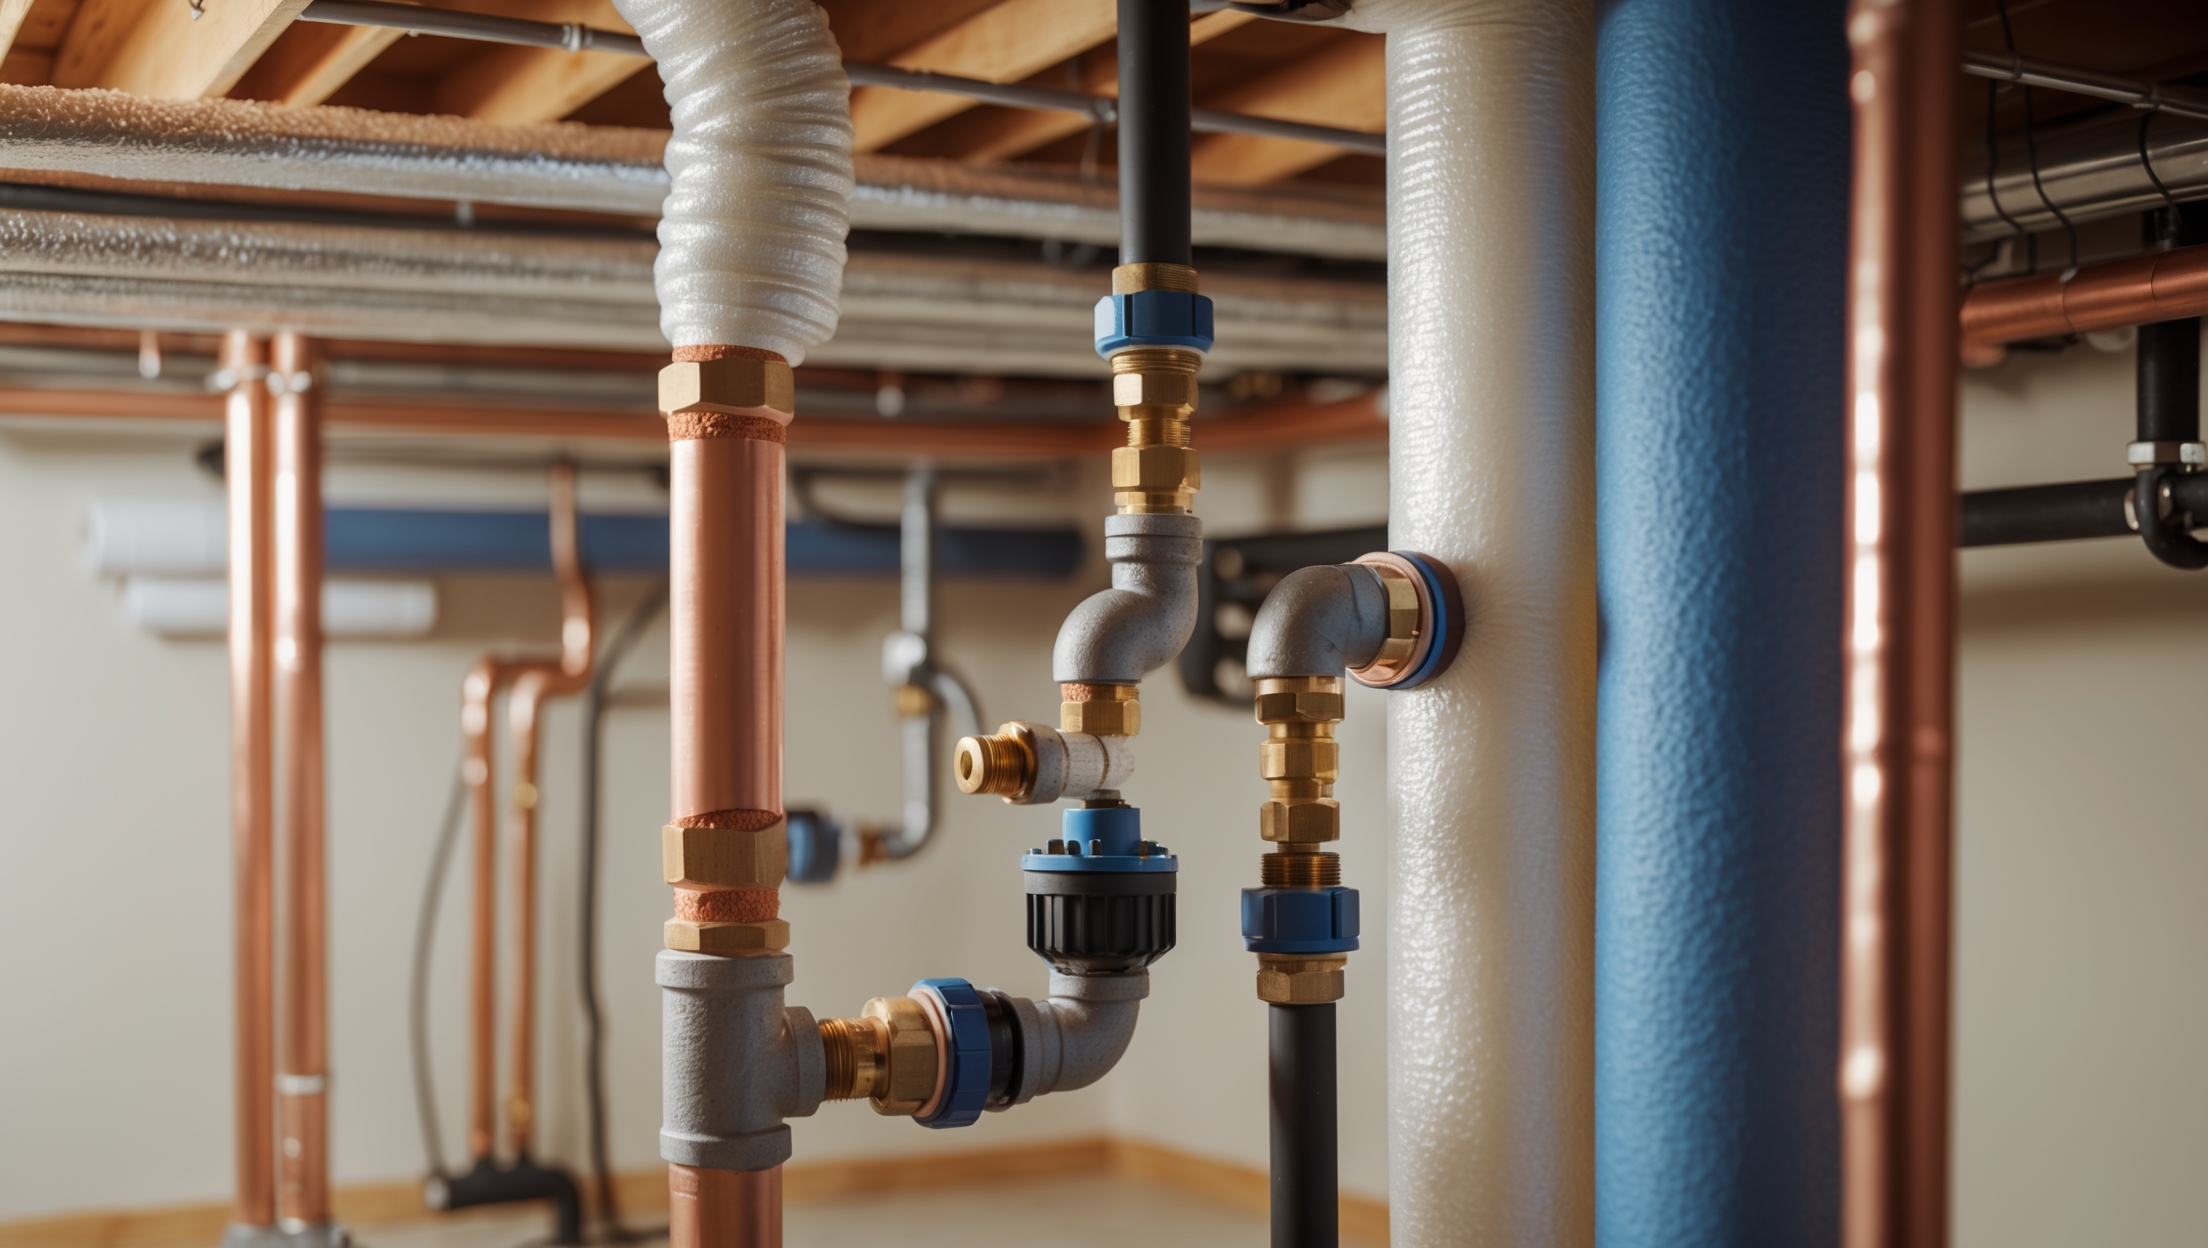
The best insulation depends on pipe material (copper, PVC, PEX), location (indoor/outdoor), temperature range, and exposure to moisture or sunlight. For example, foam tubing is perfect for basement hot water lines, while EPDM rubber is better for outdoor applications.
Where Pipe Insulation Matters Most: Prioritizing Your Efforts
- Exterior Walls: Pipes running through poorly insulated exterior walls are at high risk of freezing and should be insulated first.
- Unheated Basements and Crawl Spaces: These are common trouble spots, especially in older homes.
- Attics and Garages: Even brief cold snaps can freeze pipes in these unconditioned spaces.
- Near the Water Heater or Boiler: Insulating hot water pipes reduces heat loss and can deliver hot water faster, saving energy and money.
- Outdoor Pipes and Spigots: Protection here is crucial to prevent bursts and leaks.
Step-by-Step Pipe Insulation Installation
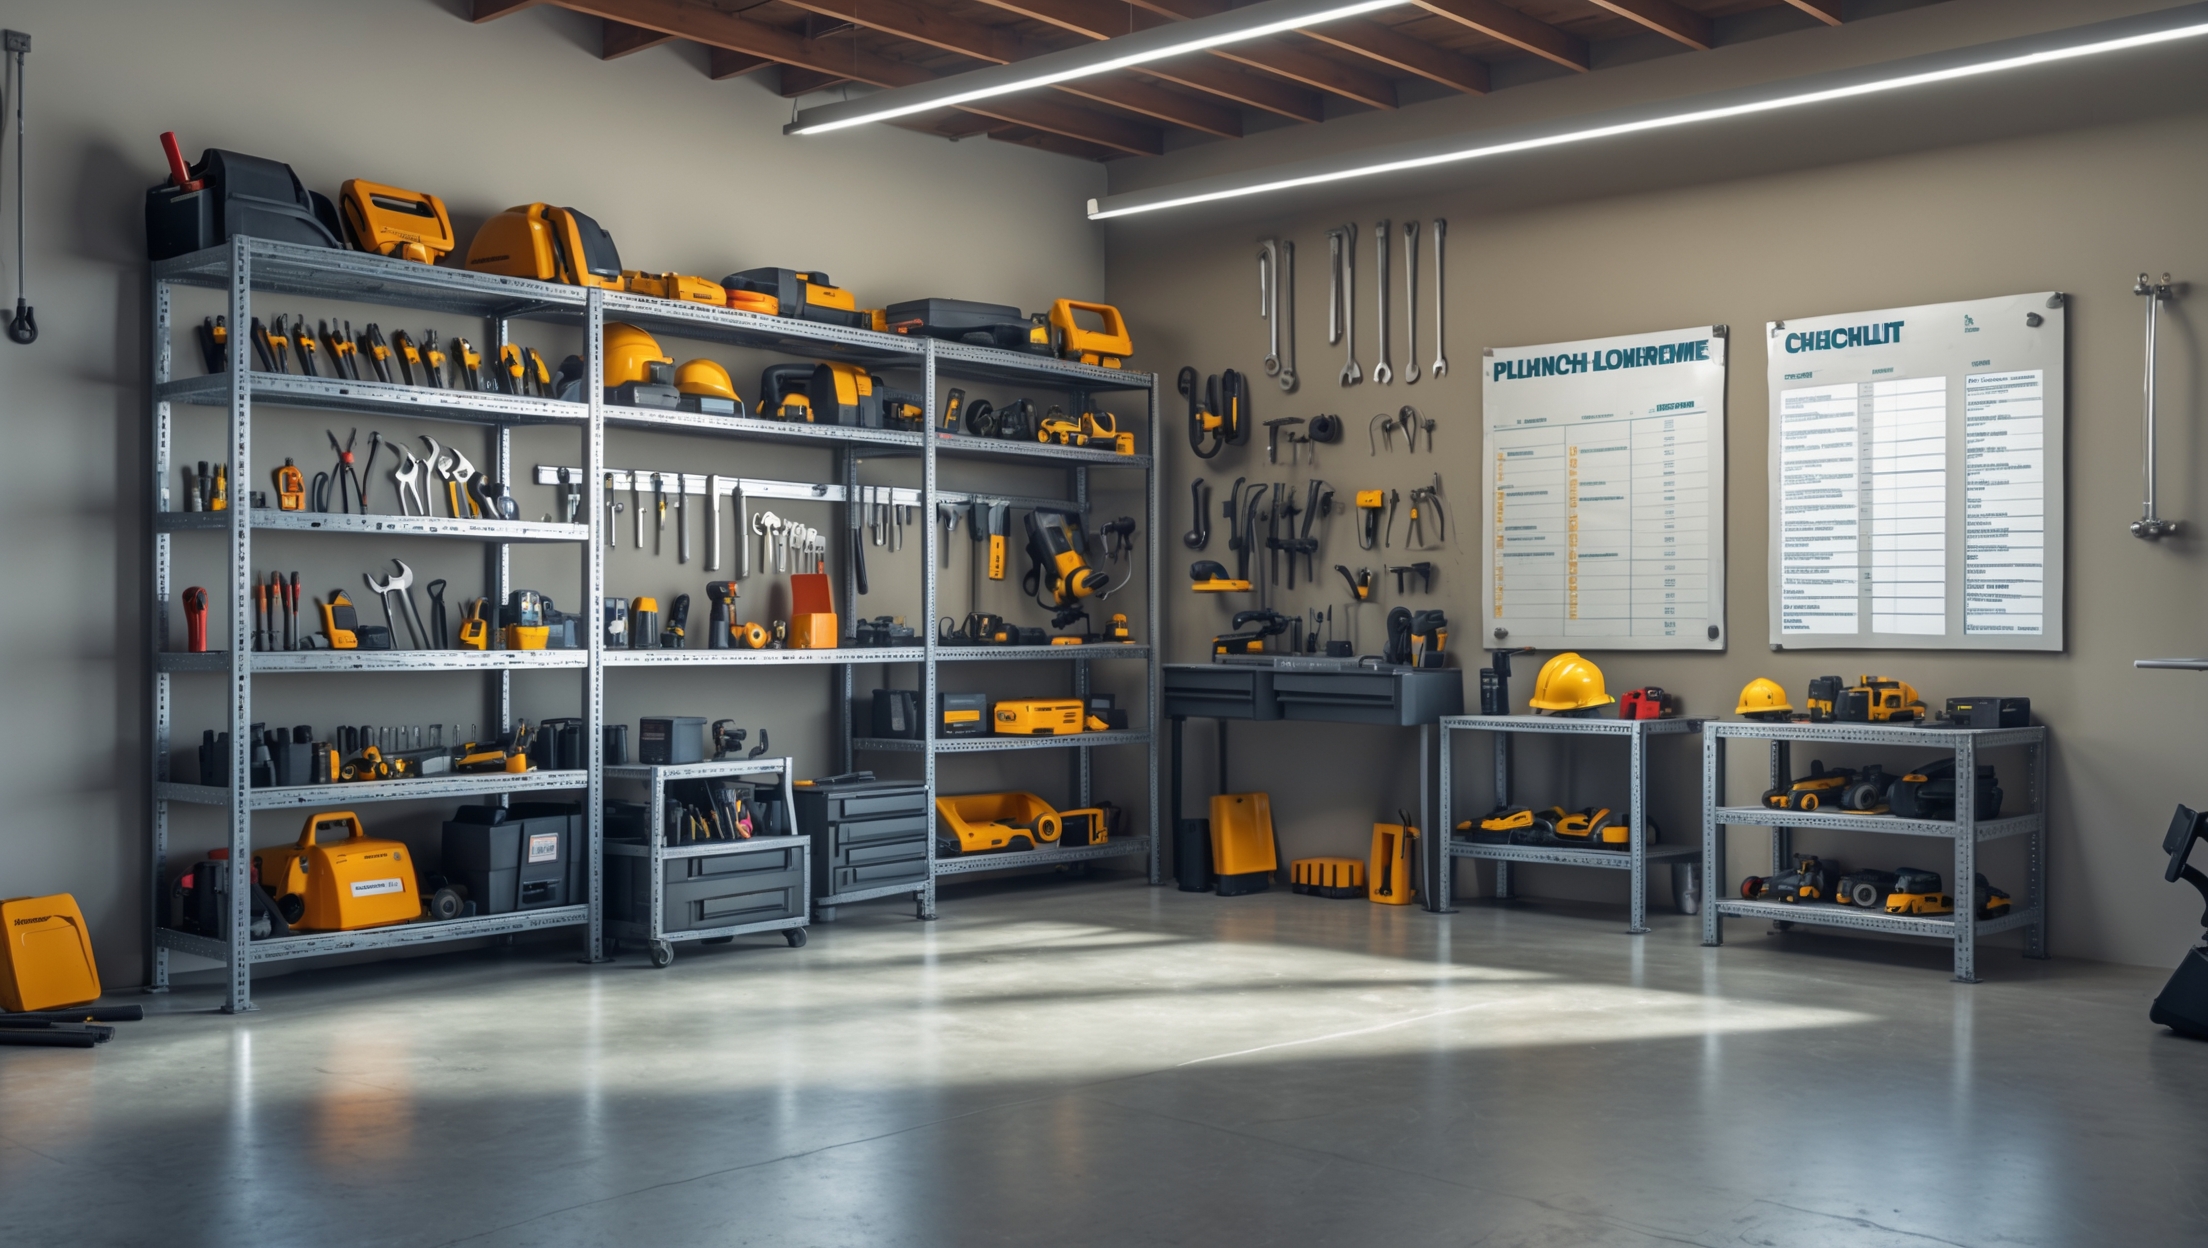
Tools and Materials Checklist
- Pre-slit foam or rubber pipe insulation (sized to your pipes)
- Utility knife or scissors
- Measuring tape
- Duct tape or specialized insulation tape
- Cable ties (optional, for extra security)
- Gloves and dust mask (for fiberglass insulation)
Preparation: Measuring and Cleaning
Start by measuring the length and diameter of every pipe you plan to insulate. Clean the pipes to remove dust, oil, or debris, which can interfere with adhesion and fit.
Cutting and Fitting Insulation
Cut insulation to length with a utility knife. For elbows and T-joints, use angled cuts to ensure full coverage. Slide pre-slit tubes over the pipe, ensuring a snug fit. For wrap or tape-style insulation, spiral it tightly around the pipe, overlapping each layer by at least half an inch.
Sealing Joints and Gaps
Secure seams with insulation tape or duct tape. Pay special attention to corners, valves, and connections. Any exposed pipe can become a weak point in your system.
Special Cases: Outdoor and Underground Pipes
- For exterior pipes, use weather-resistant insulation and waterproof tape. Consider adding a plastic or metal covering for extra protection from the elements.
- Underground pipes should be insulated with closed-cell foam and covered with a moisture barrier before burial.
Advanced Insulation Strategies for Maximum Protection
Double-Layering in Extreme Climates
In regions with severe winters, double up on insulation or combine materials (e.g., foam tubing plus fiberglass wrap). This layered approach can dramatically reduce the risk of freezing.
Heat Tape and Cable Integration
For pipes that are especially vulnerable, apply UL-rated heat tape or cable directly to the pipe before insulating. This ensures continuous warmth during sub-zero temperatures, but always follow manufacturer instructions for safe use.
Vapor Barriers and Moisture Control
Especially in humid climates or near cold-water lines, use insulation with built-in vapor barriers to prevent condensation from dripping onto other surfaces.
Common Mistakes to Avoid
- Gaps at Joints or Valves: Even small exposed spots can allow freezing or condensation. Seal every seam meticulously.
- Incorrect Sizing: Insulation that’s too loose won’t be effective; too tight, and it may compress or split over time.
- Using the Wrong Material: Don’t use indoor-only insulation outdoors, where UV and rain will quickly degrade it.
- Neglecting Regular Checks: Insulation can shift, compress, or degrade; always re-inspect at least once a year.
Maintenance: Keeping Your Insulation Effective Year After Year
Seasonal Inspection Checklist
- Check for signs of wear, moisture, or damage in late summer and early winter.
- Look for displaced insulation, especially after plumbing repairs or renovations.
- Inspect outdoor insulation for cracking or UV damage each spring.
- Replace or repair any compromised sections immediately.
Cleaning and Rodent Prevention
Dust and debris can settle on exposed insulation, especially in basements or crawl spaces. Gently wipe with a dry cloth or vacuum with a soft brush attachment. In areas prone to rodents, consider wrapping insulation with metal mesh to prevent chewing.
Pipe Insulation and Energy Savings: What the Numbers Say
Energy Efficiency Benefits
The U.S. Department of Energy estimates that insulating hot water pipes can reduce heat loss by up to 80%, resulting in water temperatures that are 2–4°F higher compared to uninsulated pipes. This means you can lower your water heater setting and still enjoy hot showers—reducing your energy bills by 3–5% annually.
Preventing Costly Repairs
The average burst pipe repair costs between $500 and $2,000—not including water damage restoration. A weekend spent insulating pipes is a tiny investment compared to the expense of emergency plumbing calls and home repairs.
Frequently Asked Questions About Pipe Insulation
- Do I need to insulate both hot and cold water pipes?
Yes. Hot water pipes benefit from reduced heat loss, while cold water pipes are protected from condensation and freezing. - Can I insulate pipes myself, or should I hire a professional?
Most homeowners can handle basic installations. For complex systems or hard-to-reach pipes, a professional can ensure optimal coverage. - How long does pipe insulation last?
Quality insulation can last 10–20 years indoors. Outdoor insulation may need replacement sooner, especially if exposed to direct sunlight or harsh weather.
Conclusion: Investing in Pipe Insulation Pays Off
Pipe insulation doesn’t just prevent winter disasters—it’s a smart, year-round investment that pays dividends in comfort, efficiency, and peace of mind. By understanding the science behind insulation, choosing the right materials, and following expert installation and maintenance practices, homeowners can safeguard their plumbing systems against freezing, condensation, and energy loss. The upfront cost of materials and a few hours of DIY labor pale in comparison to the expenses—and stress—of emergency plumbing repairs or water damage. More importantly, well-insulated pipes make your home more energy-efficient, environmentally friendly, and comfortable for everyone inside.
Start by inspecting your home’s vulnerable spots: exterior walls, basements, attics, and any outdoor piping. Gather the right materials, take your time with installation, and schedule regular maintenance checks to catch problems early. Don’t hesitate to consult a professional for tricky areas or if you’re unsure about local code requirements. Remember, every foot of insulated pipe is an investment in your home’s resilience—and your wallet’s bottom line. Take action today, and you’ll enjoy the rewards of safer, more efficient plumbing for years to come.




Patricia Sanchez
You talk about condensation causing mold and damage if pipes aren’t insulated. What are early warning signs that moisture is already becoming a problem around pipes, and what immediate steps should I take if I spot them?