Introduction
Getting a plumbing permit is only the first step in many repair, renovation, or installation projects—passing the inspection is where many homeowners and contractors feel the pressure. Whether you’re tackling a bathroom remodel, installing a new water heater, or upgrading your home’s supply lines, a permit inspection is required to ensure everything is up to code and safe for long-term use. But what actually happens during a plumbing inspection? How can you avoid costly delays, rework, or even failed inspections that set your project timeline back by weeks?
In this comprehensive guide, we demystify the plumbing permit inspection process. You’ll learn exactly what inspectors look for at each stage, how to prepare your worksite for a smooth review, and expert strategies to ensure you pass on the first attempt. We’ll cover the most common issues that lead to inspection failures, provide actionable checklists, and explain your rights if you disagree with an inspector’s decision. Whether you’re a DIY enthusiast, a seasoned tradesperson, or a homeowner navigating your first major plumbing project, this guide is your trusted resource for passing plumbing permit inspections with confidence.
Understanding Plumbing Permit Inspections
What is a Plumbing Permit Inspection?
A plumbing permit inspection is a mandatory review of plumbing work to verify compliance with local building codes, safety standards, and the terms of your permit. The inspection is typically required at several stages: rough-in (before walls and floors are closed up), and final (after fixtures and finishes are installed). Some projects may require additional specialty inspections, such as for gas lines or backflow devices.
Who Conducts the Inspection?
Plumbing inspections are conducted by city or county officials—licensed professionals trained to interpret and enforce plumbing codes. Inspectors are neutral authorities; their sole job is to ensure that completed work is safe, code-compliant, and does not pose hazards to occupants or the public water supply.
Why Inspections Matter
- Safety: Ensures correct installation to prevent leaks, contamination, or dangerous conditions.
- Legal Compliance: Most municipalities require inspection sign-off before you can legally occupy or use renovated spaces.
- Insurance & Resale: Uninspected or failed work can void insurance coverage or derail future property sales.
Types of Plumbing Inspections
1. Rough-In Inspection
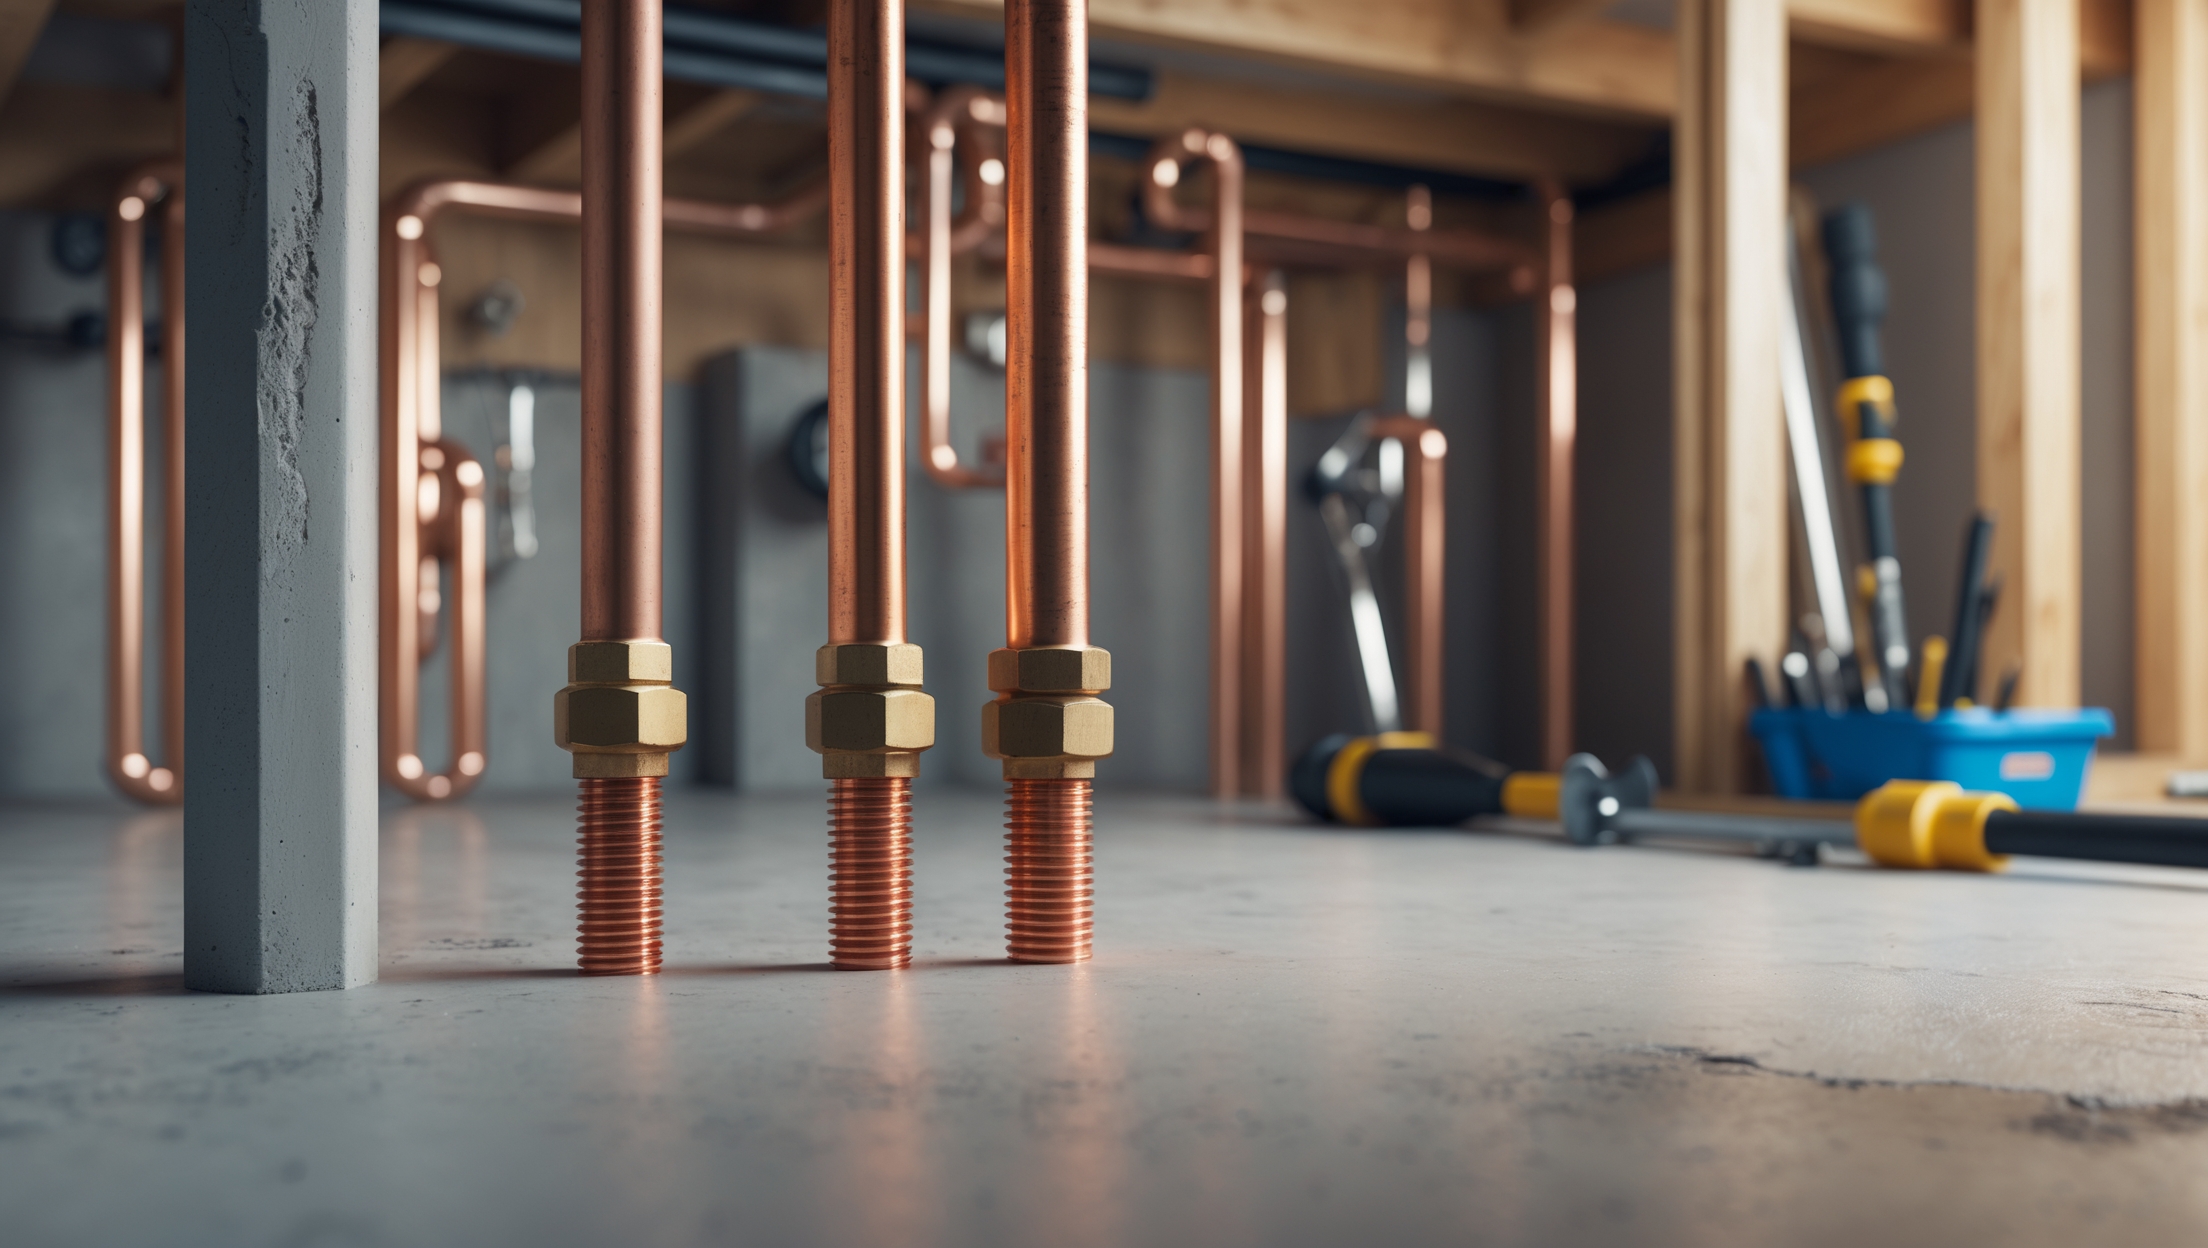
This occurs after pipes, drains, vents, and water lines are installed but before walls, floors, and ceilings are closed. The inspector checks pipe sizing, slopes, support, and connections for compliance.
2. Pressure Test
Often performed alongside the rough-in. Pipes are pressurized (with water or air) to check for leaks and proper joint sealing.
3. Final Inspection
After fixtures, appliances, and trim are installed, the inspector ensures everything works as intended—checking for leaks, proper venting, backflow prevention, and fixture spacing.
4. Specialty Inspections
- Gas Line Inspection: For projects involving gas water heaters or appliances.
- Backflow Preventer Inspection: Required in homes with irrigation systems or certain appliances.
- Sewer Camera Inspection: Sometimes required for major drain work or additions.
Before the Inspector Arrives: Preparation Checklist
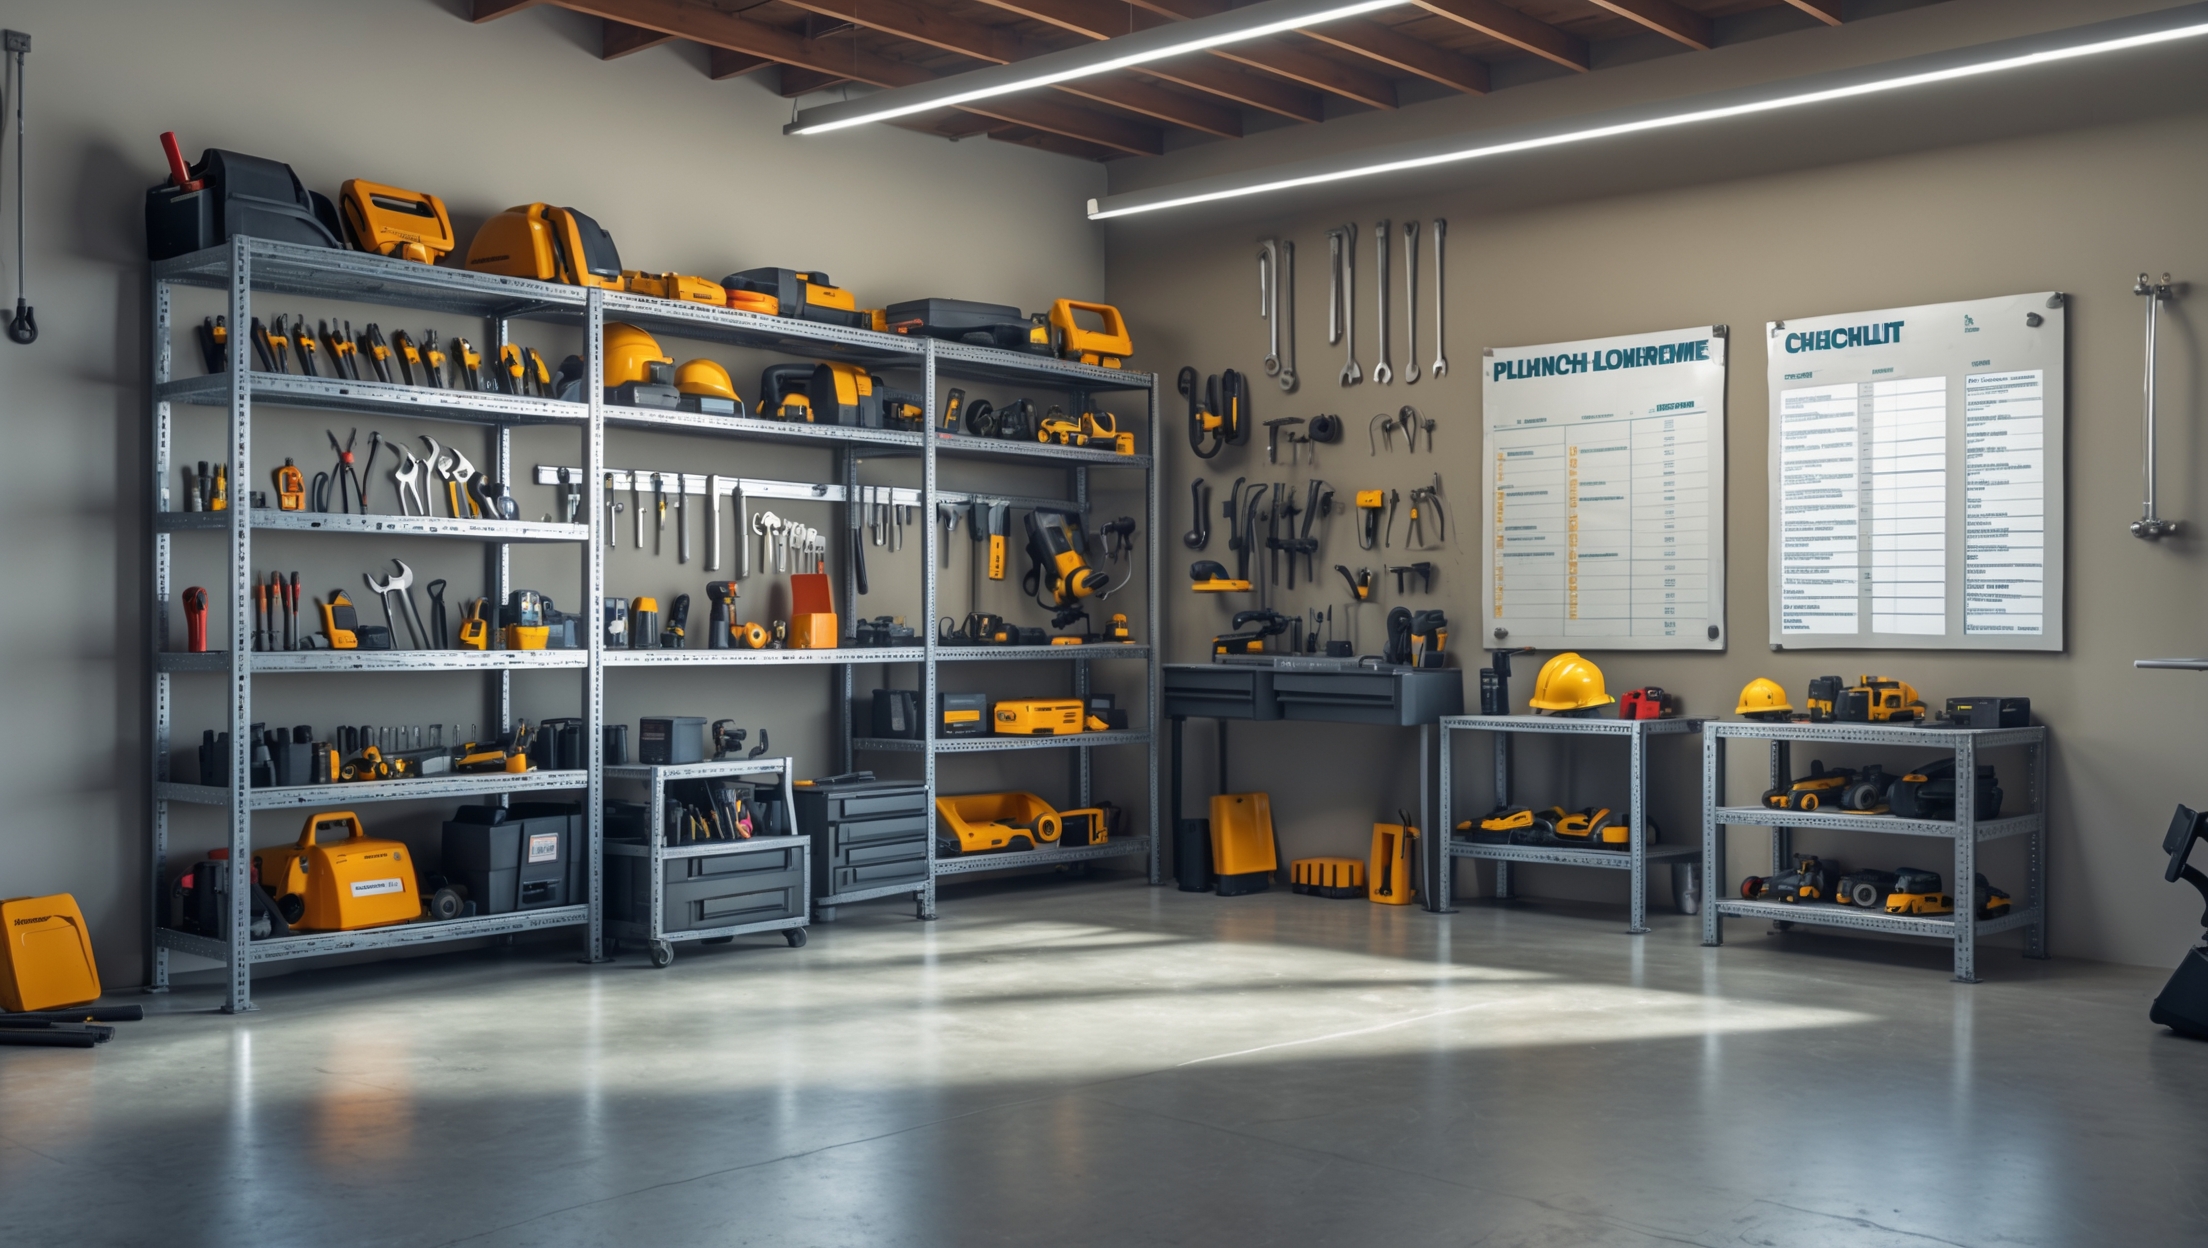
Proper preparation is the key to passing plumbing inspections. Here’s a practical checklist to follow before scheduling your inspection:
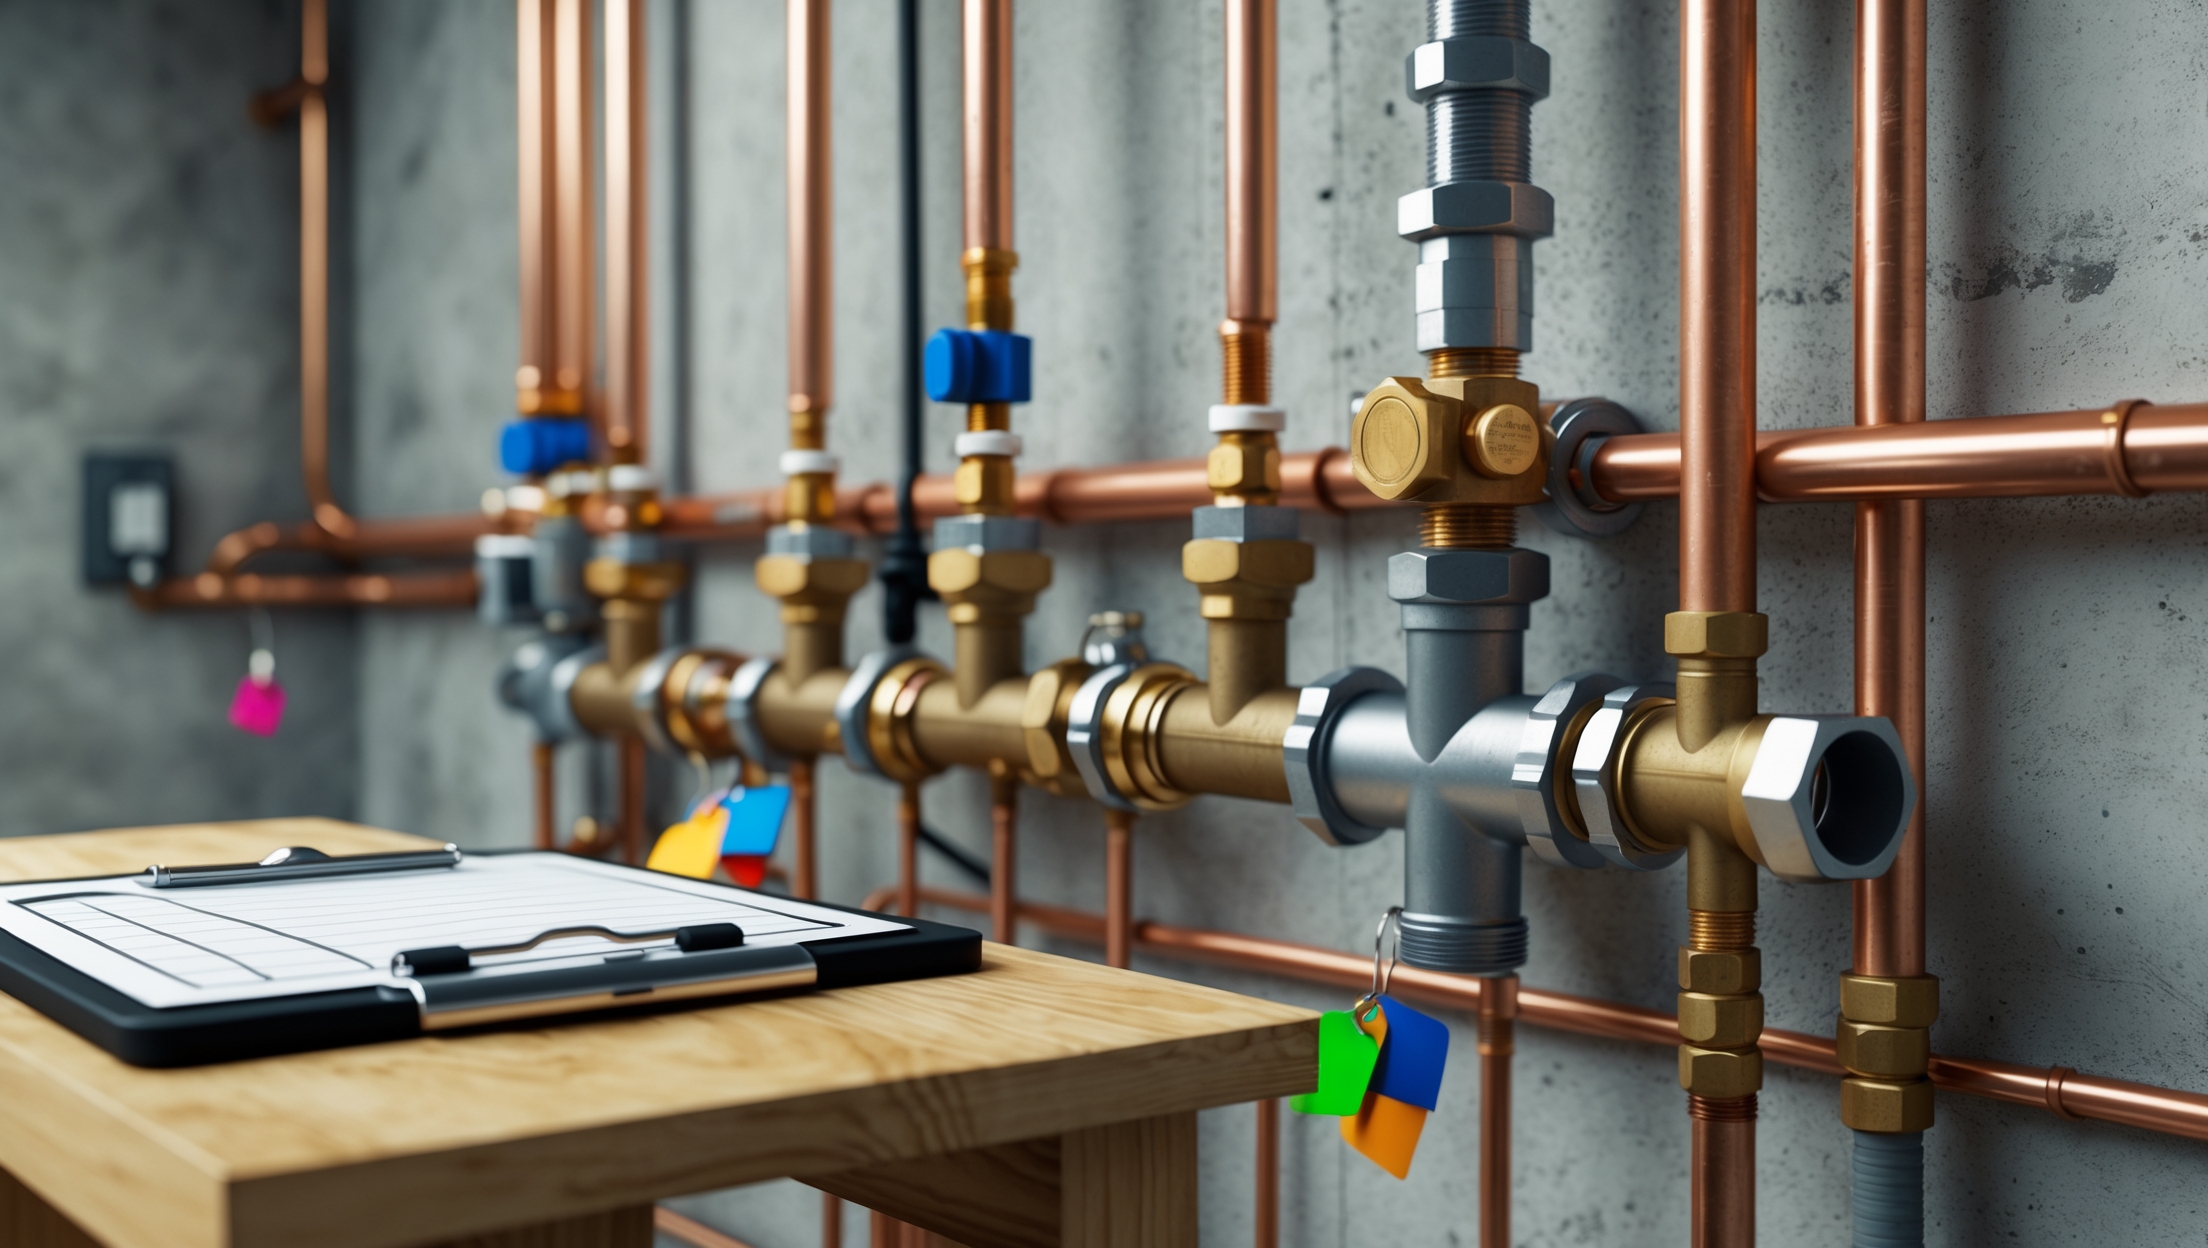
- Have Your Permit and Plans Ready: Keep a copy of your approved permit and plans on-site. Inspectors need to verify your work matches the documented scope.
- Don’t Cover Your Work: All pipes, fittings, and connections must be visible. Don’t install drywall or flooring until you’ve passed rough-in.
- Pressure Test Set-Up: If required, ensure test gauges are installed and pipes are pressurized before the inspector arrives.
- Label and Tag: Label shut-off valves, backflow preventers, and other specialty components as required.
- Clear Access: Provide safe, clear access to all areas under inspection—including crawlspaces, attics, or mechanical rooms.
- Clean Up: A tidy site makes inspection faster and shows professionalism. Remove debris, tools, and unnecessary materials.
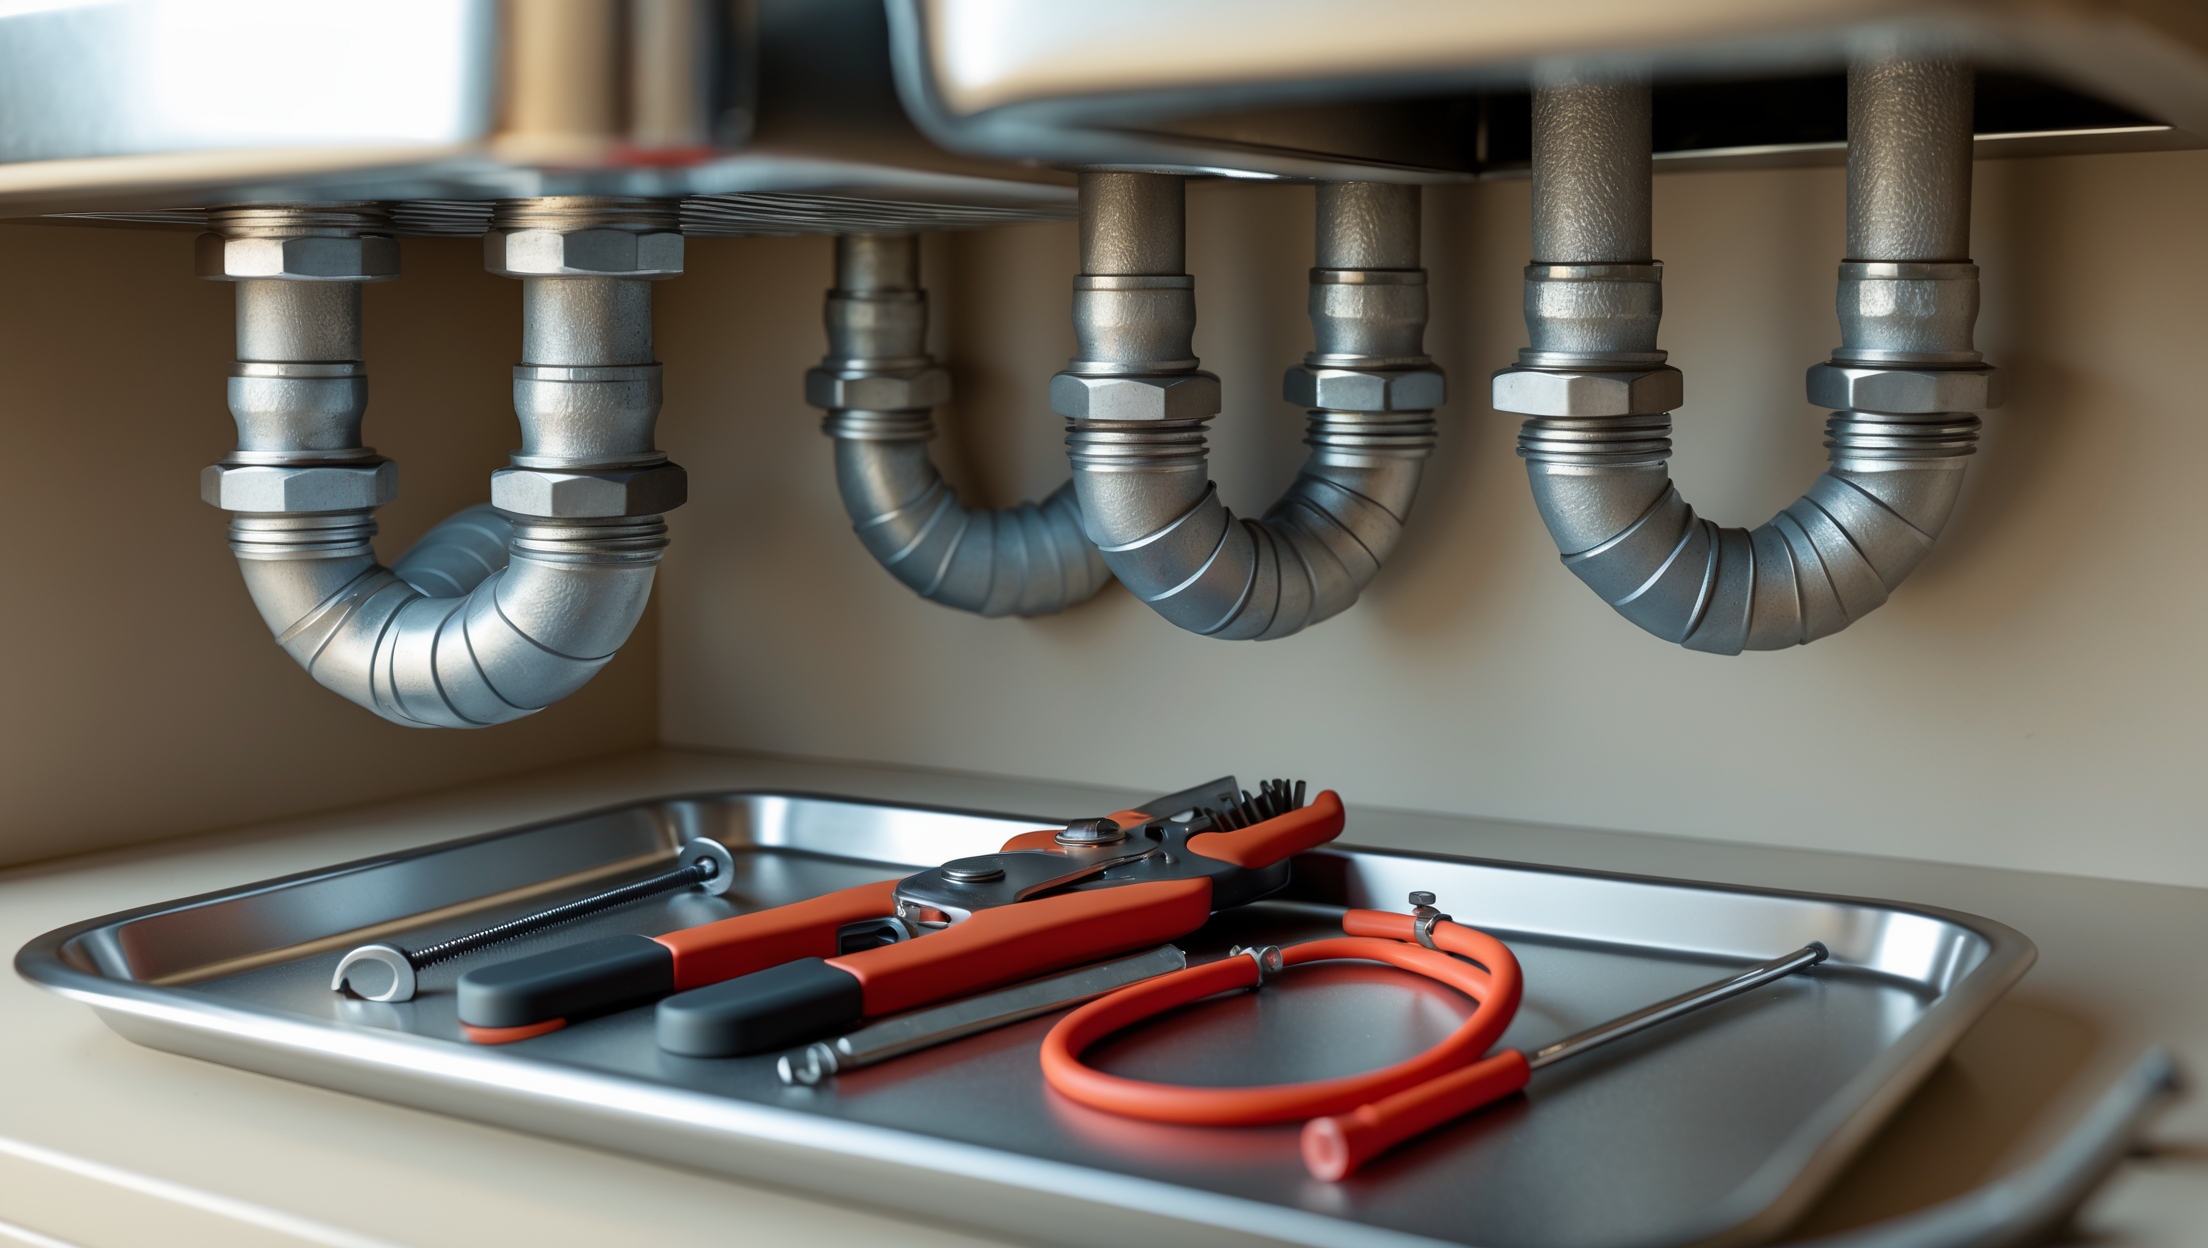
- Test All Fixtures: Run water through all installed fixtures and check for leaks or slow drainage before the inspector does.
- Document Anything Unusual: If you made an approved code variance or used alternative materials, have documentation ready for review.
What Inspectors Look For: Common Failure Points
Understanding what can trigger a failed inspection will help you avoid common mistakes. Here’s what inspectors focus on:
- Incorrect Pipe Slope: Drain pipes must slope appropriately (typically 1/4” per foot) for proper flow and to prevent backups.
- Improper Venting: All fixtures must be properly vented to prevent sewer gases from entering the home and ensure efficient drainage.
- Unsupported Runs: Pipes need adequate support at specified intervals—unsupported pipes can sag and leak.
- Unapproved Materials: Using the wrong type of pipe or fitting for the application (e.g., non-rated PVC for hot water) is a common failure point.
- Leaky Joints: Pressure tests reveal joint failures. Even tiny leaks will require correction before passing.
- Backflow Prevention: Missing or incorrectly installed backflow devices, especially on irrigation or commercial systems.
- Fixture Clearances: Insufficient space around toilets, sinks, or water heaters is a frequent issue, especially in small bathrooms.
- Improperly Sized Drains or Vents: Undersized pipes can cause slow drainage or siphoning of traps.
- No Accessible Shutoffs: Water and gas shutoff valves must be easily accessible—not buried behind walls or cabinets.
- Code Violations from Unpermitted Work: Previous DIY jobs not up to code can cause a cascade of issues.
How to Pass the Inspection: Expert Strategies
Double-Check Your Work Against Code
Obtain the latest edition of your local plumbing code (often based on the IPC or UPC) and verify your work against the requirements. Pay close attention to local amendments—these can differ from national standards.
Schedule at the Right Time
Don’t book an inspection until you’re confident all work is complete and ready for review. Rushing can lead to missed details and unnecessary failures.
Be On Site (or Have a Knowledgeable Representative)
Being present lets you answer questions, provide documentation, and fix minor issues on the spot—potentially avoiding a failed inspection or second trip fee.
Prepare a Correction List
If you’re aware of any minor issues or temporary workarounds, prepare a list and discuss them with your inspector. Transparency goes a long way.
Ask Questions—Before and During
If you’re unsure about a requirement, call your local inspection office in advance. Inspectors are usually happy to clarify expectations, and this can prevent wasted time and materials.
What to Do If You Fail an Inspection
Understand the Correction Notice
Inspectors will issue a written list of corrections, citing code sections. Read this thoroughly and ask for clarification if anything is unclear.
Make Corrections Promptly
Address each item on the list before requesting a re-inspection. Take photos of corrections for your records—and in case you need to demonstrate compliance remotely.
Don’t Cover Up Until You Pass
Never conceal or finish work until you’ve passed the inspection for that stage. Covered work may require demolition for re-inspection, adding cost and delay.
Dispute Resolution
If you believe the inspector is incorrect or applying the code unfairly, you have the right to appeal. This typically involves submitting a written request to the building department and may include a hearing or third-party review.
Special Considerations for DIYers and Contractors
For DIY Homeowners
- Know Your Limitations: Not all plumbing work is legal for unlicensed individuals. Check your city’s rules before starting.
- Document Everything: Photograph your process, keep receipts for materials, and maintain a project log.
- Attend City Workshops: Many municipalities offer homeowner permit classes that clarify inspection requirements.
For Contractors
- Stay Up-to-Date with Code Changes: Codes evolve—attend regular training.
- Use Permit Management Tools: Software can help track inspection dates, correction lists, and project documentation.
- Communicate with Clients: Set realistic expectations for inspection timing and possible corrections, especially on complex jobs.
Sample Plumbing Inspection Walkthrough
Let’s walk through a typical residential bathroom remodel inspection:
- Inspector Arrives: Presents ID, reviews permit documents.
- Visual Check: Inspects exposed supply and drain lines, looking for correct slope, venting, and support.
- Pressure Test: Verifies that system holds pressure without leaks.
- Fixture Placement: Checks spacing around toilet, sink, and tub for accessibility.
- Backflow Prevention: Reviews installation on any outdoor spigots or irrigation tie-ins.
- Shutoff Valves: Ensures shutoffs are present and accessible for each fixture.
- Correction List (if any): Provides written notice of any deficiencies, with code references.
Tips for a Smooth Inspection Experience
- Be Polite and Professional: Inspectors are there to help. A cooperative attitude can make the process smoother.
- Keep Good Records: Maintain all permits, approvals, and correspondence in a dedicated folder.
- Anticipate Questions: Be prepared to explain unique design choices or alternative materials—and have documentation ready.
- Plan for Re-Inspections: Build time for possible corrections into your project schedule. Most inspectors appreciate prompt responses to corrections.
Conclusion
Plumbing permit inspections can seem daunting, but with the right preparation and a clear understanding of what’s expected, they become a straightforward step in your project’s journey. The inspector’s goal is not to stall your progress but to ensure that your plumbing is safe, reliable, and built to last. Passing on the first try is achievable if you approach each phase methodically—double-checking your work against local codes, leaving all connections visible, and being proactive about potential issues. Remember, code compliance isn’t just about bureaucracy; it’s about protecting your home’s value, your family’s health, and your community’s water supply.
By following the detailed advice in this guide, you’ll avoid the most common pitfalls that trip up both DIYers and professionals. Make use of checklists, communicate openly with your local inspection office, and never hesitate to ask questions or request clarification. Should you face setbacks or disagreements, know your rights and address issues promptly. With diligence and the right know-how, you’ll move through permit inspections efficiently, keeping your project on track and your peace of mind intact. Every successful inspection is a mark of quality and care—one that pays dividends for years to come.


Mary Lopez
When preparing for a plumbing permit inspection, are there budget-friendly strategies or common DIY mistakes the article recommends avoiding to reduce the risk of costly rework or failed inspections?