
When it comes to reliable plumbing, your water supply lines are the silent workhorses behind the scenes. While pipes inside your walls and under your floors get most of the attention, the short, flexible (or sometimes rigid) supply lines that connect your fixtures—sinks, toilets, dishwashers, and washing machines—are among the most common sources of leaks. Yet, many homeowners and even professionals overlook the importance of regular inspection and timely replacement of these critical components. A failed supply line can cause catastrophic water damage in minutes, while an upgraded, properly installed line provides peace of mind for years. In this comprehensive guide, we’ll dive deep into supply line upgrades: how to spot aging lines, select the right modern materials, handle replacement safely, and avoid common pitfalls. Whether you’re a DIY enthusiast aiming to safeguard your investment, a landlord managing multiple properties, or a plumbing pro looking to standardize best practices, this post will equip you with actionable knowledge to keep your plumbing system robust and leak-free.
Understanding Plumbing Supply Lines
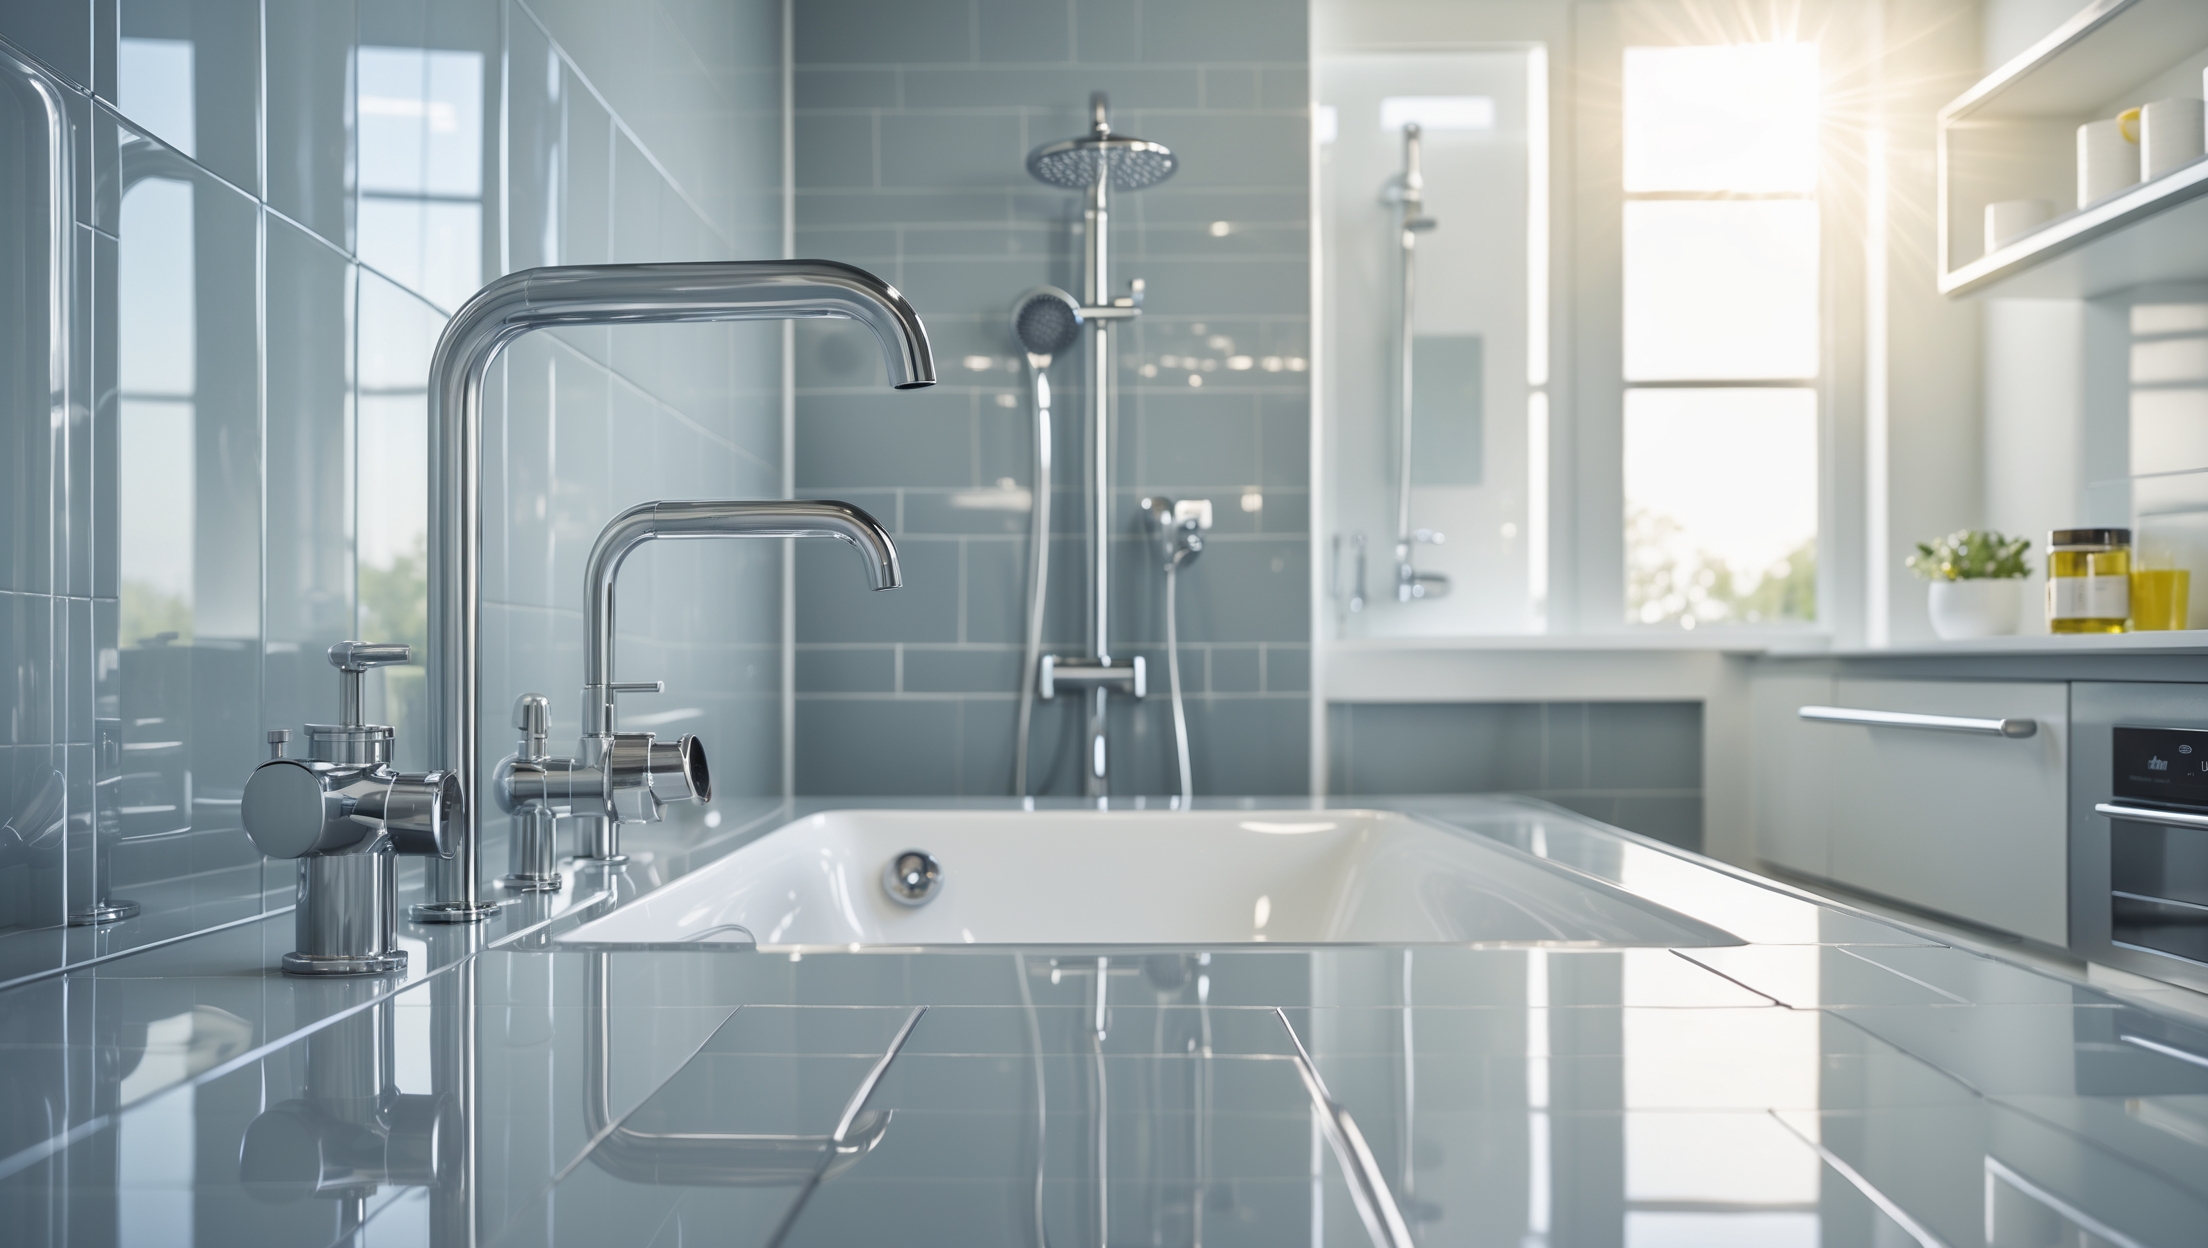
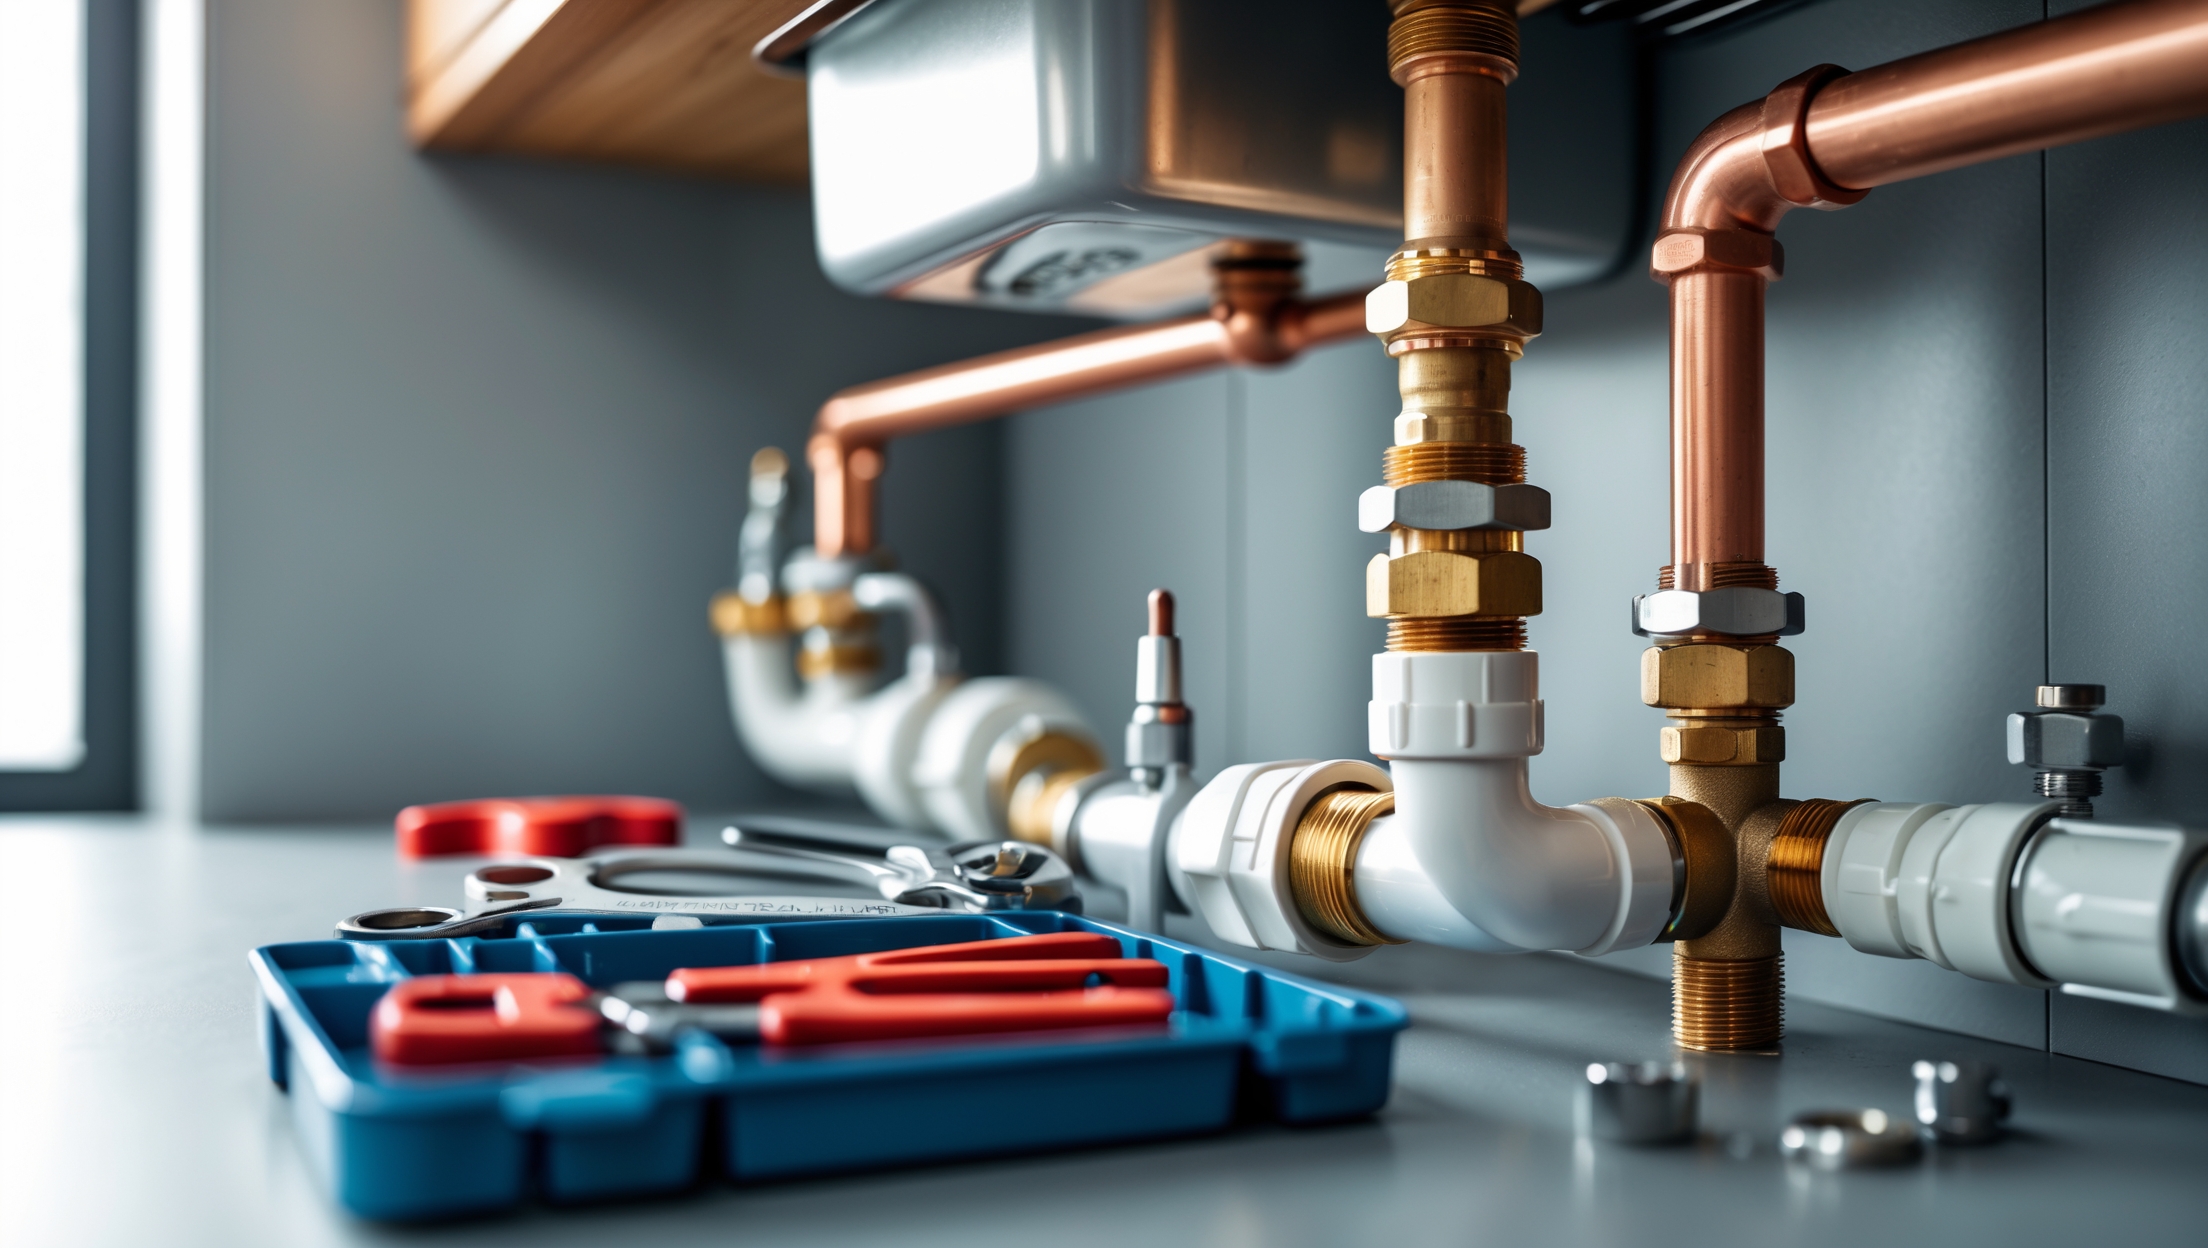
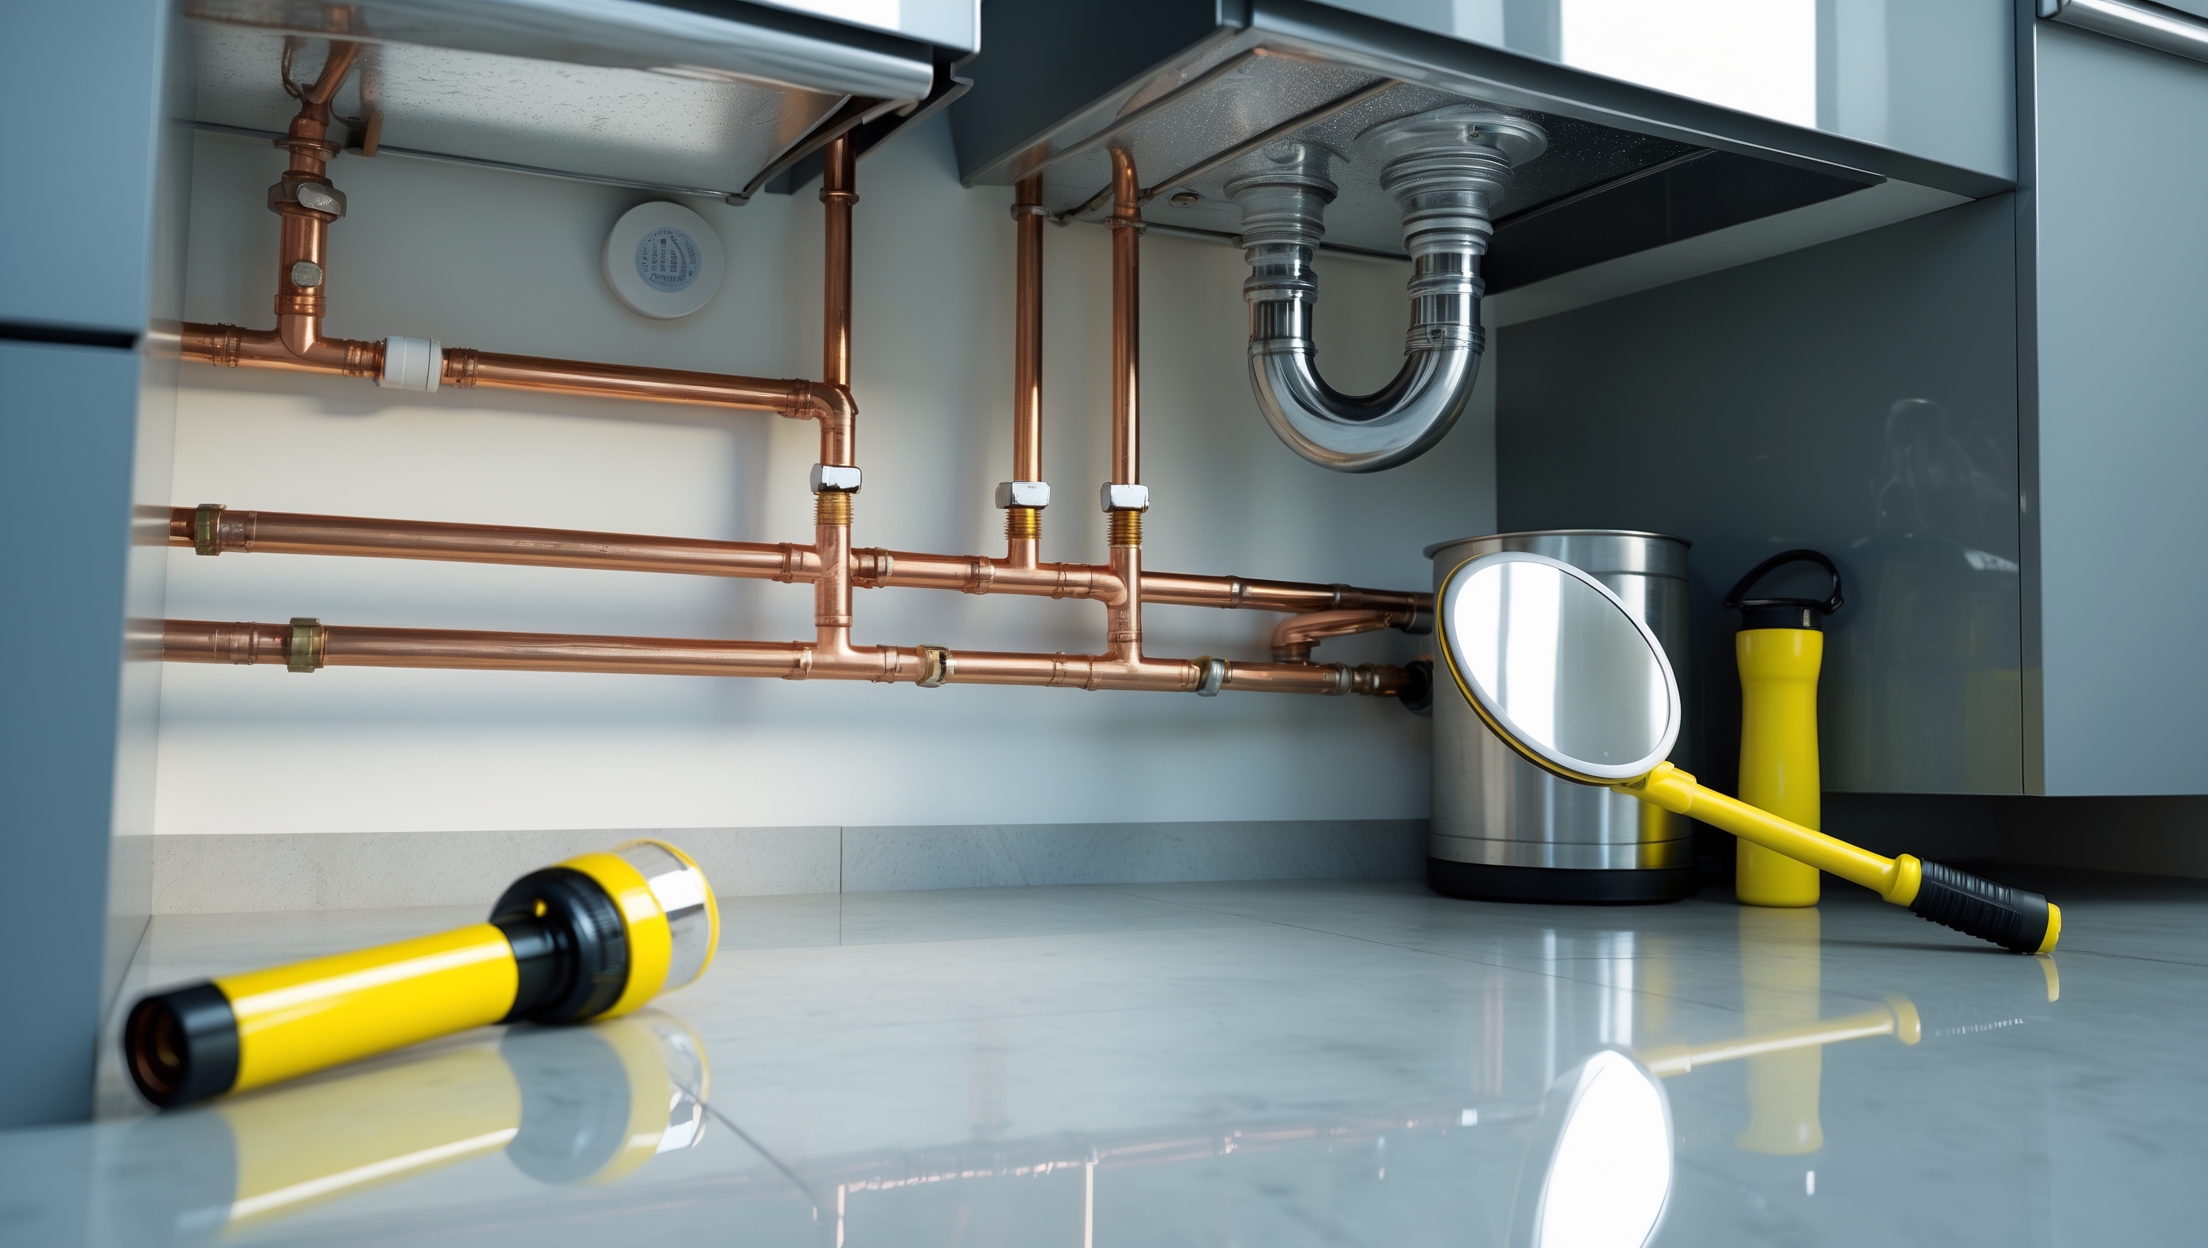
What Are Supply Lines?
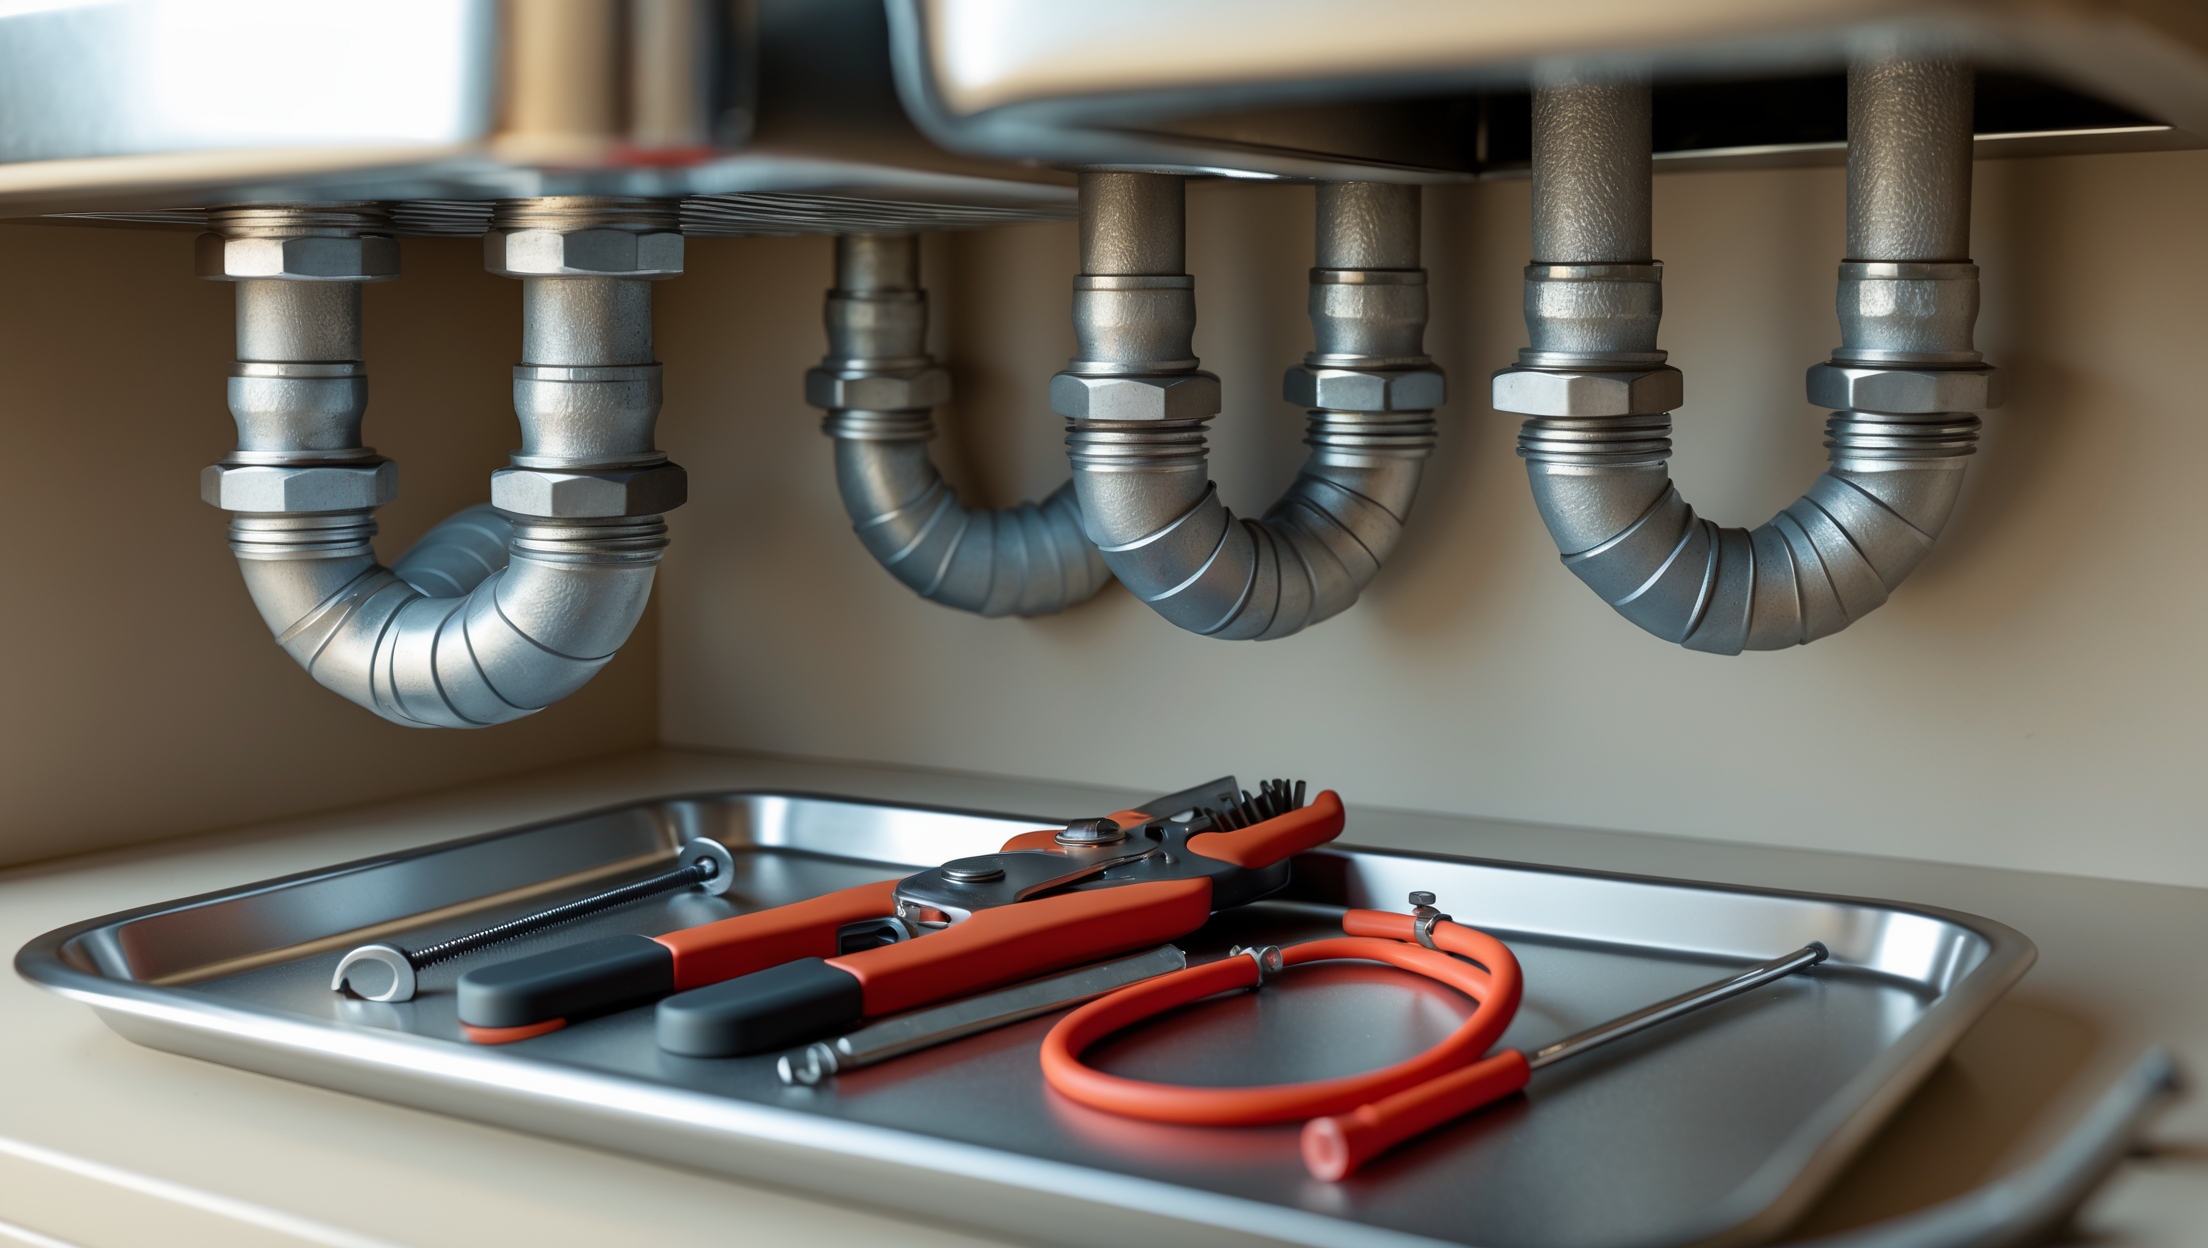
Supply lines are the pipes or hoses that connect your home’s water supply to individual plumbing fixtures. They are most often found under sinks, behind toilets, and attached to appliances like dishwashers and washing machines. Supply lines may be made of various materials, including:
- Flexible braided stainless steel
- Plastic (PVC, PEX, or reinforced vinyl)
- Copper tubing
- Rubber (mainly on older installations)
Why Are Supply Lines Prone to Failure?
Unlike pipes concealed in walls, supply lines are exposed to frequent movement, vibration, and temperature changes. Over time, the materials can degrade, the fittings can loosen, and small leaks can develop into major bursts. The most common causes of failure include:
- Material aging and breakdown (especially with rubber and plastic)
- Corrosion of metal fittings
- Poor installation or overtightening
- Physical stress from shifting appliances or fixtures
- Water pressure spikes
When Should You Upgrade Your Supply Lines?
Signs It’s Time for Replacement
Routine inspection is key, but here are clear indicators that you should consider upgrading:
- Visible corrosion or rust: Especially at connections and fittings.
- Cracking, bulging, or discoloration: On rubber or plastic lines.
- Leaks or moisture: Even a small drip is a warning sign.
- Stiffness: Lines that have lost flexibility are at risk of splitting.
- Age: Any line over 5–7 years old (especially rubber or plastic) should be proactively replaced.
- Water damage evidence: Staining or soft spots on cabinetry or floors beneath fixtures.
Preventive Replacement: Why Wait for a Leak?
Many insurance companies recommend proactively replacing all supply lines every 5–10 years, regardless of visible condition. The small investment in new supply lines can prevent thousands in water damage. This is especially wise before leaving for vacations or if you own rental properties where leaks may go unnoticed.
Choosing the Right Supply Line Materials
Material Comparison
- Braided Stainless Steel: Durable, flexible, resistant to corrosion and kinking. Ideal for most applications. Look for lines with a solid inner core (often made of PVC or PEX) and high-quality crimps.
- Plastic (PEX, PVC): Inexpensive and easy to install, but more susceptible to damage from UV light and chemicals. PEX is preferred over PVC for flexibility and durability.
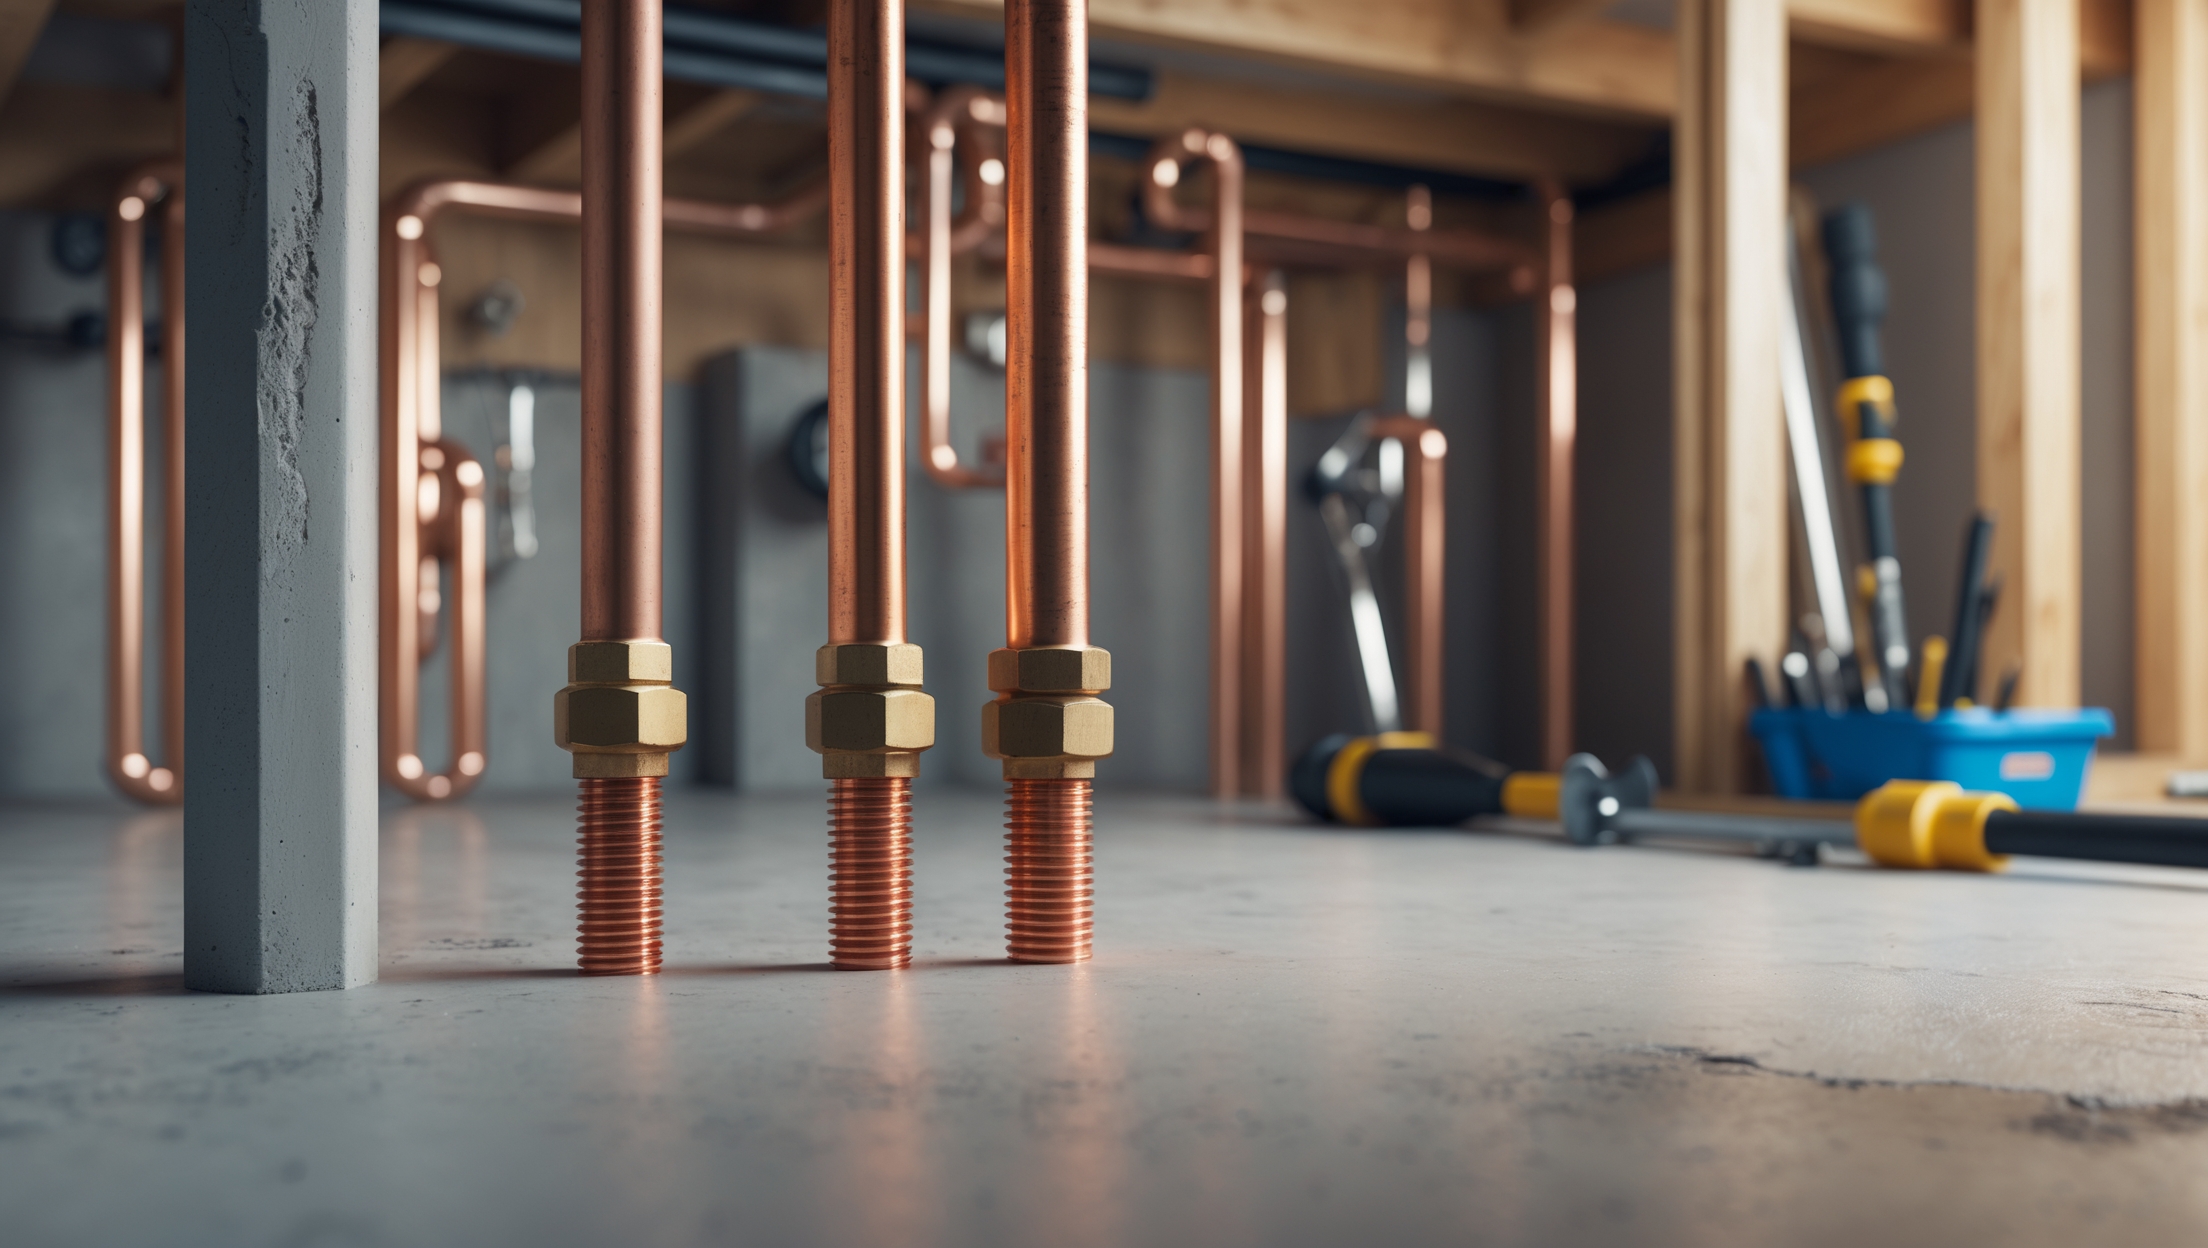
- Copper: Rigid and long-lasting, but less forgiving during installation and more expensive. Still a good choice for certain high-heat or high-pressure applications.
- Rubber: Outdated for most uses. Prone to cracking and bursting. Replace these immediately.
Length, Size, and Fittings
Select a supply line that is long enough to reach comfortably between the shut-off valve and the fixture without stretching or bending excessively. Standard sizes include 3/8″ compression fittings for faucets and 7/8″ or 1/2″ for toilets. Always confirm the fitting type and thread pattern before purchase.
Certification and Quality Marks
- Choose lines certified by NSF, CSA, or UPC for potable water use.
- Opt for products with manufacturer warranties and clearly marked installation dates.
Step-by-Step Guide: Replacing a Plumbing Supply Line
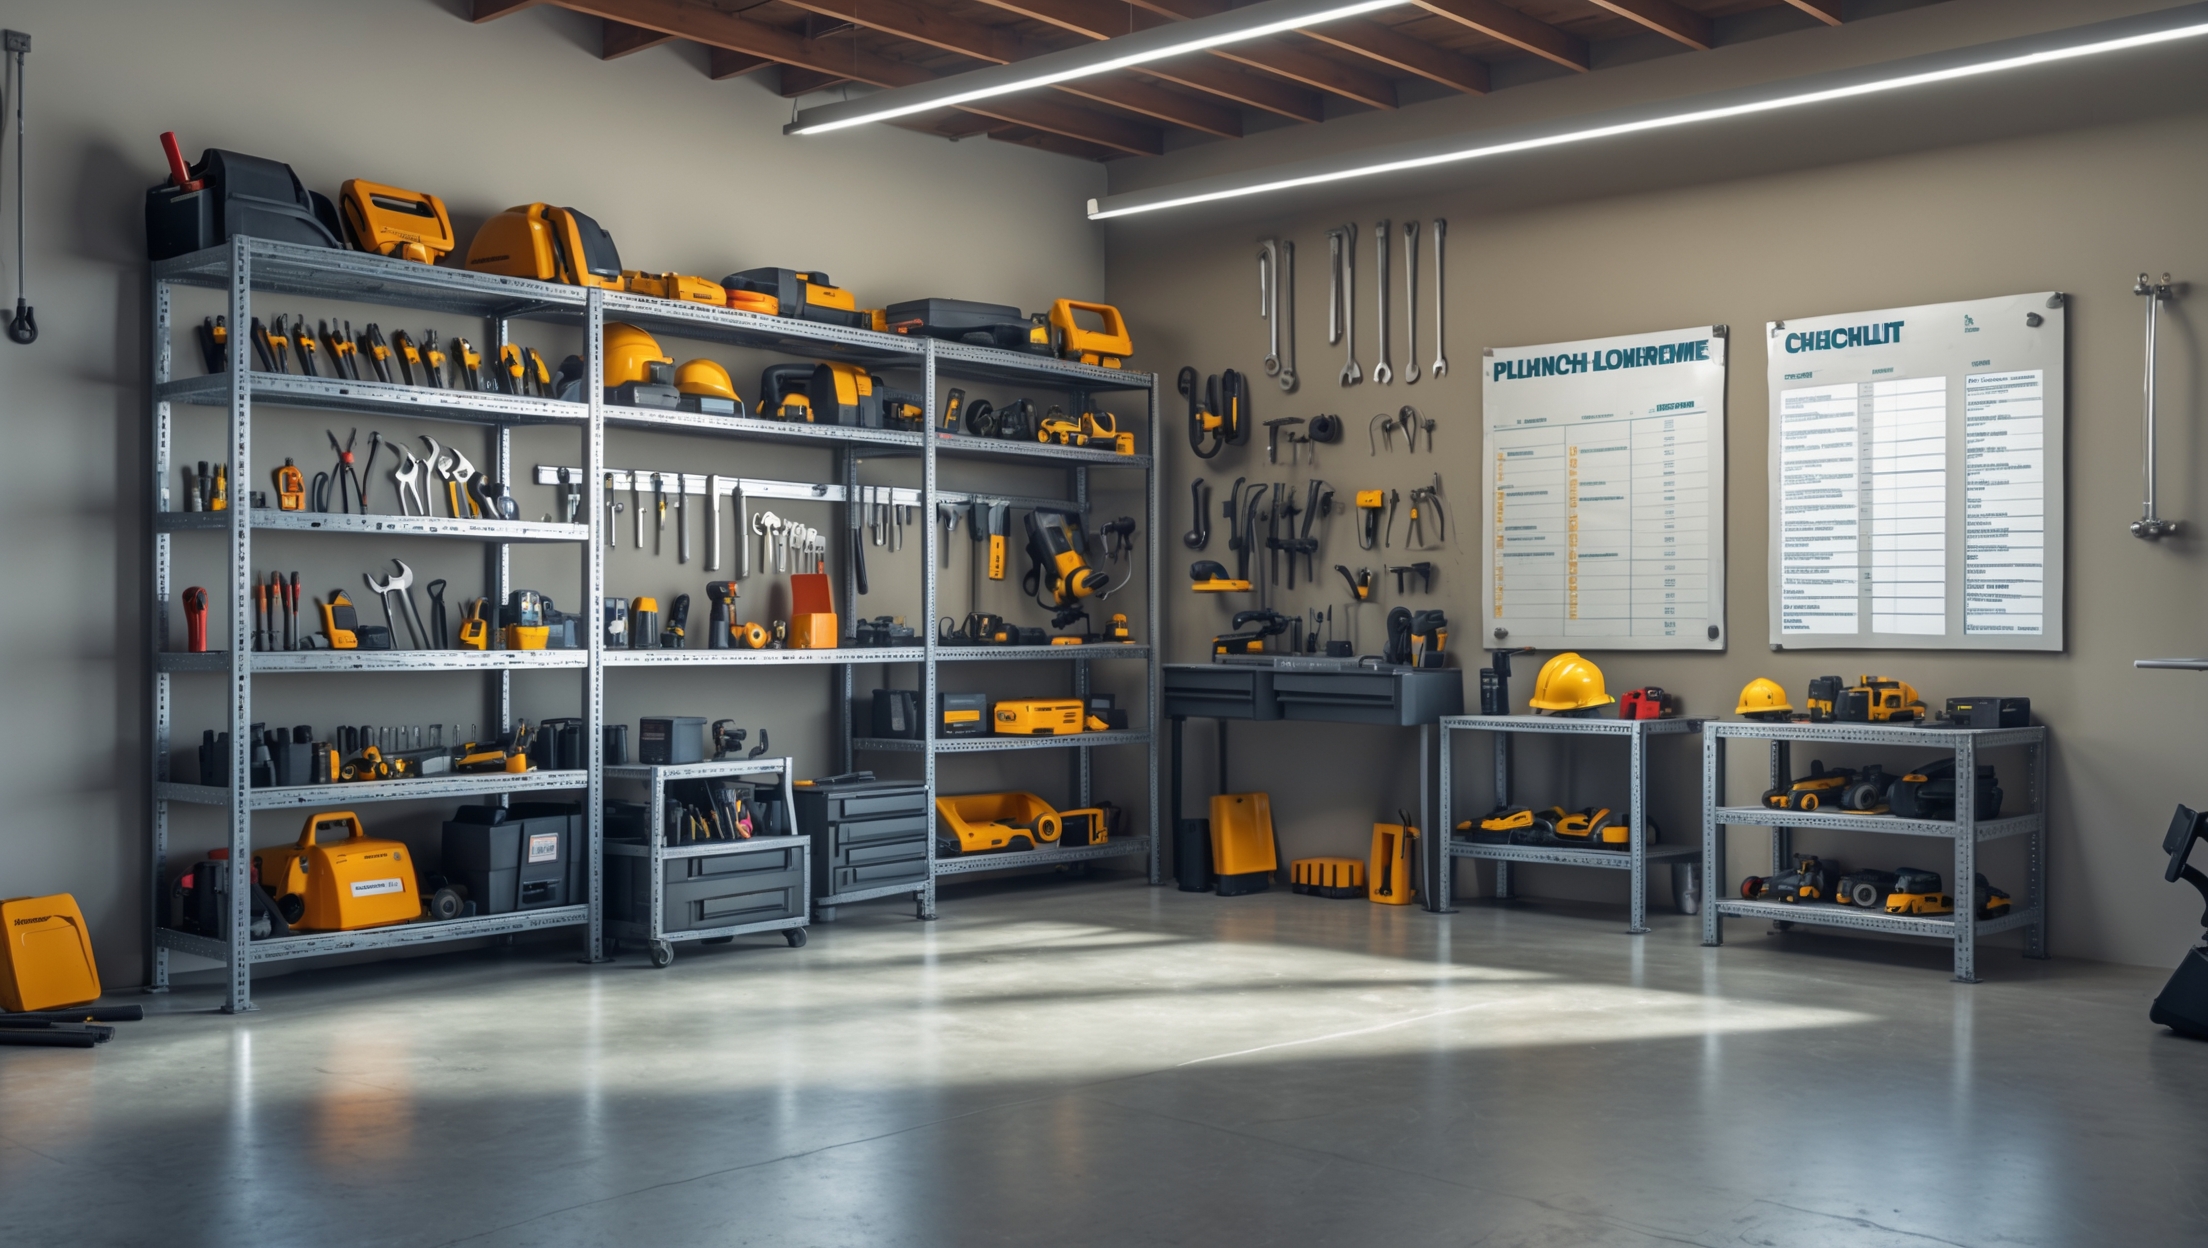
Tools and Materials Needed
- Adjustable wrench or basin wrench
- Pliers (optional)
- New supply line(s) of correct length and fitting type
- Towel or bucket (to catch drips)
- PTFE (Teflon) tape (if required by manufacturer)
Preparation
- Shut off the water: Locate and close the shut-off valve for the fixture you’re working on.
- Test for water flow: Open the faucet or flush the toilet to release pressure and drain the line.
- Protect the area: Place a towel or bucket under the connection points to catch any residual water.
Removal
- Using your wrench, loosen the supply line nut at the shut-off valve. Hold the valve steady with one hand to prevent twisting the pipe.
- Loosen the nut at the fixture end and remove the old line.
- Inspect both connection points for corrosion or debris. Clean as needed.
Installation
- Check manufacturer’s instructions for any special installation steps (some lines require PTFE tape, others have integrated gaskets).
- Hand-tighten the new line onto the fixture, then onto the shut-off valve. Use the wrench to snug the nuts—do not overtighten! (About a quarter turn past hand-tight is usually sufficient.)
- Ensure the line curves gently with no kinks or sharp bends.
Testing
- Open the shut-off valve slowly and check for leaks at both ends.
- If you observe a drip, tighten the connection slightly. Do not overtighten, as this can damage fittings or gaskets.
- Run water for 30–60 seconds and inspect again. Wipe connections with a dry cloth to detect any moisture.
Special Considerations for Appliances
Dishwashers and Washing Machines
- Supply lines for appliances often endure higher pressure and vibration.
- Always use braided stainless steel lines rated for the specific appliance.
- Replace both hot and cold lines at the same time for consistency.
- For washing machines, check both the supply hoses and the drain hose regularly.
Ice Makers and Refrigerators
- Use only tubing and connectors rated for potable water.
- Inspect for kinks behind the appliance whenever you move it.
- Consider installing an in-line shut-off valve if one is not present.
Cost Breakdown: Supply Line Replacement
Supply line replacement is one of the most affordable plumbing upgrades with a major impact on home safety.
- Braided stainless steel supply line (standard length): $6–$15 each
- Specialty lines (longer lengths, high-pressure, appliance-grade): $12–$30 each
- Professional installation (per fixture): $75–$150 (includes labor and materials)
If you’re comfortable with basic tools, DIY replacement for an entire home (bathroom sinks, toilets, kitchen faucet, dishwasher, and washing machine) can often be completed in a few hours for under $100 in materials.
Best Practices for Supply Line Reliability
Inspection and Maintenance Schedule
- Visually inspect all supply lines twice a year—once before winter and once before summer.
- Check for signs of wear, corrosion, or leaks and replace lines showing any issues immediately.
- Document installation dates for each line and set calendar reminders for proactive replacement every 5–7 years.
Installation Tips from the Pros
- Never overtighten fittings; this is a leading cause of leaks.
- Use two wrenches when necessary: one to hold the valve or fixture steady, another to turn the nut.
- After installation, leave the cabinet doors open for a day to observe for delayed leaks.
- Label new lines with the installation date using a permanent marker or tag.
Upgrading During Renovations
- Replace supply lines as part of any kitchen or bathroom remodel, even if the old lines appear functional.
- Upgrade shut-off valves to ball-valve style for easier future maintenance.
- Consider adding flood detection alarms under sinks and behind appliances.
Common Mistakes and How to Avoid Them
- Reusing old supply lines: Even if they look fine, old lines may fail after being disturbed.
- Buying the wrong length or fitting: Always measure first and double-check thread compatibility.
- Forgetting to flush debris: After installation, run water to clear out any particles that could clog aerators or valves.
- Ignoring manufacturer instructions: Some supply lines require hand-tightening only; overtightening can void warranties.
Insurance and Compliance Considerations
Many insurance policies exclude water damage caused by “wear and tear,” including old or deteriorated supply lines. Upgrading lines proactively can help prevent denied claims. In some jurisdictions, rental properties must use only supply lines with specific certifications. Always check local codes before upgrading, especially in multi-family or commercial settings.
Conclusion: Small Upgrades, Big Protection
Upgrading your plumbing supply lines might not seem glamorous, but it’s one of the most impactful steps you can take to protect your property from water damage. Modern braided stainless steel lines, installed with care and checked regularly, offer years of reliable performance for a minimal investment of time and money. Whether you’re a DIYer or a property manager, building a habit of inspecting and replacing supply lines before they fail is a hallmark of proactive homeownership. Don’t wait for a disaster to strike—plan your next inspection today, and prioritize supply line upgrades as part of your regular maintenance routine. This small act can save you thousands in repairs, preserve your peace of mind, and keep your plumbing system running smoothly for years to come.
Remember: In plumbing, an ounce of prevention is truly worth a gallon of cure. Take a moment to check under your sinks and behind your appliances—your future self will thank you for it!


Joshua Harris
I noticed you mentioned flexible braided stainless steel, plastic, copper, and rubber as supply line materials. Are there situations where one type is strongly recommended over the others, like for high water pressure areas or older homes with shifting foundations?