
Introduction: Why Plumbing Safety Should Always Come First
DIY plumbing can be immensely rewarding, saving homeowners money and providing a sense of accomplishment. However, plumbing projects—no matter how minor they may seem—come with significant risks. From exposure to hazardous chemicals and sharp tools to electrical dangers and hidden pipe bursts, even experienced DIYers can find themselves in dangerous situations. That’s why a thorough, expert-backed safety checklist is non-negotiable. Whether you’re tightening a leaky faucet or replacing a section of pipe, following a systematic safety protocol not only protects you and your property but also ensures that the job goes smoothly and efficiently. This comprehensive guide provides a detailed plumbing safety checklist tailored to every project, helping you avoid costly mistakes, injuries, and potential long-term damage to your home. With practical, step-by-step advice, we’ll walk you through the essential safety measures—from workspace preparation and proper use of protective equipment to handling emergencies and ensuring code compliance. Let’s make your next plumbing project as safe as it is successful.
Understanding the Risks: Common Plumbing Hazards
Chemical Exposure
Many plumbing tasks involve contact with chemical drain cleaners, solvents, soldering flux, and adhesives. These substances can irritate skin, damage eyes, and release harmful fumes if handled improperly.
Physical Injuries
- Cuts and Punctures: Sharp tools, jagged pipe edges, and broken porcelain can easily cause wounds.
- Burns: Soldering, hot water, and heated pipes present burn risks.
- Crush Injuries: Heavy equipment or pipe sections can pinch fingers or cause sprains if dropped or mishandled.
Electrical Hazards
Water and electricity are a dangerous combination. Cutting into walls or floors may expose wiring, and using power tools near wet areas increases shock risks.
Environmental Risks
- Mold and Bacteria: Stagnant water and leaks can harbor harmful microorganisms.
- Confined Spaces: Working in cramped areas—like under sinks or crawl spaces—can cause breathing difficulties or limited mobility during emergencies.
Pre-Project Preparation: Setting Up a Safe Workspace
1. Clear and Organize the Area
- Remove clutter, rugs, and unnecessary objects to prevent tripping.
- Ensure all tools and materials are within easy reach to avoid overreaching or awkward movements.
2. Lighting and Ventilation
- Use bright, adjustable lighting. Headlamps and portable work lights help reduce shadows in tight spaces.
- Open windows or use fans when working with chemicals or soldering to disperse fumes.
3. Access and Egress
- Keep exits clear and unobstructed in case you need to leave the area quickly.
- If working in a basement or narrow crawlspace, inform someone in your household and keep a phone nearby.
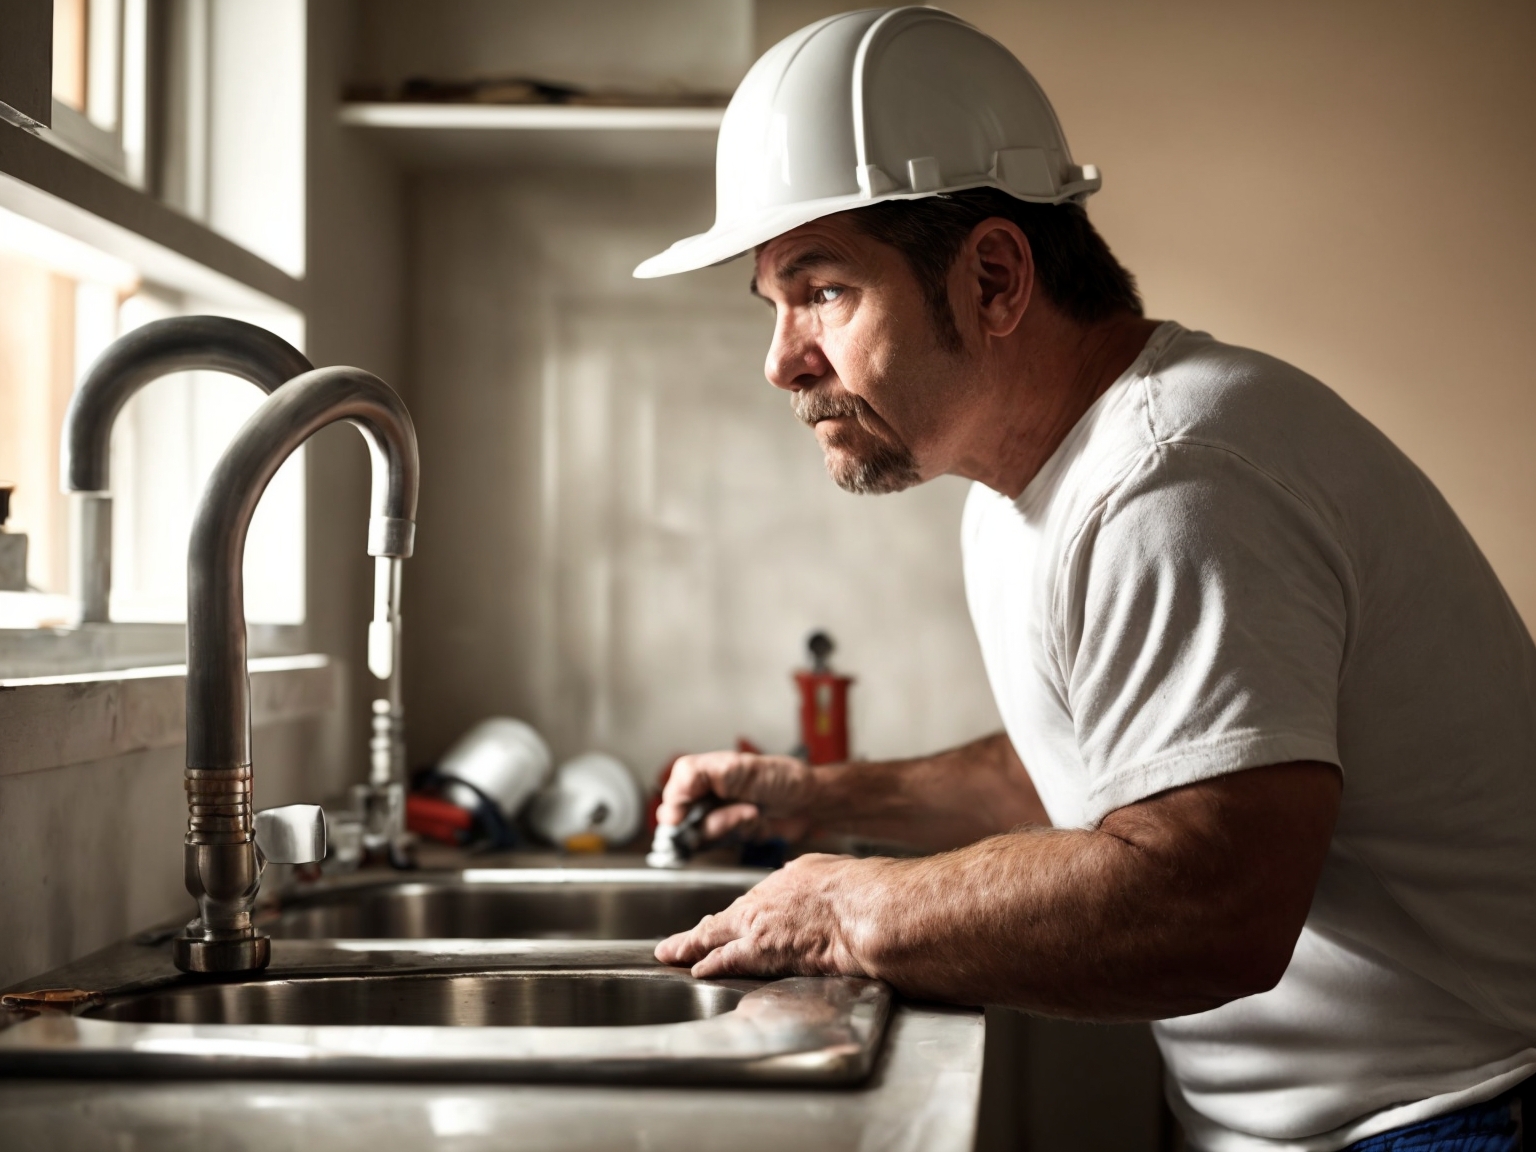
Personal Protective Equipment (PPE): What You Need and Why
- Safety Glasses or Goggles: Protects against flying debris, splashing chemicals, and pressurized water bursts.
- Cut-Resistant Gloves: Essential for handling metal pipes, sharp tools, and broken fixtures.
- Respirator or Mask: Use a rated mask when dealing with mold, dust, or chemical fumes.
- Knee Pads: Crucial for prolonged work on hard surfaces, reducing strain and preventing injury.
- Sturdy, Closed-Toe Shoes: Protects feet from heavy falling objects and accidental spills.
- Hearing Protection: Necessary when using power tools, especially in echo-prone environments.
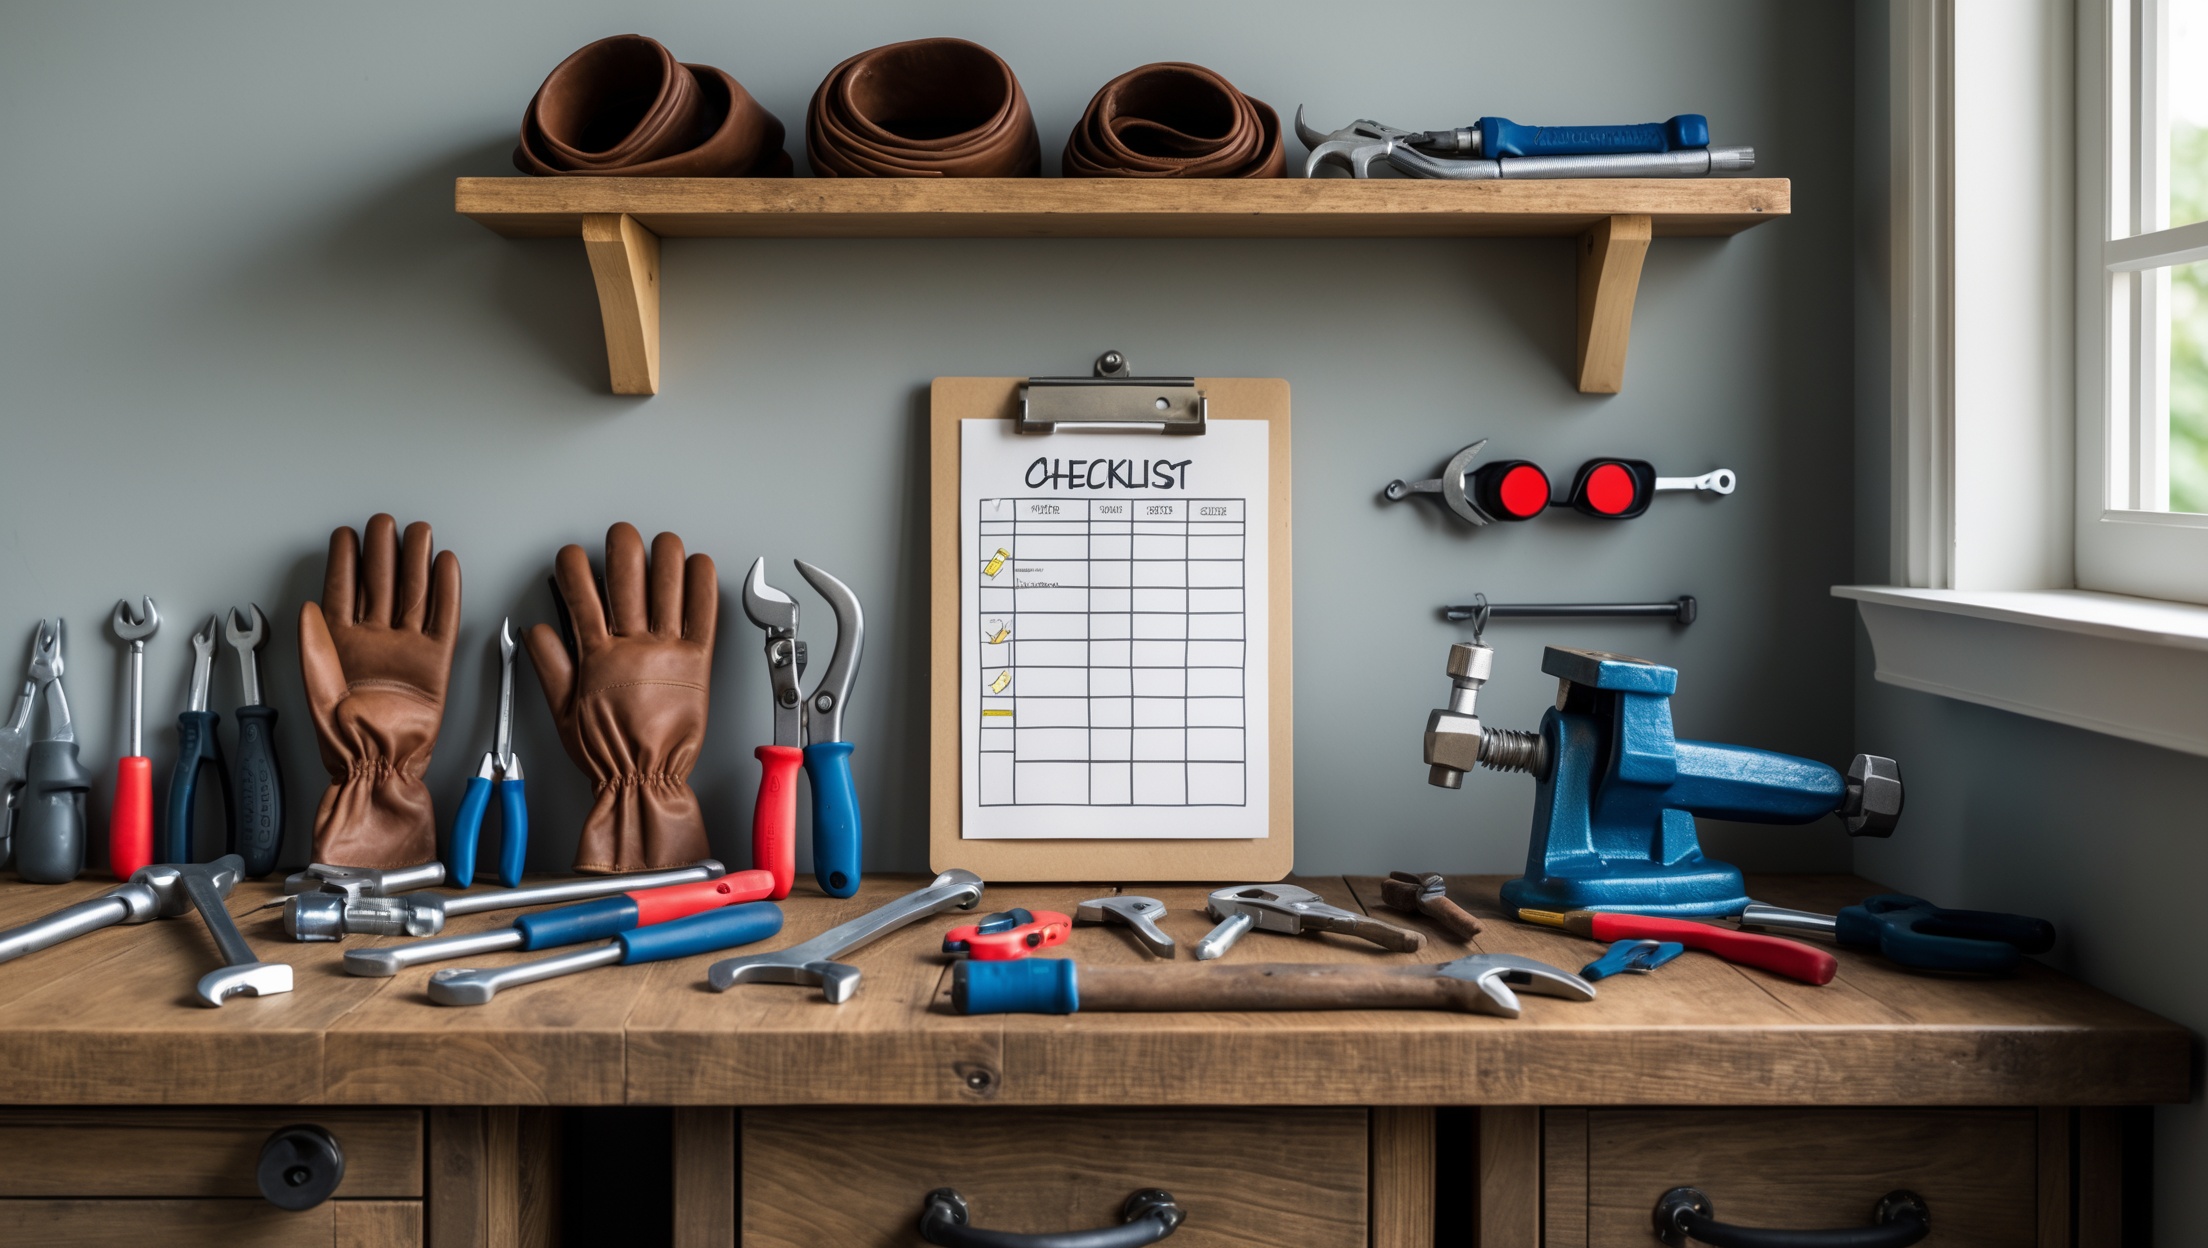
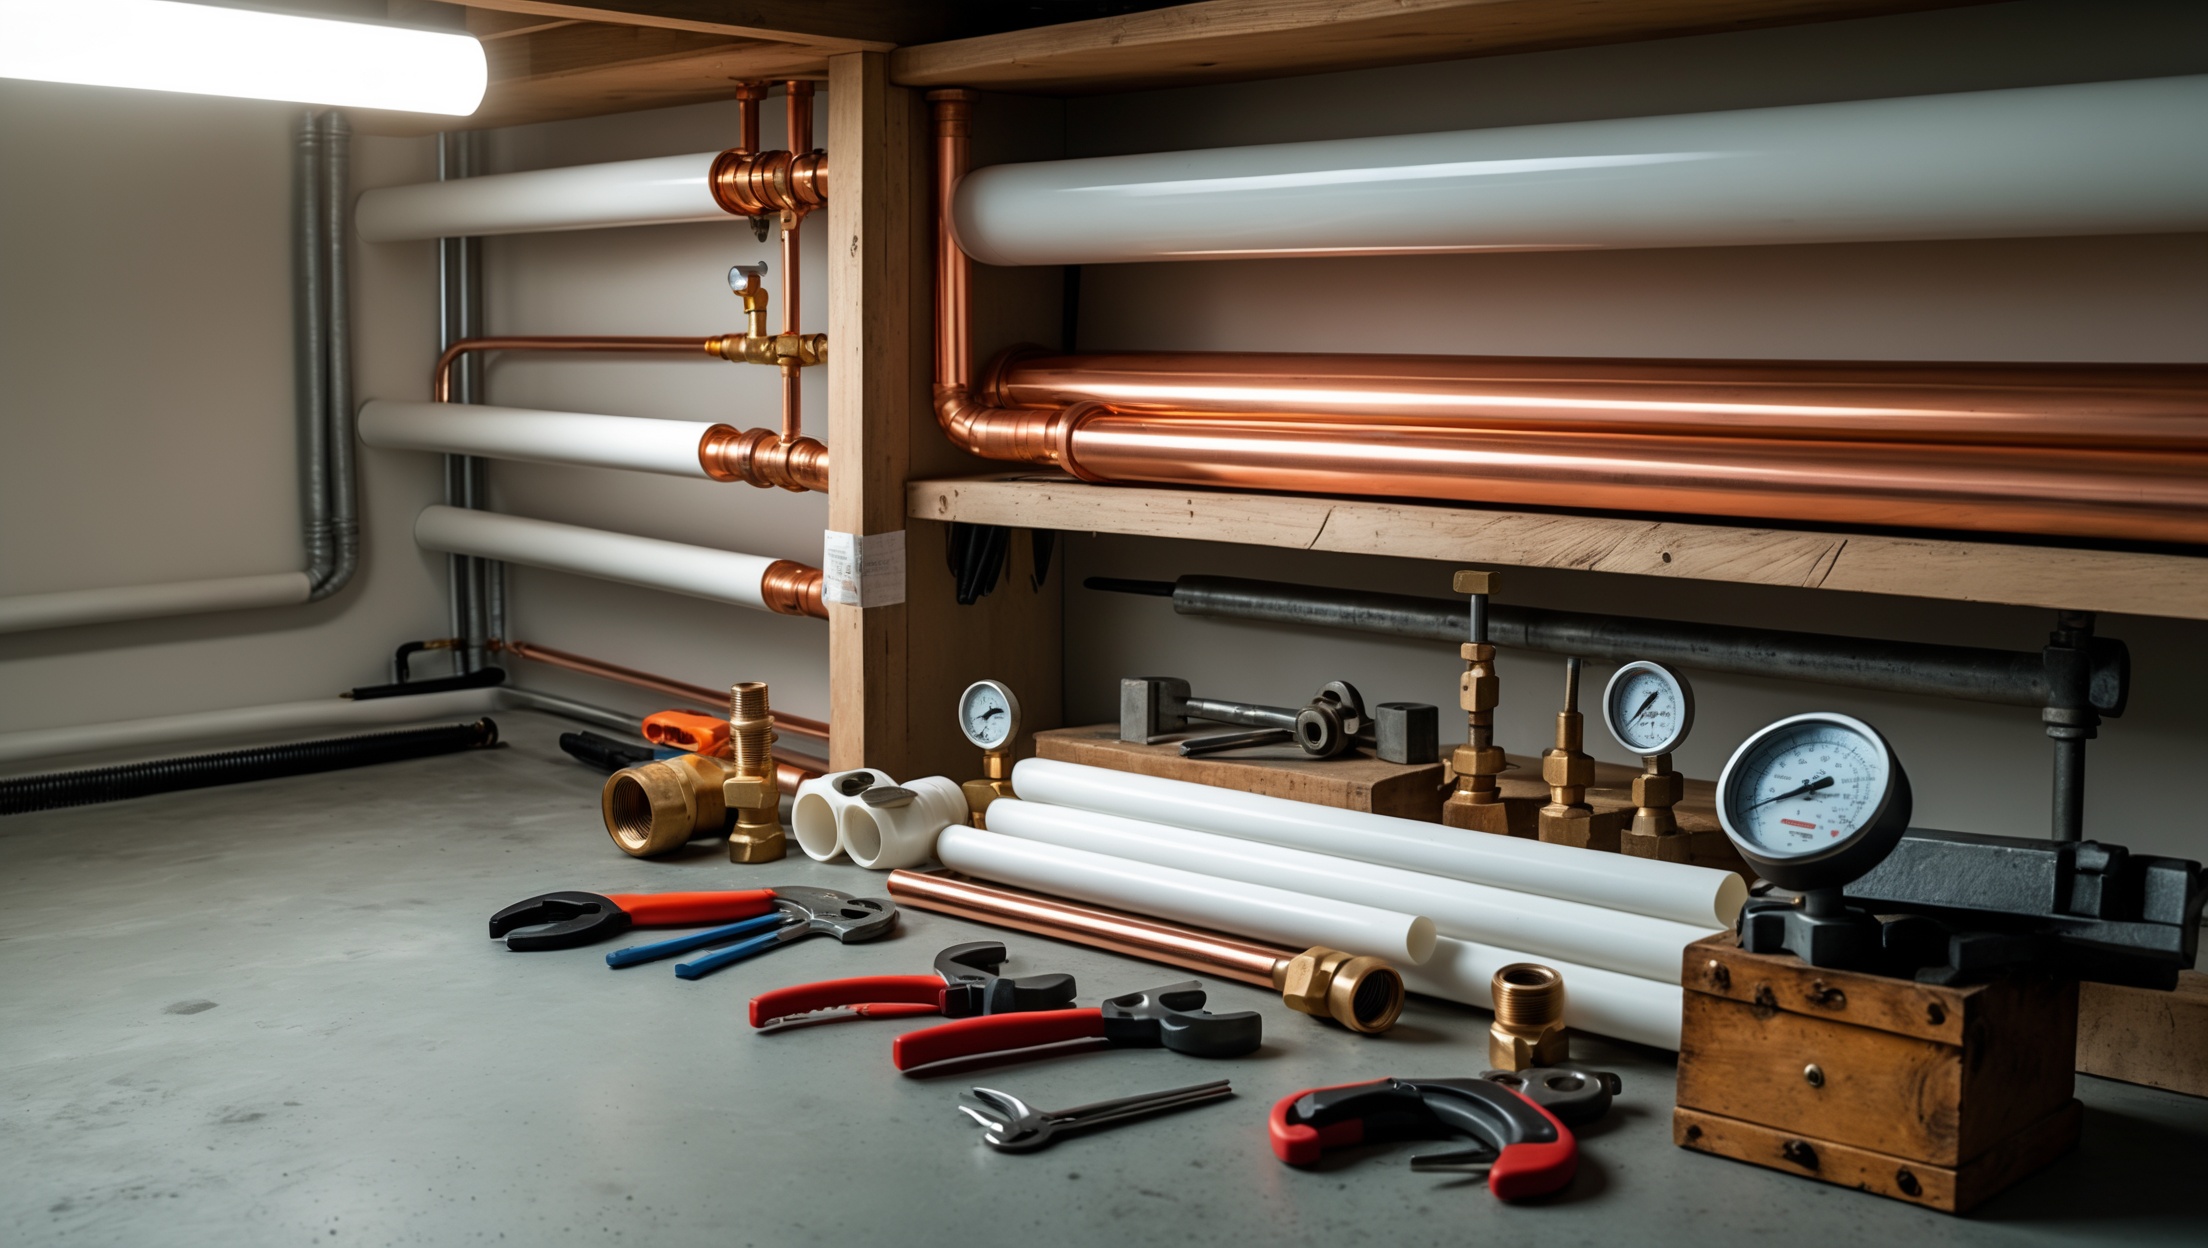
Essential Safety Checklist: Step-by-Step for Every Plumbing Project
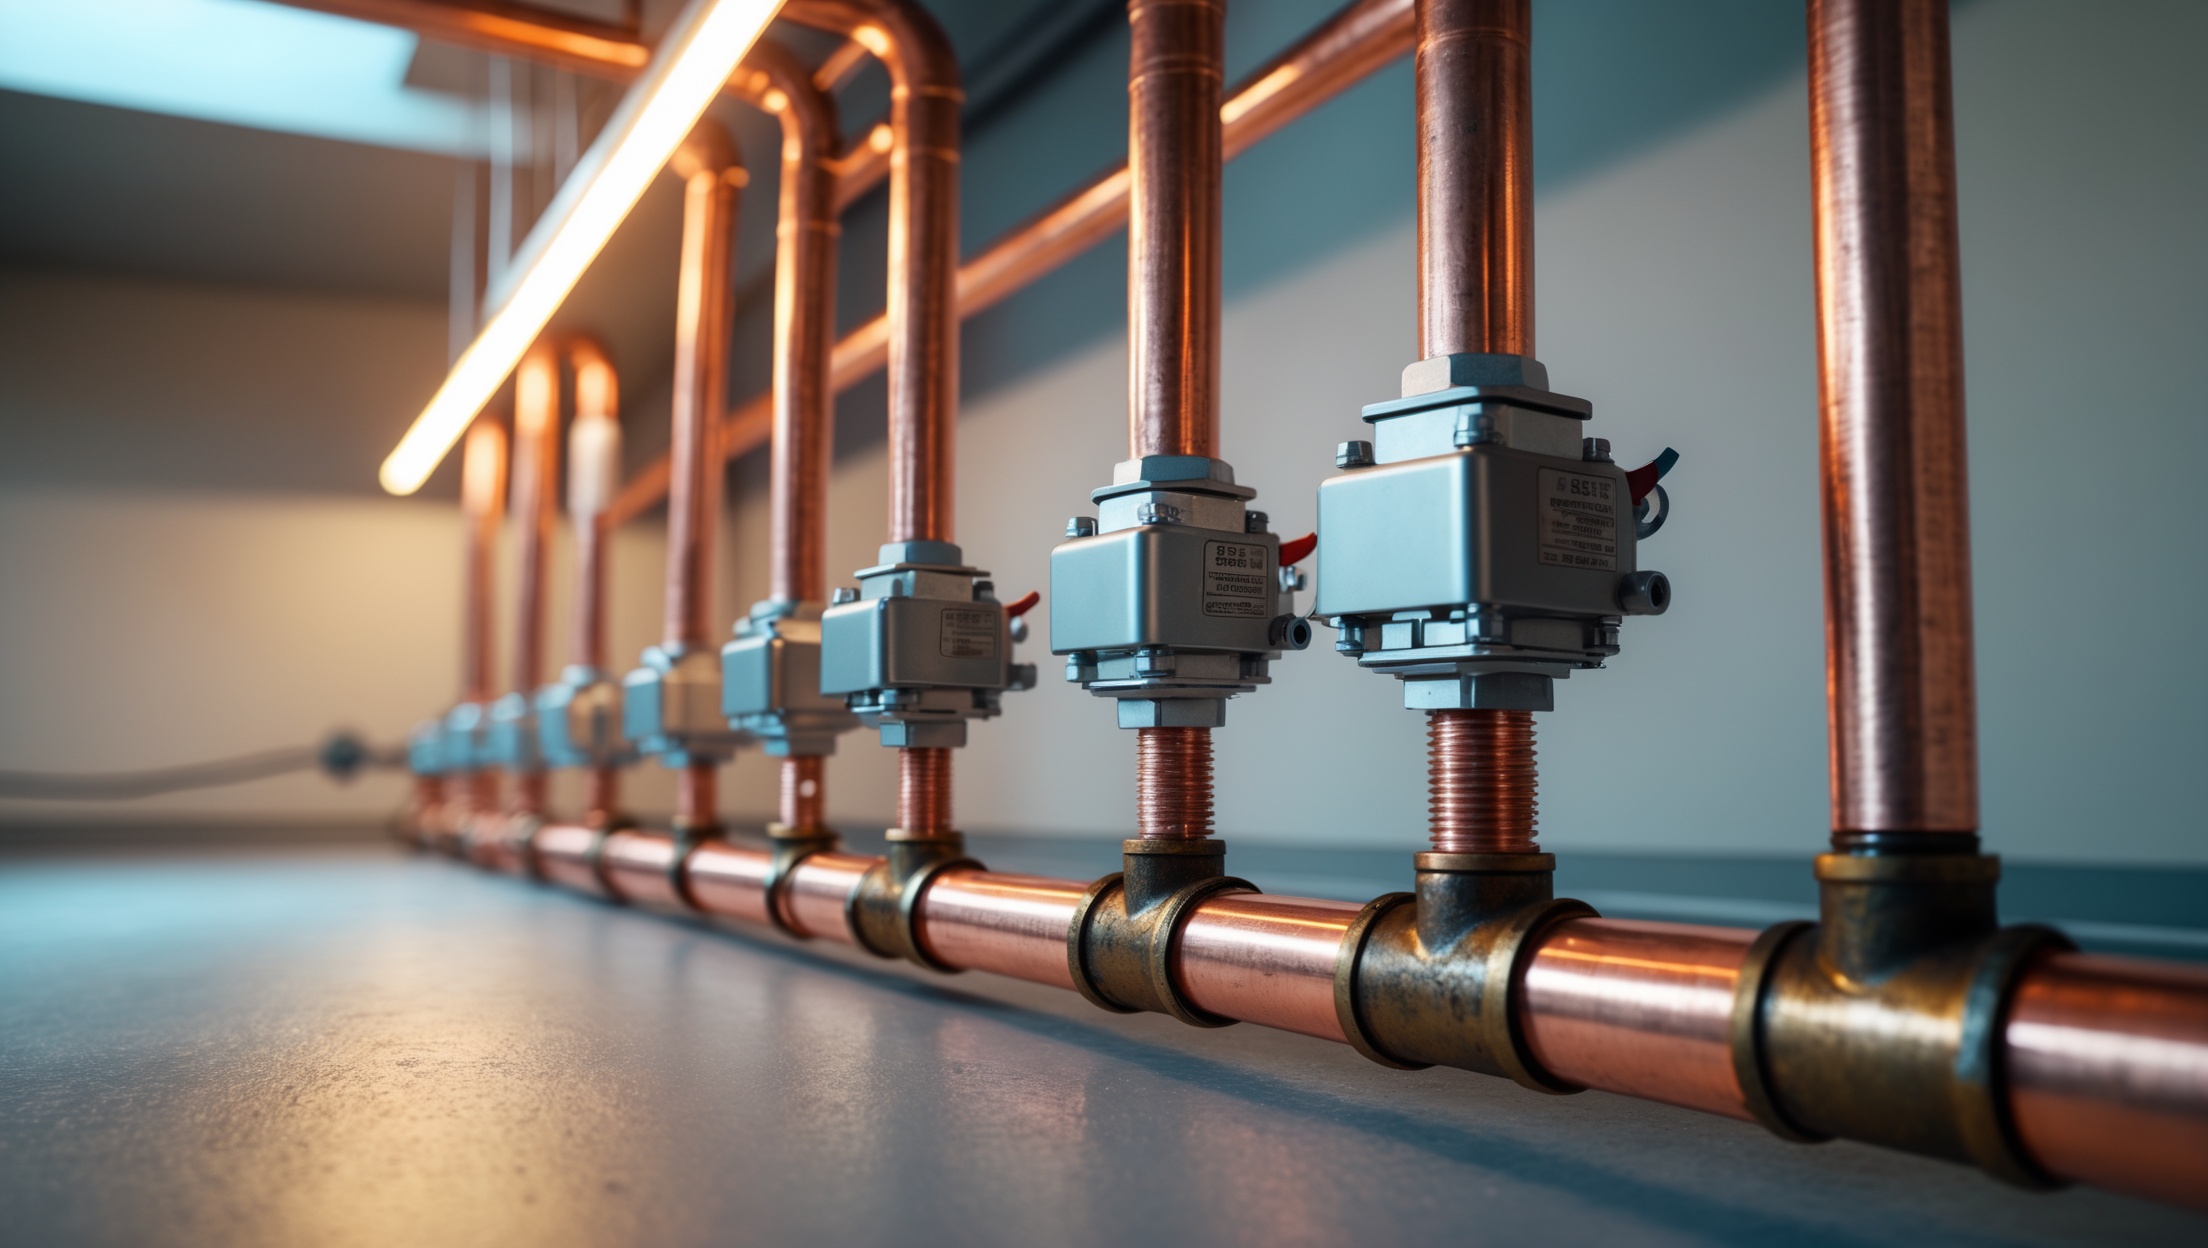
1. Shut Off Water and Power
- Identify and close the appropriate water supply valves—main shutoff for major work, fixture valves for localized repairs.
- When working near electrical outlets or appliances, turn off power at the breaker box.
2. Test for Live Water and Power
- After shutoff, open a faucet or valve to verify water is off.
- Use a non-contact voltage tester to confirm no live wires are present near your workspace.
3. Drain and Depressurize
- Open the lowest faucet in your home to drain residual water from pipes.
- Flush toilets and empty tanks before beginning repairs.
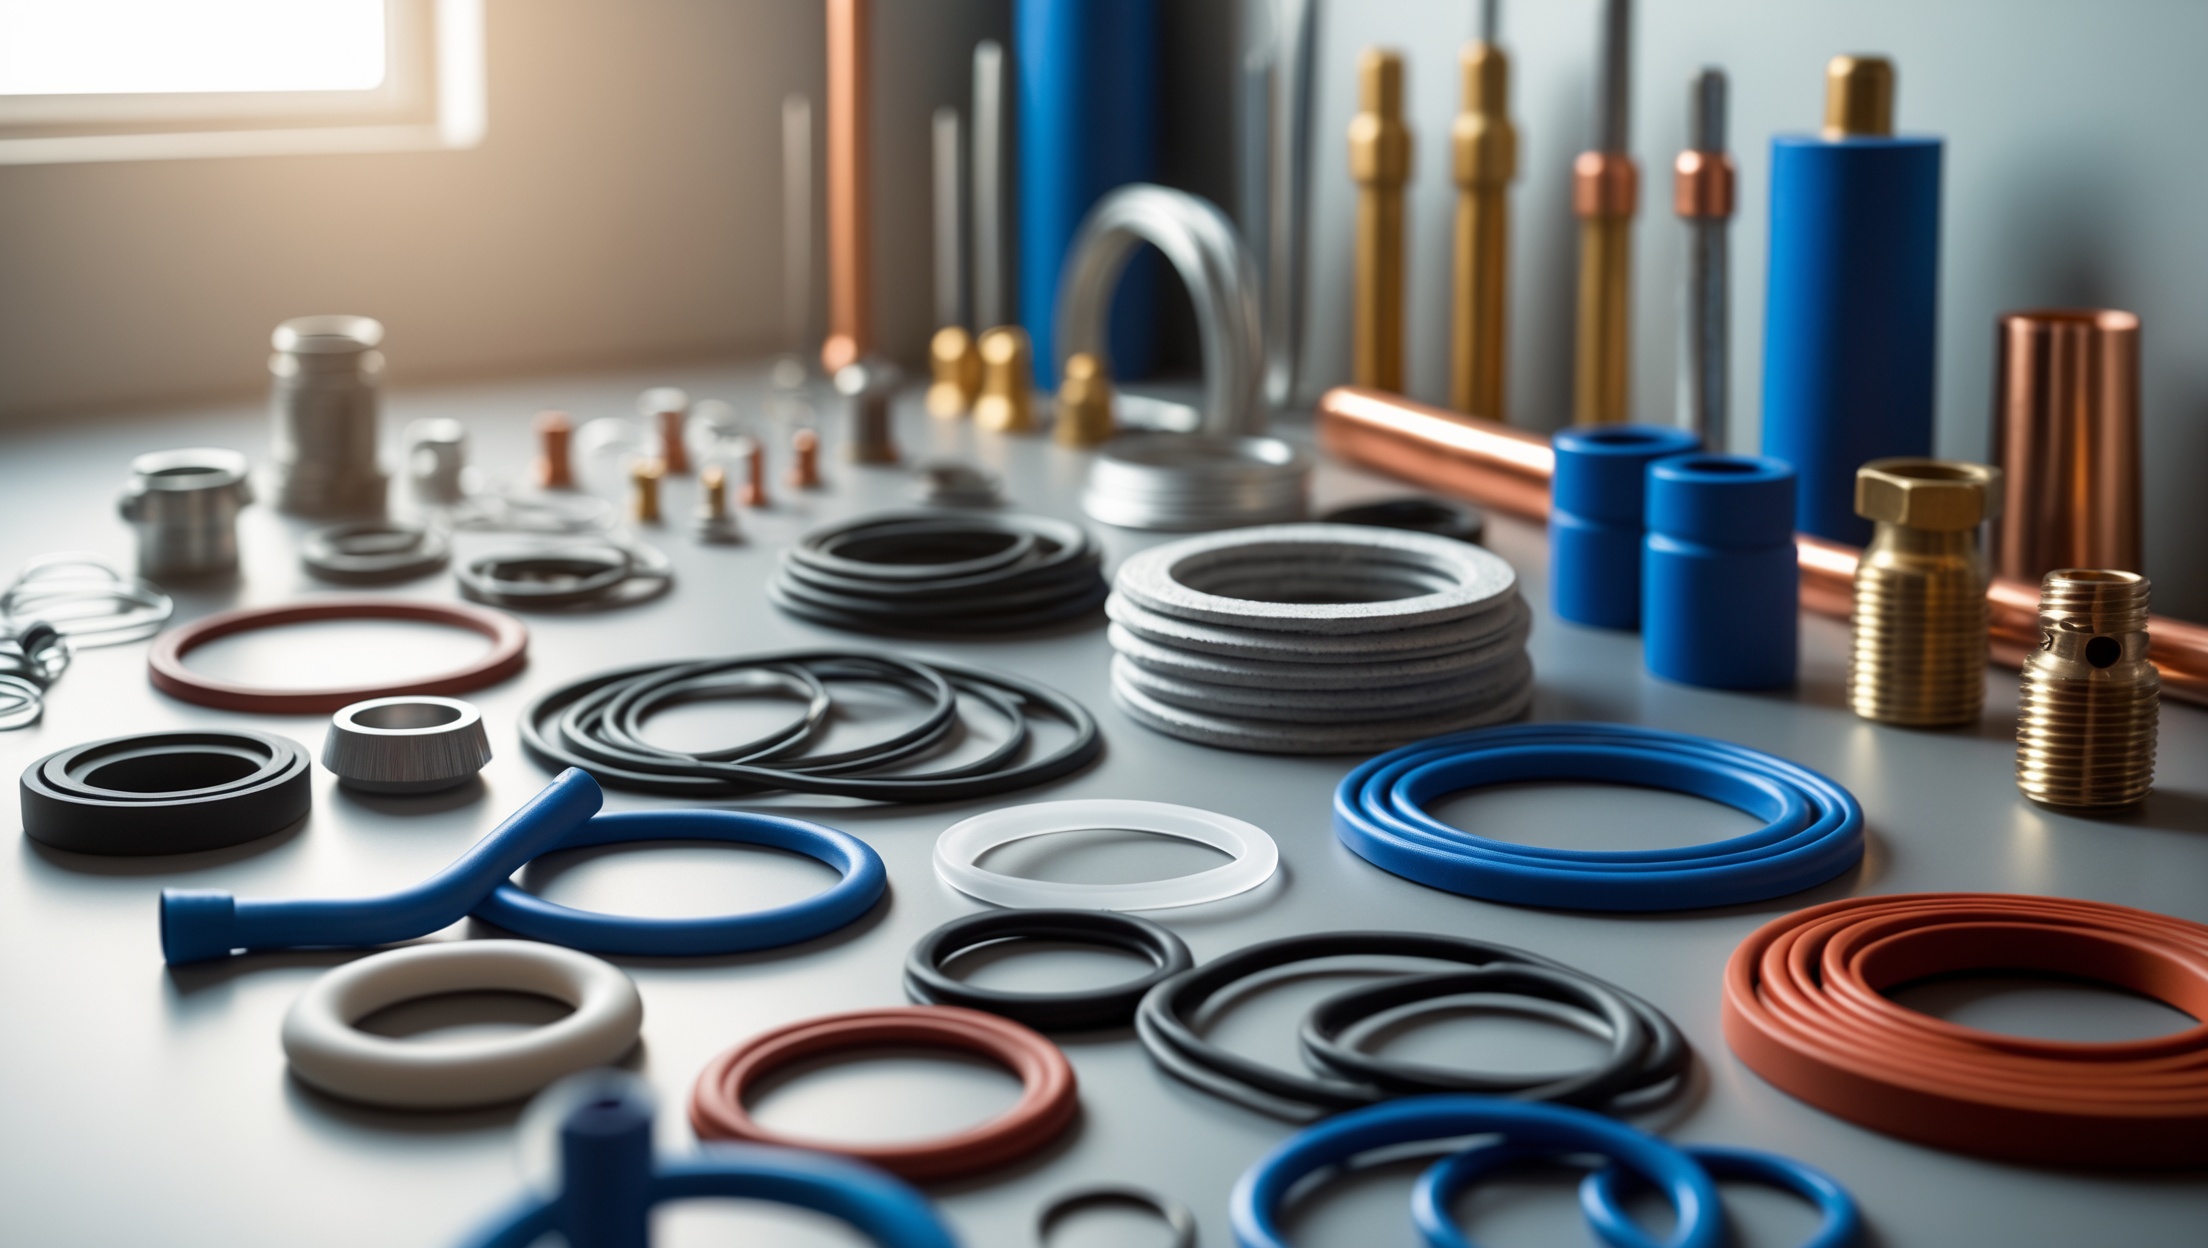
4. Inspect Tools and Materials
- Check for damaged or worn tools—replace or repair as needed.
- Ensure power tools have intact cords and are rated for use in damp environments.
- Read all product labels for chemical warnings and safe handling instructions.
5. Prepare for Waste Management
- Set up buckets, towels, and a wet/dry vacuum for spills.
- Have proper containers for disposing of chemical waste, old pipes, and fixtures.
6. Use Ladders and Step Stools Safely
- Ensure ladders are stable and on a flat surface.
- Never reach or lean too far—move the ladder as needed.
7. Communicate Your Project
- Let someone else in the home know what you’re doing and how long you expect to work.
- Share your phone location or keep a phone on you in case of emergencies.
Special Considerations: Working with Hazardous Materials
Handling Chemicals and Solvents
- Always wear gloves and eye protection.
- Mix and use chemicals in well-ventilated areas.
- Never combine chemical drain cleaners—dangerous reactions can occur.
- Keep chemicals away from children and pets.
Lead, Asbestos, and Mold
- Homes built before 1986 may have lead pipes or solder. If you suspect lead, test water or consult a professional.
- Asbestos insulation may be present in older homes—never disturb unknown insulation material.
- Mold requires respirators, gloves, and eye protection. Seal off contaminated areas and dispose of materials in sealed bags.
Safe Tool Use: Preventing Injuries
Hand Tools
- Keep blades and cutters sharp; dull tools slip more easily.
- Always cut away from your body.
- Use the right tool for the job—improvised solutions increase risk.
Power Tools
- Read user manuals before first use.
- Never operate electric tools in wet conditions.
- Wear appropriate hearing protection and safety glasses.
- Disconnect tools when changing bits or blades.
Soldering and Heat Work
- Clear the area of flammable materials before soldering.
- Keep a fire extinguisher rated for electrical and chemical fires nearby.
- Allow pipes to cool before handling or testing.
Emergency Preparedness: What to Do When Things Go Wrong
First Aid Kit
- Have a stocked kit nearby with bandages, antiseptic, burn cream, and eye wash.
- Know basic first aid for cuts, burns, and chemical exposure.
Fire Safety
- Keep a multi-purpose fire extinguisher within reach whenever soldering or using heat tools.
- Know the evacuation route from your workspace, especially in basements or crawl spaces.
Major Water Leaks
- Identify the main shutoff valve location before starting any project.
- In case of a sudden burst, immediately close the valve and use towels or a wet/dry vacuum to minimize water damage.
- Call a professional if you cannot contain the leak quickly.
Electrical Accidents
- Shut off power at the breaker box if you suspect a shock or short circuit.
- Do not touch anyone who has been shocked until power is confirmed off—call emergency services if necessary.
Post-Project Safety: Leaving Your Workspace Secure
- Confirm all valves are properly closed or open as needed—double-check for leaks.
- Restore power only after ensuring all wiring is dry and undamaged.
- Clean up spills, dispose of hazardous waste safely, and return tools to storage to avoid future accidents.
- Ventilate the area if fumes or dust were present during the project.
When to Call a Professional: Knowing Your Limits
- If you encounter unexpected electrical wiring, gas lines, or signs of structural damage, stop work and consult a licensed plumber or electrician.
- Projects involving main sewer lines, extensive pipe replacement, or work in confined spaces beyond your comfort level should be left to professionals.
Printable Plumbing Safety Checklist
- Clear workspace and set up lighting/ventilation
- Wear appropriate PPE (gloves, goggles, mask, etc.)
- Shut off water and power; test for live systems
- Drain lines and depressurize
- Inspect tools and read all chemical labels
- Prepare waste disposal and spill management
- Use ladders and step stools correctly
- Communicate your project and keep a phone handy
- Be aware of hazardous materials (lead, asbestos, mold)
- Keep first aid and fire extinguisher nearby
- Double-check all systems upon completion
Conclusion: Make Safety Your First Tool in Every Plumbing Project
Plumbing projects, whether small repairs or ambitious upgrades, present a unique set of safety challenges that should never be underestimated. By following the comprehensive checklist provided in this guide, you’re not only protecting yourself and others from immediate harm but also ensuring the long-term integrity of your home’s plumbing system. Remember, safety is not a one-time box to check—it’s a habit that should be integrated into every stage of your DIY journey. From donning the right protective gear and preparing your workspace to knowing when to call in the experts, each step is a crucial investment in your well-being and project success. Take the time to review these safety measures before you pick up a wrench or turn a valve. The few extra minutes you spend on preparation can prevent hours—or even days—of dealing with injuries, property damage, or costly repairs. Make safety your most trusted tool, and you’ll enjoy the satisfaction of a job well done—every time.


Richard Moore
The article mentions the dangers of chemical exposure during plumbing projects, like using drain cleaners and adhesives. Are there any safer, eco-friendly alternatives to these chemicals that still work effectively for basic DIY repairs?