
Introduction: Why Regular Plumbing Inspections Matter
For homeowners and landlords, the plumbing system is one of the most critical yet overlooked aspects of property maintenance. Hidden behind walls and under floors, it quietly delivers clean water, removes waste, and safeguards your health. Yet, a neglected plumbing system can quickly turn into a source of expensive headaches—from leaky pipes and water damage to health hazards and compliance issues. Performing regular, thorough plumbing inspections is the single most effective way to catch problems early, prevent emergencies, and protect your investment.
This comprehensive guide is designed for DIY enthusiasts and property owners who want to take control of their plumbing health. Whether you’re inspecting your own home or managing multiple rental units, you’ll find practical, step-by-step instructions, expert tips, and actionable checklists to help you spot hidden issues before they escalate. By the end, you’ll know exactly what to look for, what tools you’ll need, and how to document your findings—empowering you to maintain safe, efficient, and code-compliant plumbing for years to come.
Essential Tools and Supplies for a Plumbing Inspection
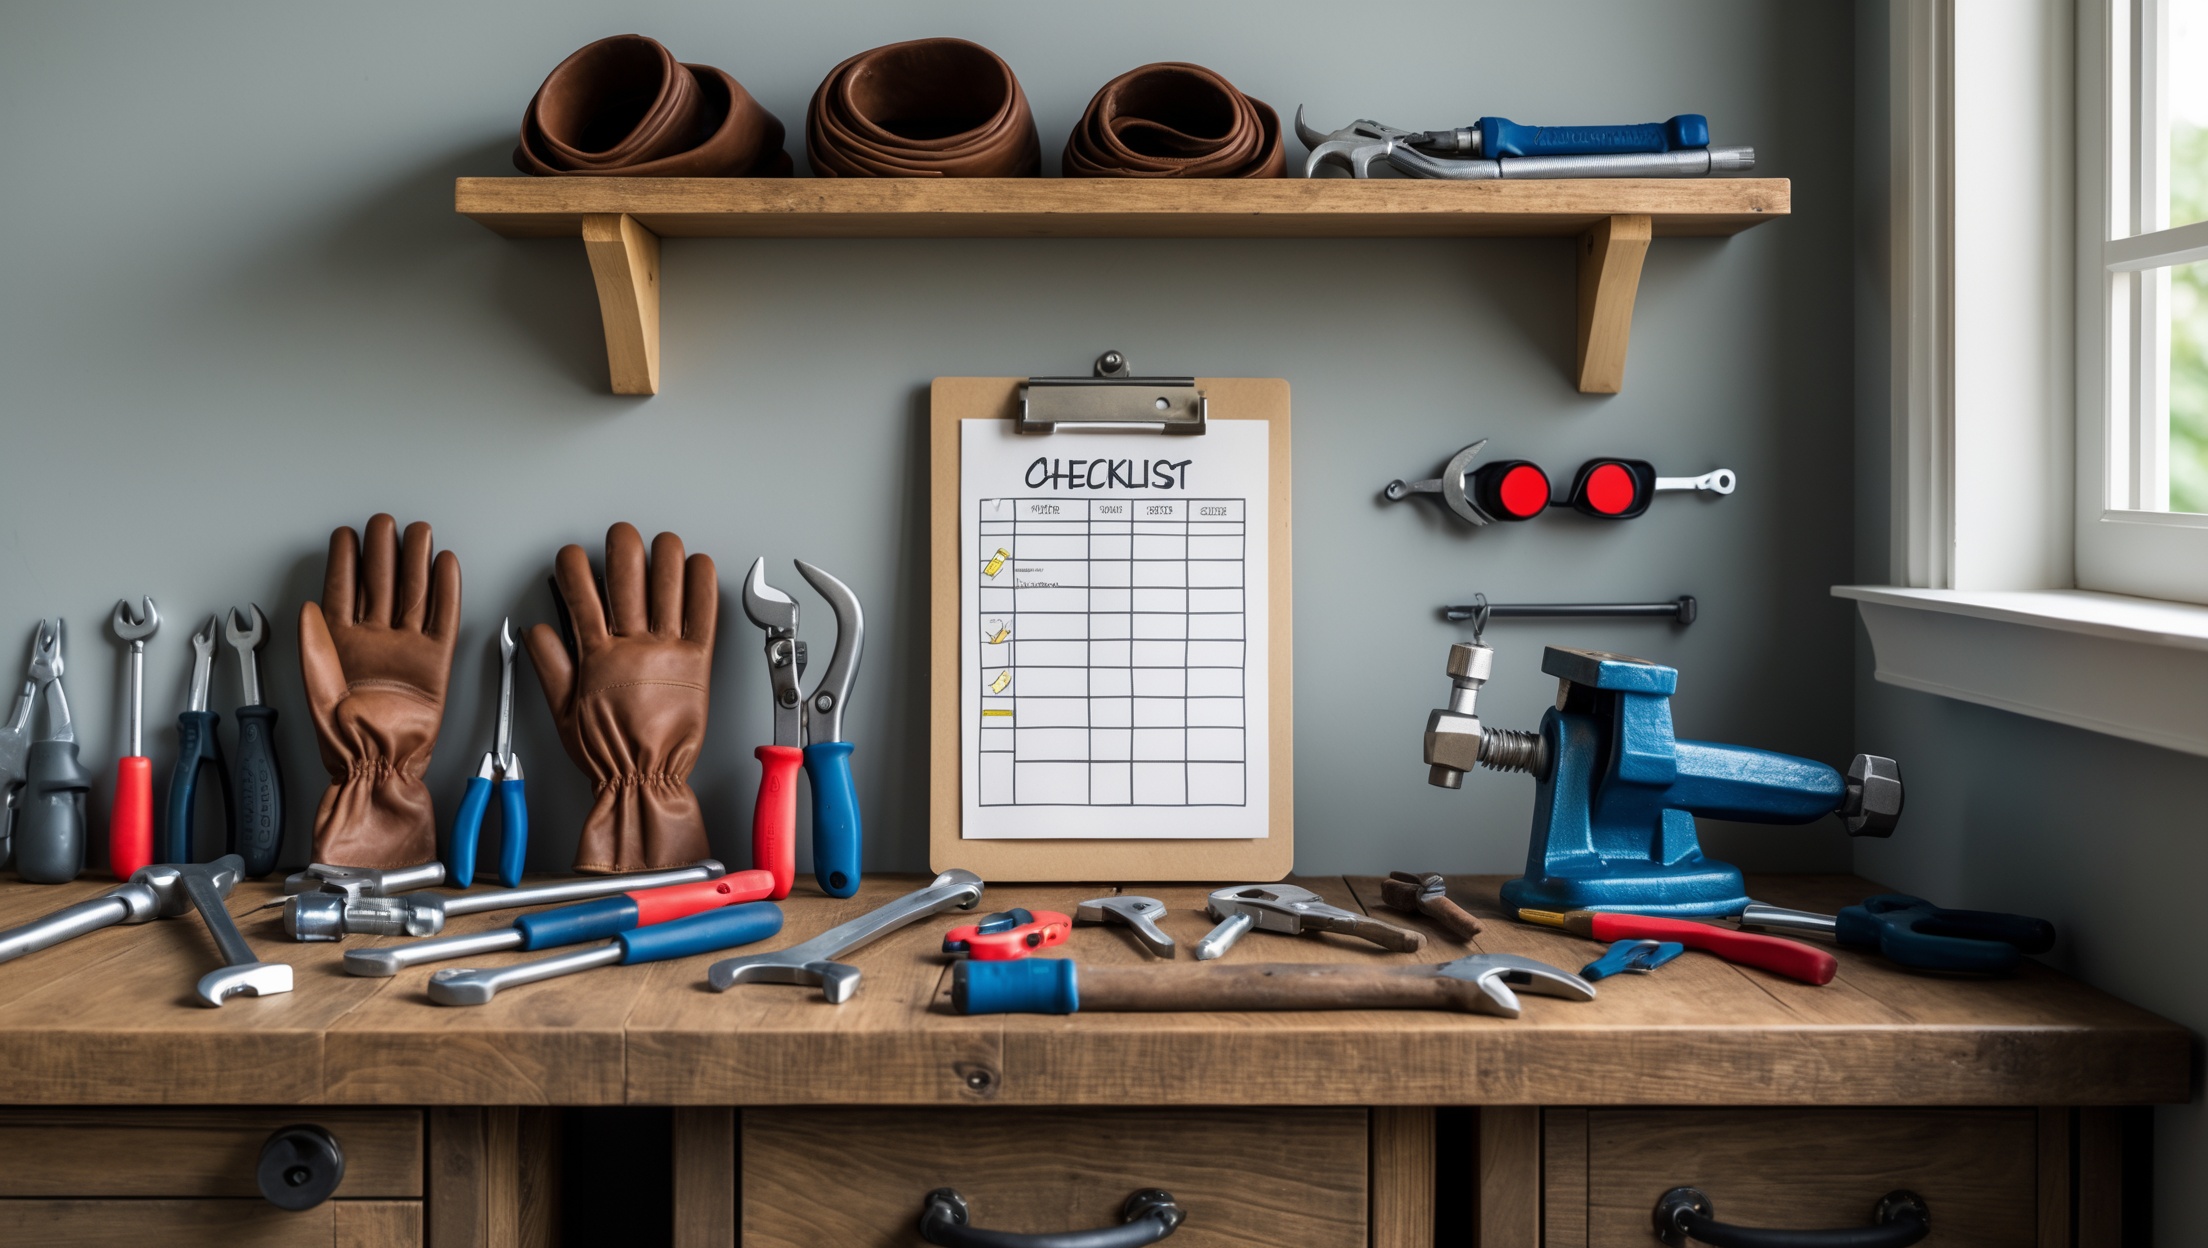
Must-Have Tools
- Flashlight: For illuminating dark spaces under sinks, in basements, or behind appliances.
- Adjustable wrench: To tighten or loosen connections during inspection.
- Plumber’s tape: Handy for resealing minor leaks on threaded fittings (as a temporary measure).
- Towel or rags: To clean up minor drips and make leaks more visible.
- Mirror on an extendable stick: For viewing hard-to-reach pipe joints and behind fixtures.
- Smartphone or camera: To document issues for repairs or professional consultations.
- Gloves and safety glasses: For personal protection, especially in crawlspaces or when checking drains.
- Bucket: Useful for catching drips or draining traps.
- Moisture meter (optional): For detecting hidden moisture inside walls or floors.
Inspection Checklist Template
- Print or prepare a checklist for each property or area.
- Include sections for location, date, findings, and recommended actions.
- Use a consistent rating system (e.g., Good/Fair/Poor or Yes/No for leaks).
Where to Start: Creating a Logical Inspection Route
To avoid missing critical areas, follow a systematic route through the property:
- Main water supply and shutoff valve
- Water meter (if accessible)
- Basement or crawlspace (exposed pipes, sump pump, main drain)
- Kitchen plumbing (sink, dishwasher, fridge line)
- Bathrooms (toilets, sinks, showers, tubs)
- Laundry area (washer connections, utility sink)
- Water heater
- Outdoor faucets and irrigation
- Any other water features (water softener, filtration system, basement bar, etc.)
Step-By-Step Plumbing Inspection
1. Main Water Supply and Shutoff
- Locate the main shutoff valve. Ensure it turns freely.
- Check for signs of leaks or corrosion around the valve and incoming pipe.
- Test the valve: Turn off and on, monitoring for water hammer or slow refill in fixtures.
- Note the location clearly for all household members or tenants.
2. Water Meter Check (if accessible)
- Observe the meter for movement when all water is turned off. Any movement indicates a hidden leak.
- Record the meter reading as a baseline for future checks.
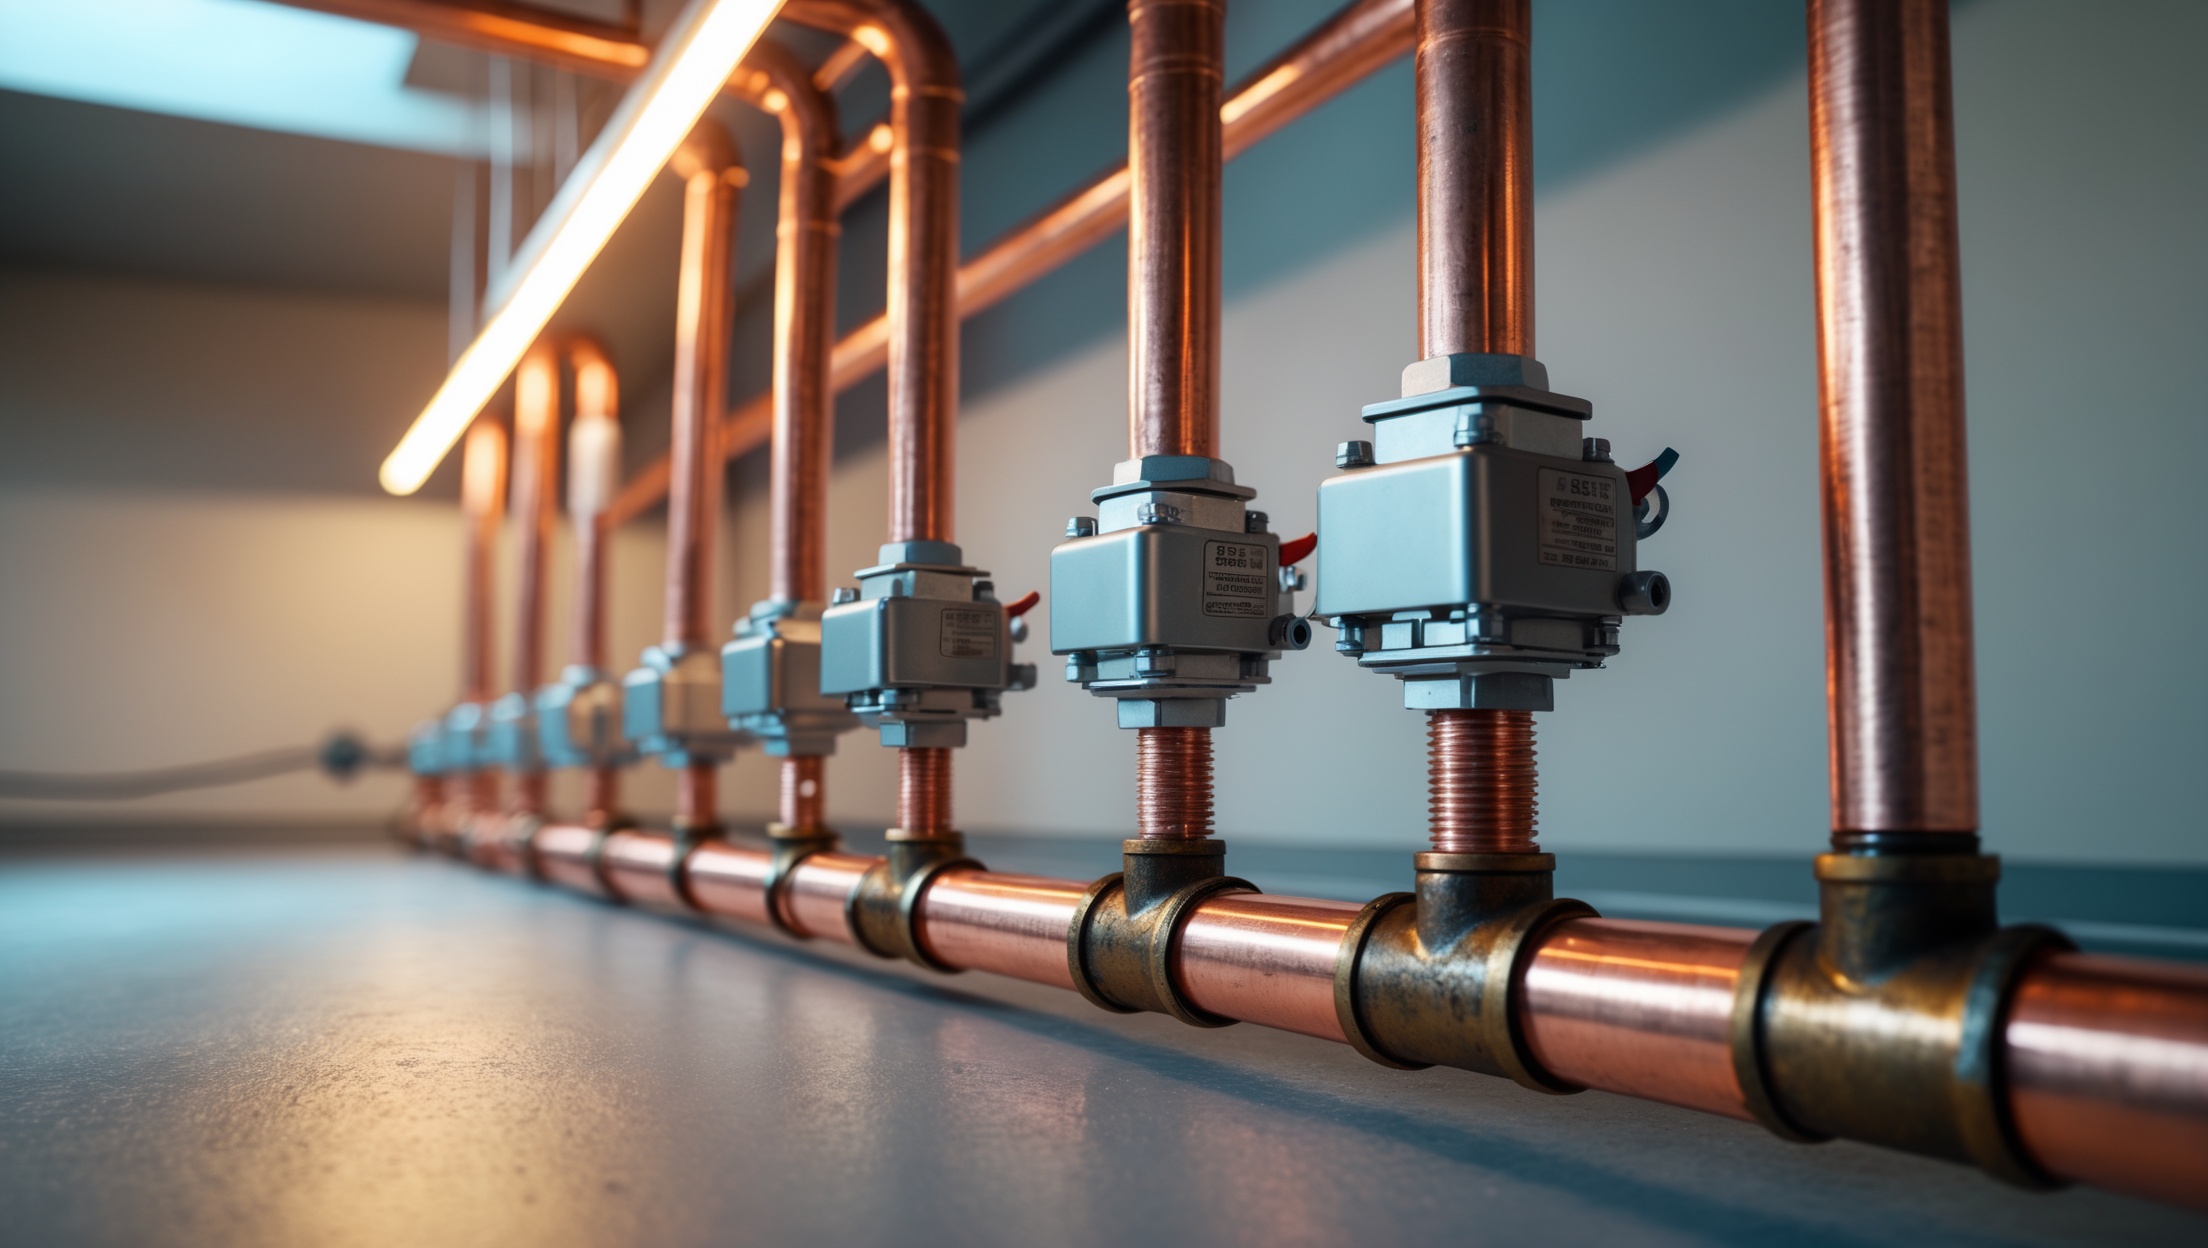
3. Exposed Pipes: Basements, Crawlspaces, and Utility Rooms
- Inspect for rust, corrosion, or mineral buildup on copper, galvanized, or PEX pipe connections.
- Look for condensation, drips, or puddles under pipes.
- Check pipe supports and hangers for stability.
- Feel insulation—replace or repair where missing or damaged, especially on cold or exterior walls.
- Examine floor drains and sump pumps for proper operation.
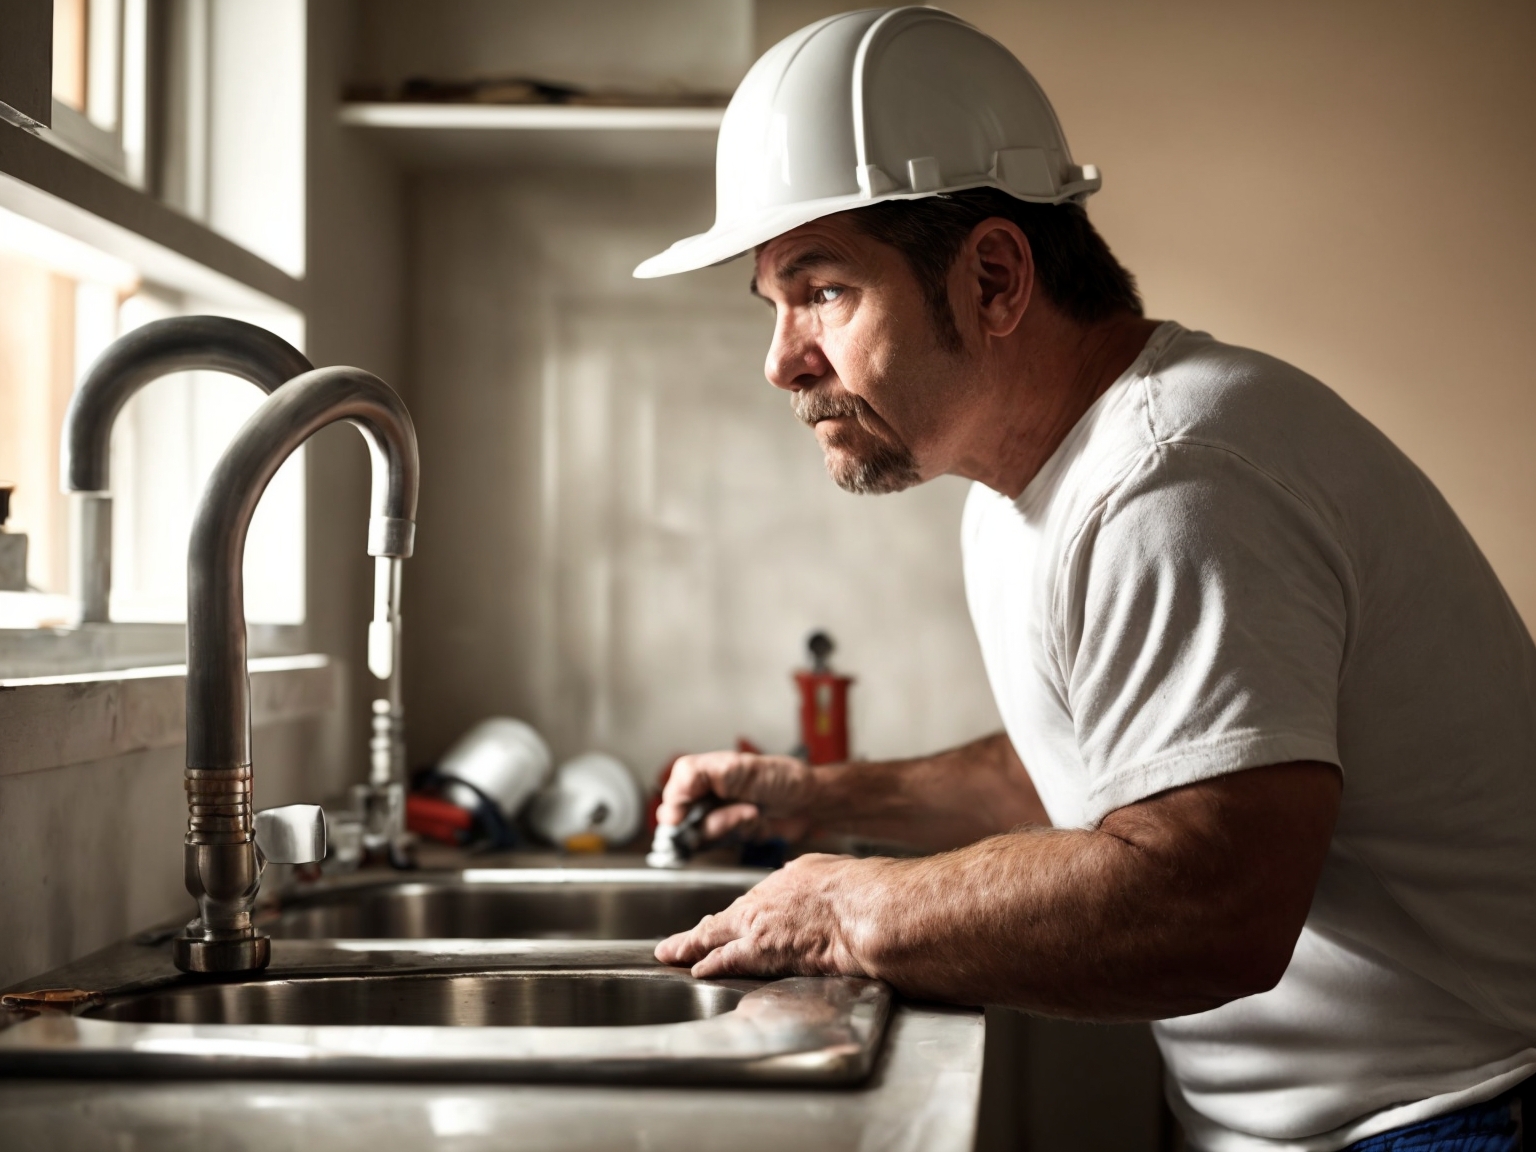
4. Kitchen Plumbing
- Under-sink pipes: Check for leaks, loose fittings, or water stains in the cabinet bottom.
- Faucets: Turn on and off, checking for drips or slow leaks at the base or spout.
- Sprayer hoses: Inspect for cracks or stiffness.
- Dishwasher: Examine the supply line and drain hose for leaks or kinks.
- Refrigerator water line: Look for dampness or mineral deposits around fittings.
5. Bathroom Fixtures
- Sink: Run both hot and cold water, checking for leaks under the vanity.
- Toilets: Listen for running water, check tank parts for corrosion, and examine the floor around the base for softness (a sign of hidden leaks).
- Showers/Tubs: Inspect caulking and grout for gaps, and test drains for slow flow or backups.
- Vent fans: Ensure proper operation to prevent moisture buildup.
6. Laundry Area
- Washer hoses: Look for bulges, cracks, or leaks (replace every 5 years or with signs of wear).
- Utility sink: Check for leaks at faucet and drain trap.
- Floor drain: Pour water to ensure it drains freely and the trap is filled (prevents sewer gas).
7. Water Heater
- Check for water pooling at the base, rust on fittings, or corrosion on the tank.
- Test the pressure relief valve by gently lifting and releasing it—ensure it doesn’t stick or drip afterward.
- Inspect venting (for gas models) for blockages or loose connections.
- Listen for unusual sounds (rumbling, knocking) indicating sediment buildup.
8. Outdoor Faucets and Irrigation
- Turn on and off, checking for leaks at the handle or spout.
- Inspect exposed pipes for freeze damage (cracks, splits) after winter.
- Test irrigation system for uniform spray and leaks at valves or heads.
9. Specialty Systems (Water Softeners, Filters, etc.)
- Check for leaks, salt bridging, or media replacement needs.
- Review maintenance logs (if any) to ensure regular servicing.
Common Issues Identified During Inspections
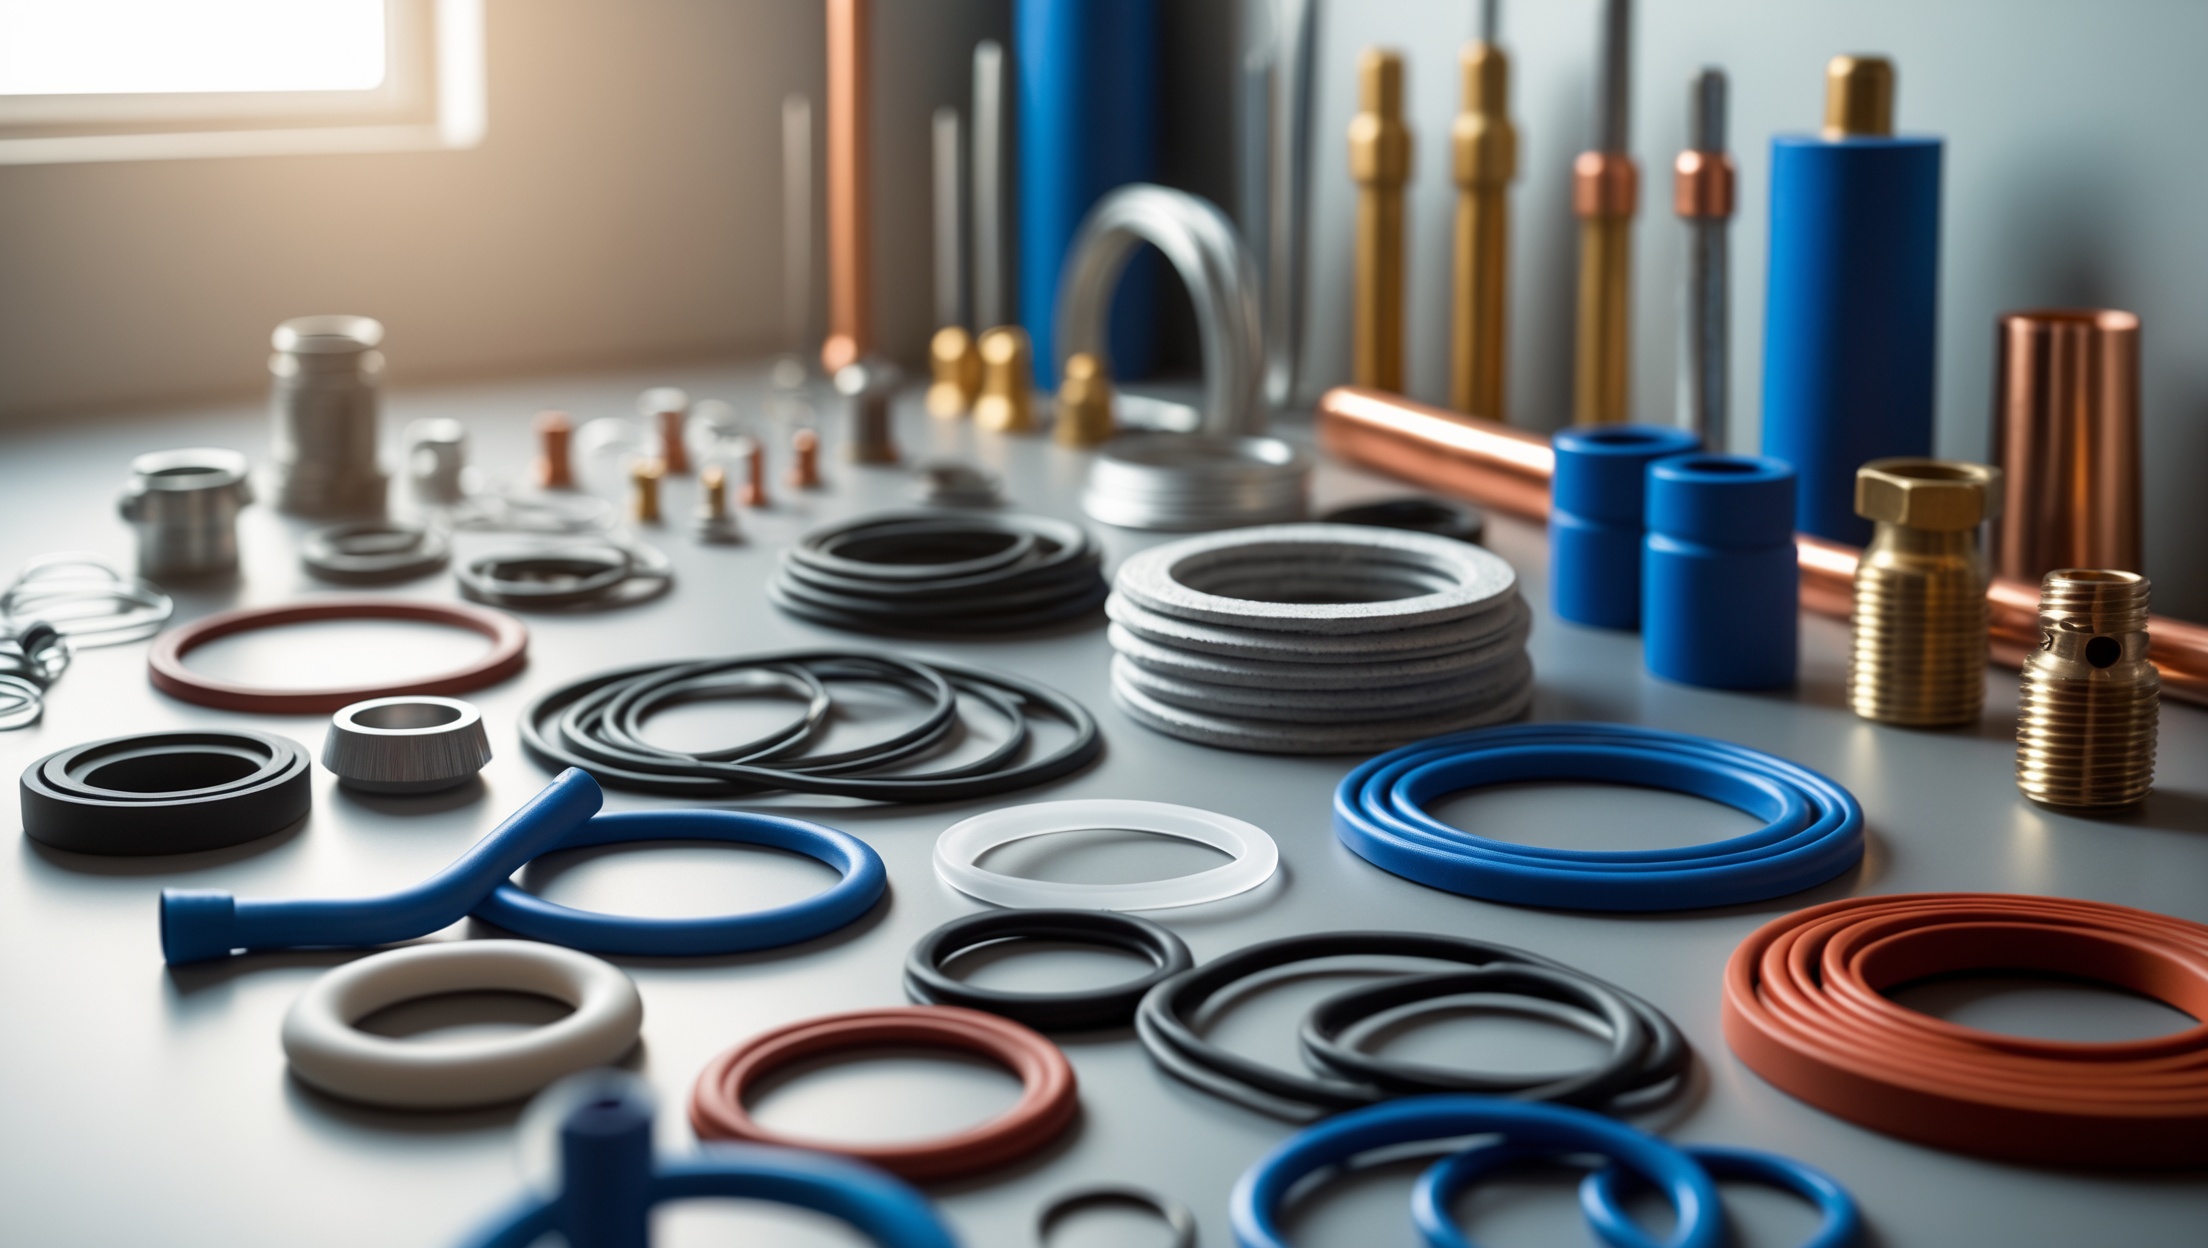
- Leaky pipe joints: Most often found under sinks and at shutoff valves.
- Corroded fittings: Especially on older copper or galvanized systems.
- Slow drains: Indicates partial blockages or venting problems.
- Running toilets: Wastes significant water and can indicate flapper or fill valve failure.
- Water stains or soft flooring: Often a sign of ongoing leaks beneath fixtures.
- Water heater rust or leaks: Early warning of impending tank failure.
- Frozen pipe damage: Look for splits or bulges after cold spells.
- Improper slope in drain lines: Causes slow drainage or backups.
- Missing or deteriorated caulking: Around tubs, showers, and sinks.
How to Document and Prioritize Your Findings
After completing your inspection, thorough documentation is key—especially for landlords or those planning professional repairs.
- Take clear photos of any issues, noting the location and date.
- Update your checklist with detailed comments (e.g., “Drip at kitchen faucet base, minor, monitor monthly” or “Rust at water heater fitting, needs plumber evaluation”).
- Prioritize repairs:
- Urgent: Active leaks, water heater issues, sewage smells, major corrosion.
- Soon: Slow drains, minor leaks, deteriorating caulk, noisy pipes.
- Monitor: Small stains, condensation, aging hoses.
- If you manage rentals, share a summary with tenants and schedule professional service for urgent repairs.
Compliance, Safety, and Liability Considerations
Know Your Local Codes
Plumbing codes vary by municipality and state. While DIY inspections are legal almost everywhere, repairs may require permits or licensed professionals. Always:
- Research local regulations before attempting repairs.
- Keep documentation for insurance or future property sales.
- Remind tenants not to make unauthorized plumbing changes.
Health and Safety Tips
- Wear gloves and safety glasses in crawlspaces or when checking drains.
- Be cautious around electrical outlets or exposed wiring near plumbing.
- For any gas water heaters, ensure adequate ventilation before inspection.
- Do not open or disassemble pressure vessels (like expansion tanks) unless trained.
When to Call a Professional
Some issues are best left to licensed plumbers. Call for professional help if you discover:
- Major or hidden leaks (water stains on ceilings/floors without visible source)
- Sewage odors or backups
- Suspected pipe corrosion or lead pipes
- Water heater leaks, especially from the tank
- Gas line issues
- Repeated drain clogs despite cleaning
Document all findings and share them with your plumber to expedite repairs and reduce costs.
Maintenance Tips to Extend Plumbing Life Between Inspections
- Flush water heaters annually to remove sediment.
- Clean faucet aerators and showerheads every few months to prevent clogging.
- Replace worn washers and hoses proactively (washer hoses every 5 years).
- Seal any gaps in caulking around sinks and tubs.
- Insulate pipes on exterior walls before winter.
- Encourage tenants or family to report drips or slow drains promptly.
Conclusion: Proactive Plumbing Inspections Save Time, Money, and Headaches
Regular home plumbing inspections aren’t just a chore—they’re an investment in your property’s long-term value, safety, and comfort. Whether you’re a hands-on homeowner or a diligent landlord, learning to spot early warning signs can mean the difference between a minor fix and a major disaster. By following the step-by-step inspection process outlined in this guide, you’ll develop a keen eye for hidden leaks, worn-out components, and compliance issues that might otherwise go unnoticed.
Perhaps most importantly, routine inspections foster a proactive mindset. You’ll gain the confidence to perform small repairs, communicate clearly with professionals when needed, and educate everyone in your household or rental on what to watch for. Over time, you’ll spend less on emergency plumbing calls and avoid water damage that can undermine your investment.
Make plumbing inspections a regular part of your property care routine—once or twice a year for most homes, and at every tenant change for rentals. With the right tools, a logical checklist, and a commitment to documentation, you’ll keep your plumbing in peak shape for years to come. Prevention is always simpler (and cheaper) than repair, and this simple habit will pay dividends in peace of mind, lower bills, and happy, healthy homes.


Lisa Lopez
The article mentions using a moisture meter as an optional tool for detecting hidden leaks inside walls or floors. How accurate are consumer-grade moisture meters, and are there any specific brands or models you’d recommend for a first-time DIYer?