Introduction: Why Every Home Needs a Plumbing Emergency Kit
Plumbing emergencies always seem to strike at the worst possible moment—late at night, on holidays, or when the weather outside is at its worst. Whether it’s a burst pipe, an overflowing toilet, or a sudden leak under the sink, these situations can escalate quickly, causing significant water damage, expensive repairs, and a great deal of stress. While you should always call a licensed plumber for major issues, being prepared with a well-stocked plumbing emergency kit can mean the difference between a minor inconvenience and a costly disaster. In this guide, we’ll break down exactly what every homeowner’s kit should include, why each item matters, and how to use them when time is of the essence. With a bit of preparation, you’ll be able to respond calmly and effectively to the most common plumbing crises, minimizing damage and keeping your household running smoothly until professional help arrives.
Understanding Plumbing Emergencies: Common Scenarios
What Qualifies as a Plumbing Emergency?
Not every leak or clog requires an immediate response, but certain situations demand prompt action. Here are the most frequent plumbing emergencies homeowners face:
- Burst Pipes: Rapid water flow due to freezing, corrosion, or pressure buildup.
- Major Leaks: Under sinks, from water heaters, or in visible piping.
- Overflowing Toilets: Blockages causing water to spill onto floors.
- Blocked Drains: Kitchen, bathroom, or main sewer lines causing backups.
- Water Heater Failures: Leaks or malfunctions leading to flooding or loss of hot water.
For each of these, a fast, well-informed response can prevent thousands of dollars in repairs and preserve your home’s safety and comfort.
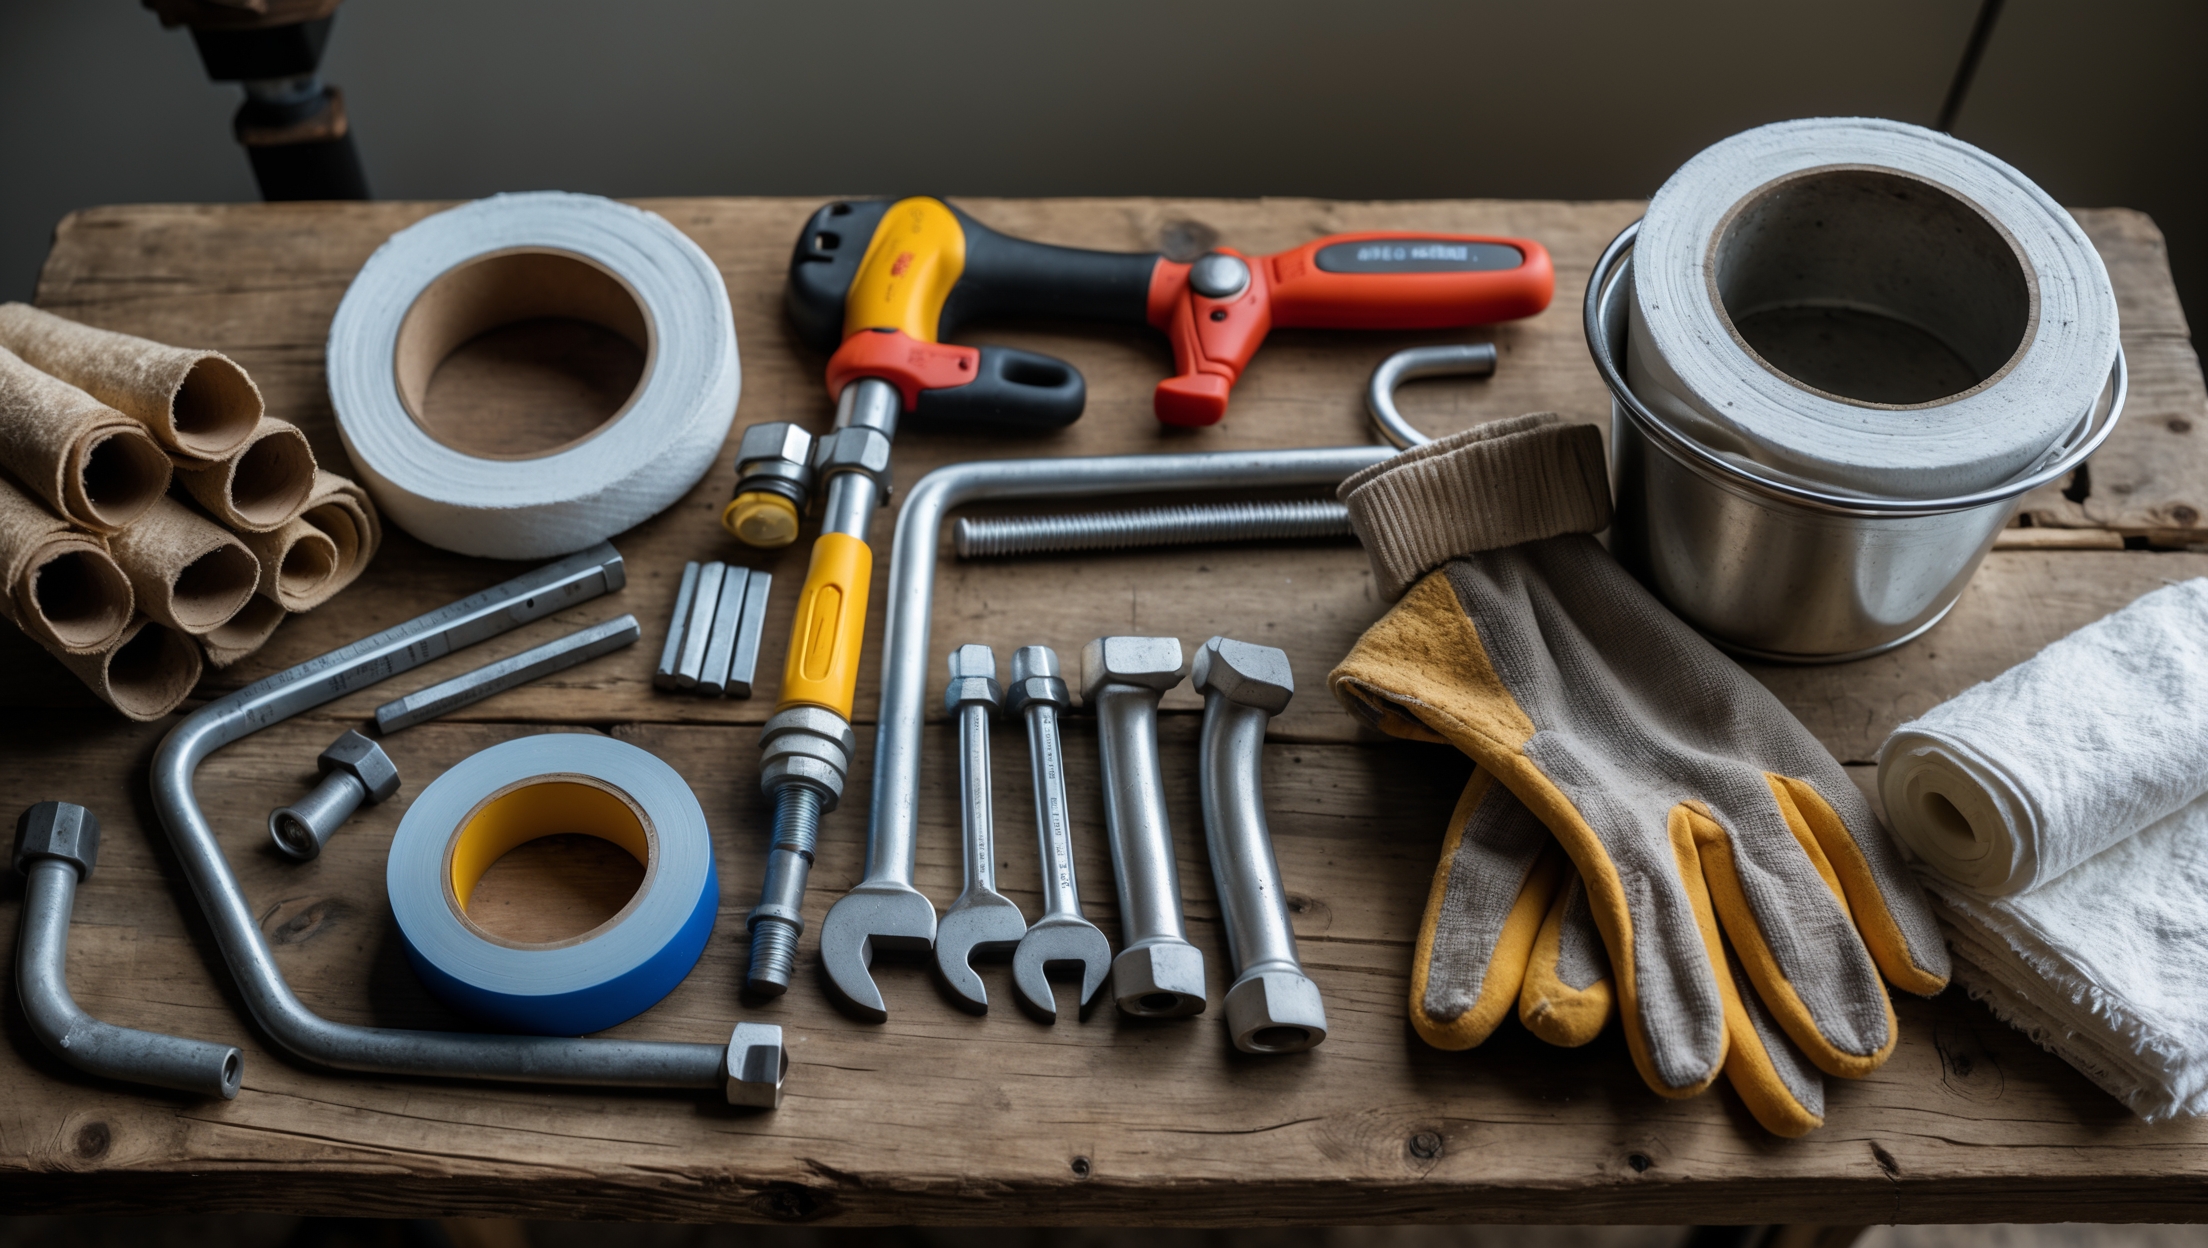
Essentials for Your Plumbing Emergency Kit: The Complete Checklist
Every home is different, but the following items cover the majority of urgent plumbing situations. Store your kit in a clearly labeled container in an accessible spot—ideally under the kitchen sink, utility room, or garage. Make sure all household members know where it’s kept.
- Adjustable Pipe Wrench: For gripping, turning, or tightening fittings on pipes of various sizes.
- Channel Lock Pliers: Versatile for gripping pipes, nuts, and bolts.
- Plunger (Cup and Flange Types): Cup plungers for sinks; flange plungers for toilets.
- Plumber’s Tape (Teflon Tape): Creates watertight seals on threaded pipe joints.
- Pipe Repair Clamp or Epoxy Putty: Temporary seal for small leaks or cracks.
- Bucket (5-Gallon): Catches water from leaks or overflows.
- Old Towels and Rags: For cleaning up spills and drying hands/tools.
- Rubber Gloves: Protects hands from dirty water and sharp edges.
- Flashlight (with Extra Batteries): Essential for working in dim spaces (under sinks, crawlspaces).
- Allen Wrench Set: For certain garbage disposal resets and faucet repairs.
- Utility Knife: Cutting tape, opening packages, or trimming materials.
- Small Assortment of Pipe Fittings/Caps: End caps or push-fit connectors for temporary pipe sealing.
- Zip Ties and Duct Tape: Quick fixes for holding hoses or patching minor leaks.
- Toilet Auger (Optional): For stubborn toilet clogs a plunger can’t clear.
- Water Shut-Off Tool (Meter Key): For homes with curbside water meters.
- Clear Instructions: Printed step-by-step guidance for shutting off water and using kit items (helpful in a panic).
Kit Item Breakdown: Why Each Tool Belongs
Pipe Wrench and Channel Lock Pliers
Many emergency fixes require tightening or loosening connections—whether it’s a supply line, a leaky fitting, or a removal of a broken fixture. Pipe wrenches provide the grip and leverage needed for larger pipes, while channel lock pliers excel at smaller or oddly shaped fixtures. Together, they give you control over most plumbing hardware.
Plungers: Cup vs. Flange
Not all plungers are created equal. Cup plungers have a flat bottom and work best on sinks, bathtubs, and flat drains. Flange plungers have an extended rubber flap and are designed to seal the curved opening of toilet drains, delivering more effective suction for clearing toilet blockages. Keeping both in your kit ensures you’re ready for any clog.
Plumber’s Tape (Teflon Tape)
This thin, non-sticky tape wraps around the threads of pipe joints and fittings. It prevents leaks by filling the tiny gaps where water can escape, making it invaluable for quick repairs or when reattaching hoses and fixtures.
Pipe Repair Clamp and Epoxy Putty
When a pipe springs a leak, a repair clamp can provide an immediate, temporary solution. Simply position the clamp over the damaged area and tighten to compress the rubber gasket over the leak. Epoxy putty is another fast fix—knead the putty, apply it to the crack or hole, and allow it to cure. Both options buy you precious time until a plumber can make permanent repairs.
Bucket, Towels, and Rags
Containing water is your top priority when leaks or overflows happen. A sturdy bucket can catch water under a sink or water heater, while towels and rags soak up spills and keep floors dry. This prevents water from seeping into cabinets, walls, or flooring—areas prone to mold and long-term damage.
Rubber Gloves and Flashlight
Safety first! Gloves protect your hands from dirty water, hot pipes, or sharp edges. A flashlight is invaluable for inspecting leaks in dark corners and performing repairs when the power is out or access is limited.
Allen Wrenches and Utility Knife
Allen wrenches are often needed to reset garbage disposals or remove faucet handles. A utility knife is a universal tool that helps with cutting tape, opening boxes of fittings, or trimming sealant as needed.
Pipe Fittings, End Caps, Zip Ties, Duct Tape
Spare push-fit connectors or end caps let you quickly seal off a leaking supply line. Zip ties can keep hoses or pipes temporarily secured, and duct tape provides a basic, short-term seal for small leaks or to reinforce pipe repairs. None are permanent fixes but are invaluable in a pinch.
Toilet Auger (Optional)
If you have frequent toilet clogs, a toilet auger can clear blockages beyond the reach of a standard plunger. It’s a worthwhile addition to larger kits, especially in older homes with aging drain systems.
Water Shut-Off Tool
In some homes—especially older ones—the main water shut-off may require a special tool (meter key) to turn. Keep one in your kit if your shut-off valve isn’t a simple handle or is located at the curb.
Printed Instructions
In a crisis, it’s easy to forget steps. Keep a laminated or waterproof card with clear instructions for shutting off water, using plungers, applying tape, and contacting your plumber. This is especially useful if someone less handy needs to respond.
How to Use Your Kit During the Most Common Emergencies
1. Burst Pipe or Major Leak
- Shut Off Water: Immediately turn off the main water supply. Know its location in advance.
- Contain Water: Place a bucket under the leak; use towels to soak up excess.
- Apply Pipe Clamp or Epoxy: Temporarily seal the crack or hole.
- Call a Licensed Plumber: Even with a temporary fix, professional repair is necessary.
2. Overflowing Toilet
- Stop the Flow: Remove the tank lid and push the flapper down. If needed, turn off the water supply valve behind the toilet.
- Plunge: Use a flange plunger to clear the clog.
- Auger (if needed): Insert the toilet auger if the plunger fails, following manufacturer instructions.
- Clean Up: Use gloves and towels to sanitize the area.
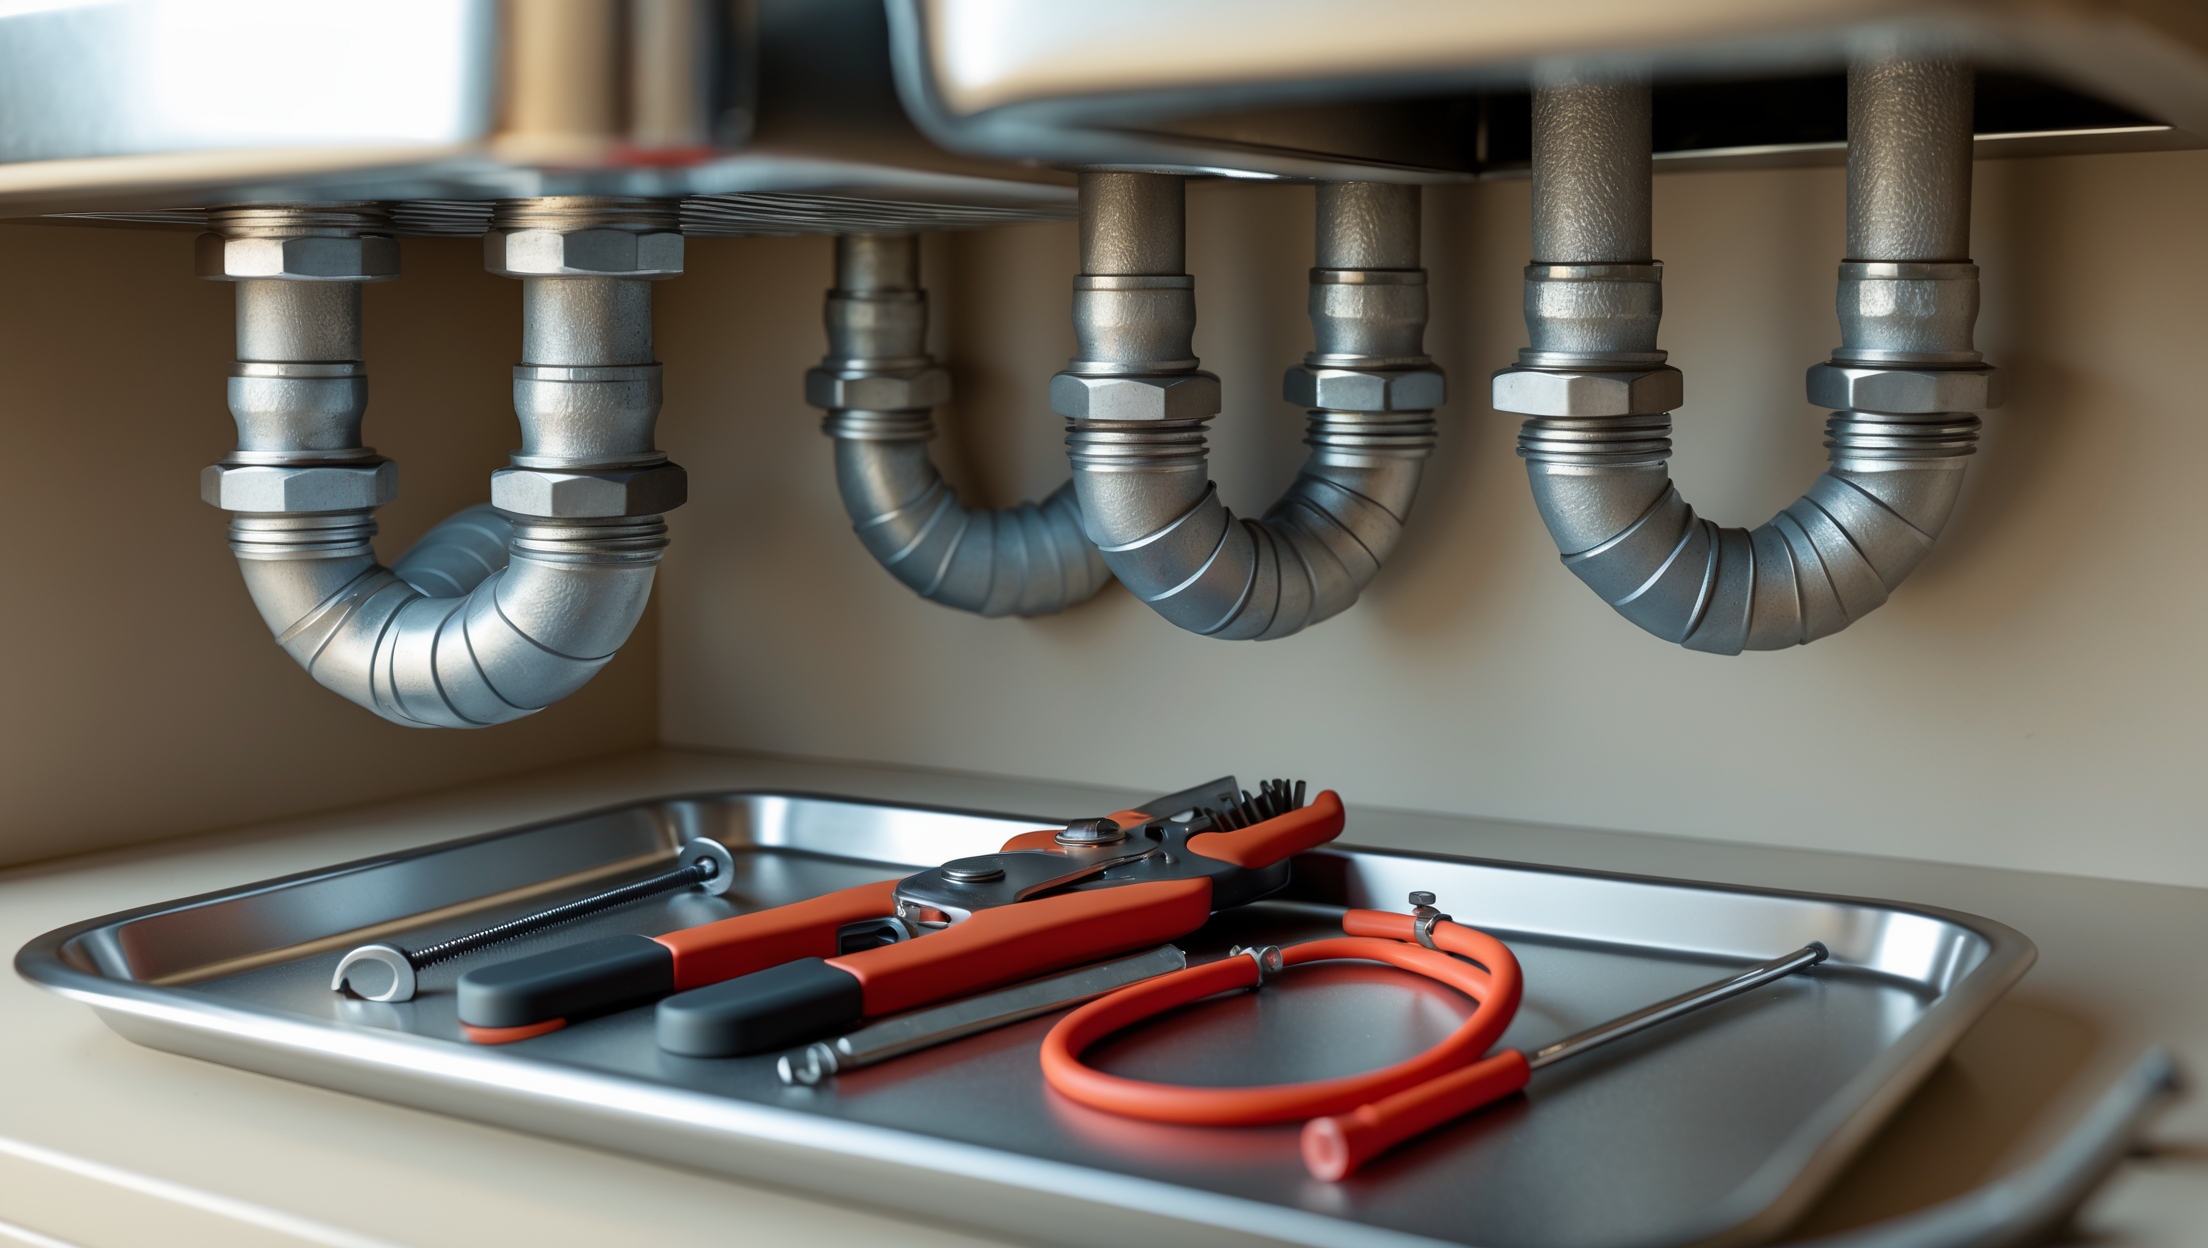
3. Blocked Sink or Tub Drain
- Plunge: Use a cup plunger for several firm, steady strokes.
- Check Trap: Use channel lock pliers to remove the trap under the sink (place a bucket to catch water).
- Clear and Reassemble: Clean out debris, reseal with plumber’s tape if needed, and tighten connections.
4. Leaking Water Heater
- Shut Off Power: Turn off the breaker (electric) or gas supply (gas heater).
- Shut Off Water: Use the dedicated valve above the heater or main shut-off.
- Contain Leak: Place a bucket under the leak and use towels as needed.
- Call a Professional: Water heater leaks can be hazardous; do not attempt complex repairs yourself.
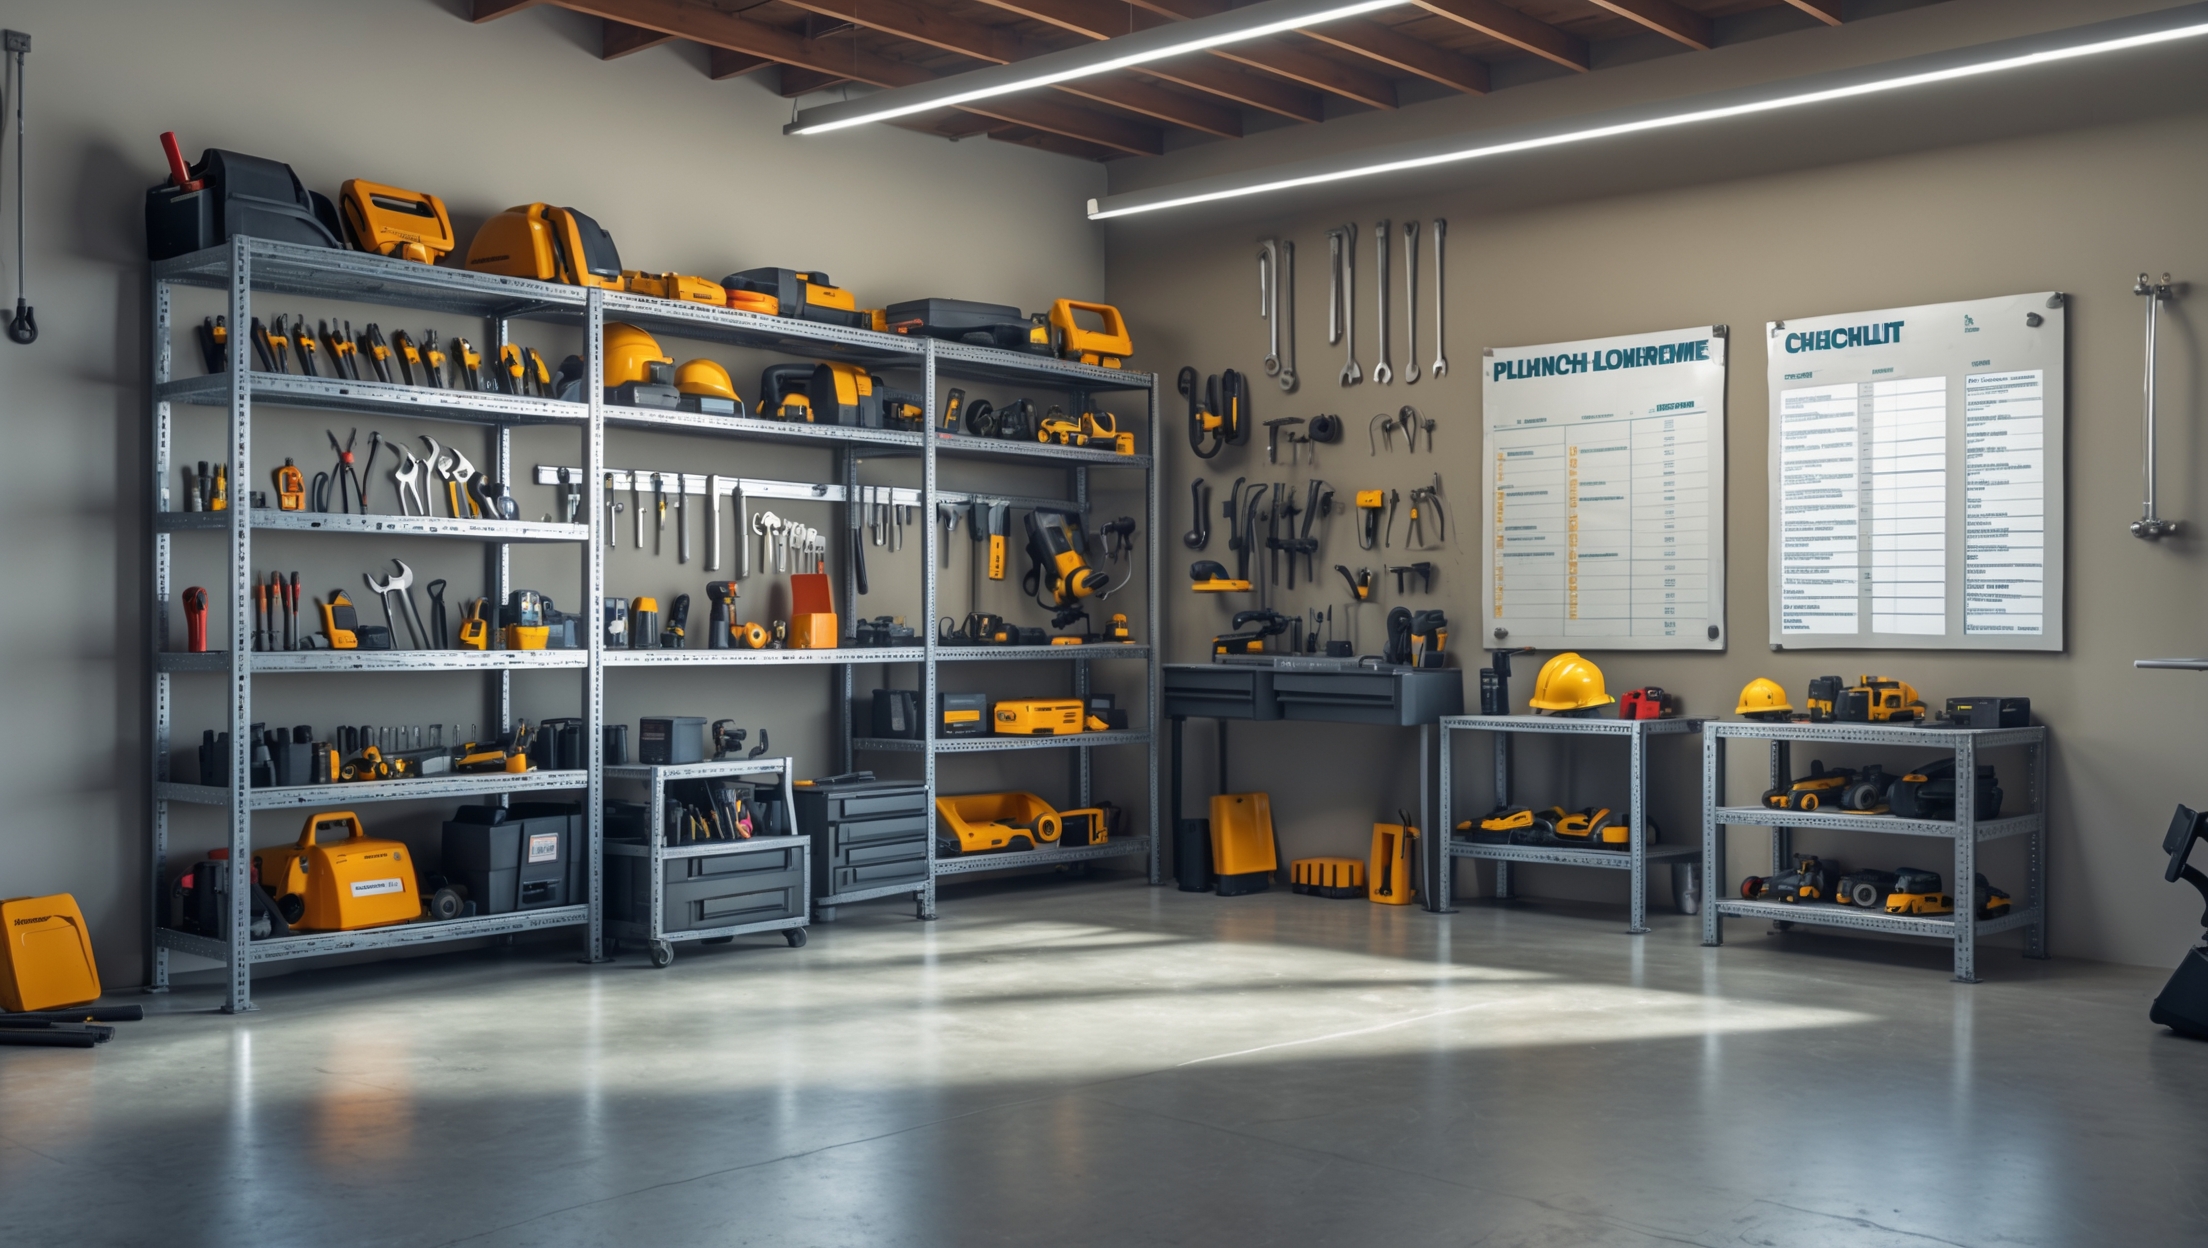
Pro Tips for Maintaining and Upgrading Your Emergency Kit
- Check Annually: Inspect all tools and supplies. Replace worn towels, expired putty, or dead batteries.
- Keep It Mobile: Use a portable tote or toolbox with a handle for easy transport during an emergency.
- Label Everything: Label compartments or bags for smaller items like fittings, tape, and gloves for fast access.
- Customize for Your Home: Include extra fittings or specialty tools if your plumbing system has unique components.
- Educate Household Members: Walk everyone through the kit contents and demonstrate how to shut off the water main and fixtures.
When to Use Your Kit—and When to Call a Professional
Your emergency kit is designed for damage control, not permanent repairs. Always call a licensed plumber if:
- A pipe has burst or a major leak is ongoing.
- You detect signs of water in walls, ceilings, or electrical outlets.
- The leak involves your water heater, boiler, or main sewer line.
- There is a sewage backup (risk of health hazards).
Use your kit to minimize damage, but don’t attempt repairs beyond your skill level. If in doubt, shut off the water and wait for the pros.
Frequently Asked Questions About Plumbing Emergency Kits
How much does a complete kit cost?
A basic kit using mid-range tools and supplies typically costs between $75 and $150. You can assemble it gradually, starting with essentials and upgrading over time.
Can I use household items as substitutes?
While duct tape and buckets are common household items, specialty items like plumber’s tape, repair clamps, and proper plungers are worth purchasing for reliability in an emergency.
Should renters keep a kit?
Absolutely. Renters are responsible for preventing further damage in emergencies, and having basic tools can help minimize issues before maintenance arrives.
How do I learn to use the kit?
Familiarize yourself with each item. Watch reputable online tutorials, read manufacturer instructions, and practice shutting off your water supply valve in advance.
Conclusion: Be Ready, Stay Calm, and Protect Your Home
Plumbing emergencies rarely give warning, but with the right preparation, you can turn a potential disaster into a manageable inconvenience. Assembling a plumbing emergency kit is a small investment of time and money that pays off the moment you’re faced with a burst pipe, clogged drain, or overflowing toilet. By understanding the purpose of each tool, practicing how to use them, and keeping your kit well-stocked and accessible, you’ll be empowered to act quickly and confidently. Remember, your kit is not a replacement for professional service, but it is your best defense against costly water damage and stress while you wait for help to arrive.
Take the time this week to gather your emergency kit supplies, review your home’s plumbing layout, and ensure every member of your household knows what to do. When the unexpected happens, you’ll be glad you took these proactive steps to safeguard your property and your peace of mind.


Emily Wilson
If a plumbing emergency happens in the winter and the main shutoff valve is frozen or hard to turn, do you have advice for getting it to budge safely, or is it better to just wait for a plumber?