Introduction: Why Plumbing Flange Failures Deserve Attention
Most homeowners and DIY enthusiasts spend little time thinking about plumbing flanges—until a sudden leak or a wobbly toilet signals that something’s gone wrong. Flanges are simple yet vital connectors that join plumbing fixtures (like toilets and sinks) to drainpipes. When these components fail, the resulting leaks can cause extensive water damage, promote mold growth, and even undermine the structural integrity of floors or walls. Unfortunately, flange failures are among the most overlooked yet preventable plumbing issues. Understanding what causes these breakdowns, how to spot early warning signs, and the correct techniques for repair can save you hundreds—if not thousands—of dollars in repairs. This comprehensive guide will equip you with the expertise to diagnose, fix, and proactively prevent flange failures, whether you’re a seasoned pro, a property manager, or a hands-on homeowner.
Understanding Plumbing Flanges: Functions and Types
What Is a Plumbing Flange?
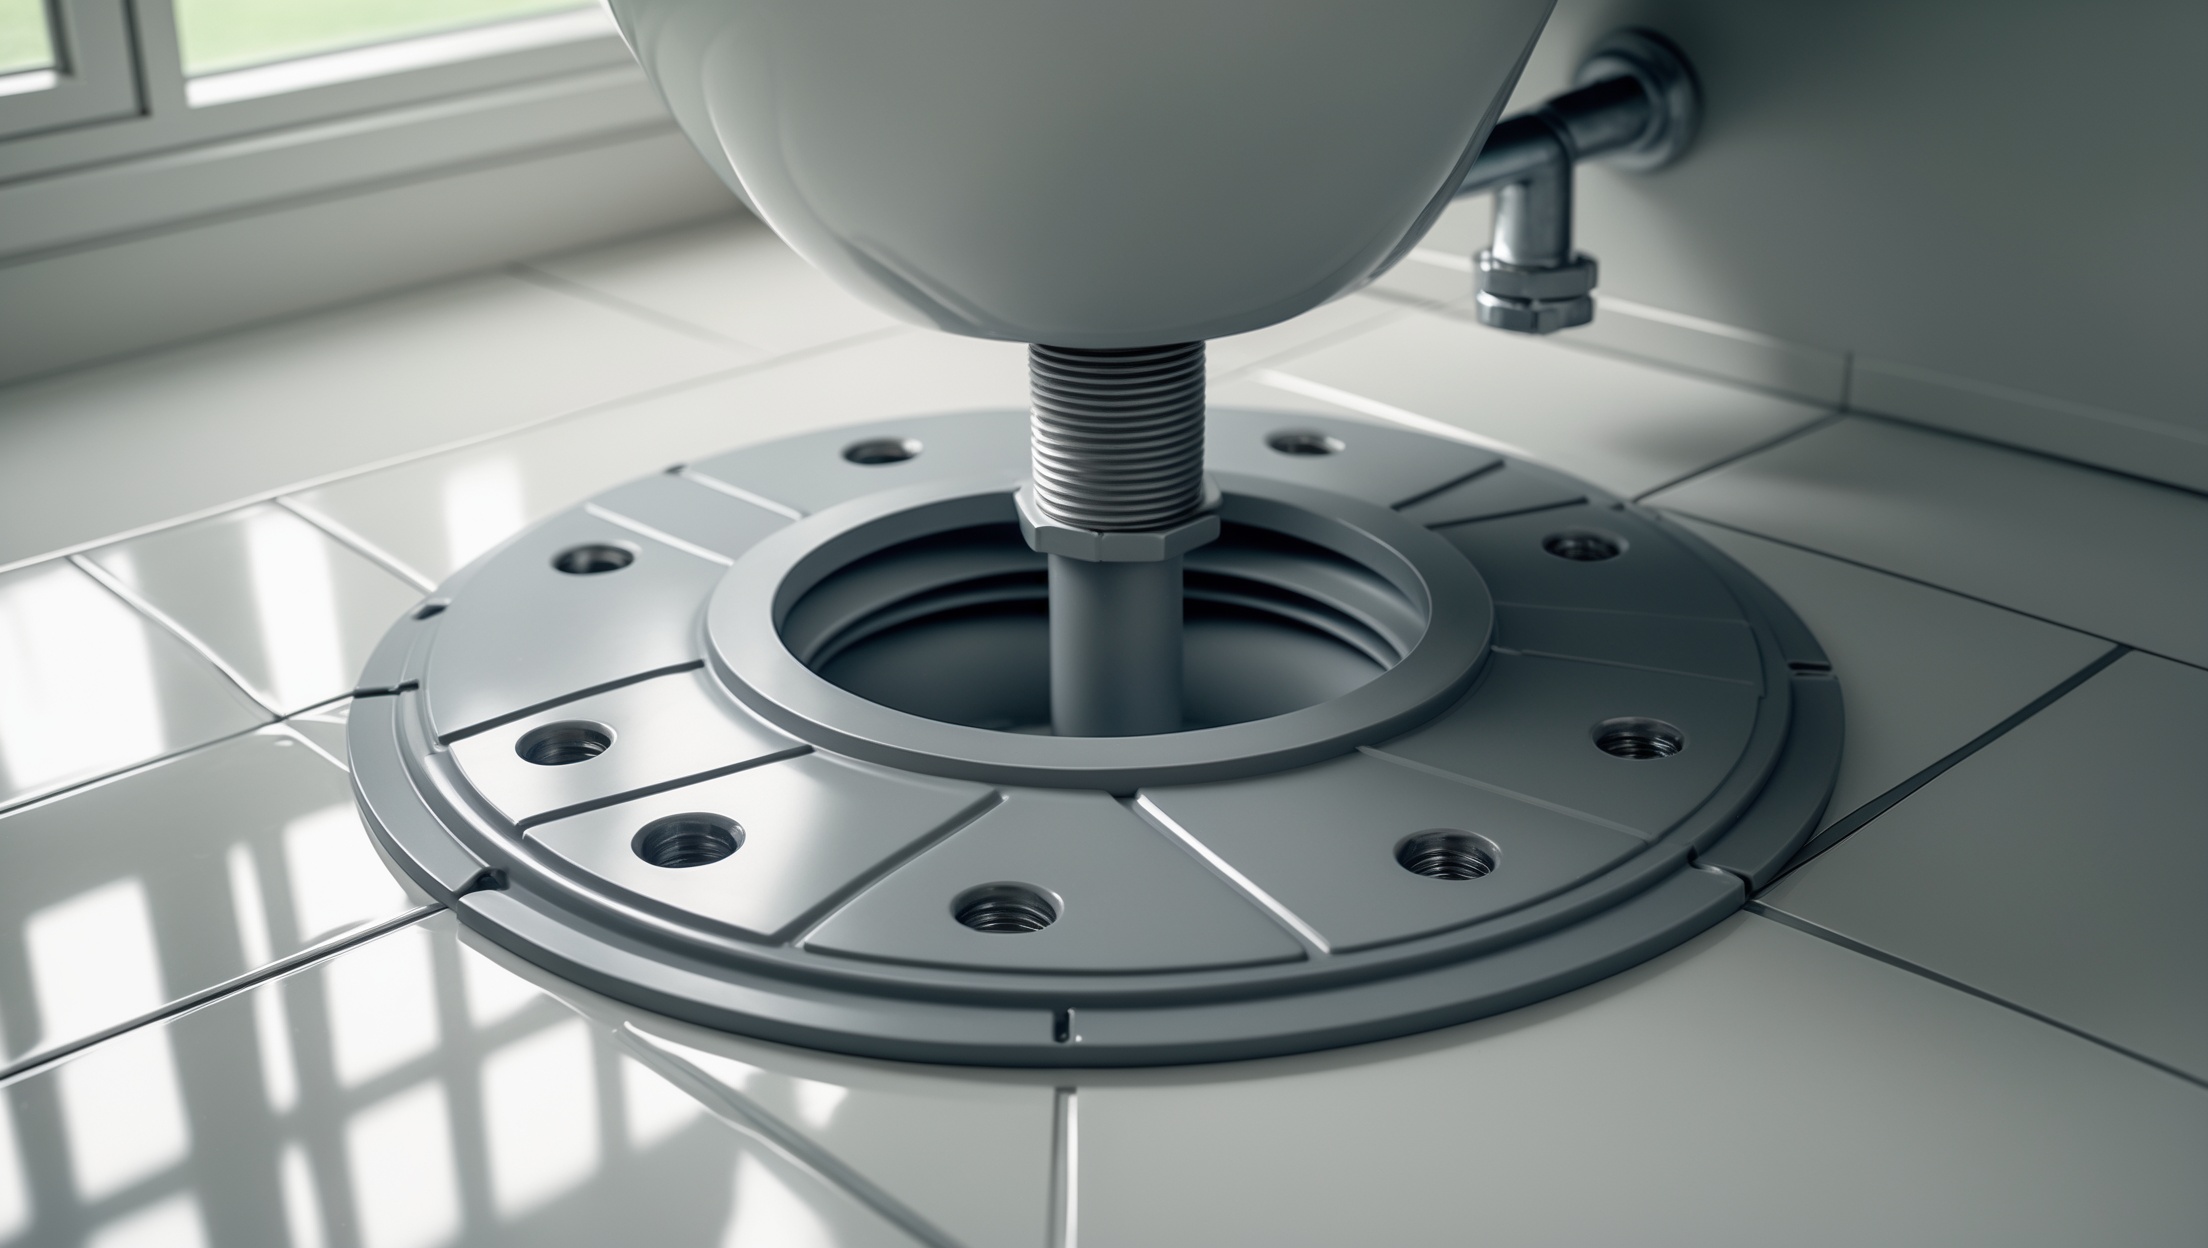
A plumbing flange is a flat, circular fitting that connects a plumbing fixture to its corresponding drainpipe. Its main role is to create a secure, leak-proof connection between the fixture (like a toilet base or shower drain) and the waste line. Flanges also help anchor fixtures solidly to the floor or wall, preventing movement and stress on the attached pipes.
Common Flange Types
- Toilet Flange (Closet Flange): Connects the toilet to the drainpipe and floor. Typically made from PVC, ABS, or metal.
- Shower Drain Flange: Sits beneath the shower base to ensure a watertight seal with the drainpipe.
- Sink Flange: Connects sinks (especially kitchen sinks with garbage disposals) to the drain system.
- Floor and Wall Flanges: Provide anchoring for pipes passing through floors or walls, often used for stability.
Common Causes of Flange Failures
Poor Installation
Incorrect flange height, misalignment with the drainpipe, or over-tightened bolts often lead to premature failure. For example, a toilet flange set either too high or too low can stress the wax ring, resulting in leaks.
Material Degradation
Metal flanges are prone to corrosion, while plastic flanges can crack or deform from repeated stress or chemical exposure. Flanges that become brittle or rusted lose their ability to maintain a seal.
Structural Movement
Floor settling, subfloor rot, or repeated shifting of the fixture can flex or break a flange, especially if the surrounding floor is not stable.
Improper Sealing
Failure to use a proper wax or rubber seal, or not tightening bolts evenly, allows water and waste to seep out. Over time, this moisture accelerates deterioration around the flange.
Incompatible Repairs
Using the wrong flange type for your pipe material or size, or applying makeshift repairs, can create more problems. For example, stacking multiple wax rings to compensate for flange height is a common mistake that leads to leaks.
Diagnosing Flange Issues: Signs to Watch For
1. Visible Leaks and Water Damage
Water pooling around the base of a toilet, warping of the floor, or stains around a shower drain often indicate a failed flange.
2. Wobbly or Loose Fixtures
If your toilet rocks or shifts, the flange may be broken or inadequately anchored. This movement quickly destroys seals and can crack the flange further.
3. Persistent Odors
Sewer gas smells near a fixture point to a poor seal, often due to flange failure or a deteriorated wax ring.
4. Subfloor Softness
Soft, spongy, or discolored flooring around the toilet or shower signals water intrusion. Investigate further for flange issues before replacing flooring.
5. Inspection Techniques
- Remove the fixture (e.g., toilet) to visually inspect the flange for cracks, corrosion, or improper height relative to the finished floor.
- Check for movement in the flange by gently applying pressure.
- Look for signs of old or compressed wax rings indicating past leakage.
Step-by-Step: How to Repair a Damaged Flange
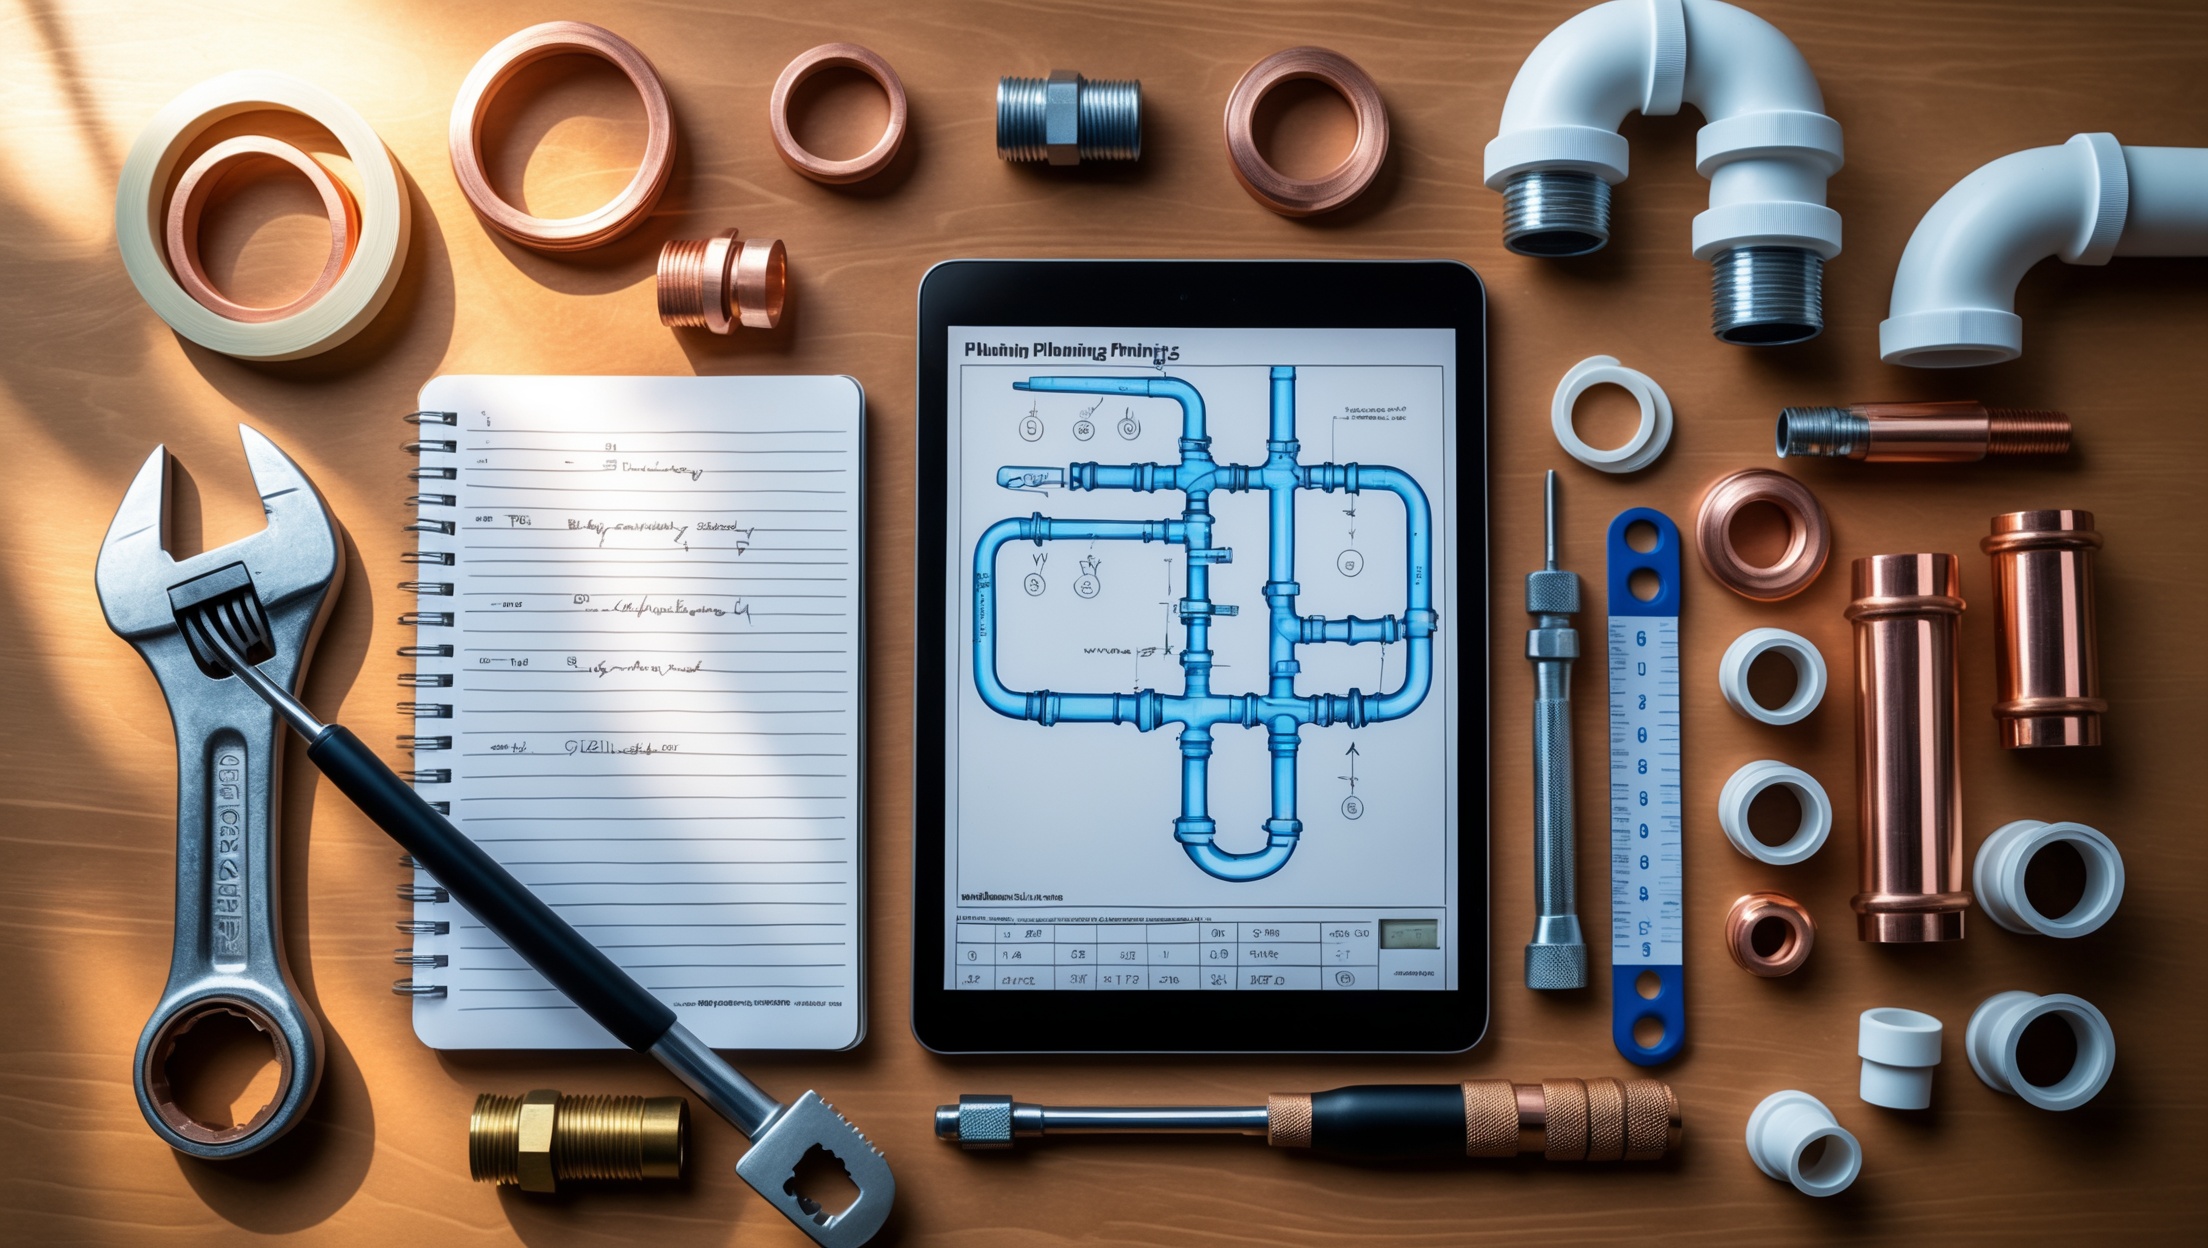
1. Gather Tools and Materials
- Replacement flange (match material and size)
- Wax ring or rubber seal
- Flange repair kit (if full replacement isn’t possible)
- Putty knife, screwdriver, adjustable wrench
- Level
- New mounting bolts
- Cleaning supplies (rags, disinfectant)
2. Remove the Fixture
Turn off the water supply and drain the fixture (e.g., flush the toilet). Disconnect water lines. Unscrew floor bolts and gently lift the fixture away, placing it on a protected surface.
3. Inspect and Remove the Old Flange
Scrape away old wax or debris. Examine the flange for cracks, rust, or missing pieces. If the flange is broken but the pipe is intact, a repair ring or half-moon repair kit may suffice. Severely damaged or corroded flanges require full replacement.
4. Address Subfloor Damage
If you find rotted or soft subfloor, cut out and replace the affected area before installing a new flange. The flange must be mounted on a solid, level surface to ensure a proper seal.
5. Install the New or Repaired Flange
- Dry-fit the new flange to ensure proper height—ideally, the flange should sit flush with the finished floor or up to 1/4″ above it.
- Secure the flange to the floor using stainless steel screws. Ensure the slots for the toilet bolts are parallel to the wall.
- If using a repair ring, sandwich it over the broken flange and fasten tightly.
6. Replace the Seal and Reinstall the Fixture
- Place a new wax ring or rubber gasket onto the flange (not the toilet outlet).
- Lower the fixture straight down, aligning bolts with mounting holes. Press firmly but do not rock.
- Hand-tighten nuts, then alternate between bolts to avoid uneven pressure. Do not overtighten.
- Reconnect water supply, turn on, and test for leaks.
7. Final Checks
- Flush several times, inspecting for leaks around the base.
- Check for movement—there should be none.
- Seal the base with caulk if required by local code or for aesthetics.
Prevention: Best Practices for Long-Lasting Flanges
Choose the Right Flange Material
Use PVC or ABS for modern installations—these resist corrosion and are easy to work with. For older homes with cast iron pipes, use a compatible metal flange or a hybrid version designed for retrofits.
Proper Flange Height
Install the flange so its top surface is level with or slightly above the finished floor. Avoid stacking wax rings to compensate for low flanges—instead, use flange extenders if needed.
Secure Mounting
Always anchor flanges to the subfloor using appropriate screws, not just adhesive or friction fit. Loose flanges cause movement that destroys seals.
Quality Seals
Use high-quality wax rings or rubber gaskets, especially in high-traffic bathrooms. Inspect and replace seals whenever you remove a fixture.
Routine Inspections
- Check for signs of leaks or movement after any floor work or fixture replacement.
- Inspect annually in older homes or high-use properties.
Avoid Common Mistakes
- Never reuse old wax rings or bolts.
- Don’t overtighten bolts—this can crack porcelain fixtures or the flange itself.
- Resist the urge to “shim” a loose toilet with cardboard or temporary materials; address the flange and subfloor directly.
Special Considerations: Flanges in Unusual Situations
Flange Repairs on Concrete Floors
Remove the old flange using a rotary hammer or chisel. Use brass or stainless-steel screws with masonry anchors to secure the new flange. Consider a flange with an integrated metal ring for extra durability.
Offset Flanges
These are designed when the existing drainpipe is not perfectly aligned. Use only when absolutely necessary, as they can reduce flow and increase clog risk.
Retrofit and Repair Flanges
Several products allow you to repair a broken flange without full replacement. These include split flanges, repair rings, and flange extenders—ideal for old, brittle, or partially damaged installations.
When to Call a Professional
While many flange repairs are DIY-friendly, certain situations demand professional expertise:
- Severe subfloor rot or structural damage
- Cracked drainpipes or inaccessible piping
- Repeated failures despite proper installation
- Commercial or multi-unit buildings (code compliance and liability)
Professionals can also perform pressure tests, camera inspections, and ensure compliance with local plumbing codes—especially vital for rental properties or renovations.
Maintenance Checklist: Keep Your Flanges Trouble-Free
- Inspect the base of toilets and showers annually for signs of leaks or movement.
- Check for persistent odors or unexplained water stains on lower floors.
- After any fixture movement (e.g., replacement, major cleaning), inspect and replace wax rings or seals.
- Listen for floor creaks or “give” around fixture bases, which may signal subfloor or flange issues.
- Address small leaks immediately to prevent larger structural damage.
Conclusion: Protect Your Investment by Mastering Flange Care
Plumbing flange failures may seem minor at first glance, but their consequences can be severe—ranging from unsightly leaks to significant structural repairs. By understanding the causes and symptoms of flange breakdowns, you empower yourself to act before small problems escalate. With the right know-how, most flange repairs are manageable for the prepared DIYer, saving both time and money. Equally important, following best practices in installation and maintenance ensures that your plumbing system remains leak-free and reliable for years to come.
Remember: Every successful repair starts with an accurate diagnosis and the willingness to replace—not just patch—damaged components. Never cut corners by reusing old seals or ignoring soft subflooring. Instead, invest in quality materials, precise installation, and routine inspections. Should you encounter complex situations—like major subfloor rot or inaccessible piping—don’t hesitate to consult a licensed professional for a long-term solution.
Whether you’re maintaining your own home or managing rental properties, vigilance with flanges protects against costly water damage and keeps your fixtures rock-solid. With these expert tips and step-by-step guides, you can confidently tackle flange repairs and prevent issues before they arise. Plumbing peace of mind starts beneath your feet—make flange care a regular part of your maintenance routine!