Introduction: The Hidden Hurdle in DIY Plumbing Projects
Every year, thousands of homeowners launch into plumbing renovations or repairs, often with admirable enthusiasm and a toolkit at the ready. But even the most meticulously planned DIY projects can come to a grinding halt thanks to a less glamorous—but absolutely critical—aspect of the job: permits. Permits are more than just paperwork; they’re a safeguard for your safety, the value of your home, and the integrity of your local water system. Overlooking this step can lead to delayed projects, expensive fines, failed inspections, and even forced demolition of completed work. For those new to the world of plumbing or seasoned DIYers expanding their horizons, understanding how to properly navigate the permit landscape is a must. In this guide, we’ll walk you through the most common permit pitfalls, offer practical strategies to avoid them, and empower you to complete your plumbing project smoothly, on time, and up to code.
Why Plumbing Permits Matter
Protecting Health and Safety
Plumbing systems deal directly with your home’s water supply and waste disposal—two areas that, if mishandled, can pose serious health risks. Permits ensure that work is performed according to local codes, which are designed to prevent contamination, leaks, and structural damage.
Legal and Financial Repercussions
Skipping required permits isn’t just risky—it’s illegal. Unpermitted plumbing work can result in hefty fines, legal action, and complications when selling your home. Insurance claims may also be denied if damage results from unauthorized work.
Protecting Your Investment
Properly permitted work helps retain and even increase property value. It provides a clear record for future buyers and can prevent costly surprises during home inspections or appraisals.
Common Plumbing Projects That Require Permits
Permit requirements vary by jurisdiction, but the following projects almost always require prior approval:
- Relocating or adding plumbing fixtures (e.g., sinks, toilets, showers)
- Installing new water supply or drain lines
- Replacing water heaters
- Major pipe repairs or replacements
- Bathroom or kitchen remodels involving plumbing
- Outdoor plumbing additions (e.g., irrigation systems, exterior hose bibs)
Minor repairs, such as swapping out a faucet or fixing a leaky pipe joint, might not require a permit, but always verify with your local building department.
Permit Pitfalls: Mistakes DIYers Make
1. Assuming Permits Aren’t Needed for Small Jobs
Many homeowners believe permits are only required for large-scale projects. In reality, even relatively minor changes—like moving a sink—can trigger permit requirements. Always check before you start.
2. Relying on Outdated or Online Advice
Permit rules vary widely by city, county, and state. What’s true in one area may not apply in another. Online forums and YouTube tutorials can be helpful, but they’re no substitute for direct guidance from your local authority.
3. Failing to Include Permit Time in Project Planning
Permit approval can take days or even weeks, especially during busy seasons. Neglecting this phase can disrupt timelines and leave you with half-finished plumbing.
4. Overlooking Required Inspections
Most permits require at least one inspection to verify code compliance. Skipping this step can void your permit and force you to tear out completed work for re-inspection.
5. Not Keeping Documentation
Lose your permit or inspection reports, and you may face trouble during future home sales or appraisals. Organized records are as important as the work itself.
6. Hiring Unlicensed Contractors Without Permits
If you hire help for part of your project, ensure they’re licensed and that all work is included in your permit application. Unlicensed or uninsured labor can create liability issues.
Step-by-Step: Navigating the Permit Process
1. Research Local Requirements
Start by visiting your municipality’s building department website or office. Look for:
- Types of projects needing permits
- Documentation required (plans, drawings, specifications)
- Fees and estimated timelines
- Inspection stages and scheduling process
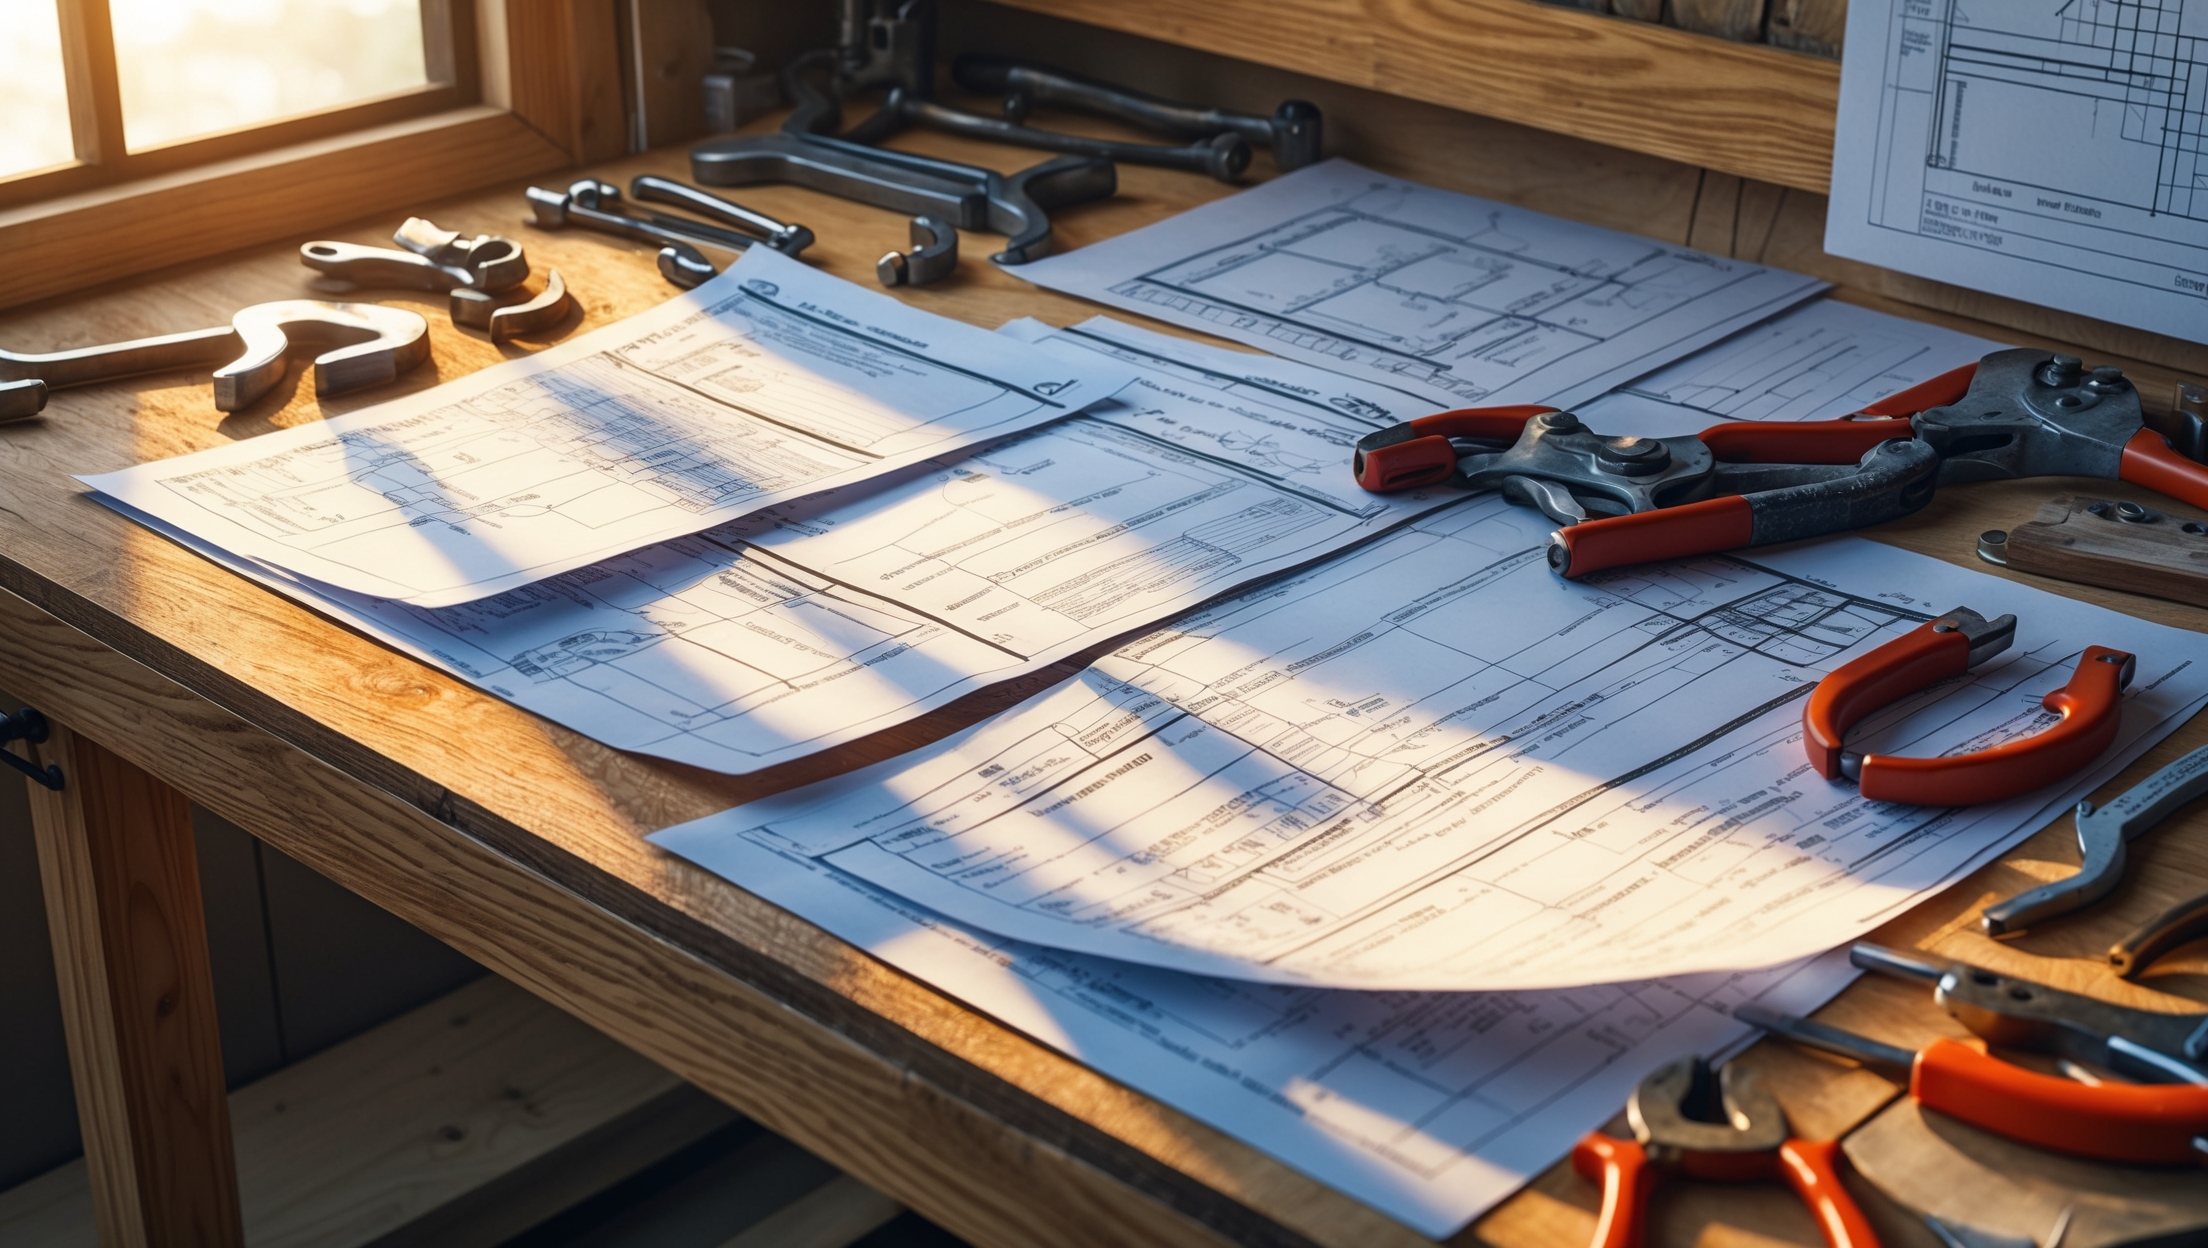
2. Prepare Detailed Plans
Most permit applications require a clear diagram of the proposed work. Include:
- Fixture locations (existing and proposed)
- Pipe routing (supply and waste lines)
- Materials to be used
- Valves, vents, and cleanouts
Hand-drawn sketches are sometimes accepted for small projects, but digital plans are preferred for major renovations.
3. Submit Your Application
File your application in person or online, depending on your local office. Double-check that all fields are completed and all required documents are attached. Pay the fee—most range from $50 to $500, depending on project scope.
4. Wait for Approval
Permit review can take from a day to several weeks. Some offices offer fast-track approvals for smaller jobs. Monitor your application status and respond promptly to any requests for clarification.
5. Schedule Inspections
Once granted, your permit will specify required inspections. These typically include:
- Rough-in inspection: Before walls are closed, inspectors check pipe placement and connections.
- Final inspection: After completion, ensuring everything is code-compliant and leak-free.
Do not cover any work until the rough-in inspection is passed.
6. Keep All Documentation
Store your permit, inspection reports, and any correspondence in a safe place. Scan digital copies for backup. These documents can be critical when refinancing, selling, or insuring your home.
How to Avoid Costly Delays and Fines
Start Early, Plan Thoroughly
Begin your permit process as soon as you’ve decided to tackle a plumbing project. Factor in approval and inspection times when building your project timeline. Rushed jobs often result in missed steps and longer delays.
Communicate Clearly with Inspectors
Inspectors are allies, not adversaries. Ask questions if you’re unclear about requirements. Be present during inspections to address concerns on the spot and avoid costly rework.
Document Every Change
If you alter plans mid-project, notify your permitting office immediately. Unapproved changes can invalidate your permit and trigger fresh inspections or fines.
Budget for Permits and Contingencies
Include permit fees and potential re-inspection charges in your budget. Set aside a contingency fund for unexpected code upgrades, which inspectors may require for older systems.
Permit Process: Real-World Scenarios
Scenario 1: Bathroom Remodel Without a Permit
A homeowner relocates a toilet and adds a double sink but skips the permit. During a future home sale, the buyer’s inspector flags unpermitted work. The homeowner is forced to open walls for inspection, pay retroactive permit fees, and faces project delays of several weeks—plus a lower selling price due to code uncertainty.
Scenario 2: Water Heater Replacement with Permit
Another DIYer replaces their water heater and obtains a permit. The inspector catches a minor venting issue, which is fixed on the spot. The permit record reassures future buyers and keeps the insurance policy valid. The process adds a single day to the project but prevents years of potential headaches.
Frequently Asked Questions About Plumbing Permits
- Can I apply for a permit as a homeowner?
In most areas, yes. However, some complex projects may require a licensed plumber for both application and execution. - How long are permits valid?
Typically 6–12 months. If work isn’t completed in that time, you may need to renew or reapply. - What happens if I’m caught without a permit?
Authorities can halt your project, levy fines, and require demolition for inspection. Repeated violations may carry steeper penalties. - Is a permit required for fixture replacement?
Usually not for a direct swap (e.g., replacing a faucet), but always check local rules—especially for water heaters or anything requiring new piping.
Pro Tips for a Smooth Permit Experience
- Build Relationships: Get to know your local inspectors and permitting staff. Respectful, informed communication can streamline your project and help you navigate grey areas.
- Double-Check Everything: Incomplete or inaccurate applications are the top cause of delays. Triple-check plans, addresses, and scope of work.
- Stay Organized: Use a project binder or digital folder to track all paperwork, receipts, and correspondence. This will save you time and trouble if questions arise later.
- Learn the Codes: Familiarize yourself with basic plumbing codes relevant to your project. Many municipalities offer free code summaries online.
- Don’t Rush Inspections: Allow plenty of time for each inspection and be prepared for possible corrections. Quality is always better than speed.
Conclusion: Make Permits Your Project’s Best Friend
Plumbing permits may seem like a bureaucratic obstacle, but in reality, they’re a vital tool for protecting your home, your investment, and your peace of mind. Skipping permits can lead to stressful and expensive setbacks, from failed inspections and fines to insurance nightmares and lost resale value. By understanding your local requirements, planning ahead, and embracing the permit process as a core part of your DIY project, you set yourself up for success. Remember, each permit you pull is a guarantee that your work meets the standards of safety and quality that you—and future owners—deserve. So before you pick up that wrench, make permits your first step. With a little preparation and the right mindset, you can tackle any plumbing project confidently, knowing you’re building something solid, safe, and fully up to code.


Thomas Davis
If unpermitted work is discovered during a home sale, you mention fines and possible demolition. What’s the typical process for bringing older, unpermitted plumbing up to code—does it generally require redoing everything, or can it be grandfathered in somehow?