Introduction: Why Spring Plumbing Prep Matters
As the snow melts and temperatures finally rise, homeowners across the country breathe a sigh of relief—until hidden plumbing issues emerge. The transition from winter to spring is one of the most critical times for your plumbing system. Months of freezing, thawing, and heavy precipitation can stress pipes, drains, sump pumps, and outdoor fixtures. Without proactive inspection and maintenance, you may face leaks, flooding, or water damage just as you’re ready to enjoy the season. This comprehensive guide provides a detailed, step-by-step spring plumbing checklist, empowering you to identify vulnerabilities, address minor issues before they escalate, and safeguard your home against unexpected—and often costly—plumbing disasters. Whether you’re a DIY enthusiast or a property manager, these expert insights will help you navigate the unique challenges of spring thaw and keep your plumbing system performing flawlessly all season long.
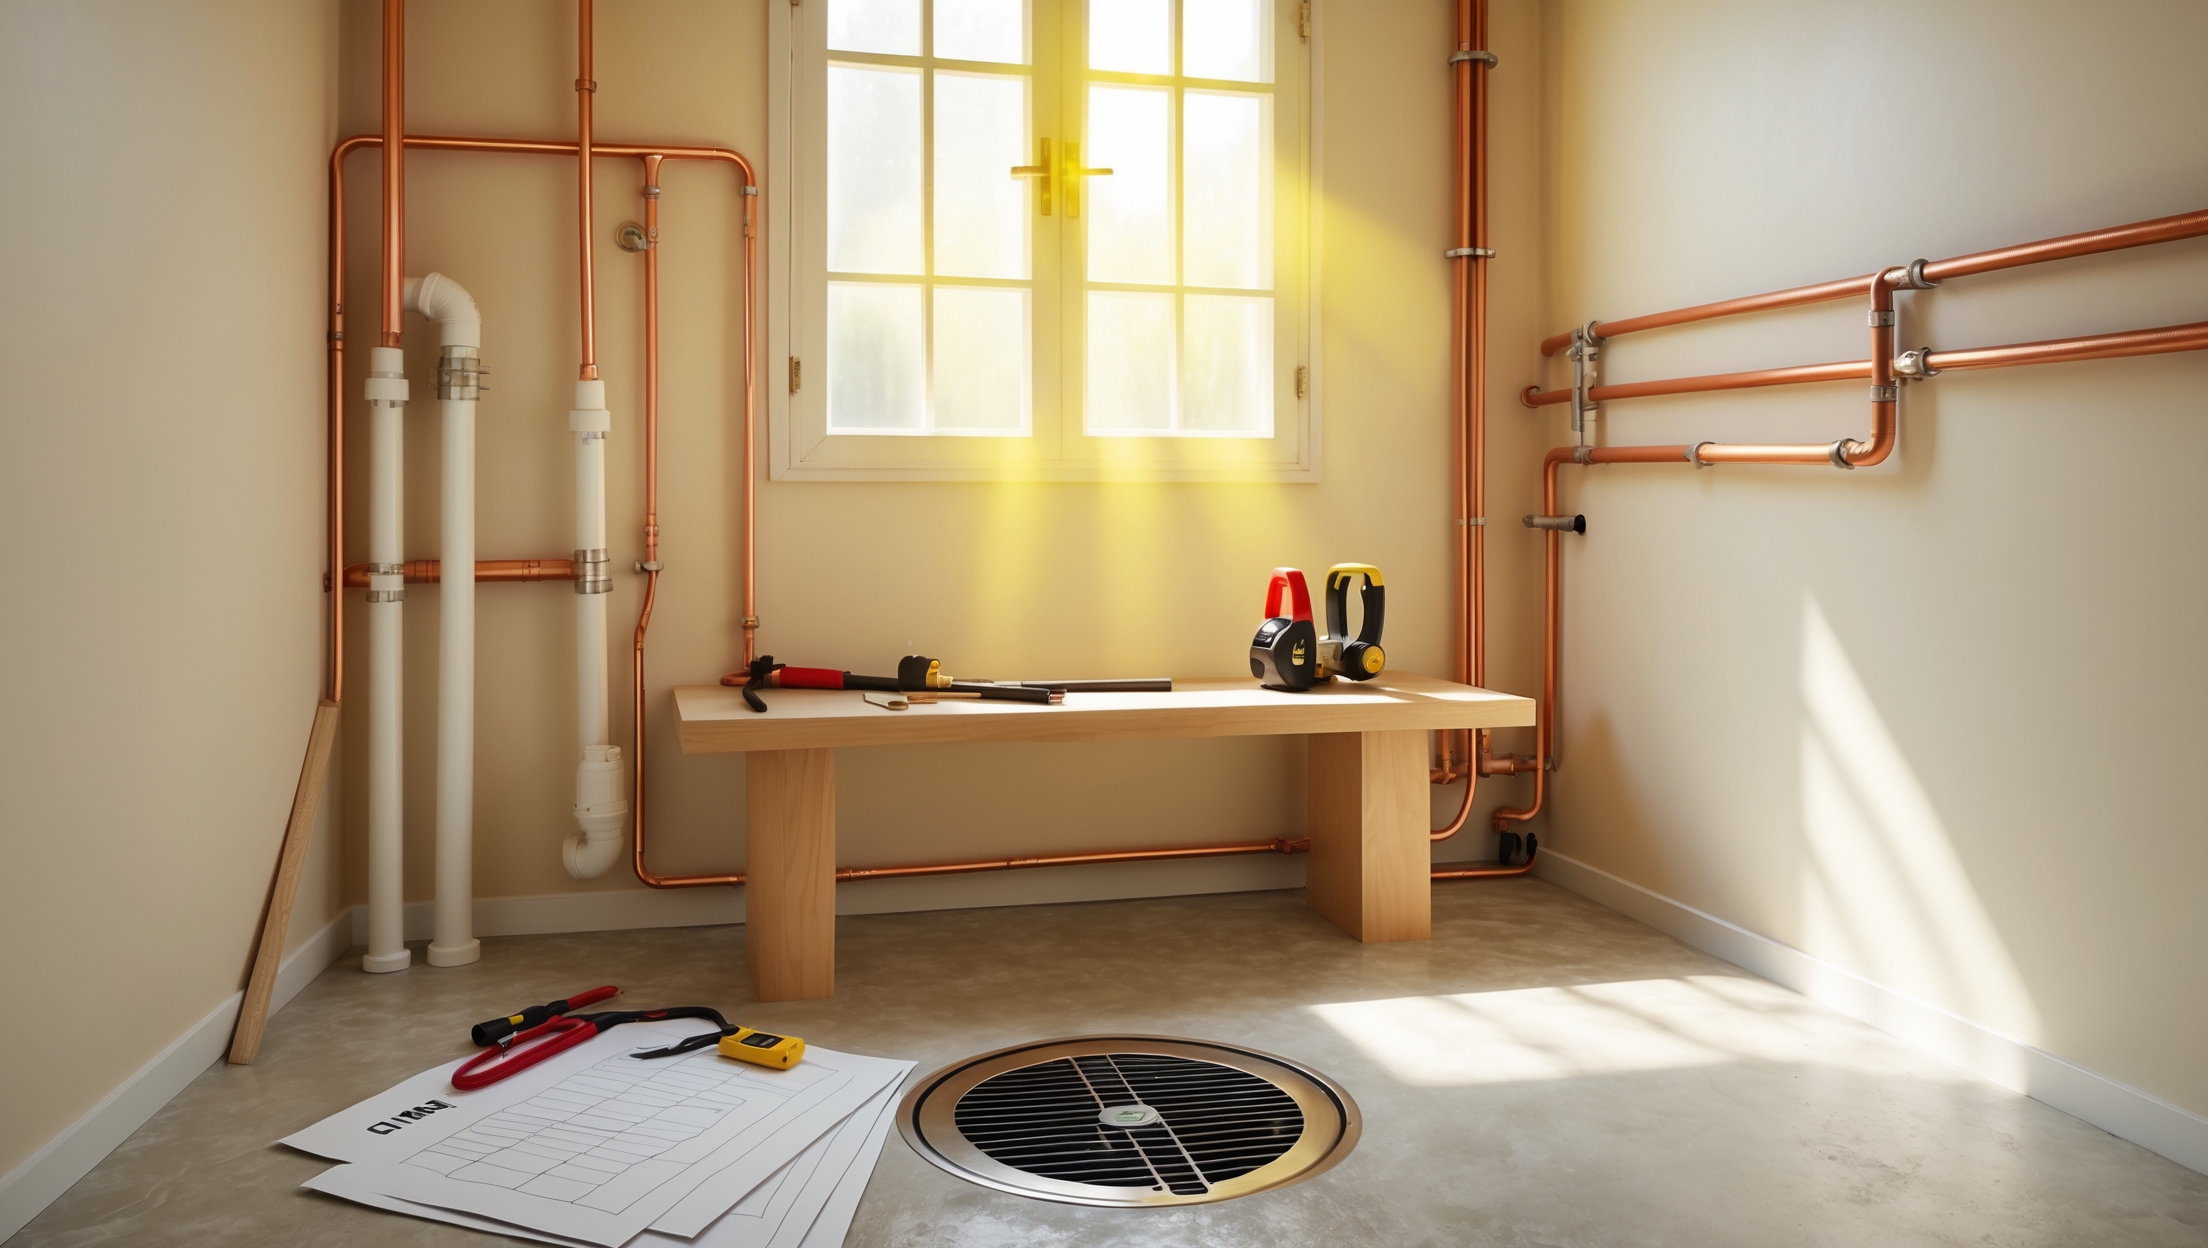
1. Inspecting for Winter Damage
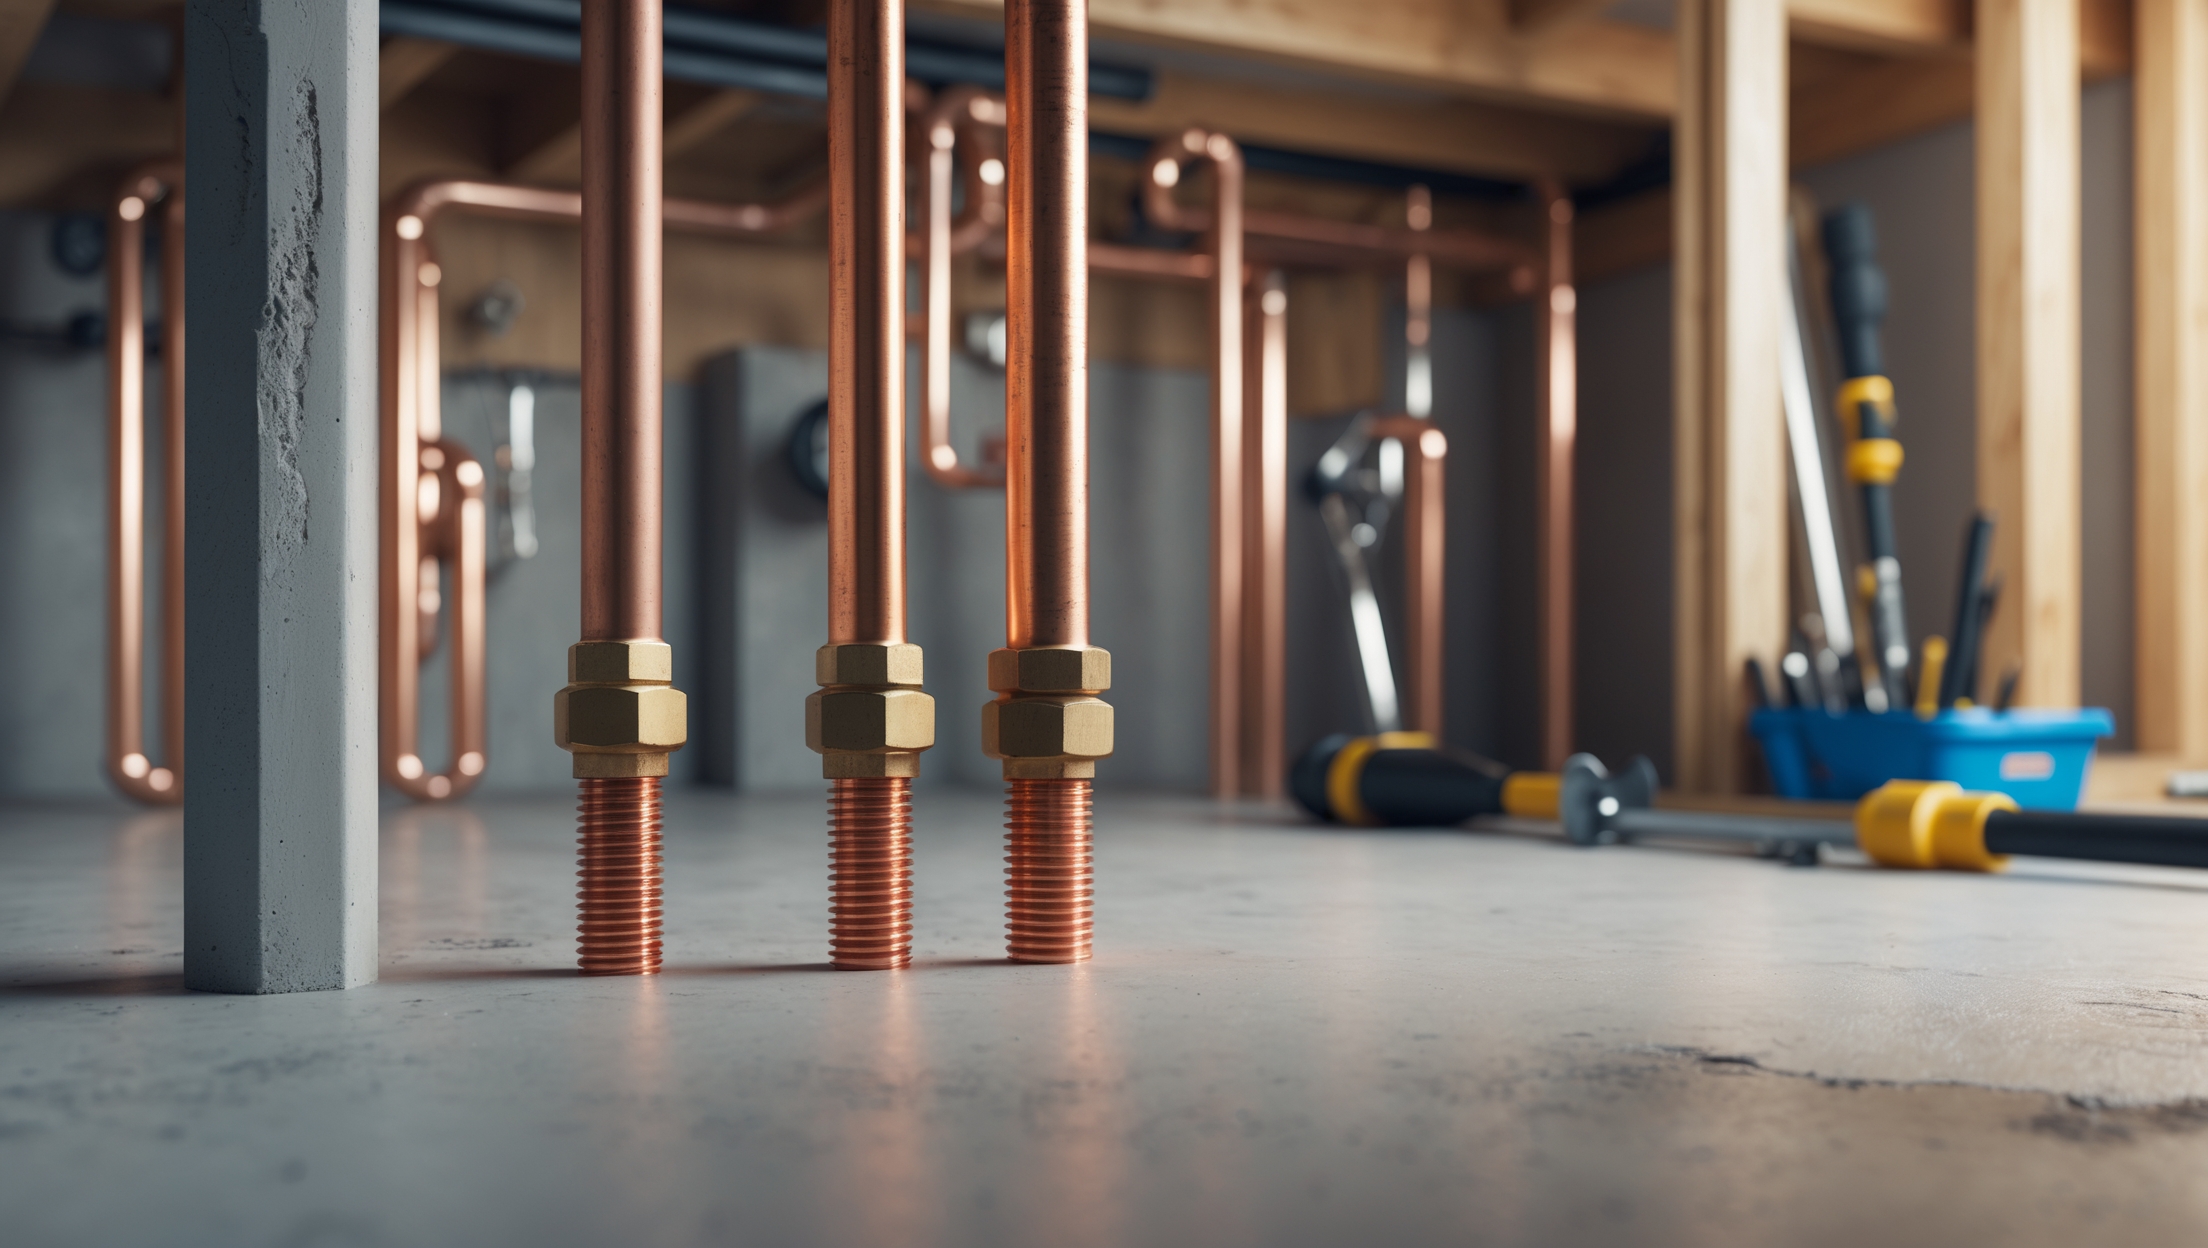
1.1 Check for Frozen Pipe Cracks
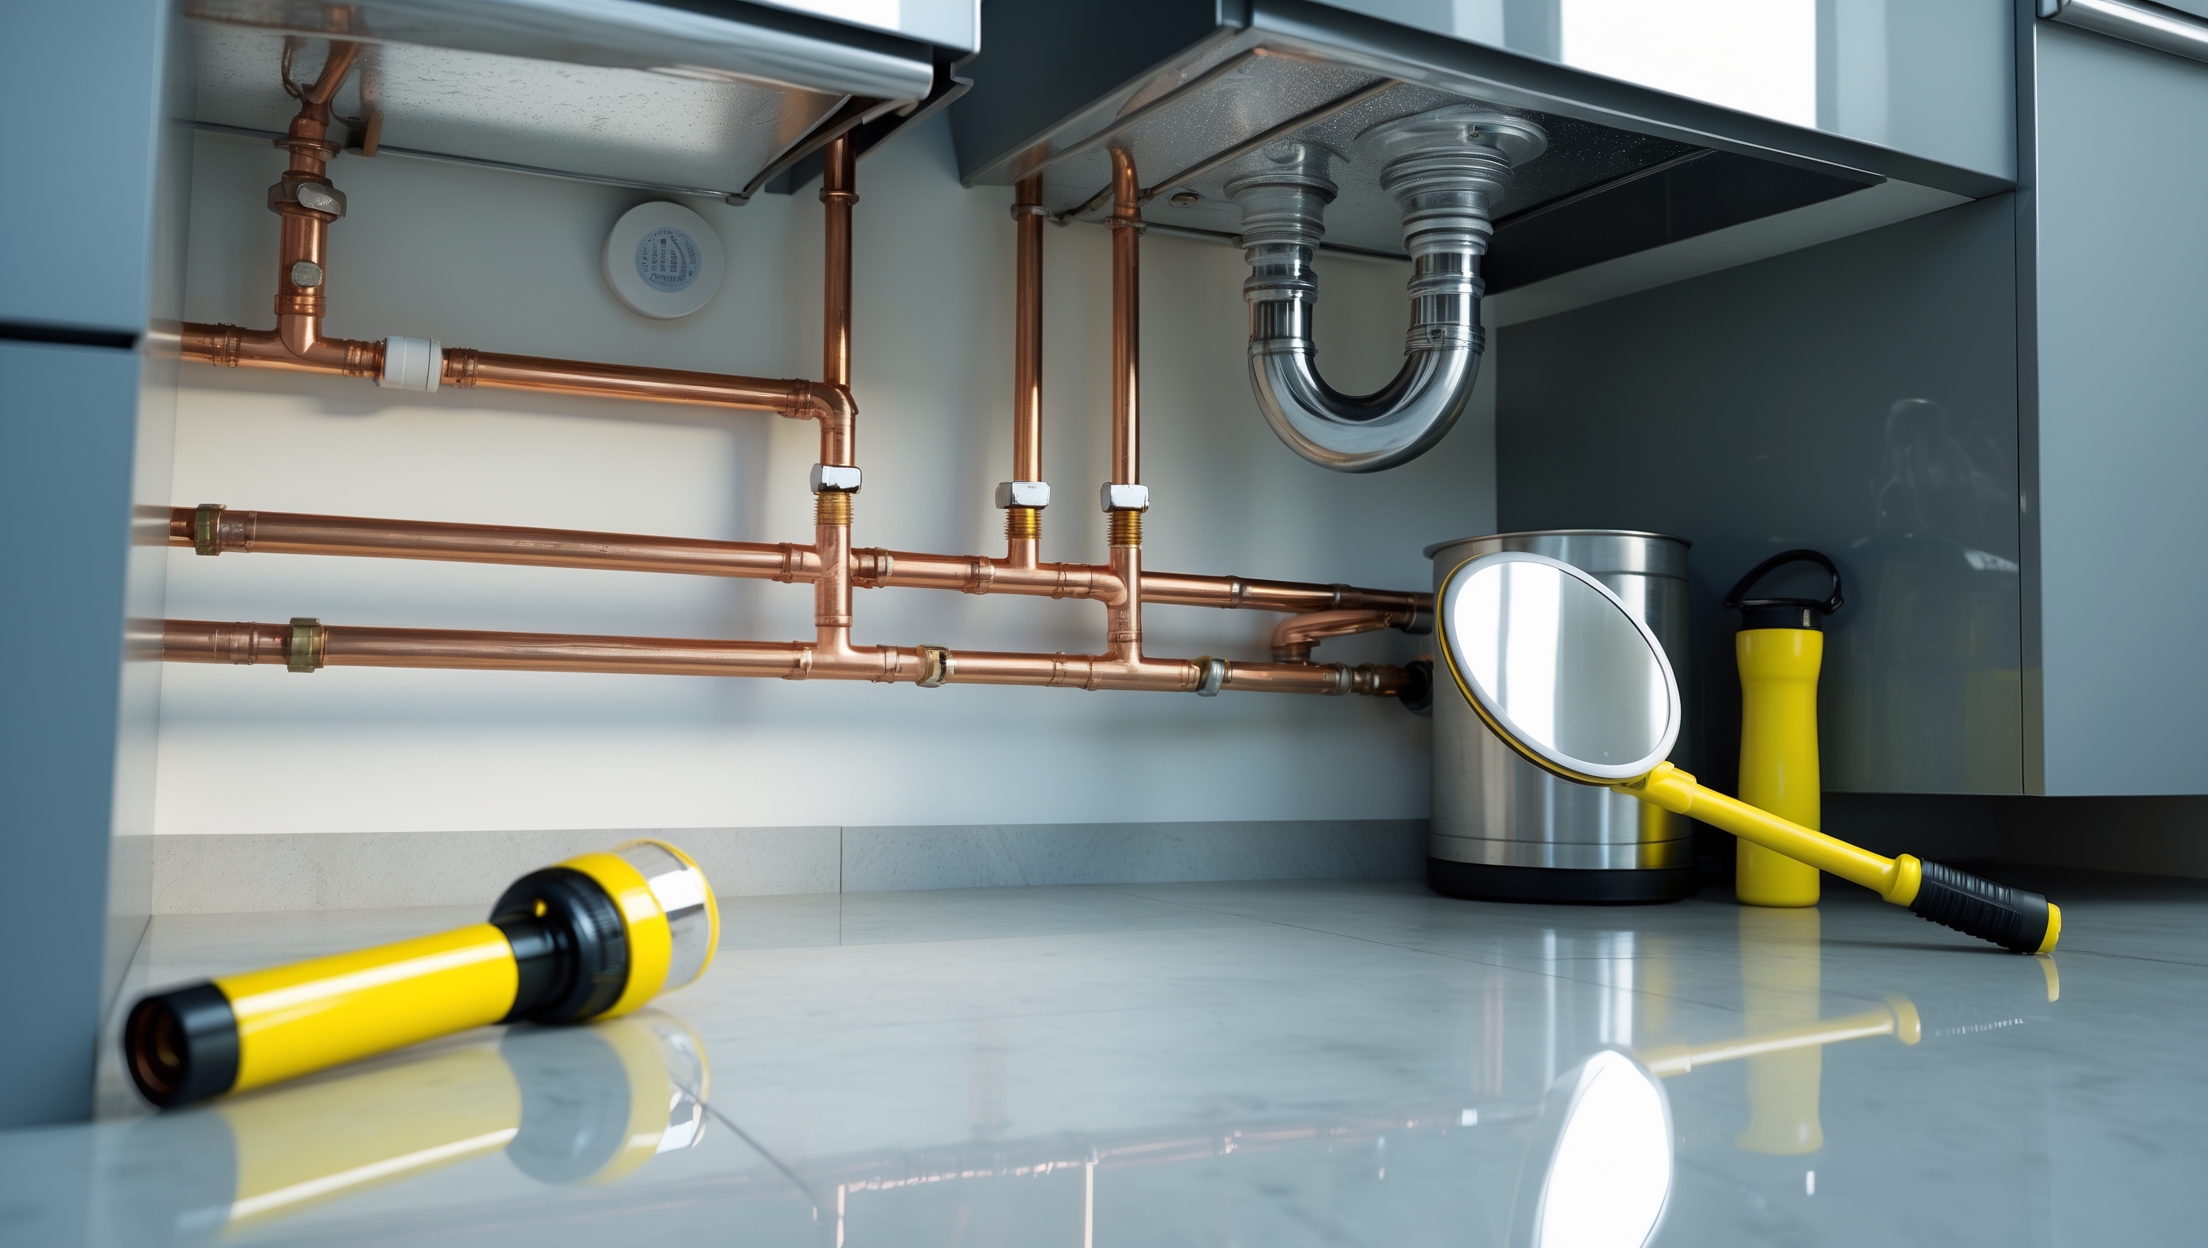
Start in the basement, crawlspace, and any unheated areas where pipes may have been exposed to freezing temperatures. Closely examine visible pipes for:
- Hairline cracks or splits, especially at joints
- Signs of rust, corrosion, or mineral deposits
- Moisture, puddling, or water stains under pipes
Use a flashlight to check behind insulation and around bends. Even small cracks can cause significant leaks once thawed. If you find damage, shut off the water supply to the affected section and call a licensed plumber for assessment and repair.
1.2 Examine Pipe Insulation
Inspect foam sleeves and wrap-around insulation for tears, mold, or compression. Replace any damaged insulation to maintain protection against next winter’s freeze.
1.3 Review Exterior Wall Penetrations
Look for gaps where pipes enter the home’s exterior. Seal any openings with expanding foam or silicone caulk to keep out moisture and pests.
2. Sump Pump and Drainage System Readiness
2.1 Test Your Sump Pump
Spring thaw and rain can quickly overwhelm your sump pit. To ensure your sump pump is ready:
- Pour a bucket of water into the pit to trigger the float switch
- Listen for smooth, quiet operation
- Confirm the pump activates and empties the pit promptly
- Check the power cord and connect to a GFCI outlet
- Inspect the discharge pipe for leaks, clogs, or signs of freezing
If the pump fails to activate or struggles to remove water, clean the pit and check for debris blocking the intake screen. Replace the unit if performance issues persist.
2.2 Clear Floor Drains and Traps
Remove any debris from floor drains in the basement, garage, or utility rooms. Pour water down each drain to ensure it flows freely and the trap remains full, which prevents sewer gases from entering your home.
2.3 Assess Exterior Drainage
Walk around your property and inspect:
- Gutter downspouts—ensure they extend at least 6 feet from the foundation
- French drains and yard grates—clear leaves, mud, and ice
- Driveway and patio drains—remove blockages to prevent pooling
3. Outdoor Fixtures and Irrigation Systems
3.1 Reconnect and Inspect Outdoor Faucets
Once overnight temperatures consistently stay above freezing, reconnect hoses and turn on the outdoor water supply. Check for leaks at spigots and hose bibs. If water seeps from the wall or base of the faucet, the pipe may have burst inside—turn off the supply and have it inspected.
3.2 Service Irrigation Lines
Slowly pressurize in-ground sprinkler or drip irrigation systems. Walk the yard and look for:
- Broken sprinkler heads or emitters
- Wet spots or pooling that indicate underground leaks
- Areas where water pressure seems unusually low
Clean or replace clogged filters and flush lines to remove debris introduced over winter.
3.3 Inspect Backflow Preventers
Backflow preventers protect your potable water from contamination. Inspect the device for cracks, leaks, and secure mounting. Schedule annual testing by a certified professional if required by local code.
4. Water Heater Checkup
4.1 Flush the Tank
Mineral sediment accumulates over winter, especially if your water is hard. To flush your water heater:
- Turn off the power/gas and cold water inlet
- Attach a hose to the drain valve and direct it to a floor drain
- Open the drain valve and let the tank empty completely
- Briefly turn on the cold water supply to stir and remove remaining sediment
- Close the drain, refill, and restore power/gas
Flushing extends the heater’s life and maintains energy efficiency.
4.2 Inspect for Leaks and Corrosion
Check the base of the heater for rust, puddling, or mineral buildup. Look at pipe connections and the temperature and pressure relief (TPR) valve for drips. Address any leaks immediately to prevent tank failure.
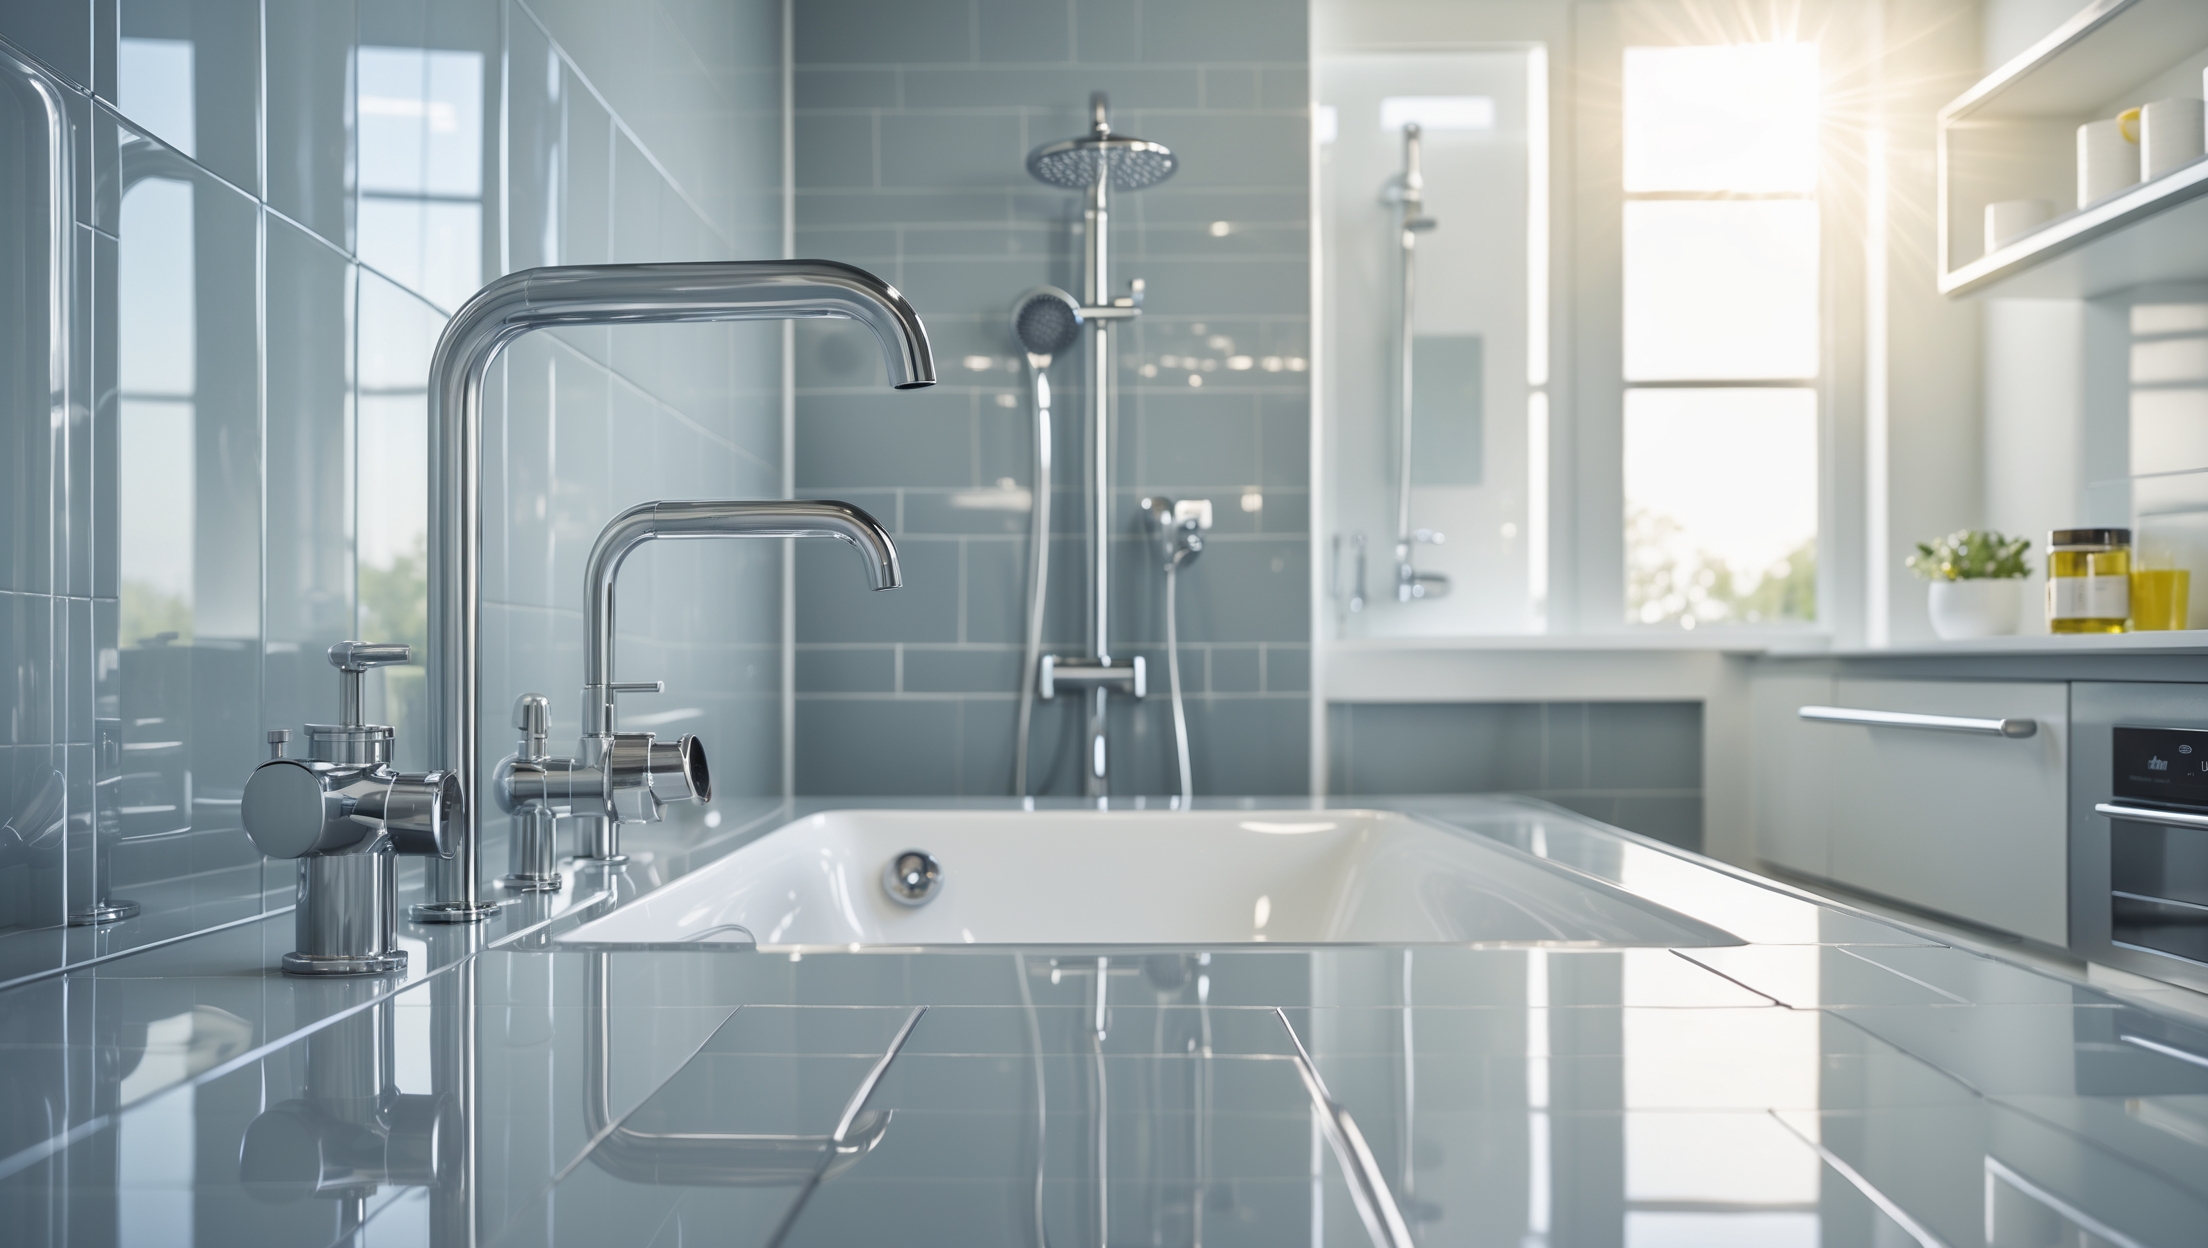
5. Interior Plumbing: Faucets, Toilets, and Appliances
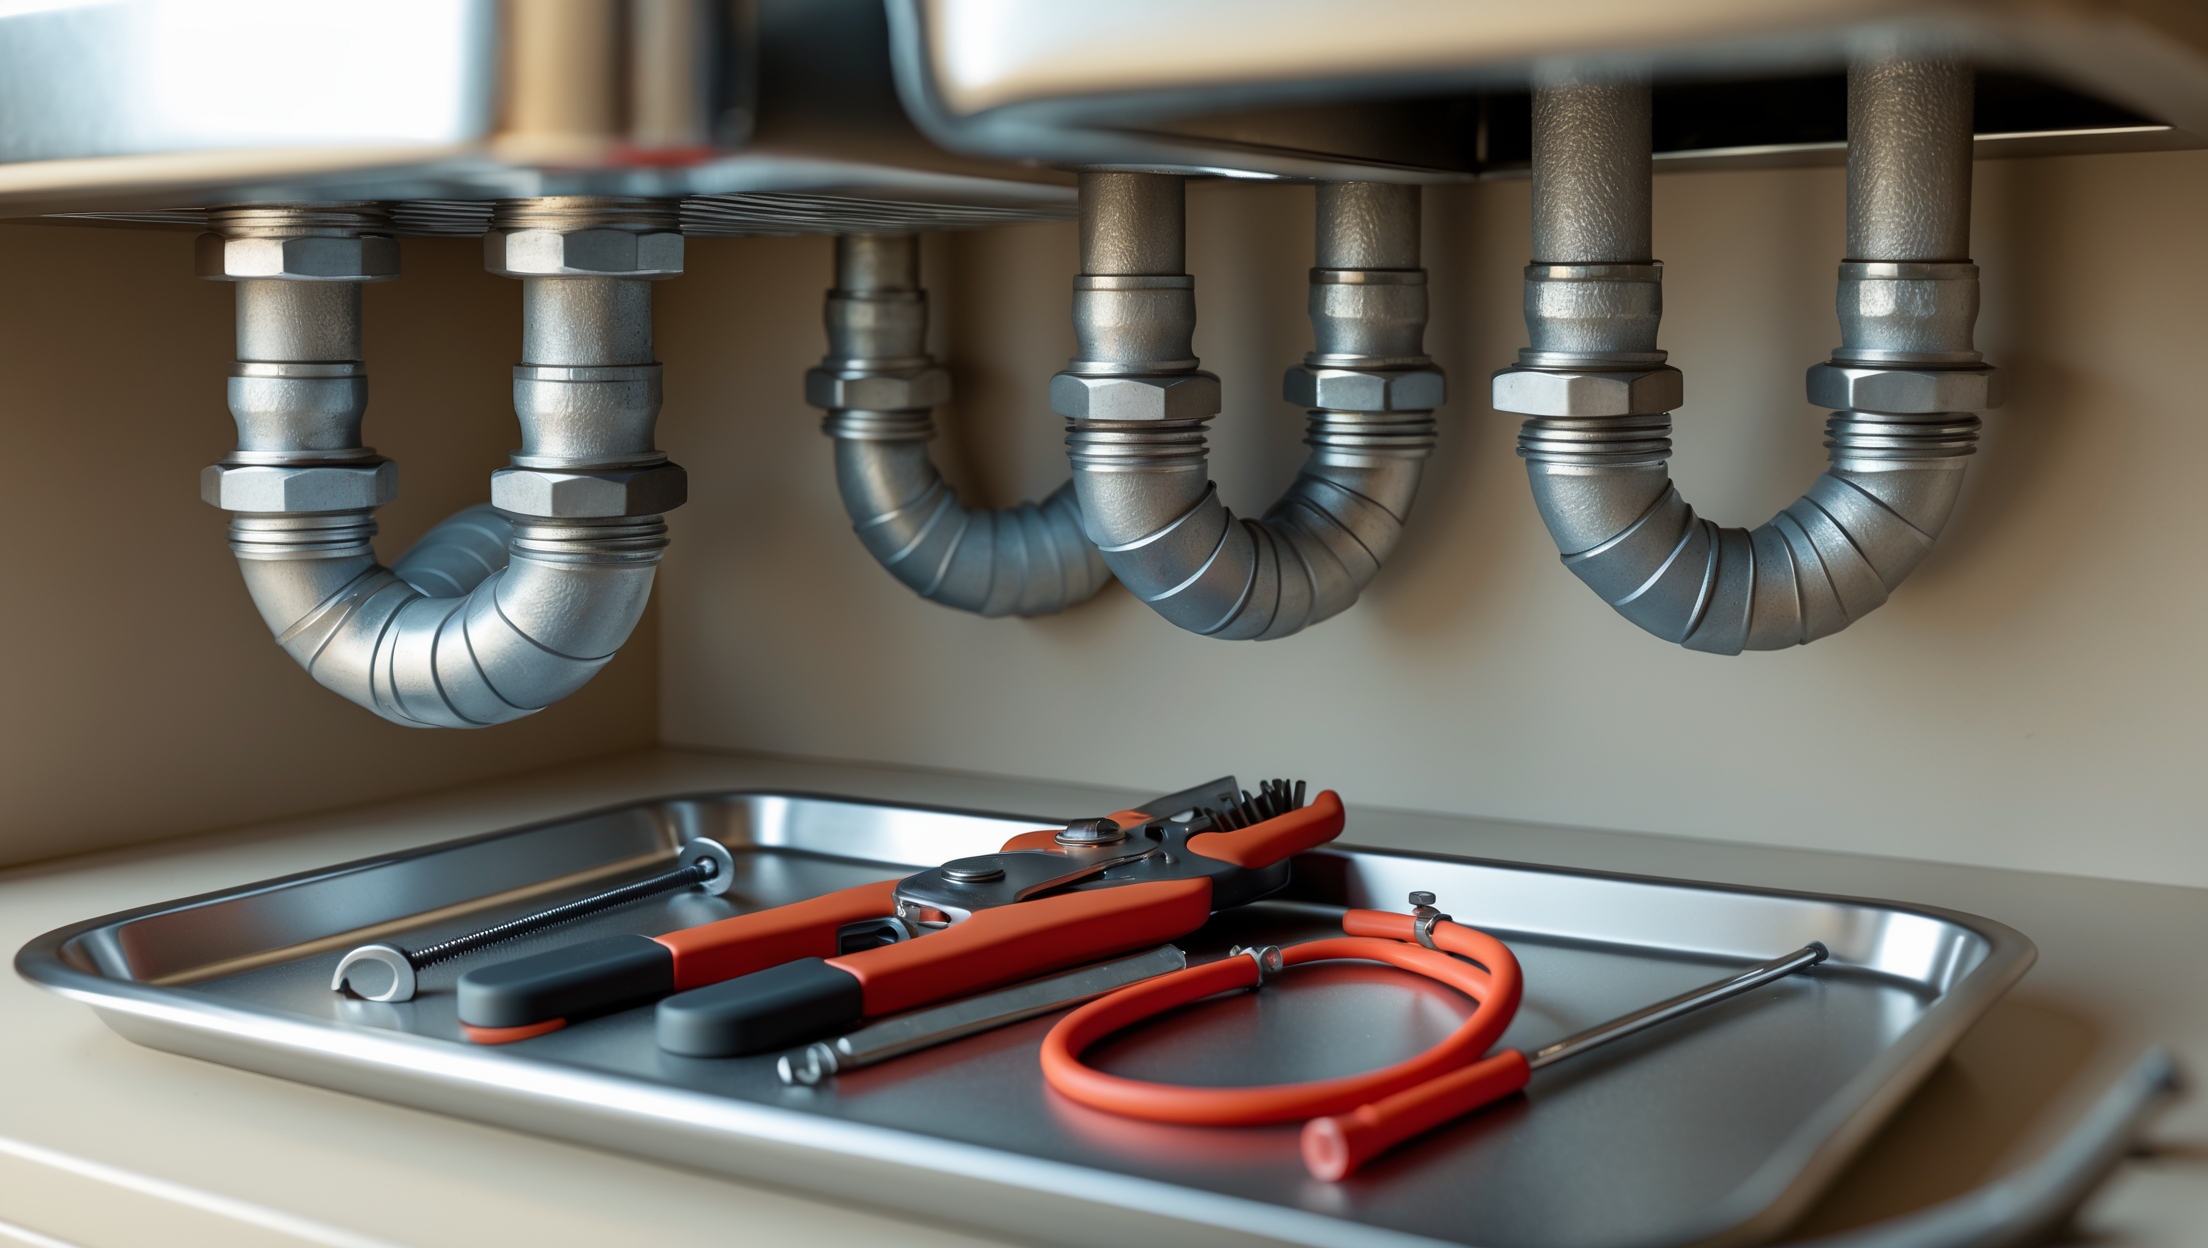
5.1 Examine Faucets and Shut-Off Valves
Test each faucet for smooth operation and leaks at the handle or spout. Inspect under-sink shut-off valves for corrosion or dampness. Exercise each valve to prevent seizing and replace if they do not fully open or close.
5.2 Test Toilets for Hidden Leaks
Add a few drops of food coloring to the tank and wait 30 minutes without flushing. If colored water appears in the bowl, the flapper is leaking and should be replaced. Listen for constant running or phantom flushes, which also indicate internal leaks.
5.3 Appliance Supply Lines
Inspect water supply hoses for washing machines, dishwashers, and ice makers. Look for:
- Brittle or bulging rubber hoses
- Corroded fittings
- Signs of moisture beneath or behind appliances
Replace rubber hoses with braided stainless steel lines for increased durability.
6. Preventative Steps for the Season Ahead
6.1 Install or Test Leak Detectors
Place battery-operated or smart leak detectors in high-risk areas such as under sinks, near the water heater, and next to the sump pump. Test existing detectors and replace batteries as needed.
6.2 Review Your Water Main Shut-Off
Identify the main shut-off valve location and make sure it turns smoothly. Tag it clearly for quick access in an emergency. All household members should know its location and operation.
6.3 Schedule a Professional Inspection (If Needed)
If you identify persistent moisture, unexplained water bill increases, or suspect issues with concealed plumbing, consider hiring a licensed plumber for a comprehensive inspection. They can use cameras and pressure testing to reveal hidden problems.
7. Pro Tips: Upgrades and Preventative Investments
7.1 Consider Automatic Shut-Off Valves
Smart water shut-off valves can detect abnormal flow and automatically stop water supply, protecting your home from catastrophic leaks. These are especially valuable if you travel frequently or own rental properties.
7.2 Upgrade to Freeze-Resistant Hose Bibs
If you experienced outdoor faucet issues, consider replacing standard hose bibs with frost-free models. They’re designed to prevent freezing and bursting even in harsh climates.
7.3 Install Backwater Valves
For homes prone to spring flooding or heavy rains, a backwater valve helps prevent municipal sewage from backing up into your basement. This is a wise investment in older neighborhoods or areas with aging infrastructure.
8. Troubleshooting: What to Do If You Find a Problem
8.1 Minor Leaks
For small drips at visible joints, try tightening connections or replacing worn washers. Use plumber’s tape on threaded fittings. If leaks persist, consult a professional.
8.2 Signs of Serious Issues
Contact a licensed plumber immediately if you observe:
- Large or continuous leaks
- Water stains appearing suddenly on ceilings or walls
- Sewage odors or slow drains throughout the house
- Significant drop in water pressure
Quick response protects your home from widespread damage and costly repairs.
Conclusion: Enjoy Spring with Confidence
Tackling a thorough spring plumbing checklist may not be the most glamorous task, but it’s one of the smartest ways to protect your home, your budget, and your peace of mind. By systematically inspecting pipes, sump pumps, drains, outdoor fixtures, and appliances, you catch developing issues early—often while they’re still minor fixes. Proactive maintenance helps prevent disruptive leaks, basement floods, water heater breakdowns, and other costly surprises that can derail your spring plans or lead to insurance headaches. Even a few hours devoted to this checklist can extend the lifespan of your plumbing system, improve water efficiency, and keep your living spaces healthy and comfortable as the weather warms. If you’re unsure about any findings, don’t hesitate to call a professional. And remember: a little preventative effort now means more time to enjoy the sunny days ahead, with the peace of mind that comes from a plumbing system that’s truly ready for spring.


Joshua Brown
When inspecting basement or crawlspace pipes for cracks after winter, how do you tell the difference between harmless surface rust and signs that a pipe is about to start leaking?