
Introduction: Why Soldering Copper Pipes Is a Must-Have Skill
Few DIY plumbing tasks are as essential—and as intimidating—as soldering copper pipes. Whether you’re patching a pinhole leak, adding a new fixture, or handling a full bathroom renovation, knowing how to solder correctly can mean the difference between a watertight connection and a costly flood. While push-fit and compression fittings are gaining popularity, soldered joints remain the gold standard for durability and leak resistance in both residential and commercial plumbing. Yet, many homeowners and even some new plumbers hesitate to take on soldering, worried about leaks, fire hazards, or simply getting it wrong. This comprehensive guide is designed to take the guesswork out of soldering copper pipes. We’ll cover the essential tools, preparation steps, safety protocols, and the step-by-step process—plus expert troubleshooting to help you avoid the most common mistakes. Whether you’re a beginner or looking to refine your technique, you’ll find actionable advice and pro tips to ensure every joint is strong, safe, and built to last.
Understanding Copper Pipe Soldering: The Basics
Soldering copper pipes, also known as “sweating,” involves joining pipes and fittings using a metal alloy (solder) that melts at a relatively low temperature. When done properly, the solder is drawn into the joint via capillary action, creating a watertight and long-lasting seal. The process relies on clean, properly prepared surfaces, the right combination of heat and flux, and precise timing.
- Why Solder? Soldered joints are reliable, relatively inexpensive, and compatible with most residential water systems.
- Main Risks: Poorly soldered connections can leak, corrode, or fail catastrophically, potentially causing water damage and expensive repairs.
- Skill Level Required: With the right guidance and practice, even beginners can achieve professional-quality results.
Tools and Materials: Building Your Soldering Setup
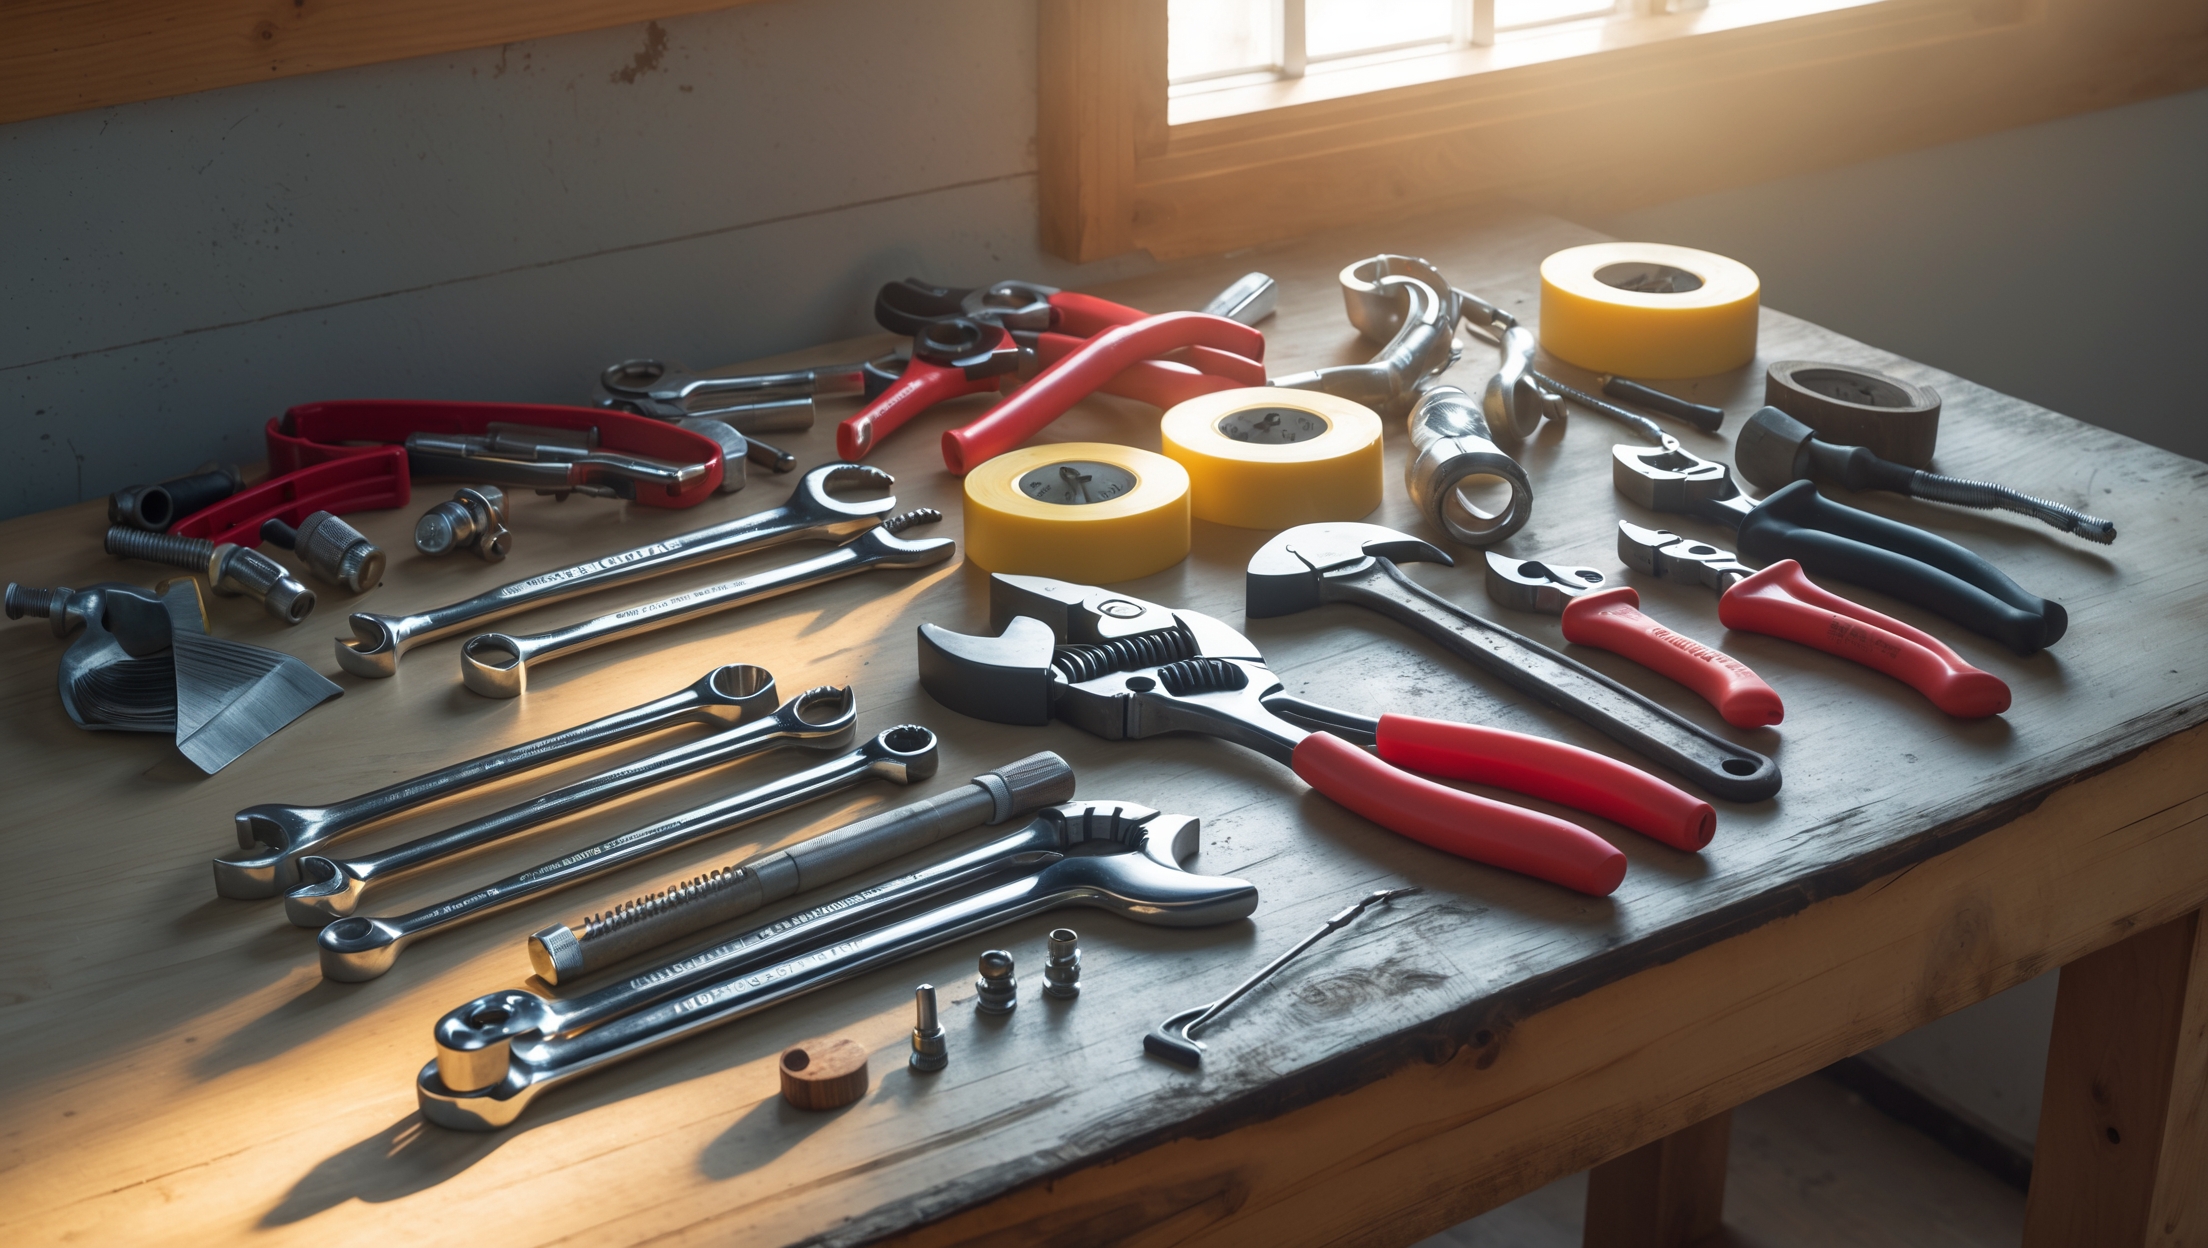
Success starts with the proper tools and materials. Here’s what you’ll need:
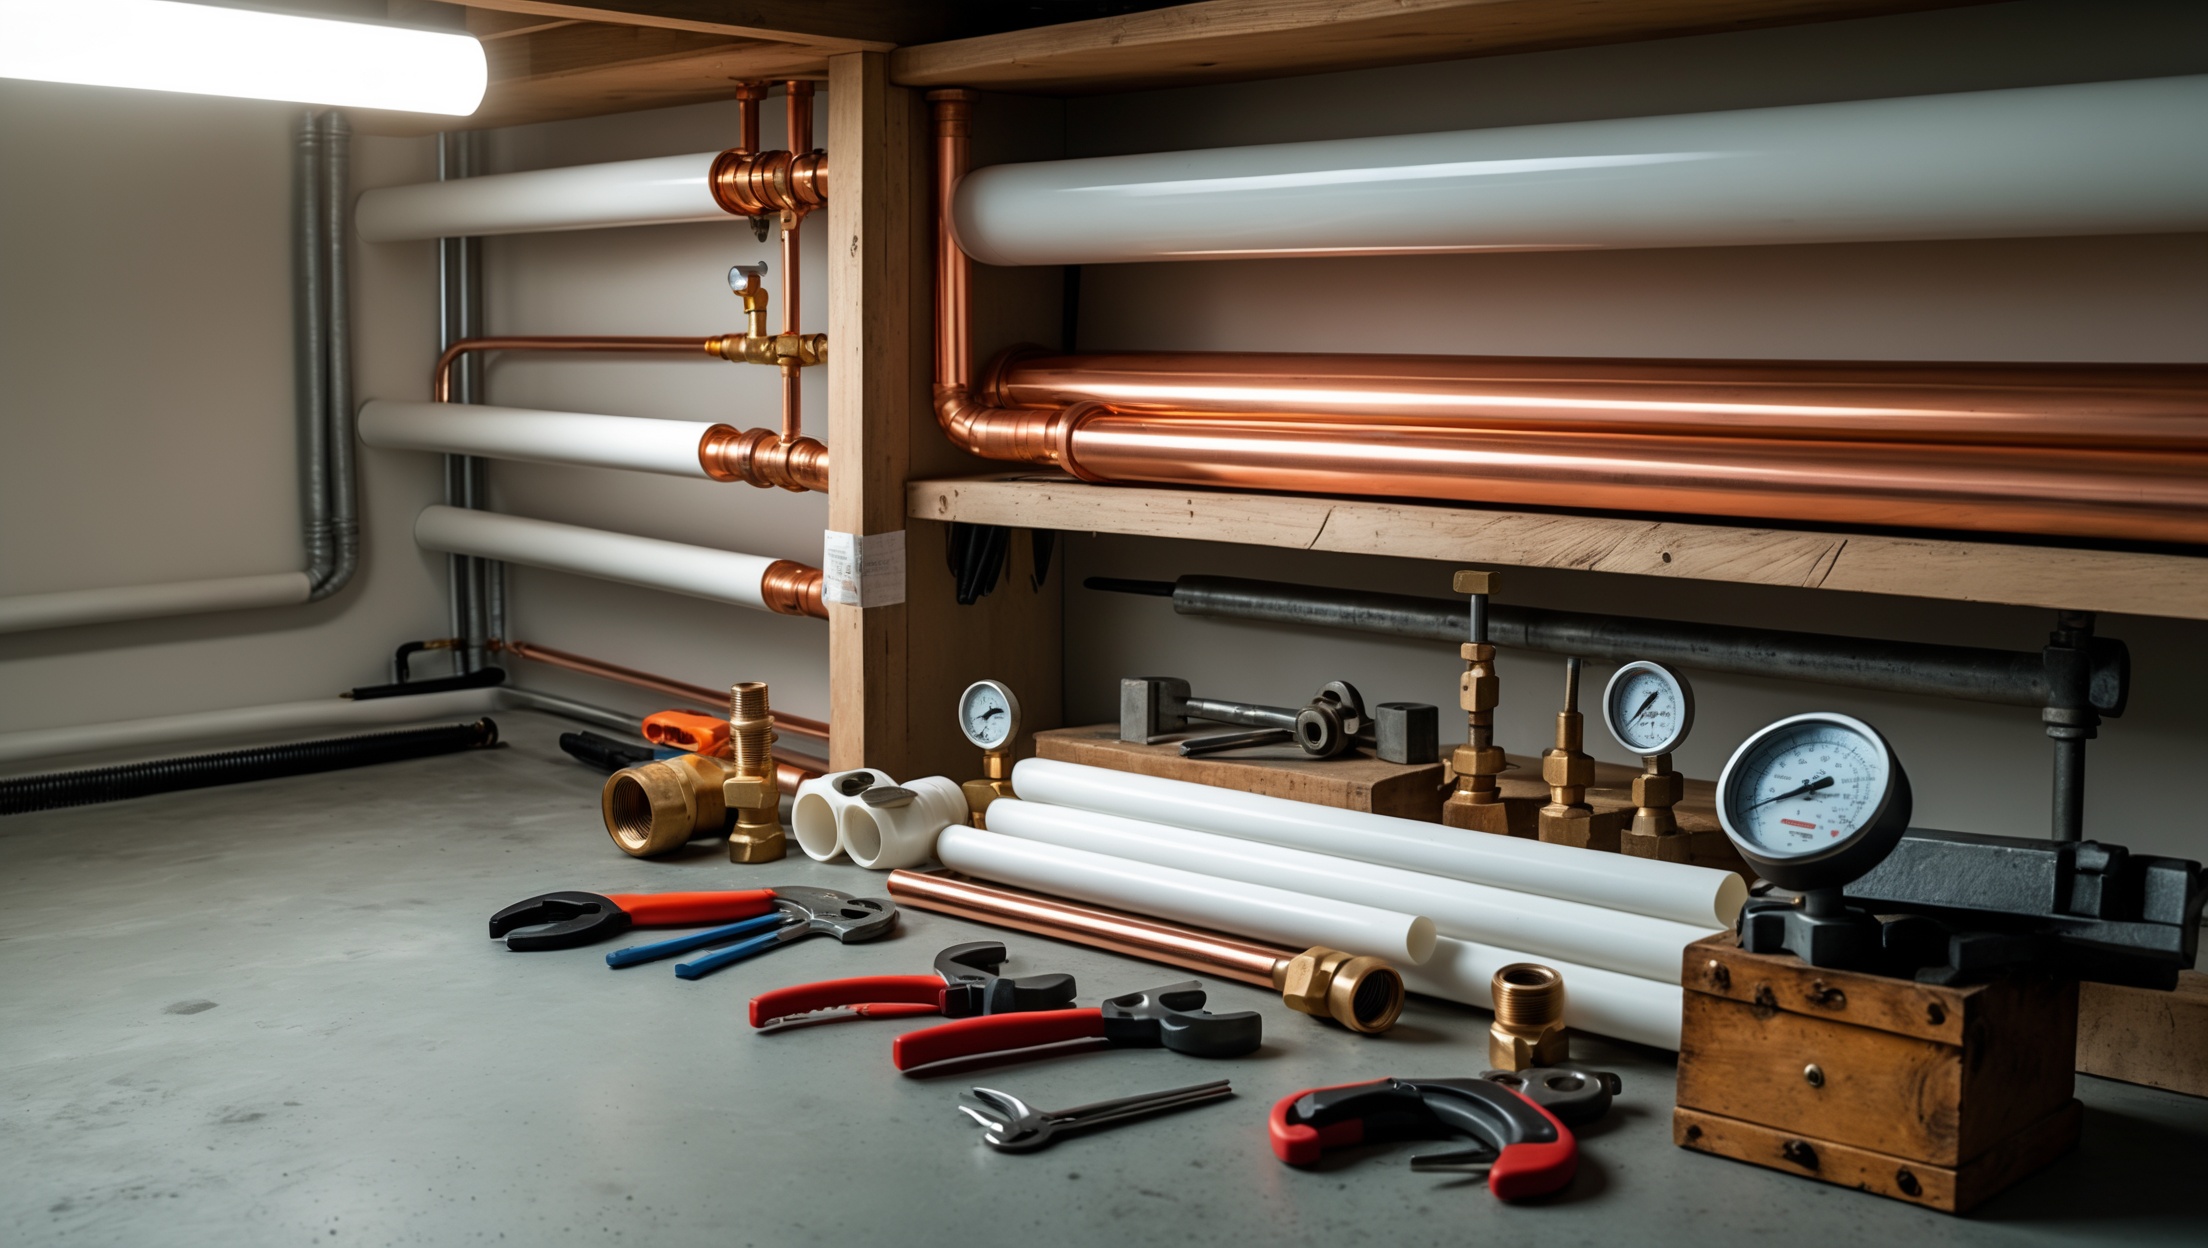
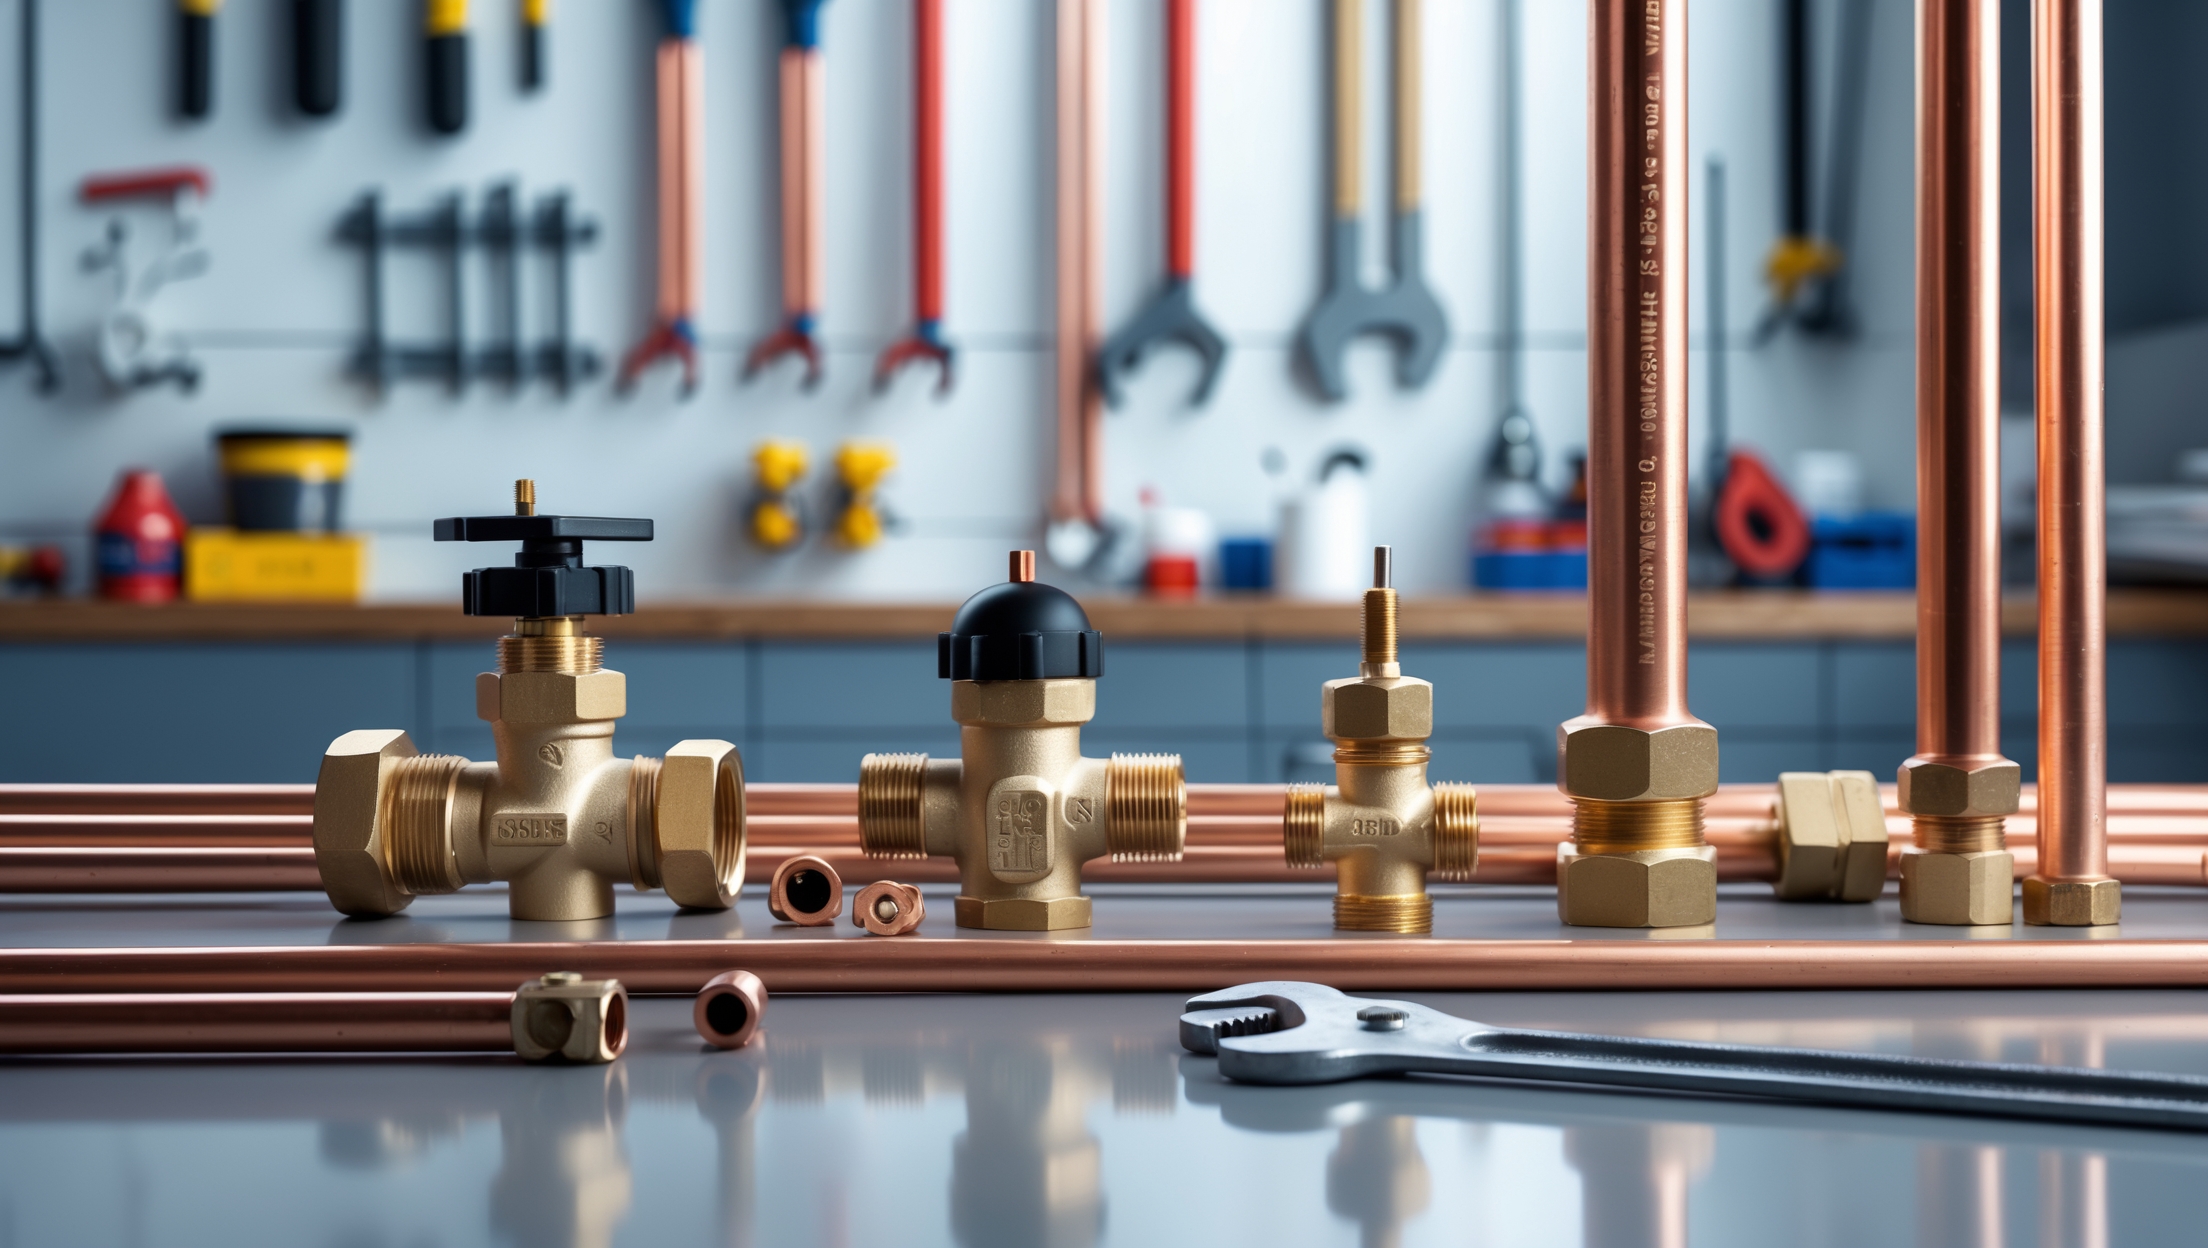
- Copper Pipes and Fittings: Ensure they’re the correct diameter and type for your plumbing system (Type M, L, or K).
- Pipe Cutter: For clean, square cuts.
- Emery Cloth or Sanding Brush: To clean pipe exteriors and fitting interiors.
- Wire Brush: For cleaning inside fittings.
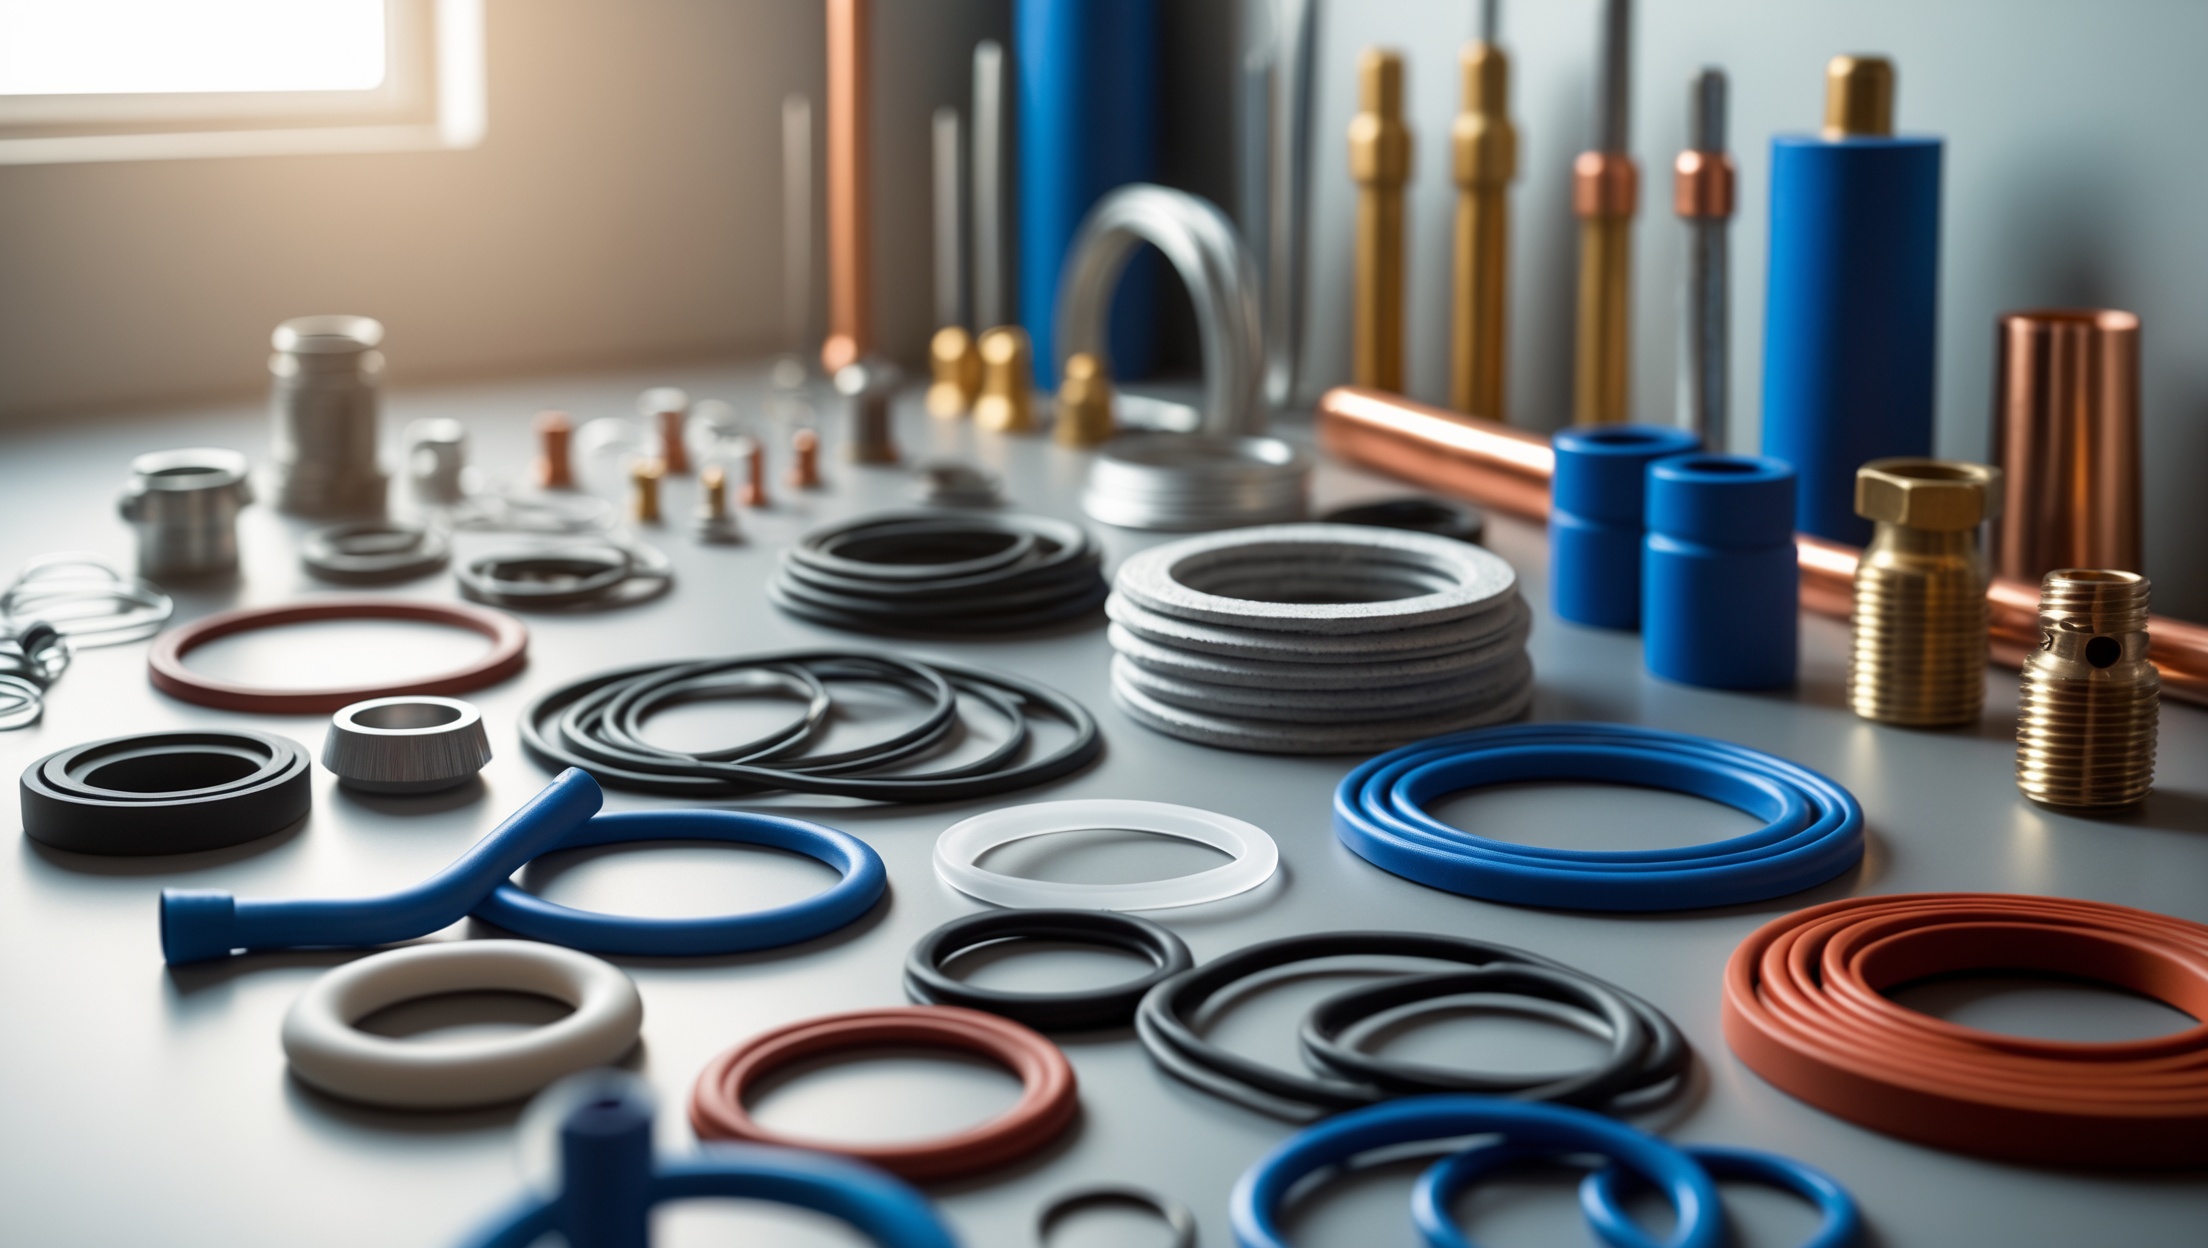
- Flux: A paste that prevents oxidation and helps solder flow.
- Lead-Free Solder: Required for potable water lines.
- Propane or MAP Gas Torch: MAP gas burns hotter and is faster for large joints, but propane works for most DIY jobs.
- Heat-Resistant Pad or Shield: Protects walls and nearby surfaces from torch heat.
- Fire Extinguisher: Always on hand for safety.
- Damp Rag: To wipe away excess flux and solder.
- Pipe Fitting Brush: For quick, thorough cleaning of fitting interiors.
- Gloves and Safety Glasses: Essential PPE for working with open flame and hot metal.
Preparation: Setting the Stage for Success
1. Cut Pipes Cleanly
Use a pipe cutter for straight, burr-free cuts. Rotate the cutter around the pipe, tightening gradually until the pipe separates. Avoid hacksaws, which leave jagged edges and debris.
2. Deburr and Clean
Use a deburring tool to remove any sharp edges inside the pipe, which can disrupt water flow and cause turbulence. Clean both the outside of the pipe and the inside of the fitting with emery cloth or a wire brush until shiny. Any dirt, grease, or oxidation will prevent solder from bonding.
3. Dry Fit Everything
Assemble all joints without flux or solder to check for alignment and fit. Mark orientation with a pencil, especially for complex assemblies.
4. Apply Flux
Using a small brush, apply a thin, even layer of flux to both the pipe and the fitting—too much can cause internal corrosion, too little and the solder won’t flow.
Safety First: Essential Precautions Before Lighting the Torch
- Clear the Work Area: Remove combustibles, paper, wood shavings, or flammable liquids from the vicinity.
- Use Heat Shields: Place pads or shields behind the joint to protect walls, studs, or cabinets.
- Ventilate: Work in a well-ventilated area to avoid inhaling fumes from flux or solder.
- Water Supply Off and Drained: Pipes must be dry. Even a drop of water can ruin a solder joint. Open nearby faucets and use a wet/dry vacuum if necessary.
- Check for Fire Stops: Know where your fire extinguisher is before starting.
Step-by-Step Soldering: Pro Technique Explained
1. Assemble the Joint
Insert the pipe fully into the fitting, twisting slightly to spread the flux evenly. Ensure proper alignment according to your dry-fit marks.
2. Heat the Joint Evenly
Light the torch and adjust to a steady, blue flame. Hold the flame so it touches both the pipe and fitting, not directly on the solder or flux. Move the flame around the joint to heat it evenly. Avoid overheating, which can burn the flux and prevent solder from bonding.
3. Apply Solder
Once the joint is hot enough (typically after 10-20 seconds, depending on size), touch the solder to the seam. The solder should melt upon contact and be drawn into the joint by capillary action. If it beads up or drips off, the joint isn’t hot enough or isn’t clean.
4. Fill the Joint Completely
Feed solder evenly until a small bead forms all the way around the joint. Wipe away excess with a damp rag while the joint is still hot to prevent corrosion from leftover flux.
5. Allow to Cool Naturally
Do not move or disturb the joint until it cools. Rapid cooling (such as with water) can cause cracks or weak spots.
Common Soldering Mistakes (and How to Avoid Them)
- Insufficient Cleaning: The #1 cause of leaks. Always clean thoroughly before applying flux.
- Overheating: Burns off flux, leading to poor solder flow and brittle joints. Remove the flame as soon as solder begins to flow.
- Underheating: Solder won’t flow into the joint, creating weak, leaky connections.
- Using Too Much Flux: Excess flux inside the pipe can corrode the plumbing over time.
- Moving the Joint While Hot: Disrupts the capillary action and can create microscopic gaps.
- Ignoring Water in the Line: Even a small amount of moisture will prevent the joint from reaching the necessary temperature.
- Wrong Solder Type: Always use lead-free solder for potable water lines.
Troubleshooting Leaky or Failed Joints
Spotting Problems Early
After soldering, allow joints to cool, then turn on the water supply and inspect carefully. Look for beads of water, drips, or discoloration around the joint. A properly soldered joint should be shiny and have a continuous ring of solder visible at the seam.
How to Fix a Leaky Solder Joint
- Drain and Dry: Shut off and drain the line fully.
- Reheat the Joint: Apply fresh flux, reheat, and try to draw in new solder. This works for minor leaks.
- Disassemble if Necessary: For persistent leaks, disassemble the joint, clean both parts thoroughly, and repeat the entire process with new flux and solder.
When to Cut Your Losses
If solder won’t bond after several attempts, replace the pipe or fitting. Old or badly oxidized copper may never solder properly and should be swapped out.
Pro Tips for Clean, Professional Results
- Work in Sequence: Solder joints in a logical sequence to minimize movement and avoid melting nearby joints.
- Use Heat Sinks: For closely spaced joints, clamp a damp rag or use a commercial heat sink to protect previously soldered areas.
- Practice on Scrap: If you’re new to soldering, practice on scrap pipe before moving to visible or high-pressure lines.
- Label Pipes: Mark pipes and fittings to ensure correct assembly order and orientation.
- Check Local Codes: Some areas require specific types of flux or solder—always verify before beginning.
Maintaining Your Soldered Plumbing Joints
Soldered copper joints are extremely durable, but preventative maintenance can help catch problems early:
- Inspect Annually: Look for signs of corrosion, discoloration, or leaks—especially at joints exposed to moisture or chemicals.
- Address Green Staining: Green or blue stains indicate slow leaks or condensation; investigate and repair promptly.
- Monitor Water Pressure: High pressure can stress joints; consider a pressure-reducing valve if readings exceed 80 PSI.
- Flush Periodically: Sediment can accumulate in older lines; periodic flushing helps maintain flow and joint integrity.
Frequently Asked Questions About Soldering Copper Pipes
What’s the Difference Between Soldering and Brazing?
Soldering uses lower temperatures and lead-free solder; brazing uses higher heat and a different filler metal, producing joints strong enough for gas lines but not typically required for domestic water lines.
Can I Solder Pipes with Water in Them?
No. Even a small amount of water will absorb heat and prevent the joint from reaching soldering temperature, resulting in leaks.
Is Soldering Safe for Drinking Water?
Yes, as long as you use lead-free solder and approved flux. Never use acid-core or electrical solder for plumbing.
What If I Can’t Get the Joint Hot Enough?
Check for water in the pipe, use a hotter torch (MAP gas), or preheat the fitting. For large fittings, a heat-reflective pad can speed up heating.
Conclusion: Soldering with Confidence and Precision
Mastering copper pipe soldering is a transformative skill for any DIYer or plumbing professional. Not only does it open the door to a wide variety of repairs and installations, but it also provides the assurance that your work will stand the test of time. The keys to success are thorough preparation, attention to detail, and a respect for safety. By using the right tools, cleaning meticulously, applying flux correctly, and heating joints with patience, you’ll create connections that are both strong and reliable. Remember, even experienced plumbers occasionally have to troubleshoot a stubborn joint—what separates a pro isn’t perfection on the first try, but the expertise to recognize and fix problems efficiently. Don’t be discouraged by early setbacks; every successful joint is a step toward mastering this invaluable trade skill. With practice, you’ll gain the confidence to tackle advanced projects, help friends and neighbors, or simply enjoy the peace of mind that comes from knowing your home’s plumbing is built to last. So gather your tools, review these steps, and start soldering—the right way, every time.


Andrew Lee
If I’m soldering copper pipes for the first time, how do I know if the joint is watertight before turning my water supply back on, and is there a simple way to test for leaks as a beginner?