
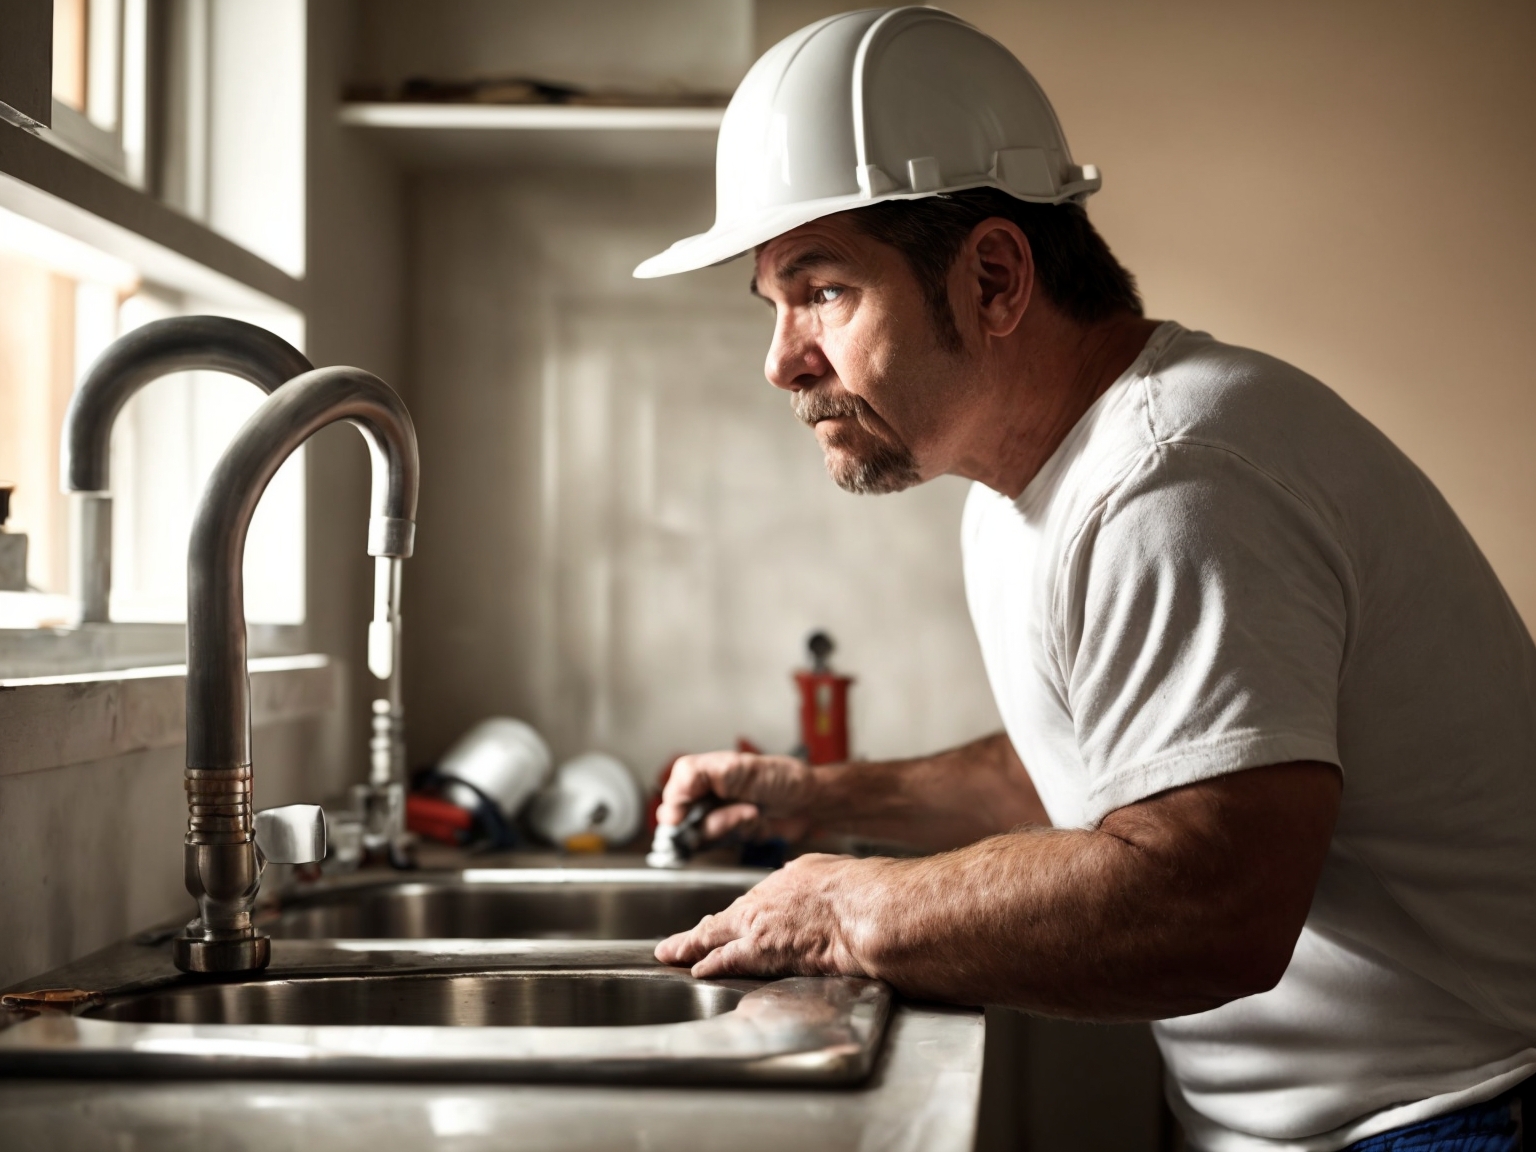
Introduction: Why Waterproofing Matters in Plumbing Projects
Waterproofing is one of the most overlooked yet critical aspects of any plumbing installation, repair, or renovation. Whether you’re a licensed contractor, an ambitious DIYer, or a homeowner overseeing a project, robust waterproofing is your first line of defense against hidden leaks, moisture damage, and costly repairs down the road. Inadequate waterproofing around pipes, fixtures, and joints can result in mold growth, structural rot, ruined finishes, and even insurance claim headaches. Yet, many plumbing jobs—especially in bathrooms, kitchens, and basements—are completed with only minimal attention to water resilience. This comprehensive guide will demystify the advanced waterproofing techniques and materials that separate professional, leak-proof installs from future disasters. We’ll cover everything from modern membranes to strategic sealant use, and explore how to apply these methods for new builds, remodels, and repairs. Whether you’re chasing flawless tilework in a luxury bathroom or safeguarding a basement laundry, mastering these waterproofing secrets will protect your investment and your peace of mind for years to come.
Understanding the Science of Plumbing Waterproofing
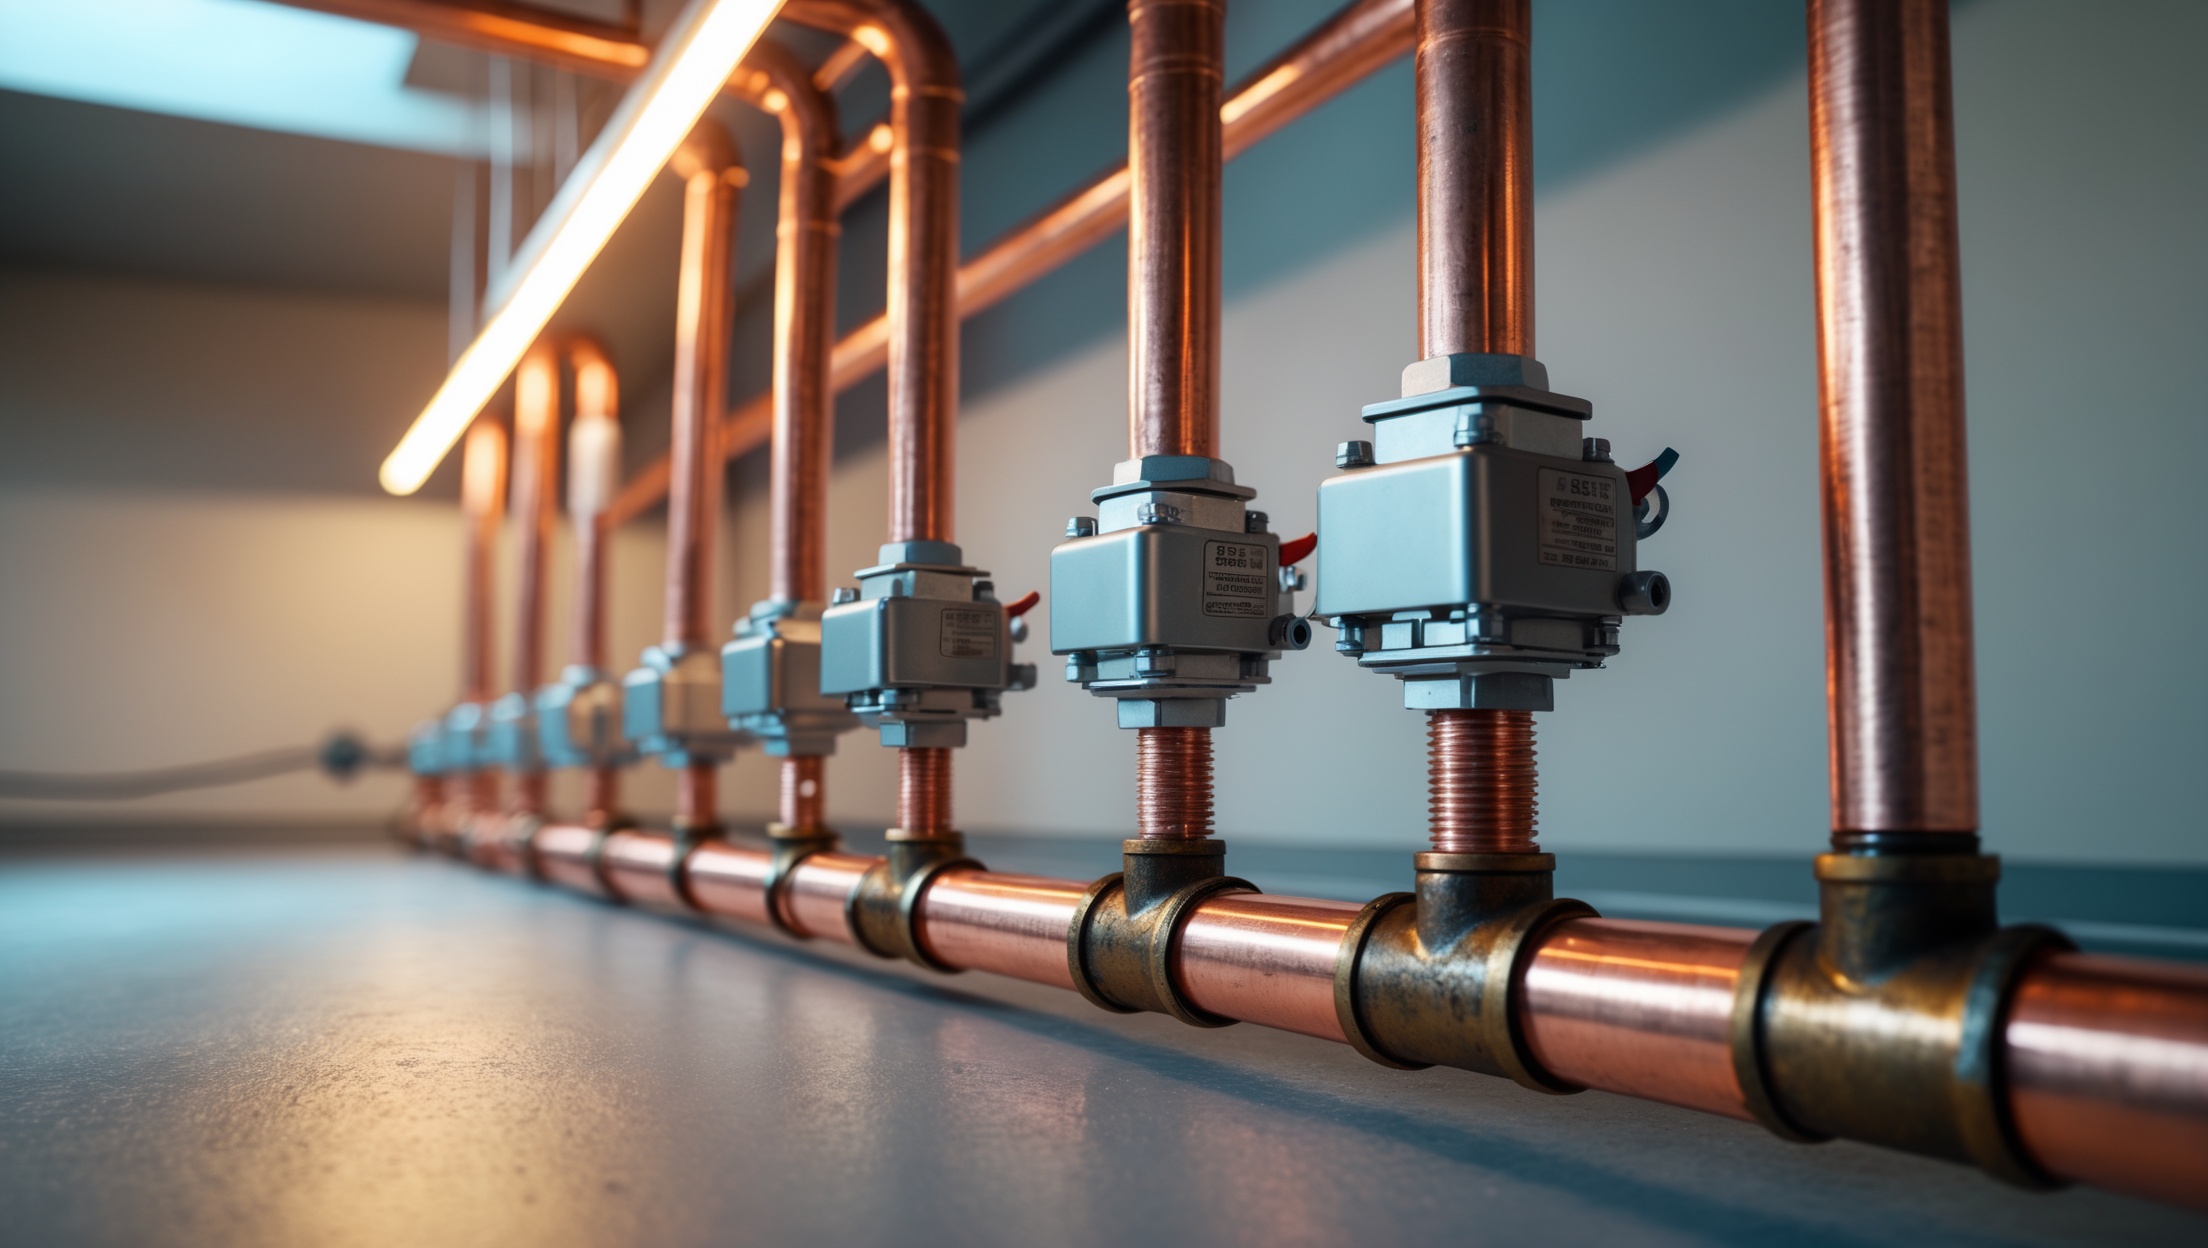
Common Failure Points in Plumbing Installations
- Pipe penetrations through floors, walls, and ceilings
- Fixture bases (toilets, sinks, tubs, and showers)
- Junctions between dissimilar materials (PVC to copper, tile to drywall)
- Tile grout lines and unsealed edges
- Expansion joints in floors and walls
Water seeks the path of least resistance. Even microscopic gaps can allow moisture to infiltrate, leading to damage over months or years. That’s why attention to detail is crucial at every stage of a plumbing install or upgrade.
Waterproofing vs. Water-Resistance: Know the Difference
Not all moisture protection is created equal. “Water-resistant” products may handle light splashes, but true waterproofing creates a barrier impervious to standing water, vapor, and even hydrostatic pressure. For plumbing, always aim for waterproof solutions in wet zones.
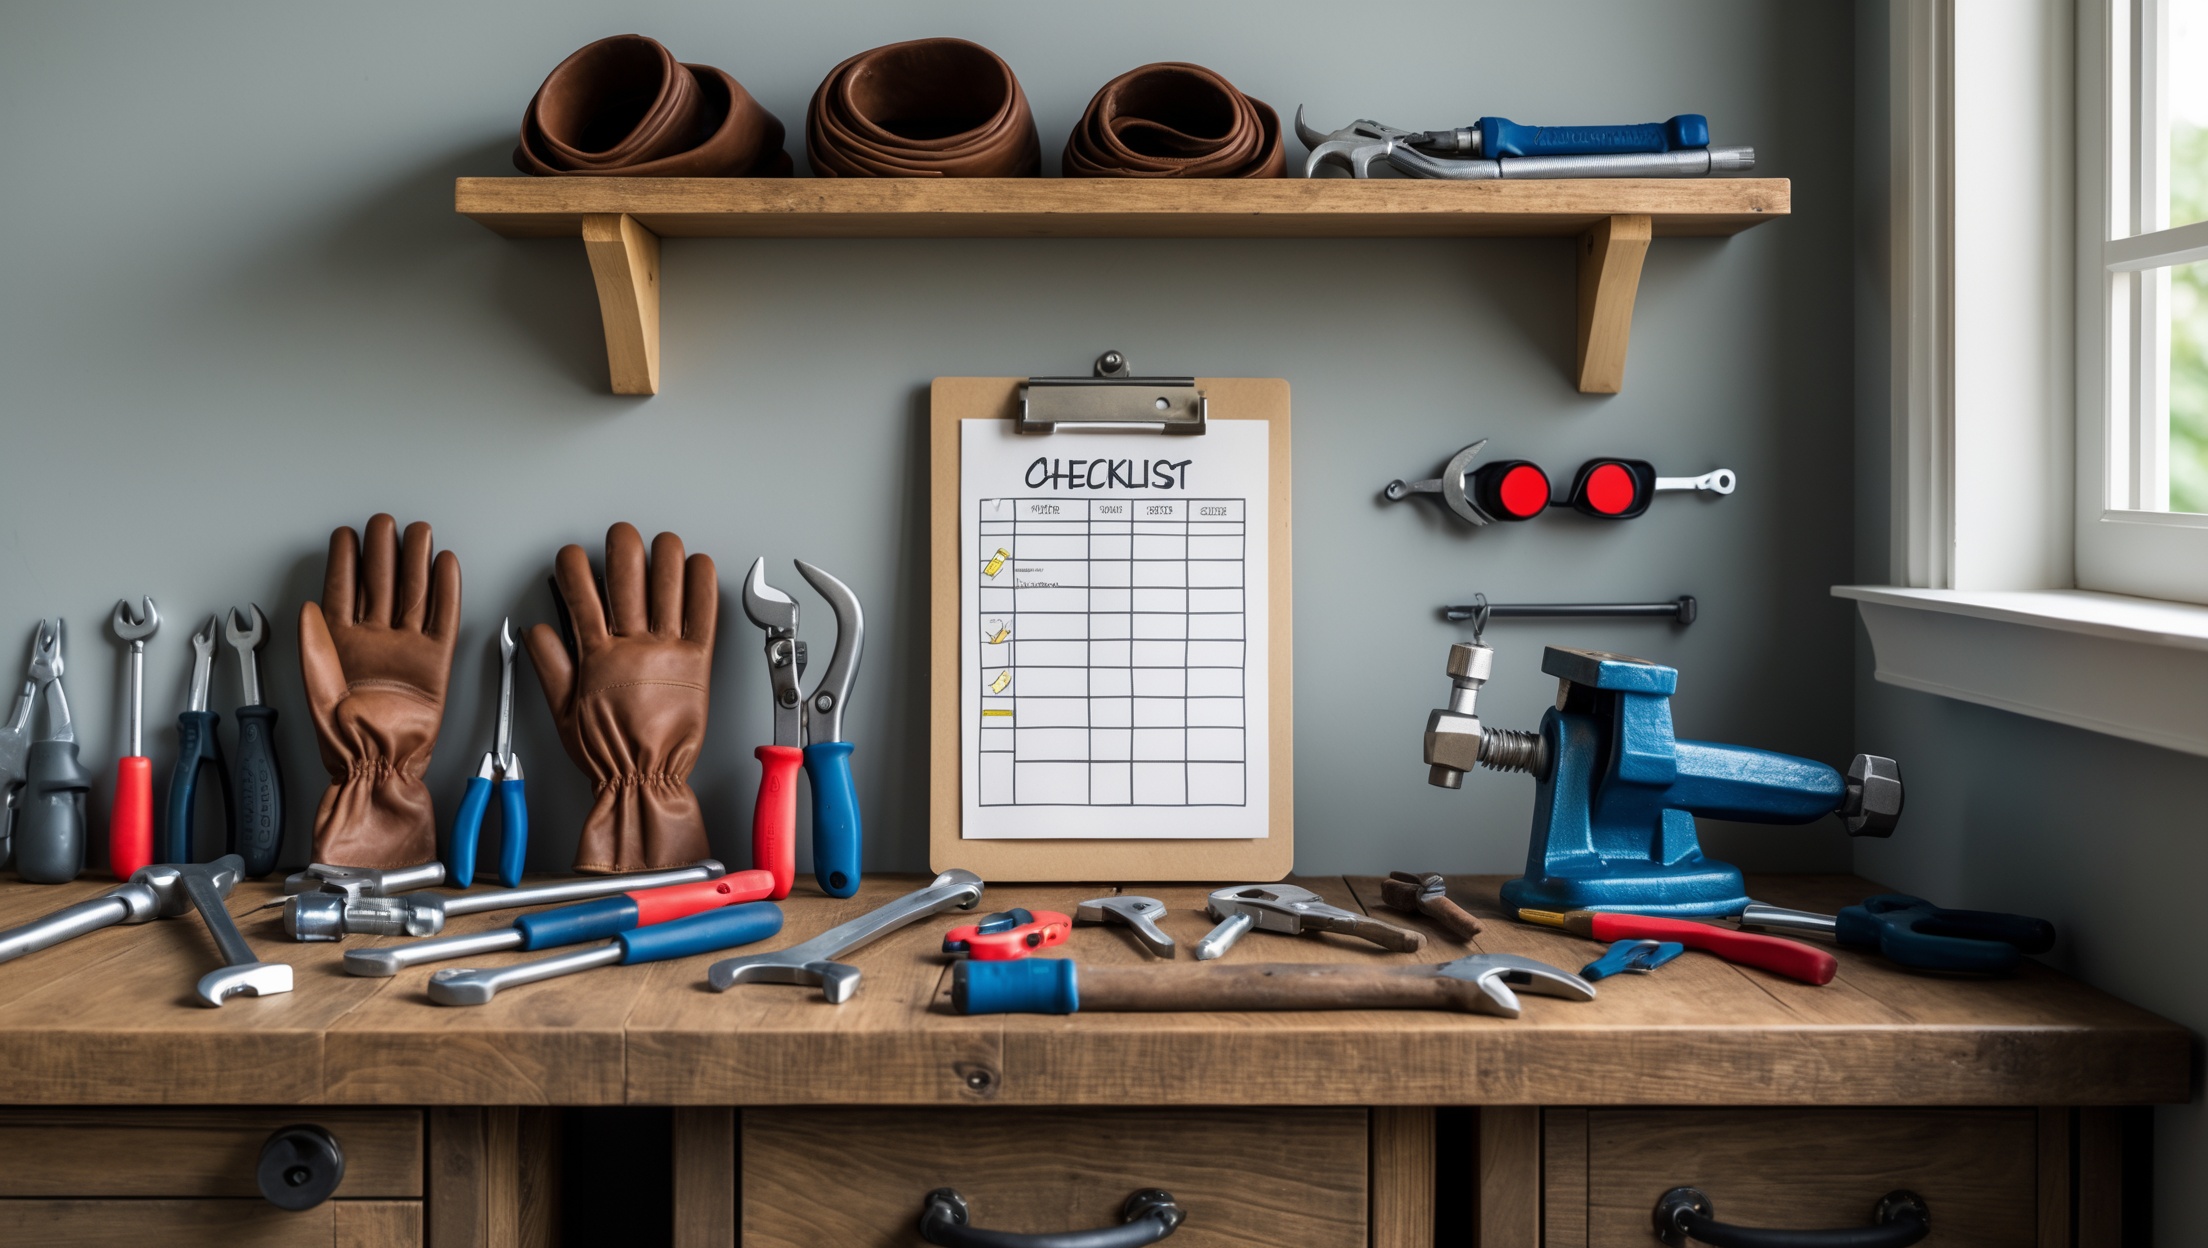
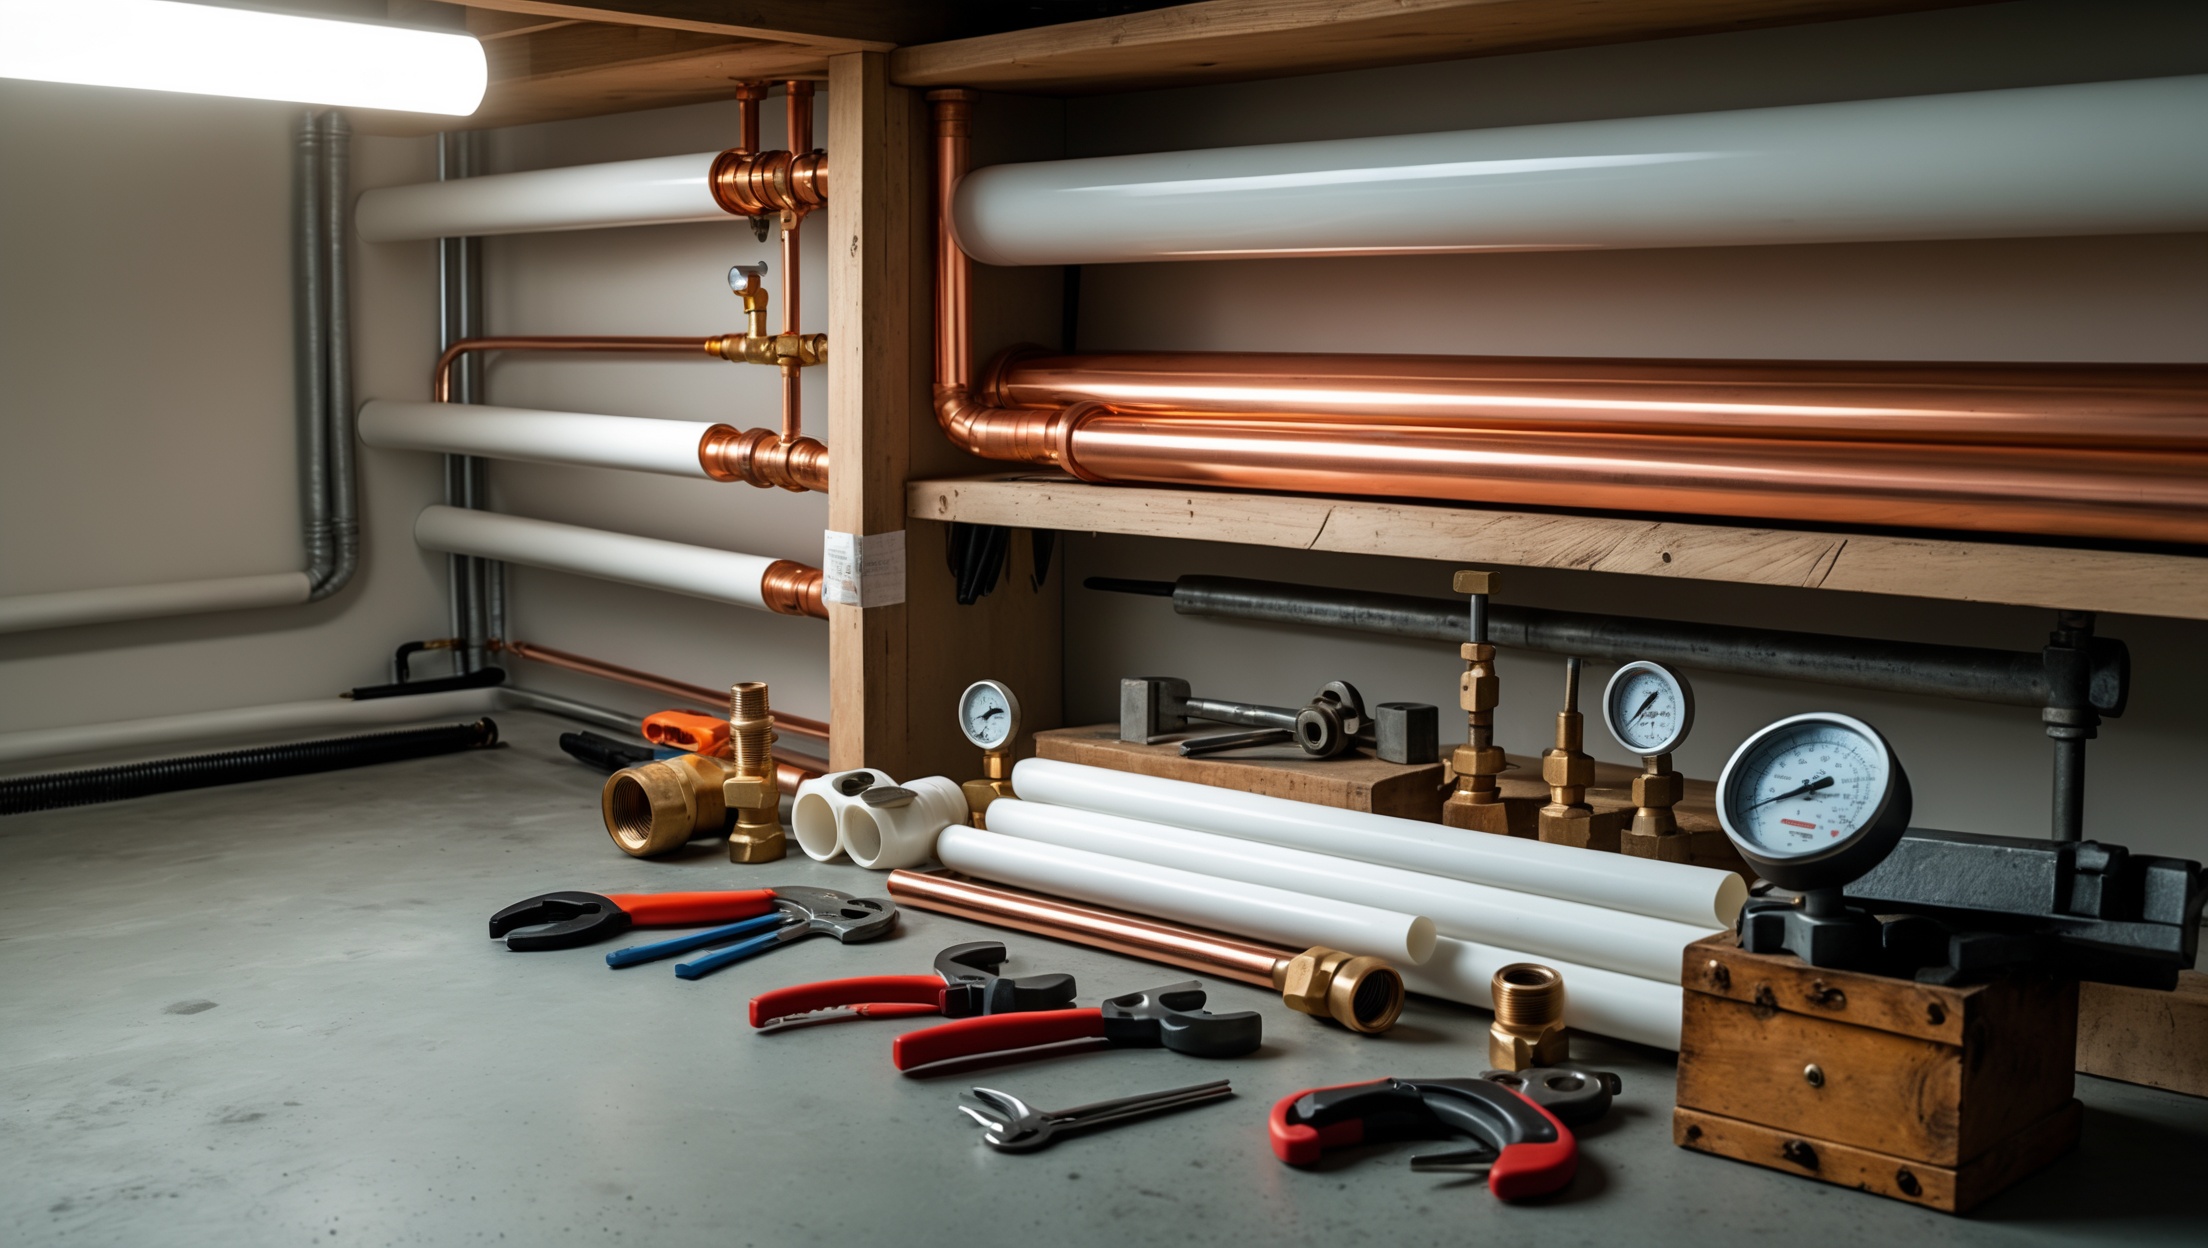
Materials and Tools: Building Your Waterproofing Arsenal
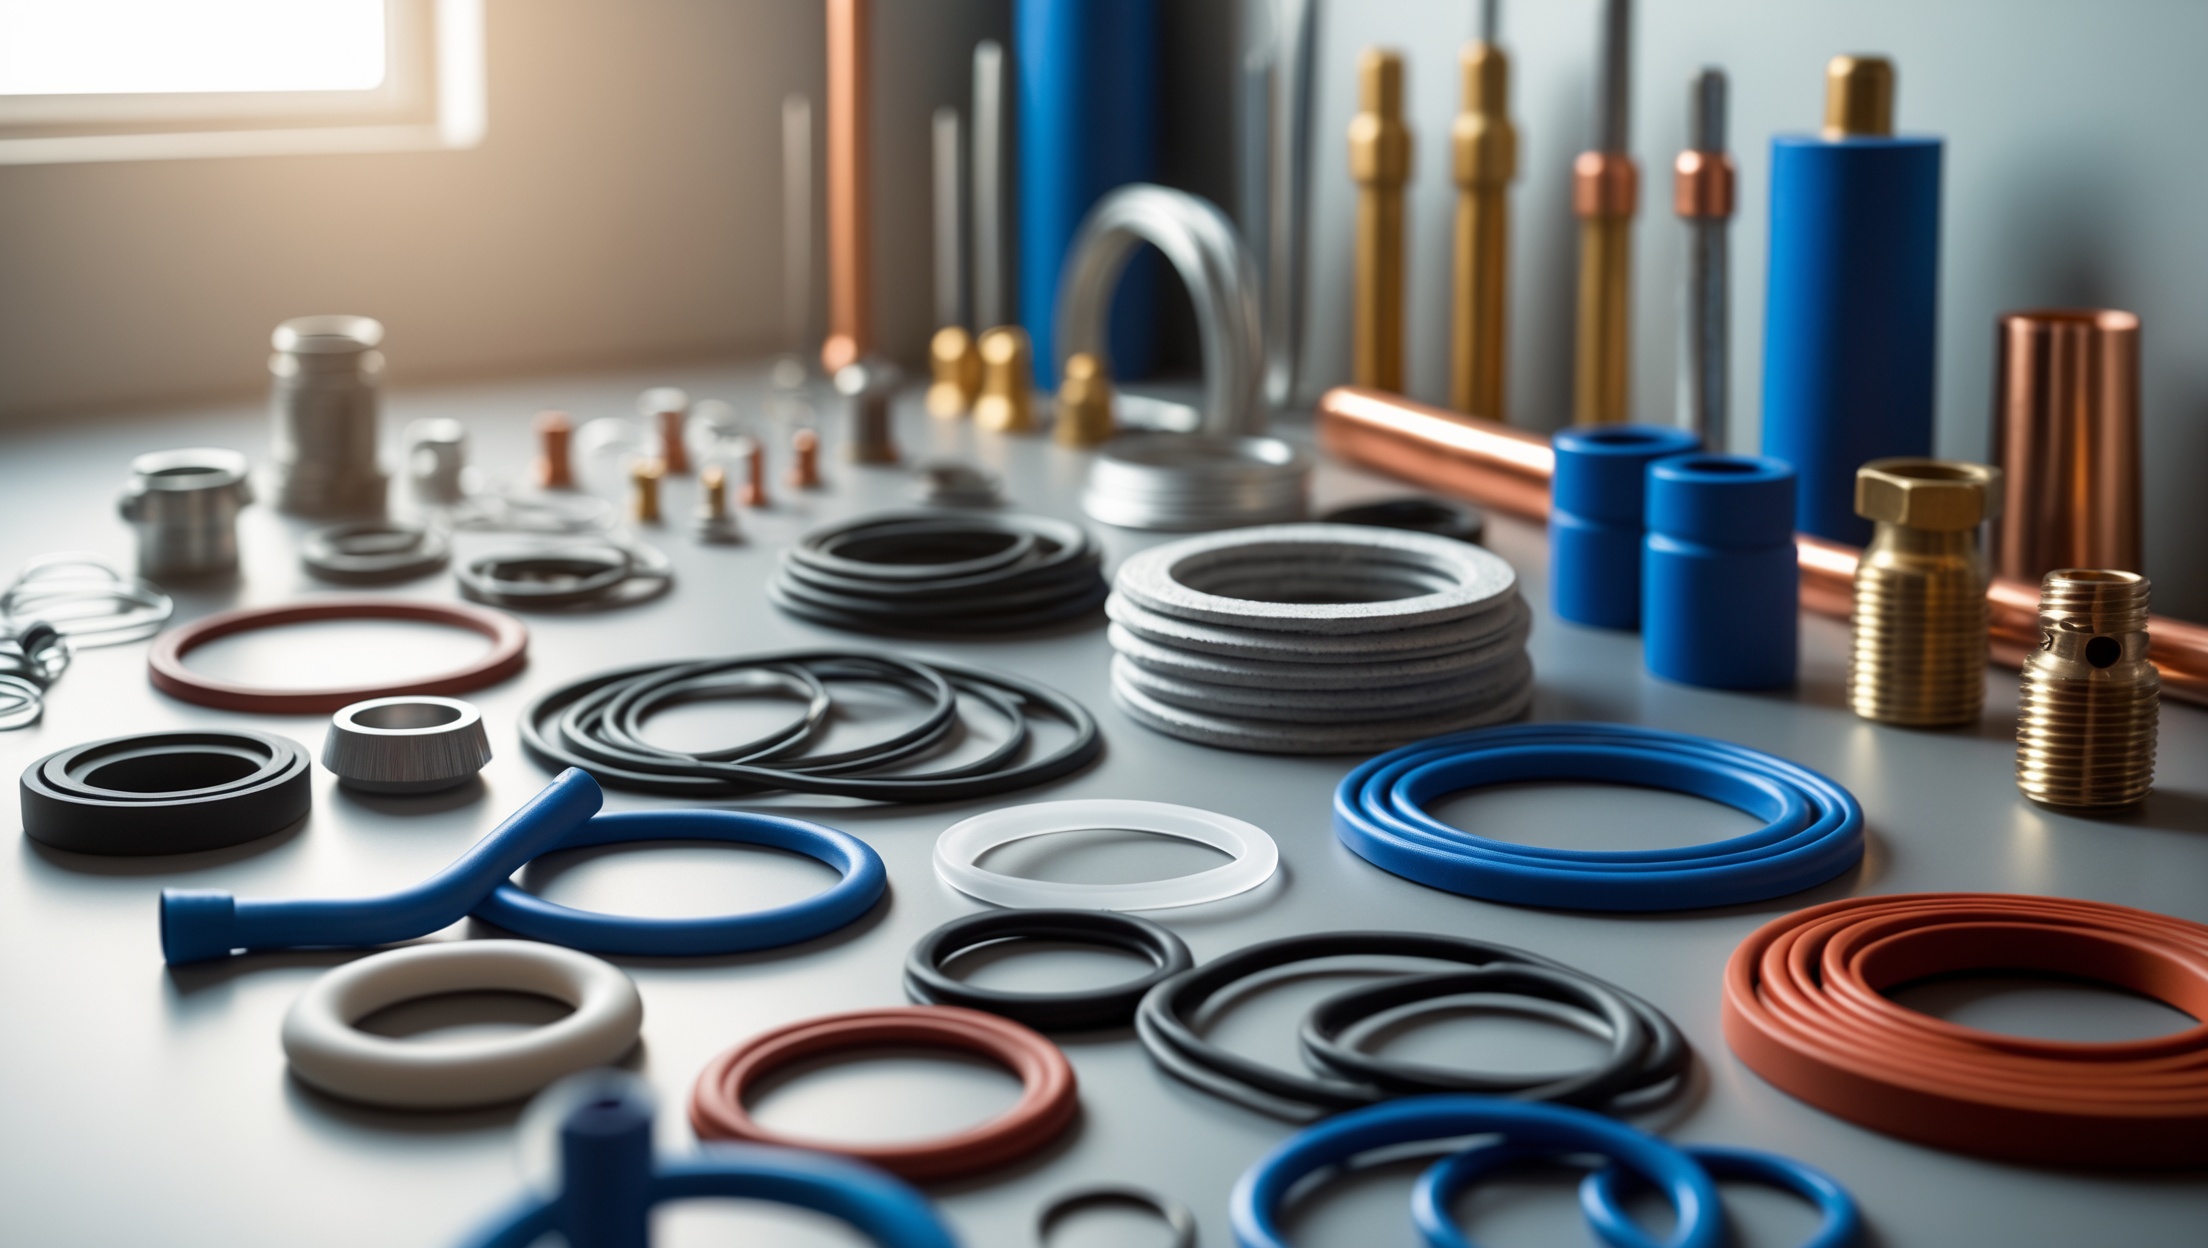
Essential Waterproofing Materials
- Sheet Membranes: Roll-on or peel-and-stick, ideal for shower pans, wet walls, and floors. Examples: Schluter Kerdi, RedGard Waterproofing Membrane.
- Liquid Membranes: Brush- or roller-applied, perfect for irregular surfaces and tight spots. Cures to a flexible, seamless barrier.
- Waterproofing Tapes: Reinforced tapes for corners, seams, and pipe penetrations.
- Flexible Sealants: High-grade silicone or polyurethane caulks formulated for wet areas.
- Compression Gaskets & Collars: Create watertight seals around pipe entries.
- Waterproof Backer Boards: Cementitious or foam-based panels as a substrate for tile in showers and backsplashes.
Recommended Tools for Precise Application
- Notched trowels for membrane installation
- Caulking guns for sealant control
- Utility knives and scissors for trimming membranes and tapes
- Paintbrushes and rollers for liquid membranes
- Measuring tape and chalk line for layout
- Infrared moisture meters for post-install inspection
Advanced Techniques by Area: Leak-Proofing Key Plumbing Zones
1. Showers and Wet Rooms
- Pre-slope the Shower Pan: Before installing any waterproofing, ensure a proper slope (1/4″ per foot) toward the drain to prevent standing water under tile.
- Continuous Membrane Application: Extend sheet or liquid membrane at least 6 feet up shower walls and 6 inches beyond the wet area.
- Pipe Penetration Detailing: Use pre-formed waterproof gaskets or wrap with tape, and seal with flexible membrane.
- Reinforce Corners and Seams: Apply specialized tapes or corner bands, fully embedded in membrane.
- Flood Test: Before tiling, plug the drain and fill the pan with water for 24 hours to check for leaks.
2. Bathtub and Vanity Surrounds
- Backer Board Selection: Always use waterproof or water-resistant backer board; never plain drywall in wet areas.
- Seal Transitions: Where tub or vanity meets wall and floor, use flexible sealant and waterproofing tape.
- Edge Protection: Extend membrane 6-12 inches beyond the fixture perimeter to catch stray splashes.
3. Kitchen Sinks and Dishwasher Zones
- Sealing Cabinets: Apply waterproof membrane to the cabinet base and sides where pipes enter.
- Countertop Penetrations: Use gaskets or flexible sealant around faucet and sprayer holes.
- Under-Sink Leak Trays: Consider installing preformed waterproof trays beneath sinks for added protection.
4. Basements and Laundry Rooms
- Wall and Floor Barriers: Use robust sheet or liquid membranes on concrete walls and floors before plumbing rough-in.
- Pipe Boot Flashings: Install compression boots at slab penetrations to prevent capillary water rise.
- Vapor Control: Combine waterproofing with vapor barriers to control condensation on cold pipes.
5. Toilet Flanges and Floor Drains
- Seamless Integration: Wrap the membrane tightly around flanges and drains, then seal with a compatible flexible caulk.
- Expansion Gaps: Maintain a small gap around the base for sealant, not grout, to allow for movement and prevent cracking.
Step-by-Step: Applying a Waterproofing Membrane in a Shower
- Surface Prep: Clean and dry all surfaces. Patch holes and fill gaps.
- Layout: Mark membrane coverage areas, including up walls and over the curb.
- Primer (if required): Apply a primer compatible with your membrane.
- Corner Taping: Install reinforcing tape at all corners and seams.
- Membrane Placement: Embed sheet membrane into thinset or apply liquid membrane with a roller. Overlap seams by at least 2 inches.
- Detailing: Seal all penetrations with preformed gaskets or multiple coats of membrane.
- Curing: Allow the membrane to cure as directed—usually 24 hours.
- Flood Test: Plug the drain, fill with water, and check for leaks before tiling.
Pro Tips for Lasting, Leak-Proof Results
- Always use systems (membrane, tape, sealant) from the same manufacturer for guaranteed compatibility and warranty.
- Apply sealant in a continuous bead and tool it for full contact—gaps lead to leaks.
- Don’t substitute paint-on waterproofing where a robust sheet membrane is required (like shower floors).
- Inspect all seams, corners, and pipe entries before covering with tile or finish materials.
- Document your waterproofing steps with photos—often required for warranty and insurance claims.
- If in doubt, perform a moisture meter test after install and periodically during the first year.
Common Waterproofing Mistakes to Avoid
- Skipping membrane behind tile in showers—tile and grout are NOT waterproof alone.
- Using regular drywall in wet zones—it will fail with even minor leaks.
- Overlapping membranes incorrectly, which allows water to wick between layers.
- Neglecting pipe and drain penetrations—the #1 source of hidden leaks.
- Failing to allow proper cure time before tiling or use.
- Assuming silicone caulk alone is sufficient in high-exposure areas.
Compliance and Best Practices: Codes, Permits, and Inspections
Local Plumbing Codes
Most building codes (IRC, IPC, Uniform Plumbing Code) now require waterproofing in all wet areas—especially showers, bathtubs, and below-grade spaces. Check your jurisdiction for specifics, including approved products and flood testing requirements.
Permits and Documentation
- Obtain a permit for major wet-area renovations or new builds.
- Schedule required waterproofing inspections before closing up walls or floors.
- Keep detailed records (photos, product data) to streamline approval and future claims.
Waterproofing for Repairs and Retrofits
Upgrading waterproofing in existing structures poses unique challenges. When repairing water damage or retrofitting older bathrooms and kitchens:
- Remove all compromised material back to dry, sound substrate.
- Install a modern membrane that ties into existing waterproofing wherever possible.
- Use thin-profile liquid membranes for spot repairs in tight areas.
- Replace or recaulk penetrations and seams as needed.
- Test for leaks after each stage.
Maintenance: Keeping Waterproofing Effective Year After Year
- Visually inspect caulked joints and corners annually—reapply as needed.
- Check for cracked grout, loose tiles, or bubbling paint, which may indicate hidden leaks.
- Watch for musty odors or mildew—these are early warning signs of moisture issues.
- Flush and inspect floor drains and overflow channels regularly.
- Keep a maintenance log for future reference and warranty support.
Conclusion: Invest in Waterproofing—Your Best Plumbing Insurance
Proper waterproofing is far more than an optional upgrade; it’s the silent guardian of every successful plumbing project. Whether you’re building a spa-worthy bathroom, renovating a dated kitchen, or adding laundry facilities to a basement, the techniques and materials outlined above will help you achieve truly leak-proof results. Cutting corners on waterproofing may save a few hours or dollars up front, but the long-term costs of water damage, mold remediation, and structural repairs can be staggering. By mastering advanced waterproofing—from membrane selection to meticulous detailing and regular maintenance—you protect your property, health, and wallet. Remember, the best waterproofing job is the one you never have to think about again. Invest the time and care to do it right the first time, and you’ll enjoy dry, worry-free spaces for decades to come. If you ever have doubts about products or local code requirements, consult a plumbing professional—an extra set of expert eyes can make all the difference between a problem-free install and a costly redo. Waterproofing isn’t just about keeping water out—it’s about building trust and value into every project you touch.


Nancy Smith
I noticed you mentioned that even microscopic gaps at pipe penetrations can cause leaks over time. Do you recommend any particular sealant type or method for those really tight spaces, especially where different materials meet like PVC to copper?