
Introduction: Why Plumbing Code Compliance Matters
If you’re a DIY enthusiast or a small plumbing contractor, it’s tempting to jump right into a project—cutting pipes, sweating joints, and watching your handiwork come together. But before you turn a wrench or solder a fitting, there’s a critical step you can’t afford to skip: plumbing code compliance. Plumbing codes exist for a reason—they protect property, safeguard public health, and ensure that plumbing systems function reliably for years. Failing to comply isn’t just a matter of passing an inspection; it can result in leaks that cause hidden water damage, contamination of drinking water supplies, and even legal liability.
This guide is tailored specifically for DIYers and small contractors who want to get compliance right from the start. We’ll demystify the most important code requirements, walk you through practical steps to stay compliant, and highlight the most common pitfalls (and how to avoid them). Whether you’re tackling a bathroom remodel, installing a new water heater, or running supply lines for an addition, this guide will help you navigate the maze of regulations with confidence and expertise.
Understanding Plumbing Codes: The Basics
What Are Plumbing Codes?
Plumbing codes are sets of standards that dictate how plumbing systems must be designed, installed, and maintained. In the U.S., most regions follow either the International Plumbing Code (IPC) or the Uniform Plumbing Code (UPC), with local amendments. Codes cover everything from pipe sizing and materials to venting, backflow prevention, fixture placement, and drainage requirements.
Why Local Codes Matter
While national codes provide a foundation, local jurisdictions often have additional rules that reflect climate, soil conditions, or municipal infrastructure. Always check with your local building authority for the most current requirements before starting any project.
How Codes Are Updated
Plumbing codes evolve regularly to address new technologies, safety concerns, and environmental standards. A method or material that was code-compliant ten years ago may no longer be acceptable. Staying up-to-date is essential.
Getting Started: Research and Planning
Step 1: Identify the Scope of Your Project
Define exactly what you’ll be working on. Will you be relocating fixtures, adding new supply lines, or just replacing a faucet? The complexity determines the code sections you need to review.
Step 2: Consult the Code
- Obtain the current code: Check your city or county website, or ask at the building department. Many jurisdictions provide PDFs or online access to their codes.
- Highlight relevant sections: Look up requirements for piping, venting, fixture clearances, and material standards for your specific project.
Step 3: Plan for Inspections and Permits
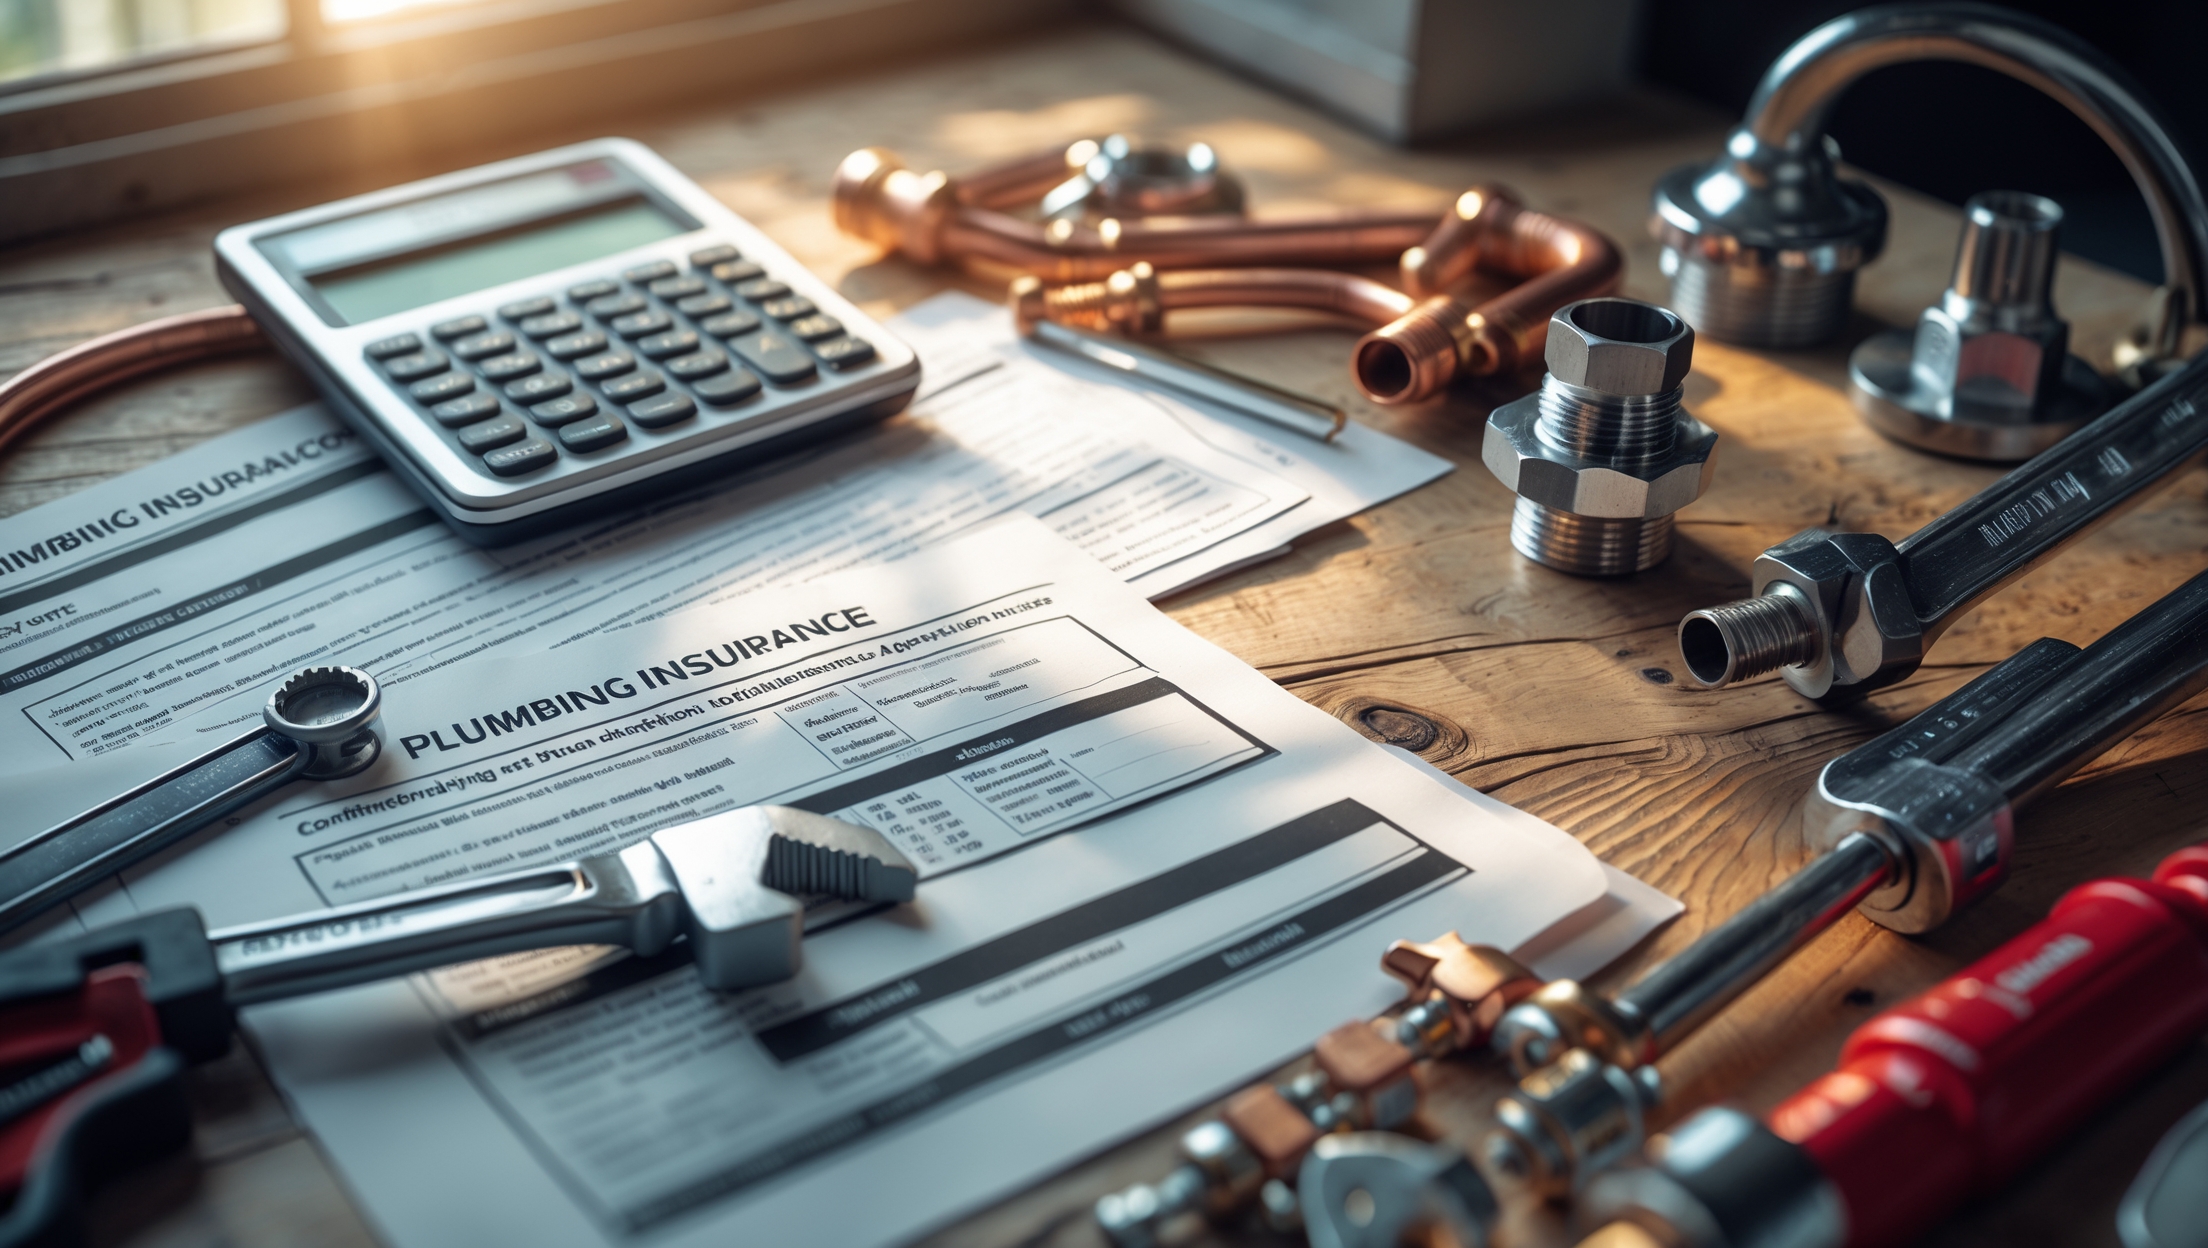
Most significant plumbing projects (beyond minor repairs) require a permit and at least one inspection. Failing to secure permits can result in fines and may void insurance coverage. Plan your schedule to accommodate potential wait times for inspections.
Key Code Requirements to Watch
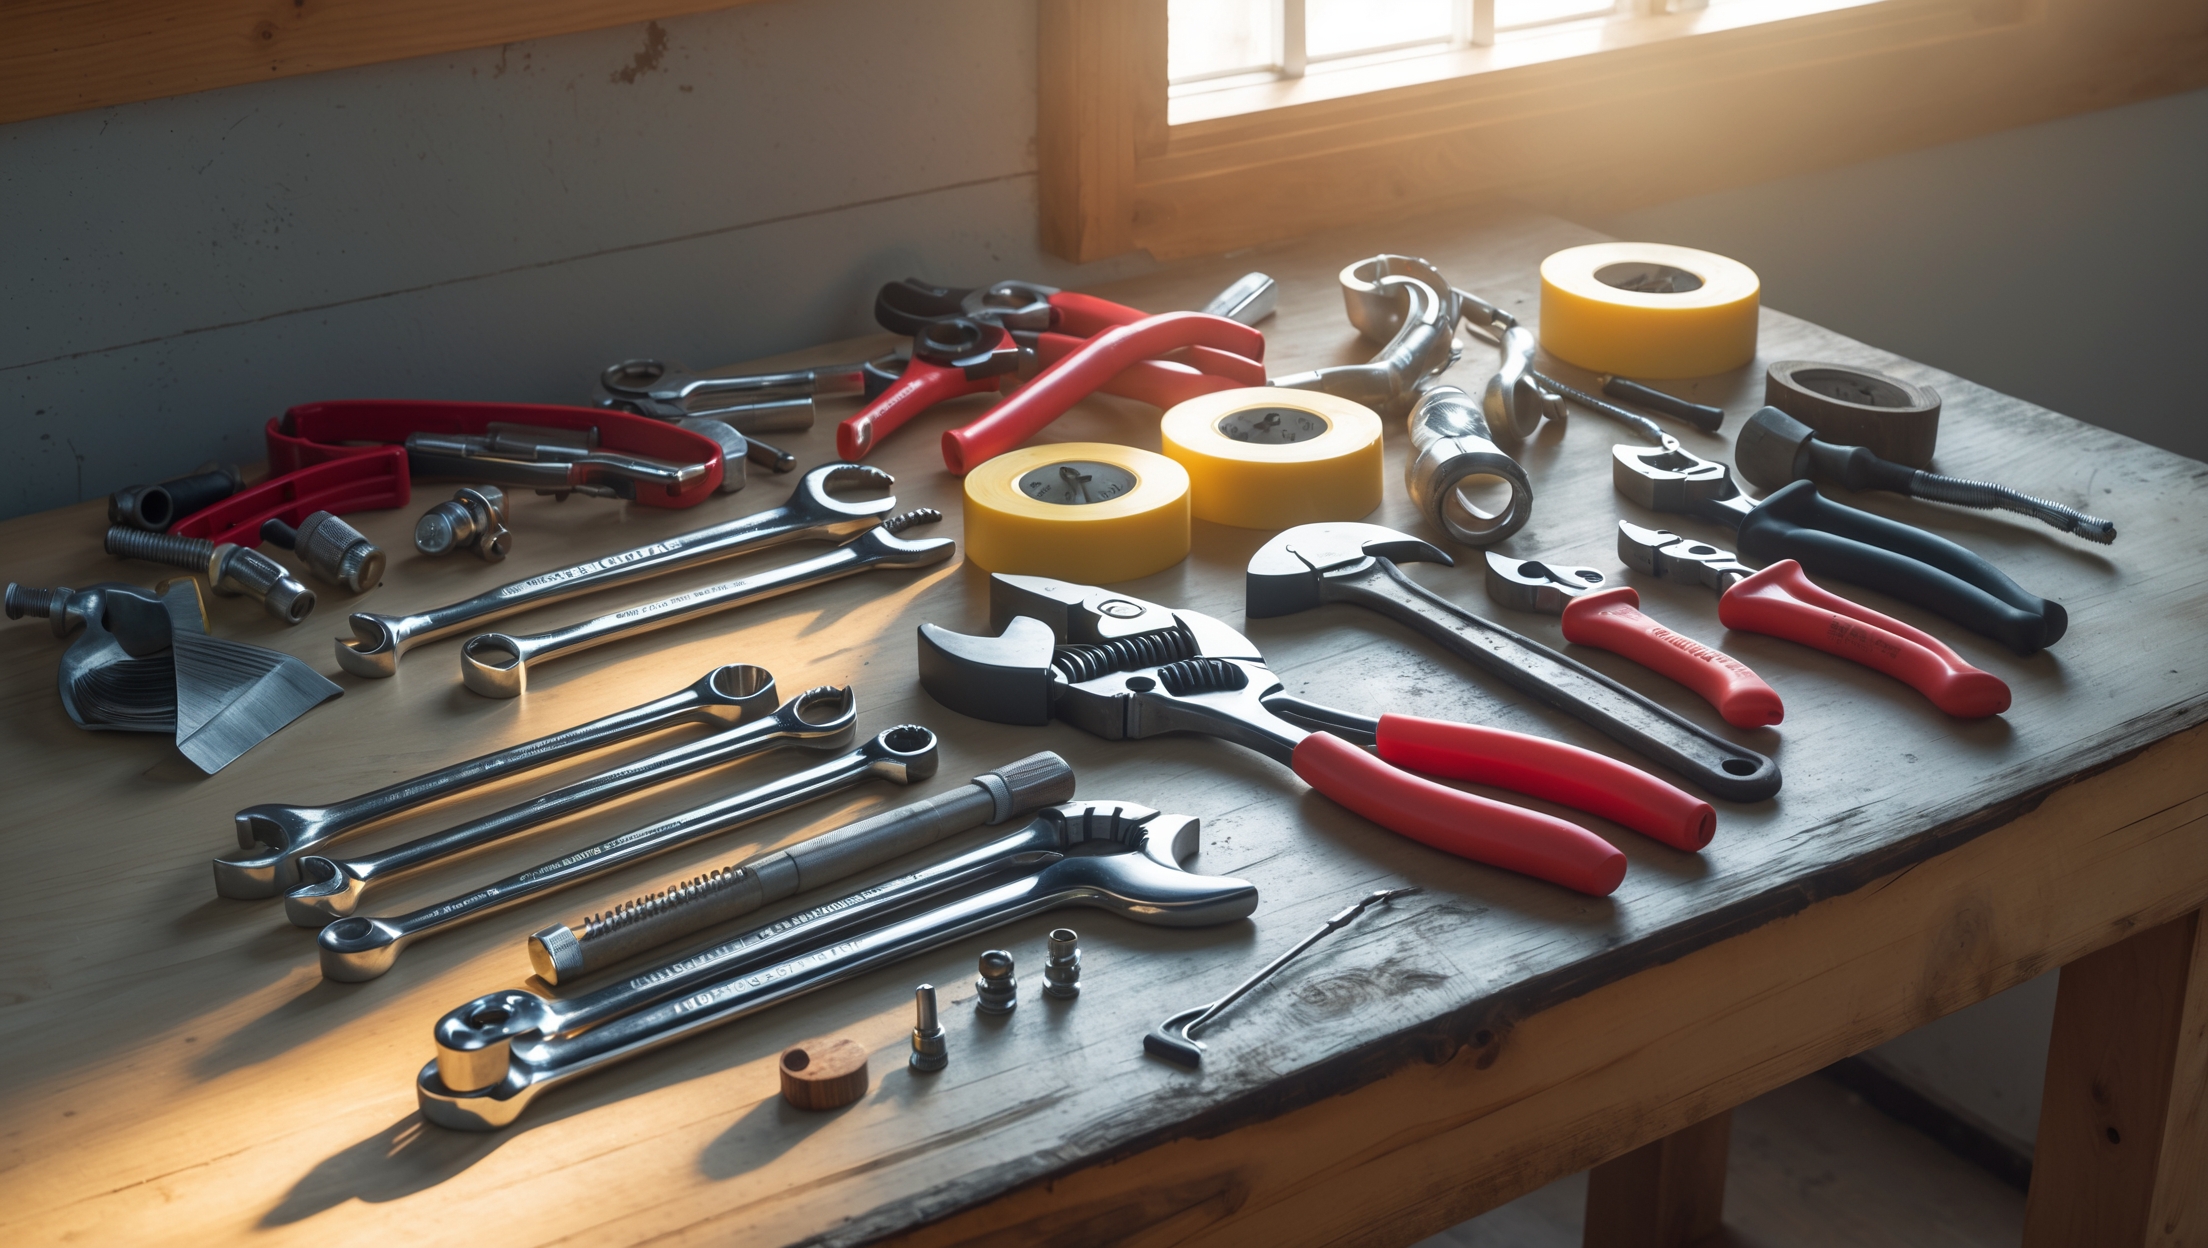
1. Pipe Sizing and Materials
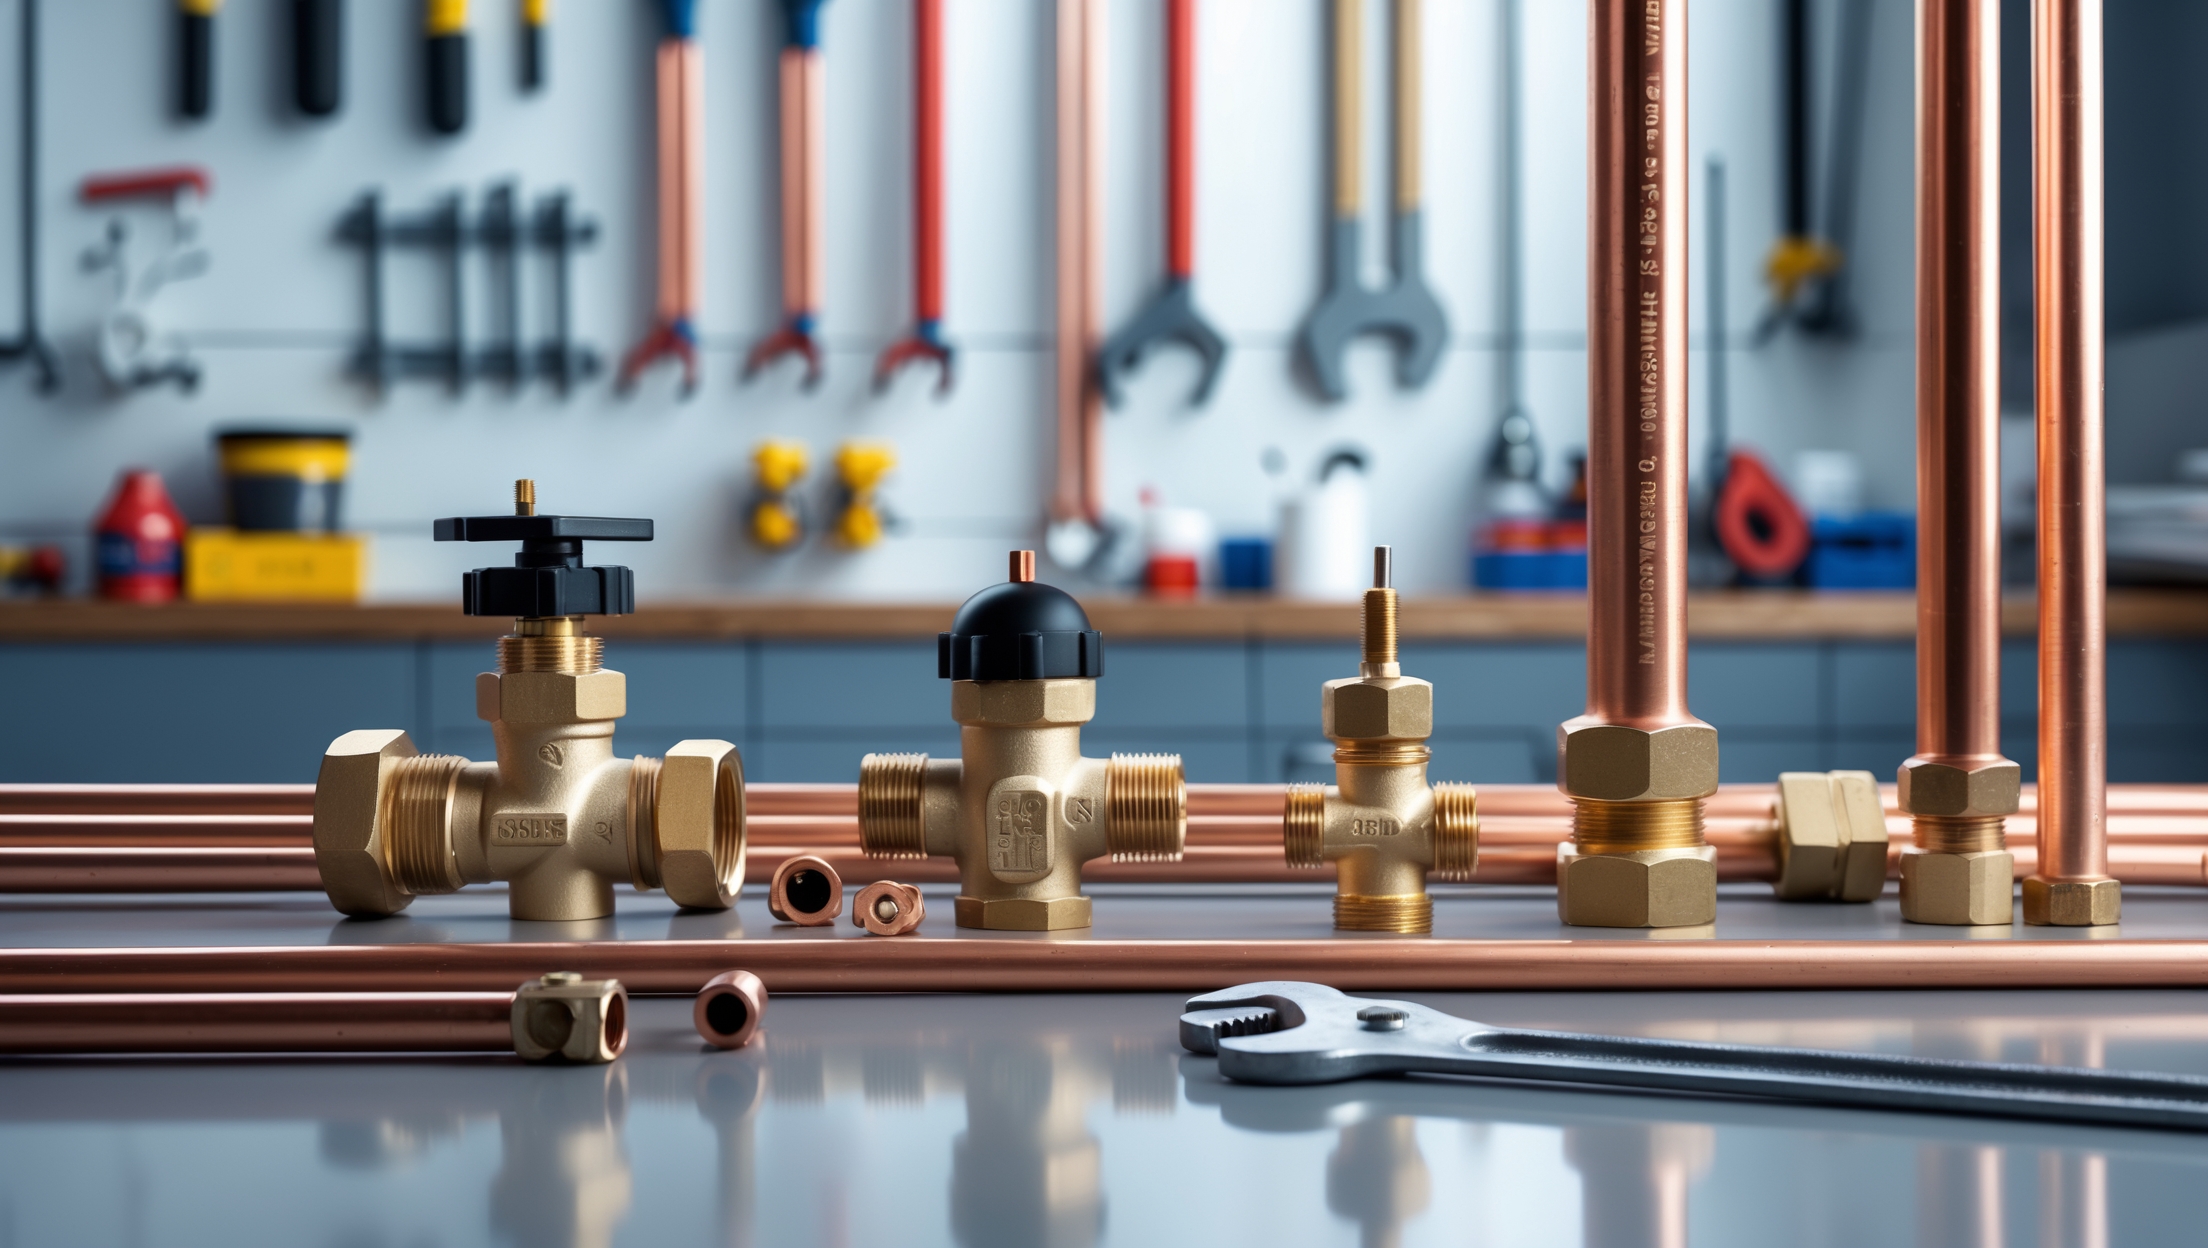
Using the wrong pipe size can cause low water pressure or drainage issues. Codes specify minimum and sometimes maximum pipe diameters for supply and drain lines. Material requirements (copper, PEX, CPVC) also vary by region and application.
- Hot vs. Cold Water Lines: Ensure correct color coding and insulation where required.
- Transition Fittings: When connecting different materials, use approved transition fittings and dielectric unions where required to prevent corrosion.
2. Proper Venting
Every fixture must be properly vented to allow air into the drainage system and prevent sewer gases from entering living spaces. Common venting mistakes include improper wet venting and insufficient vent pipe size.
- Distance to Vent: Codes specify maximum distances between a fixture and its vent connection.
- Vent Through the Roof: Ensure vent pipes terminate outdoors, typically above the roofline at a specified height.
3. Trap and Cleanout Placement
Traps prevent sewer gases from entering the home, but they must be installed at each fixture and at the correct height and orientation. Cleanouts provide access for clearing clogs and are required at certain intervals and locations.
4. Backflow Prevention
Backflow devices are essential for protecting potable water supplies from contamination. Common code requirements include:
- Air gaps on sink and dishwasher drains
- Vacuum breakers on hose bibbs and irrigation lines
- Backflow prevention assemblies on irrigation and fire sprinkler systems
5. Fixture Clearances and Accessibility
Codes specify minimum clearances around plumbing fixtures to ensure usability and accessibility. For example, toilets typically require at least 15 inches from the centerline to any side wall and 21 inches of clear space in front.
Common Code Violations and How to Avoid Them
- Improper Slope on Drain Lines: Drain pipes generally require a slope of 1/4 inch per foot. Less can cause clogs; more can cause water to outrun solids.
- Unapproved Pipe Materials: Not all plastic pipes are allowed in all situations. Always verify material approvals.
- Missing or Inadequate Strapping: Pipes must be secured at code-specified intervals to prevent movement and noise.
- Insufficient Venting: Skipping or undersizing vents is a leading cause of slow drains and sewer odors.
- Failure to Provide Accessible Cleanouts: Cleanouts must be accessible without removing walls or fixtures.
- Ignoring Freeze Protection in Cold Climates: Pipes in unheated spaces must be insulated or heat-traced.
Step-by-Step: Ensuring Compliance on Your Project
1. Create a Detailed Plan
Draw a simple schematic of your project, marking all pipe runs, fittings, vent lines, and fixtures. Note pipe sizes and types. This helps visualize code requirements and makes it easier to get feedback from inspectors.
2. Secure Necessary Permits
Visit your local building department, submit your plan, and pay any required fees. Permits are your insurance policy—they ensure your work gets inspected and approved.
3. Use Approved Materials and Methods
Buy materials from reputable suppliers. Double-check packaging for code approval marks. If you’re unsure, ask the supplier for documentation or consult the inspector.
4. Follow Manufacturer Instructions
Code compliance often requires following the manufacturer’s installation instructions for fixtures and devices. Save all documentation for the inspector.
5. Schedule Inspections at Key Stages
Typical inspections include rough-in (before walls are closed), final (after fixtures are installed), and sometimes pressure tests. Be present during inspections to answer questions and make corrections if needed.
6. Document Everything
Take photos of your work at each stage, especially before closing up walls. Keep copies of permits, inspection reports, and receipts for materials. This documentation is invaluable if questions arise later.
Working with Inspectors: Tips for a Smooth Process
- Be Respectful and Prepared: Have your plans, permits, and documentation ready. Inspectors appreciate professionalism.
- Ask Questions: If you’re unsure about a requirement, ask before proceeding. Inspectors can clarify local code nuances.
- Don’t Hide Mistakes: If you made an error, admit it and ask for guidance on correction. Trying to cover up code violations only leads to bigger problems.
- Follow Up Promptly: If corrections are required, make them quickly and request a re-inspection.
Staying Up-to-Date: Resources for Ongoing Compliance
Where to Find the Latest Code Updates
- Local building department websites
- State plumbing boards
- Trade associations (e.g., PHCC, IAPMO, ICC)
- Industry publications and newsletters
Continuing Education
Consider taking continuing education courses offered by trade schools or online platforms. These courses often highlight recent code changes and best practices.
Case Study: Avoiding a Costly Code Violation
Consider the example of a small contractor tasked with relocating a kitchen sink. Confident in their skills, they ran new supply and drain lines but failed to provide an accessible cleanout on the horizontal drain. During inspection, this omission was flagged, and the contractor was required to open up a finished wall to install the missing cleanout. The fix cost several hundred dollars and delayed the project. Careful review of the code and a simple sketch could have prevented the error.
Conclusion: Compliance Is an Investment in Quality
Plumbing code compliance might seem intimidating, especially for DIYers and small contractors who juggle multiple roles. But investing the time to understand and follow the code pays off in more ways than one. Code-compliant work is safer, more durable, and less likely to cause headaches down the road—for you and for anyone who lives or works in the space. It’s also the key to passing inspections, maintaining insurance coverage, and protecting yourself from costly rework or liability.
Every successful project begins with a commitment to doing things right. Start with careful planning, use approved materials, document your process, and don’t be afraid to seek guidance when needed. The extra effort you put into code compliance is a mark of true professionalism—whether you’re a weekend DIYer or building your reputation as a small contractor. With the practical steps in this guide, you’re equipped to navigate the world of plumbing regulations with confidence, ensuring that every job you complete stands the test of time—and inspection.


Diane Sanchez
You mentioned that failing to comply with code can lead to legal liability. If a DIYer does a small bathroom remodel without pulling permits or following all codes, what are the most common consequences in terms of fines or repairs?