
Introduction: Why a Plumbing Emergency Toolkit Matters
Plumbing emergencies rarely strike at a convenient time. Whether you’re a homeowner awoken by a burst pipe at midnight or a professional called out during a weekend downpour, rapid response is the difference between a quick fix and a costly catastrophe. Water damage doesn’t wait—within minutes, leaks can spread, floors can warp, and hidden mold can take root. While the right skills are essential, having a dedicated plumbing emergency response toolkit is equally critical. This post will walk you through building a toolkit that’s ready for anything, from sudden leaks to overflowing toilets and frozen pipes. We’ll cover what to include, where to store it, and step-by-step strategies for using your kit to contain, control, and fix emergencies quickly. Whether you’re just starting out or looking to upgrade your approach, these expert tips will help you minimize damage, save money, and respond with confidence when trouble strikes.
Understanding Plumbing Emergencies: Scenarios and Stakes
Common Plumbing Emergencies
- Burst Pipes: Often caused by freezing, corrosion, or impact.
- Major Leaks: From supply lines, fittings, or appliances.
- Clogged Drains and Backups: Sinks, toilets, and main sewer lines.
- Water Heater Failures: Leaks, pressure valve malfunctions, or tank ruptures.
- Overflowing Fixtures: Toilets, tubs, or washing machines running uncontrolled.
- Gas Leaks (for plumbers): Not strictly water, but an urgent hazard in many homes.
Why Speed Matters
In a plumbing emergency, every second counts. Water can soak subfloors, wick up drywall, and compromise electrical systems. Mold growth can begin within 24-48 hours. Quick containment and an effective first response can save thousands in repairs and prevent dangerous health hazards. Having the right tools and materials at hand is essential for acting fast.
Core Components of a Plumbing Emergency Toolkit
Essential Hand Tools
- Adjustable Wrenches: For tightening or loosening supply line nuts and fittings.
- Channel-Lock Pliers: For gripping and twisting pipes, especially under sinks.
- Pipe Wrenches (small and medium): For threaded pipe connections.
- Slip-Joint Pliers: Multi-purpose gripping and turning.
- Flathead and Phillips Screwdrivers: For appliance panels, clamps, and hose connections.
- Utility Knife: For cutting tape, tubing, or opening supply packages.
Quick-Response Supplies
- Plumber’s Tape (Teflon tape): For resealing threaded joints to stop drips.
- Pipe Repair Clamps: For sealing leaks in copper, steel, or plastic pipes.
- Epoxy Putty: Emergency patching of pinholes or cracks—works on wet surfaces.
- Self-Fusing Silicone Tape: Wraps and seals small leaks until permanent repairs can be made.
- Hose Clamps: For reinforcing temporary hose or pipe patches.
- Rags and Absorbent Towels: For soaking up water and protecting surfaces.
- Buckets (2–3): For catching drips or draining pipes.
- Heavy-Duty Trash Bags: For quickly removing soaked materials.
- Plunger (cup and flange): For clearing blockages in sinks and toilets.
- Drain Auger/Snake (manual): For dislodging stubborn clogs.
- Flashlight or Headlamp: For working in dark, cramped spaces.
- Gloves (nitrile or rubber): For safety and cleanliness.
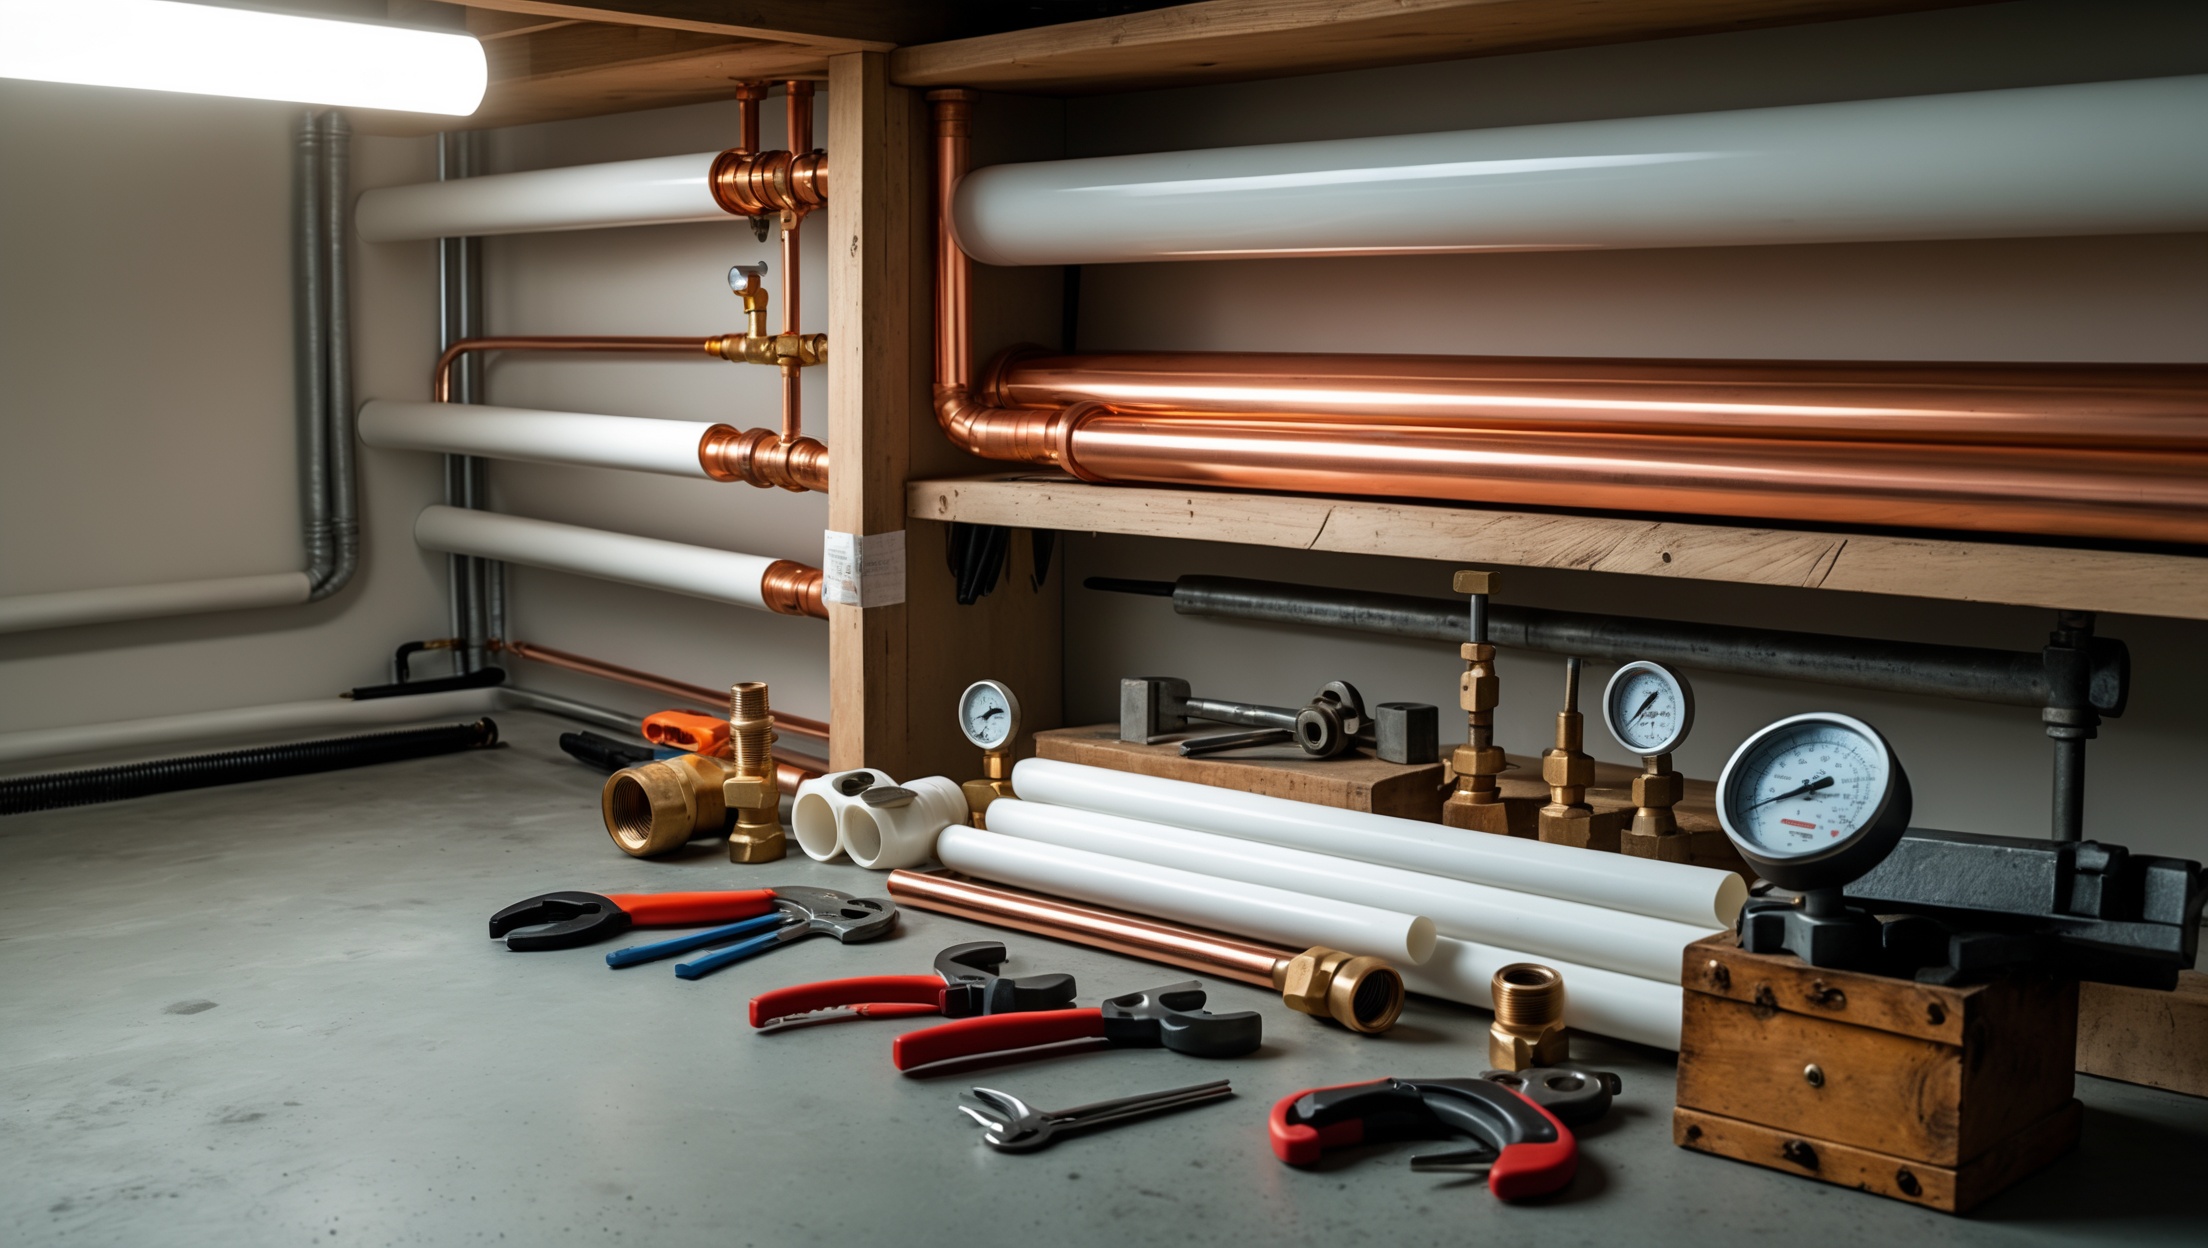
Specialty Items for Advanced Response
- Water Shutoff Key: For turning off curbside water mains in emergencies.
- Pressure Gauge: To check for dangerous pressure spikes.
- Wet/Dry Vacuum: For removing standing water quickly.
- Inspection Mirror: For checking behind pipes or in tight spaces.
- Leak Detection Dye Tablets: For tracing the source of hidden leaks.
- Plastic Sheeting and Painter’s Tape: For protecting floors, walls, or furniture from water spray.
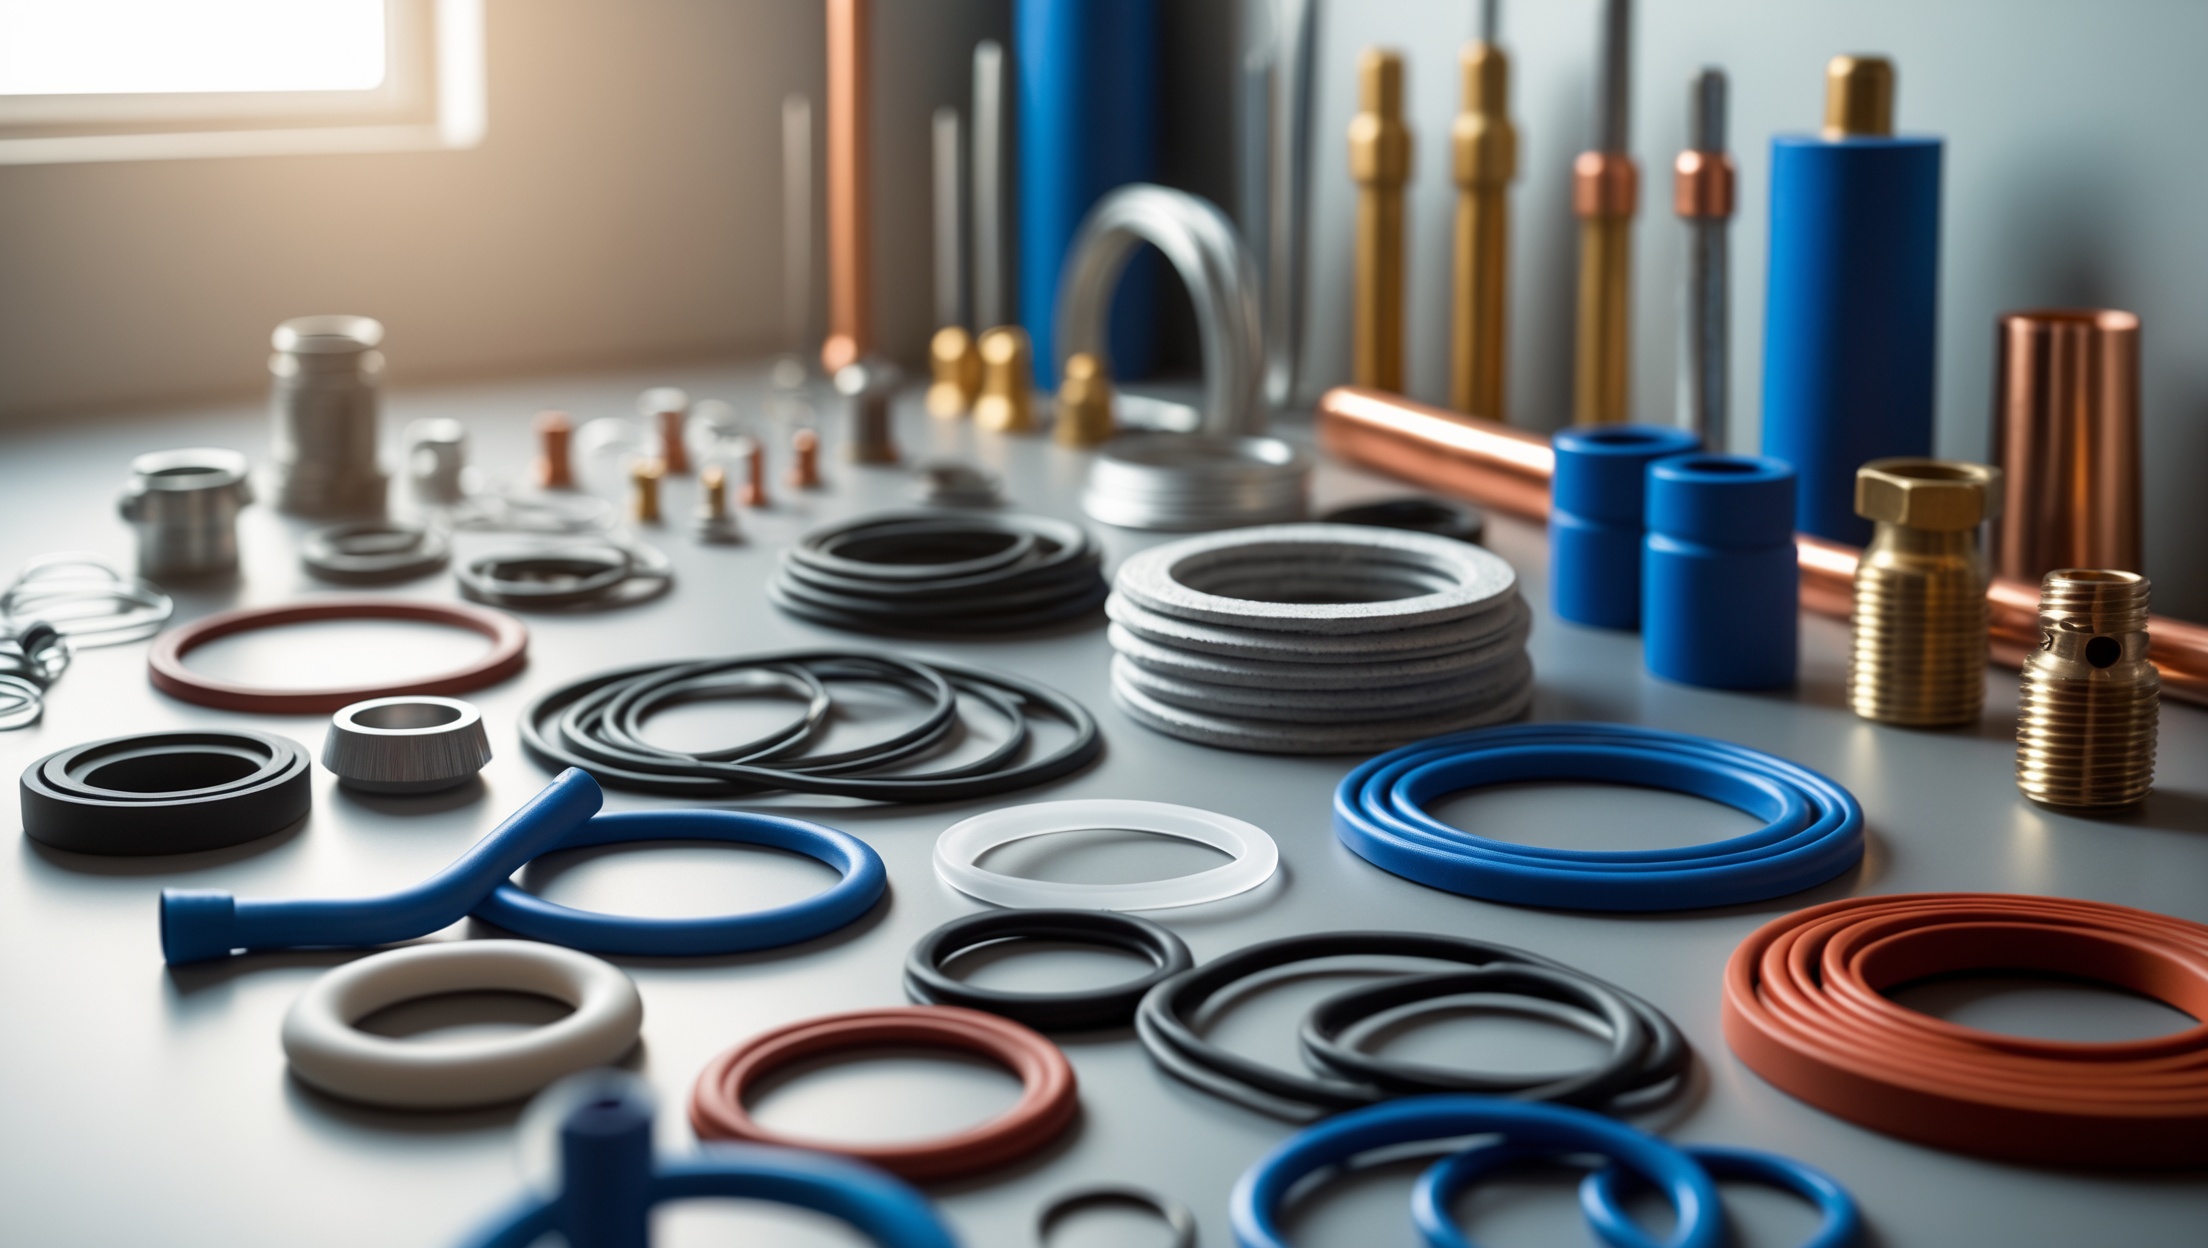
Consumables and Spares
- Assorted washers and O-rings
- Extra supply hoses (toilet, sink)
- Flexible pipe connectors (various sizes)
- Shutoff valve handles (universal type)
- PTFE thread sealant
Building Your Plumbing Emergency Toolkit: Step-by-Step
Step 1: Assess Your Needs
Start by considering the specific plumbing systems in your home or the types of jobs you respond to as a pro. Older homes may need more patching supplies for galvanized pipes; multi-story properties may require extra buckets and towels.
Step 2: Source Quality Tools and Supplies
Invest in professional-grade hand tools—cheap wrenches and pliers can slip or break at the worst moment. For consumables, buy in small quantities and refresh annually to ensure adhesives, tapes, and putties remain effective.
Step 3: Organize for Speed
- Use a sturdy, water-resistant toolbox or tote with compartments.
- Label each section for quick access (e.g., “Patch & Seal”, “Hand Tools”, “Clean-Up”).
- Store the kit in an easily accessible location—avoid the basement, where flooding might block access.
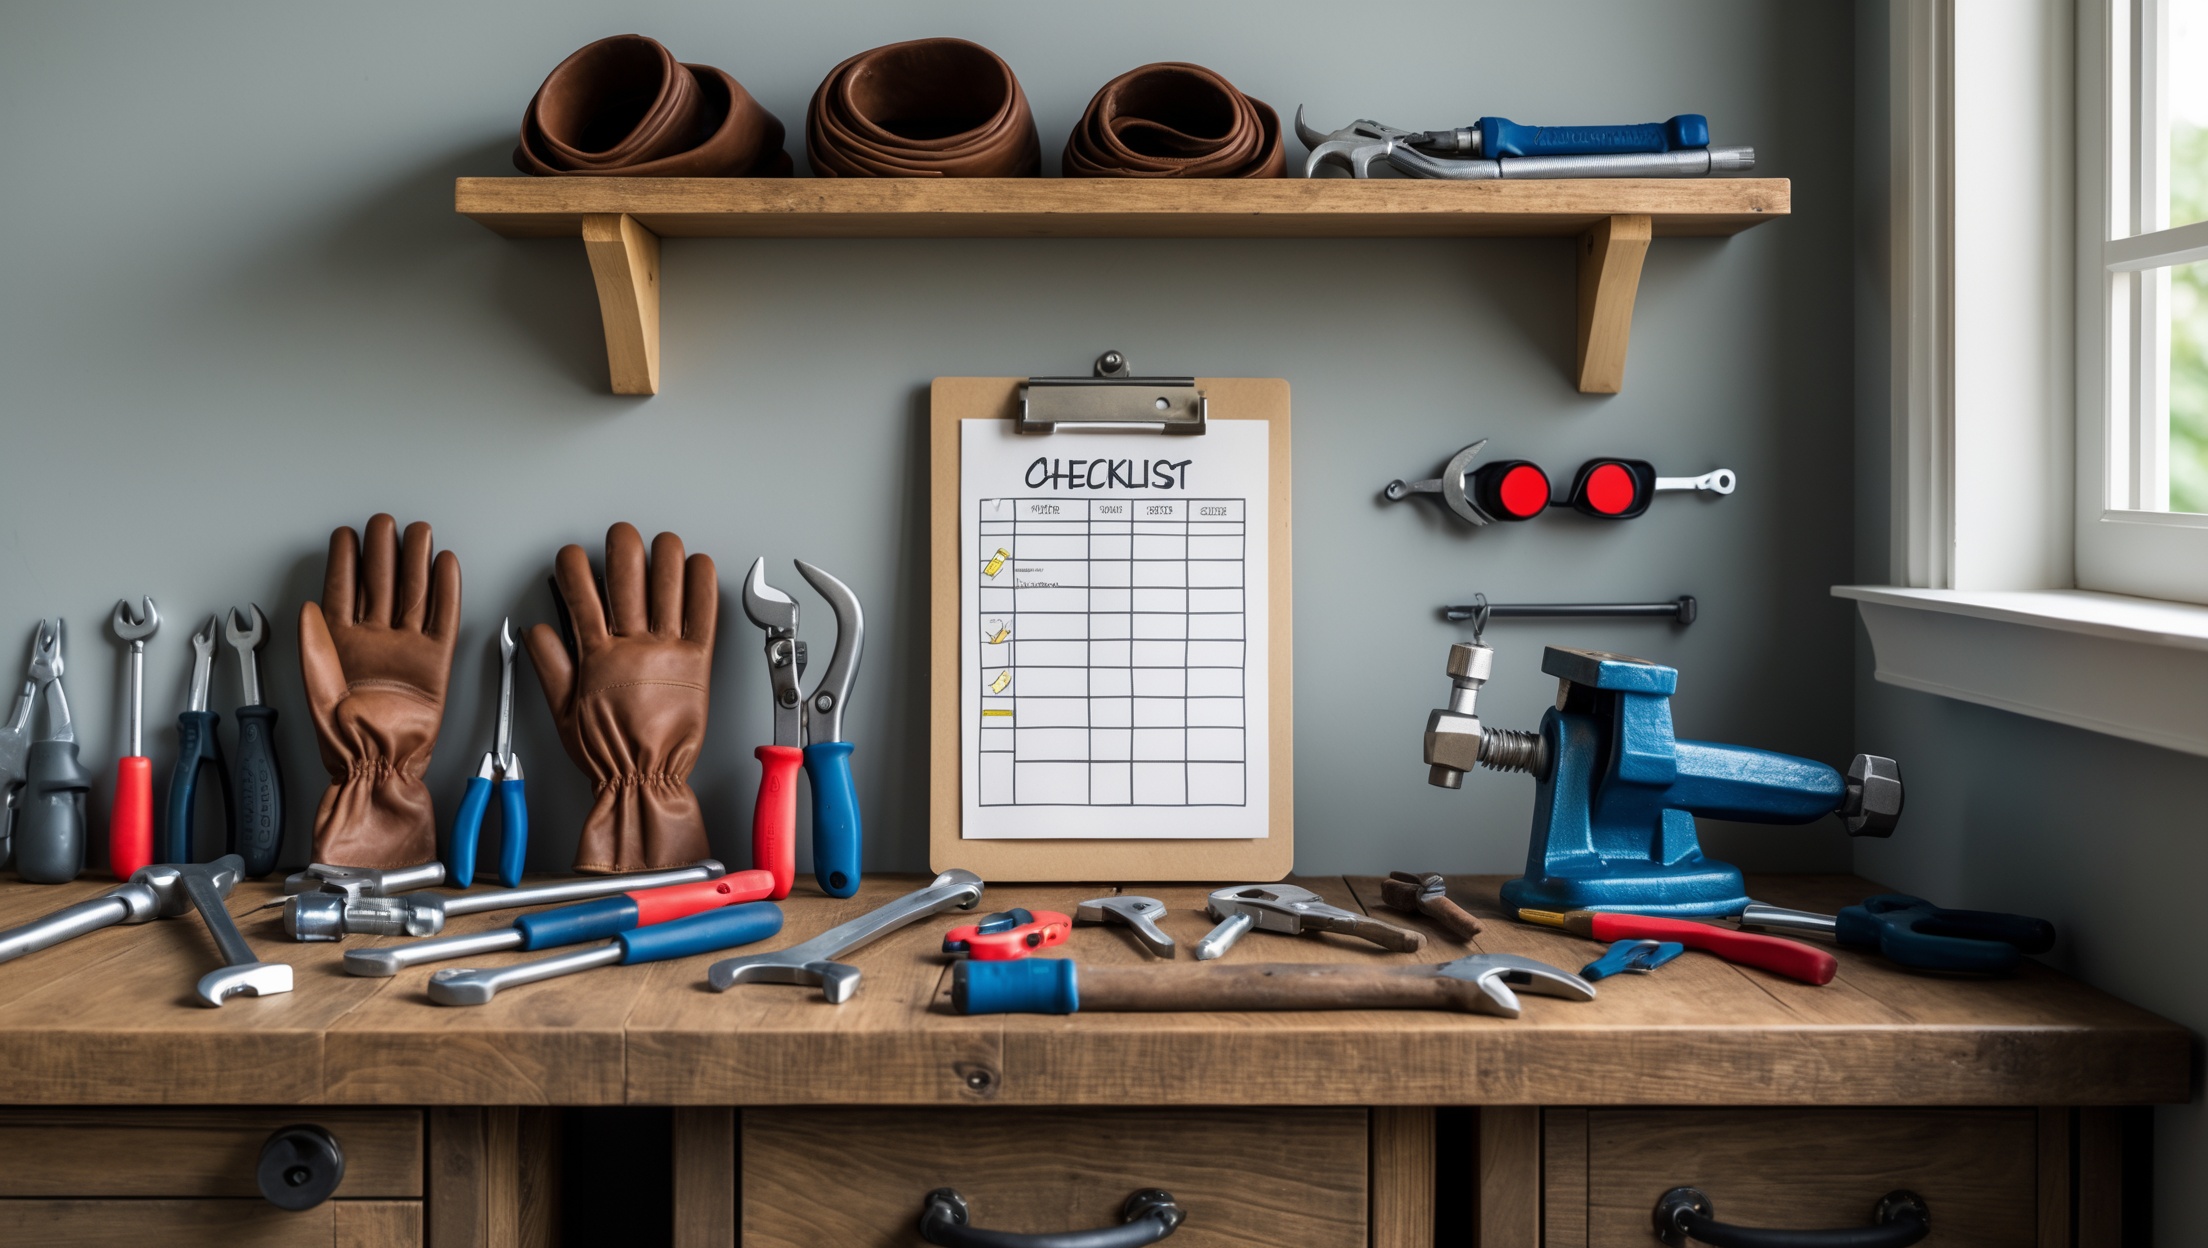
Step 4: Create a Quick-Reference Checklist
Laminate a checklist of contents and emergency steps. Tape it to the inside lid of your kit. This ensures you (or anyone else) know exactly what to do and what’s available during a crisis.
Step 5: Review and Replenish
Set a calendar reminder every six months to check your kit. Replace used or expired items, and update the checklist as you add new tools or supplies.
Using Your Toolkit: Step-by-Step Emergency Response
1. Stay Calm and Assess
Take a deep breath. Quickly determine the source and severity of the problem—look for spraying water, pooling, or unusual sounds. Shut off the affected fixture immediately.
2. Stop the Water Flow
- Locate and turn the nearest shutoff valve (sink, toilet, appliance).
- If necessary, use your water shutoff key to cut supply at the main.
3. Contain and Protect
- Deploy buckets and towels under leaks.
- Use plastic sheeting to protect floors and furniture.
- Start your wet/dry vacuum for significant standing water.
4. Temporary Repairs
- Apply pipe repair clamps or wrap with silicone tape for visible leaks.
- Fill pinholes or cracks with epoxy putty (follow manufacturer’s instructions).
- Replace leaking supply hoses if spares are available.
- Use plunger or auger to clear clogs—never use chemical drain cleaners in emergencies, as they can worsen the problem or cause burns.
5. Check for Secondary Issues
- Inspect nearby outlets for water exposure—if found, shut off electricity to affected areas.
- Monitor for slow leaks or drips after the initial fix.
6. Document and Decide Next Steps
- Take photos of damage and repairs for insurance purposes.
- If temporary fixes hold, schedule permanent repairs as soon as possible.
- For major pipe bursts or water heater failures, call a licensed plumber even if you’ve stopped the flow.
Advanced Toolkit Add-Ons for Pros
Specialty Tools
- PEX crimp tools and connectors for rapid pipe section replacement.
- Portable sump pump for severe basement flooding.
- Thermal imaging camera to trace hidden leaks behind walls.
- Digital moisture meter for assessing water damage in structural materials.
Pro Consumables
- Quick-setting hydraulic cement for sealing active leaks in foundations or slabs.
- Professional-grade leak detection fluid for gas or air pressure testing.
- Extra-length flexible supply lines for hard-to-reach repairs.
Communication and Safety
- Portable two-way radio or cell phone charger for emergencies where power is out.
- First aid kit with burn and cut care supplies.
- Spare batteries for flashlights and equipment.
Plumbing Emergency Toolkit Storage and Accessibility
Storage Best Practices
- Keep kits off basement or garage floors—store on shelves or in secured cabinets.
- Ensure family members or team know the kit’s location and basic usage.
- For pros, keep a duplicate kit in your vehicle for rapid response to client emergencies.
Labeling and Instructions
- Use clear, waterproof labels on compartments and supply bags.
- Include a printed emergency contact list (plumber, insurance, utility company).
- Attach quick-reference guides for using specialty tools or supplies.
Common Mistakes to Avoid in Emergency Response
- Delaying shutoff: Always cut water (and gas, if needed) first—don’t waste time searching for towels or tools while water is still flowing.
- Using the wrong patching material: Know which tapes, putties, and clamps are compatible with your pipe types (PVC, copper, PEX).
- Ignoring personal safety: Always wear gloves; be cautious of slippery floors and exposed electrical outlets.
- Skipping documentation: Failing to take photos can complicate insurance claims or follow-up repairs.
- Not replenishing the kit: After each use, restock supplies immediately—don’t wait for the next emergency.
Training and Practice: Be Ready Before Disaster Strikes
Having a toolkit is only half the equation. Make time to practice—locate your main shutoff valve, rehearse using your tools, and familiarize family or team members with the kit’s contents. For professionals, consider running mock emergency drills and documenting best practices for your staff.
Conclusion: Turn Panic Into Preparedness
Plumbing disasters can be overwhelming, but with the right emergency toolkit, you can transform chaos into calm, effective action. By assembling a purpose-built kit, organizing it for rapid access, and practicing your response, you’ll be ready to tackle anything from minor leaks to major floods. This preparation protects your property, minimizes costly damage, and can even save lives in cases involving gas or electrical hazards. For homeowners, a well-stocked kit means peace of mind—a buffer between you and the high cost of water damage. For professionals, it’s a mark of reliability and readiness that builds trust with every emergency call. Don’t wait for disaster to strike—start building your plumbing emergency toolkit today. Review, replenish, and rehearse regularly. When the unexpected happens, you’ll be ready to act fast, fix smart, and protect what matters most.


Karen Lopez
You mentioned that mold can start growing within 24-48 hours after a plumbing emergency. In your experience, what are the most effective tools or materials to include in the toolkit to prevent mold while waiting for a professional cleanup?