Introduction: The Power of Proactive Plumbing Inspections
Most homeowners only think about their plumbing when something goes wrong—a leaking pipe, an unexpected clog, or worse, water pooling on the basement floor. But what if you could catch issues before they escalate into expensive emergencies? That’s the promise of a thorough plumbing inspection: a proactive checkup that can save you thousands in repairs, protect your home’s value, and deliver peace of mind. Whether you’re a DIY enthusiast, a first-time homeowner, or a seasoned property manager, understanding what goes into a proper plumbing inspection is a game-changer. This comprehensive guide breaks down what to expect during a professional inspection, offers step-by-step advice for conducting your own checks, highlights red flags to watch for, and provides actionable solutions for common findings. By the end, you’ll know how to spot trouble early, communicate effectively with plumbers, and even prioritize which fixes to tackle yourself. Let’s dive in and turn plumbing inspections from a mystery into your home’s secret weapon.
Why Plumbing Inspections Matter
Early Detection Saves Money
Hidden leaks, slow drainage, and minor corrosion might not seem urgent, but left unchecked, they lead to expensive repairs and water damage. Routine inspections catch these problems early—often when a simple fix will do.
Protecting Property Value
Homebuyers are wary of homes with a history of plumbing issues. Regular inspections and documented maintenance can make your property more attractive and help you negotiate confidently if you decide to sell.
Compliance and Insurance Benefits
Some insurers require proof of recent plumbing inspections, especially in older homes. A clean bill of health can lower premiums and ensure you’re covered if disaster strikes.
What Does a Professional Plumbing Inspection Include?
Visual Checks
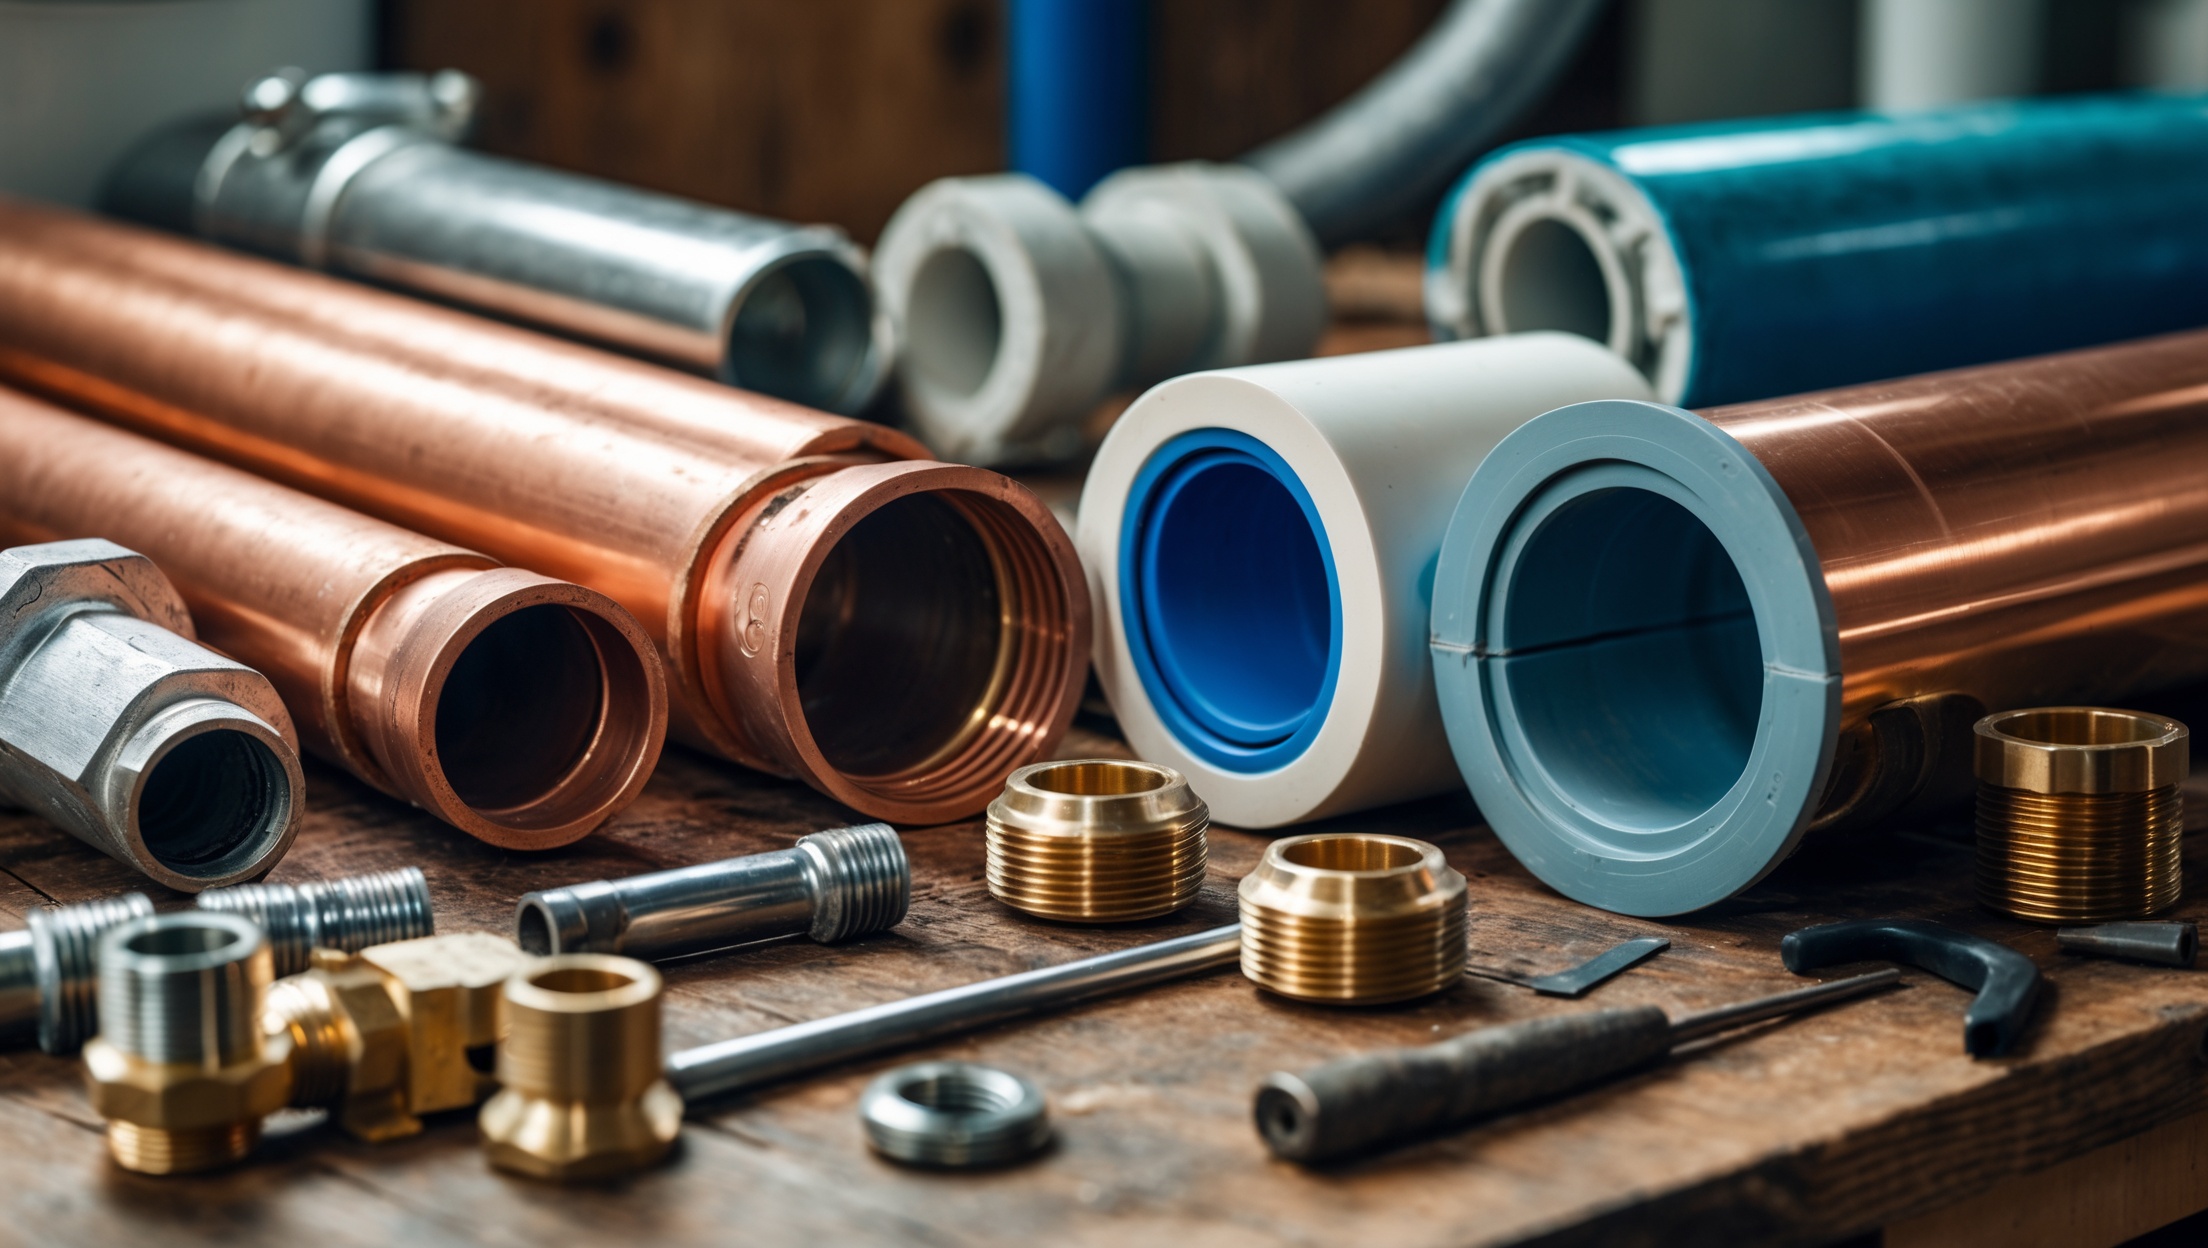
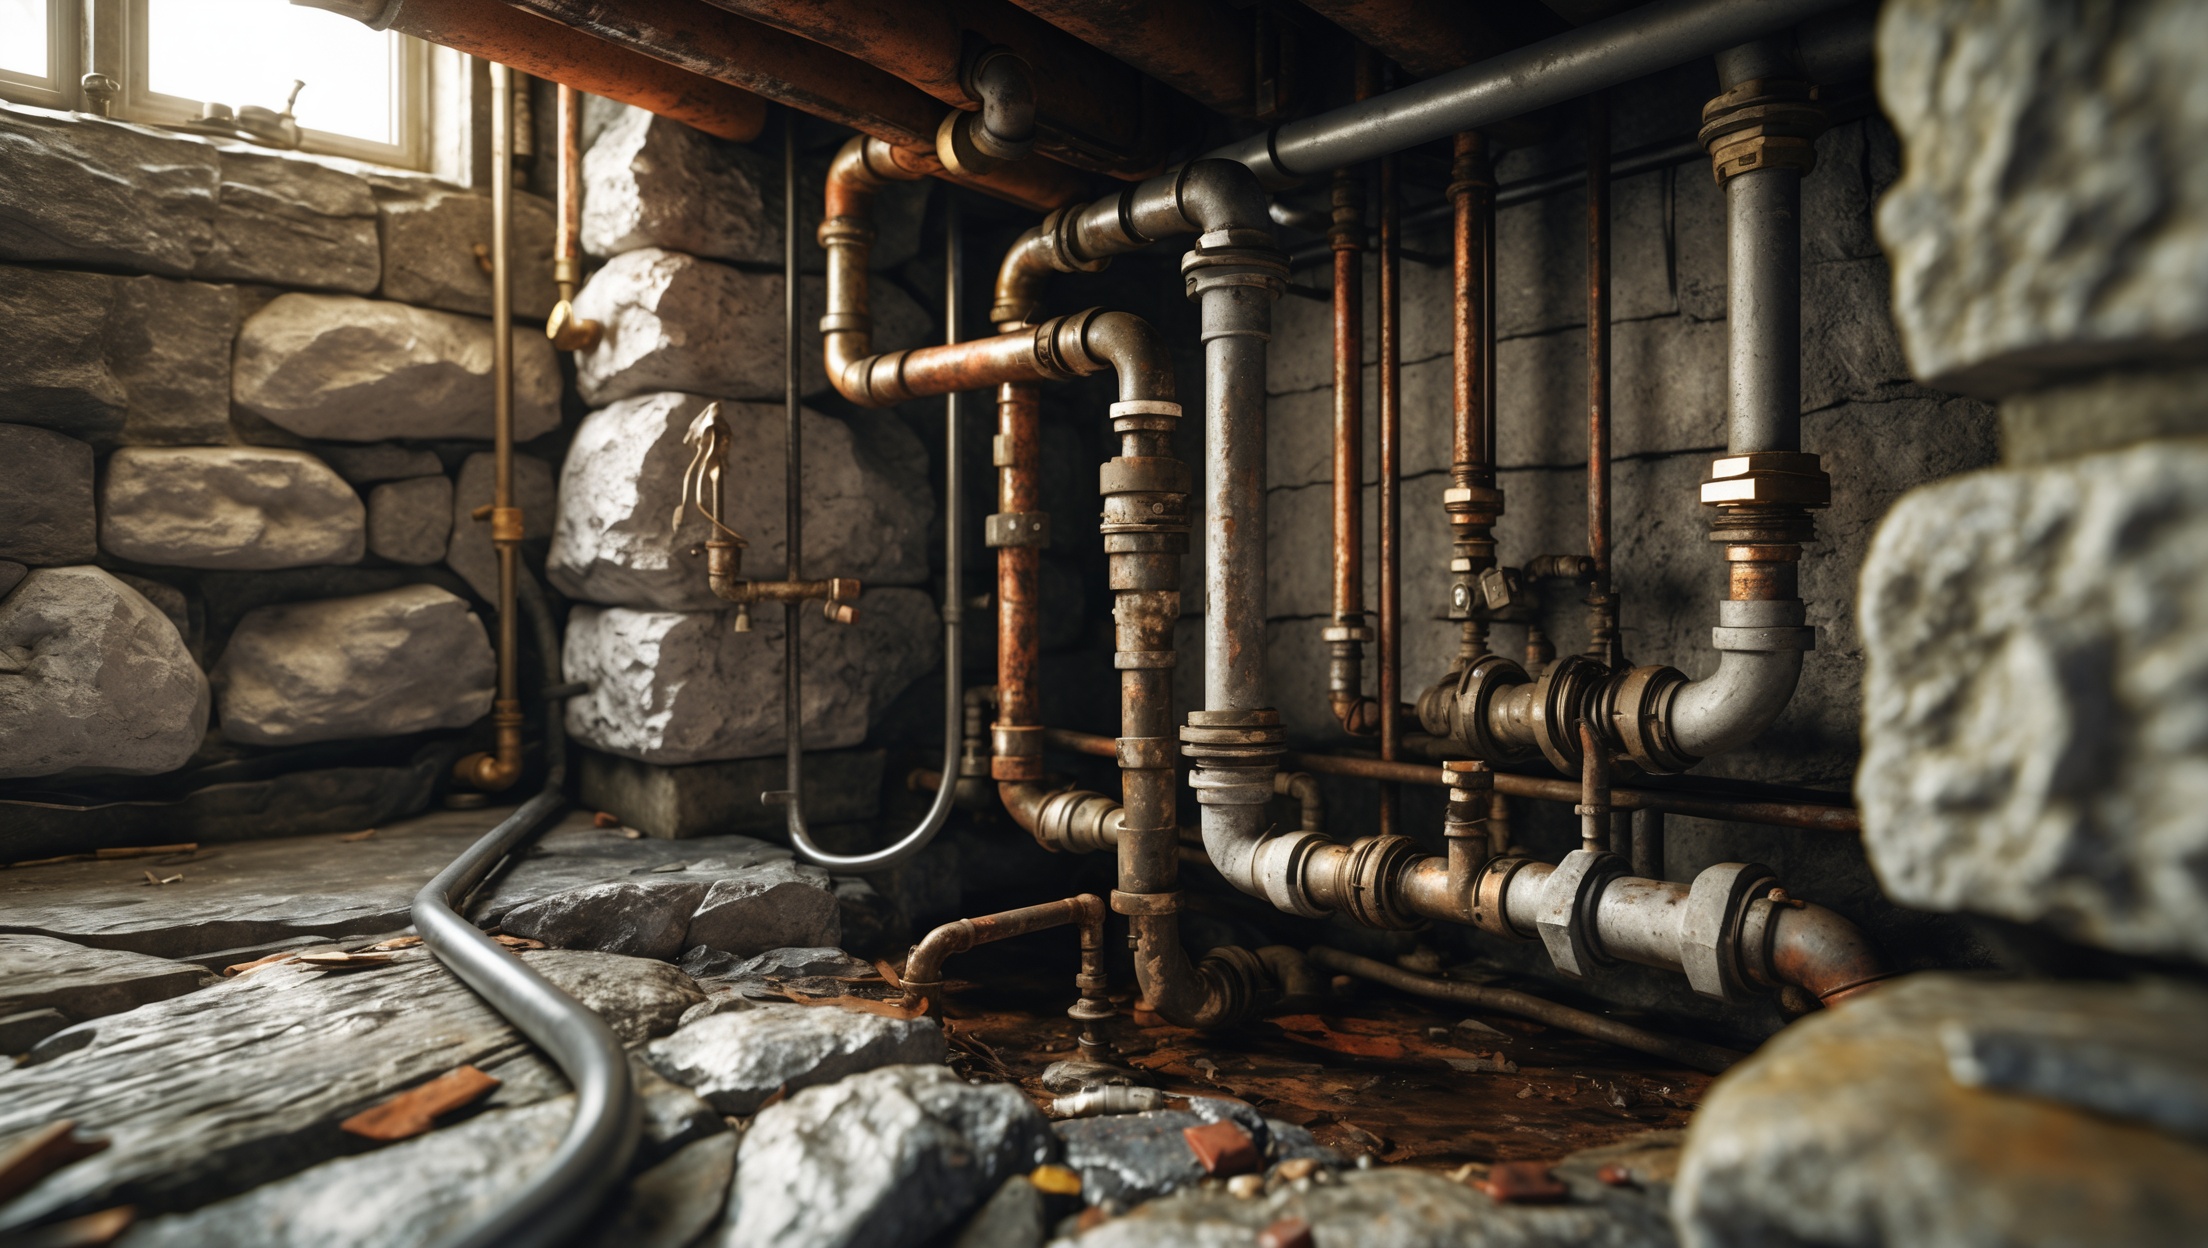
- Exposed Pipes: Inspect for corrosion, leaks, condensation, and signs of wear.
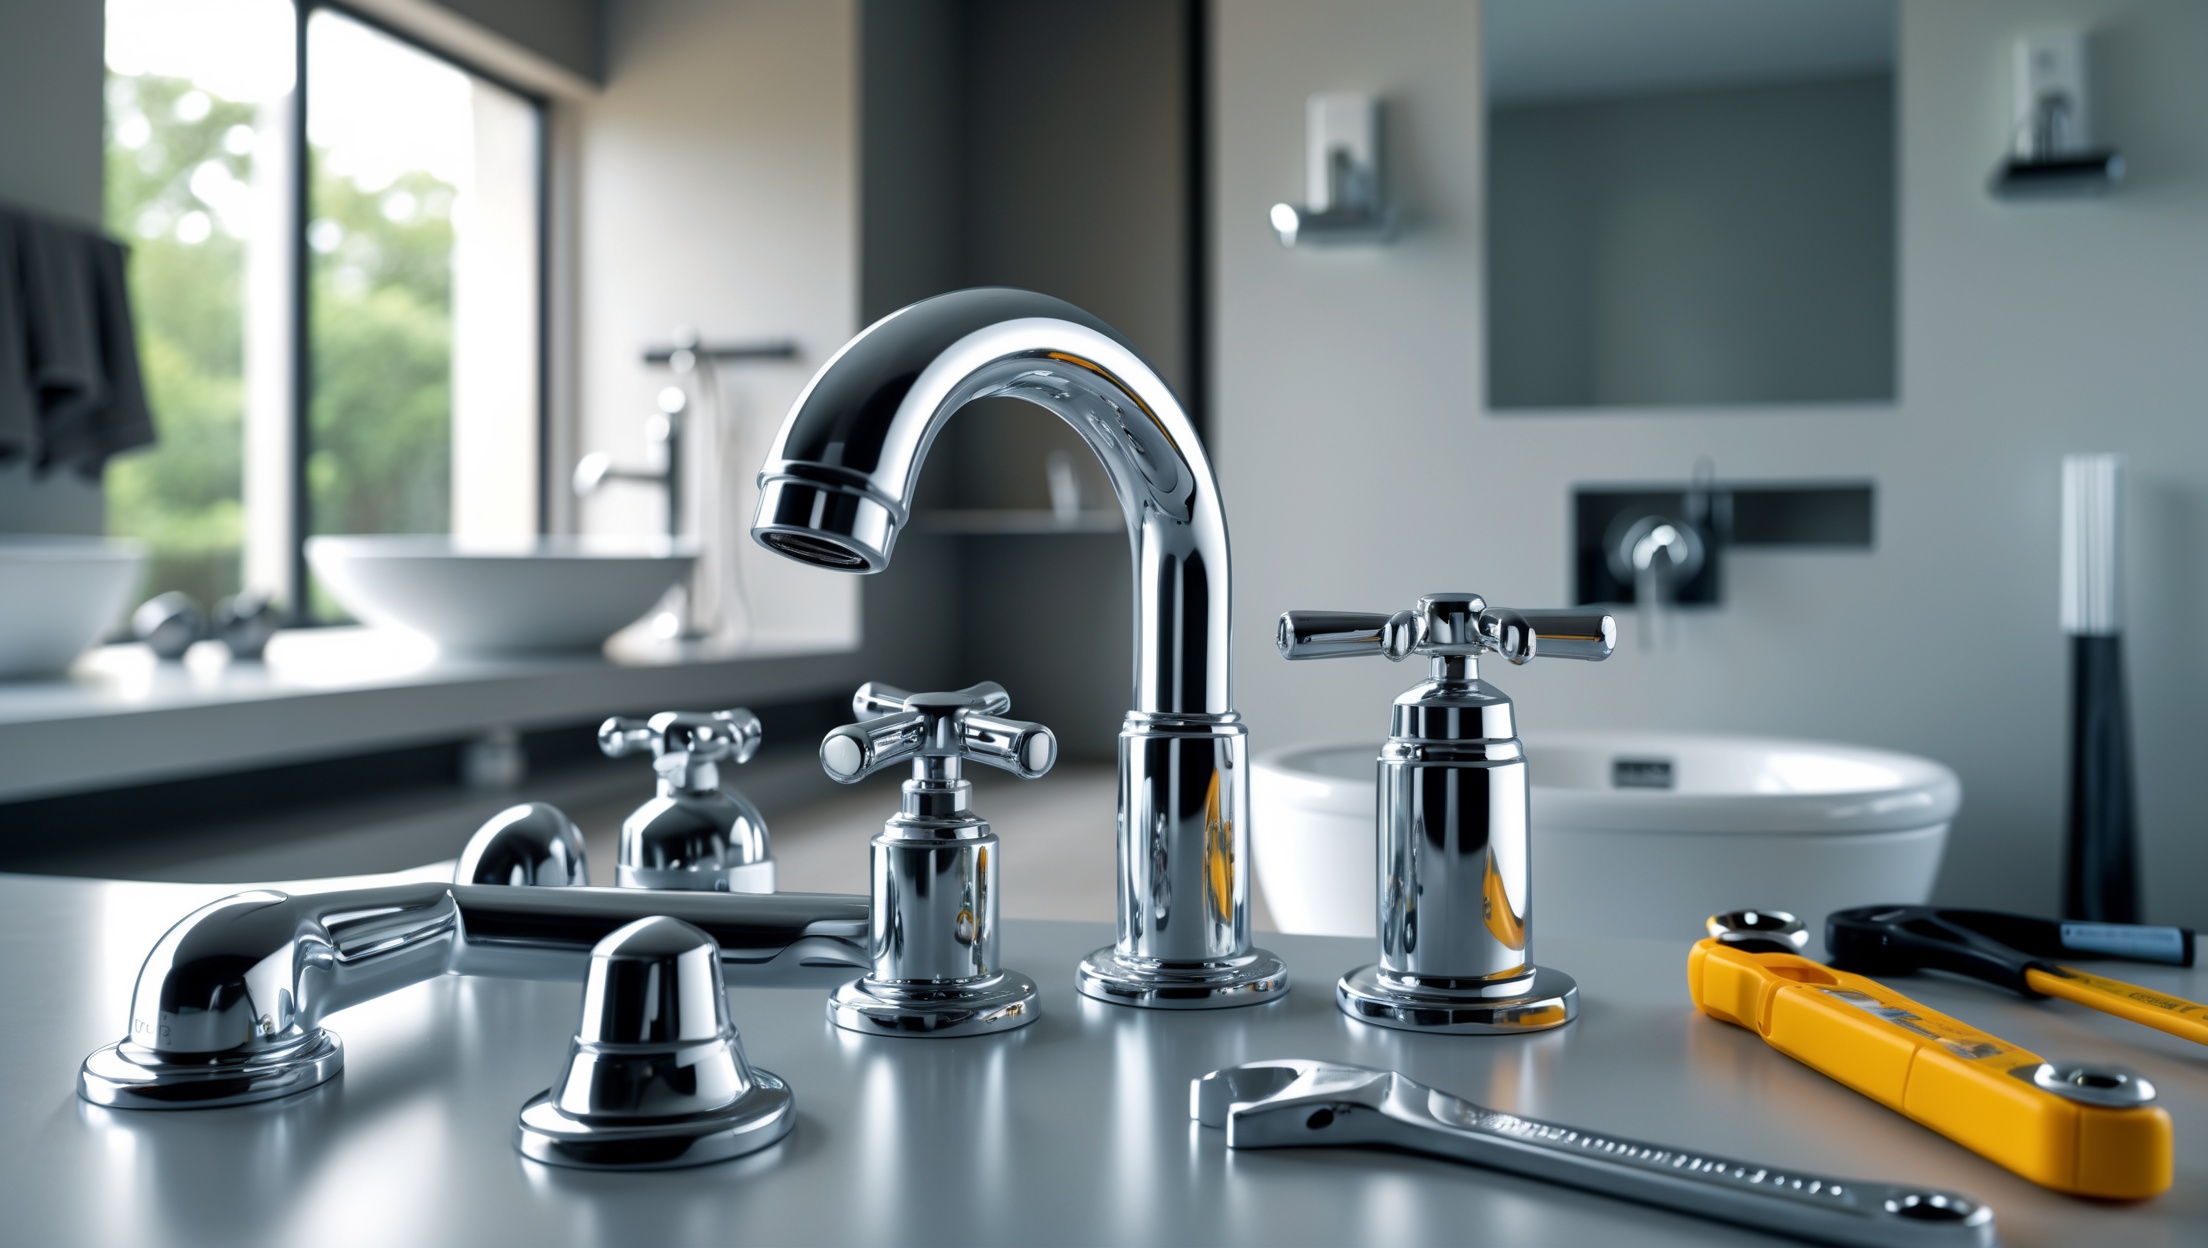
- Fixtures and Faucets: Check for drips, mineral buildup, and proper operation.
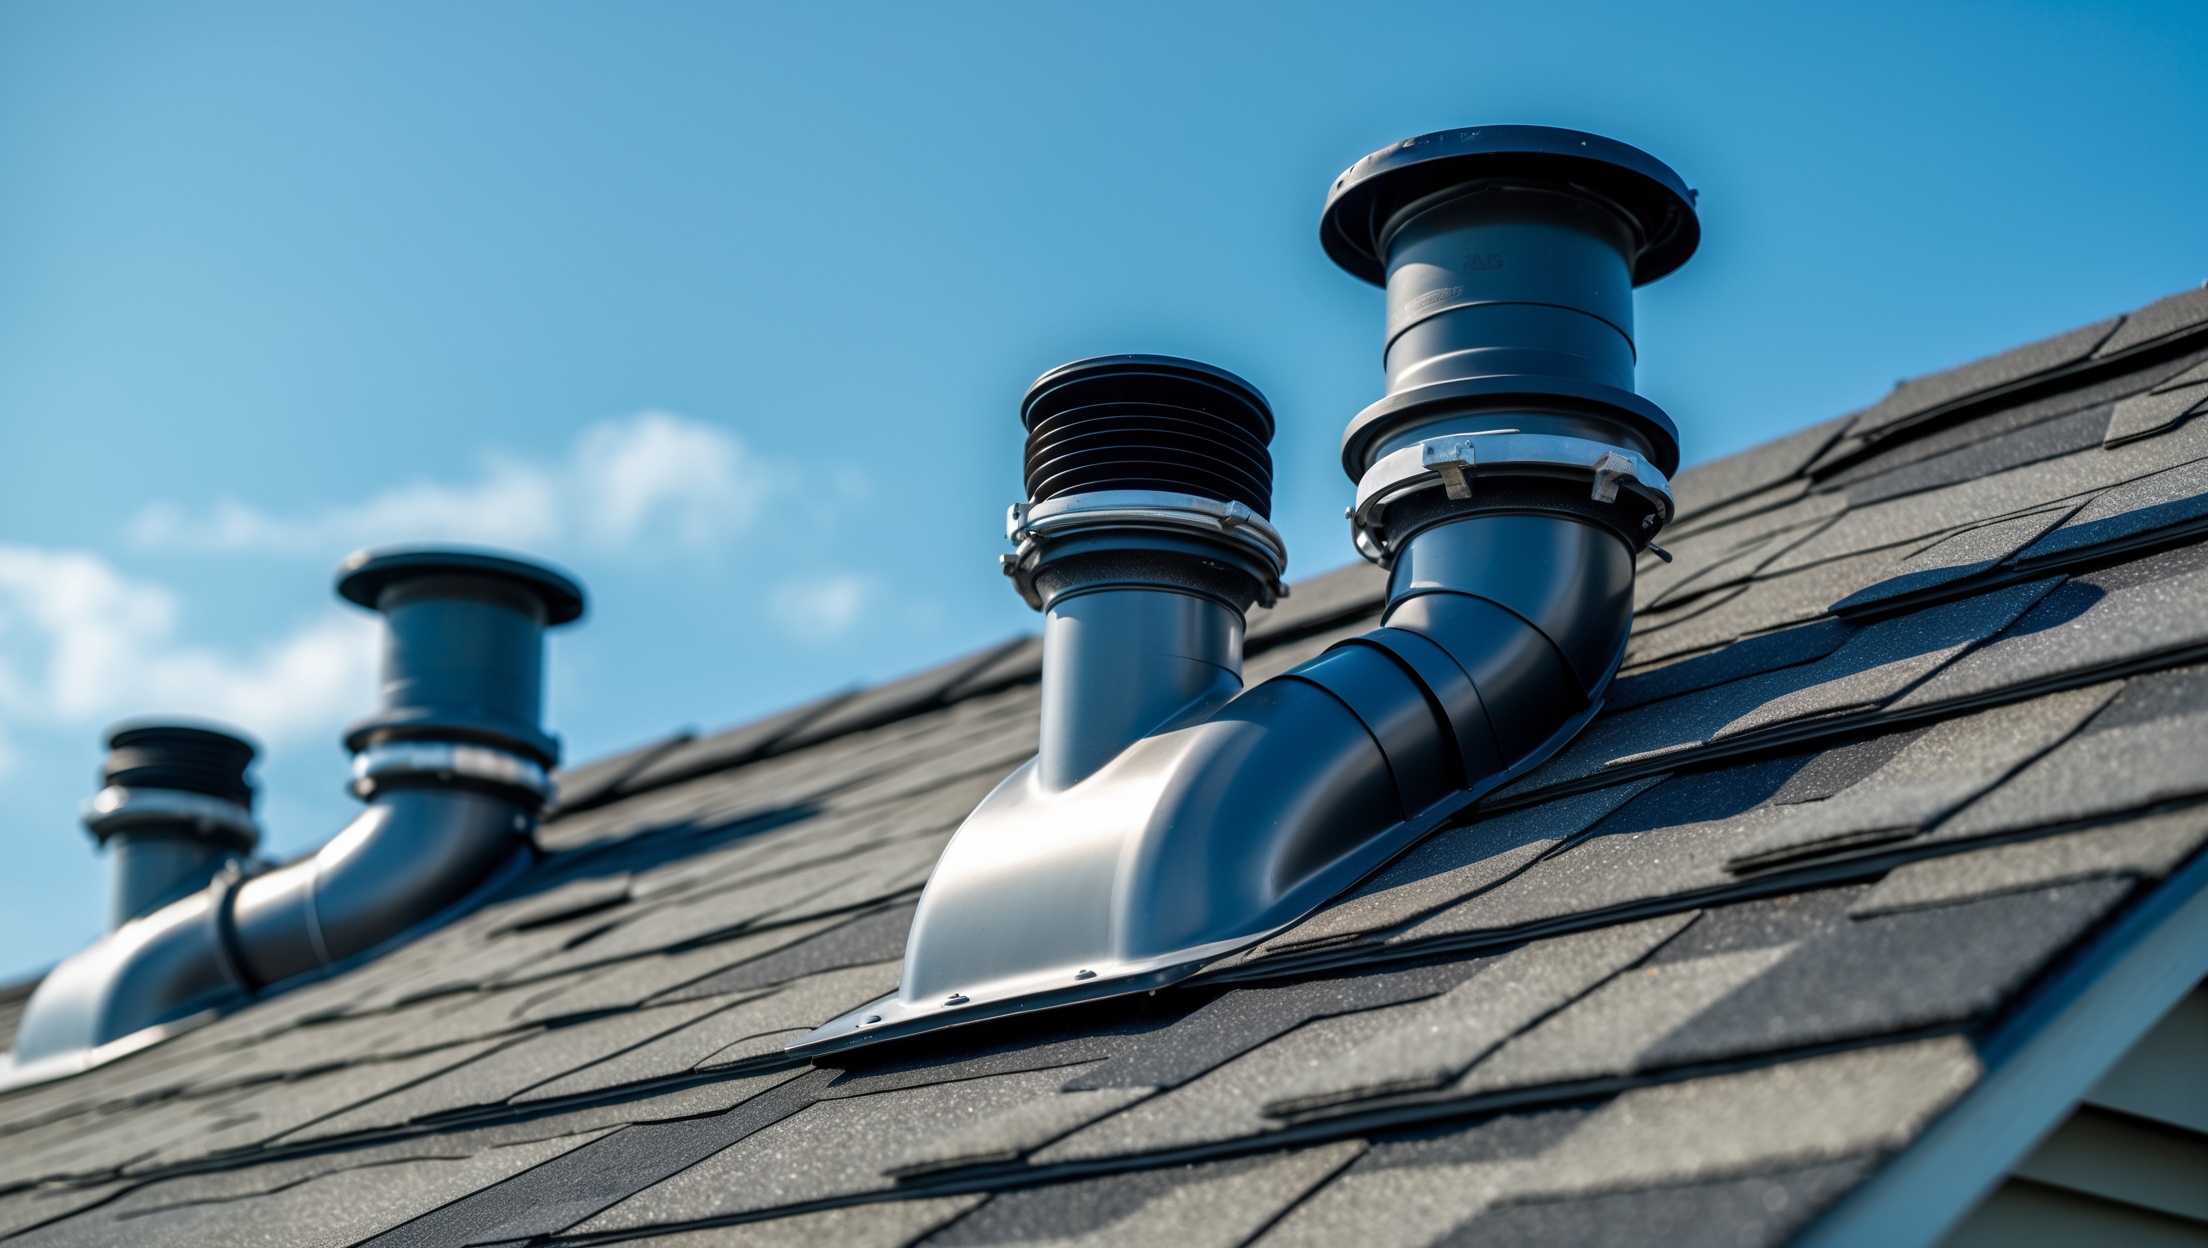
- Water Heater: Assess for leaks, rust, proper venting, and temperature settings.
- Drains: Look for slow drainage, odors, and signs of backups.
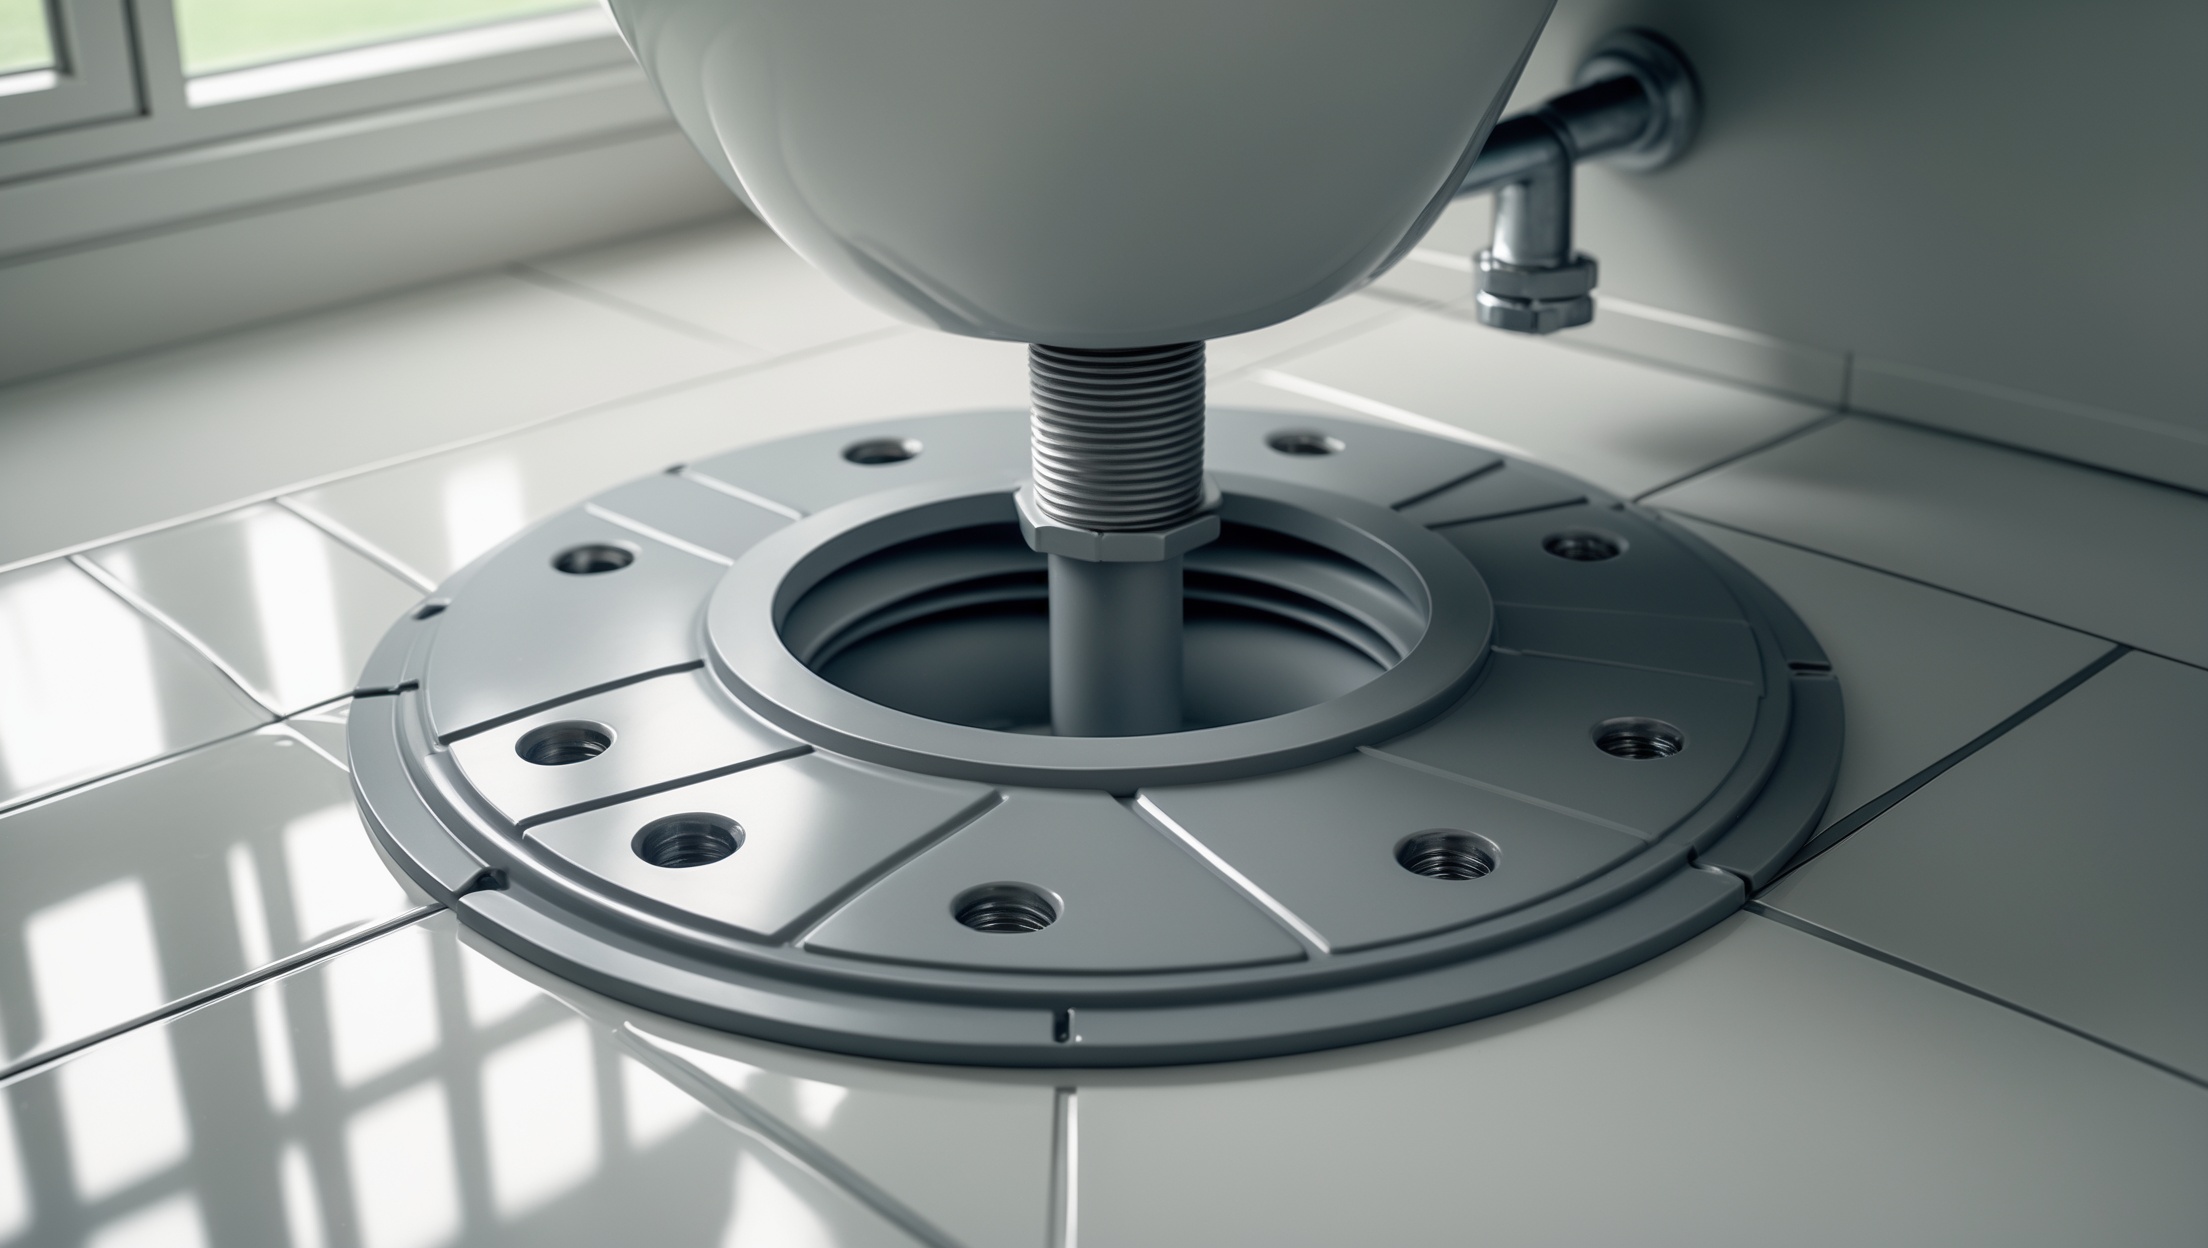
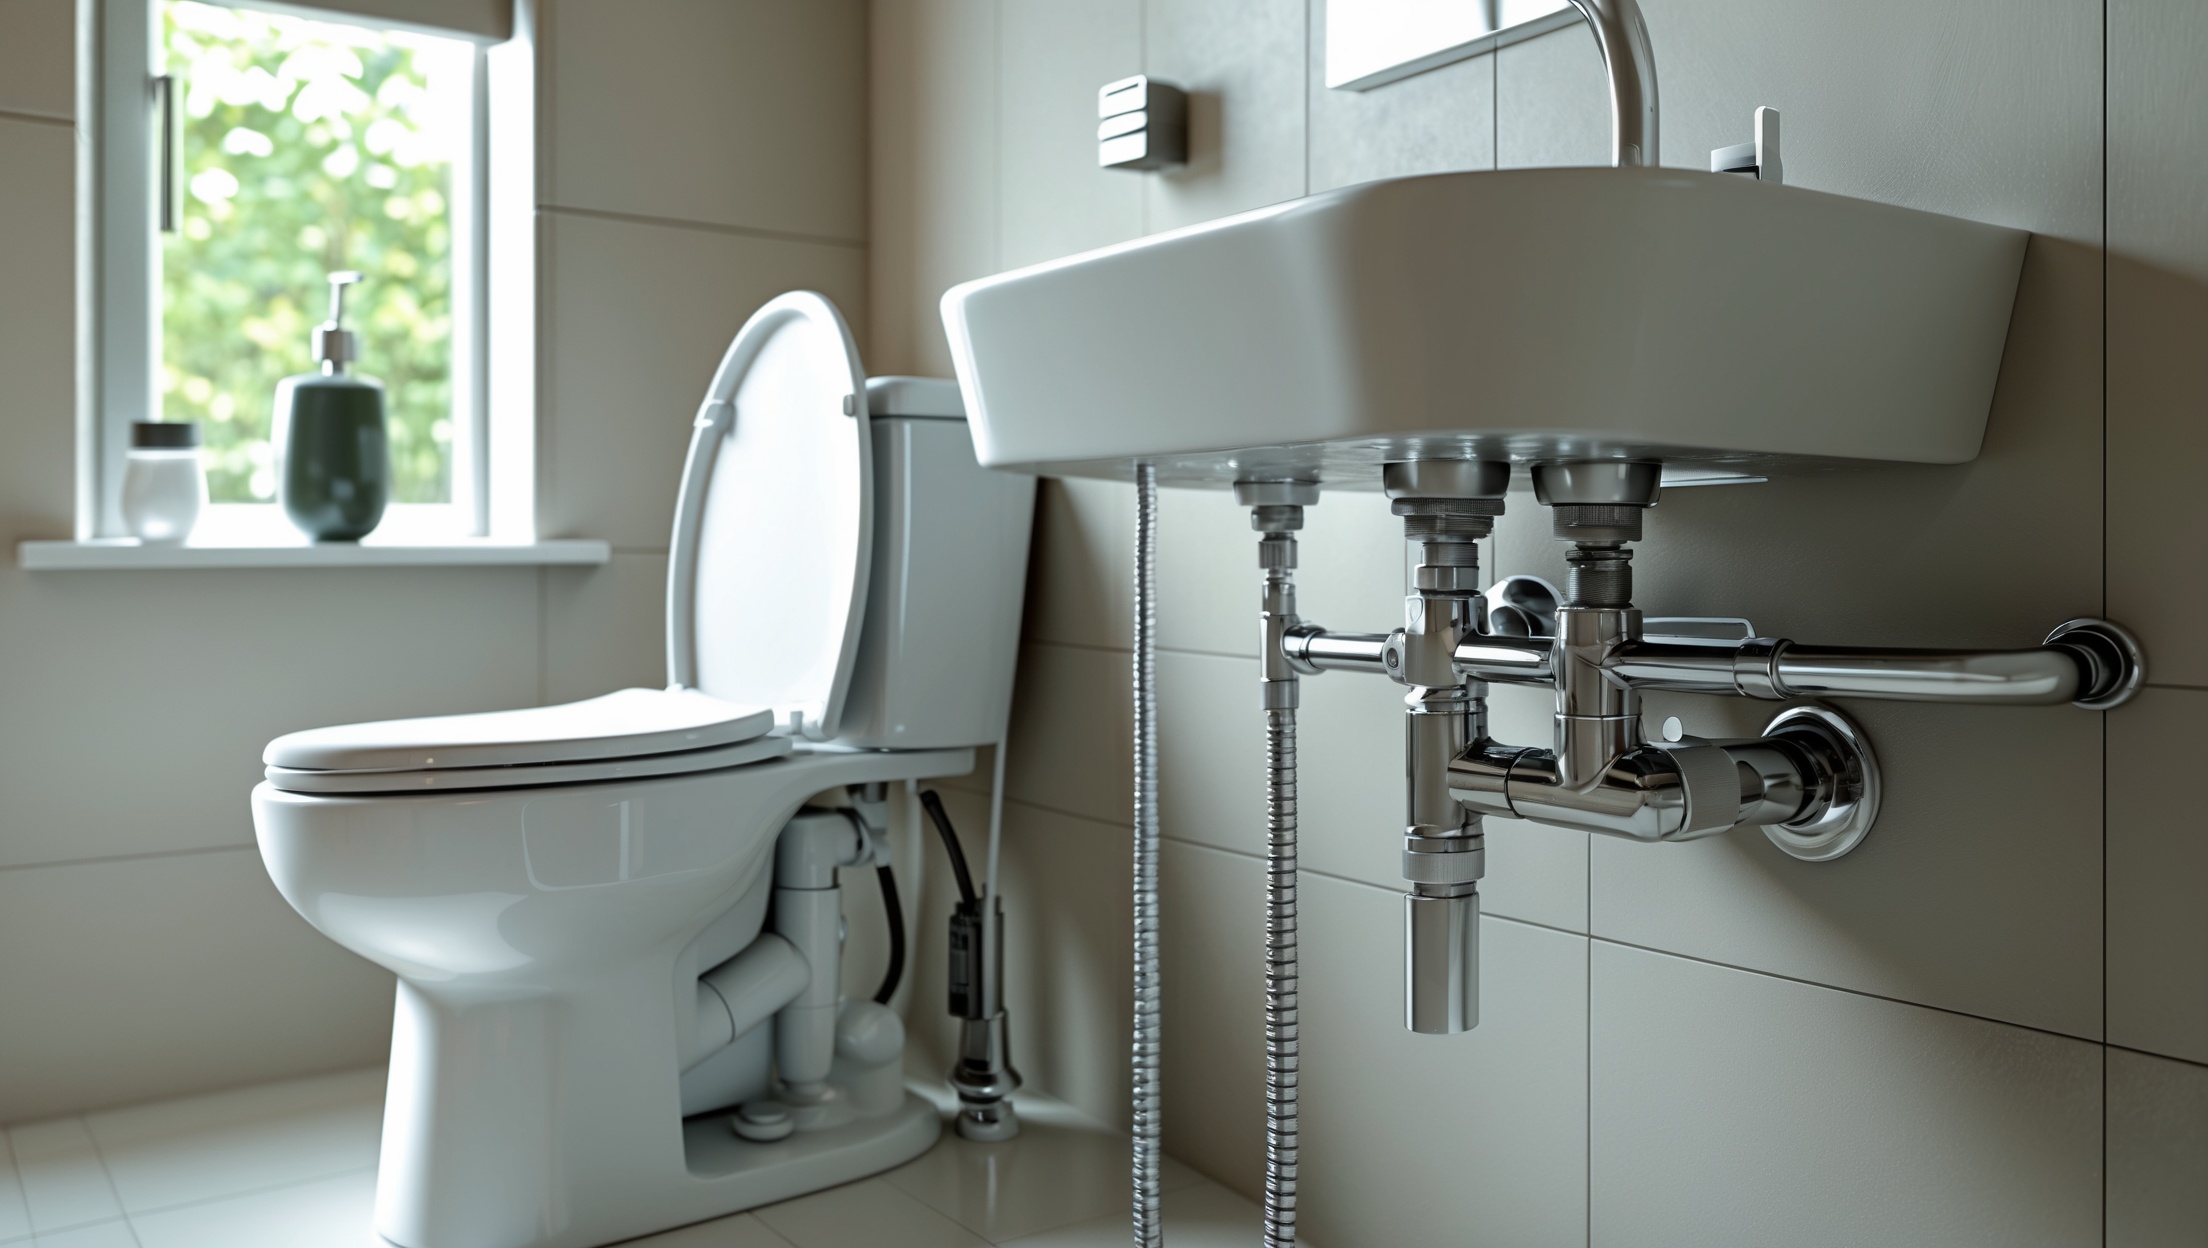
- Toilets: Examine for leaks at the base, running tanks, and secure mounting.
Functional Testing
- Water Pressure: Measure static and dynamic pressure at multiple fixtures.
- Flow Rate: Ensure sufficient water flow, especially at high-demand points.
- Drainage: Test all drains for speed and complete water evacuation.
Advanced Tools and Techniques
- Video Pipe Inspection: Small cameras snake through sewer lines to spot blockages, tree roots, or collapsed sections.
- Moisture Meters: Detect hidden leaks behind walls and under floors.
- Dye Testing: Identify toilet leaks or confirm if drains are cross-connected.
Documentation
Professionals provide a detailed report with photos, findings, and prioritized recommendations. This document is invaluable for maintenance planning and insurance claims.
DIY Plumbing Inspection: Step-by-Step Guide
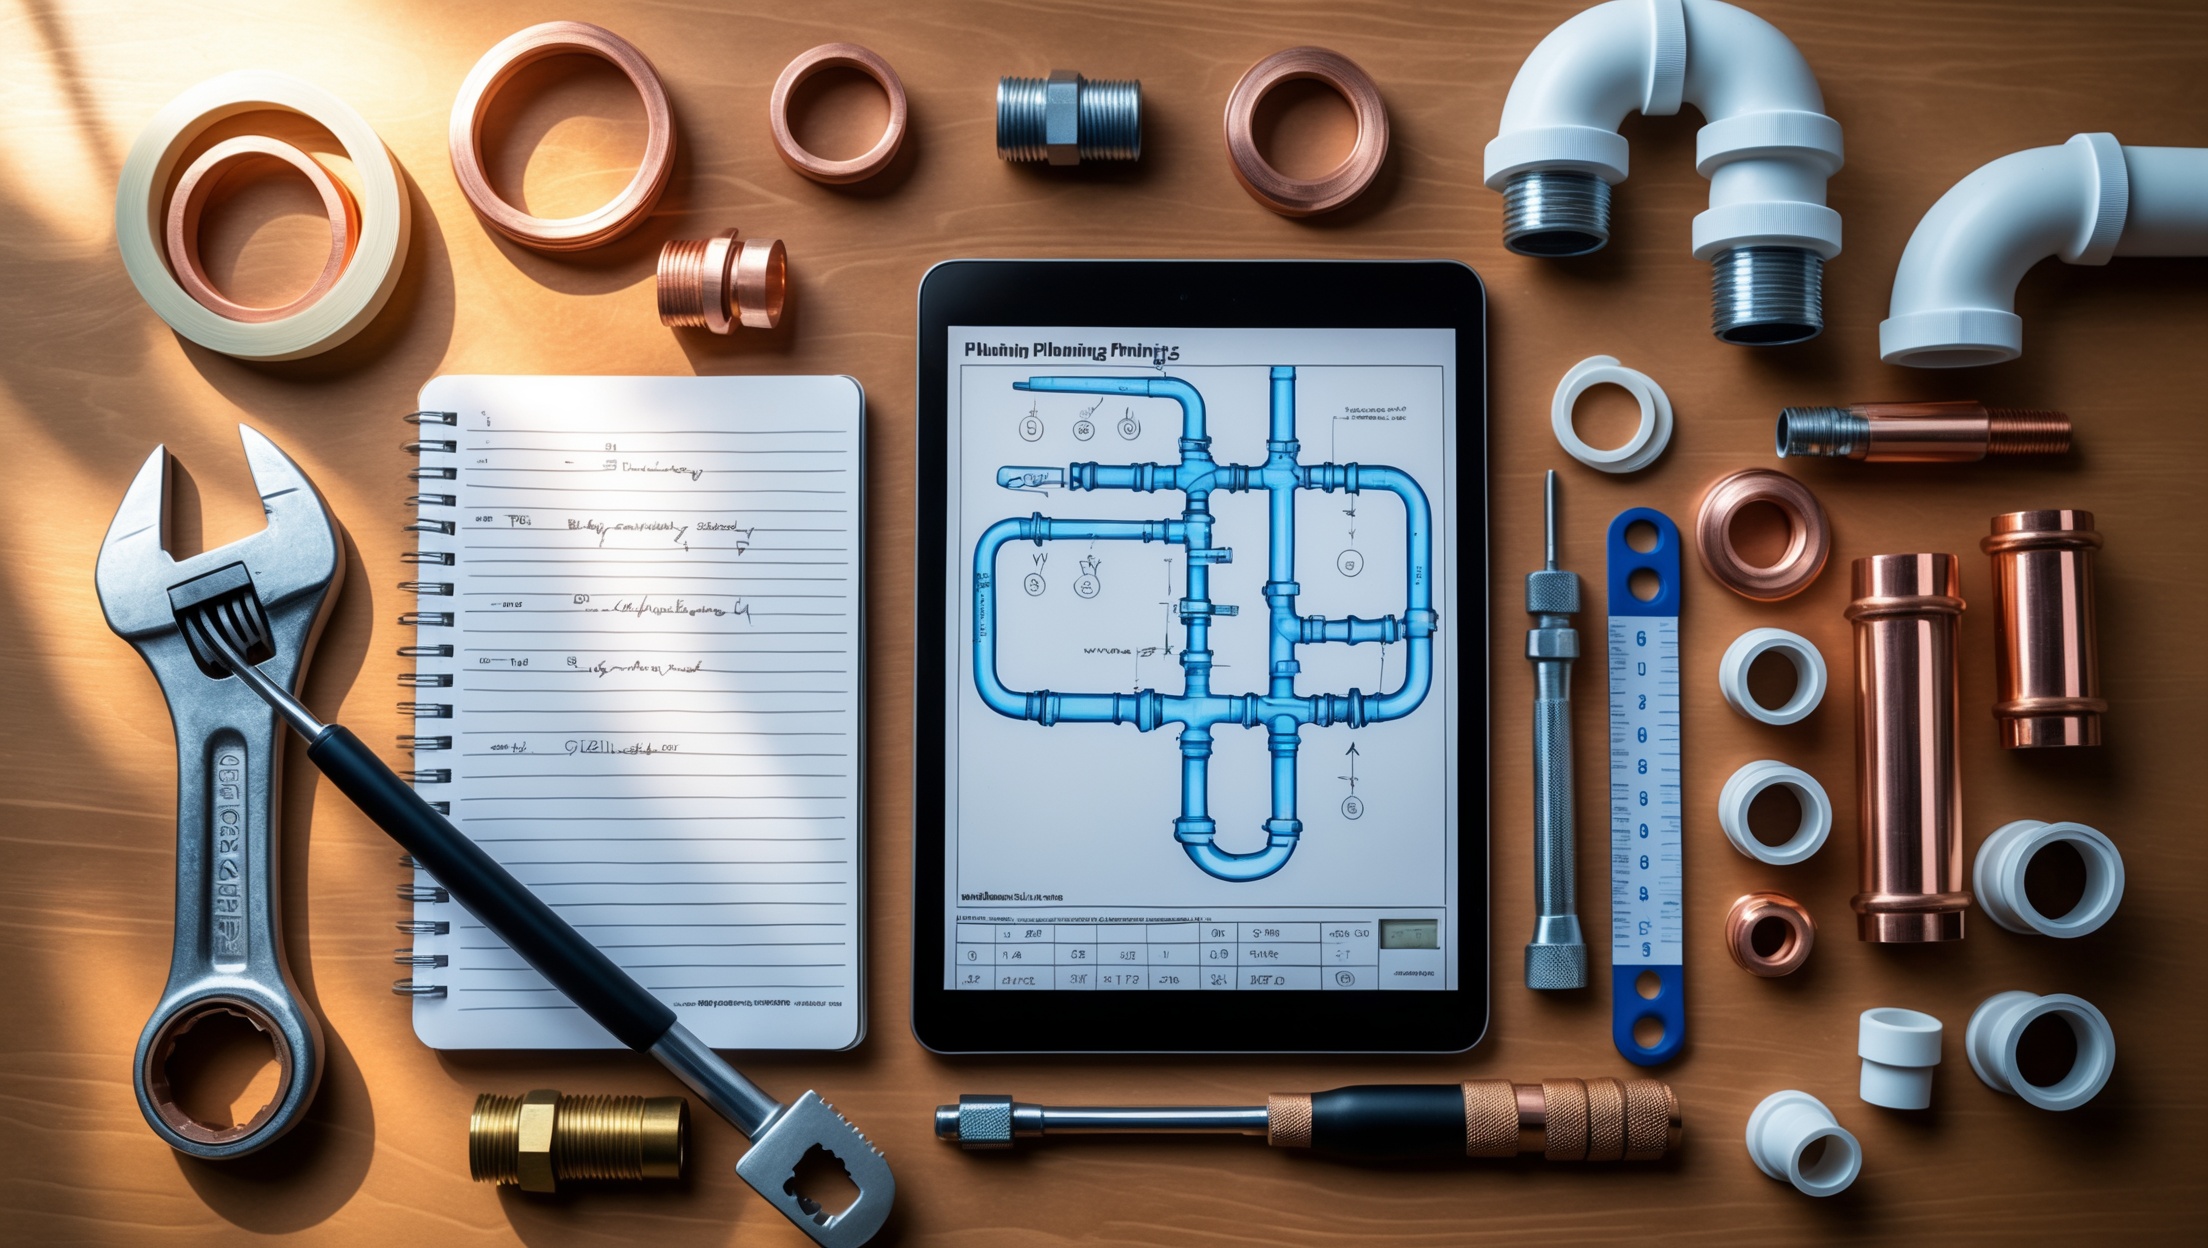
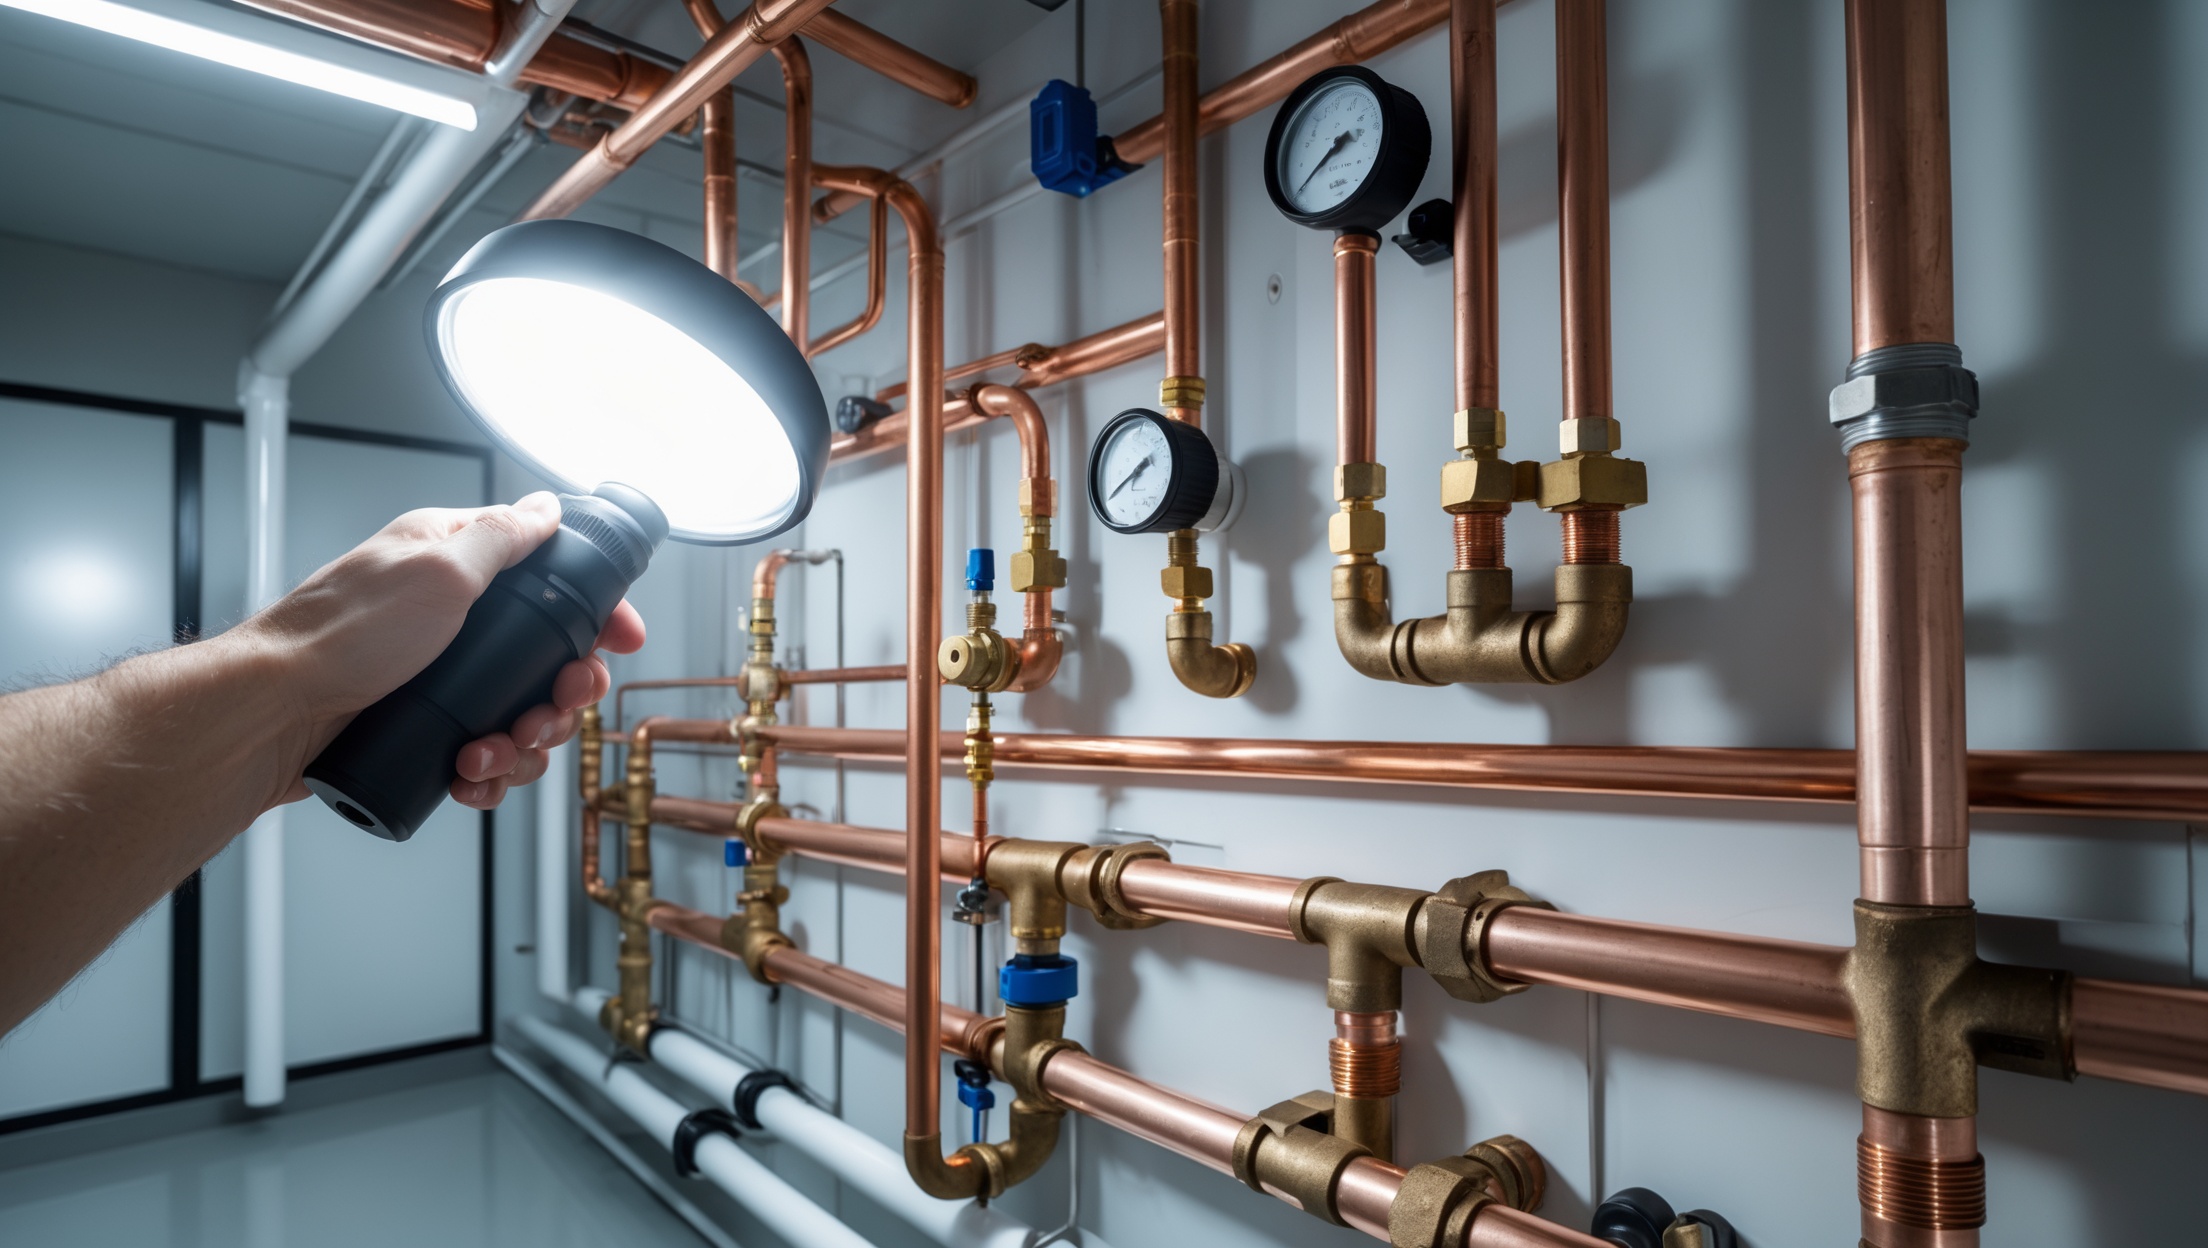
While some inspections require advanced tools, homeowners can perform a basic checkup using a flashlight, notepad, and a keen eye. Here’s how to cover the essentials.
1. Inspect Exposed Pipes
- Look under sinks, in the basement, and around the water heater.
- Feel for moisture, inspect for corrosion (green/white buildup), and look for pinhole leaks.
- Check pipe insulation—especially in cold climates.
2. Test All Faucets and Fixtures
- Turn on each faucet and shower. Watch for low pressure, erratic spray, or slow drainage.
- Check for leaks around handles and baseplates.
- Flush each toilet, ensuring it refills and stops running promptly. Look for leaks around the base.
3. Water Heater Check
- Look for rust at the base or seams.
- Listen for popping or hissing sounds (indicates sediment buildup).
- Test the pressure relief valve (carefully) to ensure it operates.
4. Drainage and Venting
- Fill sinks and tubs, then release. Water should drain quickly without gurgling or bubbling.
- Listen for strange odors near drains—sulfur or musty smells suggest venting or trap issues.
5. Sump Pump and Backwater Valve
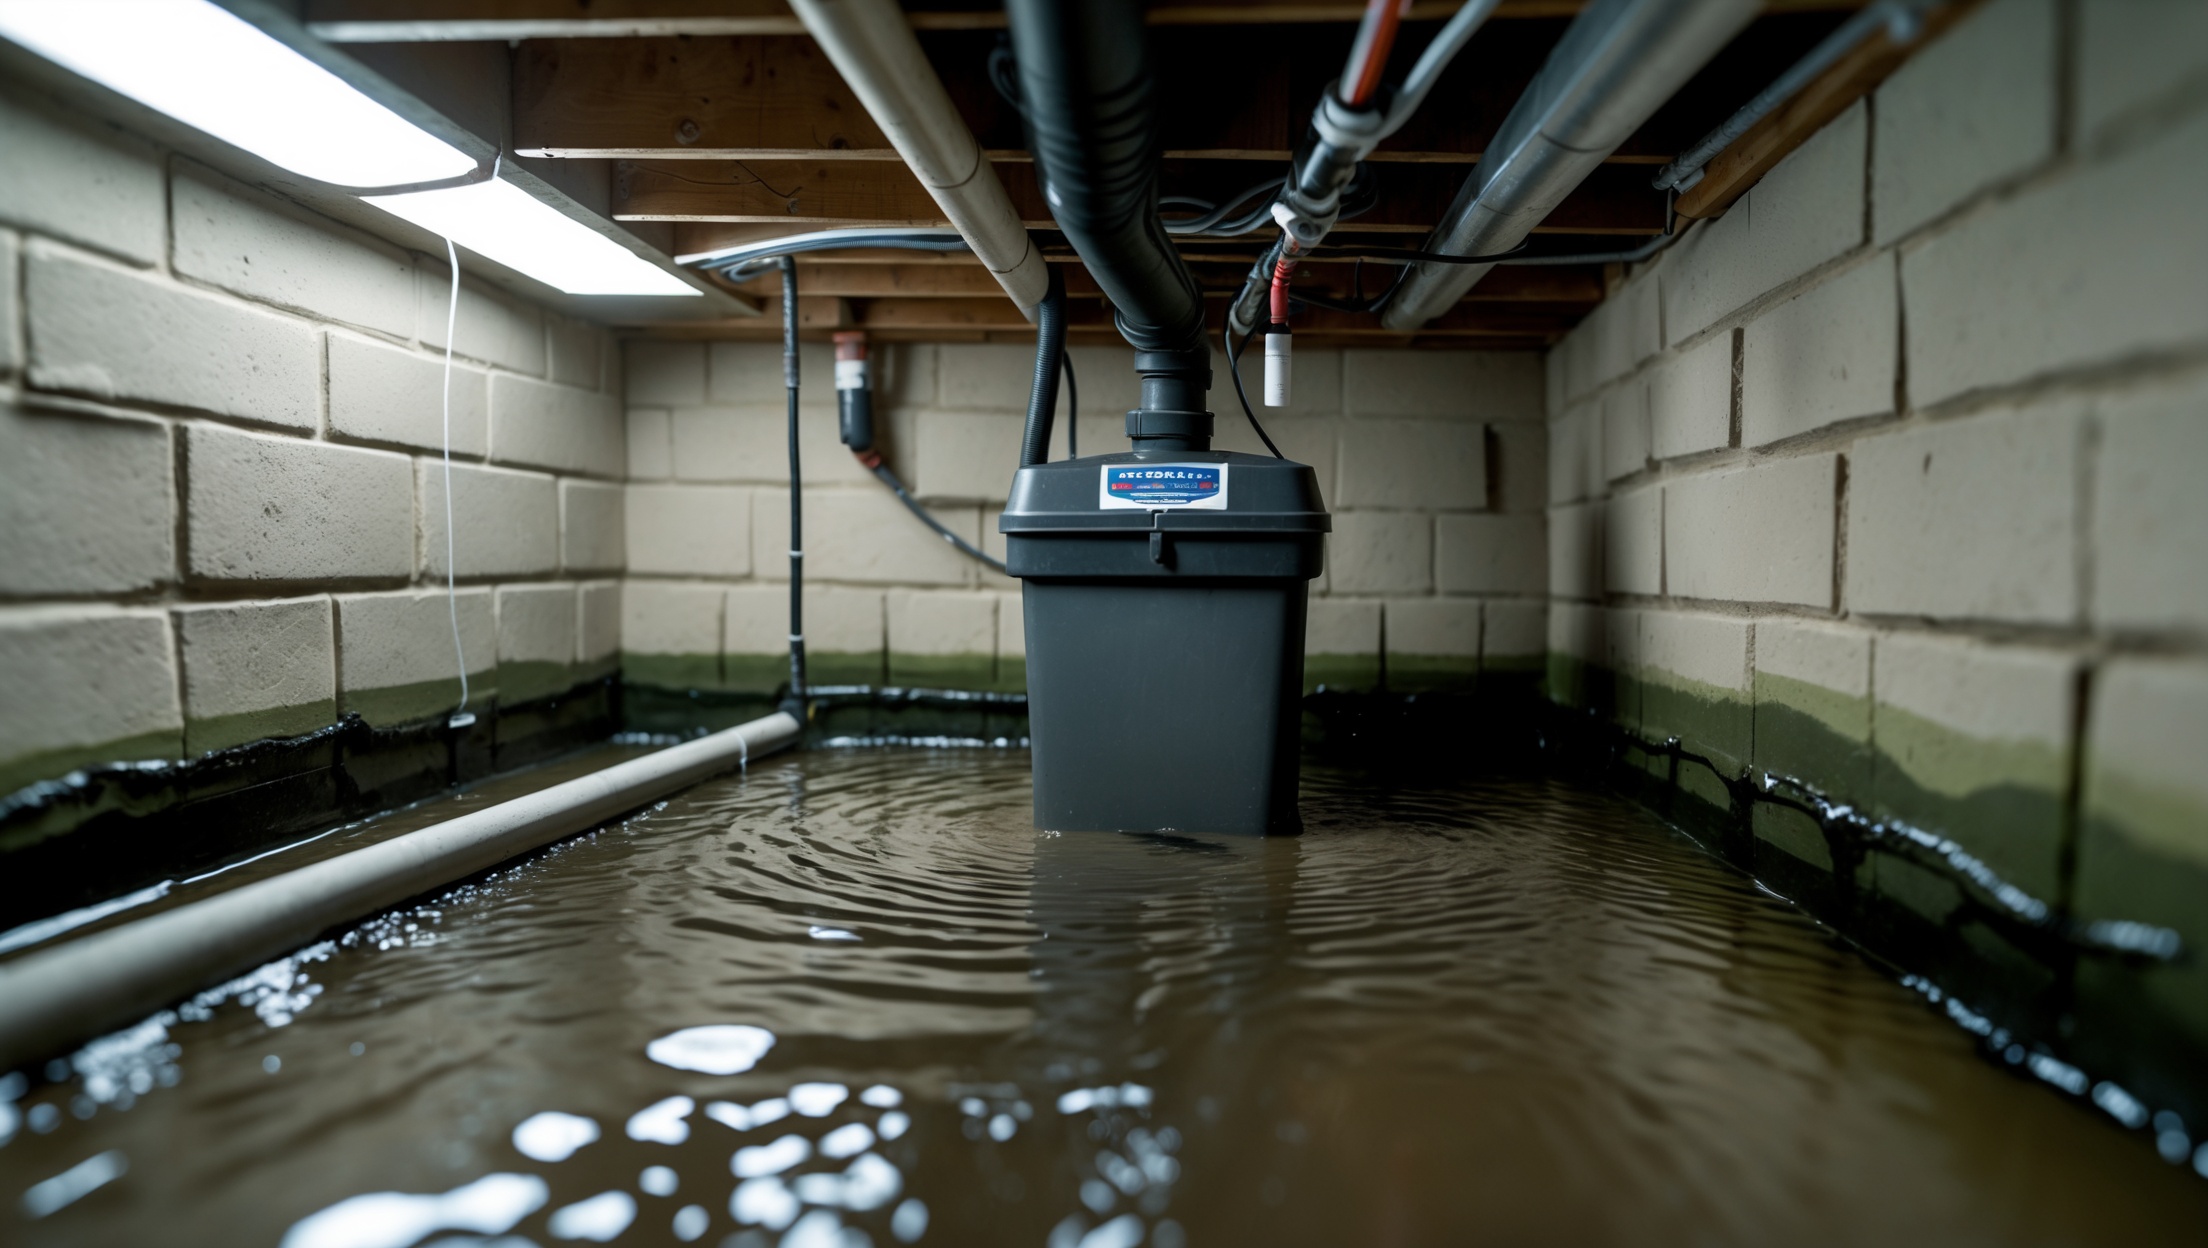
- In flood-prone areas, make sure your sump pump and backwater valve are functioning.
- Pour water into the sump pit; pump should activate automatically.
- Check valve flappers for debris or wear.
Red Flags: What Homeowners Should Watch For
- Unexplained Water Stains: Brown spots on ceilings or walls often indicate a hidden leak.
- Mold or Musty Odors: Persistent smells point to slow leaks behind walls.
- Sudden Drop in Water Pressure: Could be a sign of a leak, clog, or failing pressure regulator.
- Odd Noises: Banging, whistling, or knocking from pipes may signal water hammer or loose mounts.
- High Water Bills: A spike in usage suggests a leak somewhere in the system.
What Should You Fix Immediately?
Critical Issues
- Active leaks (even slow drips)—can worsen quickly and cause mold or structural damage.
- Blocked drains or sewer backups—risk of contamination and water damage.
- Faulty water heater pressure relief valves—danger of tank rupture.
Minor Issues to Schedule
- Dripping faucets—wastes water and may indicate valve wear.
- Worn hoses on washing machines or dishwashers—replace to prevent catastrophic leaks.
- Old caulking or failed grout around tubs and sinks—can allow water infiltration.
When to Call a Professional
Some issues require specialized skills or equipment. Call a licensed plumber if you notice:
- Persistent or worsening leaks inside walls or under floors
- Multiple slow drains or frequent backups (may indicate a main line problem)
- Water heater issues you can’t resolve with basic maintenance
- Visible corrosion on main water supply or sewer lines
- Unusual pipe noises you can’t identify or fix
How Often Should You Schedule a Plumbing Inspection?
- New Homes: Every 3-5 years unless you notice problems.
- Older Homes (over 30 years): Every 1-2 years, or after any major renovation.
- Before Buying/Selling: Always schedule a full inspection for peace of mind.
- After Major Weather Events: Floods or freezes can cause hidden damage—get checked promptly.
Preventive Maintenance Tips to Extend Inspection Intervals
- Install water leak alarms under sinks and near appliances.
- Regularly clean faucet aerators and showerheads to prevent mineral buildup.
- Flush water heater annually to remove sediment.
- Insulate pipes in unheated areas to prevent freezing and bursts.
- Replace supply hoses with braided stainless steel for longevity.
- Keep a plumbing maintenance log for easy tracking and communication with pros.
Case Studies: How Inspections Saved the Day
Case 1: Hidden Leak Prevents Major Mold Outbreak
During a routine inspection, a homeowner noticed a faint stain on a basement ceiling. Further investigation revealed a pinhole leak in a copper pipe, soaking insulation and wood. Early discovery allowed for a quick repair and prevented a costly mold remediation project.
Case 2: Video Scoping Uncovers Tree Root Intrusion
A persistent slow drain led a plumber to run a camera through the main sewer line. The culprit? Tree roots had infiltrated the pipe. Targeted hydro-jetting cleared the blockage, saving the homeowner from a total sewer replacement.
How to Choose a Trustworthy Plumbing Inspector
- Verify state or local licensing and insurance.
- Ask for references or read independent reviews.
- Request a sample inspection report—clear, detailed documentation is key.
- Confirm they use up-to-date technology (moisture meters, cameras, etc.).
Documentation: Keeping Records That Matter
After each inspection, keep digital or paper copies of all reports, photos, and receipts. A well-organized file helps track recurring issues, plan maintenance, and document care if you ever sell your home. Share findings with your insurance provider if necessary, and update your maintenance log with completed repairs and recommended follow-ups.
Conclusion: Take Charge of Your Home’s Plumbing Health
Plumbing inspections aren’t just about avoiding disaster—they’re about proactive stewardship of your home and investment. By understanding what’s involved in a thorough inspection, you’re better equipped to catch problems early, save money, and ensure your plumbing system’s reliability year after year. Whether you opt for a professional evaluation or perform a DIY checkup, the most important step is simply to start. Don’t wait for a telltale drip, unsightly stain, or unexpected bill to remind you of what’s at stake. Schedule regular plumbing inspections, keep good records, and address issues promptly when they arise. Your home, your wallet, and your peace of mind will thank you. Take the mystery out of your pipes—make plumbing inspections a regular part of your home care routine, and enjoy the confidence that comes with knowing you’re in control.