
Introduction
Whether you’re finishing a new build, tackling a full-scale renovation, or just overhauling your home’s plumbing, the initial startup of your plumbing system is a crucial milestone. It’s the moment where months of planning, installation, and careful compliance with codes are put to the test. This phase determines not just the immediate success of your project, but also the long-term reliability of your water supply, drainage, and fixtures. A thorough, step-by-step approach to plumbing system startup ensures that leaks are caught before they become disasters, that water quality is protected from the get-go, and that your investment is safeguarded. In this comprehensive guide, we’ll walk you through each critical stage—preparation, pressure testing, system flushing, leak detection, fixture checks, and final sign-offs. Whether you’re a contractor, DIYer, or property manager, you’ll find actionable tips, code insights, and troubleshooting advice to help you launch your plumbing system with confidence and peace of mind.
Understanding the Importance of Proper Plumbing System Startup
Many plumbing failures trace back to rushed or incomplete commissioning. Skipping vital steps can lead to concealed leaks, water contamination, or premature equipment failure. Proper startup is essential for:
- Leak prevention: Early detection avoids costly water damage.
- Water quality: Flushing removes debris and solder flux that can affect taste and safety.
- Performance assurance: Ensures all fixtures and appliances operate as designed.
- Code compliance: Many jurisdictions require documented pressure tests and inspections.
- Warranty protection: Most manufacturers require proof of correct startup for claims.
Pre-Startup Checklist: Preparation is Everything
1. Visual Inspection of All Installations
Before water ever enters the pipes, do a meticulous walkthrough:
- Check that all connections are fully tightened and properly supported.
- Ensure all pipe runs are free from kinks, compression, or abrasion points.
- Verify that all required shut-off valves are accessible and labeled.
- Confirm that expansion tanks and backflow preventers are in place where needed.
- Ensure vents and traps are correctly installed on drainage systems.
2. Cap and Isolate Unused Outlets
Temporarily cap any fixture stub-outs or future-use branches to prevent accidental leaks during testing and flushing. Use approved test plugs or caps that can withstand pressure.
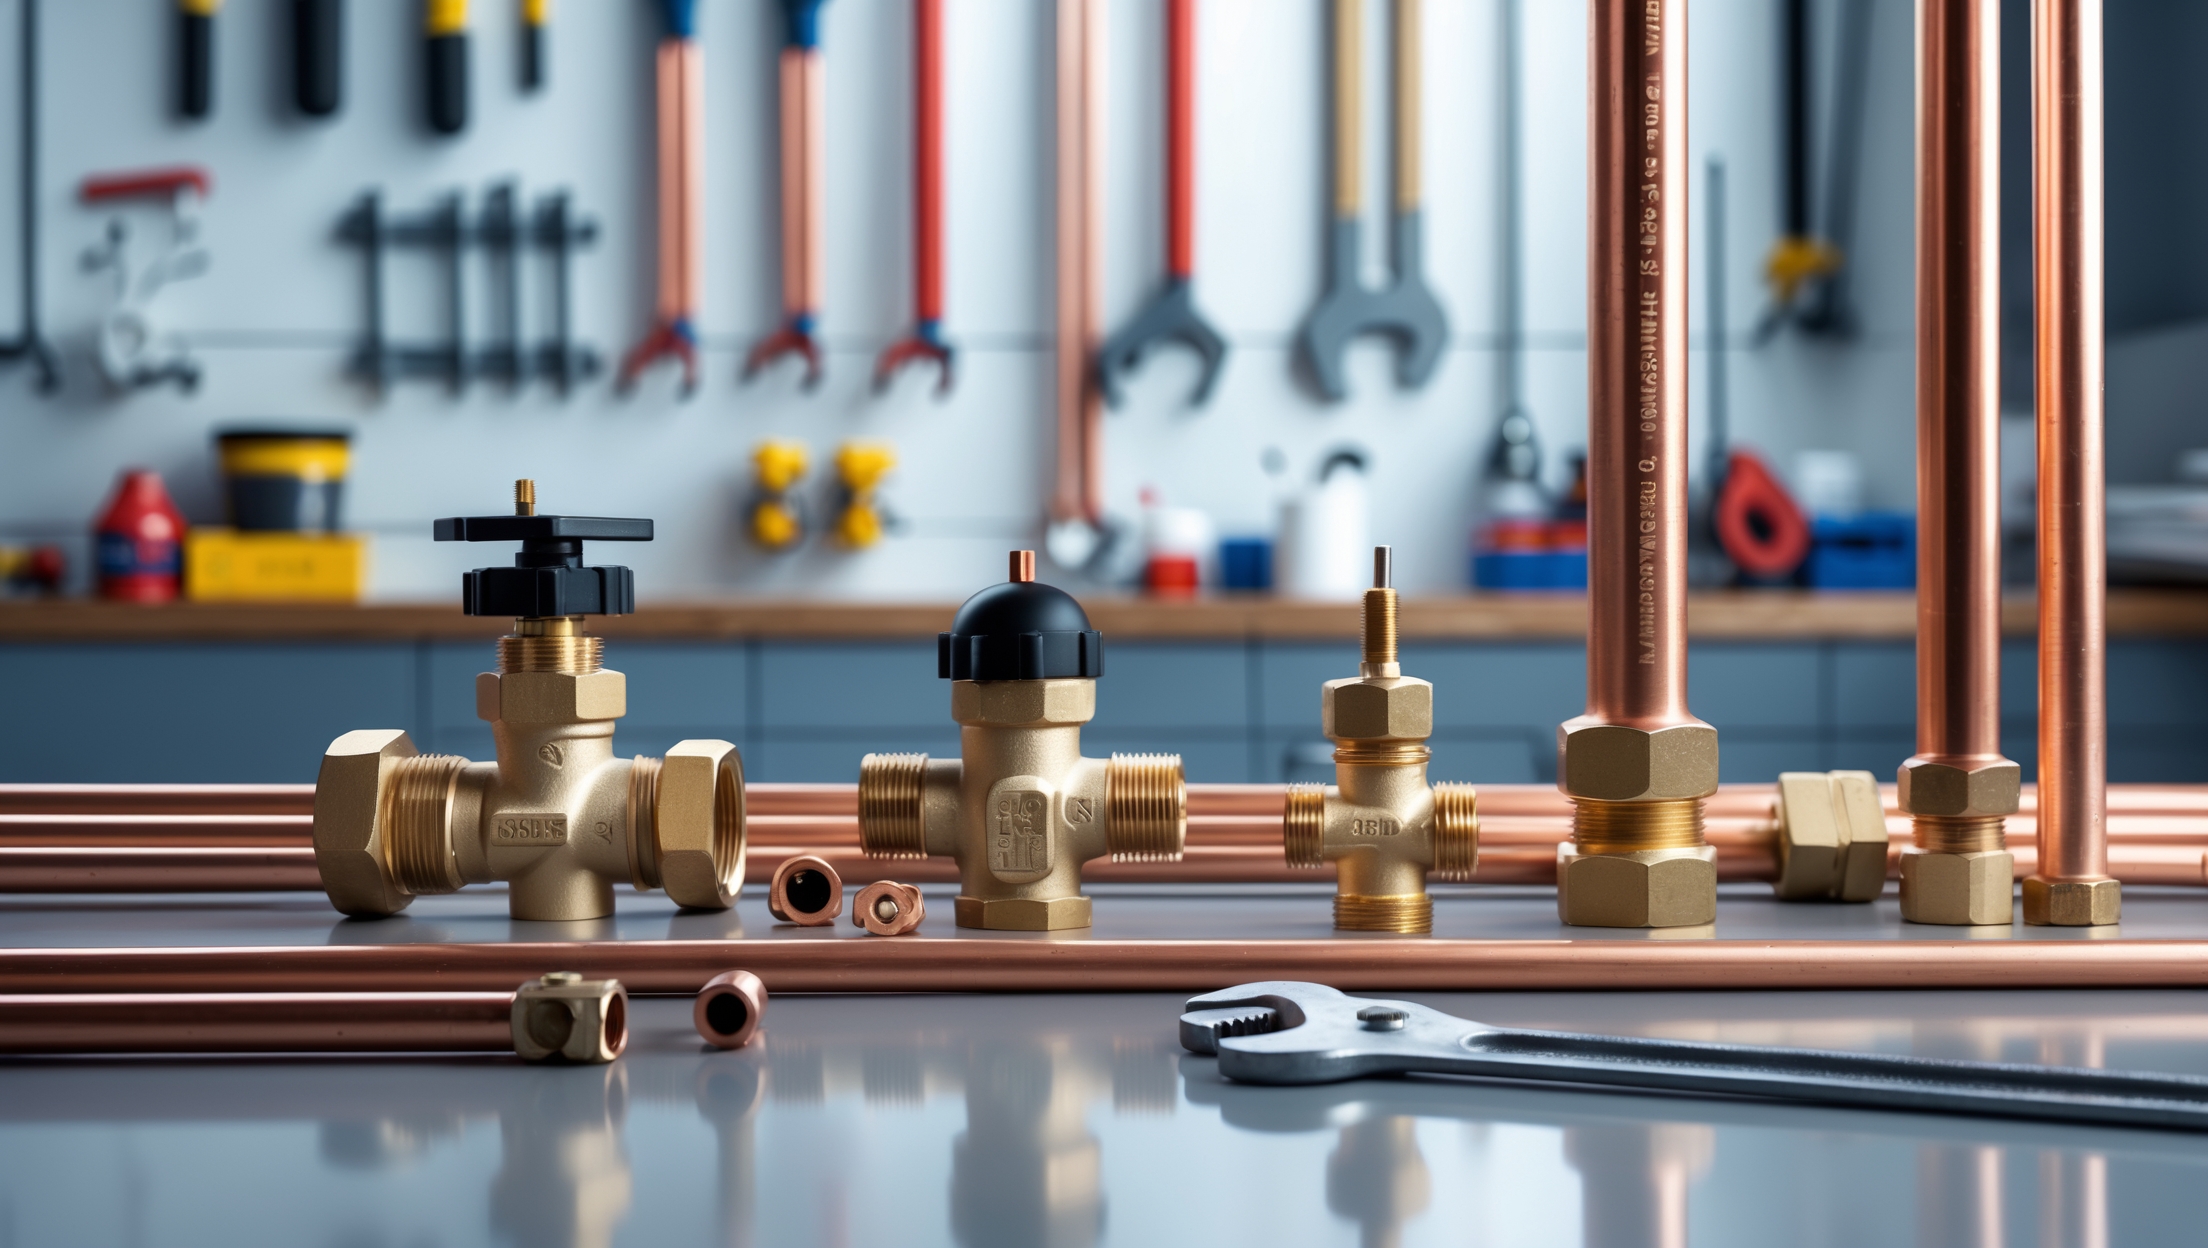
3. Confirm System Layout and Materials
Match your installation to your approved plans and local code requirements. This is your last chance to catch any material mismatches (e.g., mixing copper with galvanized steel, which can cause corrosion).
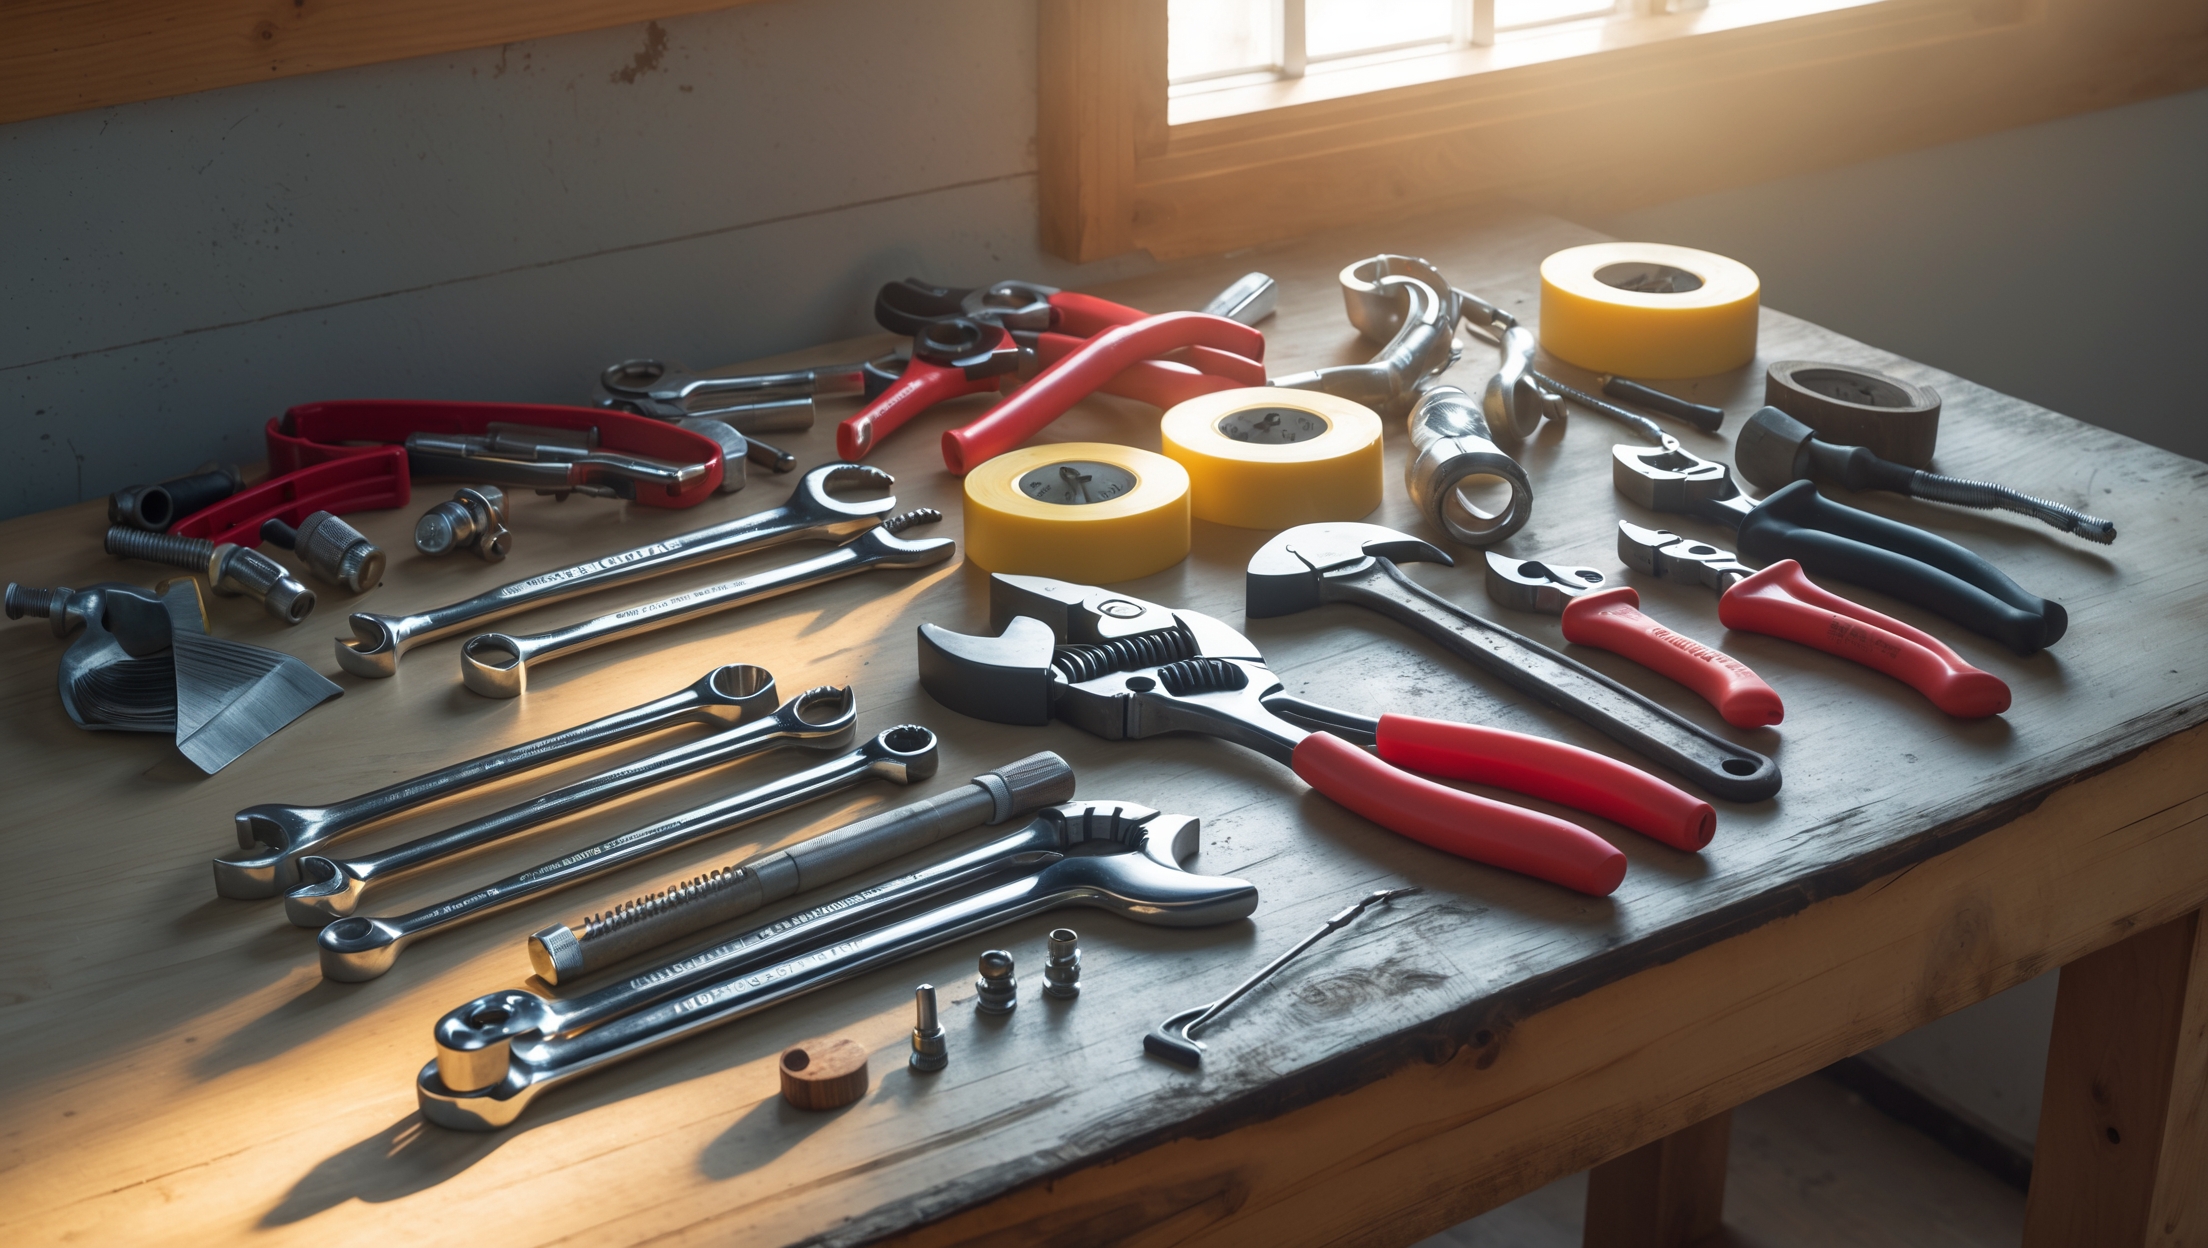
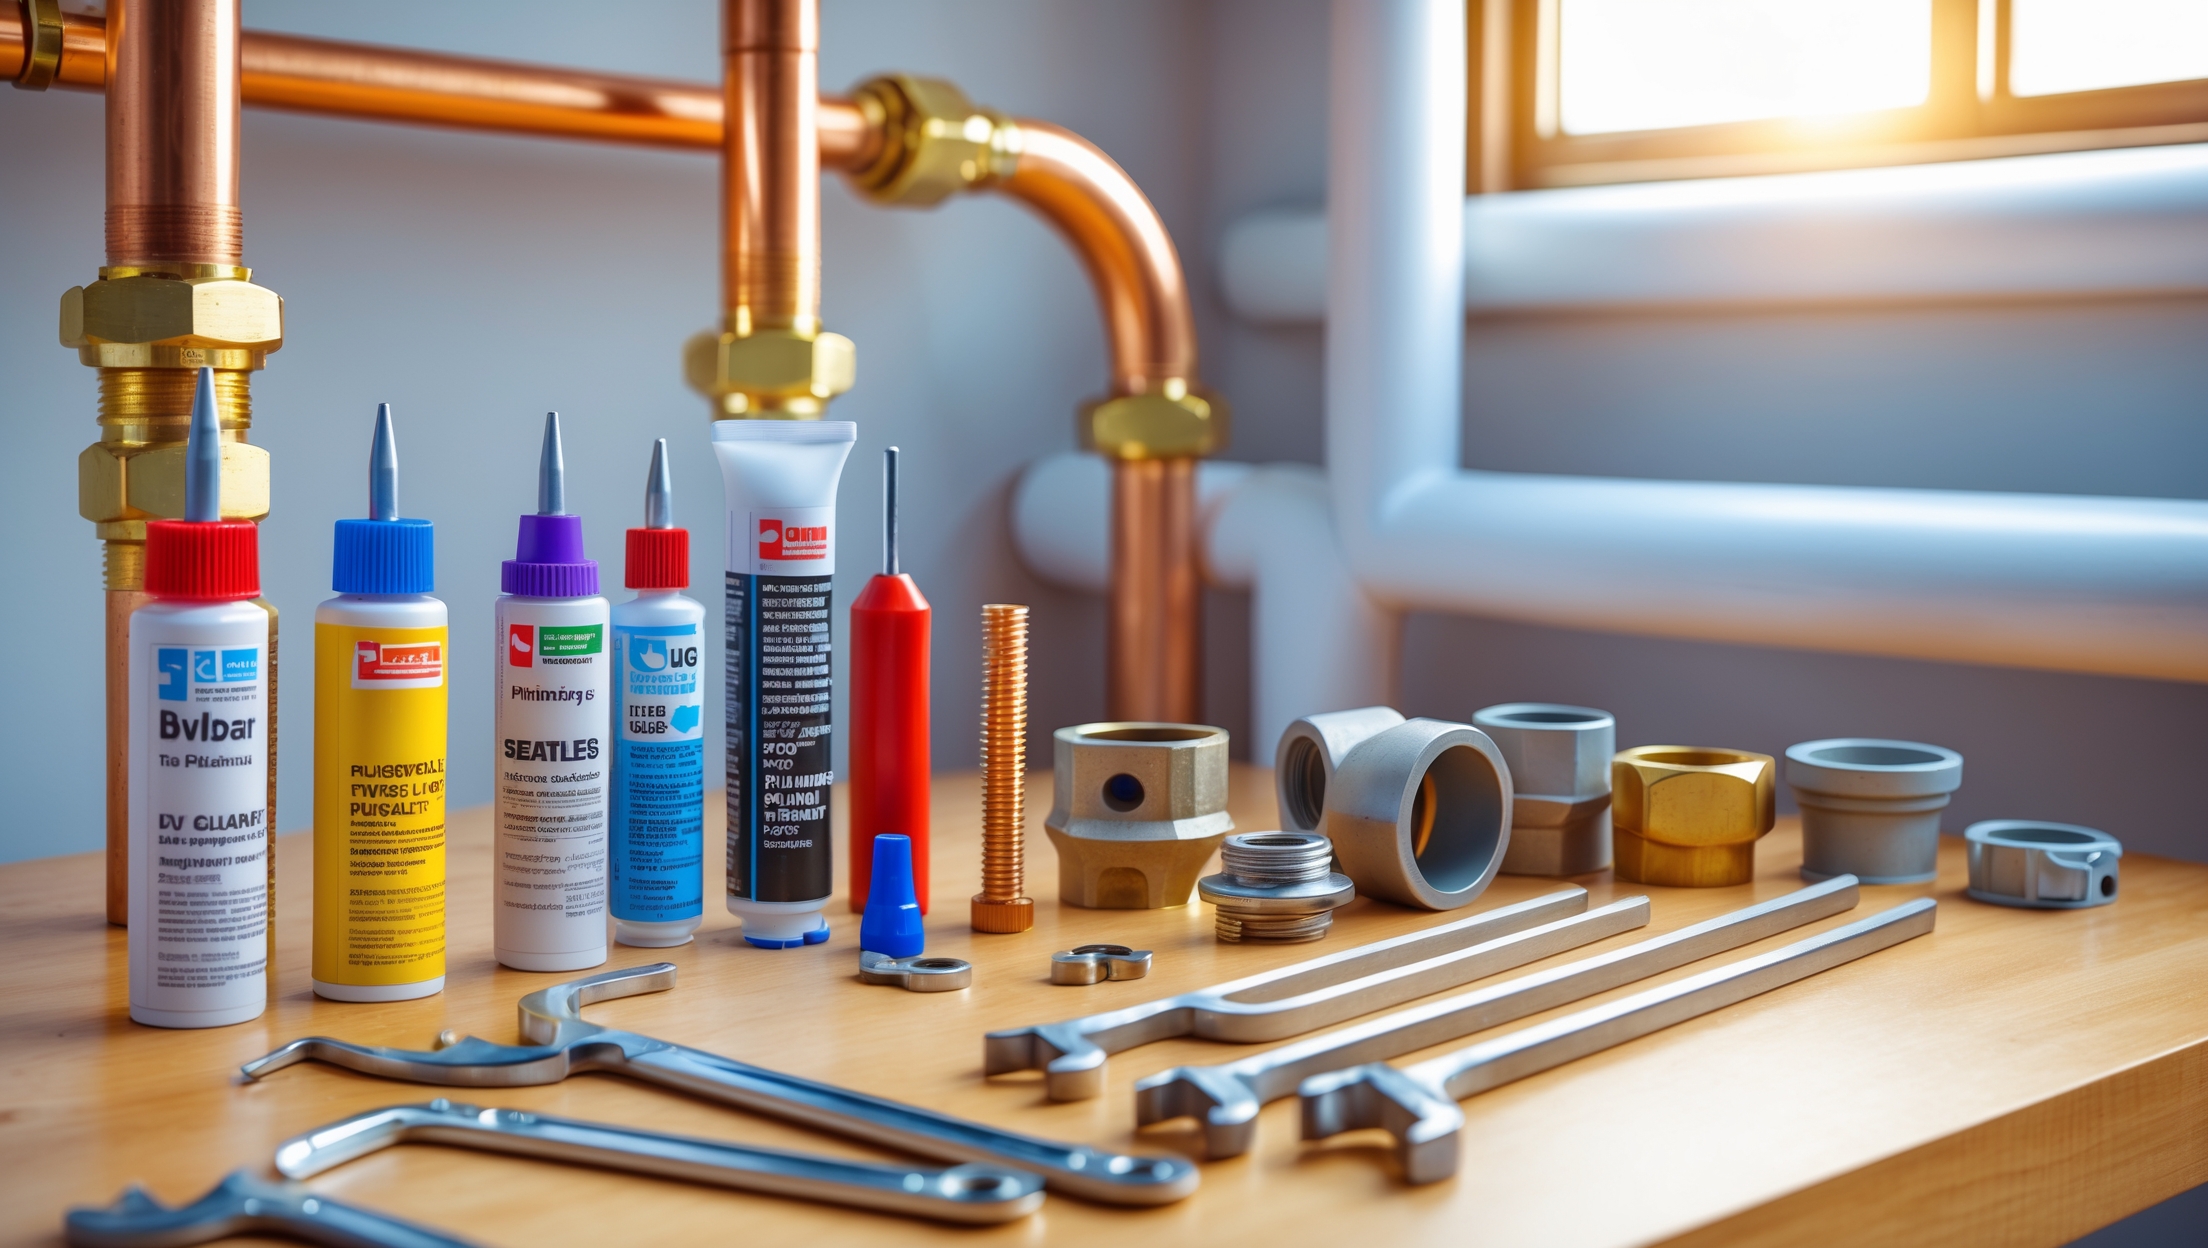
4. Gather Required Tools and Documentation
- Pressure gauges and test pumps
- Wrenches and pipe sealant
- Bucket and towels for minor leaks
- Manufacturer manuals for water heaters, filtration, or specialty devices
- Codebooks or inspection checklists for your jurisdiction
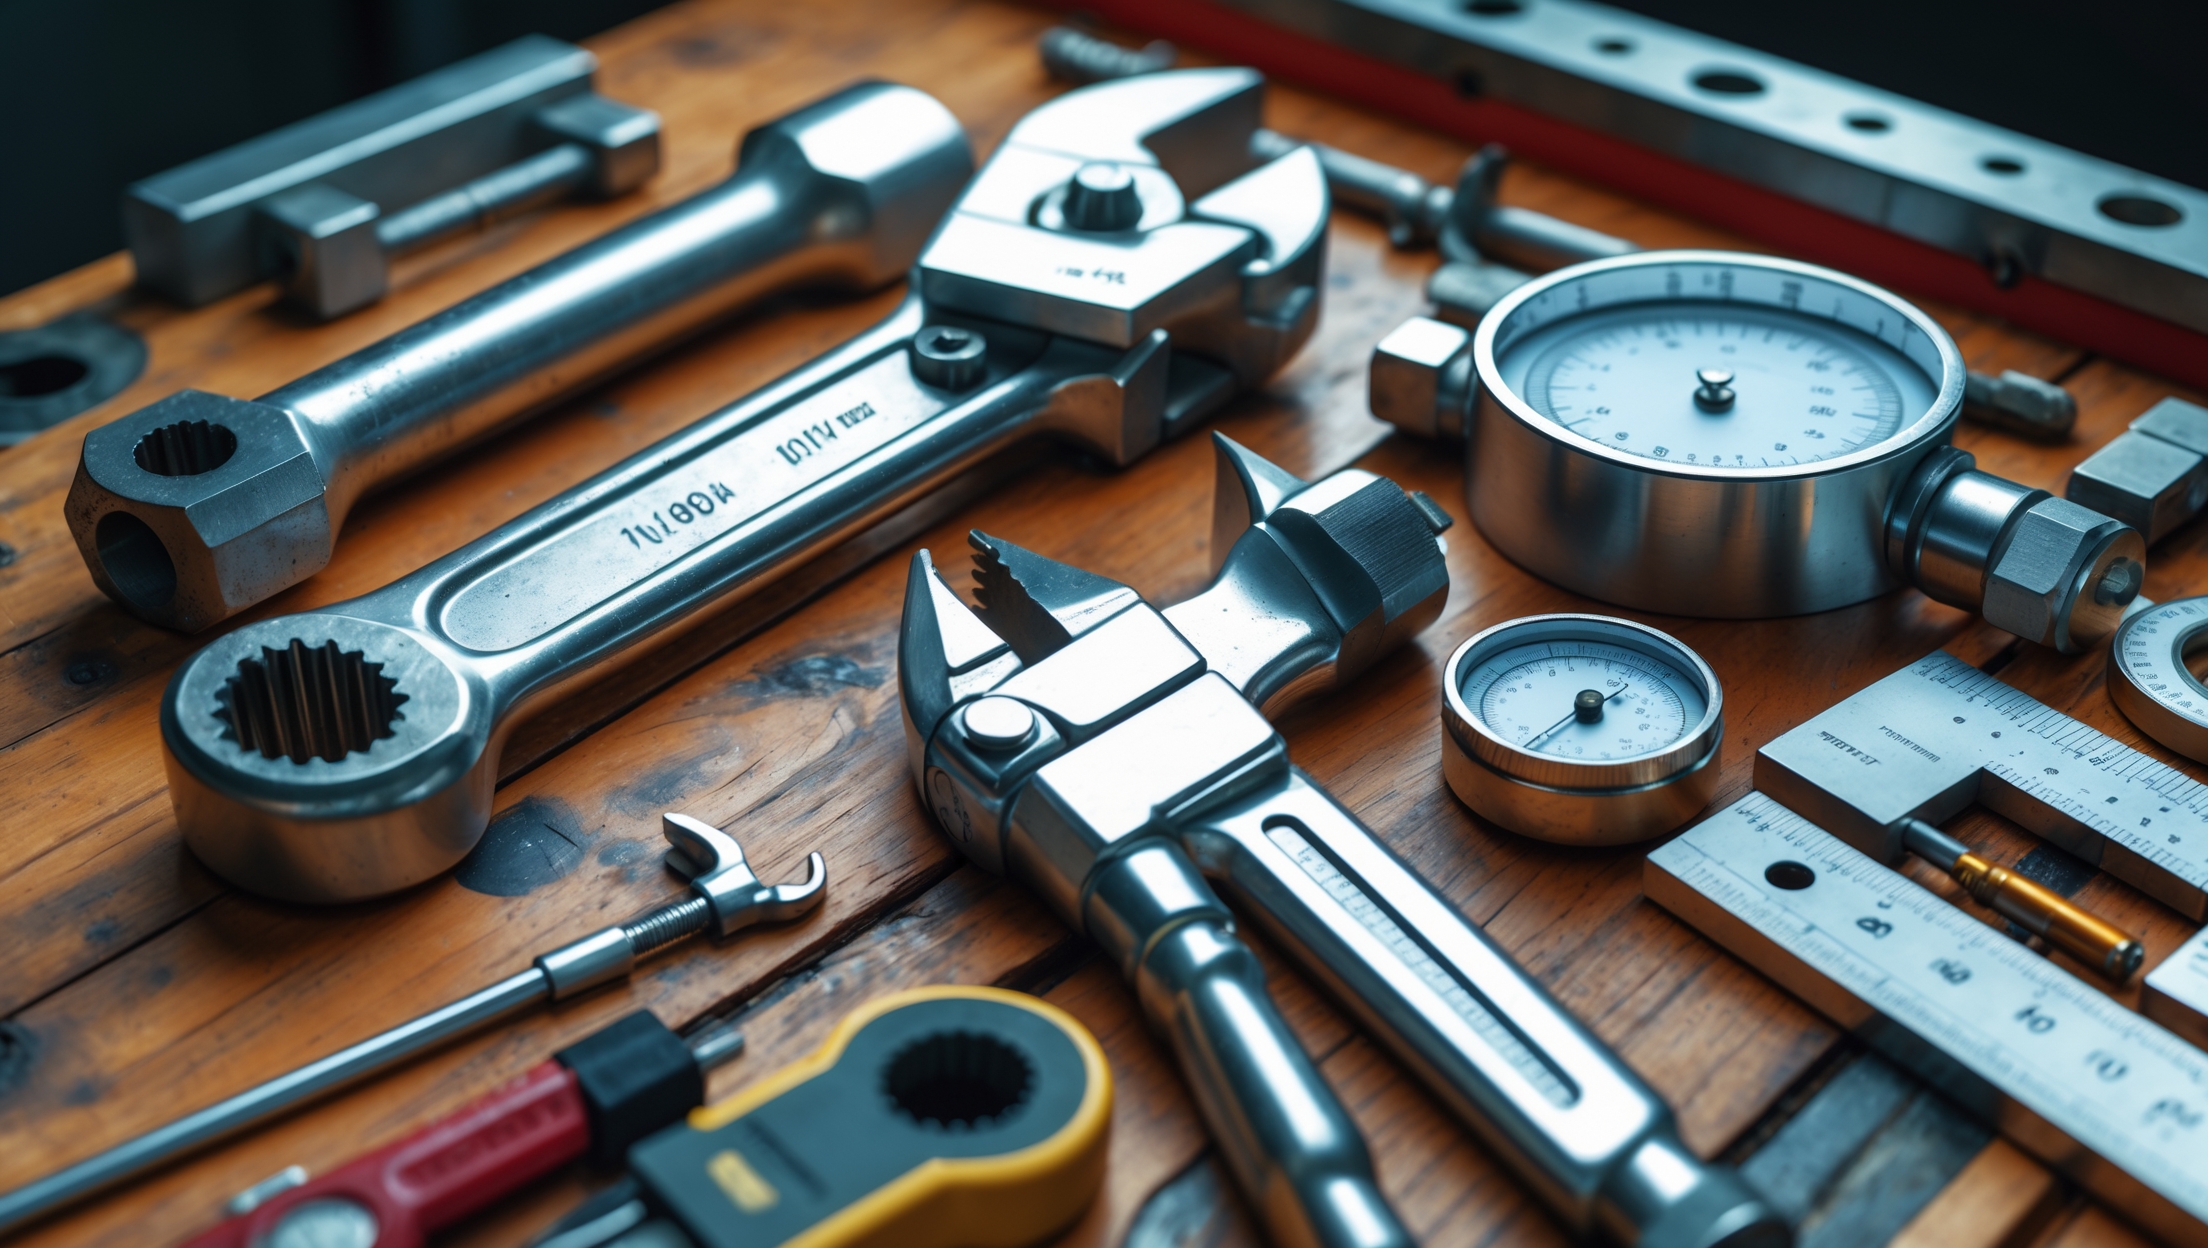
Step 1: Pressure Testing the Water Supply System
Why Pressure Testing Is Non-Negotiable
Pressure testing is the first true performance check for your potable water system. It simulates the maximum pressure your system will experience, exposing weak joints or faulty materials before they can cause a flood.
How to Perform a Pressure Test
- Shut all valves except the point of connection to the test pump.
- Attach a test gauge to a suitable outlet—ideally at the system’s highest point.
- Fill the system with water (for water-based testing) or air (where allowed by code).
- Pressurize to test pressure: Most codes specify 1.5x working pressure (typically 150 psi for residential). Check your local requirements.
- Monitor the gauge: Maintain test pressure for at least 15–30 minutes. Any drop indicates a leak.
Common Pitfalls to Avoid
- Never use air testing on plastic pipes unless explicitly allowed—risk of explosion.
- Don’t overtighten fittings during retesting; this can crack plastic or distort soft metals.
- Document test results for inspection and warranty purposes.
Step 2: Drainage and Vent System Testing
Air vs. Water Testing (DWV Systems)
Drain, Waste, and Vent (DWV) systems require separate testing—typically with water or air:
- Water test: Fill system with water to a point 10 feet above the highest fitting; hold for 15 minutes (no loss permitted).
- Air test: Apply 5 psi to the system and monitor for at least 15 minutes.
Double-check all pipe joints and vent terminations for leaks or blockages. Look for bubbling, hissing, or visible drips.
Isolating Problem Areas
If a leak is detected, segment the system one branch at a time to quickly locate the fault. Mark and correct all leaks—do not patch temporarily.
Step 3: System Flushing to Remove Debris
Why Flushing Is Essential
Construction debris, solder residue, and pipe shavings are common contaminants in a new system. Flushing prevents clogged aerators, valve malfunctions, and water discoloration.
Flushing Procedure
- Open all fixture shut-offs and remove faucet aerators and shower heads.
- Starting at the furthest fixture, open the cold water valve and let it run for several minutes or until water runs clear.
- Repeat with hot water once the water heater is operational.
- Flush toilets, tubs, and all hose bibs.
- Reinstall aerators and heads, checking for debris.
Special Considerations
- For systems with water filtration, bypass filters during initial flushing.
- Tankless heaters may require a manufacturer-specific flushing protocol.
Step 4: Leak Detection and Correction
Visual and Tactile Inspection
With water under normal pressure, inspect every accessible joint and connection. Use dry paper towels to detect small drips and feel for moisture around valves and unions.
Using Technology for Hidden Leaks
- Moisture meters: Detect dampness behind walls and under flooring.
- Thermal cameras: Highlight temperature differences caused by water leakage.
- Acoustic listening devices: Pinpoint the sound of water escaping under pressure.
Addressing Detected Leaks
- Tighten or re-seat threaded connections.
- If soldered joints leak, re-sweat or replace the fitting.
- Replace faulty seals or washers on valves.
- For persistent leaks, cut out and replace the affected pipe section.
Step 5: Fixture and Appliance Commissioning
Ensuring Proper Operation
- Test every faucet, valve, and shower diverter for smooth operation and shut-off.
- Check toilets for proper fill and flush cycles; adjust as needed.
- Run dishwashers, washing machines, and ice makers through a test cycle to verify supply and drainage.
- Observe water heaters for proper ignition, heating, and absence of leaks.
Adjusting Pressure and Temperature
- Verify static water pressure (ideal residential range: 50–70 psi).
- Set water heater temperature to 120°F (49°C) for safety and efficiency.
- Install or adjust pressure-reducing valves as needed.
Step 6: Final Water Quality Check
Testing for Contaminants
New systems may leach metals or residual chemicals. Consider:
- Testing for lead, copper, and bacteria (kits available at hardware stores or via professional labs).
- Confirming that water is clear, odorless, and tastes normal.
If any issues are detected, flush the system further and retest before occupancy.
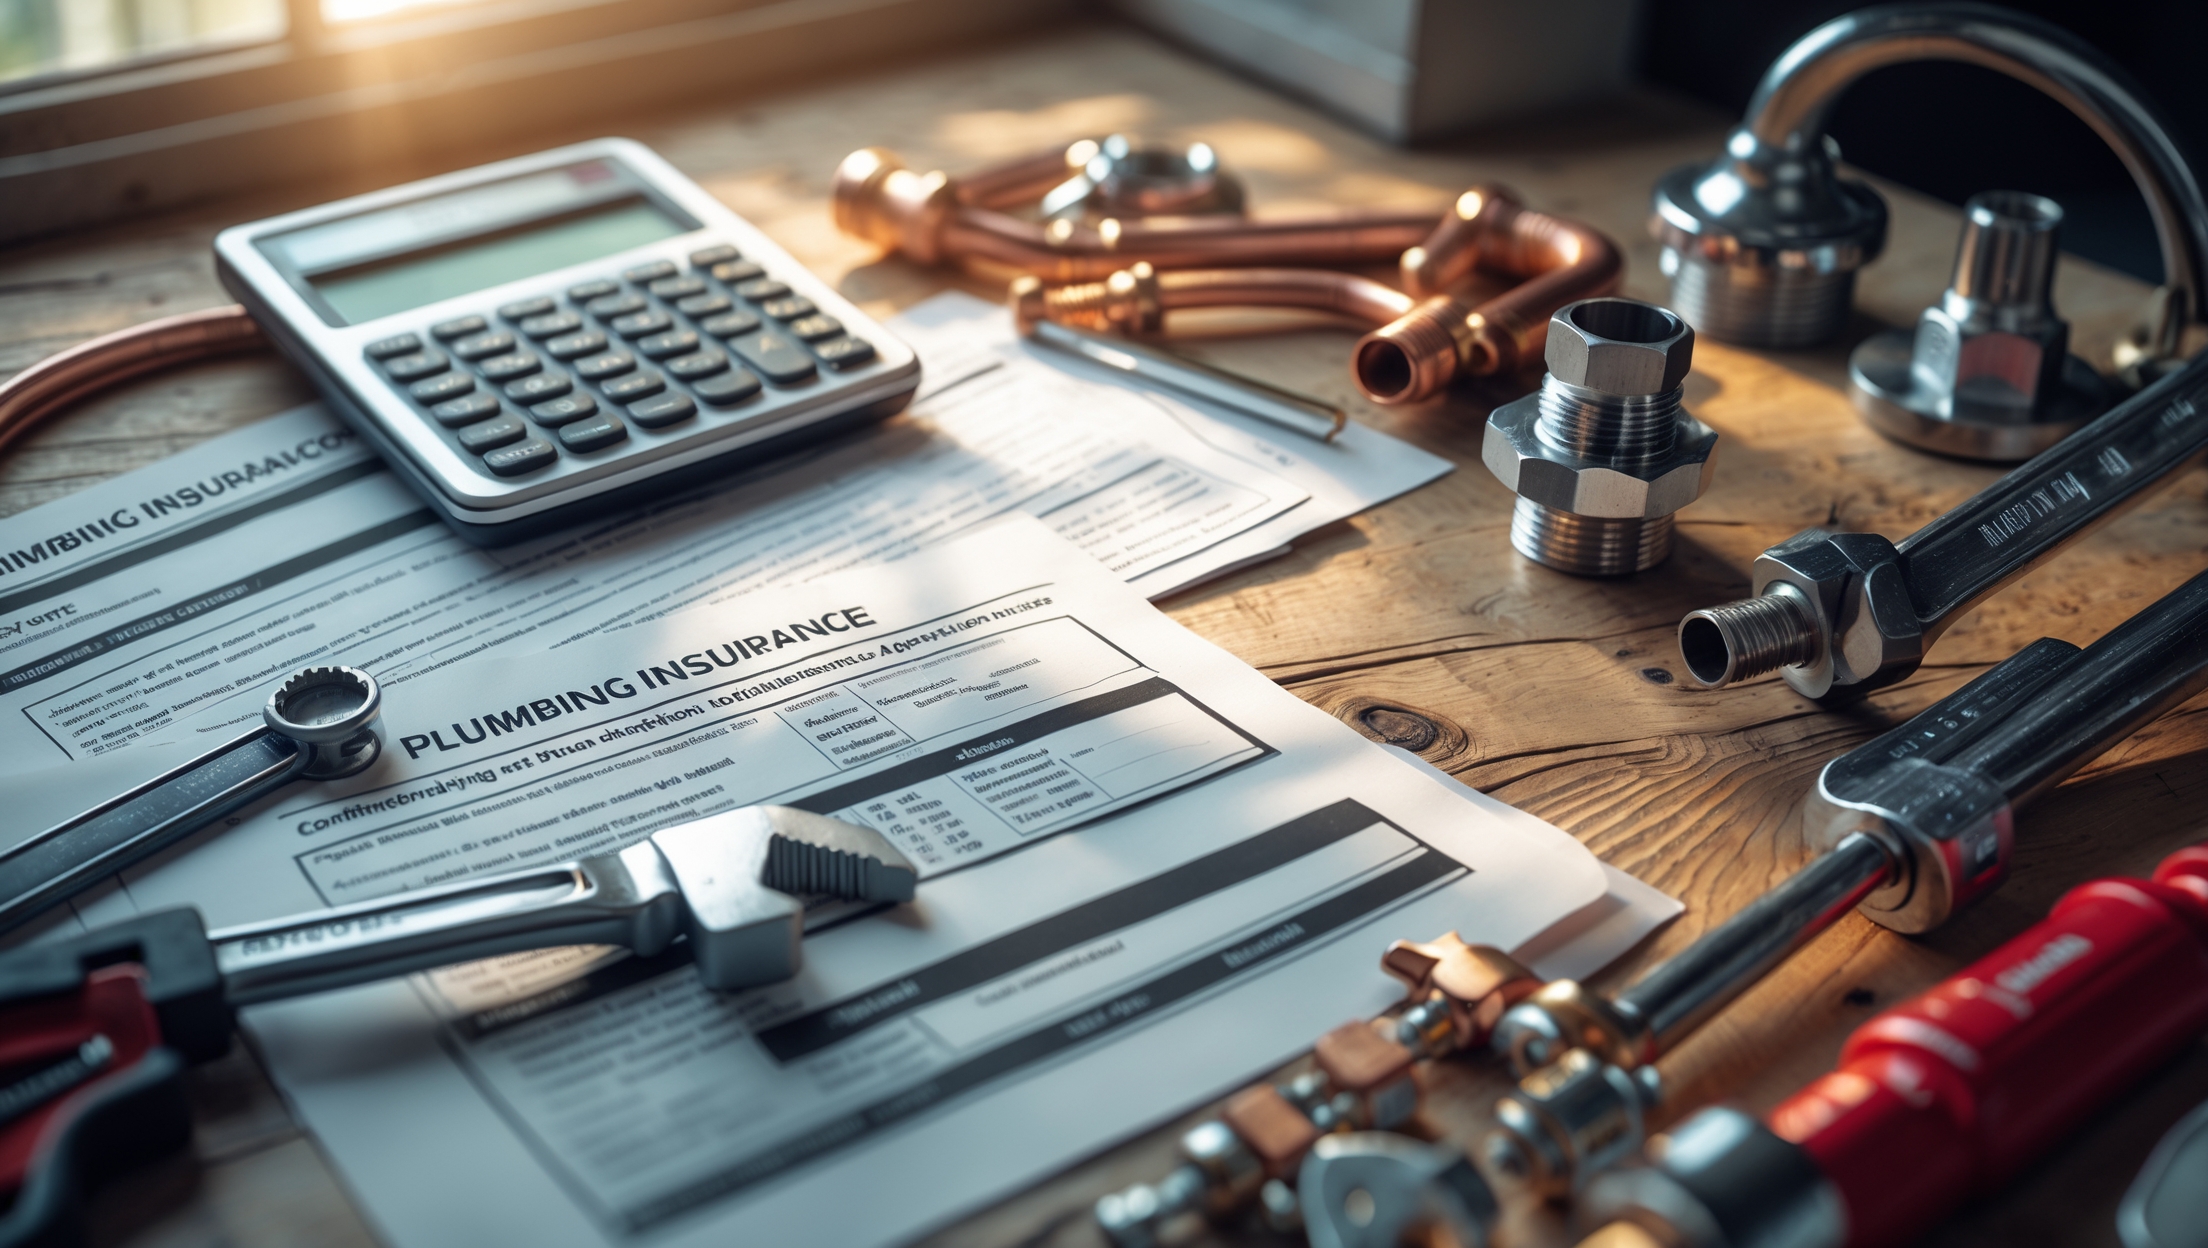
Step 7: Documentation and Inspection
Record-Keeping
- Document all test pressures, durations, and outcomes.
- Record serial numbers and installation dates for water heaters and appliances.
- Keep receipts, test results, and inspection approvals for warranty and code compliance.
Scheduling Final Inspection
- Arrange for a code official or inspector to review your documentation and physically inspect the system.
- Be prepared to demonstrate pressure test results and fixture operation.
- Address any deficiencies promptly to secure final approval.
Common Issues and Troubleshooting Tips
- Intermittent leaks: Re-test at full pressure; some leaks only appear under stress.
- Noisy pipes: Check for missing pipe supports or excessively high pressure.
- Discolored water after startup: Continue flushing; persistent problems may indicate pipe contamination.
- Slow drainage: Recheck venting and clear any construction debris from traps.
Best Practices for Long-Term Reliability
- Label all shut-off valves and maintain clear access.
- Educate property occupants on how to shut off the main valve in an emergency.
- Schedule a post-occupancy inspection 3–6 months after startup to catch slow leaks or minor issues.
- Keep an emergency plumbing kit on hand for minor repairs.
Conclusion
Commissioning a new or renovated plumbing system is more than just turning on the water—it’s a systematic process that protects your investment, ensures safety, and sets the foundation for years of trouble-free operation. By following the step-by-step startup procedures outlined above, you dramatically reduce the risk of leaks, water quality issues, and costly callbacks. Each phase, from pressure testing to documentation, plays a critical role in the system’s overall success. Remember, thoroughness at this stage pays off in both peace of mind and real savings down the line. Whether you’re a seasoned contractor or an ambitious DIYer, treating your system startup with the care and attention it deserves is the hallmark of true plumbing professionalism. If in doubt or if problems persist, don’t hesitate to consult a licensed plumber—your property, health, and future repairs depend on getting this critical step right. With the right approach, your new plumbing system will deliver safe, reliable service for decades to come.


John Moore
Could you clarify what specific signs to look for during the initial visual walkthrough to catch hidden installation issues before water enters the pipes? I want to make sure I’m not missing easy-to-overlook problems that could turn into bigger headaches later.