Introduction: Why Water Heater Maintenance Matters
For most homeowners, the water heater is a silent workhorse—reliably delivering hot water for showers, laundry, and dishes, often without a second thought. Yet, like any mechanical system, your water heater needs regular care to perform efficiently and avoid costly breakdowns. Neglecting maintenance can lead to higher energy bills, unreliable hot water, and even catastrophic leaks or water damage. Whether you rely on a traditional tank-style unit or a modern tankless model, understanding and implementing a water heater maintenance routine is essential for comfort, safety, and savings. This guide breaks down exactly how to extend your water heater’s lifespan, optimize its performance, and prevent common pitfalls—empowering both DIYers and those who prefer to hire a pro. We’ll cover practical, step-by-step maintenance strategies, the tools required, troubleshooting for common issues, and tips for knowing when it’s time to repair or replace your system.
Understanding Your Water Heater: Types and Anatomy
Tank vs. Tankless: Key Differences
Before diving into maintenance, identify your water heater type. The two most common residential models are:
- Tank-Style Water Heaters: Store and heat a fixed volume of water (typically 30–80 gallons). Can be powered by electricity, natural gas, or propane. Most common in North America.
- Tankless (On-Demand) Water Heaters: Heat water only as needed, offering energy efficiency and endless hot water. Require different maintenance routines than tanks.
Key Components to Know
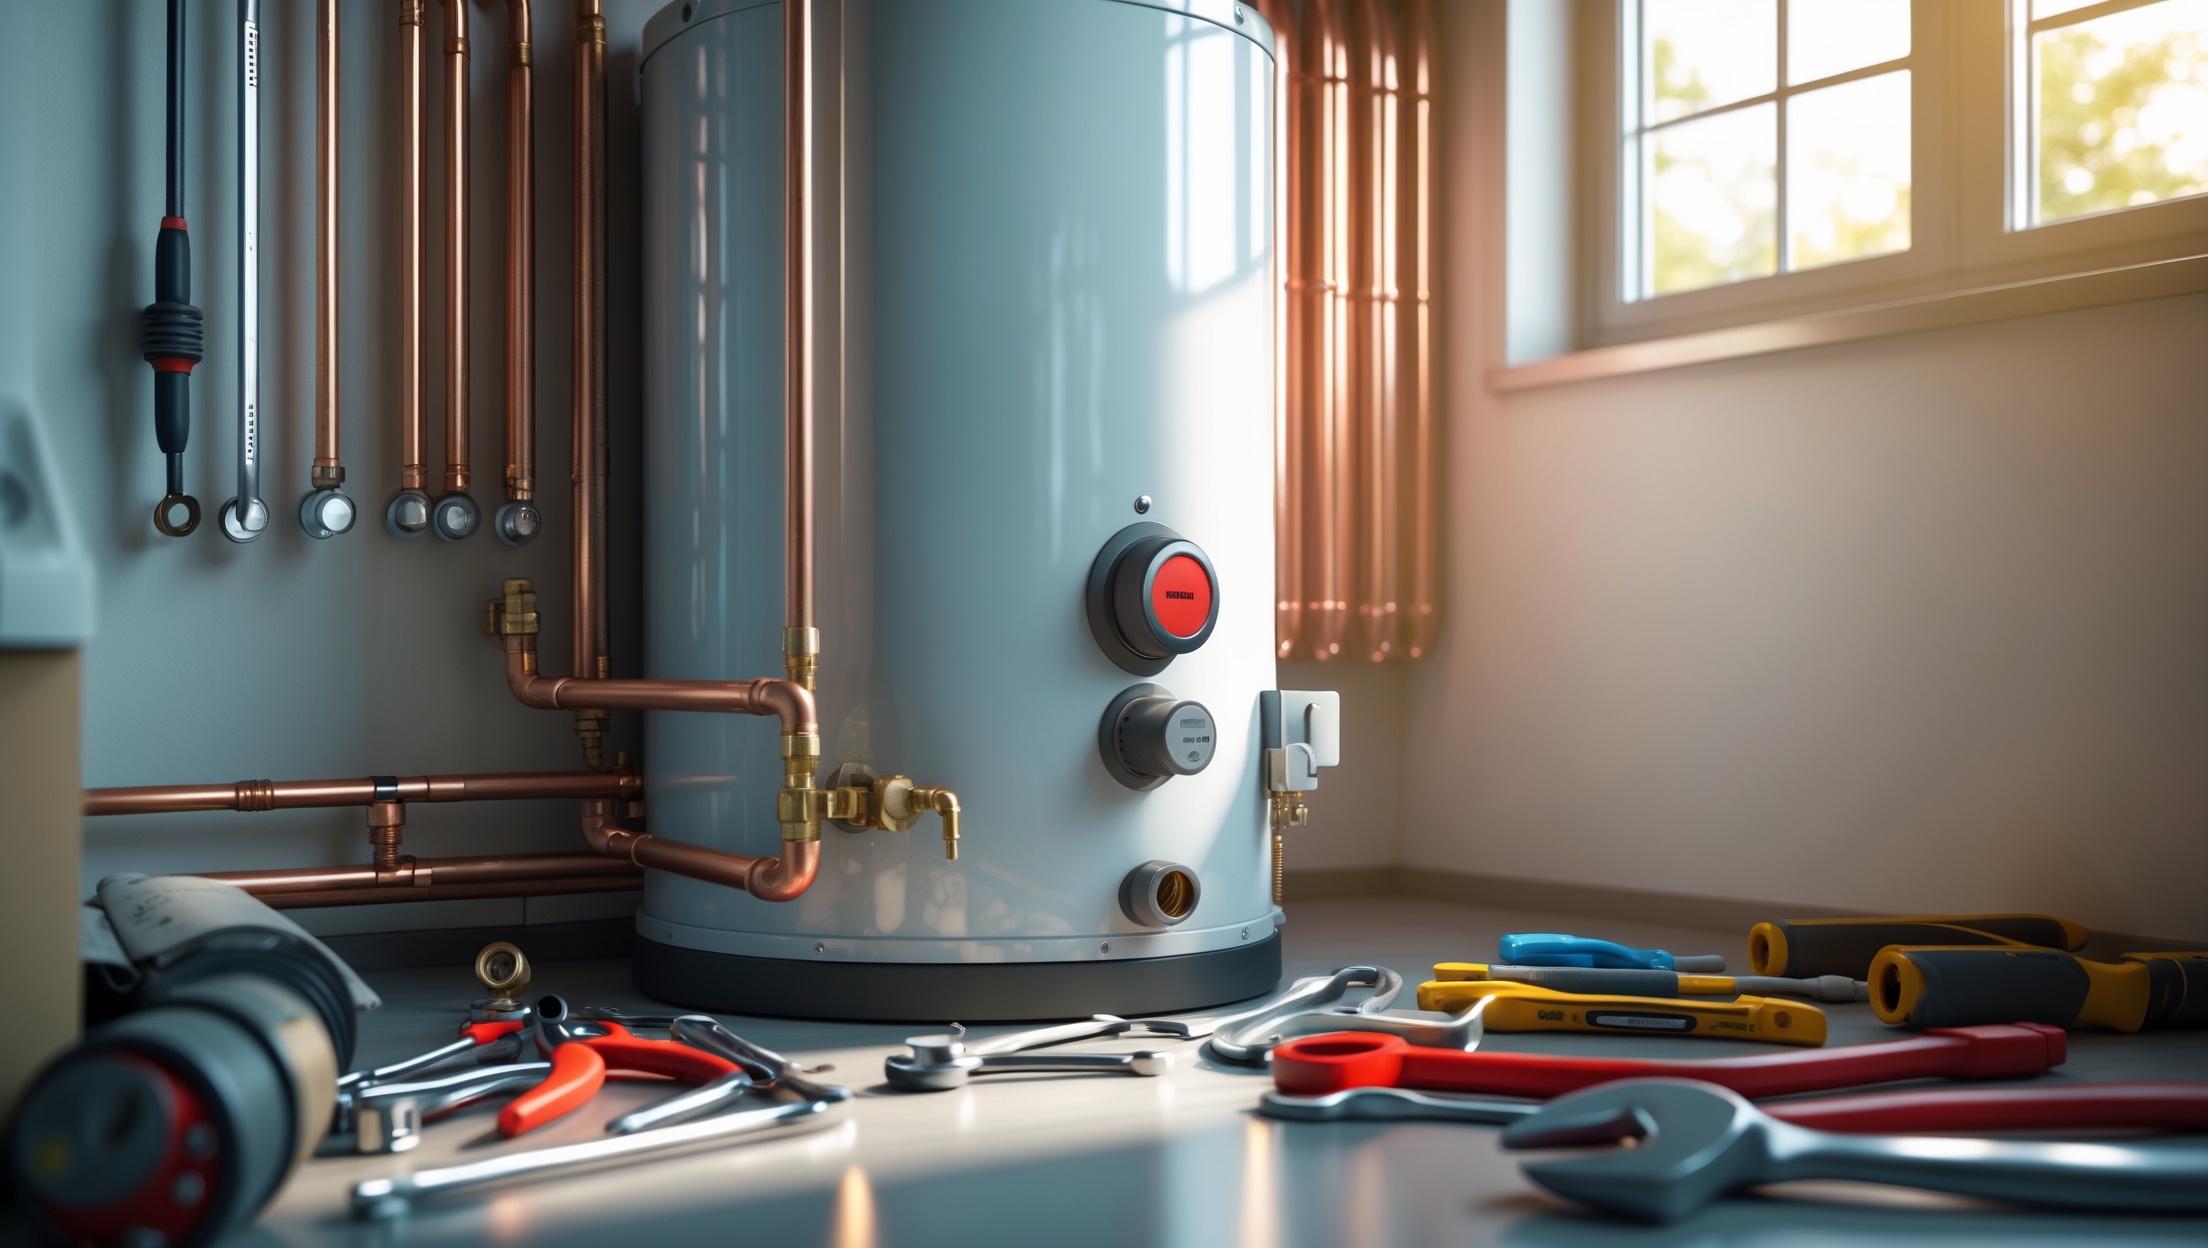
- Tank: Steel vessel that stores water (tank models only).
- Heating Element or Burner: Electric coils or gas burners responsible for heating.
- Anode Rod: Sacrificial metal rod that attracts corrosive elements, prolonging tank life.
- Temperature and Pressure Relief (T&P) Valve: Safety device that releases water if pressure or temperature exceeds safe limits.
- Drain Valve: Used to flush sediment from the tank.
- Thermostat: Controls water temperature.
- Heat Exchanger: (Tankless only) Heats water as it passes through the unit.
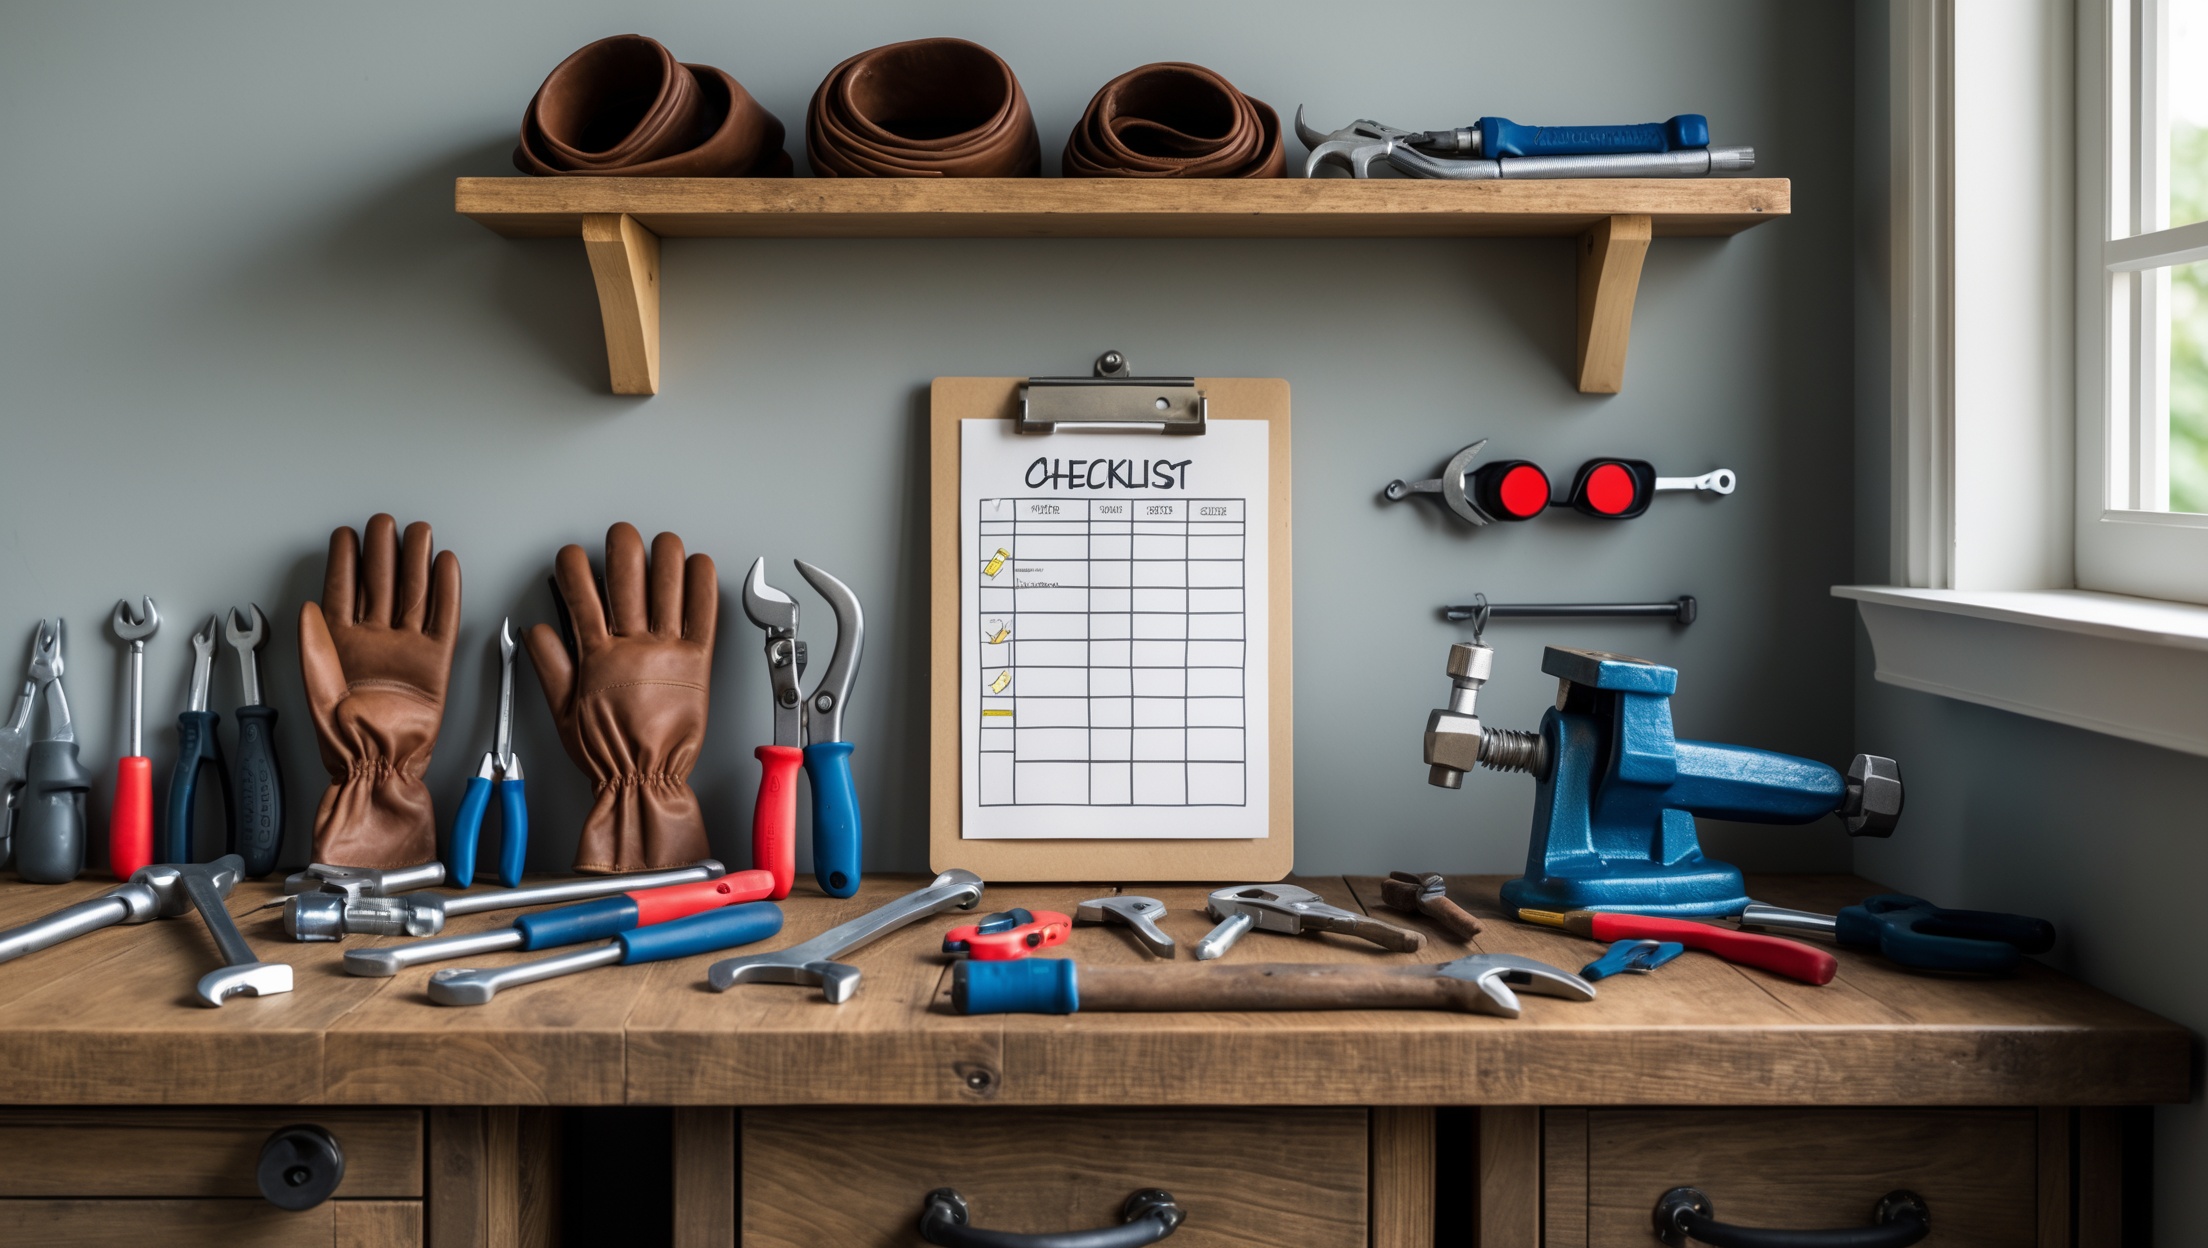
Maintenance Tools & Supplies Checklist
- Adjustable wrench
- Flathead screwdriver
- Garden hose
- Buckets
- Rags or towels
- Replacement anode rod (if needed)
- Plumber’s tape (Teflon tape)
- Shop vacuum (for stubborn sediment, optional)
- White vinegar (for tankless descaling)
- Multimeter (for electrical models)
- Protective gloves and safety goggles
Step-by-Step Maintenance for Tank-Style Water Heaters
1. Safety First: Shut Down the Unit
- For electric: Switch off the circuit breaker.
- For gas: Turn gas control knob to the ‘pilot’ or ‘off’ position.
- Allow water to cool (wait at least 2 hours to avoid burns).
2. Check the T&P Valve
Lift the test lever on the temperature and pressure relief valve. Water should flow freely from the discharge pipe, then stop once released. If not, replace the valve immediately—this is a critical safety feature.
3. Drain and Flush Sediment
- Turn off the cold water supply valve.
- Connect a garden hose to the drain valve and run the hose to a floor drain or outside.
- Open a hot water tap in the house to prevent vacuum lock.
- Open the drain valve and let the tank empty.
- Once drained, briefly turn on the cold water supply to stir up and flush out remaining sediment. Repeat until water runs clear.
- Close the drain valve, disconnect the hose, and refill the tank by reopening the cold supply. Restore power or gas only once the tank is full.
4. Inspect and Replace the Anode Rod
- Locate the anode rod (usually under a hex head on top of the tank).
- Use a socket wrench to unscrew it. If the rod is less than ½ inch thick or coated in calcium, replace it.
- Wrap new rod threads with plumber’s tape before installing.
5. Check for Leaks and Corrosion
- Inspect all connections, the bottom of the tank, and the floor around the unit for signs of rust, corrosion, or moisture.
- Tighten any loose fittings and note any persistent leaks for professional repair.
6. Test the Thermostat and Temperature Setting
- Recommended temperature: 120°F (49°C) for energy savings and to prevent scalding.
- Adjust thermostat as needed. Use a thermometer at a faucet to verify.
Tankless Water Heater Maintenance: What’s Different?
1. Power Down and Isolate
- Turn off electrical power or set gas to ‘off’.
- Shut off water supply valves to the unit.
2. Flush and Descale the System
- Connect hoses to the cold and hot water service ports (refer to your model’s manual).
- Circulate undiluted white vinegar using a small pump through the heat exchanger for 45–60 minutes to dissolve scale and mineral buildup.
- Flush with clean water to remove vinegar residue.
3. Clean the Inlet Filter
- Locate and remove the cold water inlet filter.
- Rinse under running water to remove debris.
- Reinstall securely before restarting the system.
4. Inspect and Test
- Check for leaks at all connections after restarting.
- Test temperature and flow at the nearest faucet.
Annual Water Heater Maintenance Checklist
- Test T&P valve
- Flush tank or descale heat exchanger
- Inspect anode rod (tank models)
- Check for leaks, corrosion, and signs of wear
- Verify temperature setting
- Clean around the heater for airflow and safety
- Check exhaust venting (gas models)
- Clean inlet screens or filters (tankless only)
Energy-Saving Tips for Water Heaters
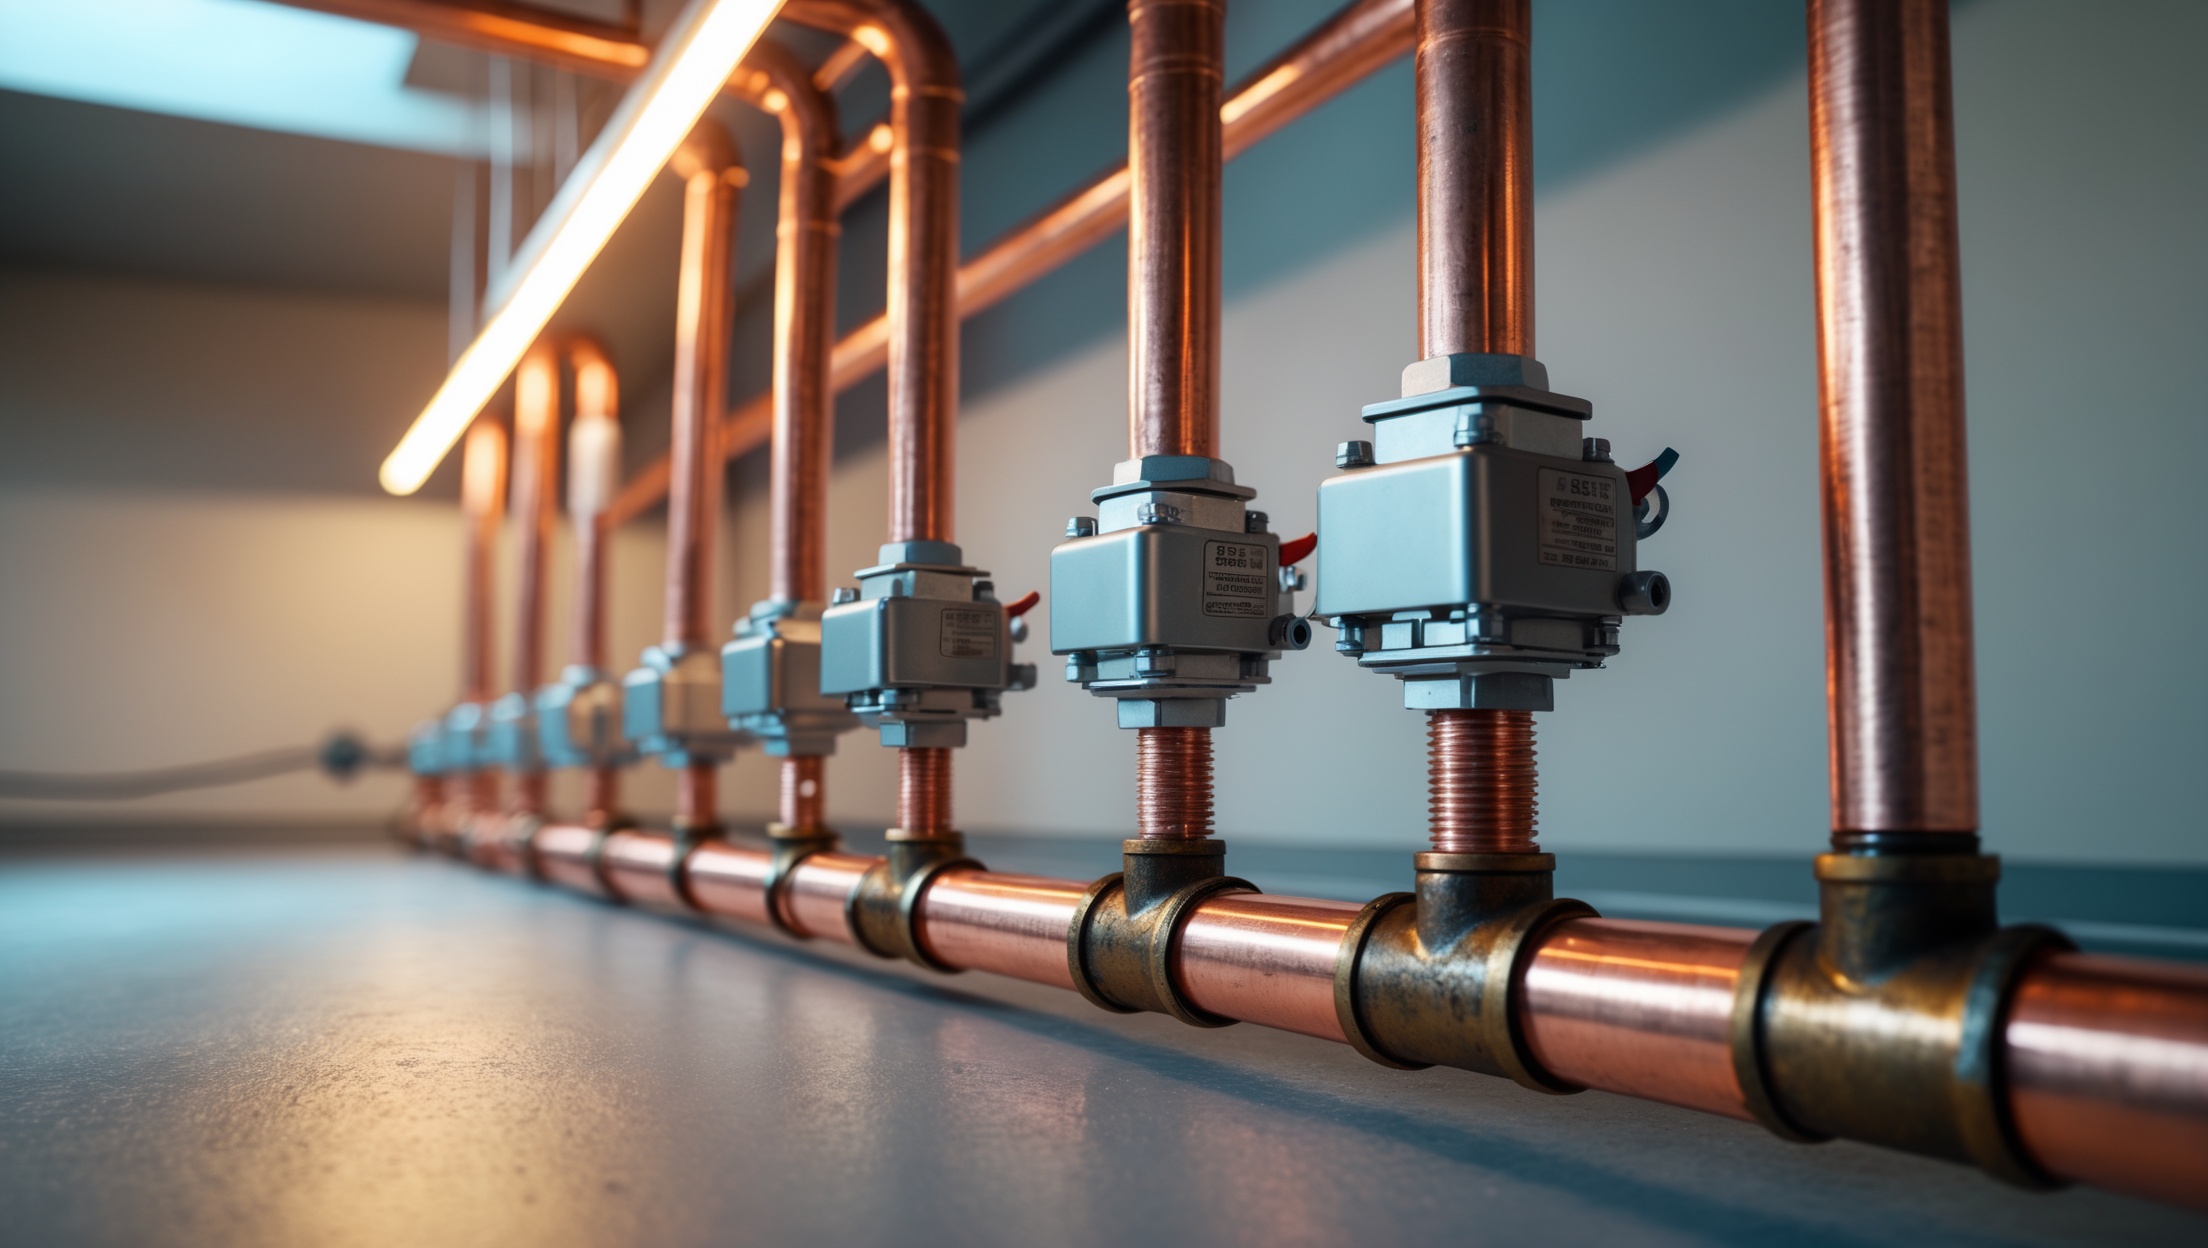
- Insulate exposed hot water pipes to reduce standby heat loss.
- Install a water heater blanket (for older, uninsulated tanks).
- Lower temperature setting to 120°F (49°C).
- Use low-flow fixtures to reduce hot water demand.
- Schedule showers and laundry to avoid peak usage (helps tankless units work more efficiently).
- Replace aging units with ENERGY STAR models for long-term savings.
Troubleshooting Common Water Heater Problems
1. No Hot Water
- Check power supply or pilot light (electric/gas).
- Test heating elements (electric) with a multimeter.
- Reset high-temperature cutoff switch.
2. Not Enough Hot Water
- Increase tank thermostat setting if safe.
- Flush sediment buildup.
- Check for undersized unit or increased household demand.
3. Water Leaks
- Inspect valves, connections, and tank bottom for leaks.
- Replace failing T&P valve or drain valve if needed.
- If tank itself is leaking, replacement is required.
4. Strange Noises
- Popping or rumbling noise is often sediment boiling—flush the tank.
- Hissing may indicate scale buildup on electric elements.
5. Discolored or Smelly Water
- Flush tank and replace anode rod (rotten egg smell indicates sulfur bacteria).
- Consult a plumber for persistent odor or rust.
When to Repair vs. Replace Your Water Heater
Signs It’s Time for Replacement
- Tank is over 10–12 years old (tankless: 15–20 years)
- Rusty water or tank corrosion
- Frequent repairs or leaks
- Higher energy bills without explanation
- Visible cracks or excessive rust on the tank
Repairable Issues
- Replaceable heating element or thermostat
- Leaking T&P or drain valve
- Anode rod replacement
- Minor wiring or pilot light adjustments
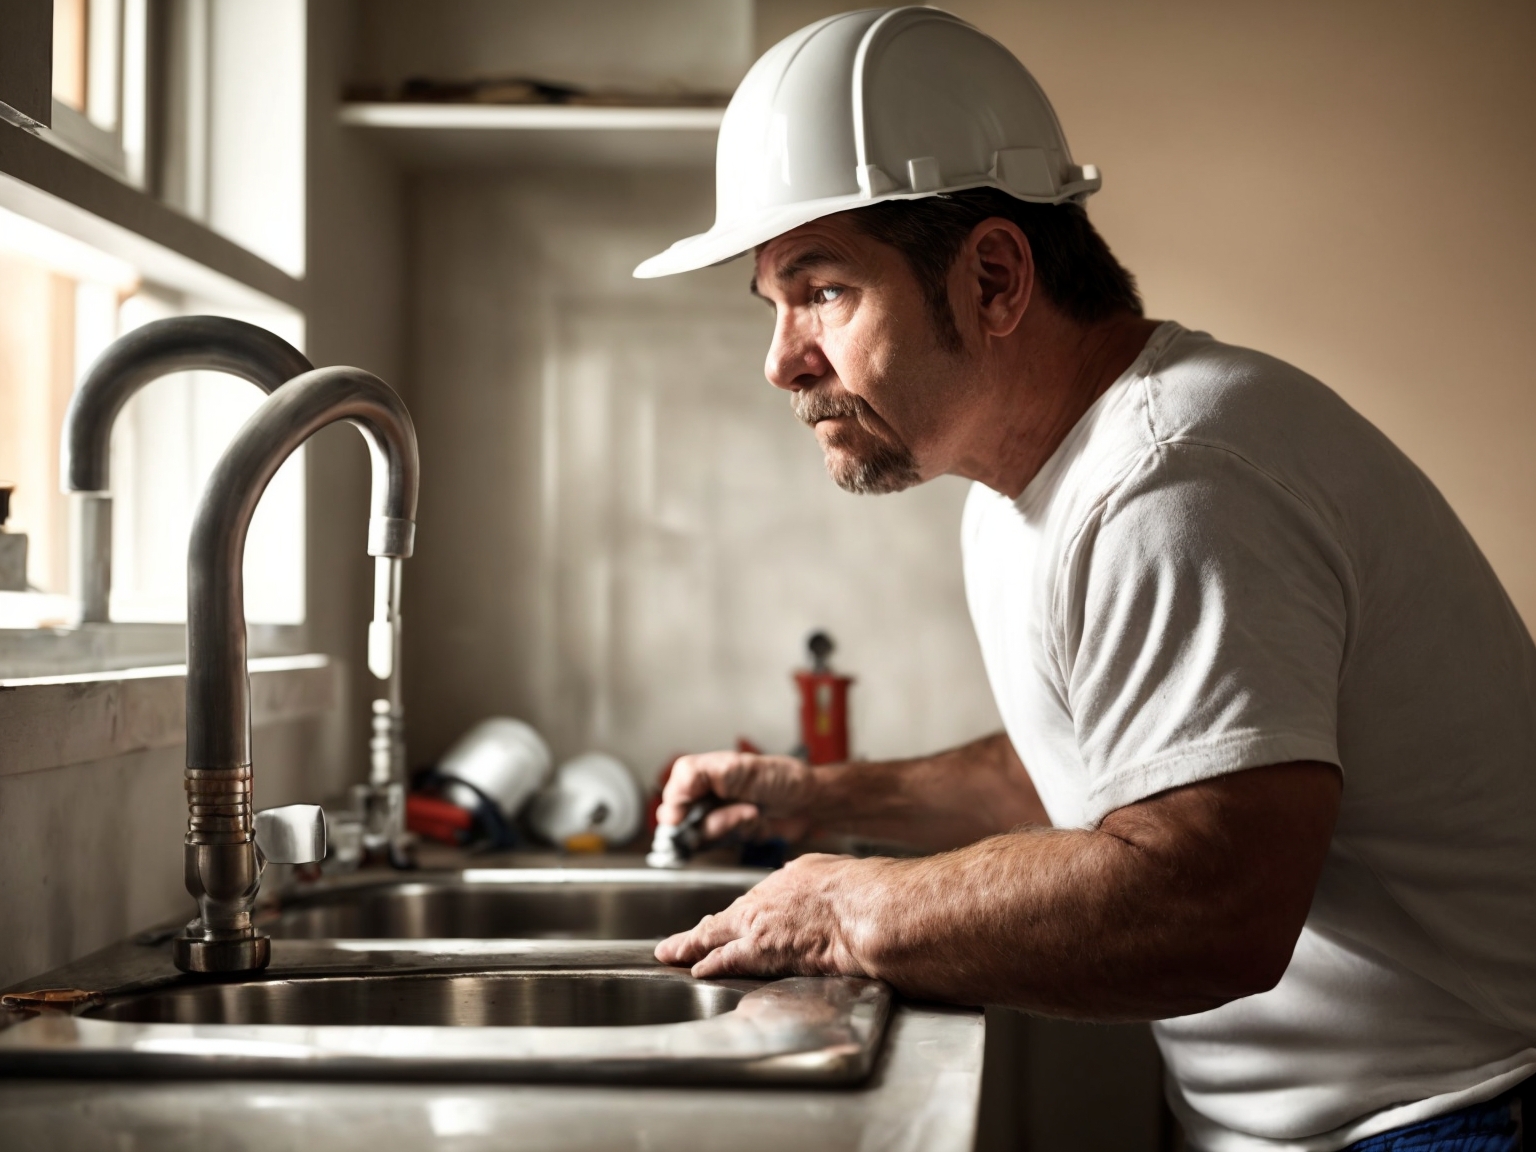
Professional Maintenance: When to Call a Plumber
While most basic maintenance can be performed by a careful DIYer, call a licensed plumber if you notice:
- Persistent leaks, pooling water, or signs of tank failure
- Unusual smells (gas, burning, or rotten eggs)
- Complex electrical or gas issues
- Repeated tripping of circuit breakers
- Unfamiliar or confusing error codes (tankless models)
Professional servicing is especially recommended for multi-family properties, commercial systems, and when the water heater is located in a place where leaks could cause major damage.
Conclusion: Making Water Heater Maintenance a Habit
Water heater maintenance isn’t just about prolonging the life of your equipment—it’s about ensuring the safety, efficiency, and comfort of your home. A well-maintained water heater can save you hundreds of dollars annually in energy costs, reduce the risk of inconvenient breakdowns, and provide peace of mind knowing that your hot water supply is reliable. With just a few hours each year, you can flush sediment, check safety features, and spot small issues before they become big problems. Tankless or tank-style, the same principle holds: prevention is far cheaper and easier than dealing with a flooded basement or a cold shower on a winter morning. Don’t wait for a leak or an ice-cold tap to remind you—put these maintenance steps on your calendar, gather the right tools, and take charge of your home’s hot water health. And if you ever feel uncertain, don’t hesitate to call a plumbing professional. A little attention now guarantees comfort, efficiency, and savings for years to come.


Linda Thomas
I have a tank-style water heater that’s about 10 years old. How often should I be checking or replacing the anode rod to make sure I’m preventing corrosion, and is this something I can do myself or do I need a professional?