
Introduction: Why an Annual Plumbing Audit Matters
Many property owners only think about their plumbing system when a leak, clog, or burst pipe disrupts daily life. But by then, what was a minor issue may have escalated into a costly, stressful repair. The truth is, plumbing systems rarely fail without warning—signs of trouble usually appear months or even years in advance. Conducting a thorough annual plumbing system audit is one of the smartest investments you can make as a homeowner or property manager. It’s your chance to catch small leaks before they cause water damage, spot corrosion before pipes rupture, and ensure your water supply is safe and efficient all year long.
This guide provides a step-by-step, room-by-room checklist for auditing your plumbing system. Whether you’re a hands-on DIYer or prefer to hire a professional, you’ll learn exactly what to check, how to prioritize repairs, and which warning signs should never be ignored. Our expert tips will help you extend the lifespan of your plumbing, maintain property value, and avoid the most common (and expensive) plumbing emergencies. Ready to take control of your home’s plumbing health? Let’s get started.
Preparing for Your Audit: Tools and Records
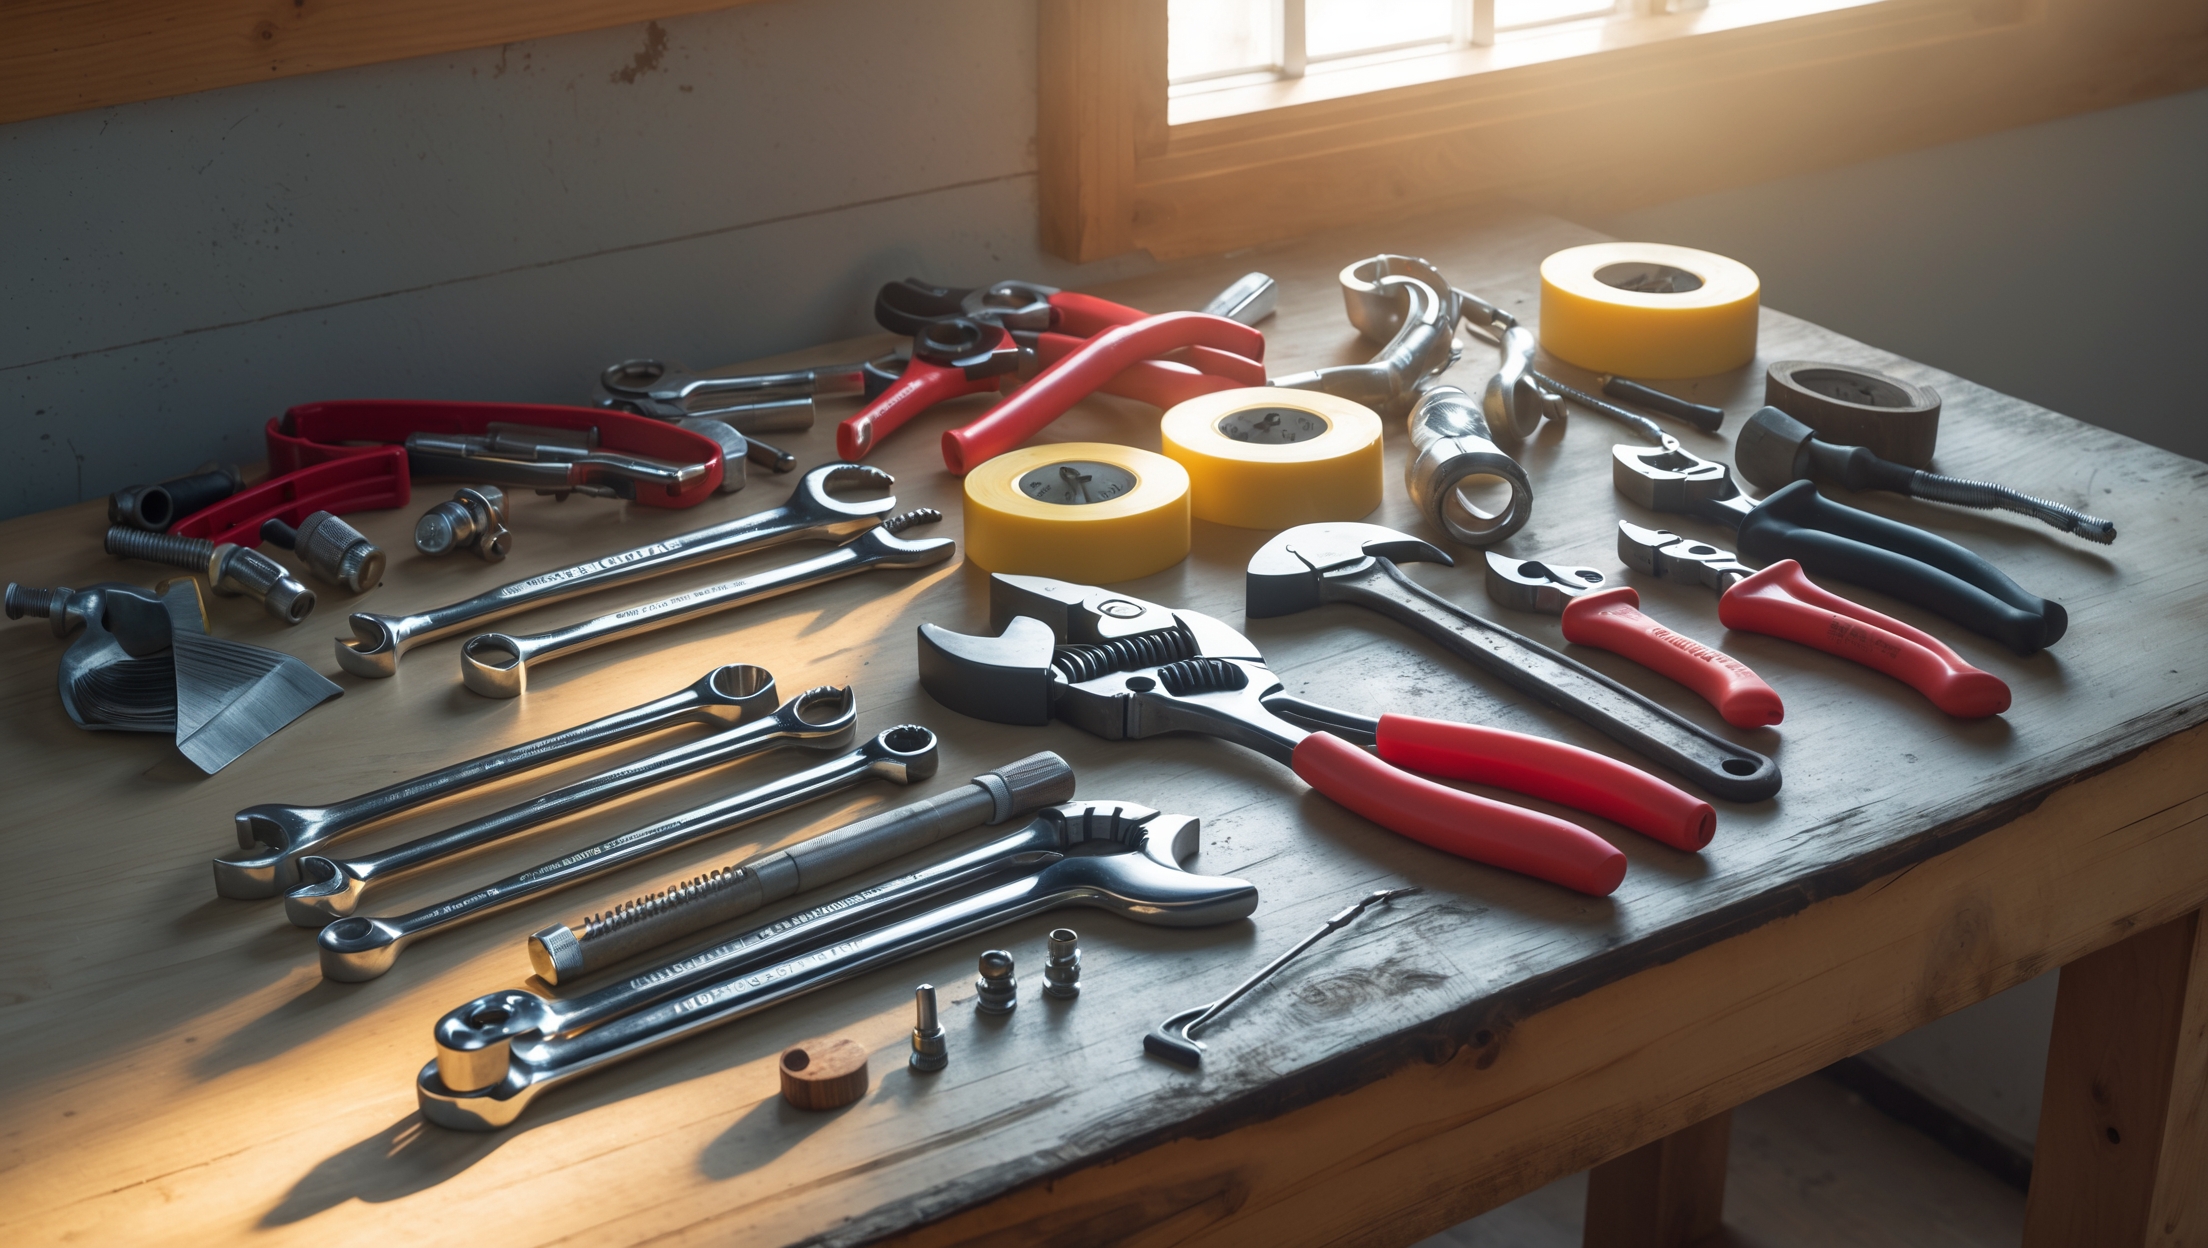
Essential Tools and Supplies
- Flashlight or headlamp (for inspecting dark crawlspaces and under sinks)
- Adjustable wrench
- Bucket or shallow tray (to catch drips)
- Dry cloths or paper towels
- Plumber’s tape (Teflon tape)
- Gloves and knee pads
- Smartphone or camera (to document issues)
- Notebook or digital checklist
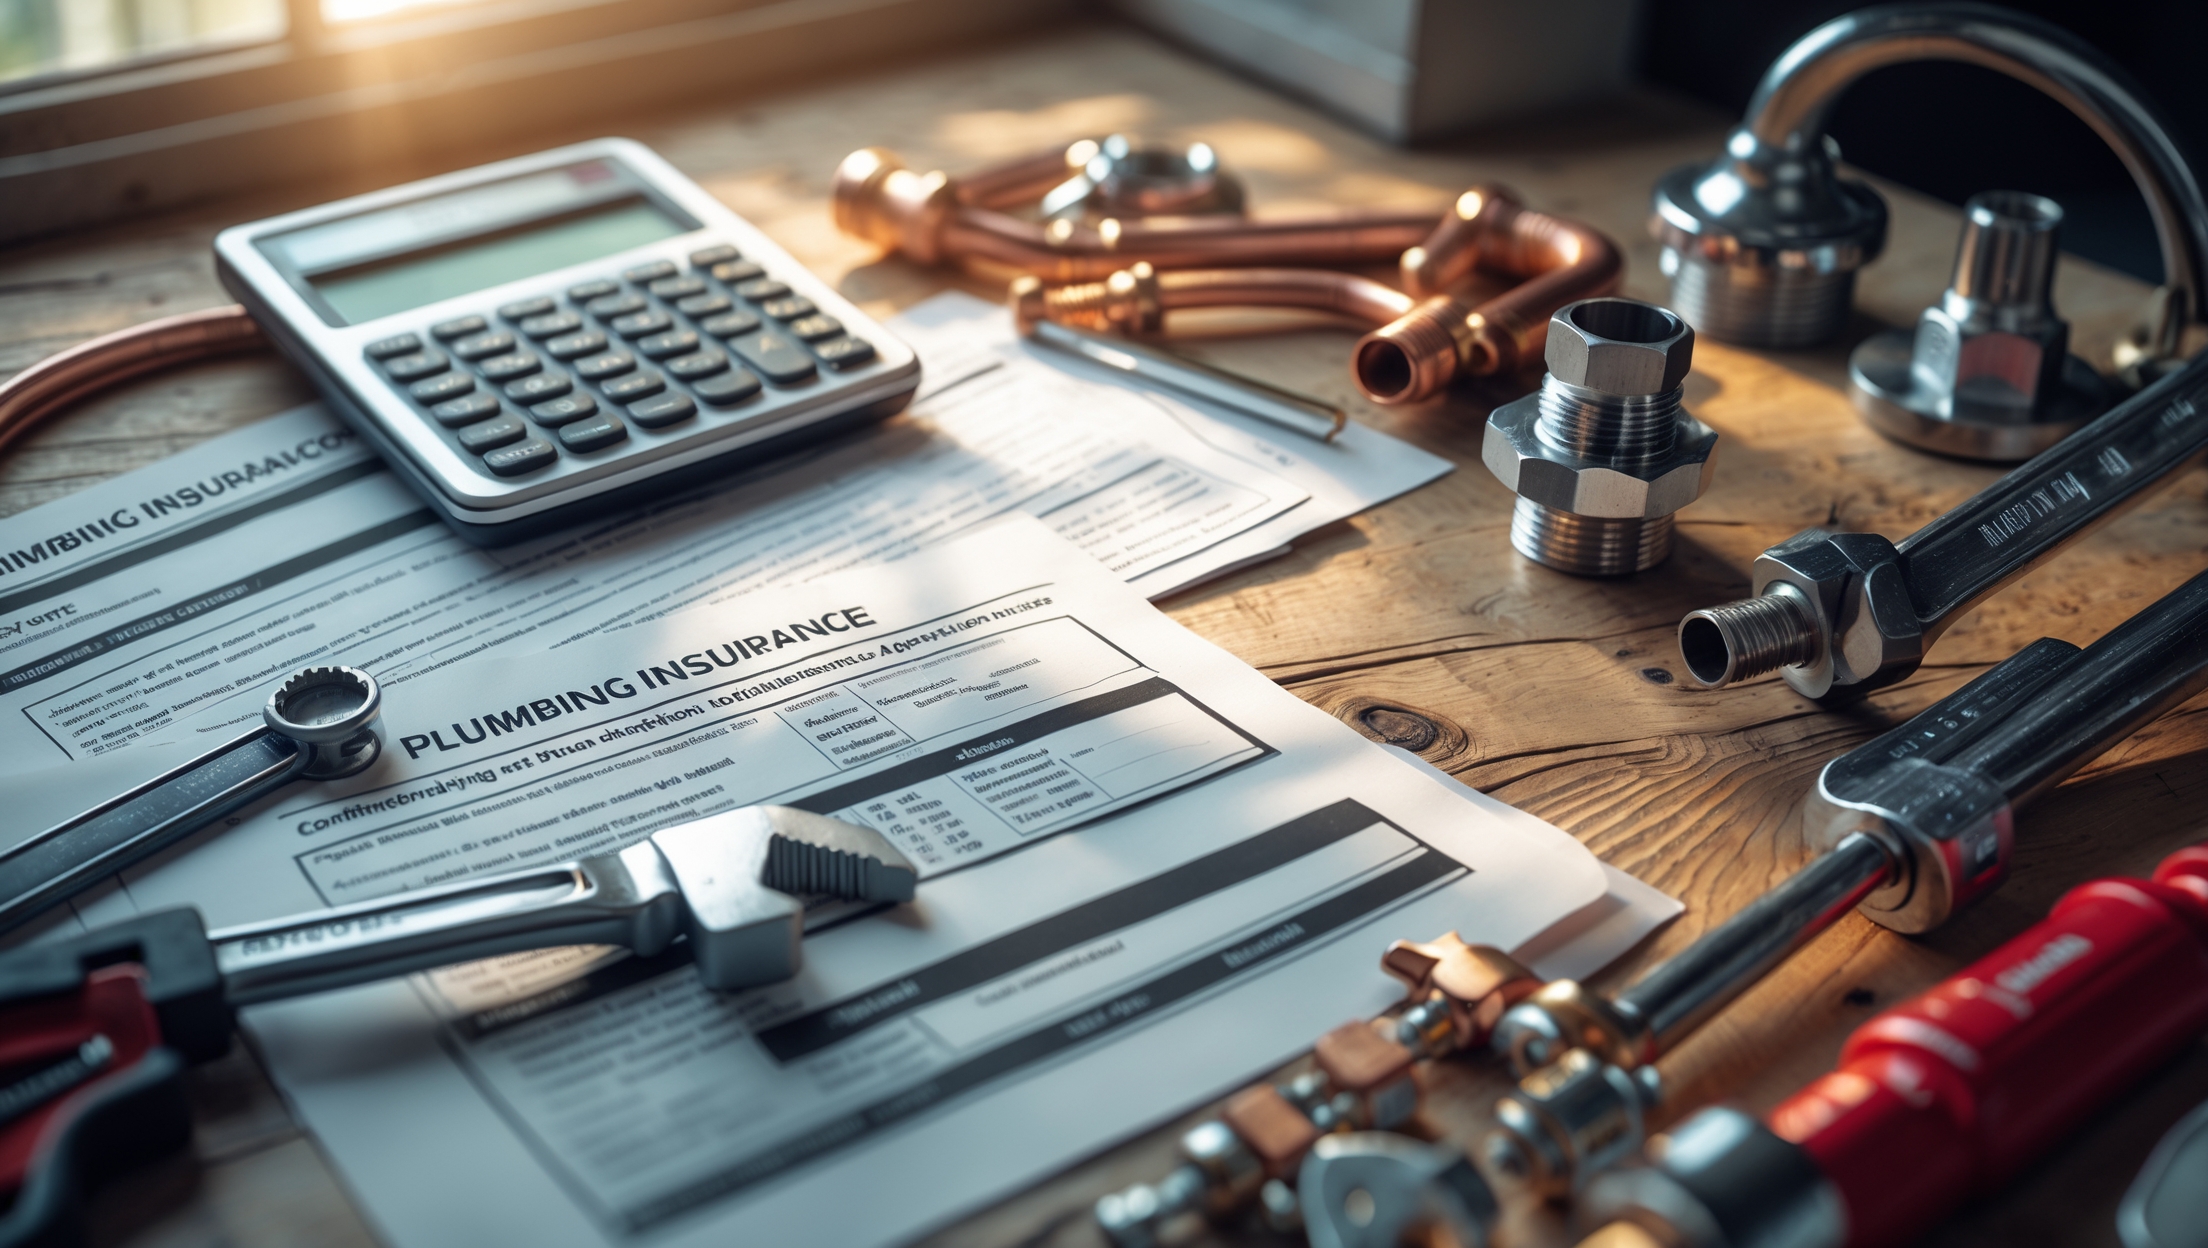
Gathering Past Records
- Previous plumbing repair invoices
- Water utility bills (to spot unexplained increases)
- Water quality test results (if available)
- Appliance installation and maintenance manuals
Having these tools and documents on hand ensures a thorough and efficient audit. If you discover a serious issue—such as a leaking main shutoff or signs of mold—contact a licensed plumber immediately.
Main Water Supply: The Audit Starting Point
Locate and Test the Main Shutoff Valve
Find your main water shutoff valve, usually located where the main water line enters your property (often the basement, utility room, or crawlspace). Test it by turning it off and on—ensure it moves smoothly and fully closes. A stuck or corroded valve can delay emergency response and should be replaced.
Check the Water Meter for Leaks
- Turn off all faucets and appliances that use water.
- Note the water meter reading; wait 30–60 minutes.
- If the reading changes, suspect a hidden leak.
Document any discrepancies and investigate further in the home.
Interior Plumbing: Room-by-Room Inspection
Kitchen
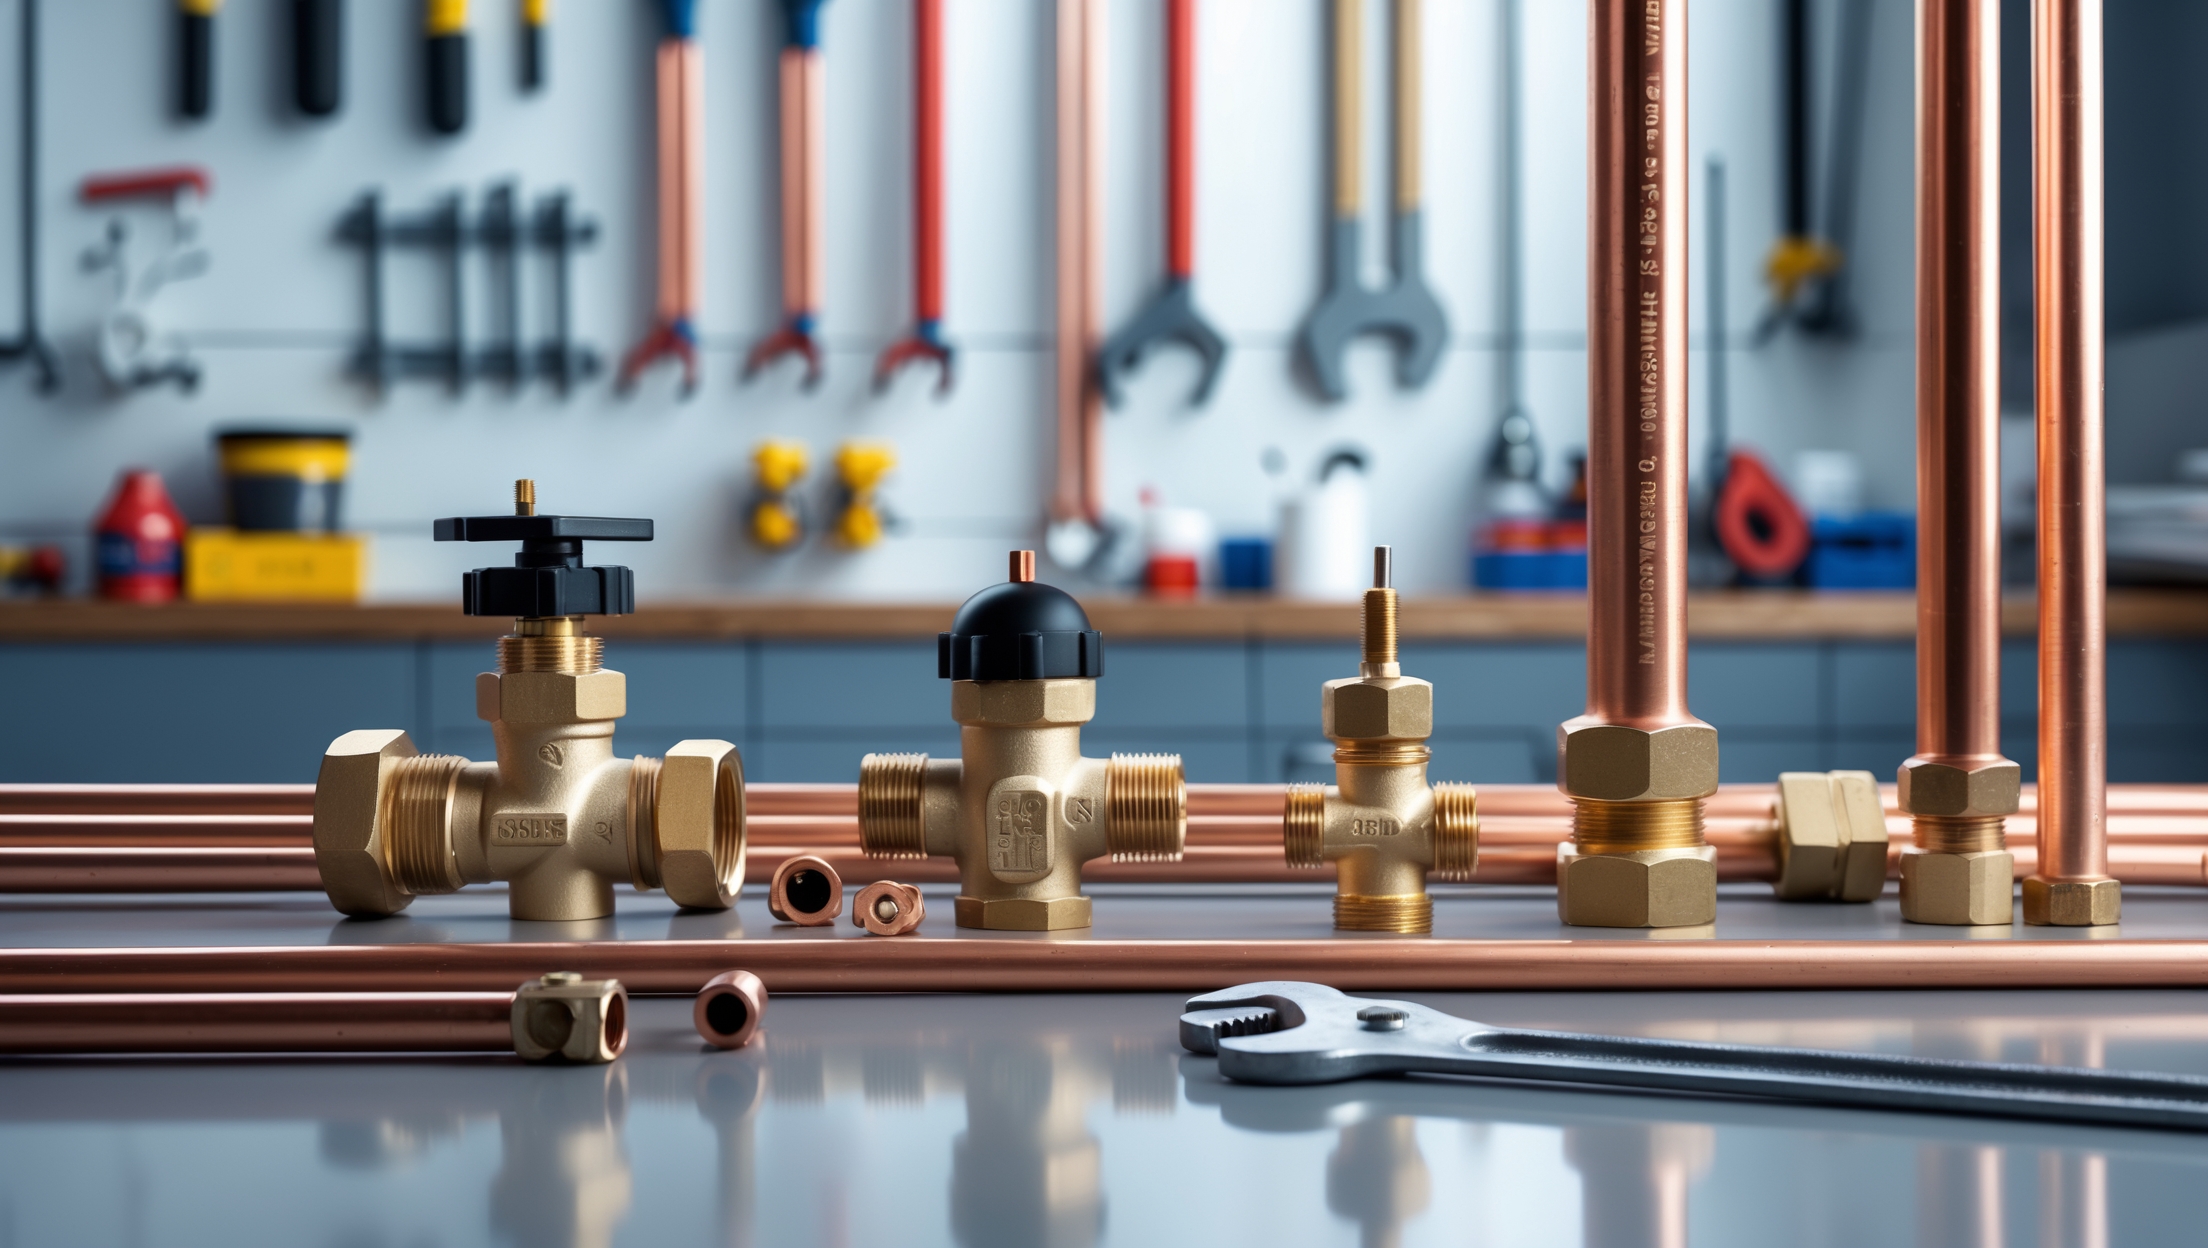
- Faucets: Check for drips, corrosion, and leaks at the base or under the sink.
- Sink Drain: Run water, watch for slow drainage or gurgling (signs of partial clogs).
- Supply Lines: Inspect both hot and cold supply lines for bulges, rust, or moisture.
- Dishwasher: Check the hose connections for leaks and inspect the drain hose for kinks.
- Garbage Disposal: Run it briefly, listen for unusual noises, and check for leaks underneath.
Bathrooms
- Toilets: Inspect for leaks at the base and tank. Put a few drops of food coloring in the tank—if color appears in the bowl within 30 minutes, the flapper is leaking.
- Sinks, Showers, and Tubs: Test all fixtures for drips, water pressure consistency, and drainage speed.
- Shutoff Valves: Test operation of supply shutoffs under sinks and behind toilets.
- Caulking and Grout: Inspect around tubs, showers, and sinks for cracks or gaps that could allow water intrusion.
Laundry Room
- Washing Machine Hoses: Inspect hoses for bulges, cracks, or leaks. Replace rubber hoses with braided stainless steel for added safety.
- Drain: Check for slow draining or backup signs.
- Utility Sink: Inspect for leaks and water stains below.
Water Heater
- Visual Inspection: Look for rust, corrosion, or water pooling at the base.
- Temperature and Pressure Relief Valve: Briefly lift the test lever to ensure it moves freely—replace if stuck.
- Venting (for gas models): Check that flue pipes are connected and free of obstructions.
- Age: If your unit is over 10–12 years old, consider proactive replacement.
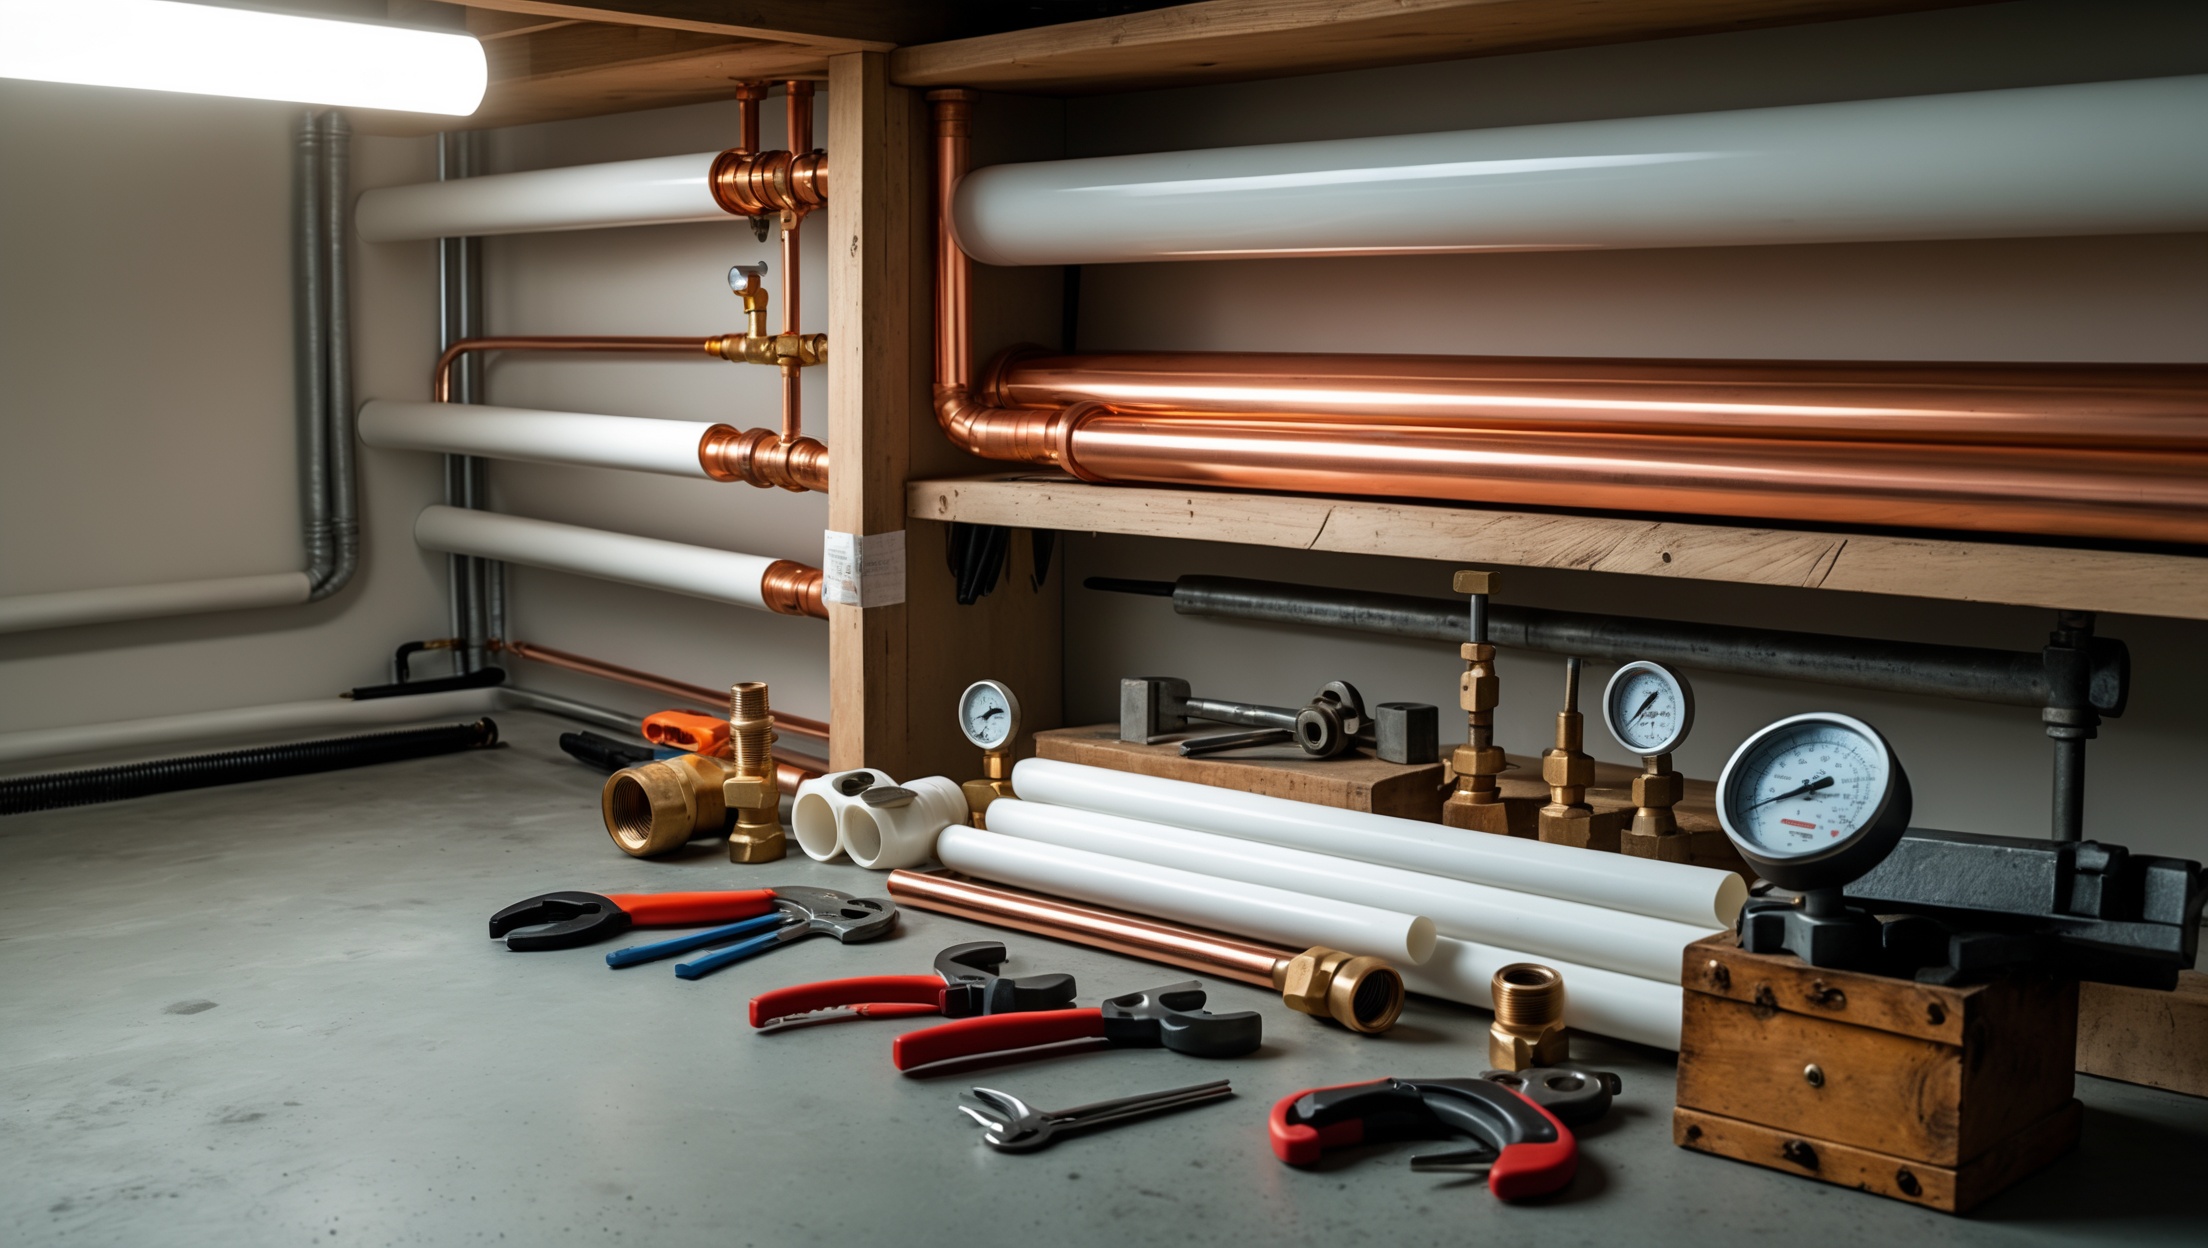
Basement and Crawlspaces
- Exposed Pipes: Check for condensation, corrosion, and pinhole leaks.
- Insulation: Ensure pipes in cold areas are properly insulated to prevent freezing.
- Sump Pump: Test operation and inspect discharge pipe for obstructions.
Exterior Plumbing Systems
Hose Bibbs and Outdoor Faucets
- Check for leaks while running and after shutting off.
- Ensure anti-siphon devices or vacuum breakers are installed and functional.
- Inspect for winterization damage if located in a cold climate.
Sprinkler and Irrigation Lines
- Visually inspect exposed pipes and valves for leaks or damage.
- Check zone operation and adjust spray patterns to avoid water waste.
- Test backflow preventer (if present) for proper operation.
Sewer and Septic Connections
- Look for signs of backup, standing water, or foul odors near exterior cleanouts.
- Ensure cleanout caps are secure and accessible.
- If you have a septic system, schedule an inspection and pumping every 3–5 years, or as recommended.
Common Issues and Early Warning Signs
Visible Leaks and Water Stains
Any sign of moisture on floors, walls, or ceilings near plumbing fixtures should be investigated promptly. Even small leaks can lead to mold or structural damage over time.
Water Pressure Fluctuations
Sudden drops in water pressure could indicate a leak, mineral buildup, or failing pressure regulator. Note which fixtures are affected to help narrow down the cause.
Unusual Noises
Banging, rattling, or whistling noises in pipes (called “water hammer”) often result from loose pipes or high pressure. Addressing these issues early can prevent joint failure or burst pipes.
Discolored or Odorous Water
Rusty, cloudy, or foul-smelling water may signal pipe corrosion, bacterial growth, or a problem with your water heater. Consider scheduling a water quality test for peace of mind.
Prioritizing Repairs and Upgrades
High-Priority Issues
Address these immediately to avoid property damage and health risks:
- Active leaks or water pooling
- Corroded or bulging pipes
- Blocked drains or sewage backups
- Nonfunctioning shutoff valves
- Water heater leaks or venting issues
Medium-Priority Issues
Plan to fix these within the next month:
- Dripping faucets or running toilets
- Slow drains
- Minor corrosion or insulation gaps
- Old washing machine hoses
Low-Priority / Preventive Upgrades
- Install water leak detectors and shutoff sensors
- Upgrade to low-flow fixtures for water savings
- Replace out-of-date supply lines and valves
- Insulate exposed hot water pipes for efficiency
Documenting and Scheduling
Keep a Digital Plumbing Log
Record all findings, repairs, and upgrades in a digital document or home maintenance app. Photos are invaluable for tracking changes over time and communicating with professionals.
Set Reminders for Recurring Tasks
- Annual water heater flush (or as recommended by manufacturer)
- Testing sump pump every spring and fall
- Replacing supply hoses every 5 years
- Professional inspection every 2–3 years
When to Call a Professional
While confident DIYers can handle much of the annual audit, some issues require a licensed plumber’s expertise. Call in a pro for:
- Major leaks or water damage
- Sewer line backups or odors
- Gas water heater venting problems
- Whole-house pressure problems
- Suspected code compliance issues
Professional inspections may also include video pipe scoping, leak detection with advanced equipment, and water quality analysis for added peace of mind.
Conclusion: The Value of Proactive Plumbing Care
An annual plumbing system audit is much more than a routine check—it’s a proactive strategy that protects your property, wallet, and peace of mind. By systematically reviewing your main supply, fixtures, appliances, and exterior plumbing, you can catch wear and tear before it becomes a crisis. Early detection of leaks, corrosion, or failing components often means a quick, inexpensive repair instead of an emergency call and major water damage.
Just as you wouldn’t drive your car for years without regular maintenance, your home’s plumbing deserves the same attention. Today’s effort—armed with our expert checklist—can extend the lifespan of your pipes and appliances, reduce your utility bills, and ensure safe, reliable water for everyone in your home. Whether you conduct your audit yourself or enlist a professional, make it a fixed part of your annual home maintenance calendar. Your future self (and your property value) will thank you.
Remember, the best time to fix a plumbing problem is before it happens. Start your annual audit this season, keep detailed records, and enjoy worry-free plumbing for years to come.


Ashley White
I noticed you recommend gathering appliance installation and maintenance manuals ahead of the audit. What specific information from these manuals should I be looking for to help with the plumbing inspection process?