Introduction: Why Your Plumbing Toolkit Matters
Every successful plumbing project, whether it’s a simple faucet fix or a complex system overhaul, starts with the right tools. Yet, for many homeowners and aspiring DIYers, the world of plumbing tools can feel overwhelming. Walk into any hardware store and you’re met with rows of pipe wrenches, specialty pliers, cutters, and gadgets you may never have heard of. Even seasoned professionals constantly evaluate which tools deserve a coveted spot in their kit as new technology and materials emerge. Choosing, organizing, and maintaining a plumbing toolkit tailored to your skill level is not just about convenience—it’s about efficiency, safety, and quality results. In this comprehensive guide, we’ll break down exactly what you need, from absolute beginners to advanced DIYers and professionals. We’ll cover must-have essentials, smart upgrades, organization tactics, and maintenance tips to ensure your toolkit is always ready for action. Whether you’re tightening your first compression fitting or streamlining your mobile repair kit, this is your trusted source for building the ideal plumbing toolkit.
Assessing Your Plumbing Needs: Skill Level and Project Scope
Understanding Project Types
Before investing in tools, consider the types of plumbing work you plan to tackle. Typical projects fall into these categories:
- Basic Repairs: Fixing leaks, replacing washers, tightening fittings.
- Fixture Installation: Faucets, showerheads, toilets, and sinks.
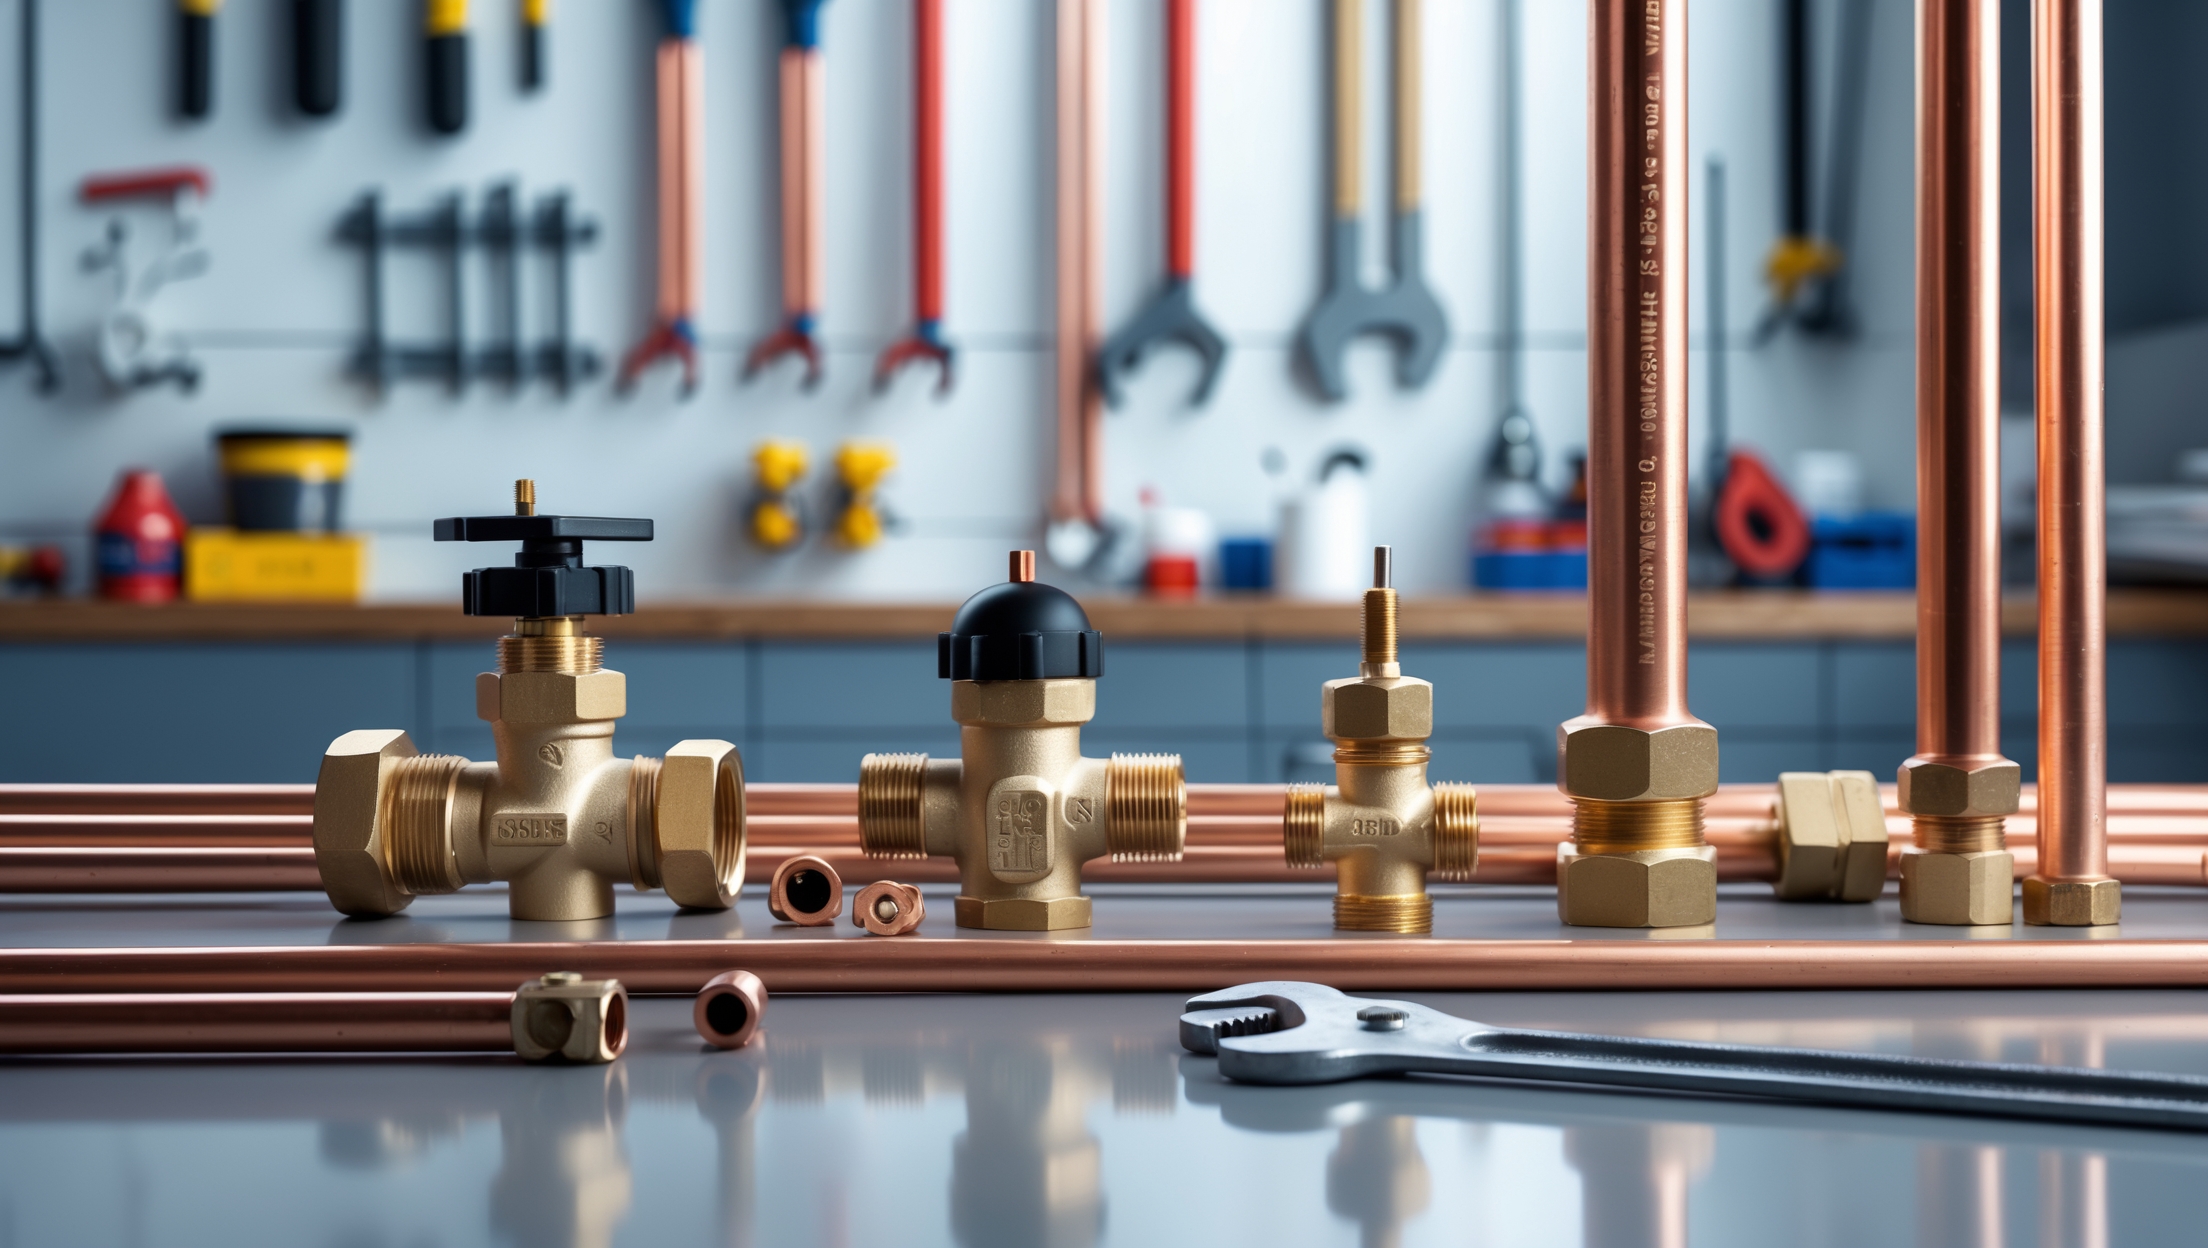
- Pipe Work: Cutting, joining, or replacing pipes (copper, PVC, PEX).
- Advanced Projects: Water heater installs, rough-ins, major remodels.
Skill Level Breakdown
- Beginner: Occasional repairs and basic fixture swaps.
- Intermediate DIYer: Comfortable with pipe cutting, soldering, minor rerouting.
- Professional: Full-service installations, troubleshooting, code compliance.
Identifying your typical project scope and honest skill assessment is key to assembling a toolkit that’s practical—without overspending or underpreparing.
Starter Plumbing Toolkit: Essentials for Beginners
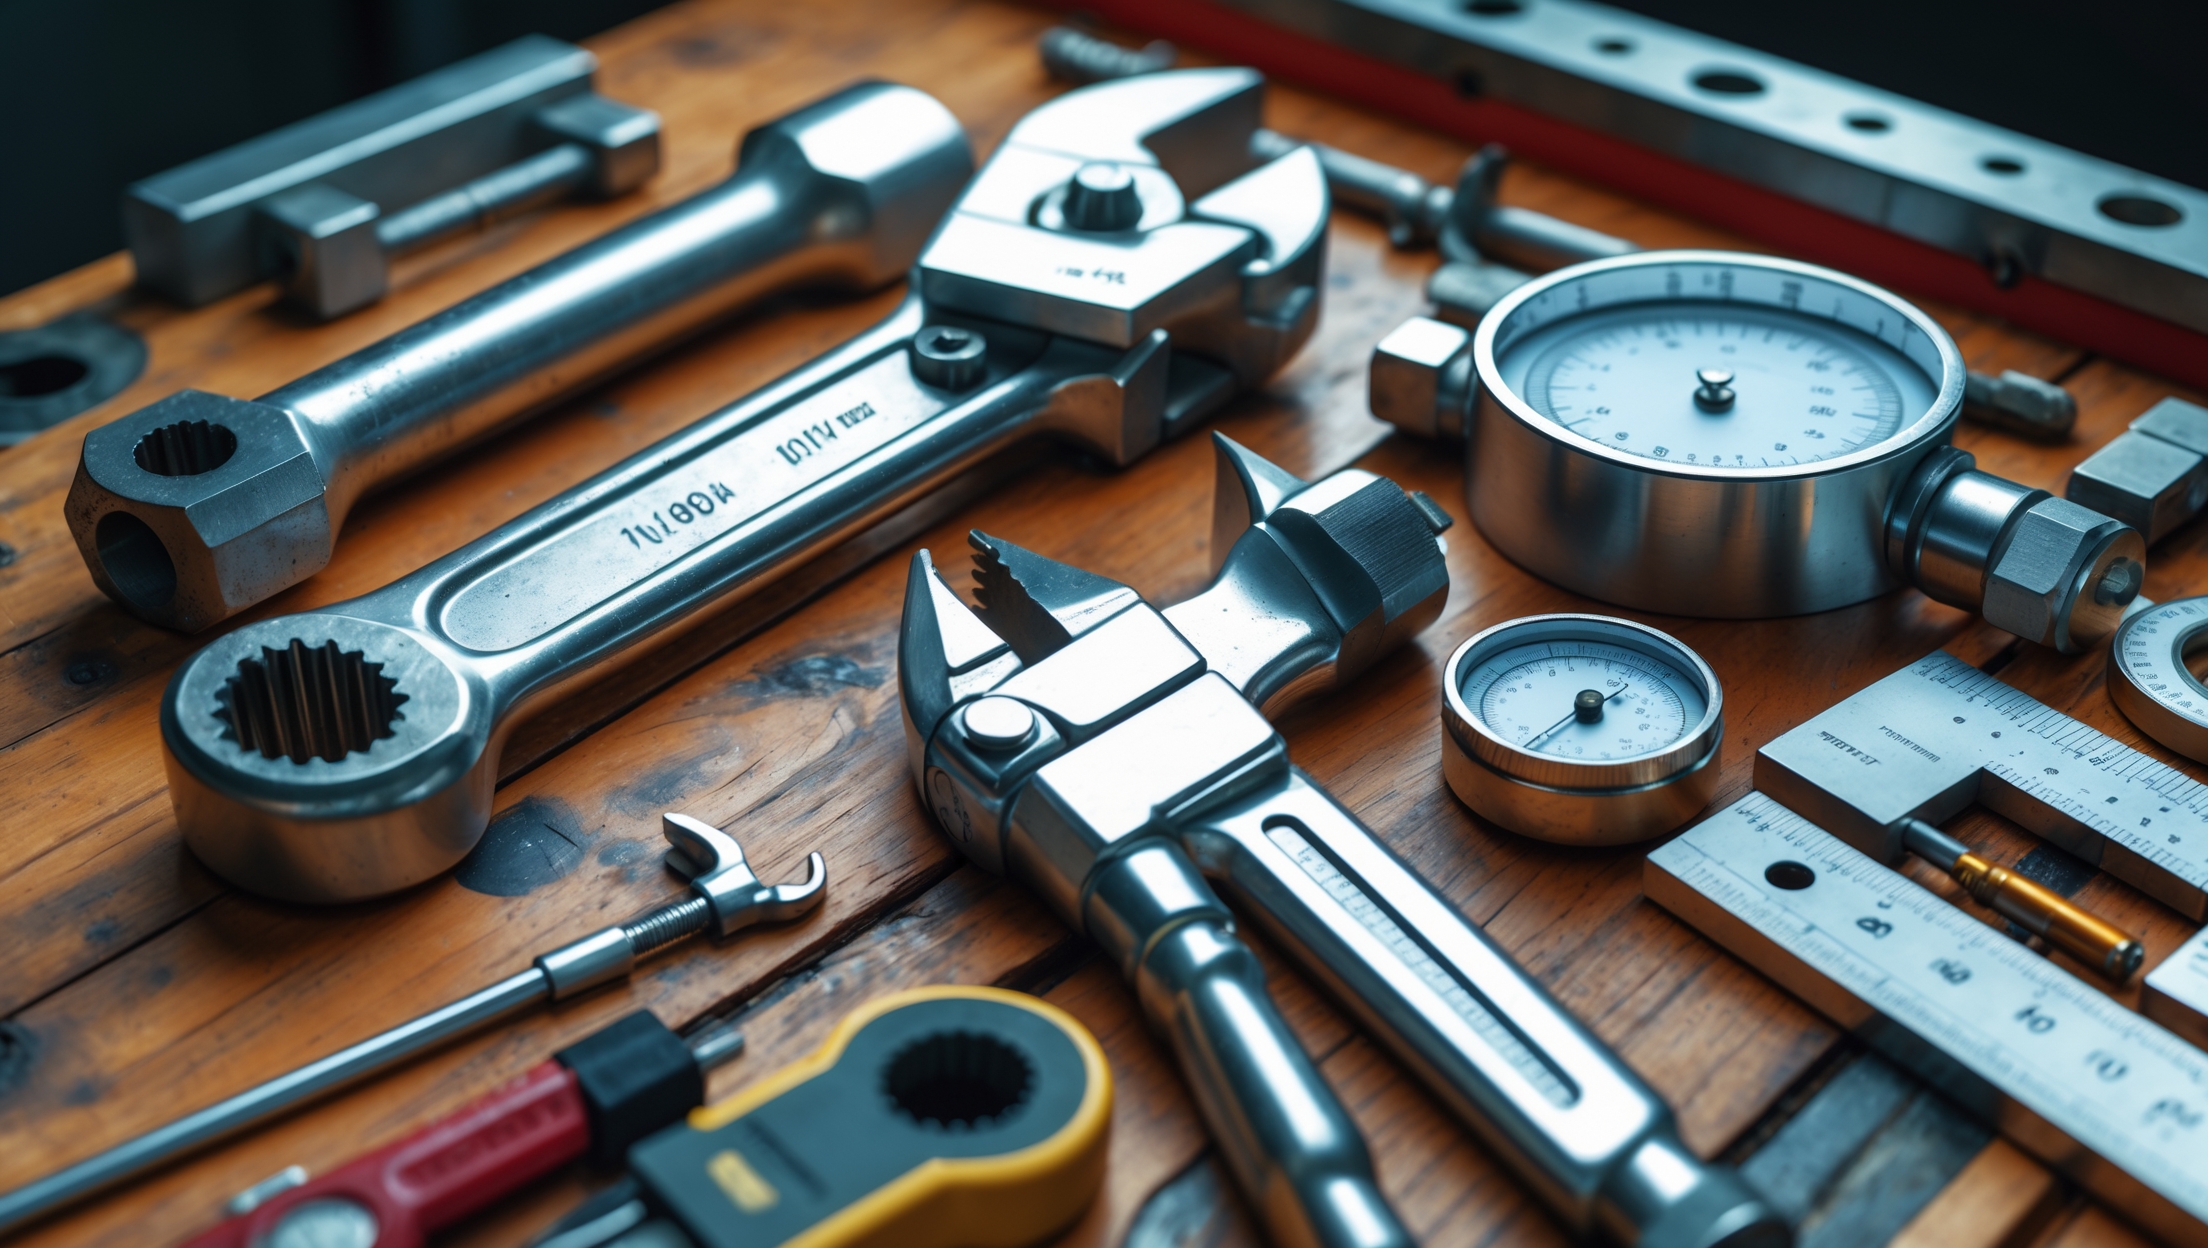
Must-Have Tools
If you’re new to plumbing, start with a focused set of versatile, reliable tools:
- Adjustable Wrench (8- or 10-inch): For tightening or loosening nuts and bolts on supply lines and fixtures.
- Channel-Lock Pliers (Groove-Joint Pliers): Wide jaw opening for gripping pipes and fittings.
- Pipe Wrench (12-inch): Essential for turning and holding metal pipes.
- Plunger: Cup plunger for sinks and flange plunger for toilets.
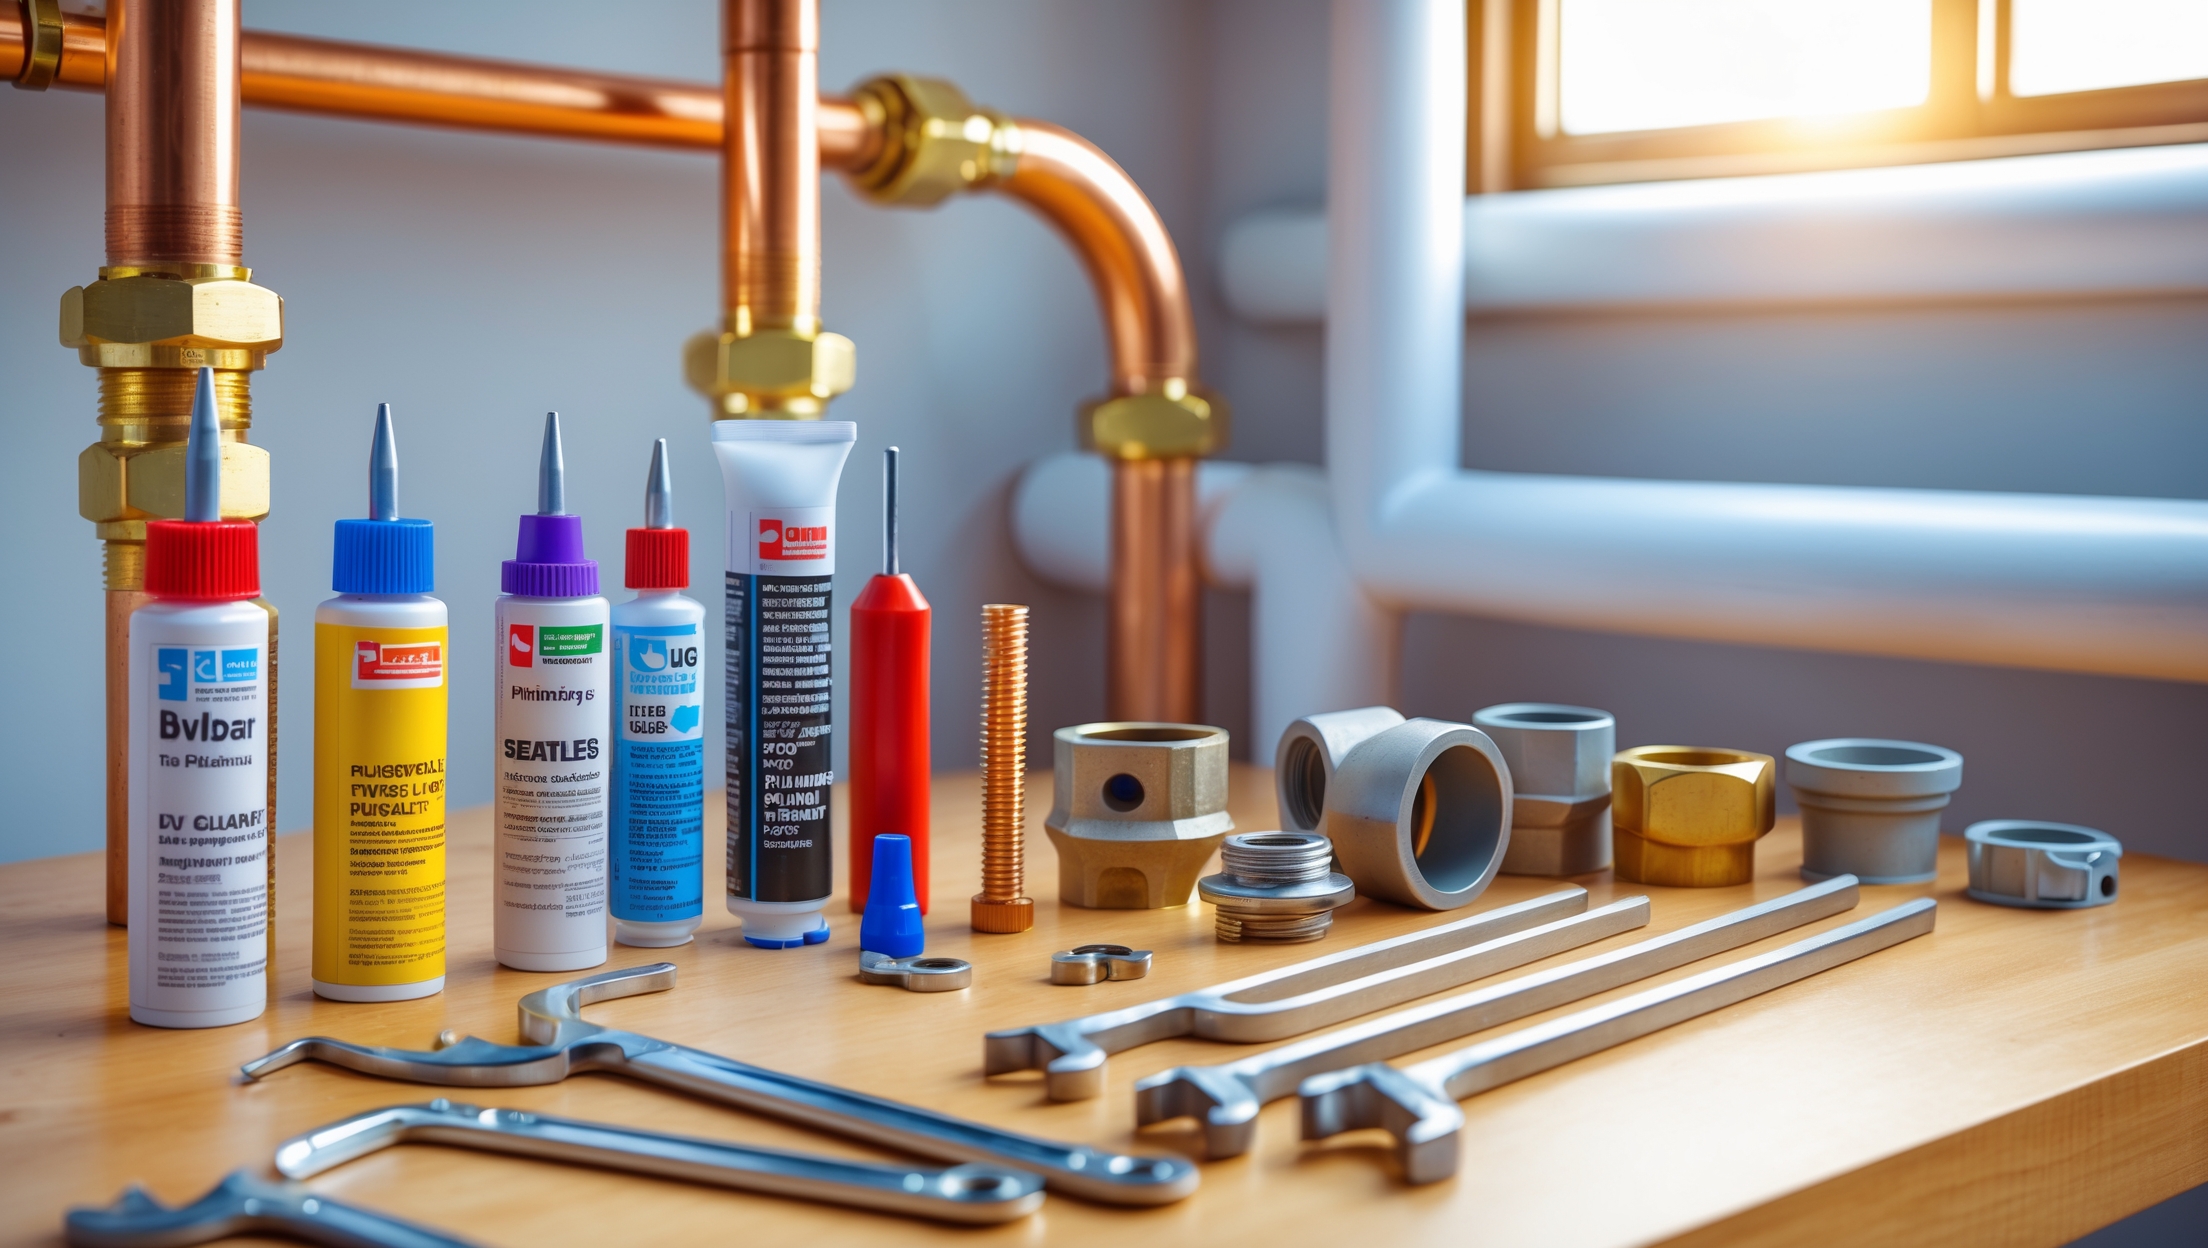
- Teflon (PTFE) Tape: Seals threaded connections, prevents leaks.
- Basin Wrench: Reaches nuts in tight spots under sinks.
- Hacksaw: Cuts metal or plastic pipes and hardware.
- Measuring Tape: For accurate cuts and fitting placement.
- Flashlight or Headlamp: Illuminates dark spaces under sinks or behind toilets.
Why These Tools?
Each of these tools addresses a common beginner challenge—tightening fittings, cutting pipe, or clearing clogs—without requiring advanced skills or significant investment.
Expanding Your Kit: Upgrades for Intermediate DIYers
Specialty Tools for Broader Projects
As your confidence grows, so should your toolkit. Consider adding:
- Pipe Cutter (Copper and PVC): Delivers clean, square cuts for leak-free joints.
- Propane Torch: For soldering copper pipes (requires practice and safety precautions).
- Tube Bender: Bends copper or PEX tubing with precision—ideal for tight spaces.
- PEX Crimp Tool and Cinch Clamps: For modern PEX plumbing systems.
- Deburring Tool: Removes sharp edges after cutting pipes to prevent leaks and injuries.
- Drain Snake (Auger): Clears stubborn clogs beyond plunger reach.
- Pipe Dope (Thread Sealant): Alternative or addition to PTFE tape for metal threads.
- Stubby Screwdriver Set: For tight-quarters screw access.
- Bucket and Absorbent Towels: For water catchment and spill cleanup.
Tool Quality and Brands
Invest in reputable brands for high-use tools—cheap pipe cutters or wrenches often slip, bend, or break, risking injury and poor outcomes. Look for reviews or ask pros at your local supply house for recommendations.
Pro-Level Plumbing Toolkit: The Complete Setup
Essential Professional Tools
For tradespeople or ambitious DIYers tackling whole-home or commercial projects, a comprehensive toolkit includes:
- Assorted Pipe Wrenches (10-, 14-, and 18-inch): For various pipe diameters and leverage needs.
- Internal Pipe Wrenches: Remove broken pipe fittings from inside.
- Inspection Camera (Borescope): Visualize inside pipes and drains for diagnostics.
- Press Tool for Copper/PEX: Enables rapid, solderless connections (costly, but efficient).
- Reaming and Flaring Tools: For prepping and expanding pipe ends.
- Pipe Freezing Kit: Temporarily freezes water in lines for repairs without draining.
- Reciprocating Saw: Quick demolition and pipe cutting.
- Pressure Test Gauge: Ensures system holds specified pressure (critical for code compliance).
- Plumbing Torch with Trigger Ignition: Faster, safer lighting for soldering jobs.
- Hole Saw Kit: Cuts clean holes in wood or drywall for pipe runs.
- Pipe Threader: Required for custom threading steel or iron pipes.
- Water Key: Accesses municipal curb stops for shutoff.
Consumables and Safety Gear
- Assorted Washers and O-Rings: For quick replacements.
- Gloves: Protects against chemicals and sharp edges.
- Safety Glasses: Shields eyes from debris and splashes.
- Respirator Mask: Ideal for demolition or working with solvents.
- First Aid Kit: Immediate care for cuts or burns.
Tool Maintenance and Calibration
Professional tools demand regular cleaning, lubrication, and calibration. Use manufacturer guidelines for torque wrenches, pressure gauges, and press tools. Keep consumables organized and restocked.
Smart Toolkit Organization: Storage and Mobility
Toolbox or Bag?
Tool storage is often overlooked but hugely impacts efficiency and tool lifespan.
- Toolbox: Offers rigid protection for heavy tools. Good for home storage.
- Tool Bag: Soft-sided with many pockets for quick access. Ideal for mobile jobs.
- Rolling Tool Chest: Best for professionals with large, heavy inventories.
Pro Tips for Organization
- Group tools by function (cutting, gripping, sealing).
- Use labeled pouches for small parts—washers, O-rings, Teflon tape.
- Regularly inventory your toolkit to prevent missing essentials.
- Clean tools after each use to prevent rust and corrosion.
- Store in a dry place—moisture shortens tool life.
Tool Selection by Project: Real-World Scenarios
Scenario 1: Fixing a Leaky Faucet
- Adjustable wrench
- Basin wrench
- Flathead and Phillips screwdrivers
- Replacement washers or cartridges
- Teflon tape
Scenario 2: Installing a New Toilet
- Channel-lock pliers
- Adjustable wrench
- Hacksaw (for bolt trimming)
- Bucket and towels
- Level
Scenario 3: Running New PEX Lines
- PEX crimp tool
- PEX cutter
- Deburring tool
- Measuring tape
- Tubing supports and clamps
Matching your toolkit to the project at hand minimizes frustration and increases the odds of a smooth, code-compliant result.
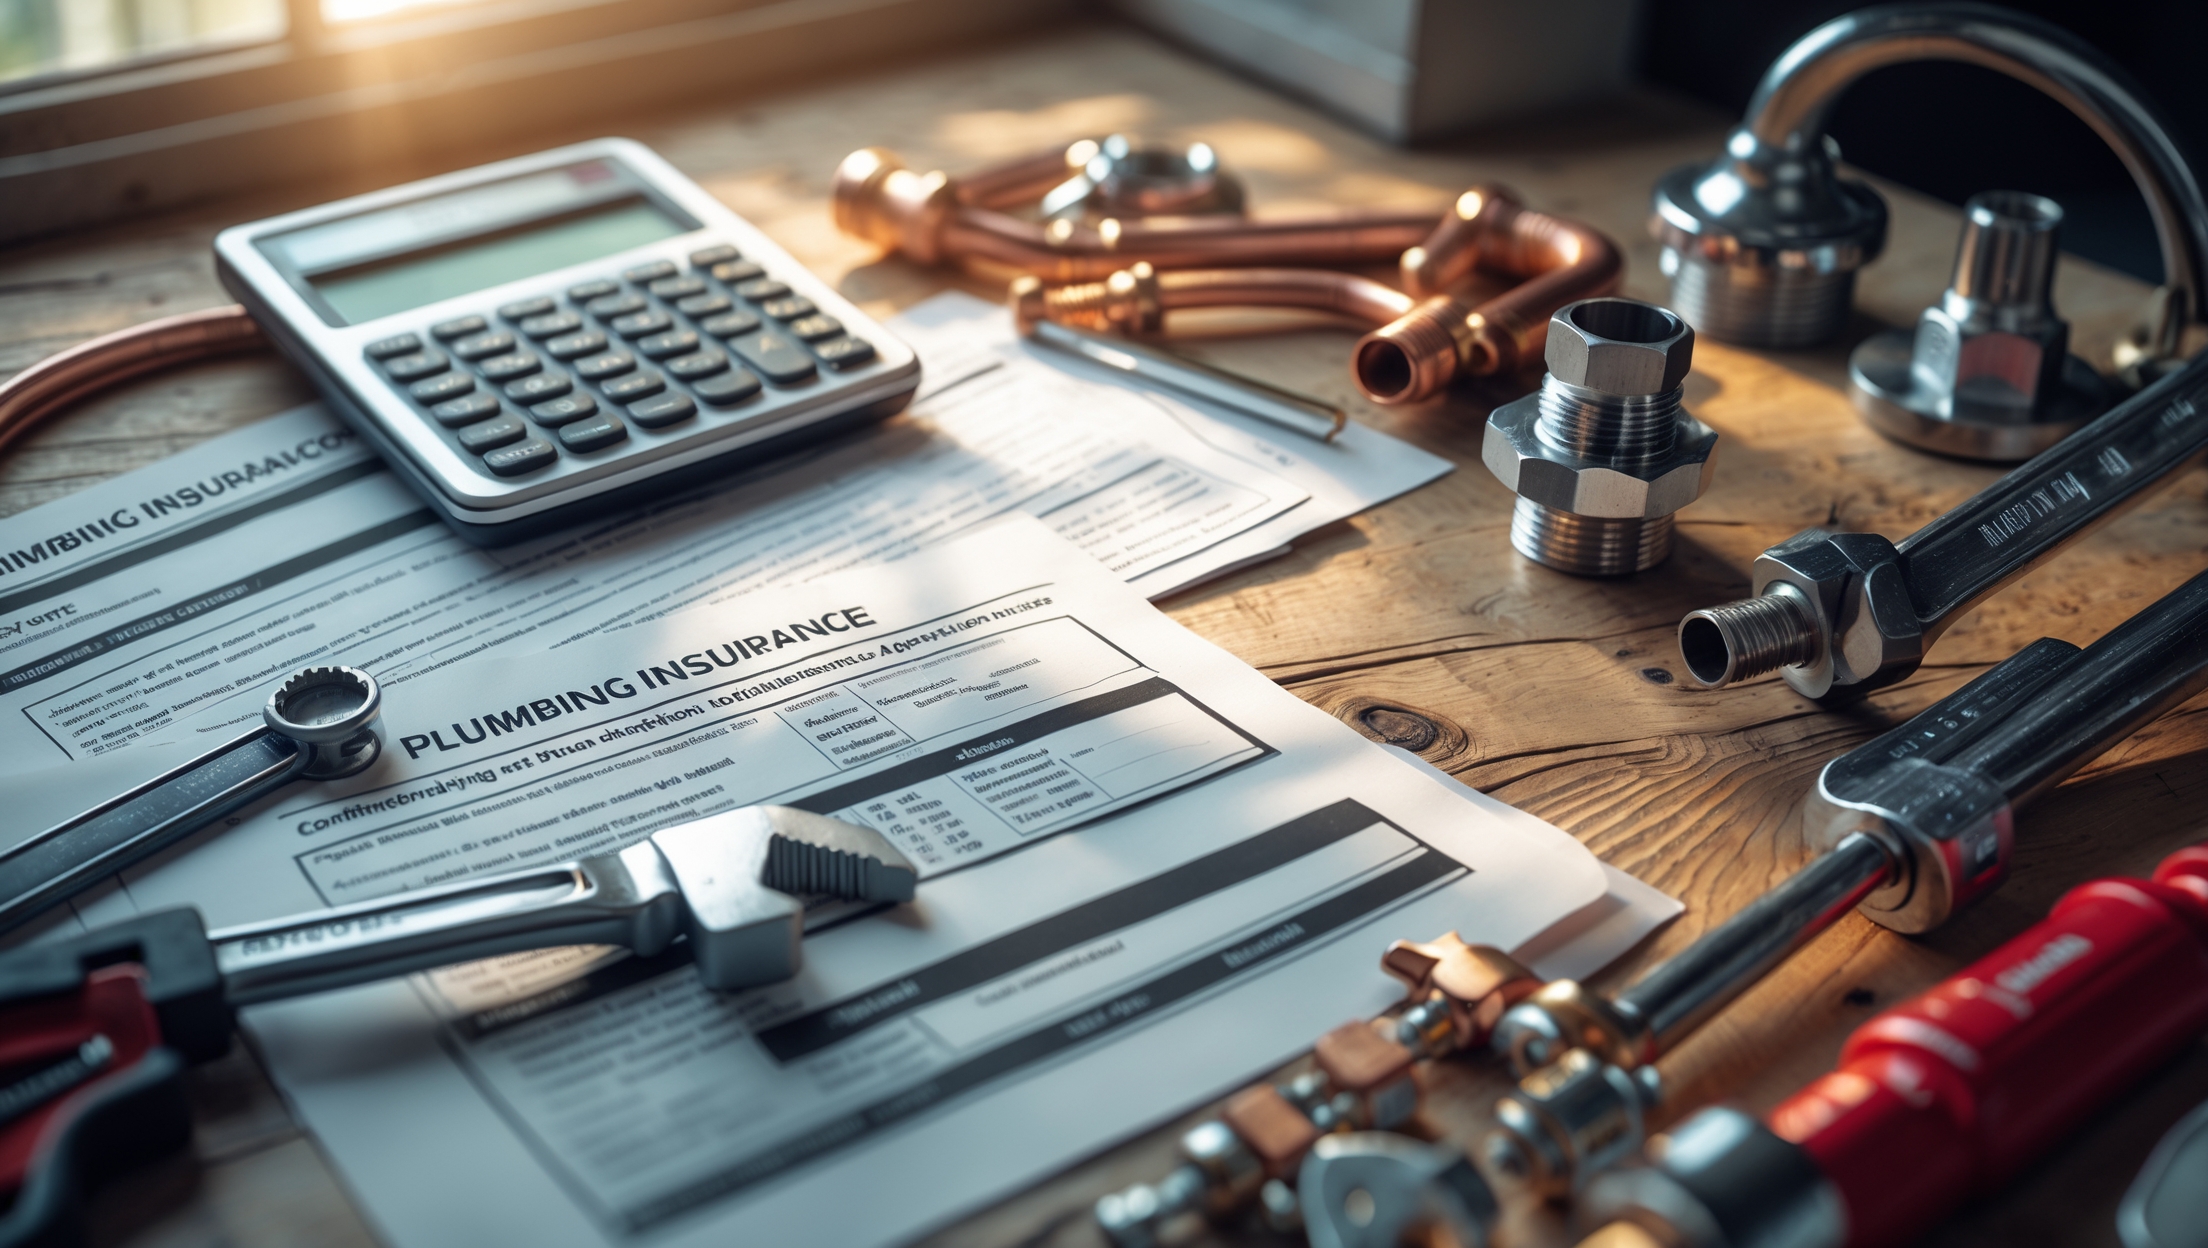
Budgeting for Your Plumbing Toolkit
Cost Breakdown by Skill Level
- Beginner: Expect to spend $75–$150 for basic essentials.
- Intermediate DIYer: $200–$400 for specialty tools and quality upgrades.
- Professional: $1000+ for advanced and power tools, press systems, and organization.
Saving Money Without Sacrificing Quality
- Purchase sets (pliers, wrenches) instead of individual tools for savings.
- Buy only what you need for your specific projects—avoid gimmicky multi-tools.
- Look for gently used pro tools at estate sales or reputable online marketplaces.
- Prioritize high-quality versions of your most-used tools; buy budget options for occasional needs.
Toolkit Maintenance: Keeping Tools in Top Condition
Cleaning and Storage
Wipe down tools after use to remove grime, water, and corrosive residues. Apply light oil to moving parts and store in a dry, ventilated space.
Inspection and Replacement
- Inspect handles for cracks or looseness—replace if compromised.
- Sharpen blades (hacksaws, pipe cutters) or replace when dull.
- Test pressure gauges and digital tools for accuracy regularly.
- Retire tools that slip, warp, or show significant rust.
Tool Safety
- Use the correct tool for each job to avoid breakage and injury.
- Wear gloves and eye protection, especially when cutting or soldering.
- Keep tools out of reach of children and pets.
Upgrading Over Time: When and What to Add
Evaluating Your Toolkit After Each Project
After completing a repair or installation, reflect on what could have been easier with a different or additional tool. Add tools based on real needs, not impulse buys. Keep a wish list for future upgrades as your skills advance.
Staying Current with Tool Technology
Plumbing tools evolve as new piping materials and connection methods become standard. Follow trade publications or manufacturer updates to learn about innovations like battery-powered press tools, smart diagnostic equipment, or improved safety gear.
Conclusion: Your Toolkit, Your Plumbing Success
Building the ideal plumbing toolkit is not a one-size-fits-all process. It’s about aligning your selection with your skills, the types of projects you tackle, and your budget. Start with high-quality basics, expand thoughtfully as your confidence and needs grow, and don’t overlook the importance of good organization and tool care. Whether you’re a weekend DIYer fixing leaks and swapping faucets or a professional managing complex installs, the right toolkit saves time, reduces frustration, and ensures safe, reliable results. Remember, a well-maintained toolkit is an investment in every future plumbing project—big or small. Take pride in your selection, keep it organized and in good condition, and you’ll approach every job with confidence. As new tools and techniques become available, stay curious and update your kit accordingly. With these principles, your toolkit will be a trusted ally for years of plumbing success.