
Introduction: The Hidden Risk of Plumbing Leaks
Plumbing leaks are silent threats lurking behind walls, under floors, and in ceilings. Left undetected, even a tiny drip can lead to structural damage, mold growth, and sky-high water bills. Modern homes and businesses depend on efficient plumbing, but with complex pipe networks, spotting a leak early is challenging—unless you know what to look for and which tools to use. Today’s leak detection has evolved far beyond simply looking for puddles or listening for drips. Technology now empowers both homeowners and professionals to locate and fix leaks swiftly, saving money and preventing disasters. In this comprehensive guide, we’ll unpack the science and strategy behind modern leak detection: from state-of-the-art equipment to tried-and-true diagnostic methods. You’ll learn how to recognize early warning signs, choose the right detection tools for your situation, and take decisive action—whether you’re a DIY enthusiast or a seasoned pro. Let’s dive deep into the world of leak detection and equip you to handle leaks with confidence.
Understanding the Stakes: Why Early Leak Detection Matters
Leaks are more than an inconvenience—they’re a major risk to property and health. Here’s why early leak detection is critical:
- Prevent Structural Damage: Water weakens wood, drywall, and concrete, leading to costly repairs.
- Mold and Mildew Prevention: Persistent moisture fosters mold growth, which can cause respiratory issues and ruin interiors.
- Water Conservation: Even a slow leak can waste thousands of gallons annually, driving up utility bills and straining local water resources.
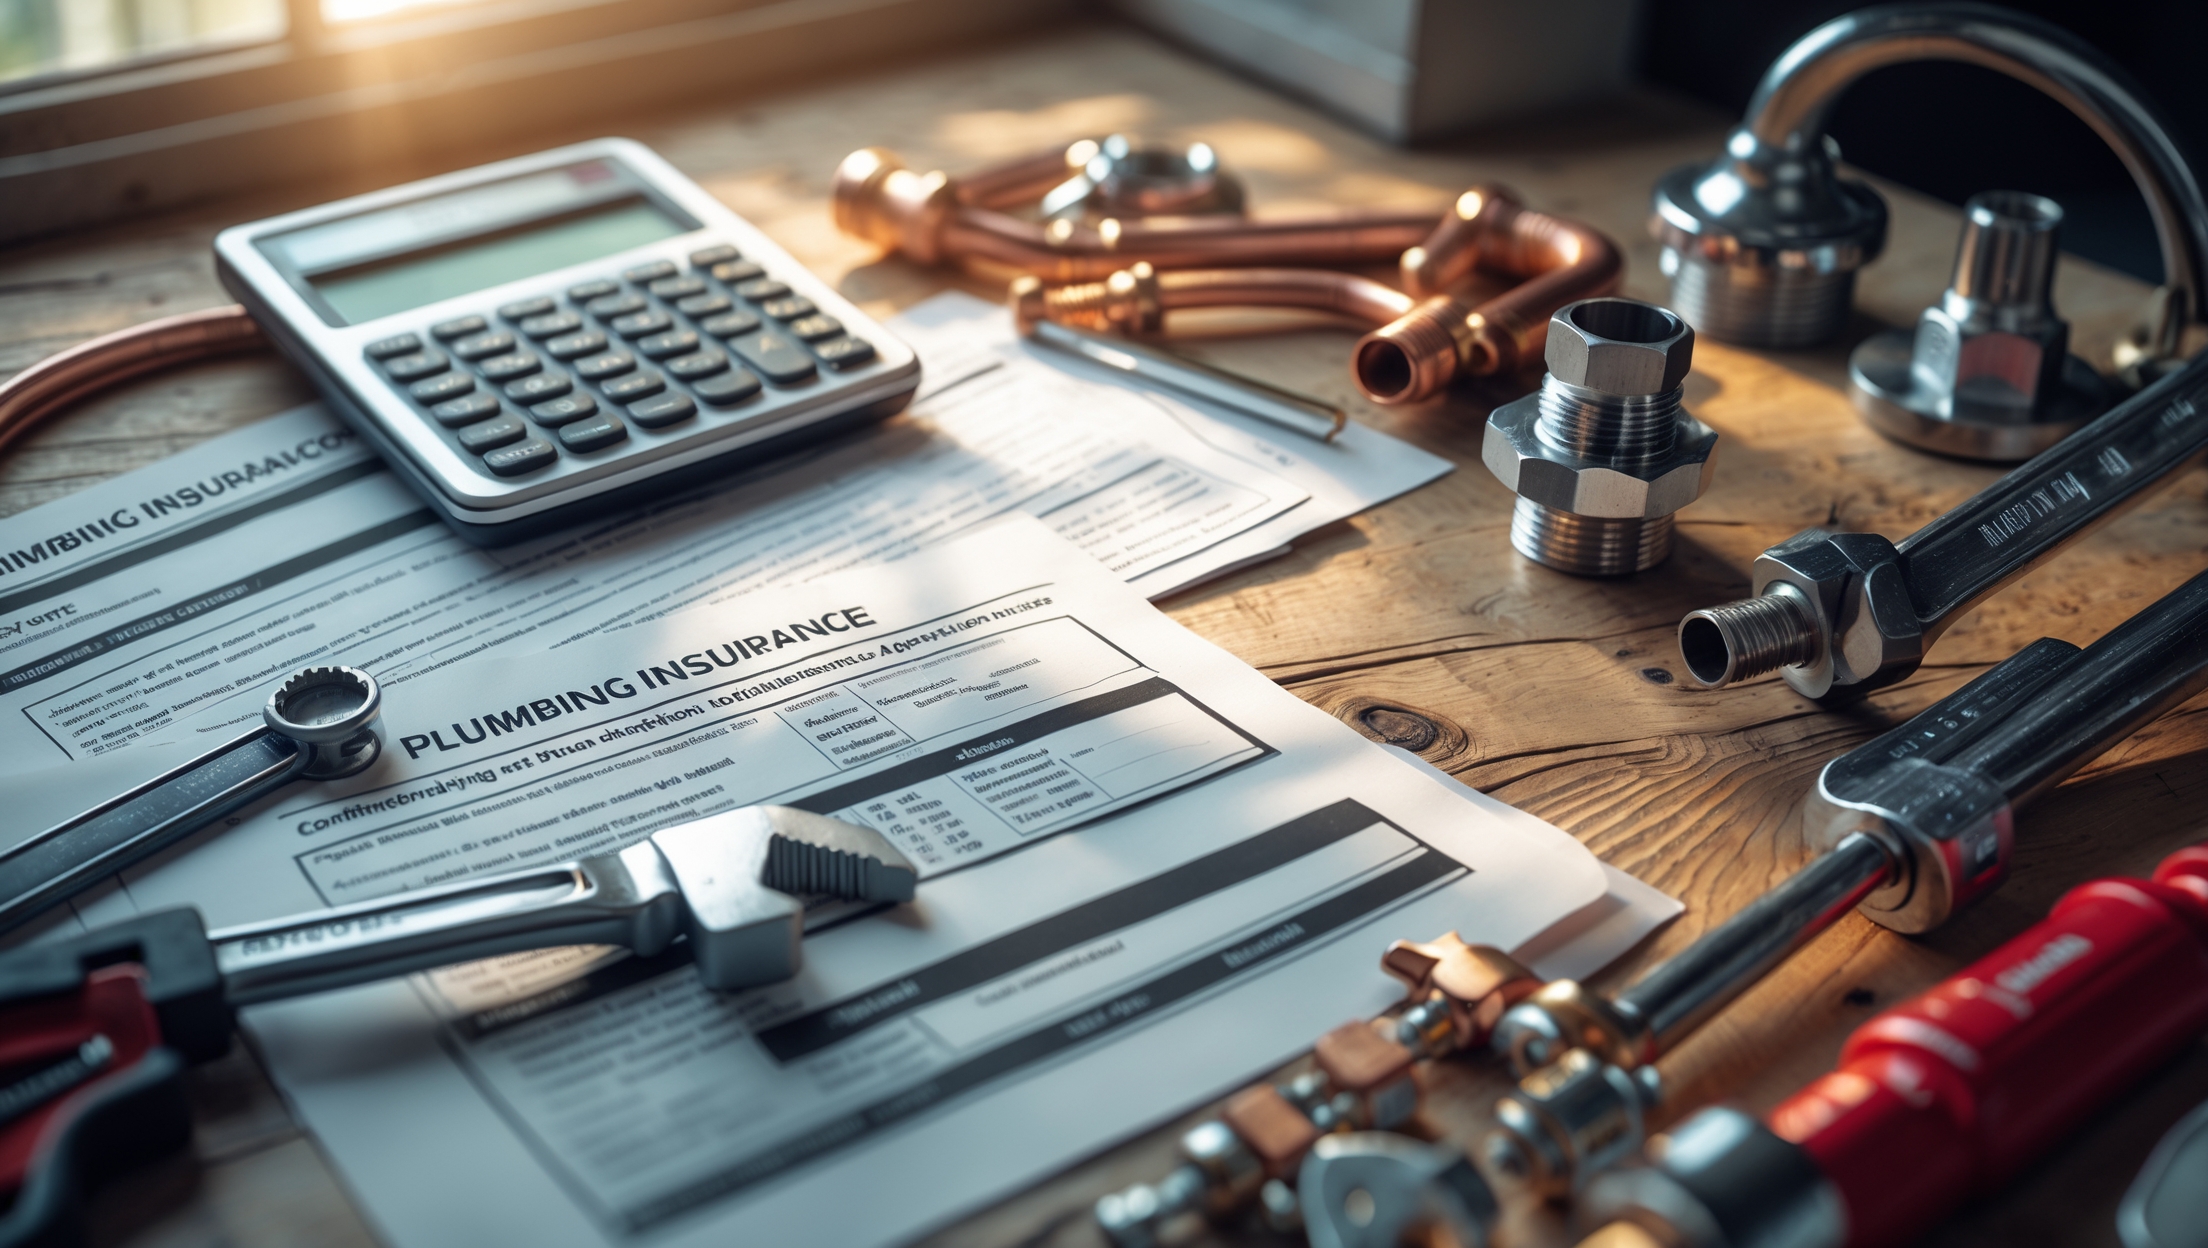
- Avoid Insurance Headaches: Most policies require prompt leak reporting; undetected leaks can jeopardize coverage or claim payouts.
By detecting leaks early, you protect your investment, ensure a healthy environment, and promote sustainable water usage.
Common Leak Hotspots in Residential and Commercial Plumbing
Before grabbing a tool, it helps to know where leaks most often occur. Focus your efforts on these high-risk areas:
- Under Sinks and Cabinets: Pipe joints, P-traps, and supply lines are prone to slow leaks, often hidden by clutter.
- Behind Walls and Ceilings: Supply and drain pipes can develop pinhole leaks, especially in older copper or galvanized systems.
- Basements and Crawl Spaces: Foundation penetrations and main water lines may leak undetected for months.
- Bathrooms: Toilet flanges, shower valves, and tub drains are frequent culprits.
- Water Heaters: Tank corrosion and fittings can cause leaks that worsen over time.
- Slab Foundations: In slab-on-grade homes, leaks beneath the concrete are notoriously difficult to spot without specialized tools.
Warning Signs: How to Detect a Leak Without Tools
Before diving into advanced equipment, start with your senses and a bit of detective work. Watch for these telltale signs:
- Unexplained Water Bill Increase: A sudden spike in usage often signals a hidden leak.
- Musty Odors: Persistent damp smells, especially near baseboards or under sinks, may indicate slow leaks and mold growth.
- Stained or Warped Surfaces: Water stains, bubbling paint, or warped flooring point to long-term moisture exposure.
- Sound of Running Water: If you hear water movement when no fixtures are on, investigate immediately.
- Low Water Pressure: A drop in pressure can result from a leak diverting water flow within the system.
- Mold Growth: Spots of mold in corners or behind appliances often trace back to undetected leaks.
Routine visual and sensory inspections are your first line of defense. Make them part of your regular maintenance routine.
Modern Leak Detection Tools: An Expert’s Guide
When signs point to a leak—but you can’t find the source—technology comes to the rescue. Here’s a breakdown of today’s most effective leak detection tools, with practical advice for DIYers and pros alike.
1. Acoustic Leak Detectors
These devices amplify the sound of water escaping under pressure. Technicians use headphones and sensitive microphones to pinpoint leaks even under concrete or behind walls. Acoustic detectors are ideal for main water lines, slab leaks, and any situation where visual inspection falls short.
- DIY Use: Entry-level models are available, but require patience and a quiet environment.
- Pro Advantage: Professional units provide greater sensitivity and noise filtration, reducing false positives from ambient sounds.
2. Infrared (Thermal) Cameras
Infrared cameras visualize temperature differences caused by evaporating water. Leaks appear as cool (or sometimes warm) spots on walls, floors, or ceilings. This non-invasive tool excels at scanning large areas quickly, making it a favorite for property managers and restoration contractors.
- DIY Use: Handheld thermal cameras are becoming more affordable, but interpreting results still requires some training.
- Pro Advantage: High-end cameras detect subtle temperature changes and create detailed thermal maps for precise leak localization.
3. Moisture Meters
Moisture meters measure the water content in building materials. Pin-type meters probe into wood or drywall, while pinless models scan surfaces non-destructively. Use them to confirm suspicious areas found during visual or thermal inspections.
- DIY Use: Inexpensive models are perfect for checking under sinks or behind appliances.
- Pro Advantage: Commercial-grade meters offer more accurate readings and deeper penetration for thick walls or floors.
4. Endoscopic Inspection Cameras (Borescopes)
These flexible cameras snake into tight spaces—inside walls, behind cabinets, or under floors—letting you see leaks without major demolition. They’re ideal for confirming pipe integrity and tracking water migration behind finished surfaces.
- DIY Use: Affordable wireless borescopes connect to smartphones for real-time viewing.
- Pro Advantage: Higher-end models feature longer cables, better image quality, and water-resistant designs.
5. Leak Detection Dyes and Test Kits
Non-toxic dyes (often blue or fluorescent) help trace the source of slow leaks in toilets, drains, and HVAC condensate lines. Simply add dye to suspected fixtures and watch for colored water appearing where it shouldn’t.
- DIY Use: Inexpensive and easy to use—perfect for toilet or drain leaks.
- Pro Advantage: UV dyes and lights increase sensitivity for hard-to-detect leaks.
6. Smart Leak Sensors and Monitors
Wi-Fi-enabled leak sensors sit beneath appliances, near water heaters, or in basements. They sound alarms and send phone alerts at the first sign of moisture, giving you an edge against surprise leaks or floods.
- DIY Use: Easy installation; many models integrate with smart home systems.
- Pro Advantage: Networked systems monitor multiple locations and provide real-time data for property managers or remote homeowners.
Step-by-Step Leak Detection: DIY Workflow
Ready to roll up your sleeves? Here’s a practical workflow for tracking down leaks with minimal guesswork:
Step 1: Confirm There’s a Leak
- Turn off all water-using appliances and fixtures.
- Check your water meter; note the reading.
- Wait 1–2 hours without using water, then recheck. If the numbers have changed, you likely have a hidden leak.
Step 2: Narrow Down the Area
- Inspect high-risk locations (see above) for visible signs.
- Listen carefully for hissing or dripping sounds along pipes.
- Feel for dampness along baseboards, under sinks, and near appliances.
Step 3: Deploy Detection Tools
- Use a moisture meter on suspicious surfaces.
- Scan walls and floors with a thermal camera to spot temperature anomalies.
- Try an acoustic detector if you suspect a slab or main line leak.
- Drop leak detection dye into toilets or drains to trace hidden leaks.
Step 4: Pinpoint and Confirm
- Once a likely source is identified, use a borescope to visually inspect inside walls or under floors without major demolition.
- Double-check with a moisture meter to ensure the area is the true source, not just a water migration path.
Step 5: Take Action
- For minor leaks (like under-sink fittings), shut off the water supply and repair or replace faulty parts.
- For major or inaccessible leaks (inside walls, under slab), contact a licensed plumber with the evidence you’ve gathered.
Advanced Leak Detection for Professionals
Professional plumbers and contractors use advanced tactics, especially for complex or concealed leaks. Here’s what sets expert methods apart:
- Pressure Testing: Isolate sections of the plumbing system and pressurize with air or water. A pressure drop pinpoints the presence (but not the location) of leaks.
- Tracer Gases: In commercial or multi-unit buildings, plumbers inject non-toxic gases (like helium or hydrogen) into the pipes and use sensitive detectors to track escaping gas—ideal for pinpointing leaks in slab or underground lines.
- Full-System Thermal Scans: Comprehensive sweeps with high-resolution infrared cameras map entire buildings, revealing hidden moisture patterns and confirming repairs.
- Data-Logging Sensors: Permanent sensors installed in vulnerable areas provide ongoing monitoring, ideal for commercial properties or high-value homes.
For professionals, investing in the right mix of tools pays dividends in speed, accuracy, and customer satisfaction.
Real-World Scenarios: Leak Detection Case Studies
Case 1: The Mysterious Stain
A homeowner noticed a small brown stain on a living room ceiling. Thermal imaging revealed a cool spot directly above, and a moisture meter confirmed elevated moisture content. A borescope inspection found a pinhole leak in an upstairs bathroom supply line. Early detection limited the damage to a small section of drywall and pipe.
Case 2: The Slab Leak Challenge
In a commercial office, staff reported damp carpets and a moldy smell. Acoustic detectors and pressure testing isolated the leak to a main water line beneath the concrete slab. A targeted thermal scan confirmed the leak’s precise location, allowing for a minimally invasive repair—saving thousands in floor and structural restoration costs.
Case 3: The Silent Toilet Leak
A property manager received an unusually high water bill but saw no visible leaks. Dye tablets in toilet tanks revealed two silently running toilets. Simple flapper replacements solved the issue, slashing water waste and preventing future bills from ballooning.
Maintenance Tips: Preventing Future Leaks
Leak detection is only half the battle—prevention is just as important. Here are actionable tips for keeping your plumbing leak-free:
- Regular Inspections: Schedule seasonal checks of all visible plumbing, appliances, and fixtures.
- Upgrade Aging Pipes: Replace old galvanized, polybutylene, or corroded copper pipes before they fail.
- Install Smart Sensors: Place Wi-Fi leak detectors near water heaters, sump pumps, and laundry areas for instant alerts.
- Insulate Pipes: Protect pipes in unconditioned spaces from freezing and bursting.
- Monitor Water Pressure: High pressure accelerates wear on joints and seals—install a pressure regulator if needed.
Conclusion: Take Control of Leaks Before They Control You
Plumbing leaks may be inevitable, but major disasters are not. With the right knowledge and tools, you can detect leaks early, minimize damage, and save substantial money on repairs and water bills. Whether you’re a DIY homeowner or a professional plumber, investing in modern detection equipment and staying vigilant pays off in peace of mind and property protection. Remember, every drip counts—both for your wallet and the environment. Make leak detection a regular part of your maintenance routine, and you’ll be equipped to handle even the most elusive leaks before they spiral into costly crises. Stay proactive, stay informed, and never underestimate the power of early intervention in maintaining a safe, efficient plumbing system.


Brian Williams
Could you elaborate on how insurance companies typically handle claims related to undetected leaks? For example, are certain leak detection methods or prompt reporting times required to ensure coverage for resulting damage?